The Conversation (0)
Sign Up
Okay.... So it's become obvious to me that I have a wrapping obsession! But it's such a quick, easy project no matter what you're wrapping! This is my less messy, quicker version, from what I've seen.
Lets also note that I dislike hot glue.... It's messy, it's hot (and therefore not ideal for having around children) and with all the technology in the world.... You'd think we could have off switches
Needless to say, tacky glue ftw! if you want a nice sheen to it at the end, paint it with tacky glue or clear polish following the lines after you are finished wrapping. Anyway on with the guide!!
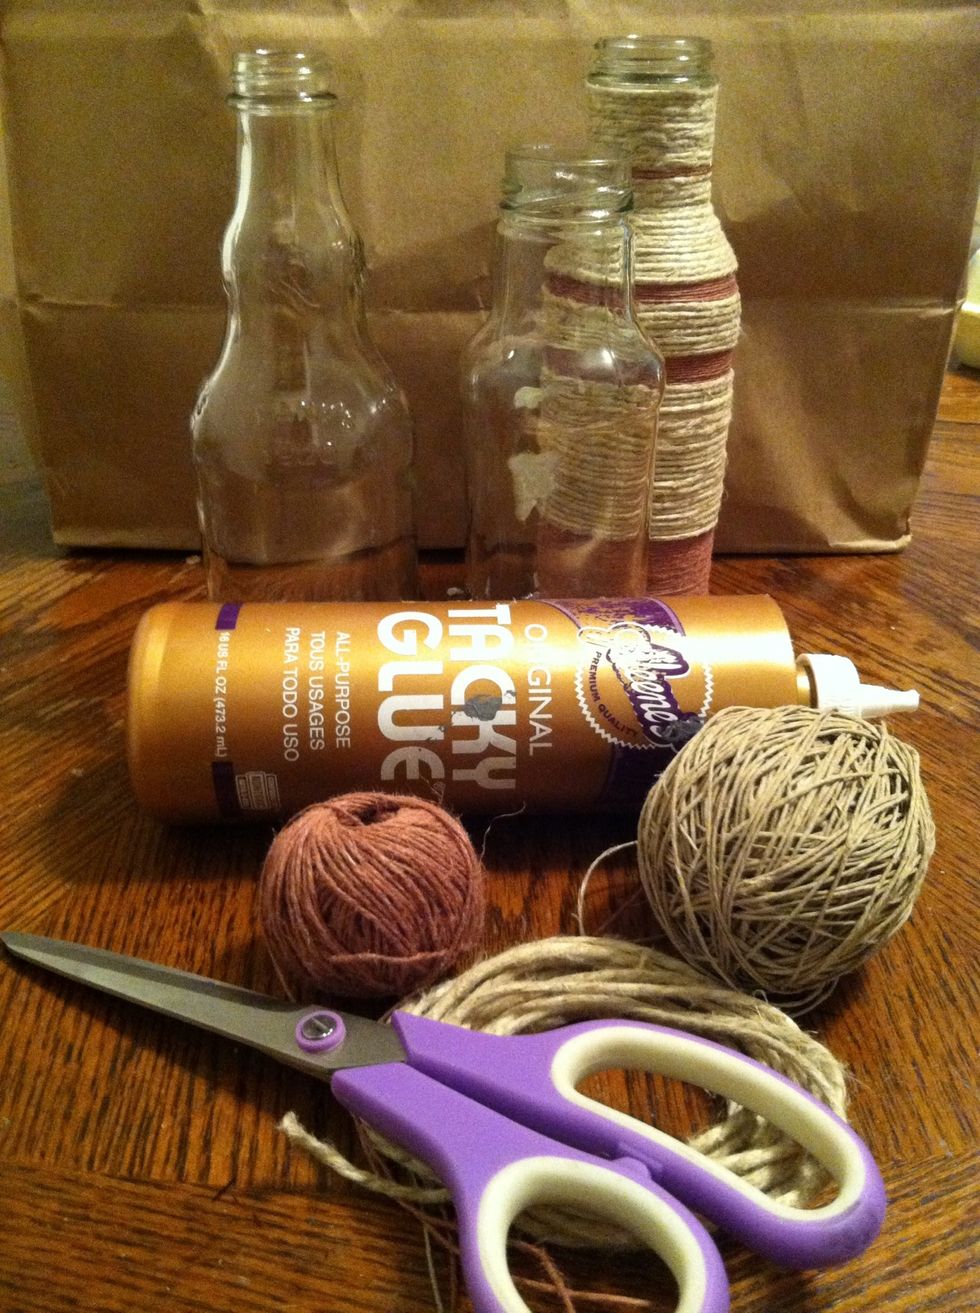
Plastic bottles can work too but I prefer the weight of glass because I'm going to put flowers in them. For a colorful, kid friendly variation use bright braiding cord.
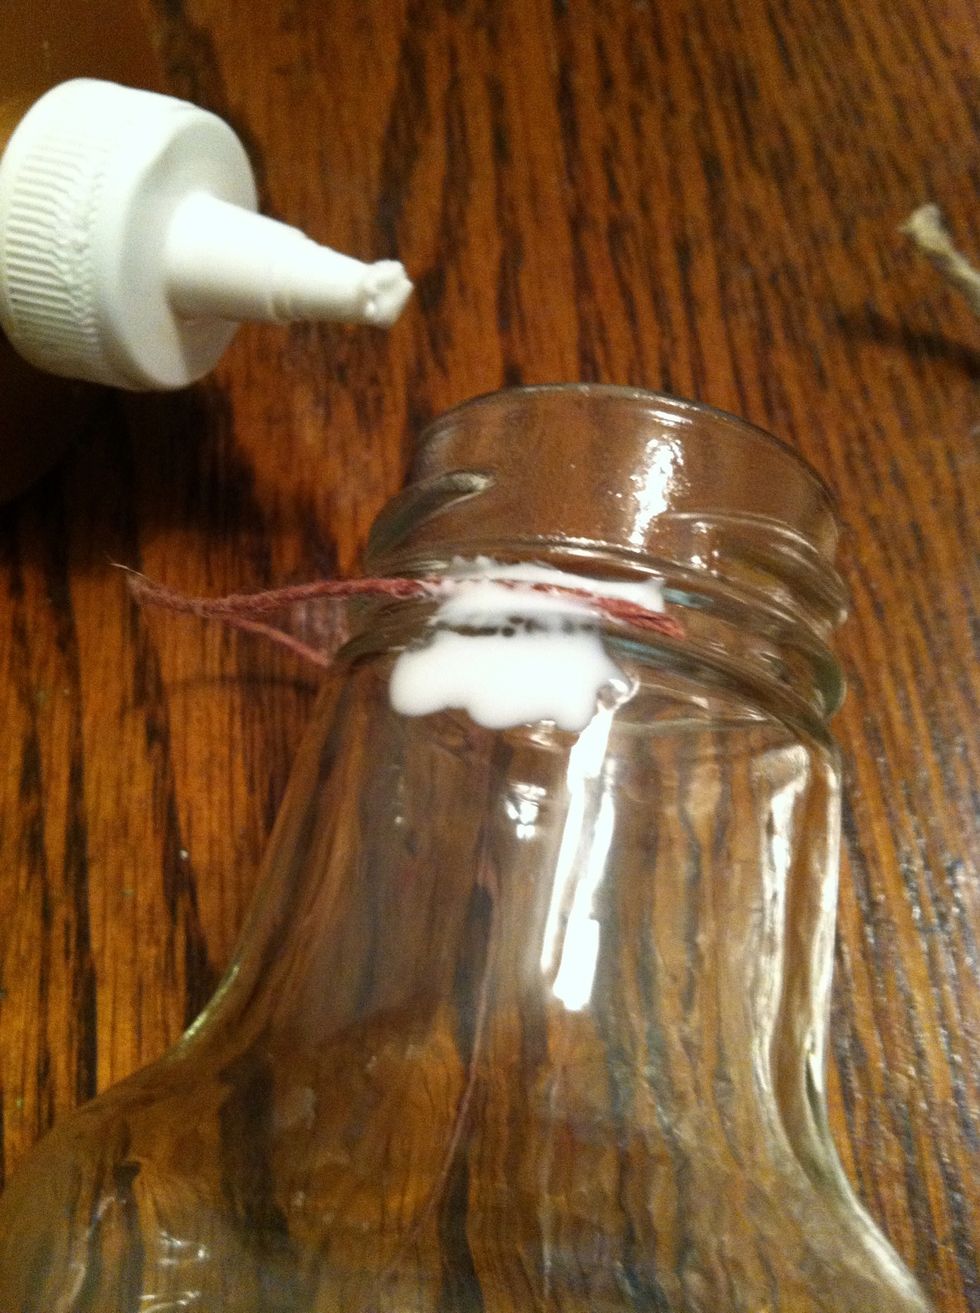
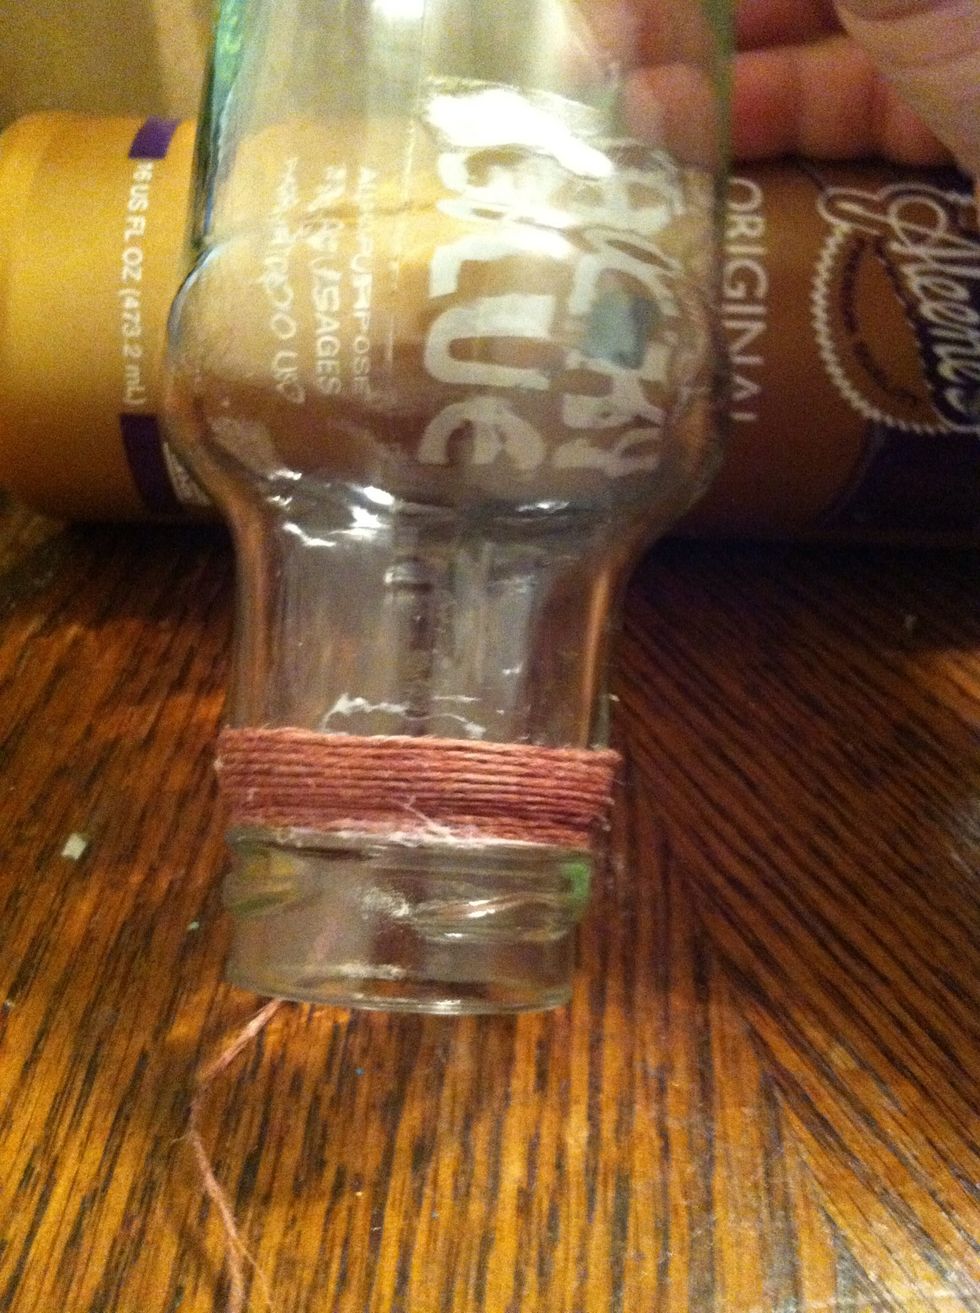
I'm leaving the top alone because it'll be covered by the flowers. Choose a place to be the back, I chose the seam so I would remember easily. Place a dot of glue and the end of your string of choice.
When the glue starts to hold but isn't yet dry, begin wrapping. Add a dot of glue for ever 5 or so wraps. Remember to keep it tight. And push up as you go.
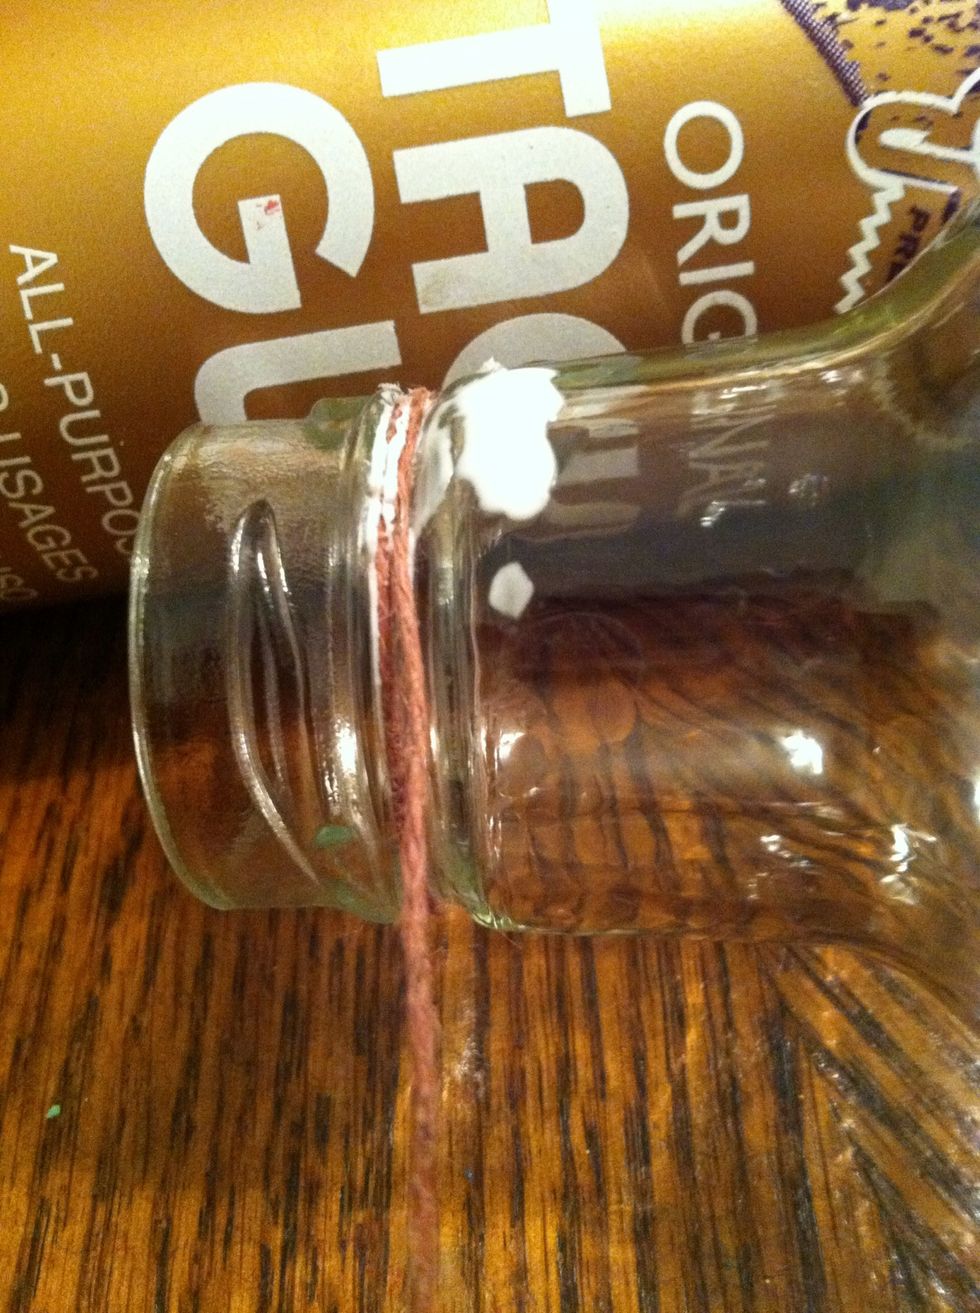
As you pass the glue smooth it over the string of choice (soc) going in the same direction.
I like to hold it upside down and wrap against what I've already wrapped.
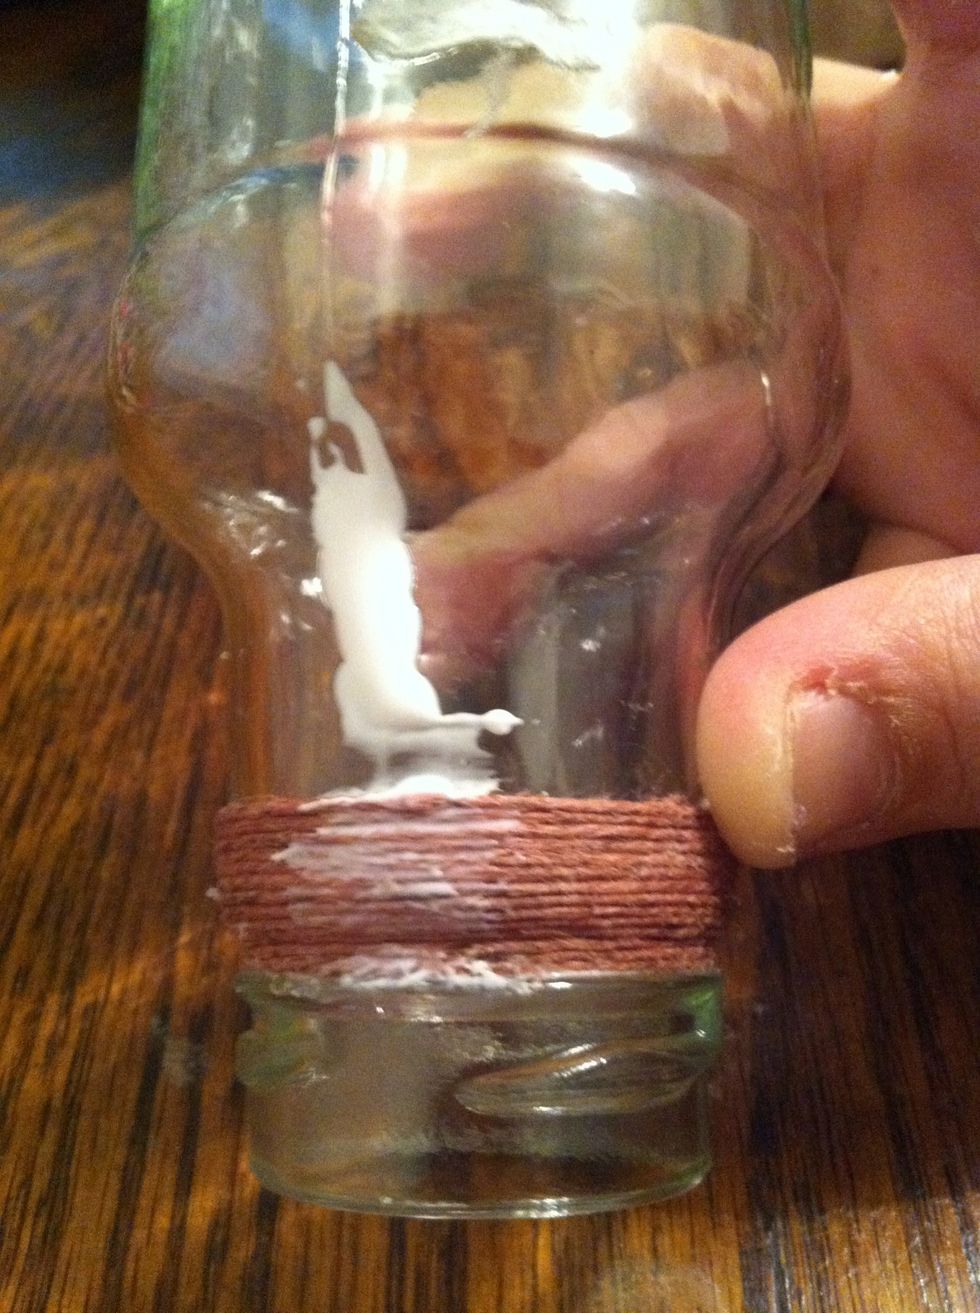
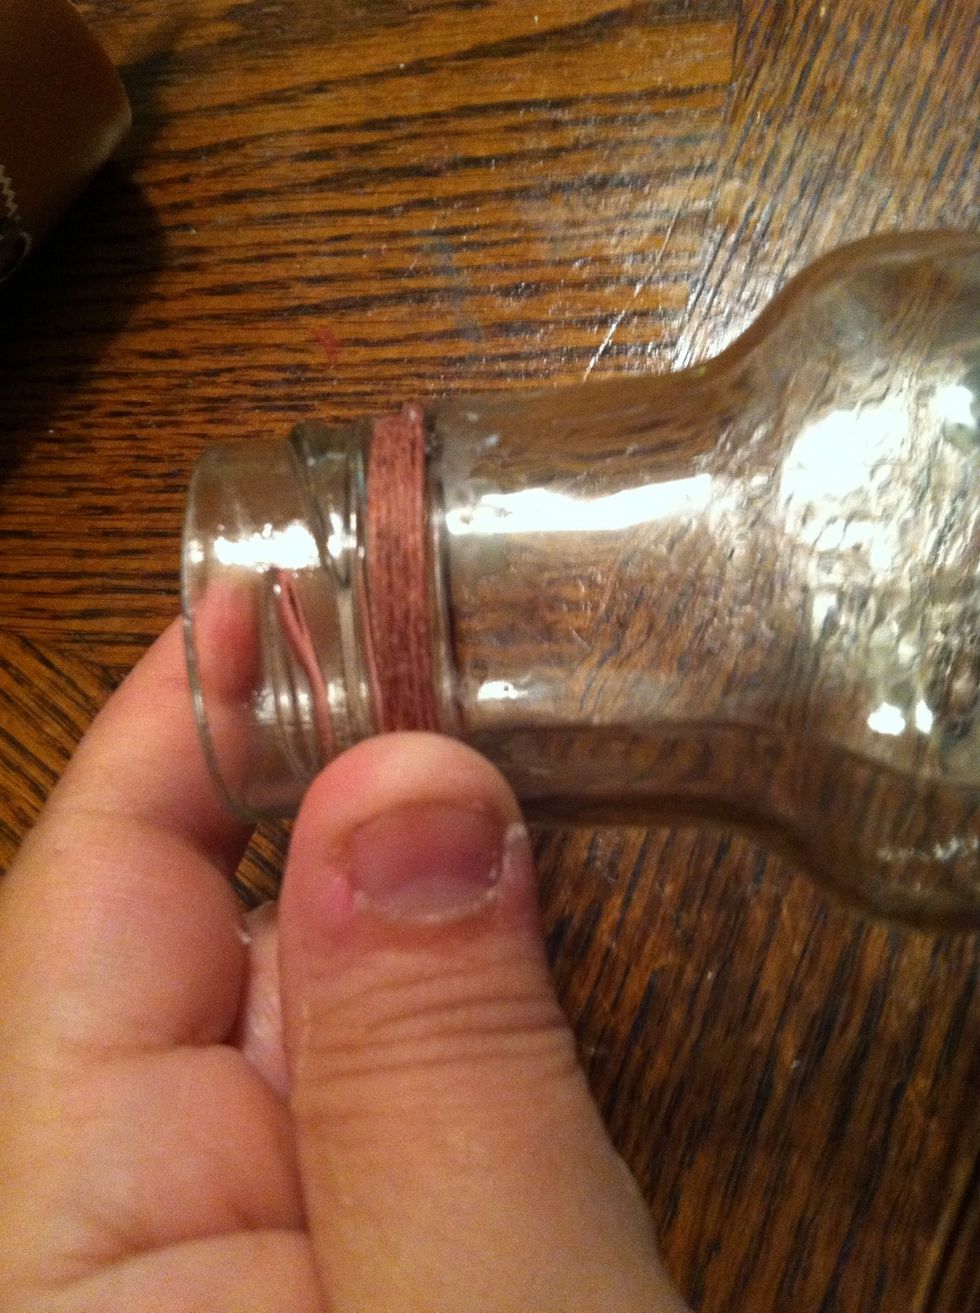
Add glue and keep wrapping and smoothing. The thicker it's on there the more you will notice it. I smoothed this more after taking the picture. And I added too much glue, you only need a dot.
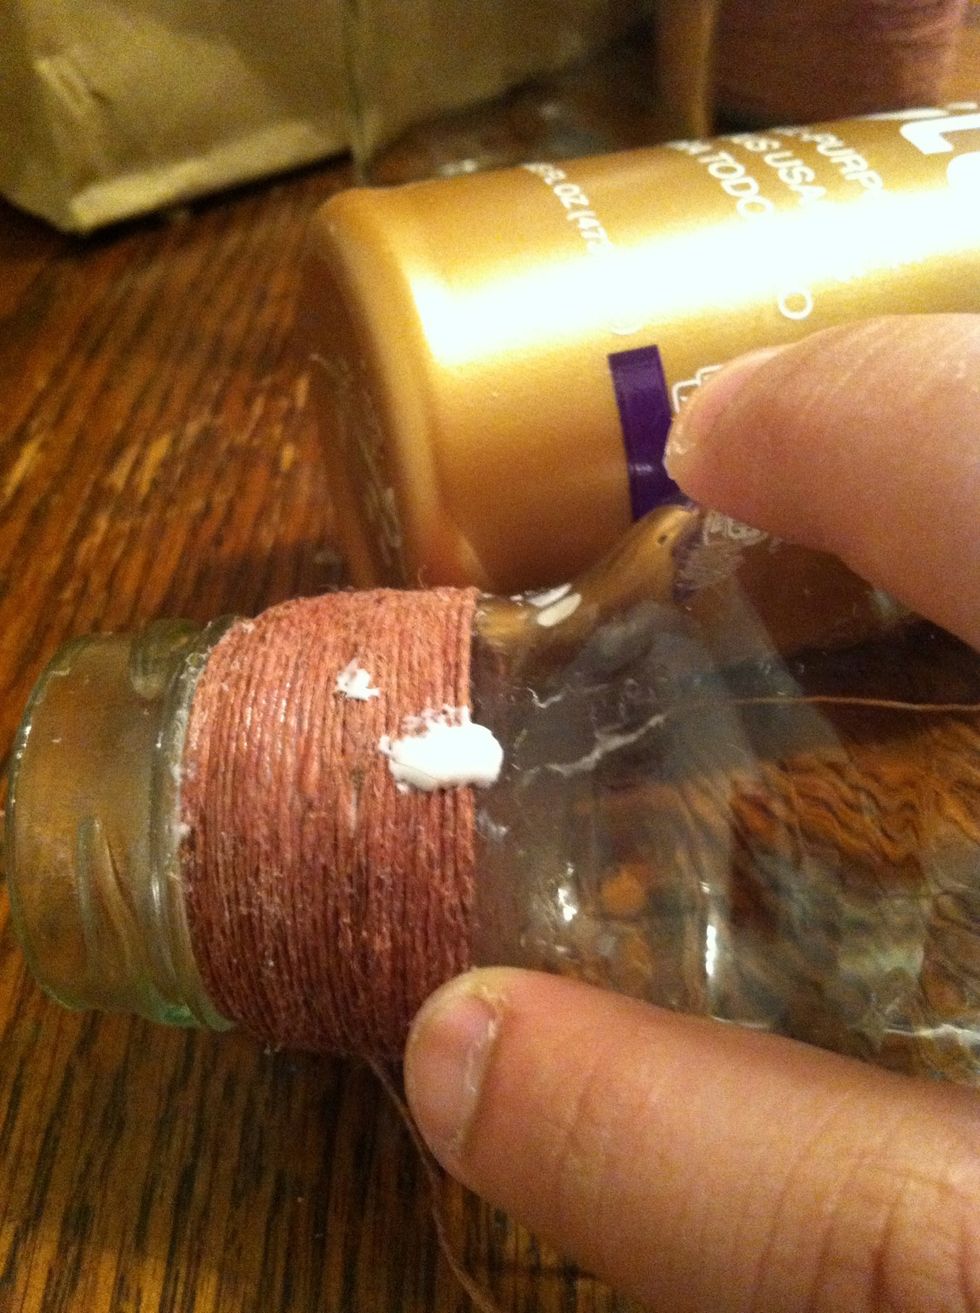
Time to change or add a color. Add a dot of glue. Not too much or it may dry. Do not cut the first (soc). Hold it off to the side (same direction you've been wrapping.)
Add the new color and allow it to get tacky.
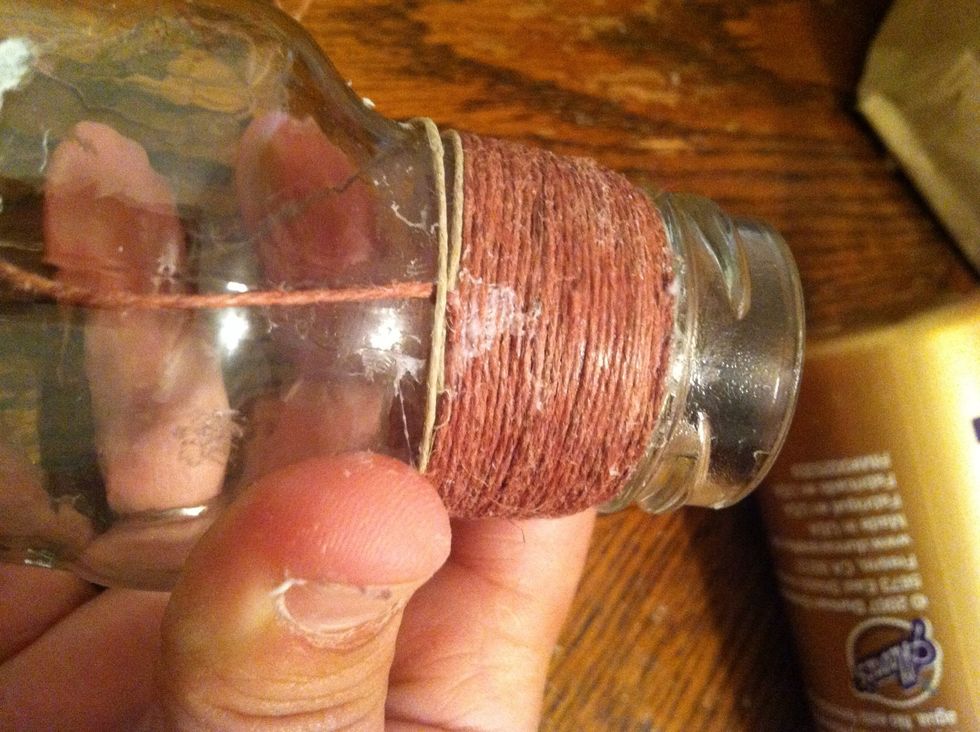
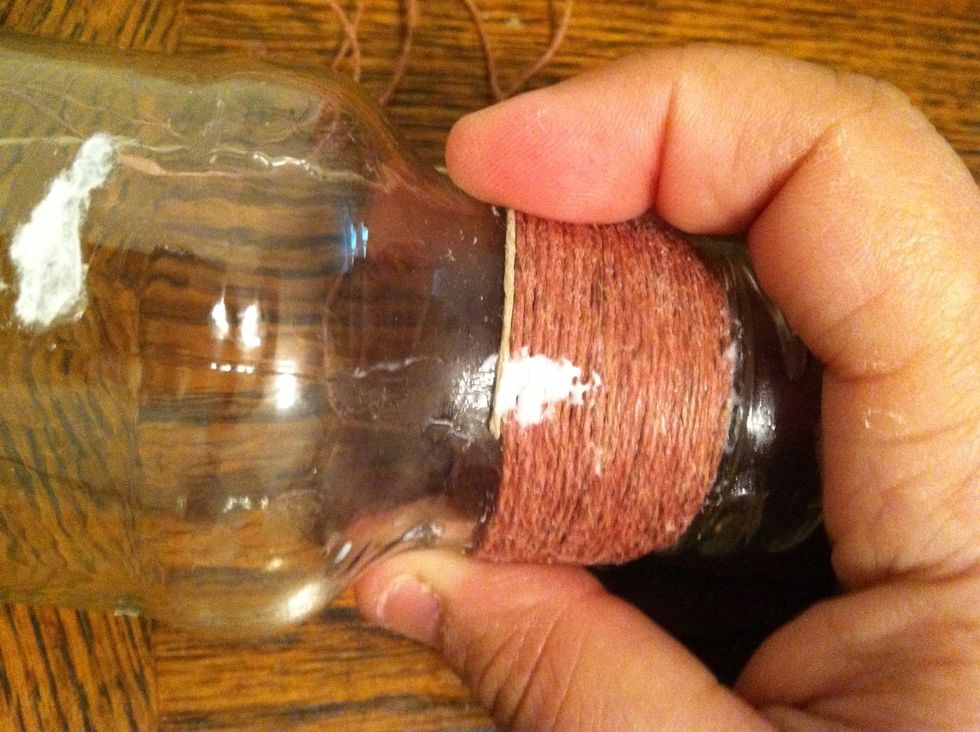
This may sound confusing, but once you get the hang of it it's very simple. Take (soc)1 and fold it down and over the end of (soc)2. Now begin wrapping with (soc)2. The gap is for easy viewing.

Continue wrapping with(soc)2 OVER (soc)1. Do not cut any strings.
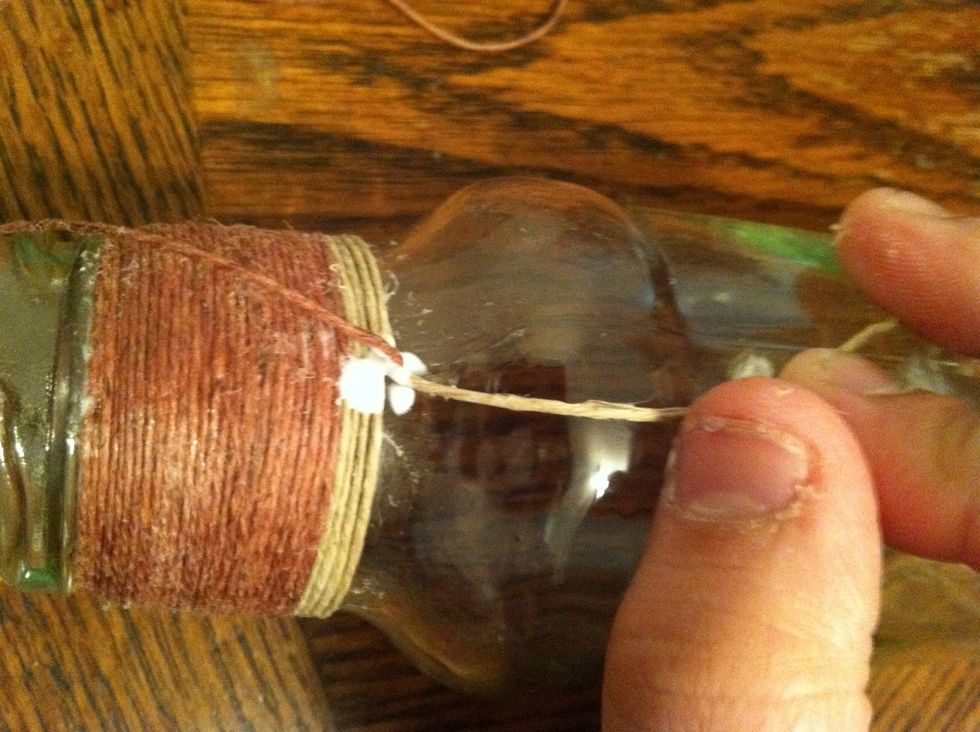
When your ready to change colors, wrap (soc)2 to the back, fold it down on the side which your wrapping was going. Fold (soc)1 up. Add a dot of glue.
To clarify: if I'm wrapping right to left, then I would fold the currently wrapping (soc) down on the left side.
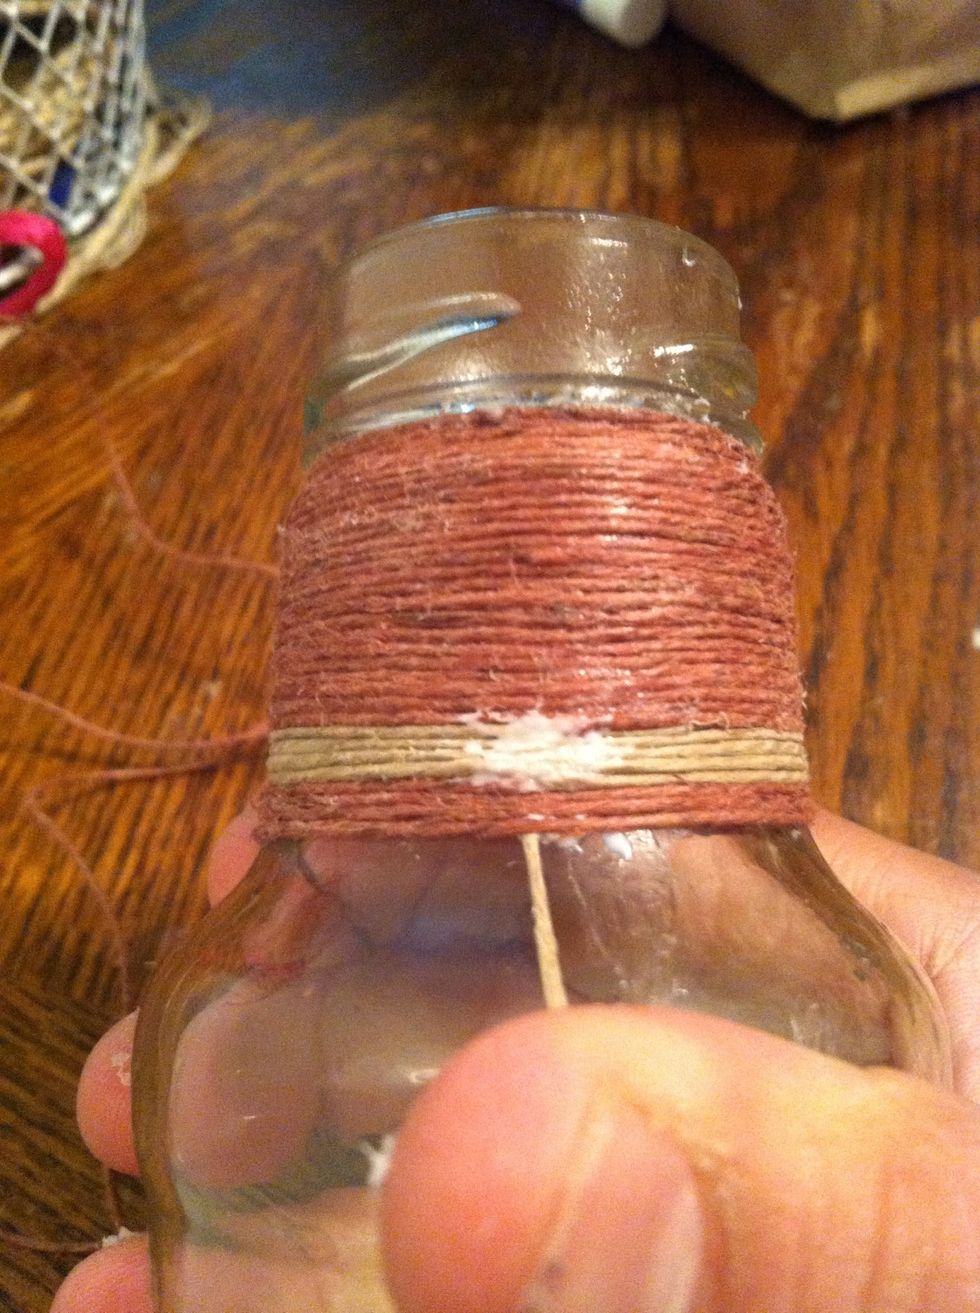
Wrap using (soc)1 until ready to change and then repeat. Don't forget to smooth out glue.
When the bottle begins to widen add glue in more places than the back to prevent slippage. I added to the sides so it would mimic reflective light. If wrapping down a sloping bottle, flip over.
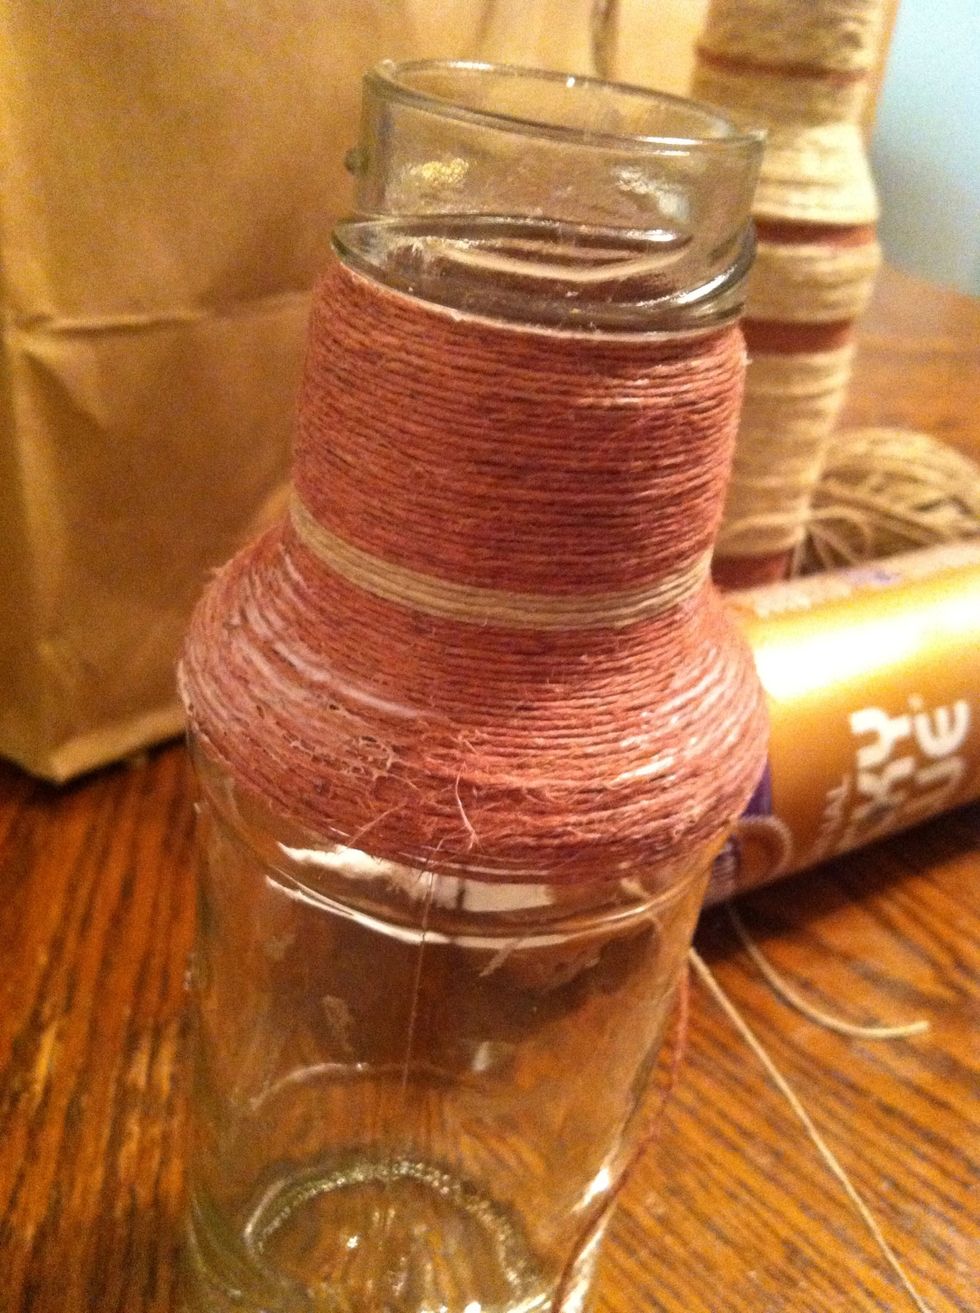
When you reach the end of your bottle, or if you begin at the bottom, apply a thin line if glue all the way around. This ensures that the string doesn't slide off.
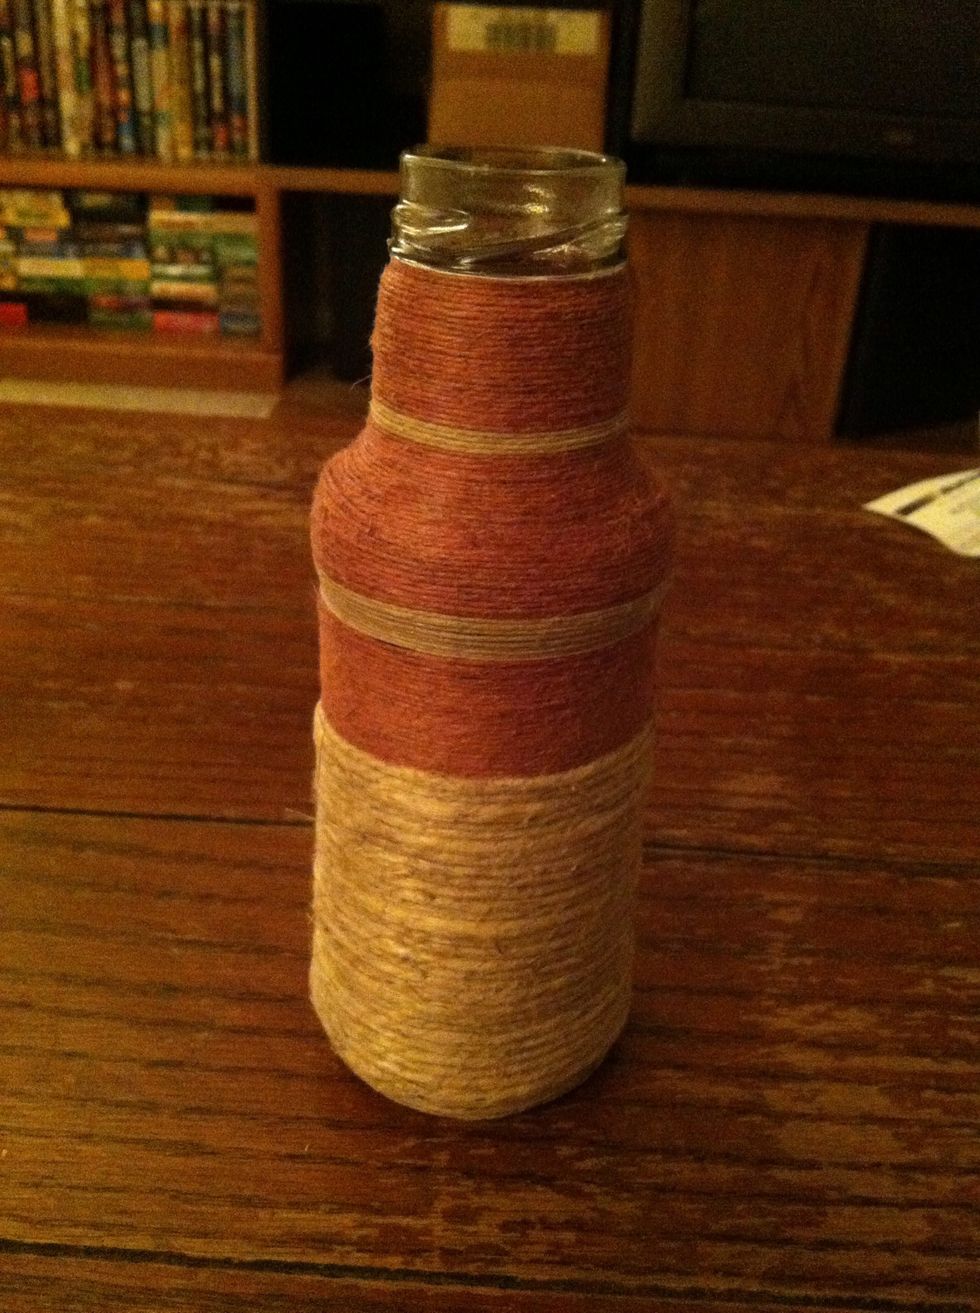
Here's the finished bottle.
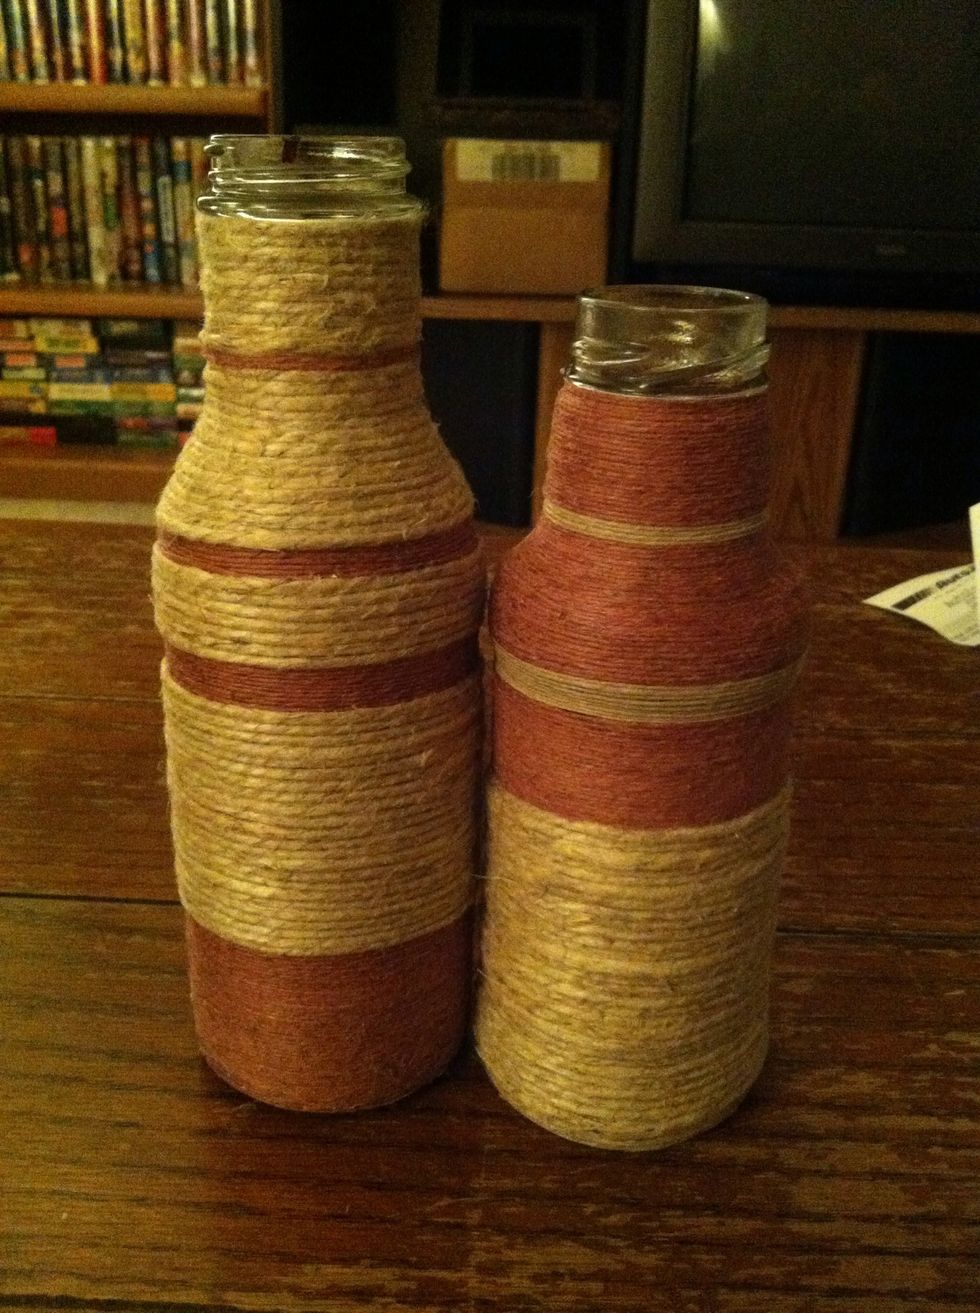
Another example
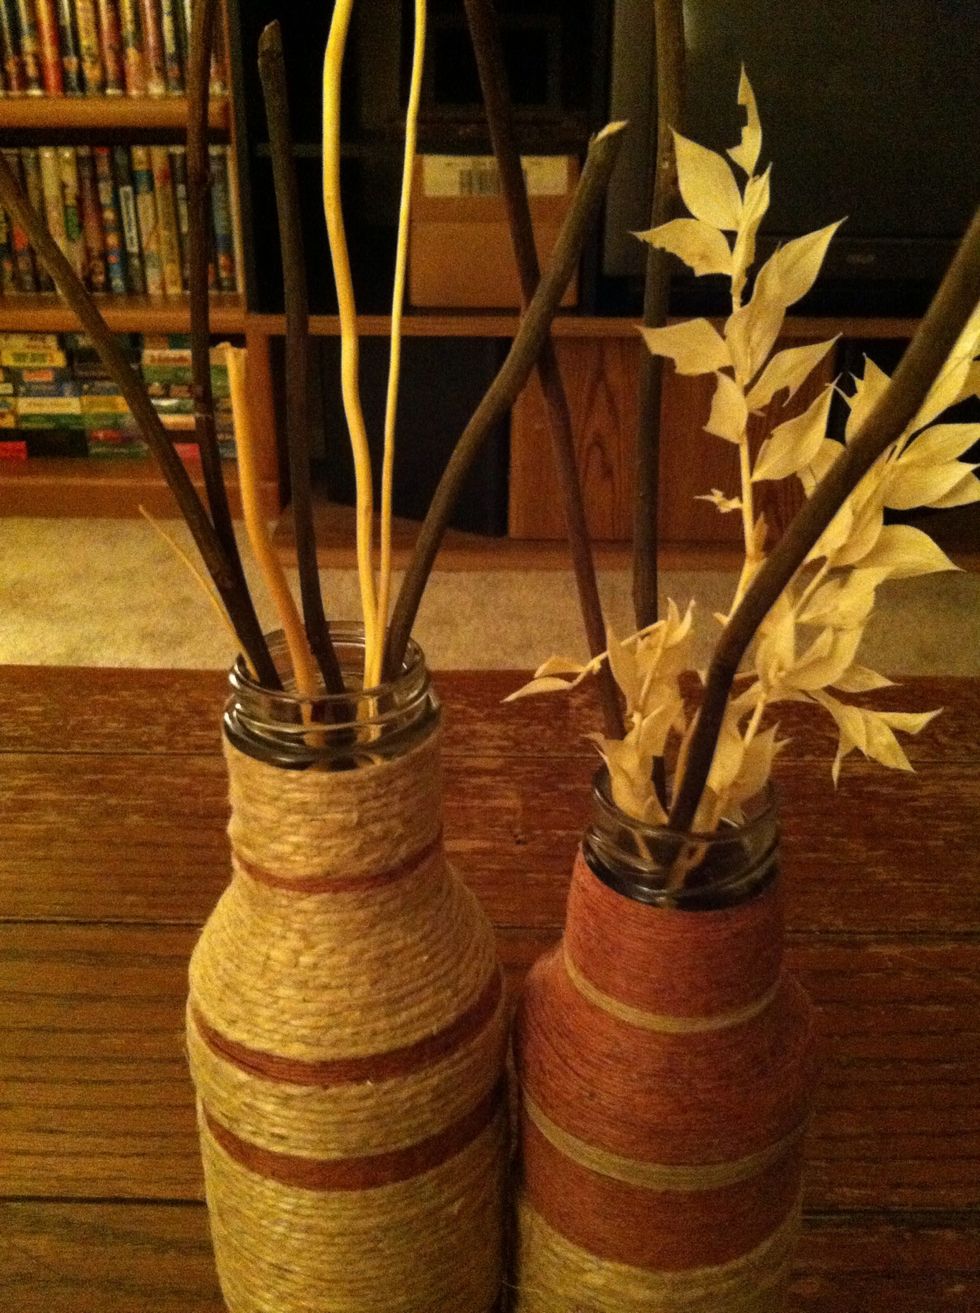
You can now add diffusers or decorative branches. I'm either going to find the kinds if dried flowers I envision to cover the glass that's still showing or ill go back and cover it. But you get it.
As always, use your imagination. This is just the guide on HOW to do it, but what you do with it is entirely up to you! Comment and let me know what you've used yours for.
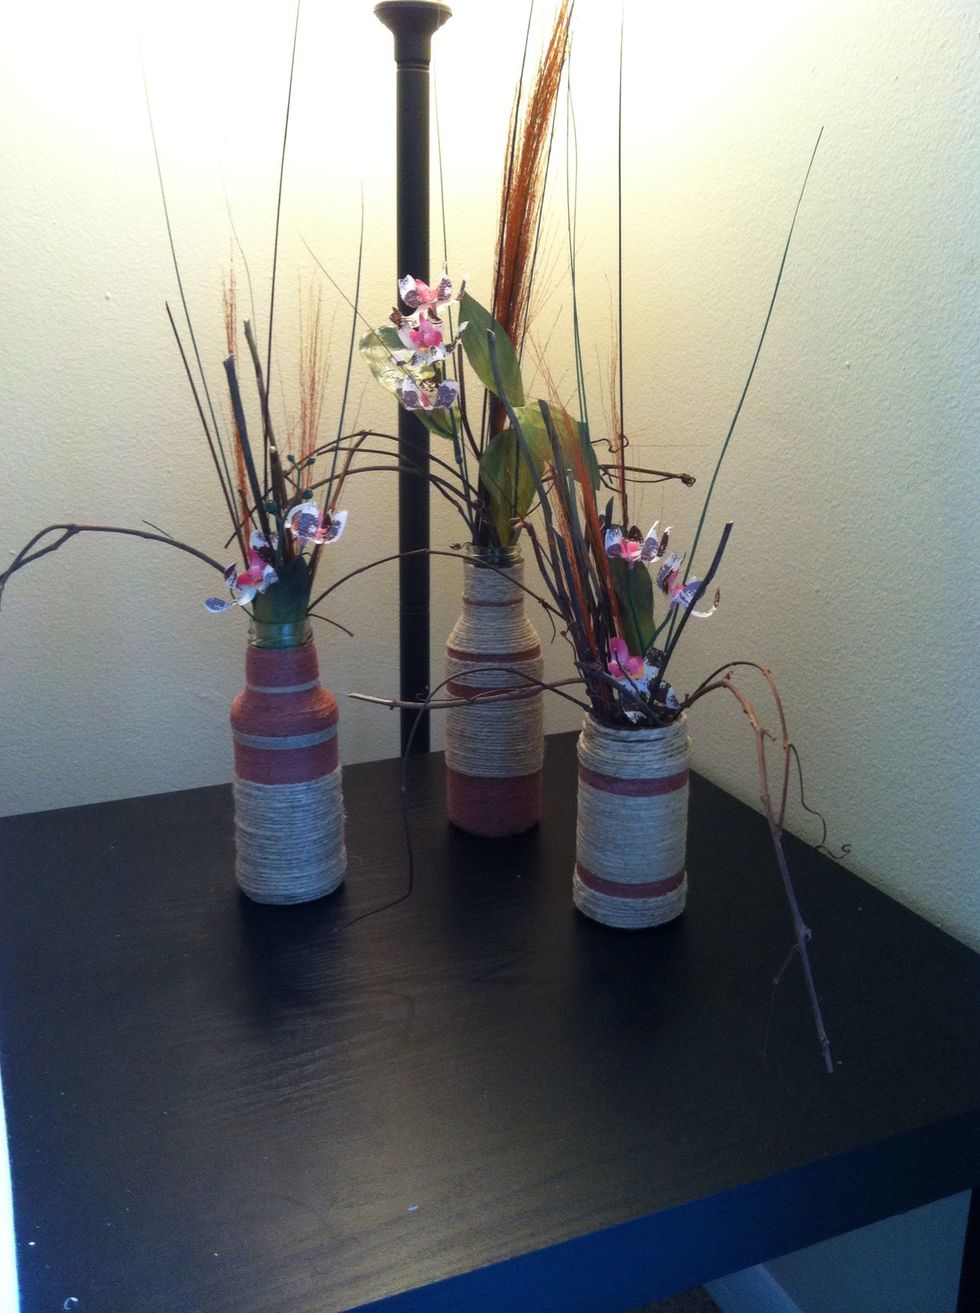
Here's an example of how in using them. I still haven't coveted the rims but its fine for now.