The Conversation (0)
Sign Up
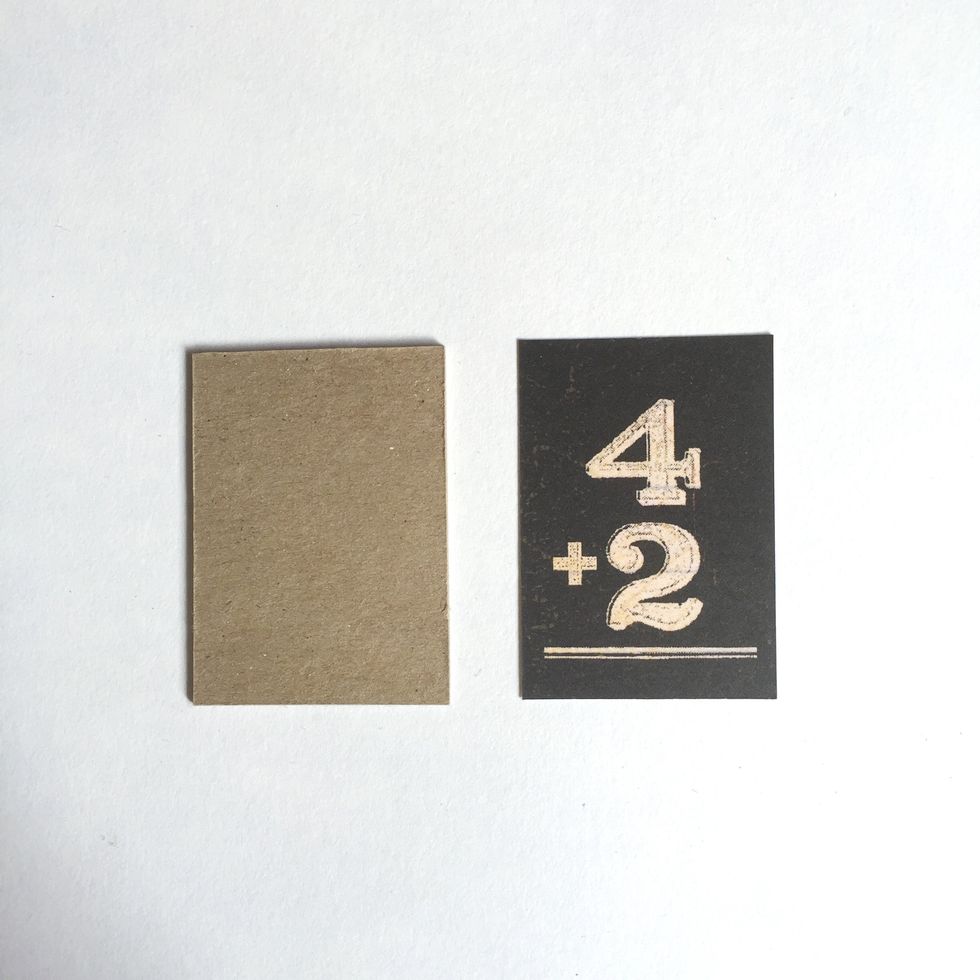
Cut medium weight chipboard of size 2.25" X 1.625"... Trim the numbers placards from One Two, Buckle My Shoe paper of ABC Primer collection... Trim accordingly to fit when necessary...

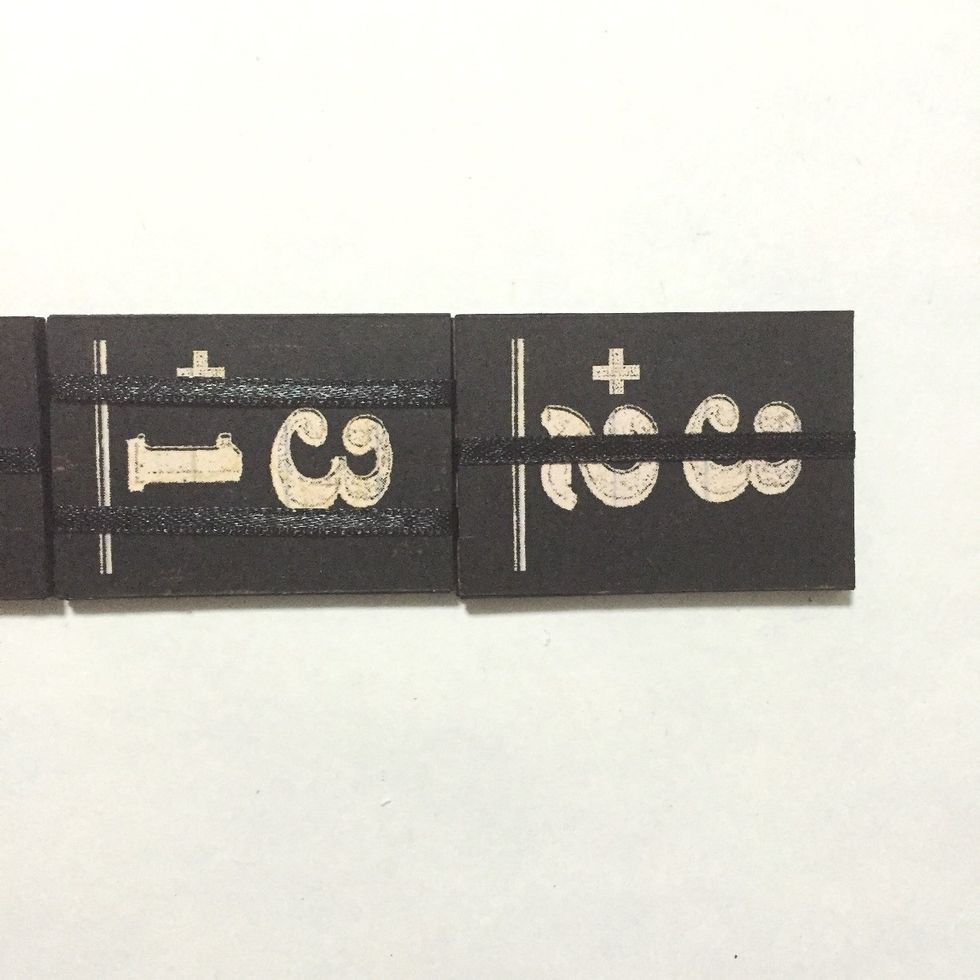
You will need 12 chipboards and 12 number placards as follows...
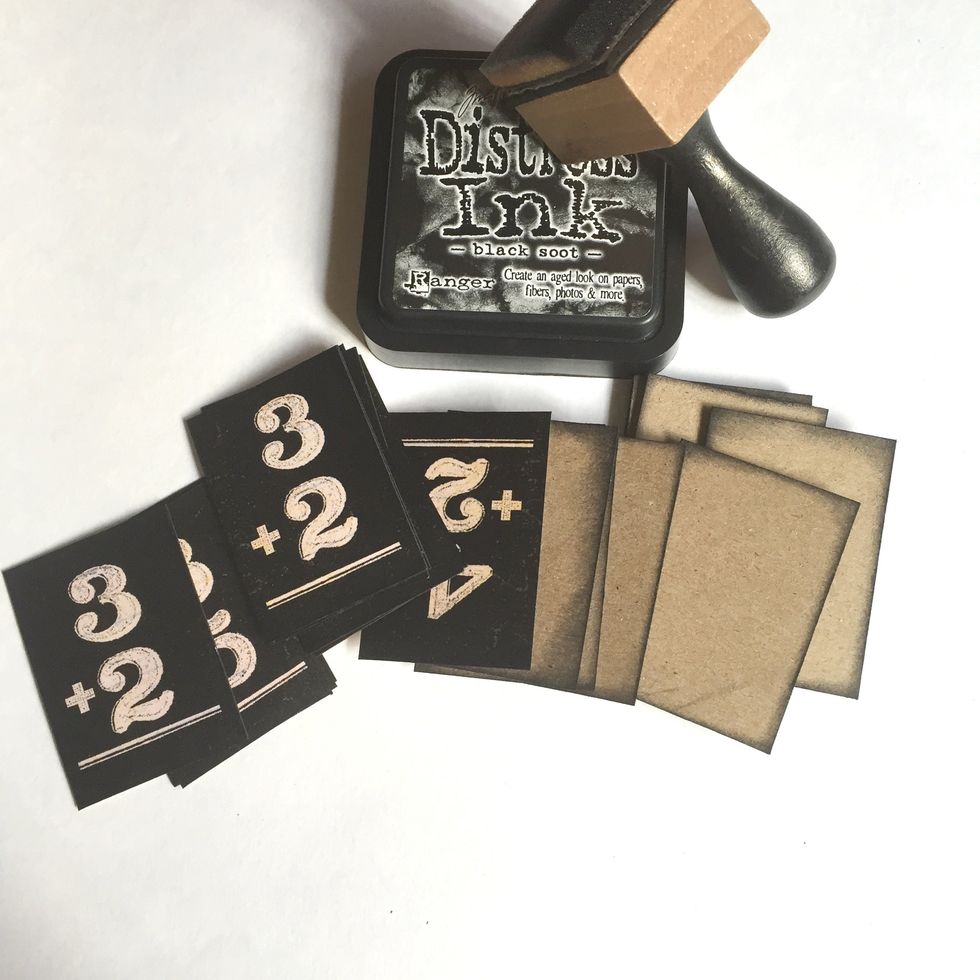
Ink the chipboard edges with black soot ink if preferred...
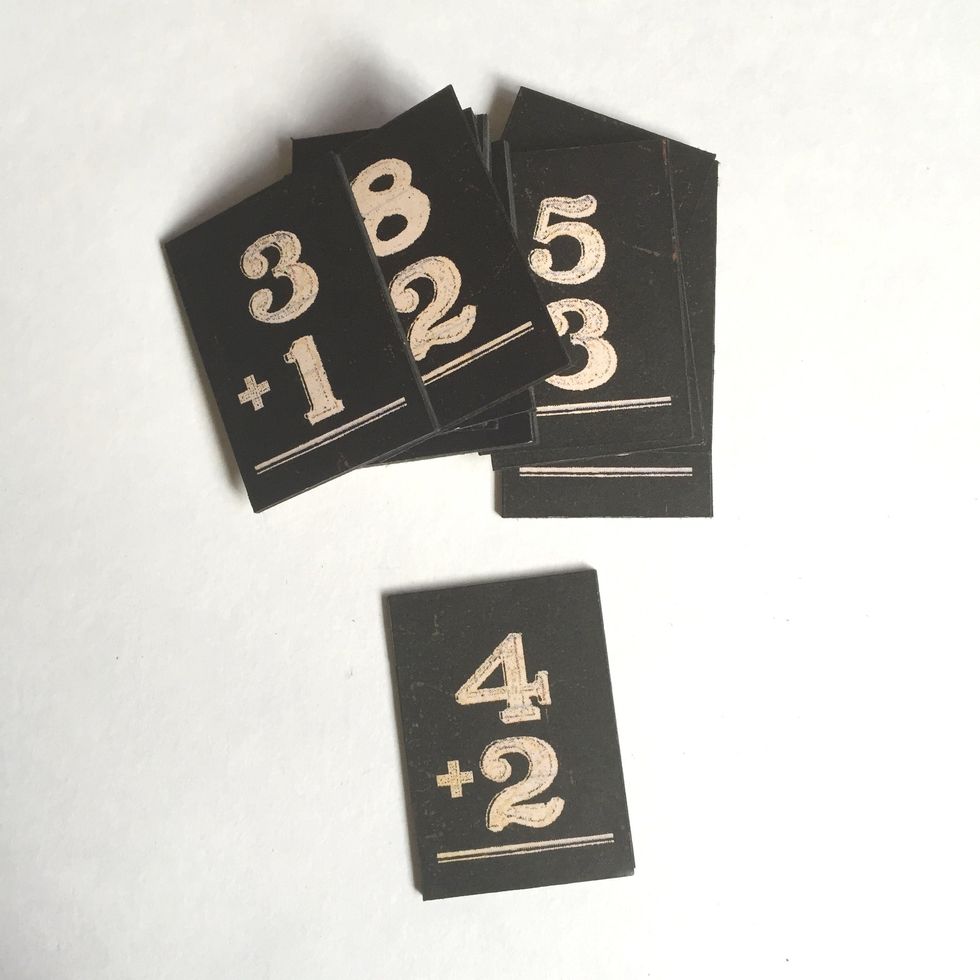
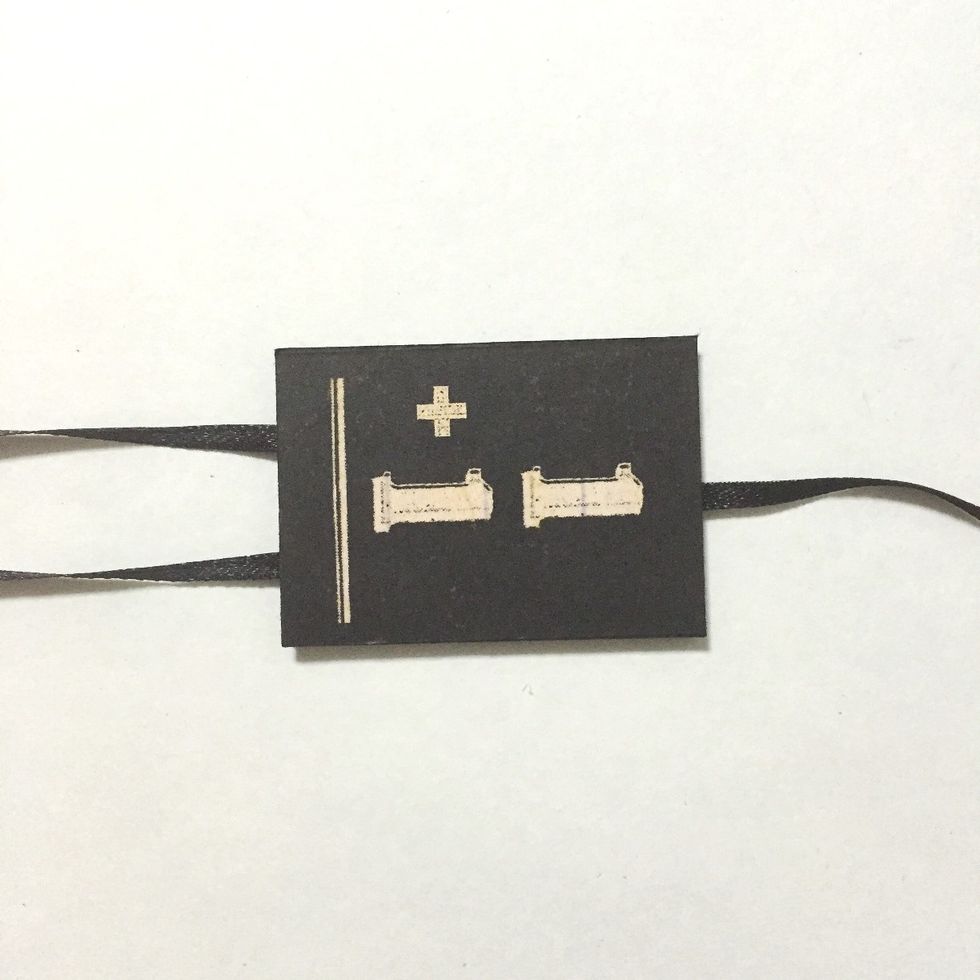
Glue the number placards over the chipboards... Only glue onto one side of the chipboards... These will be your number blocks...

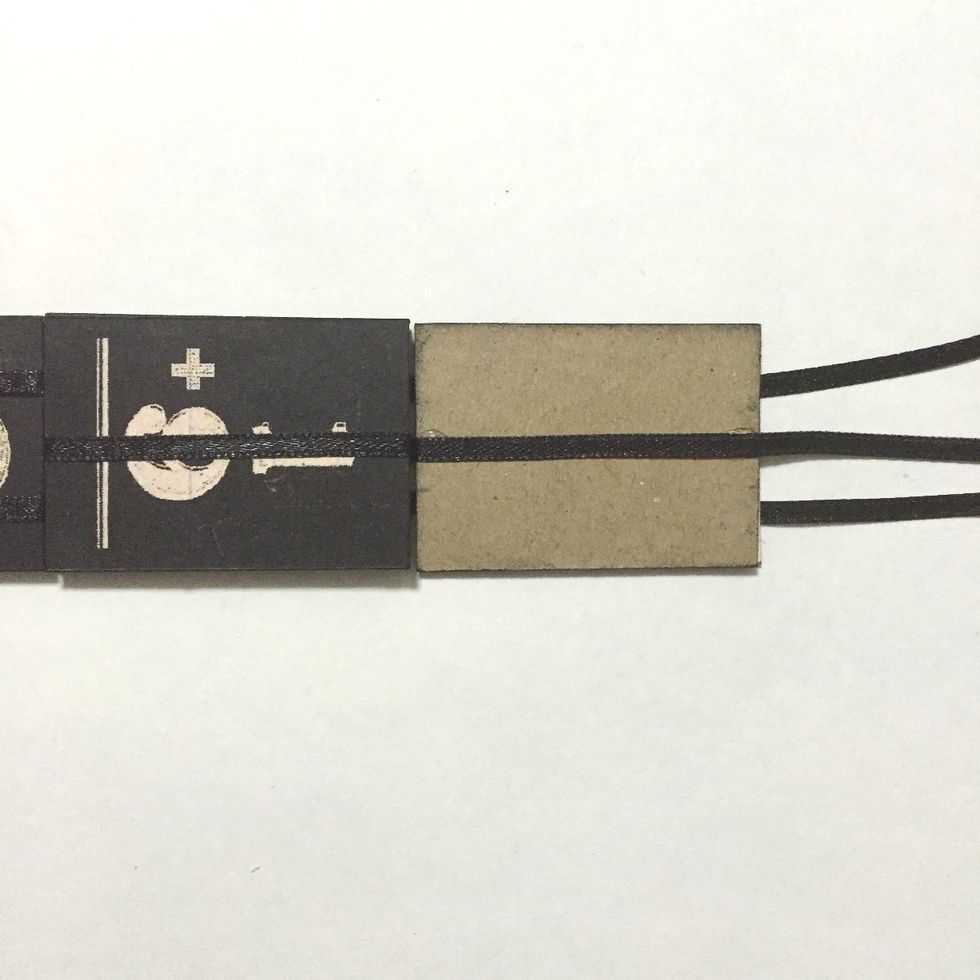
On the reverse side of the chipboards, measure in thirds; ~0.5" away from the corners... Need not to be accurate, these act as guides for the ribbons...
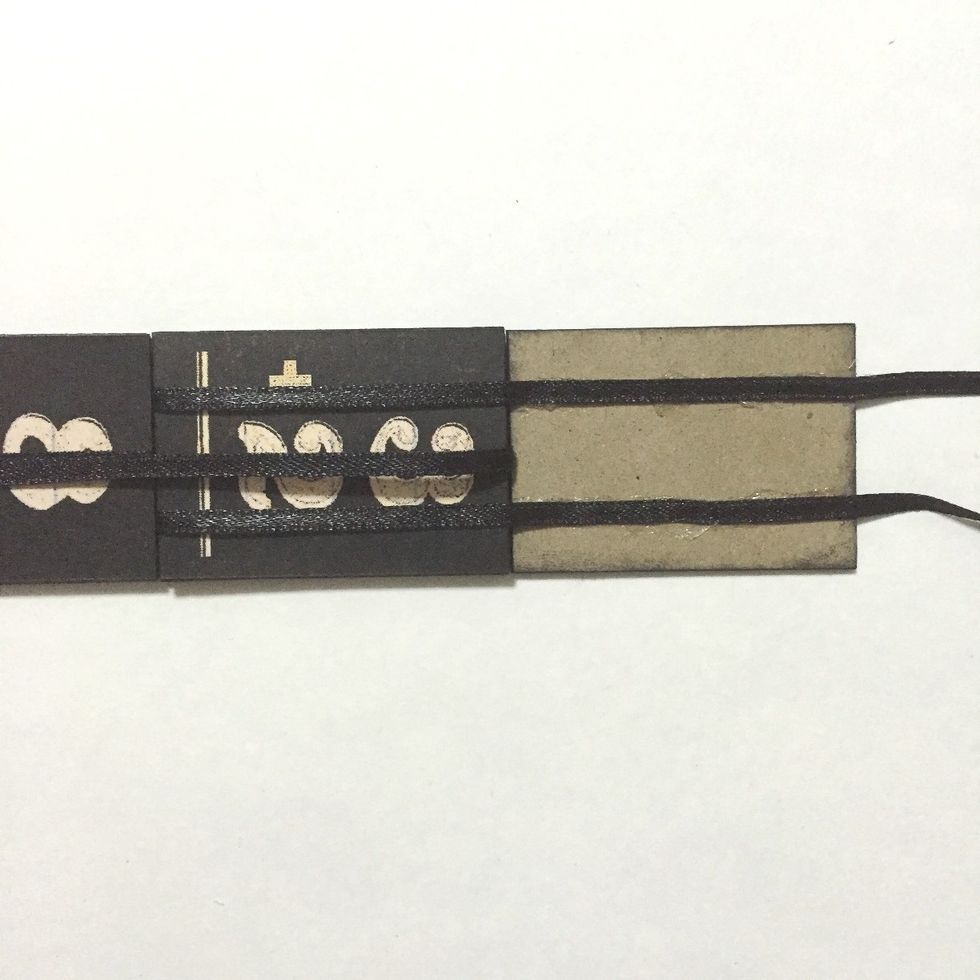
Cut 3 long 1/8" wide ribbon of ~26 in length"...
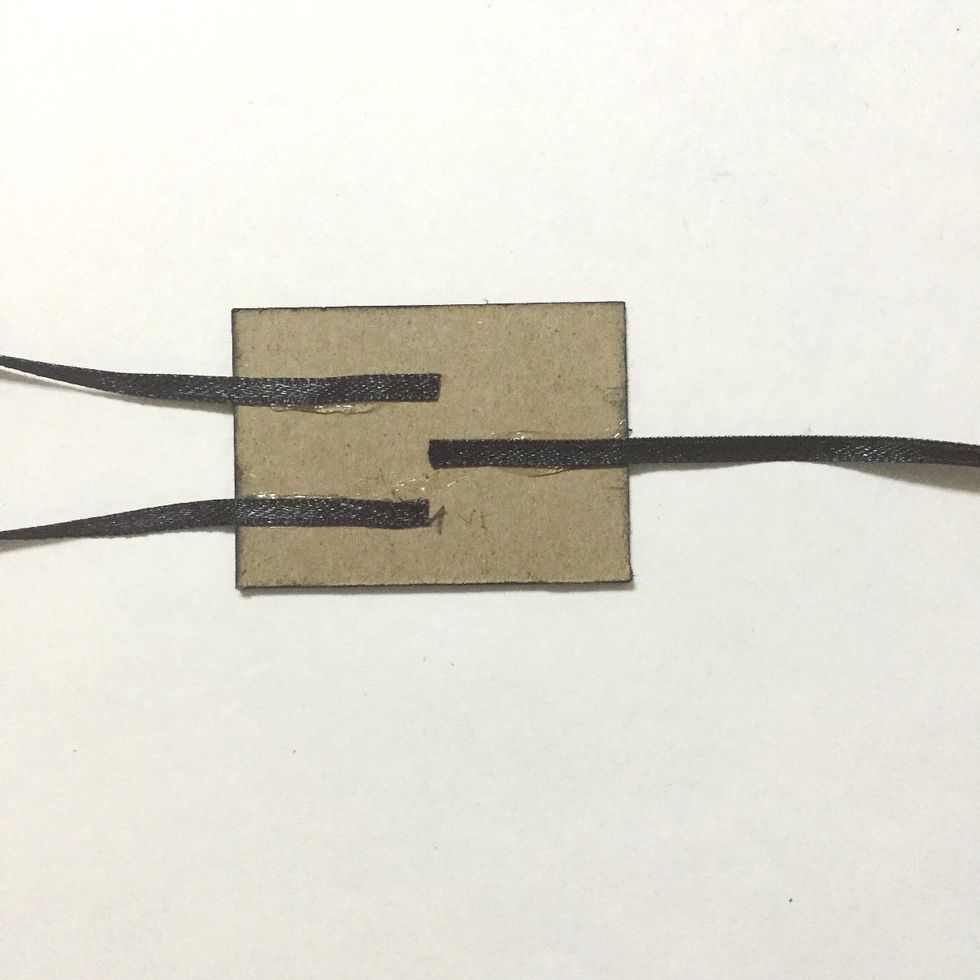
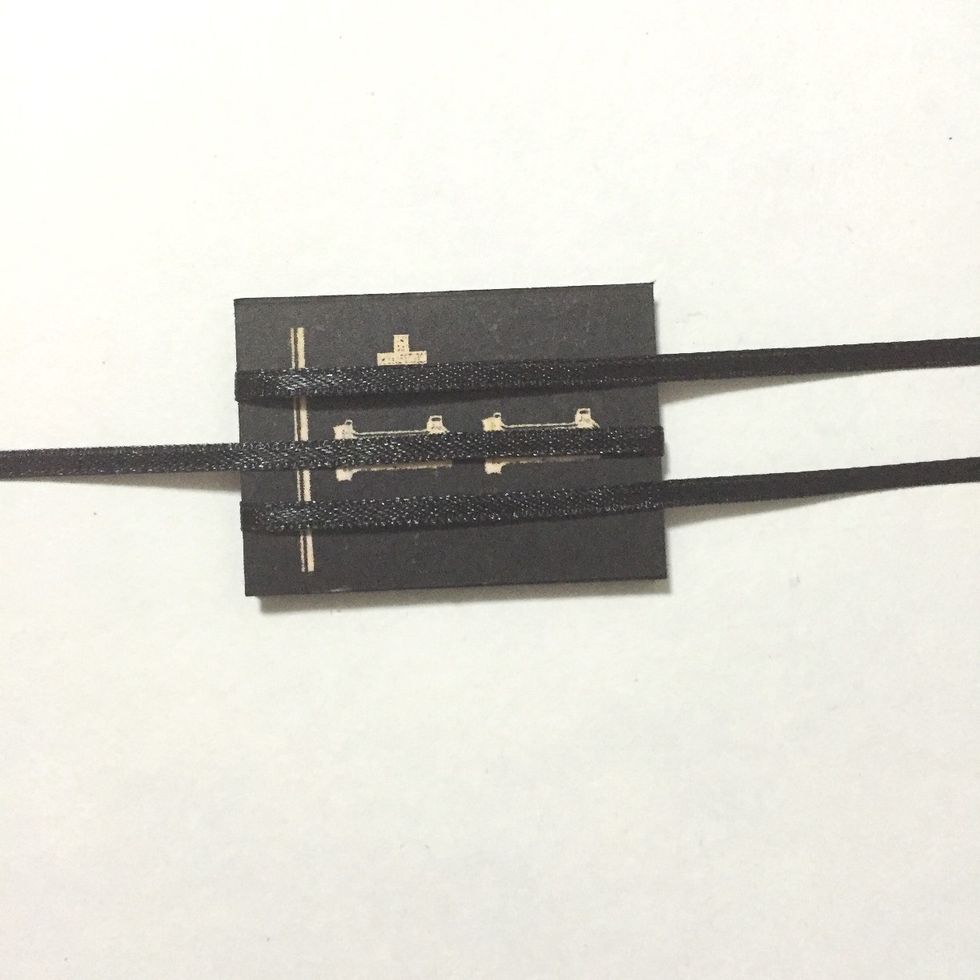
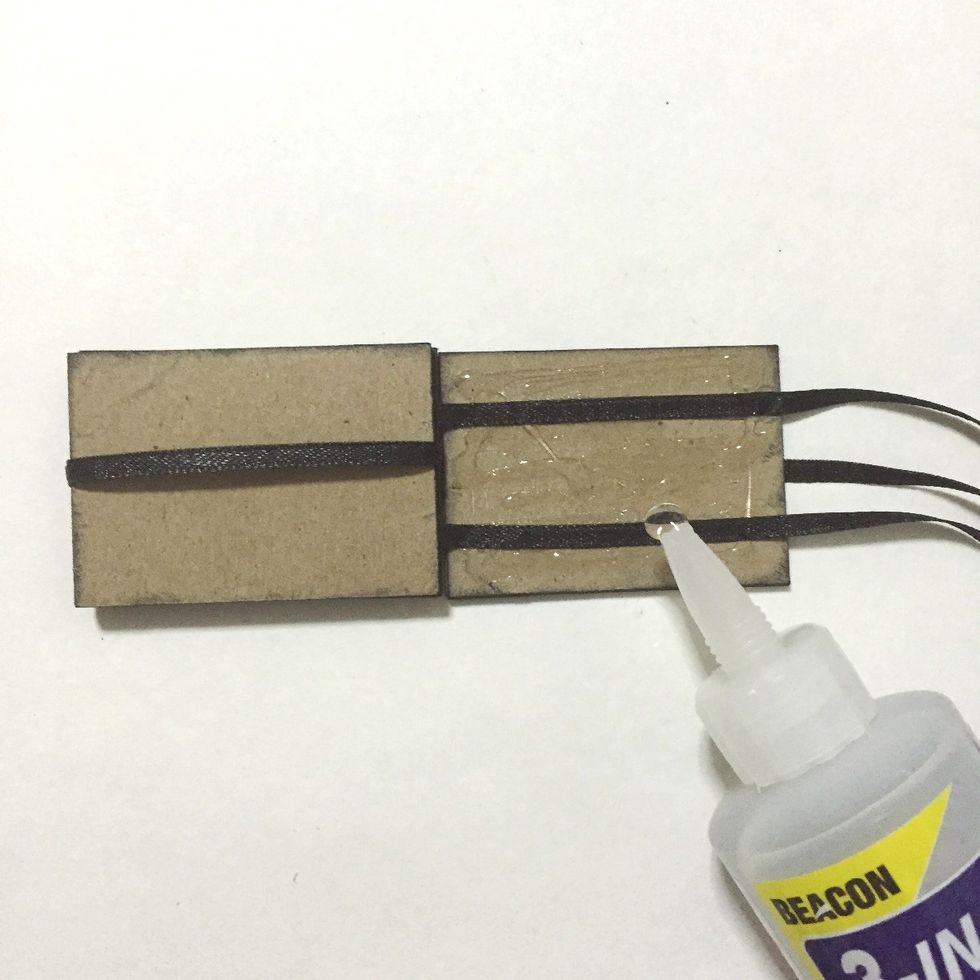
For the 1st number block, glue the 3 ribbons as shown...
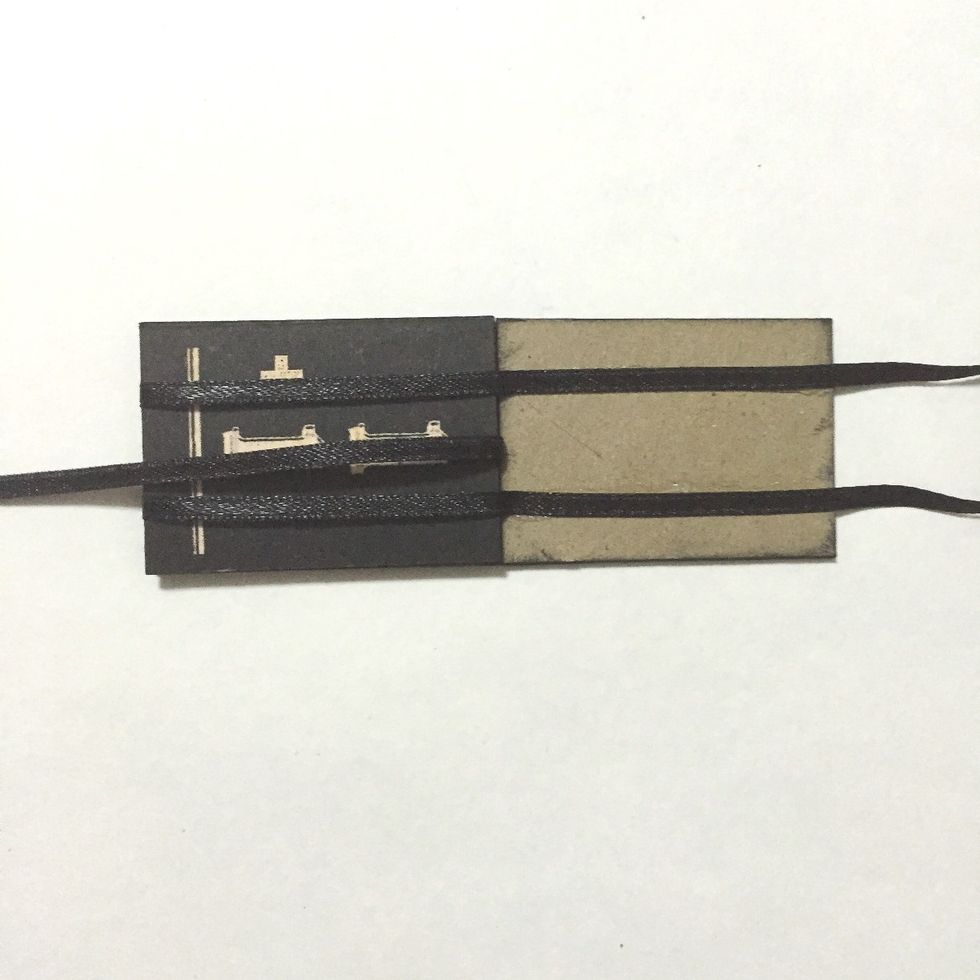
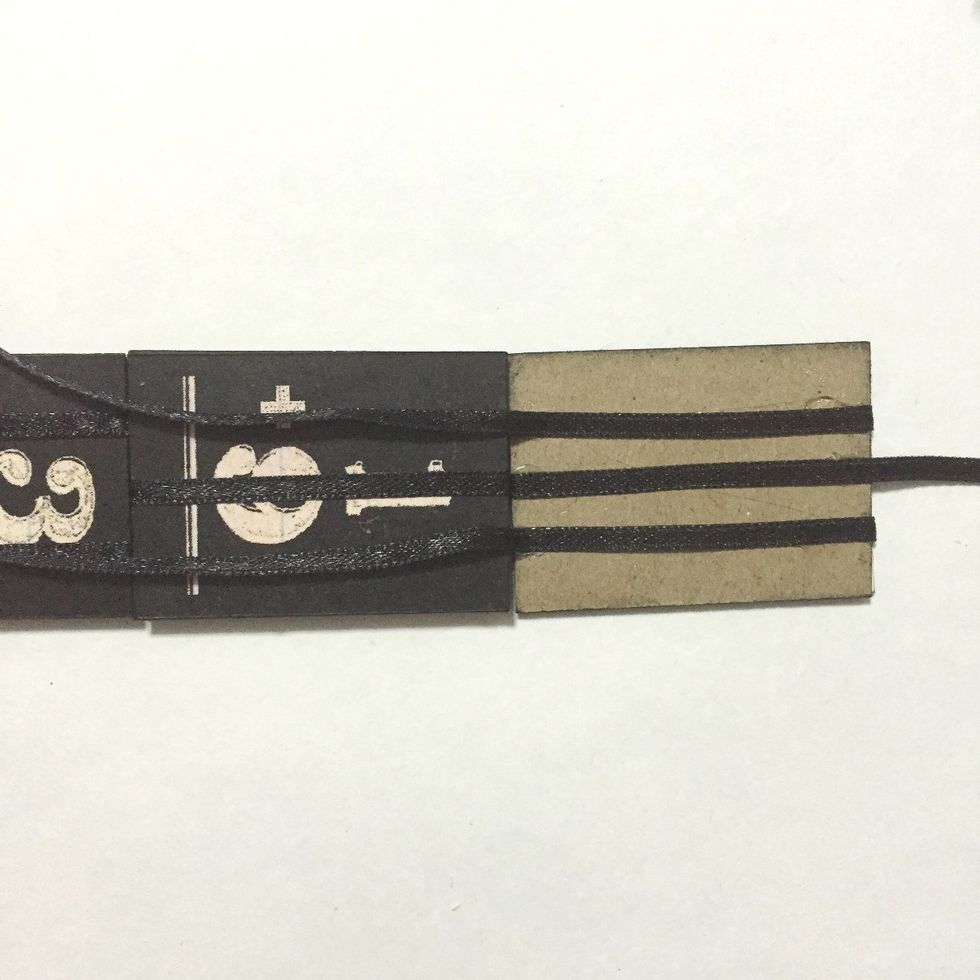
Then glue down the 2nd number block on top of the 1st...
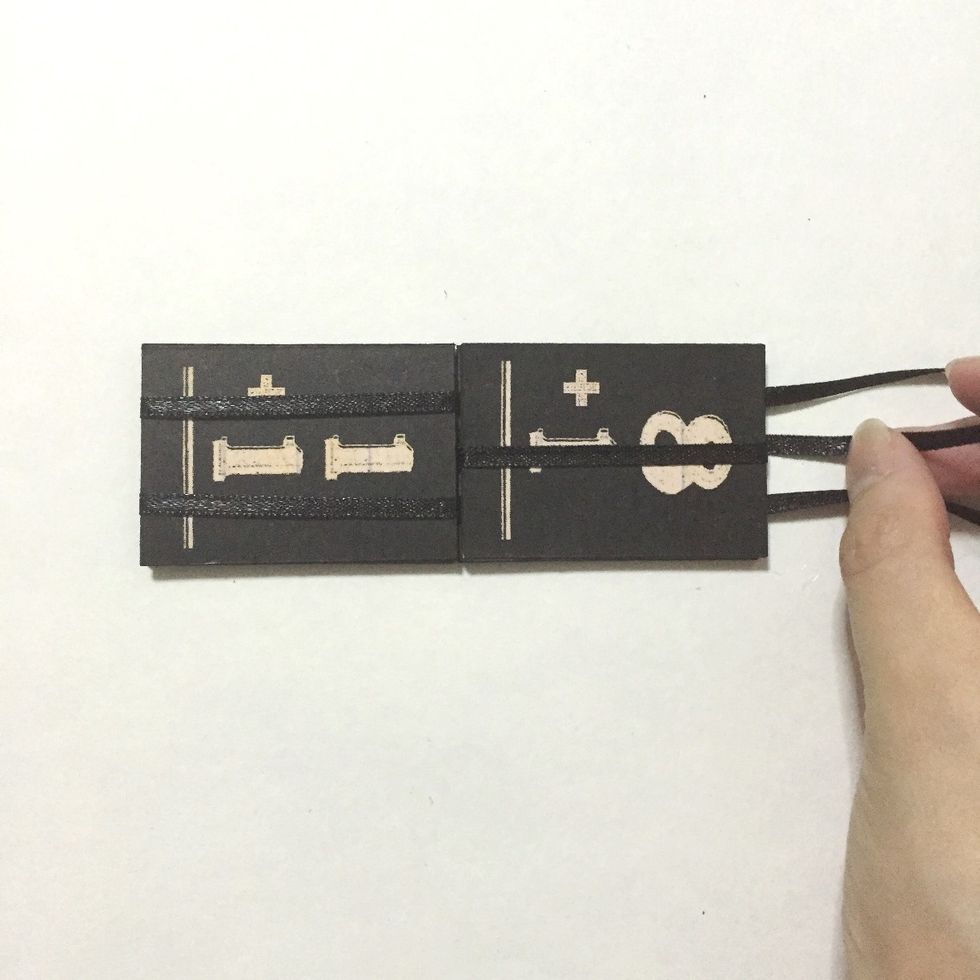
Flip the ribbons over the 2nd number block as shown...
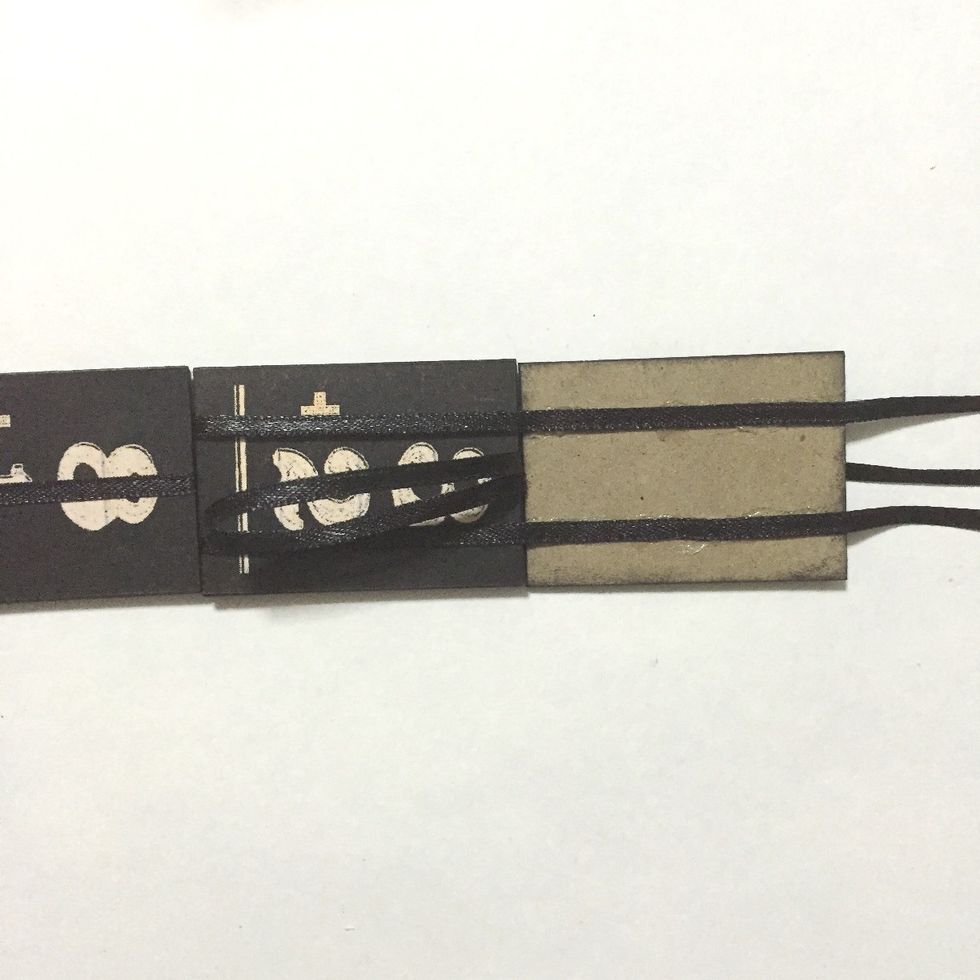
Glue down the 2 ribbons onto the 3rd number block as shown...
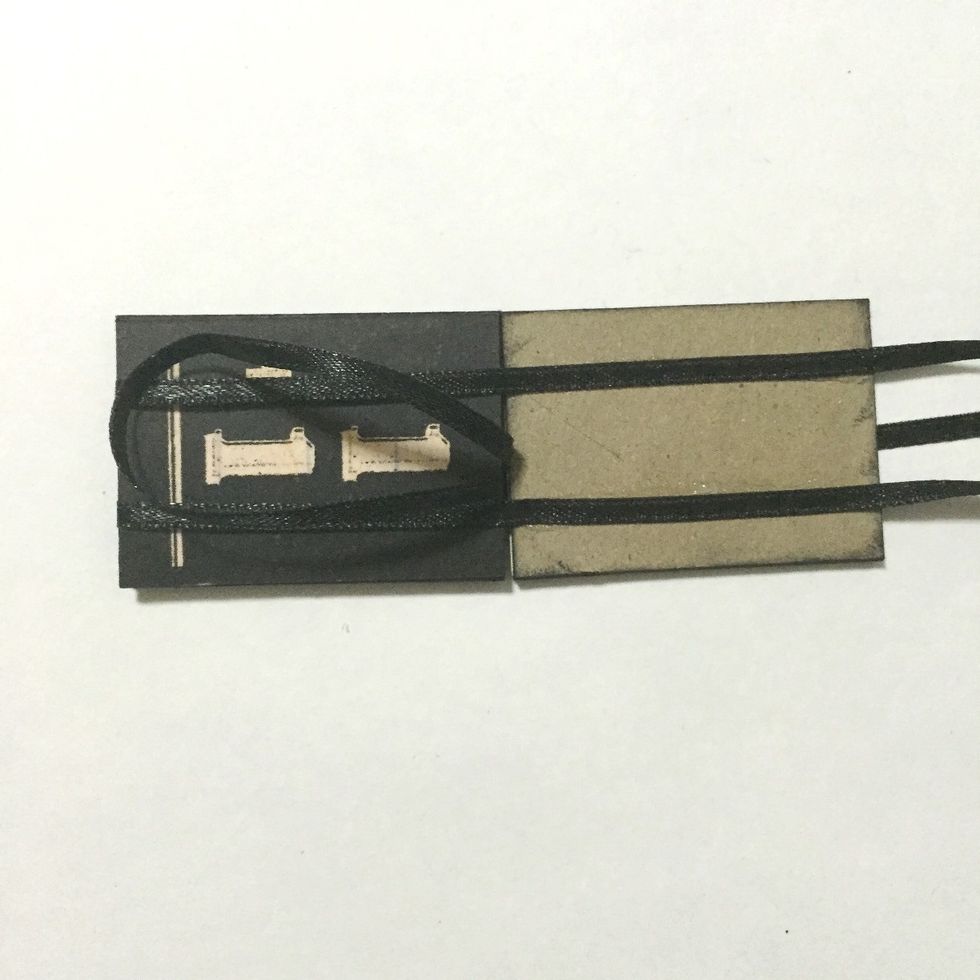
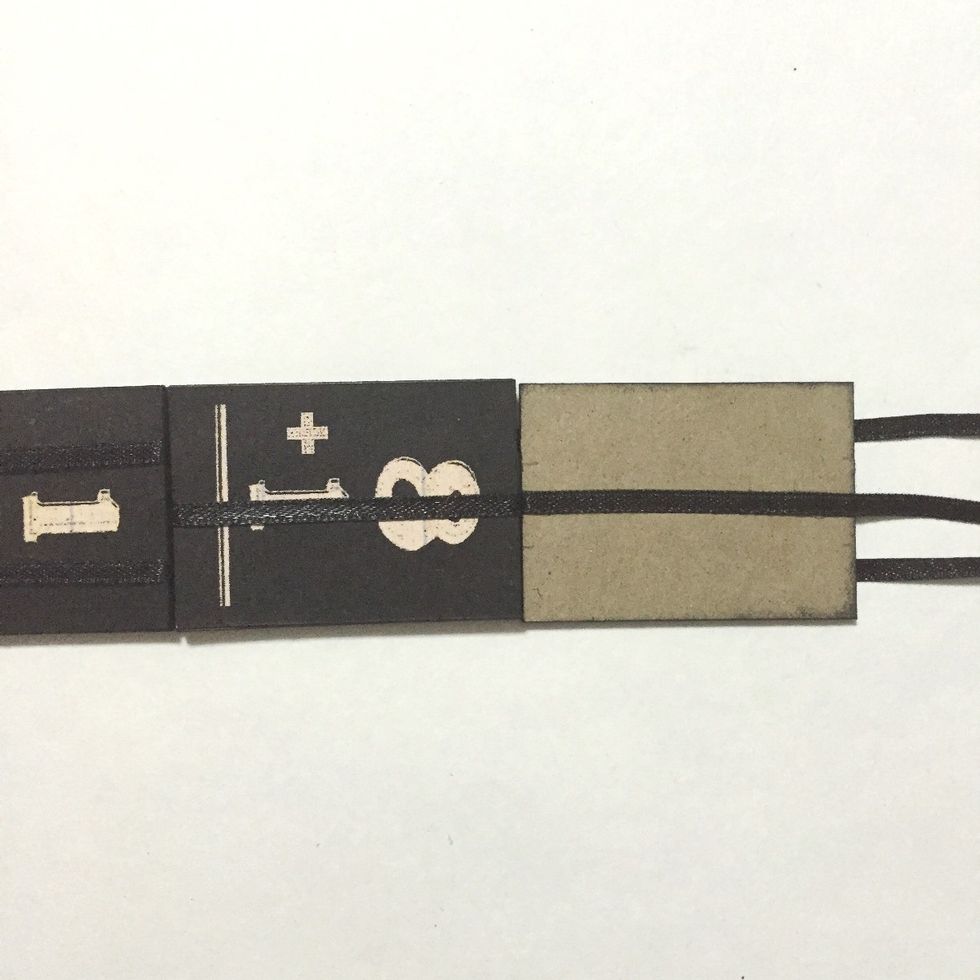
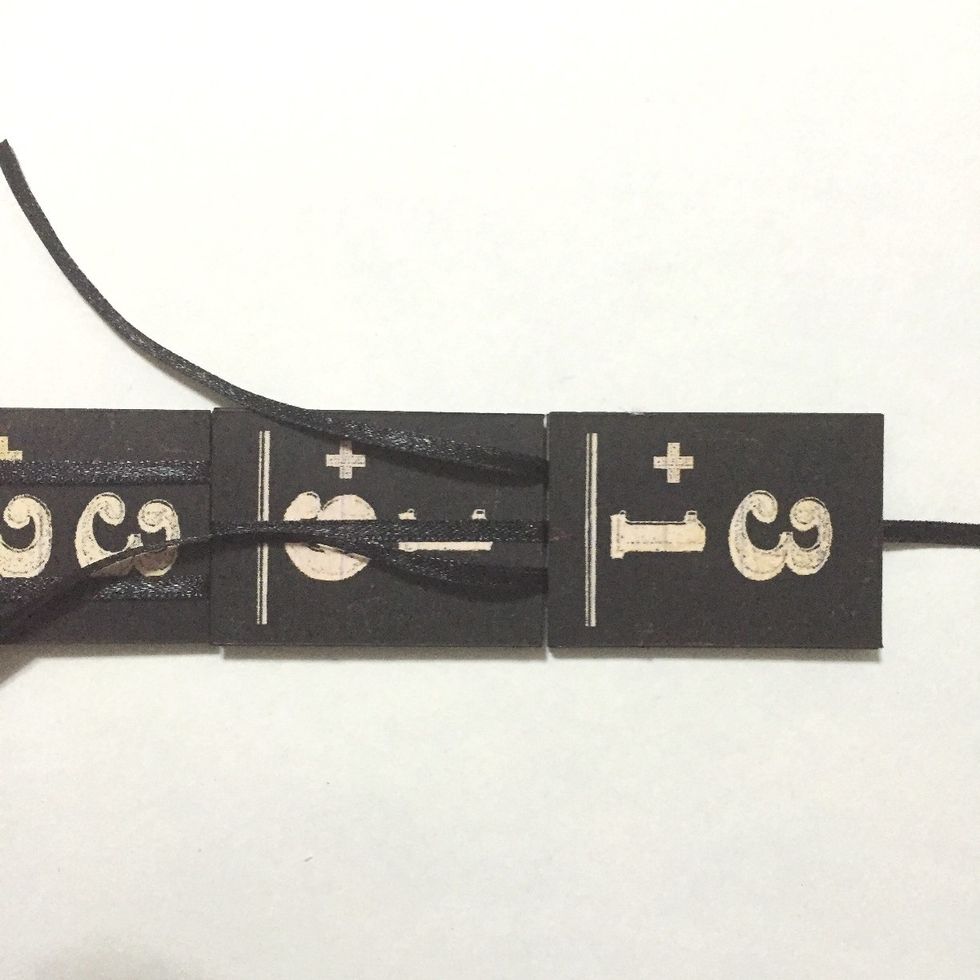
Create a loop by inserting the center ribbon onto the gap between the 1st and 3rd number blocks as shown...
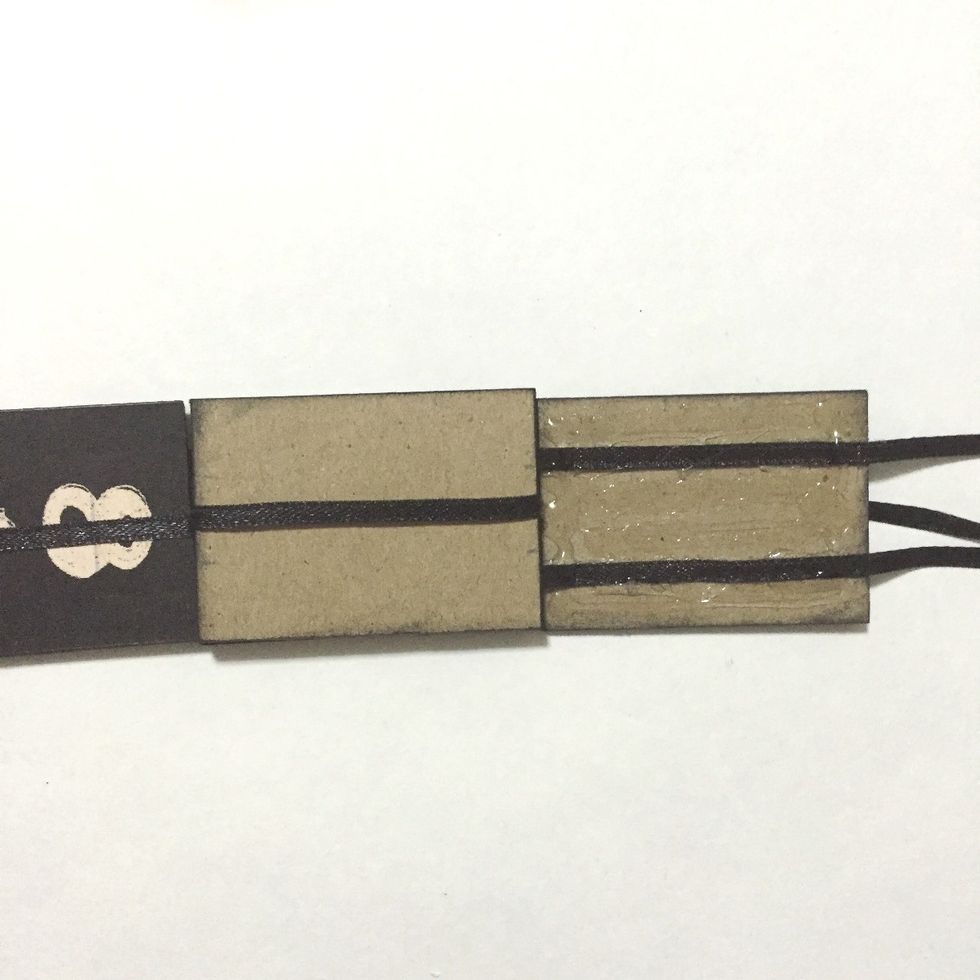
Insert the 4th number block into the loop on the left as shown... And apply glue onto the 3rd number block...
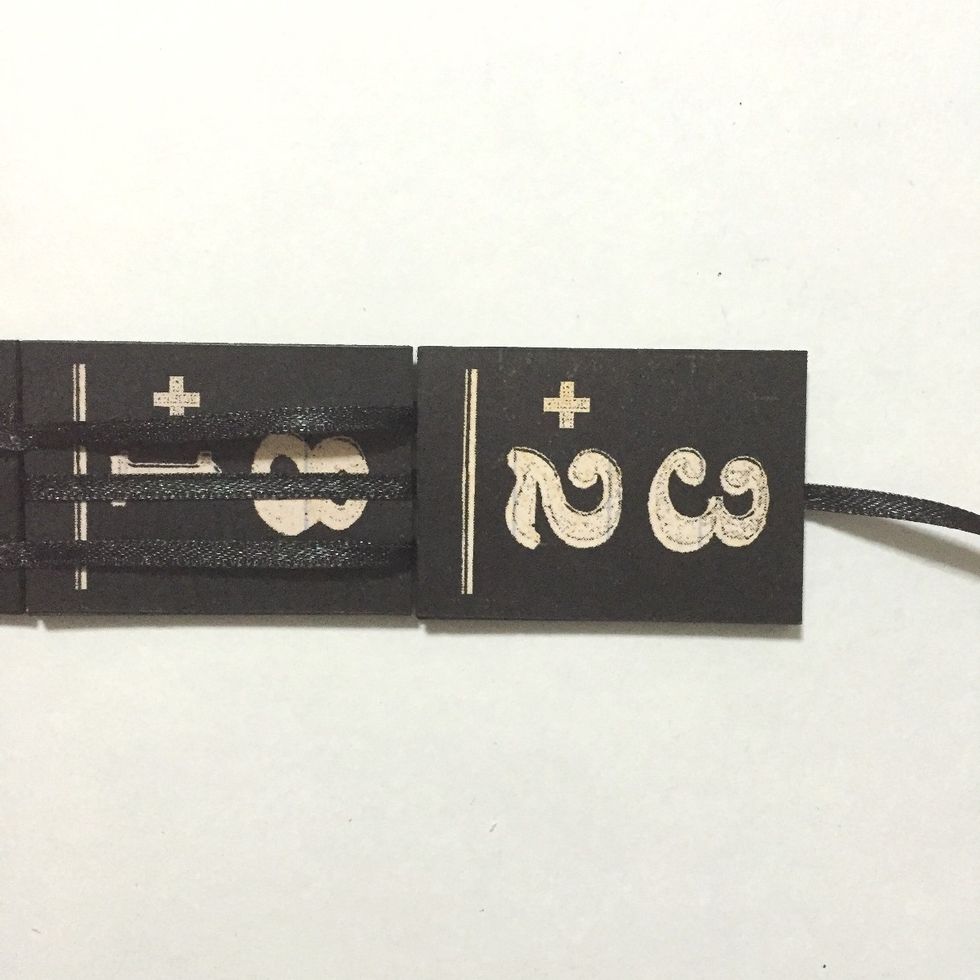
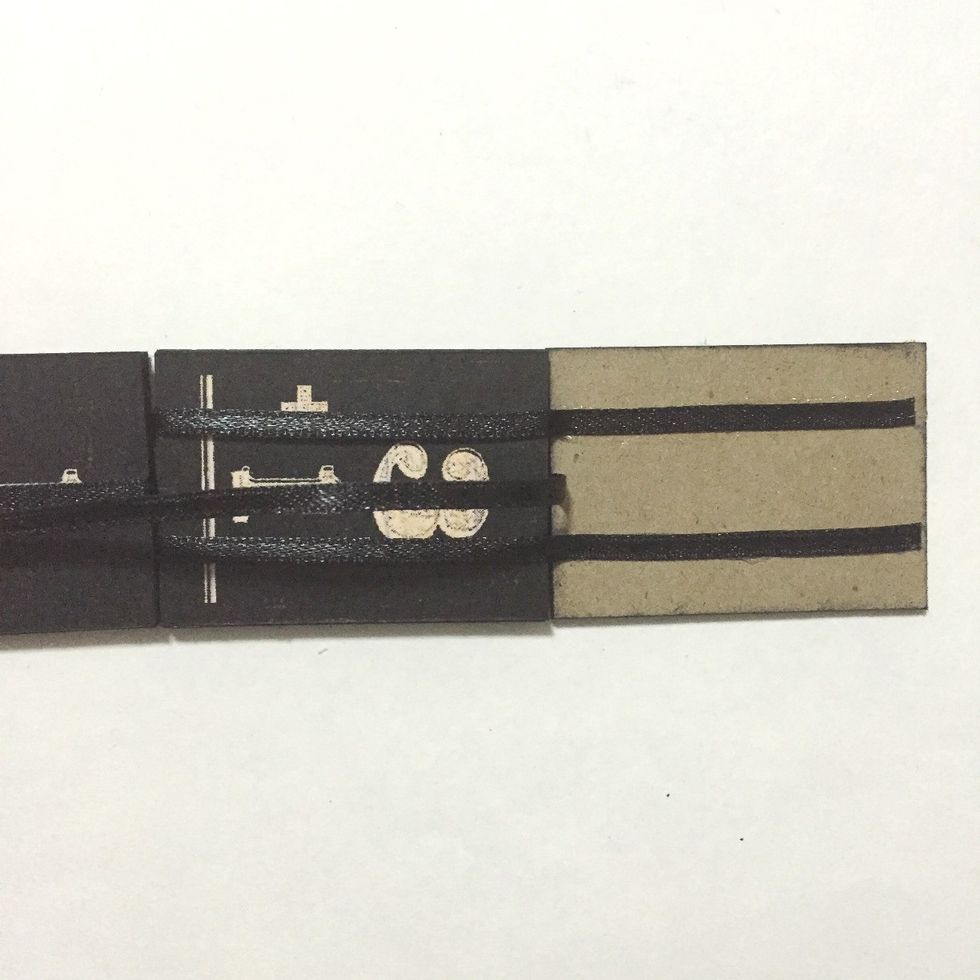
Flip over the 4th number block and glue onto the 3rd number block as shown... Pull the center ribbon to tighten when necessary...
Glue the center ribbon over the 5th number block as shown, leaving the 2 ribbons underneath...

Flip over the 2 ribbons and glue down...
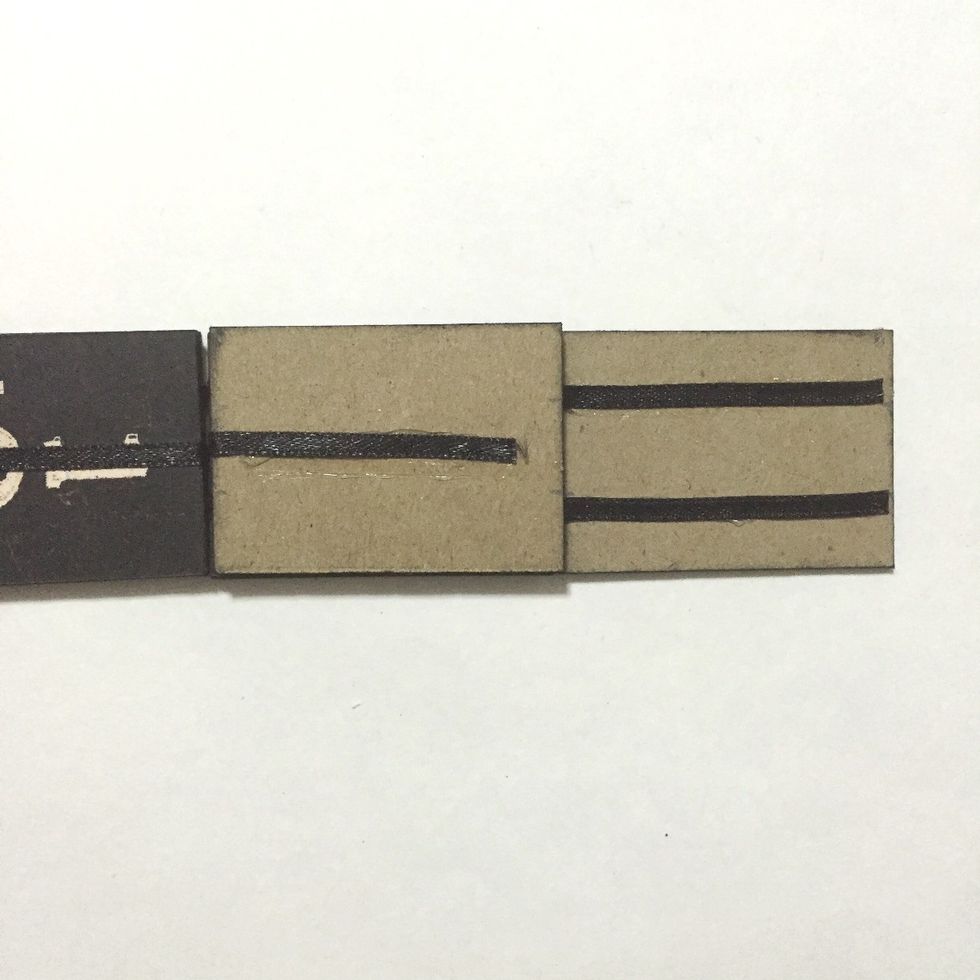
Glue down the 6th number block onto the 5th number block as shown...
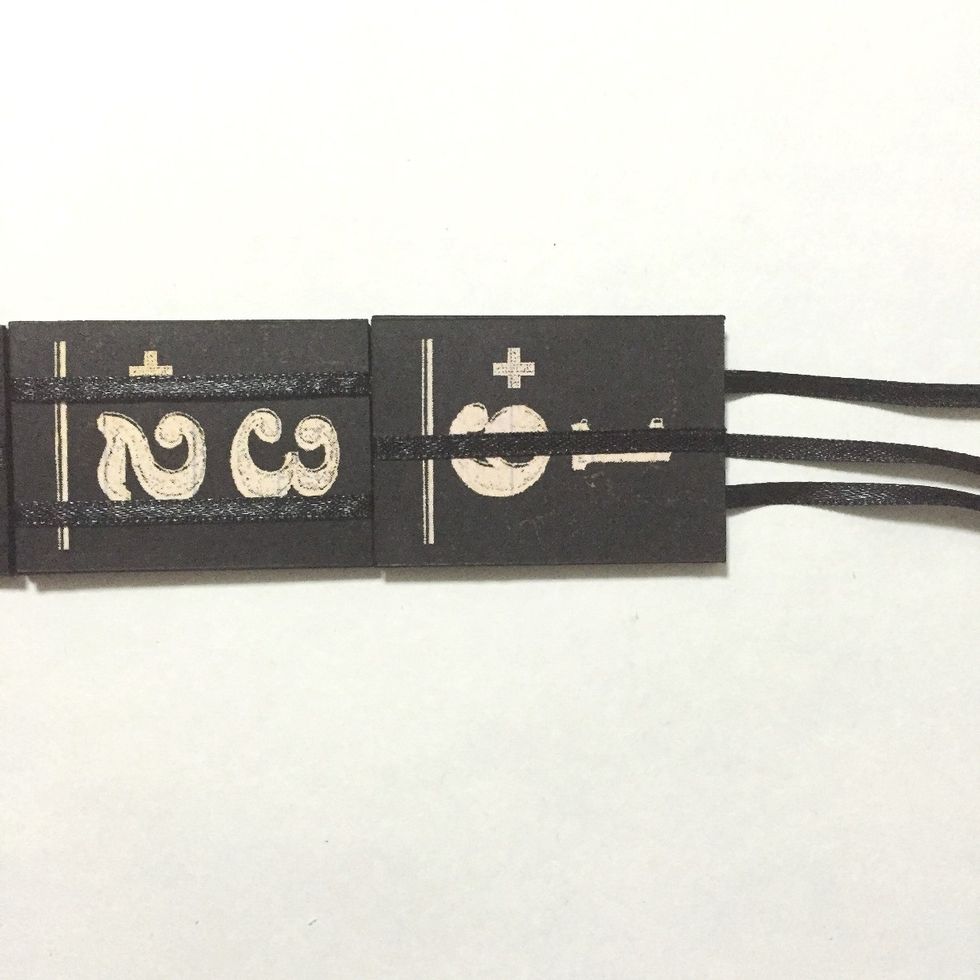
Flip the center ribbon over the 6th number block and glue the 2 ribbons over the 7th number block as shown...
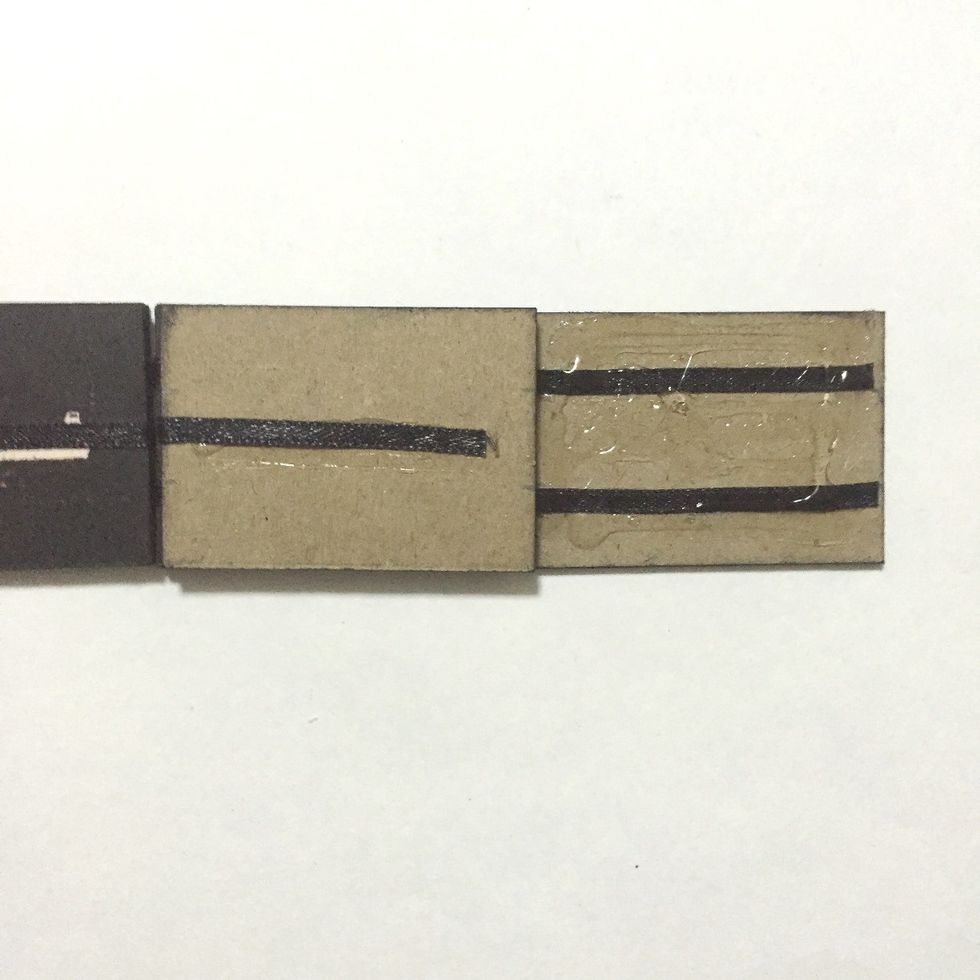
Again, create a loop by inserting the center ribbon onto the gap between the 5th and 7th number blocks as shown...
Insert the 8th number block onto the loop on the left and apply glue onto the 7th number block...
Flip over the 8th number block and glue it down onto the 7th number block... Pull the center ribbon to tighten when necessary...
Glue the center ribbon over the 9th number block as shown, leaving the 2 ribbons underneath...
Flip over the 2 ribbons and glue down...
Glue down the 10th number block as shown...
Flip the center ribbon over the 10th number block and glue the 2 ribbons over the 11th number block as shown... This is the end and you may want to trim the ribbons to fit within the chipboard...
Glue over the center ribbon onto the 12th number block as shown... Trim the ribbon when necessary to fit...
Apply glue onto the 11th number block as shown..
Flip and glue the 12th number block over the 11th number block... And you are done!!!
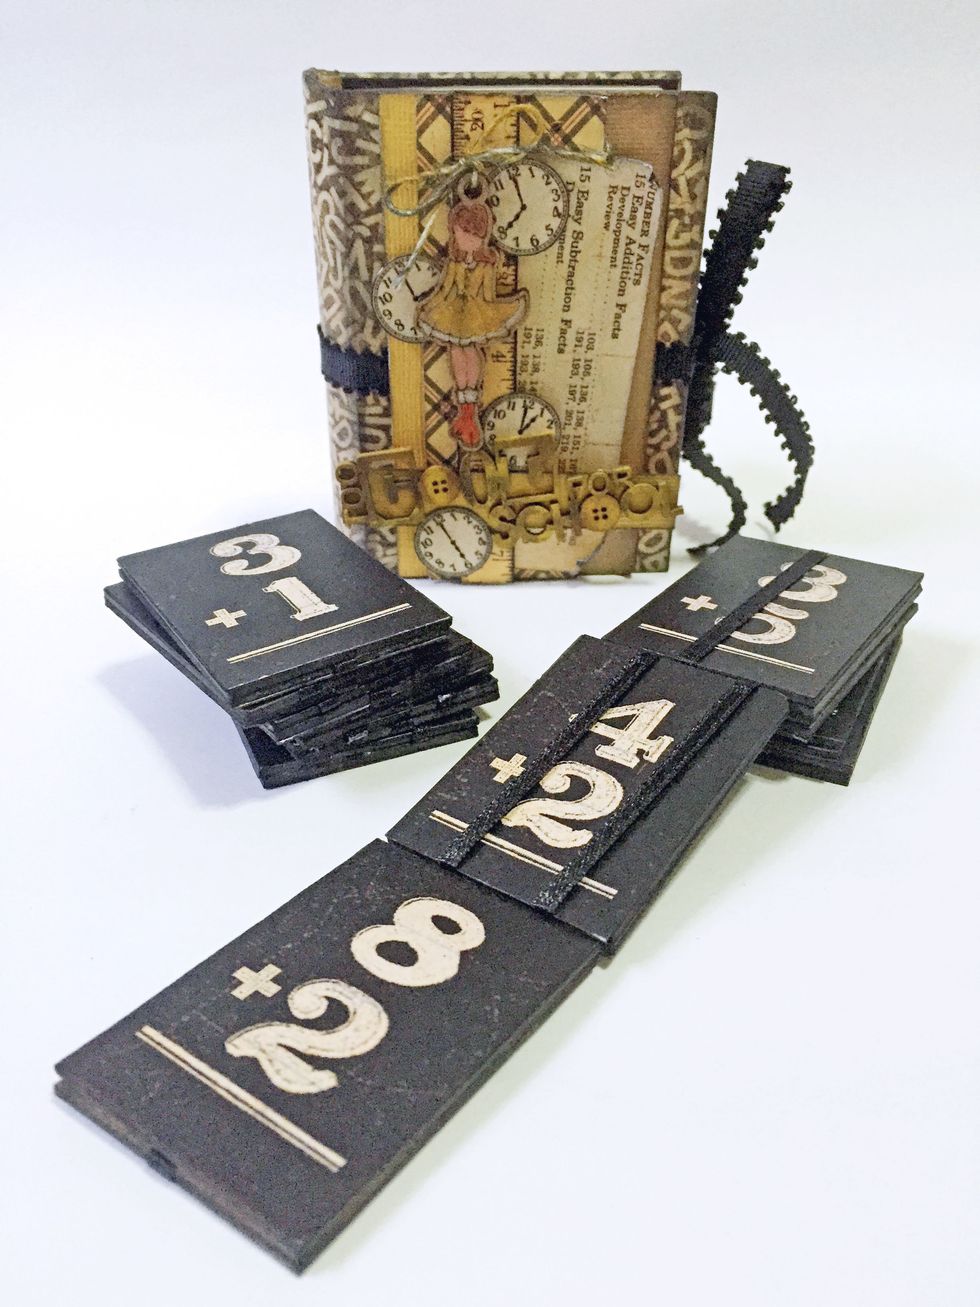
I've made 2 tumbling blocks and created a book case for it using Sizzix Eileen Hull Bigz 3D Book XL Die...
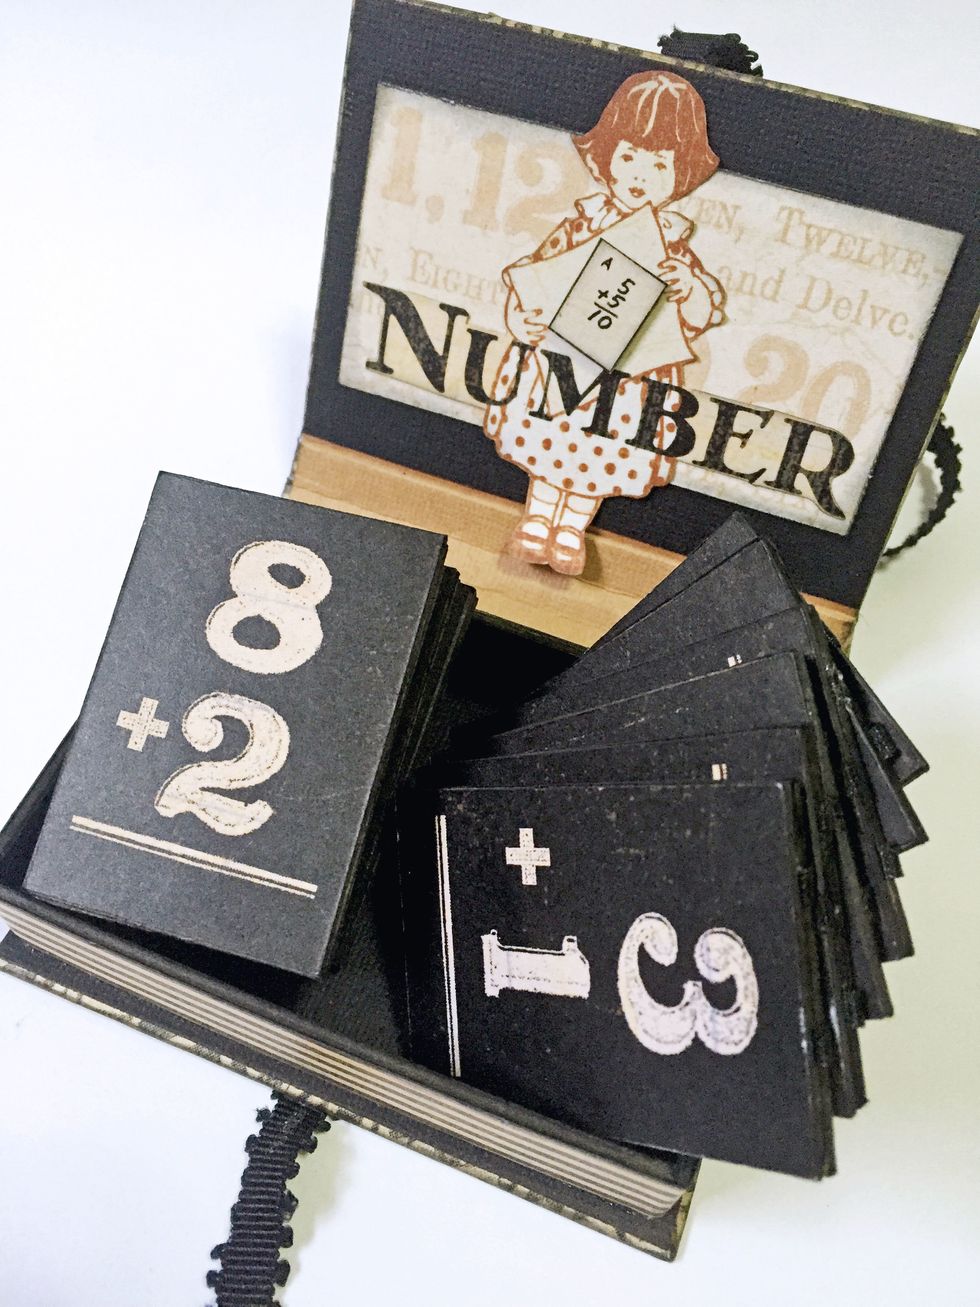
And this is how I store them inside... There's a YouTube link in how to play this toy: https://youtu.be/uqU2BX1bIc4