The Conversation (0)
Sign Up

First of all: Thanks everyone for getting me in the Popular Guides section Beauty! 😘

😘👍

First start off by applying your clear base coat.

Now, apply white to your pointer, middle, and pinkie fingers. (You don't have to use white, but I think it looks better.)
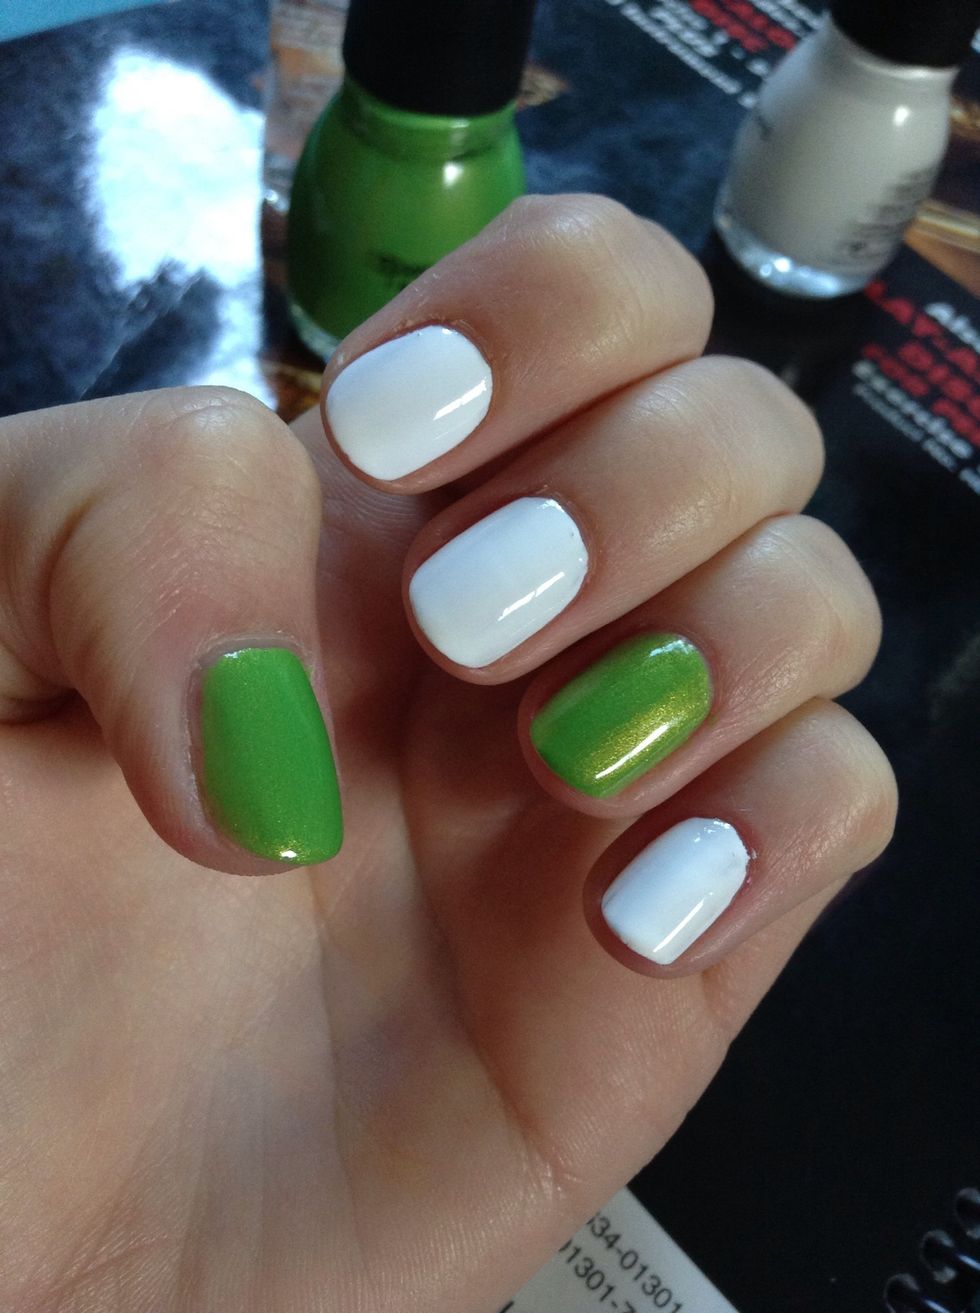
Use a different color to paint your thumb and ring finger.
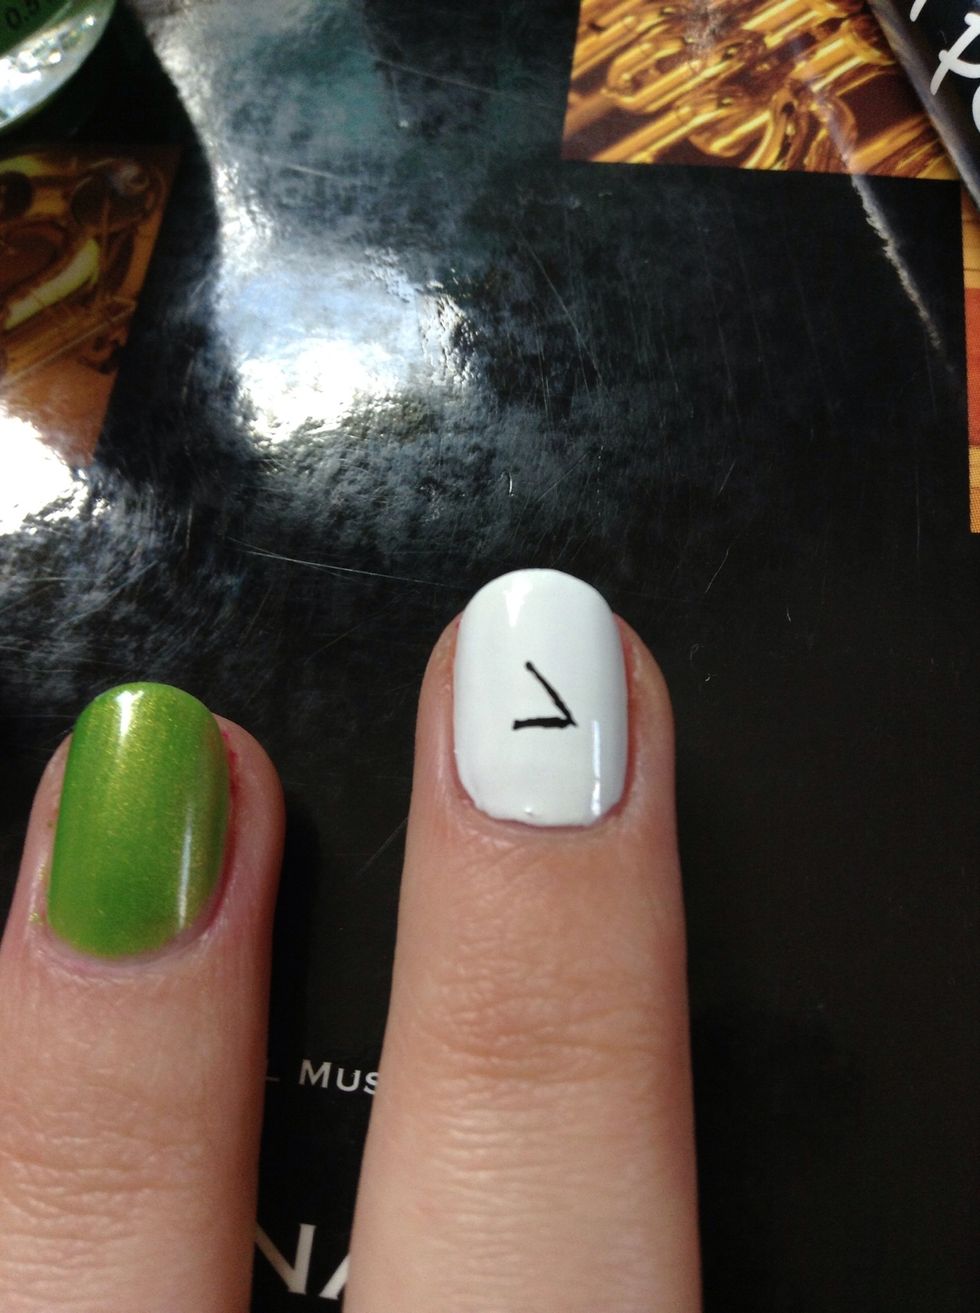
Now on one of your white nails, start off by drawing half a triangle with your nail art pen.
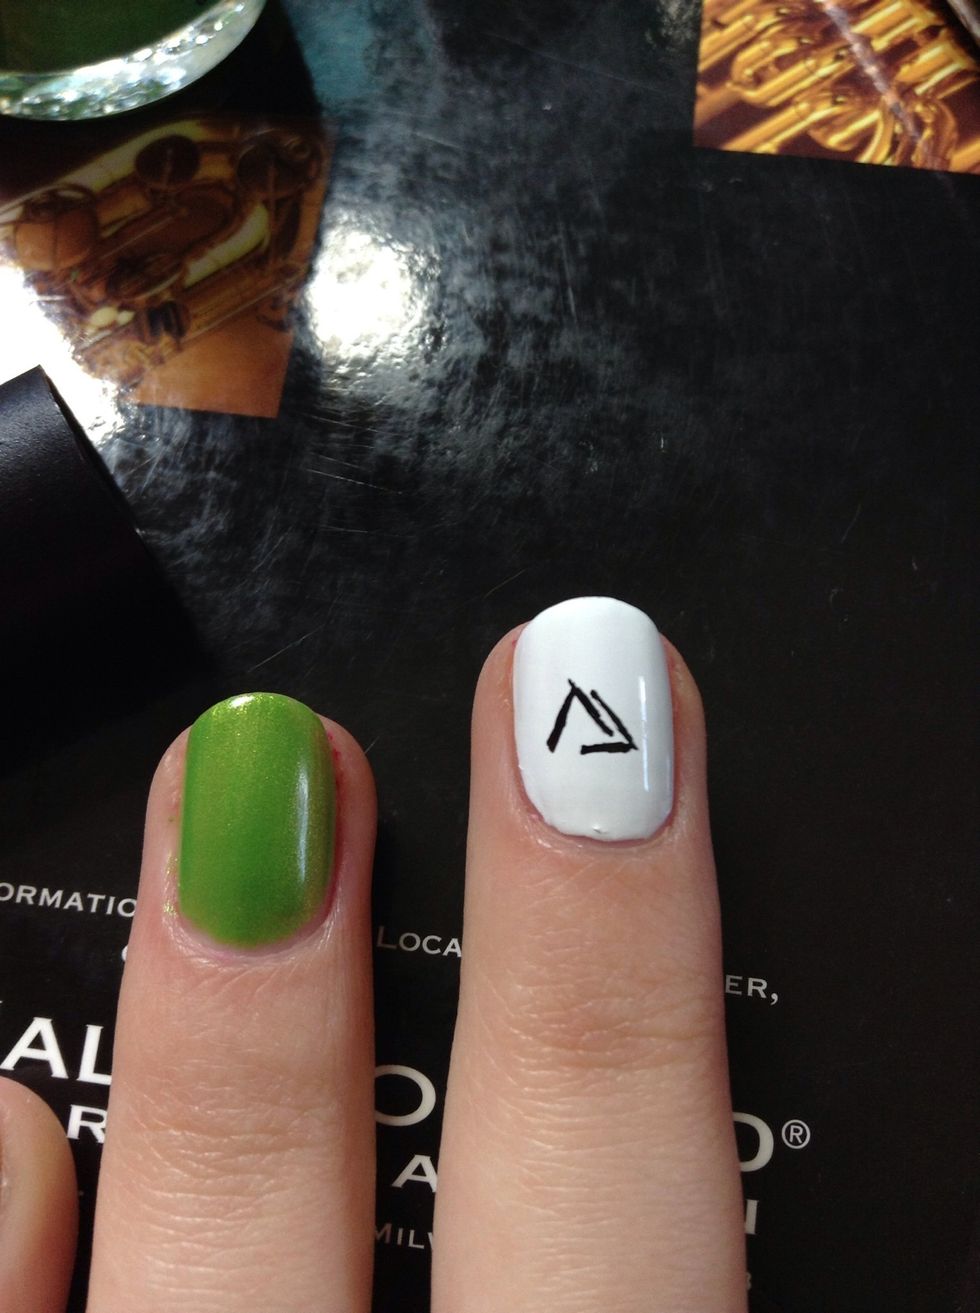
Now, draw another triangle without a bottom to the left of the half you drew before.
Draw one last half of a triangle on the left side of your previous triangles. This one should be in between your previous ones, but the bottom should be the lowest line.

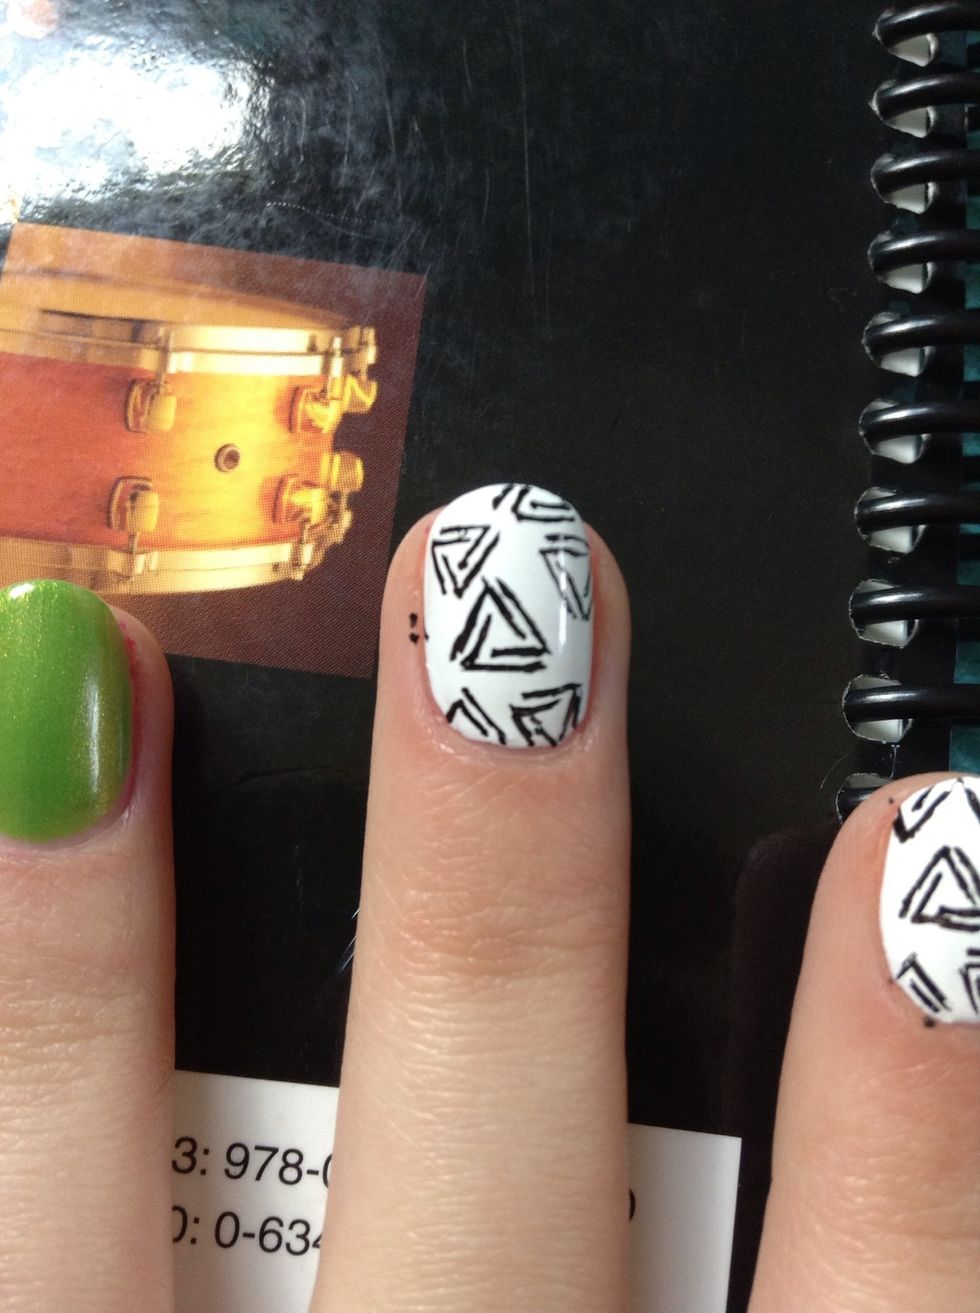
Continue doing these little triangles on all your nails! Now you're done!