The Conversation (0)
Sign Up
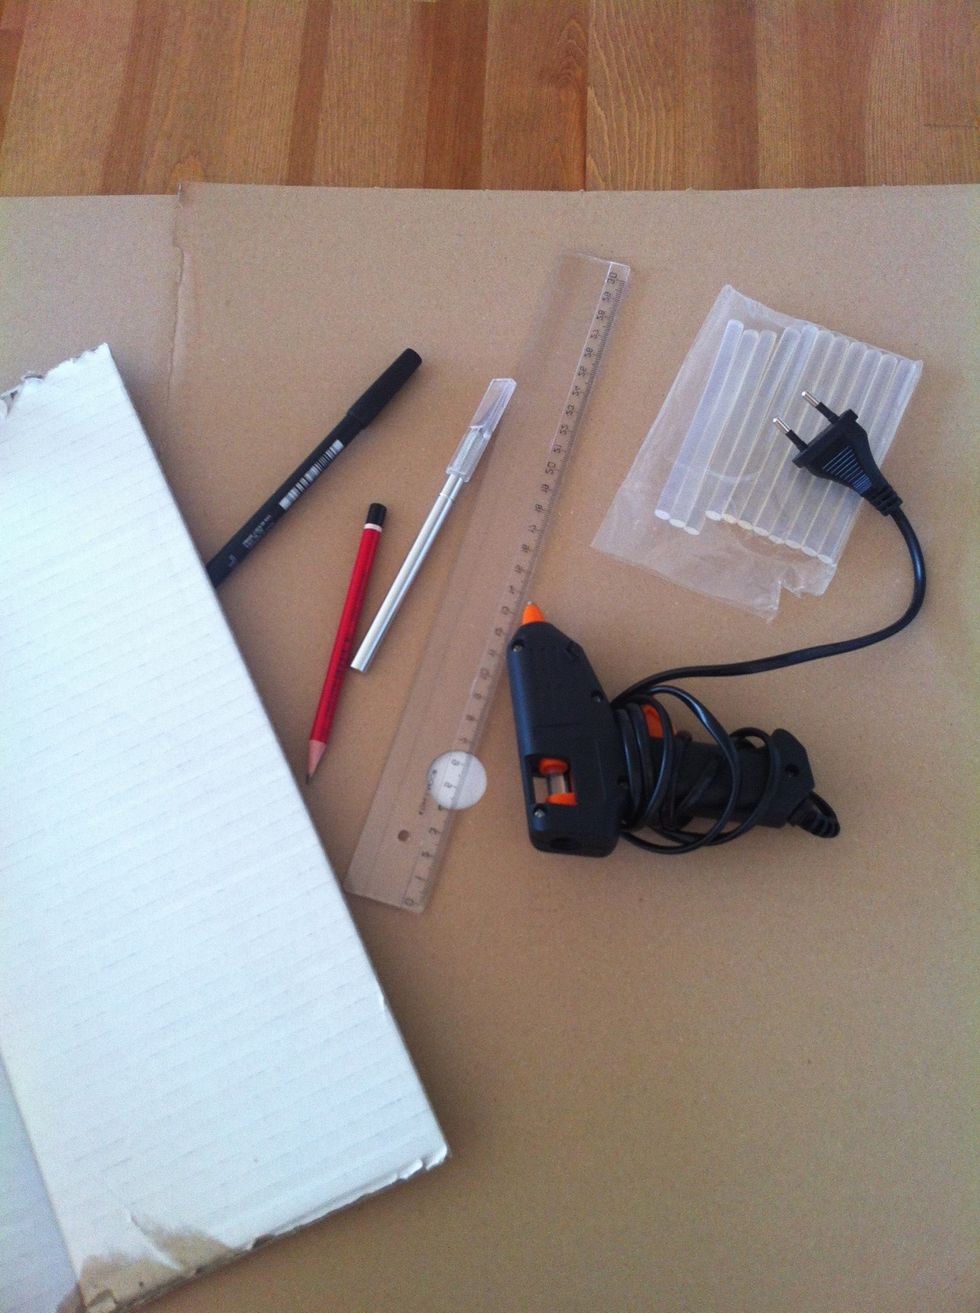
All your stuff put together. Make sure the cardboard you use is stiff, so it holds. Not too thin but also not too thick. A cardboard box is good.
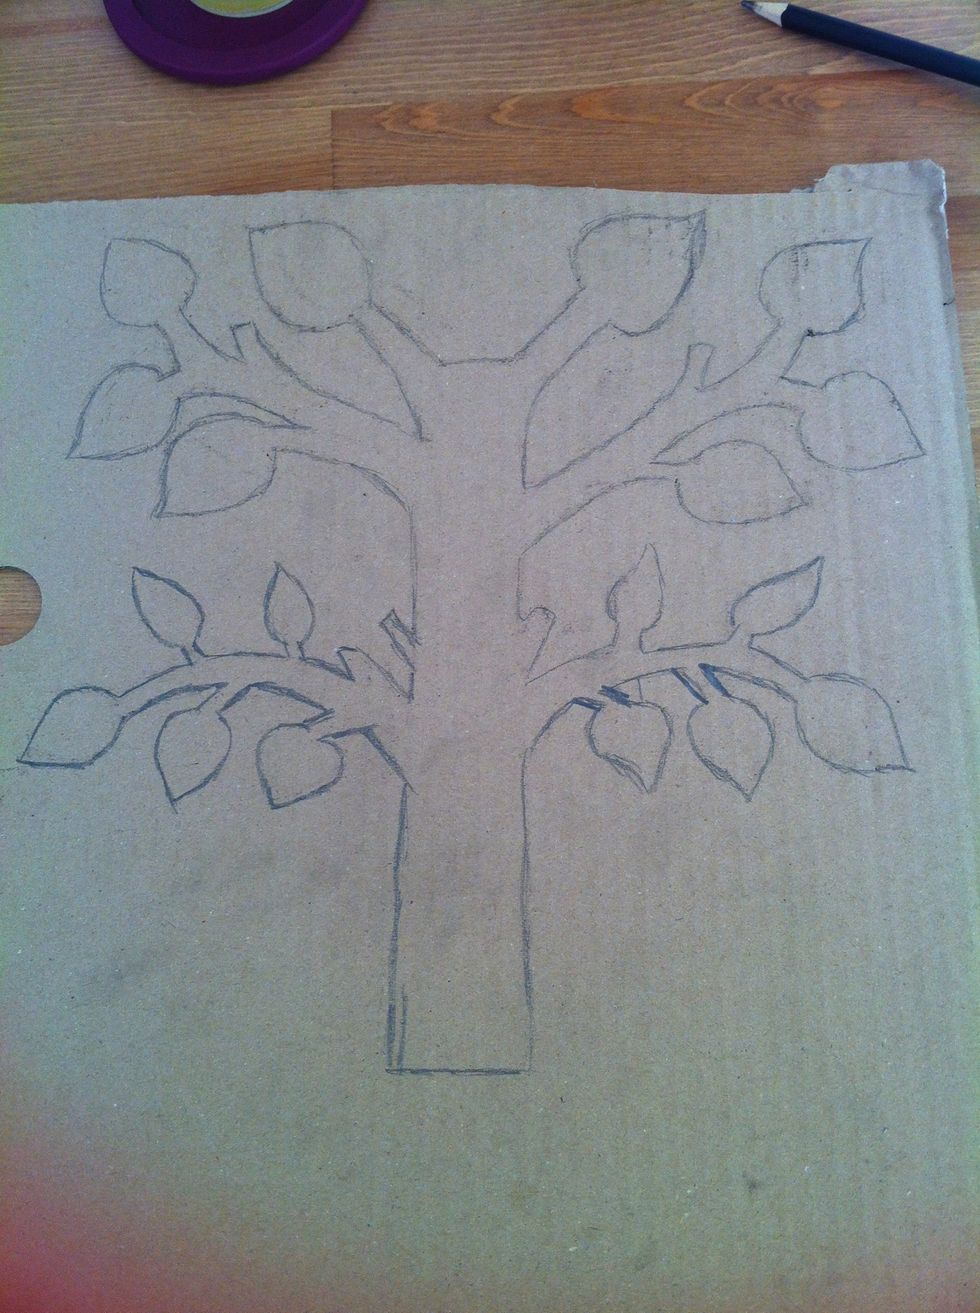
First, make the outline of your tree on a piece of paper. After you are happy with your design, transfer it on the cardboard.
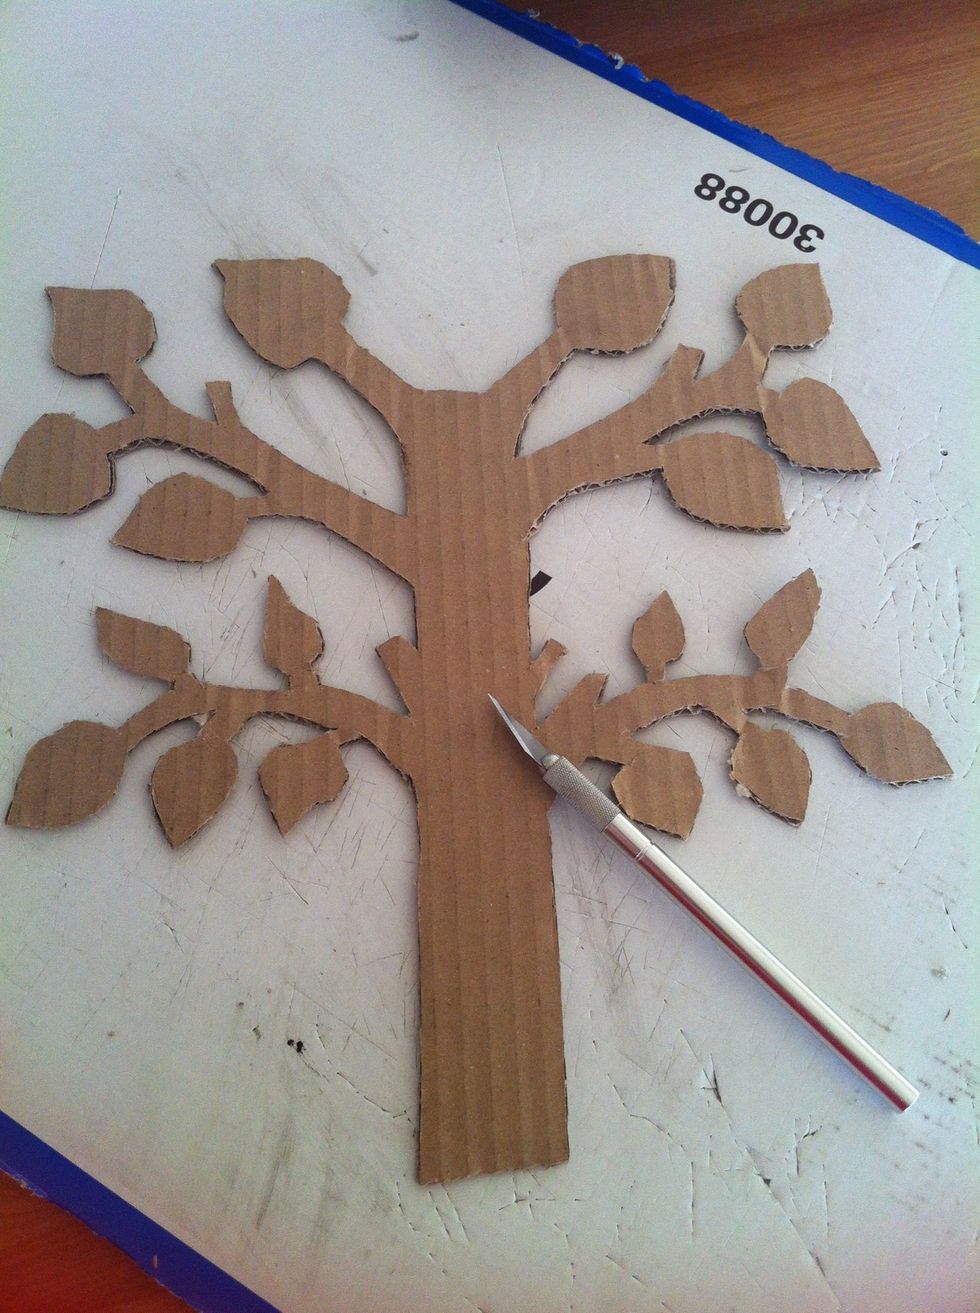
Cut two trees from the cardboard. You can also use only one if you want to. Make sure one is a bit longer than the other. About 2 cm (1in).
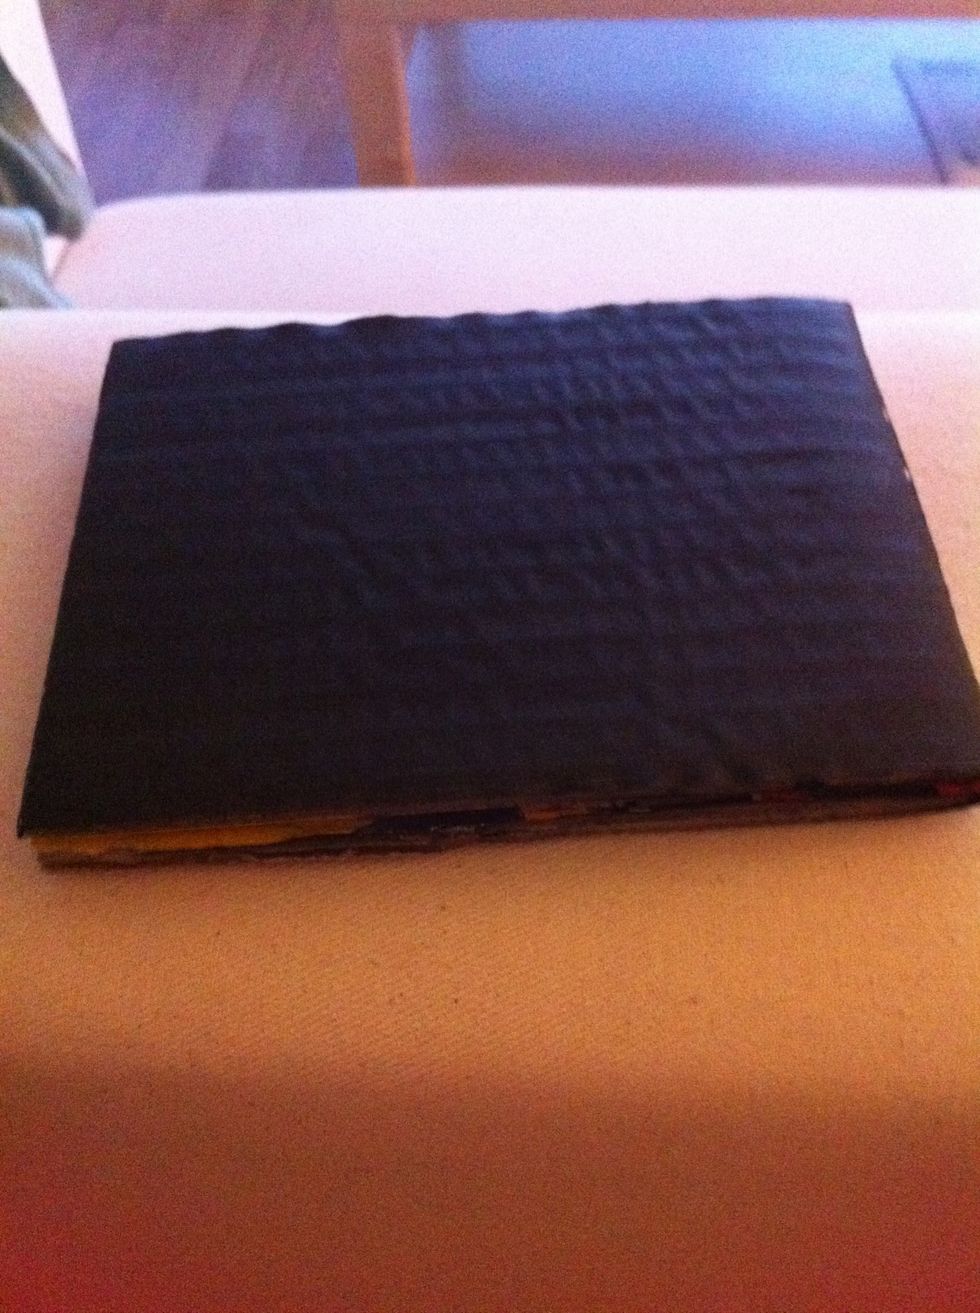
From a different piece of cardboard, make a base. I glued two pieces of cardboard together.
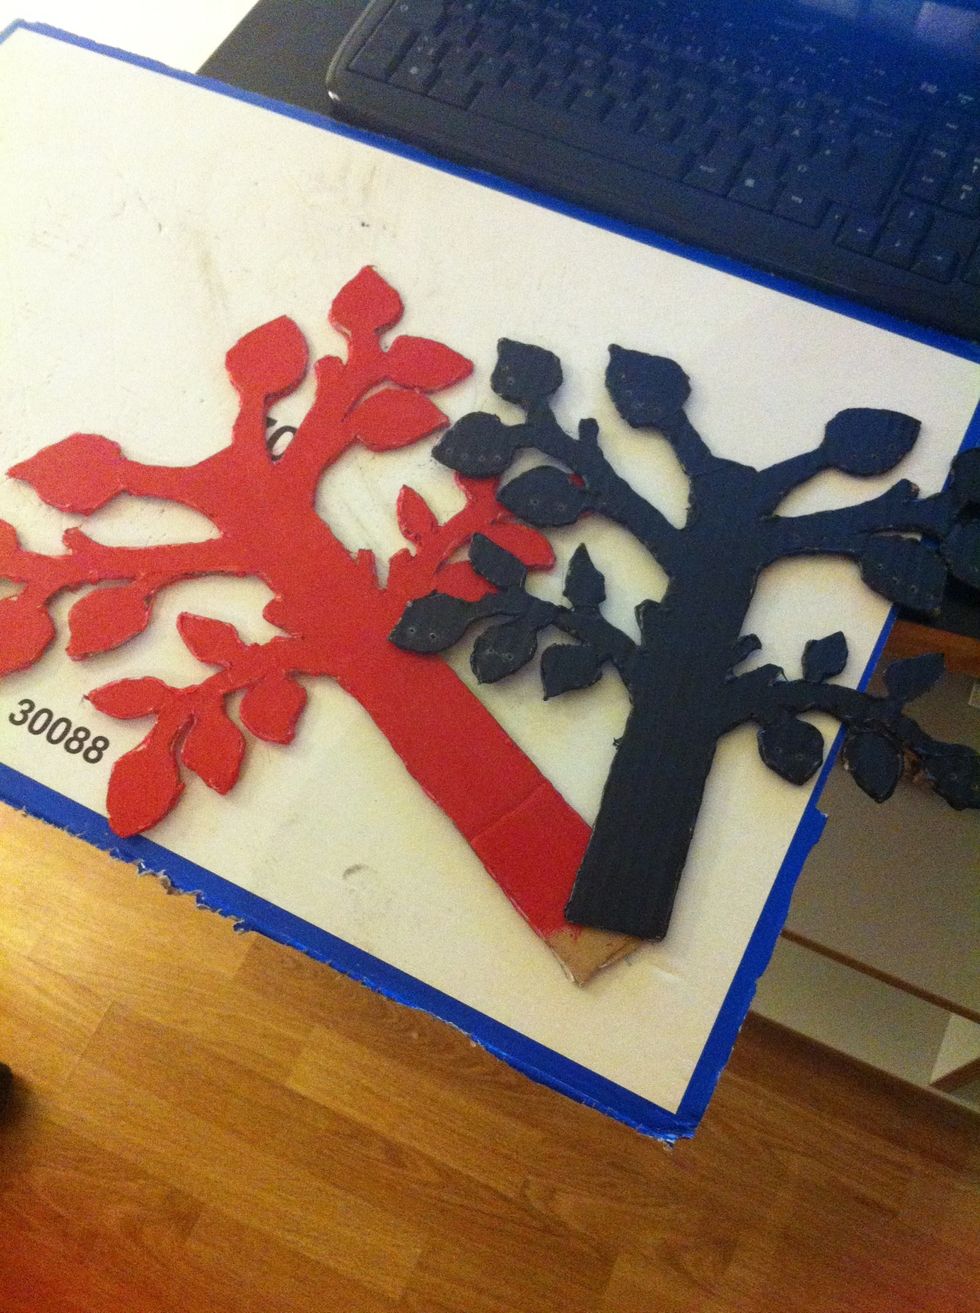
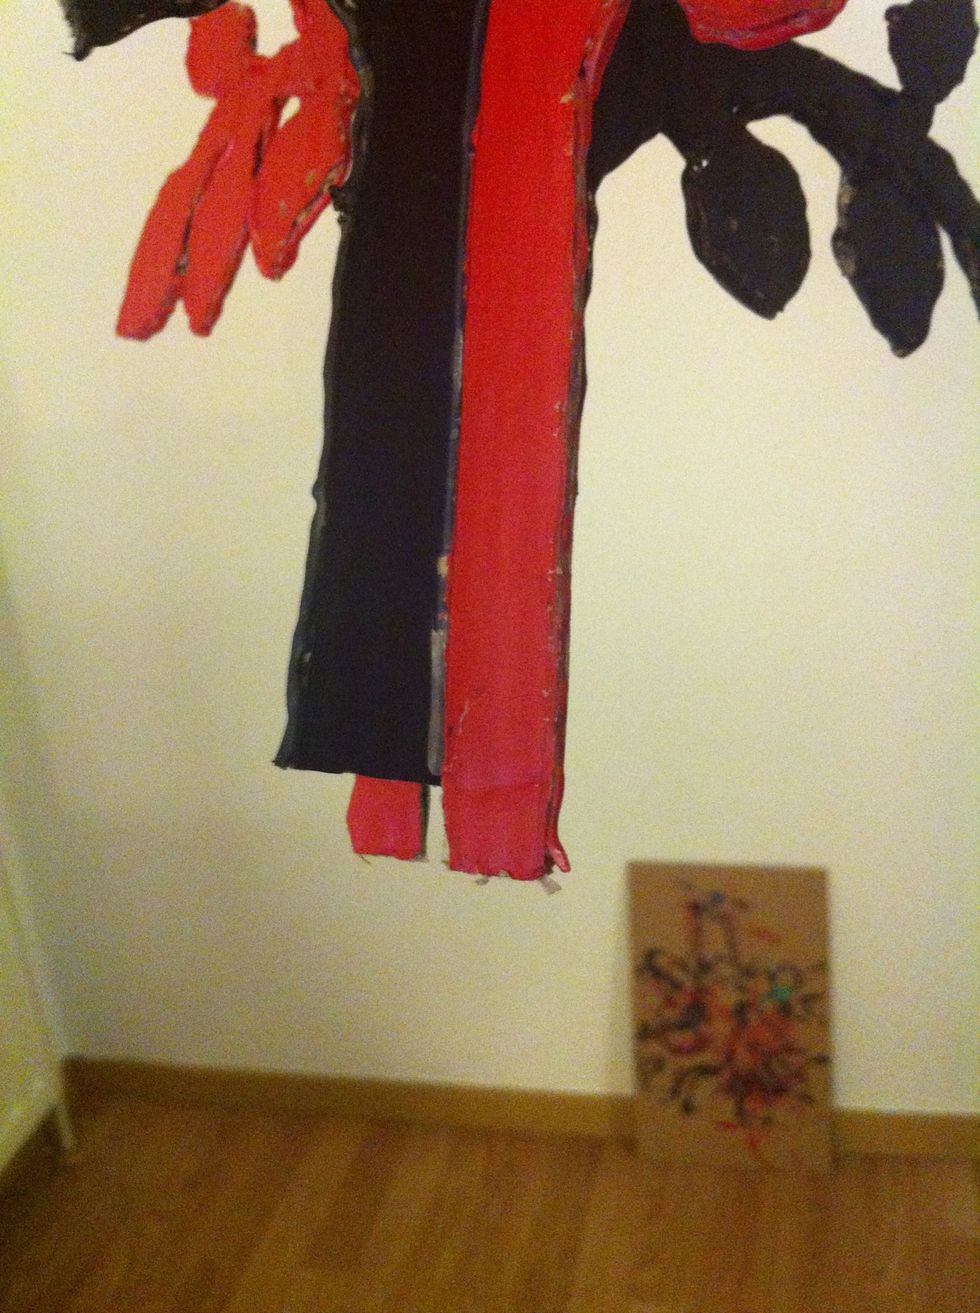
If you want, you can paint or draw or leave them as they are. I decided to make one side red and one black.
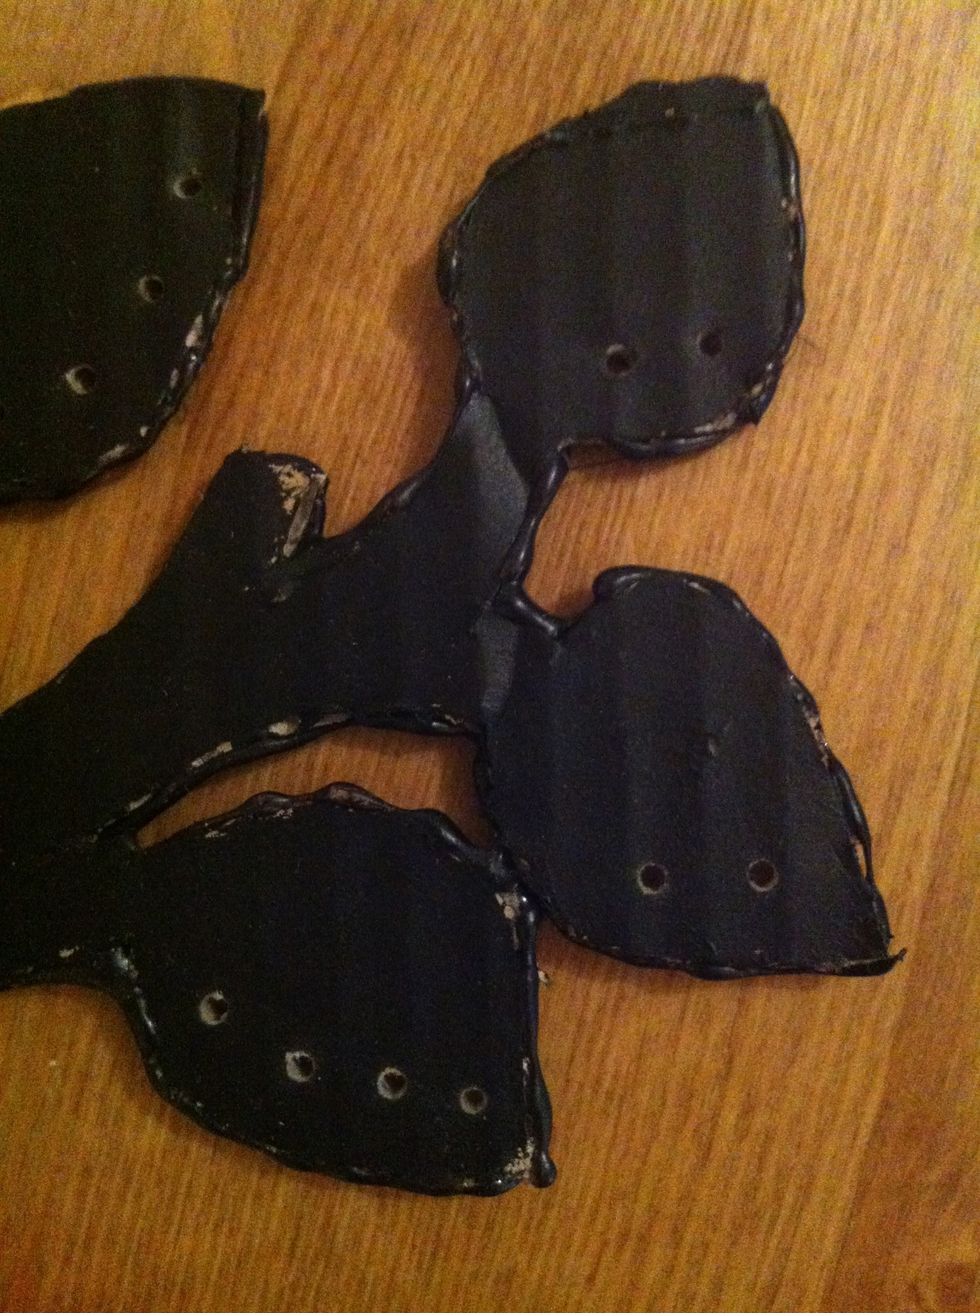
I used a bead file to make holes for the earrings. You can use whatever you have.

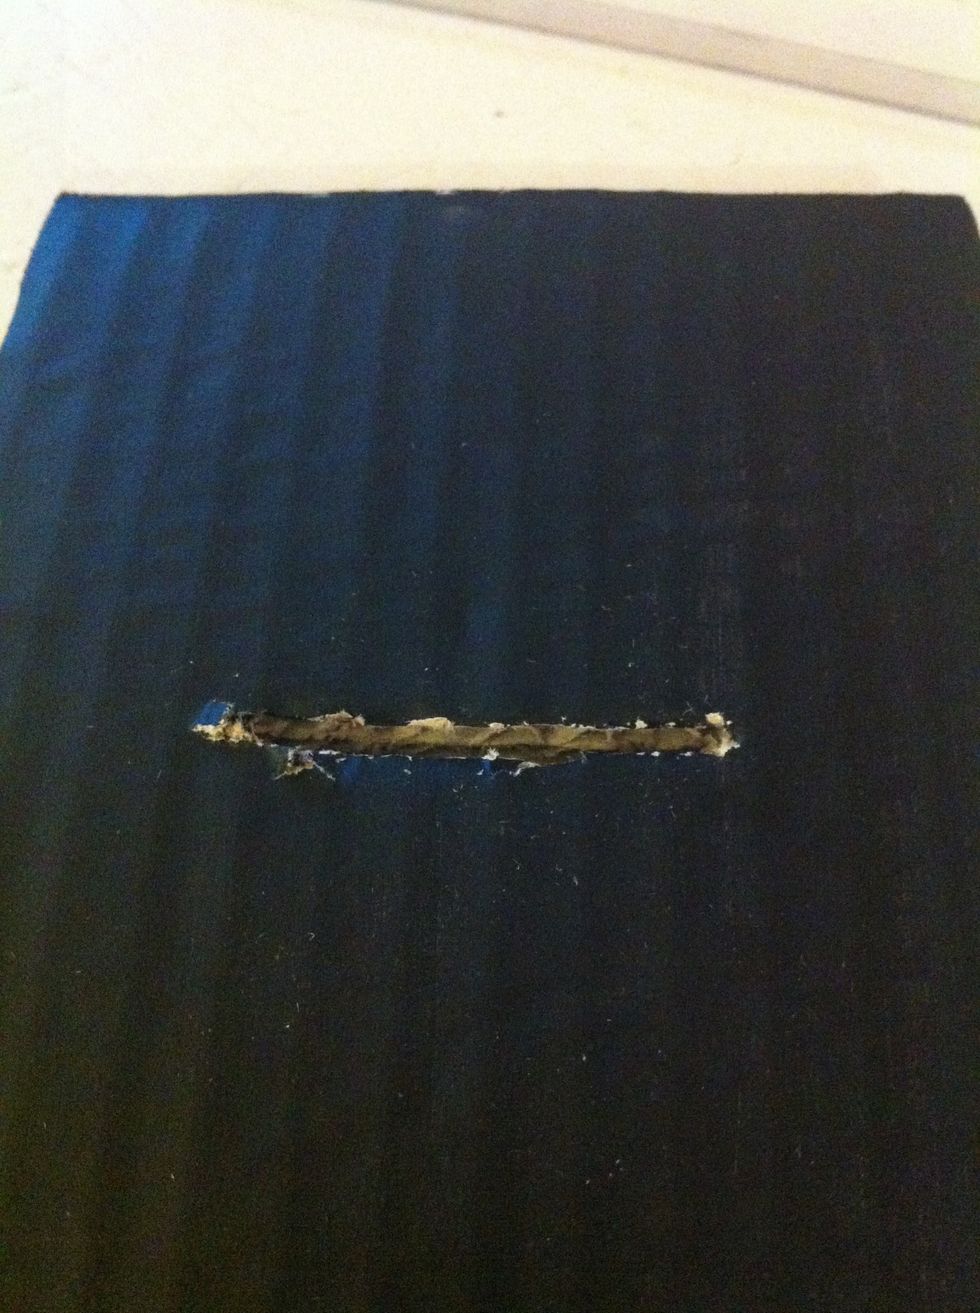
For the longer one, make a slit from the bottom almost to the middle.
On the other one, make the slit from the top almost to the middle.
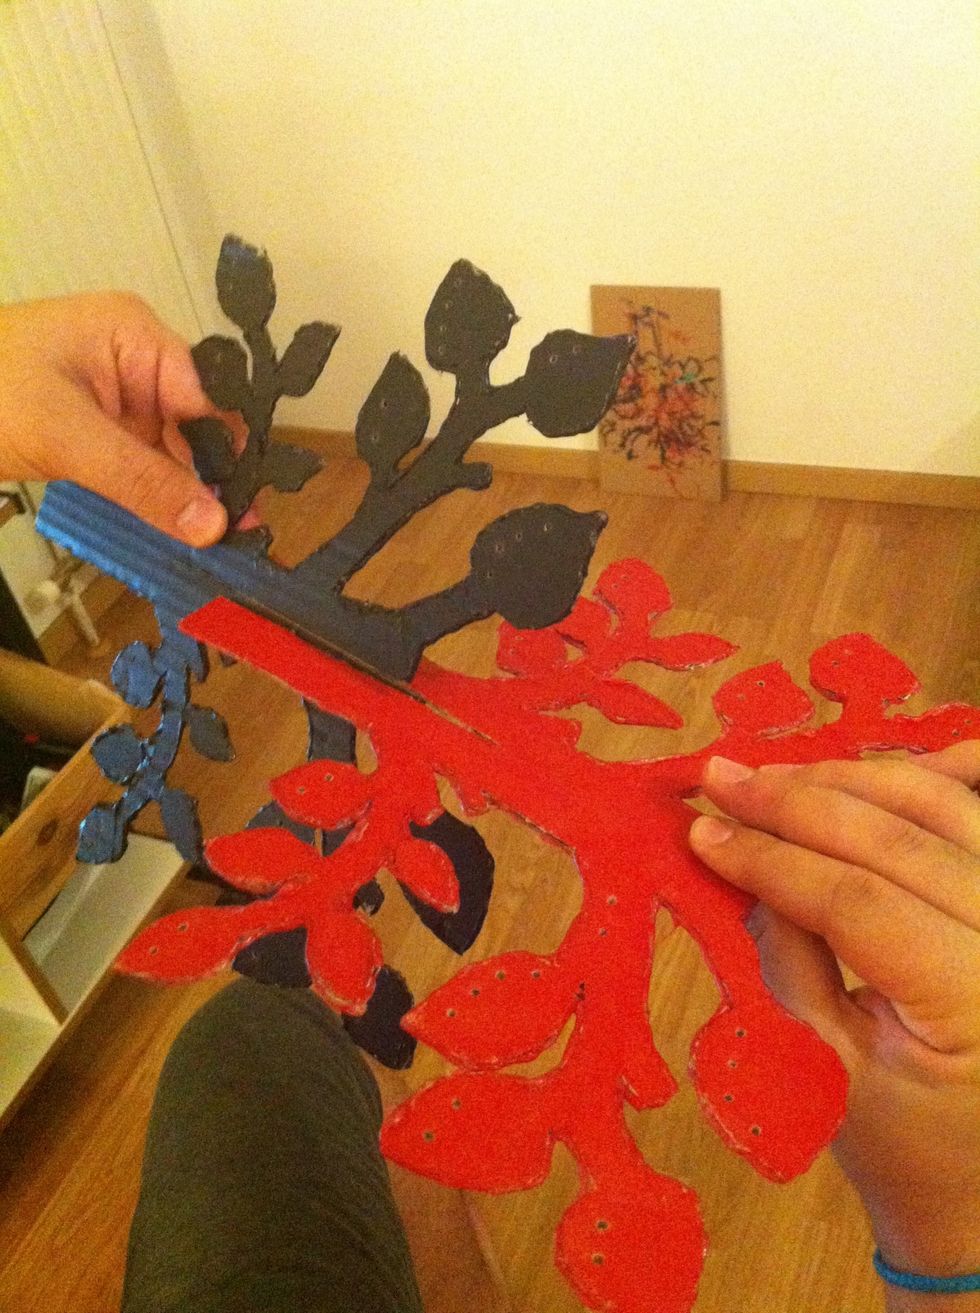
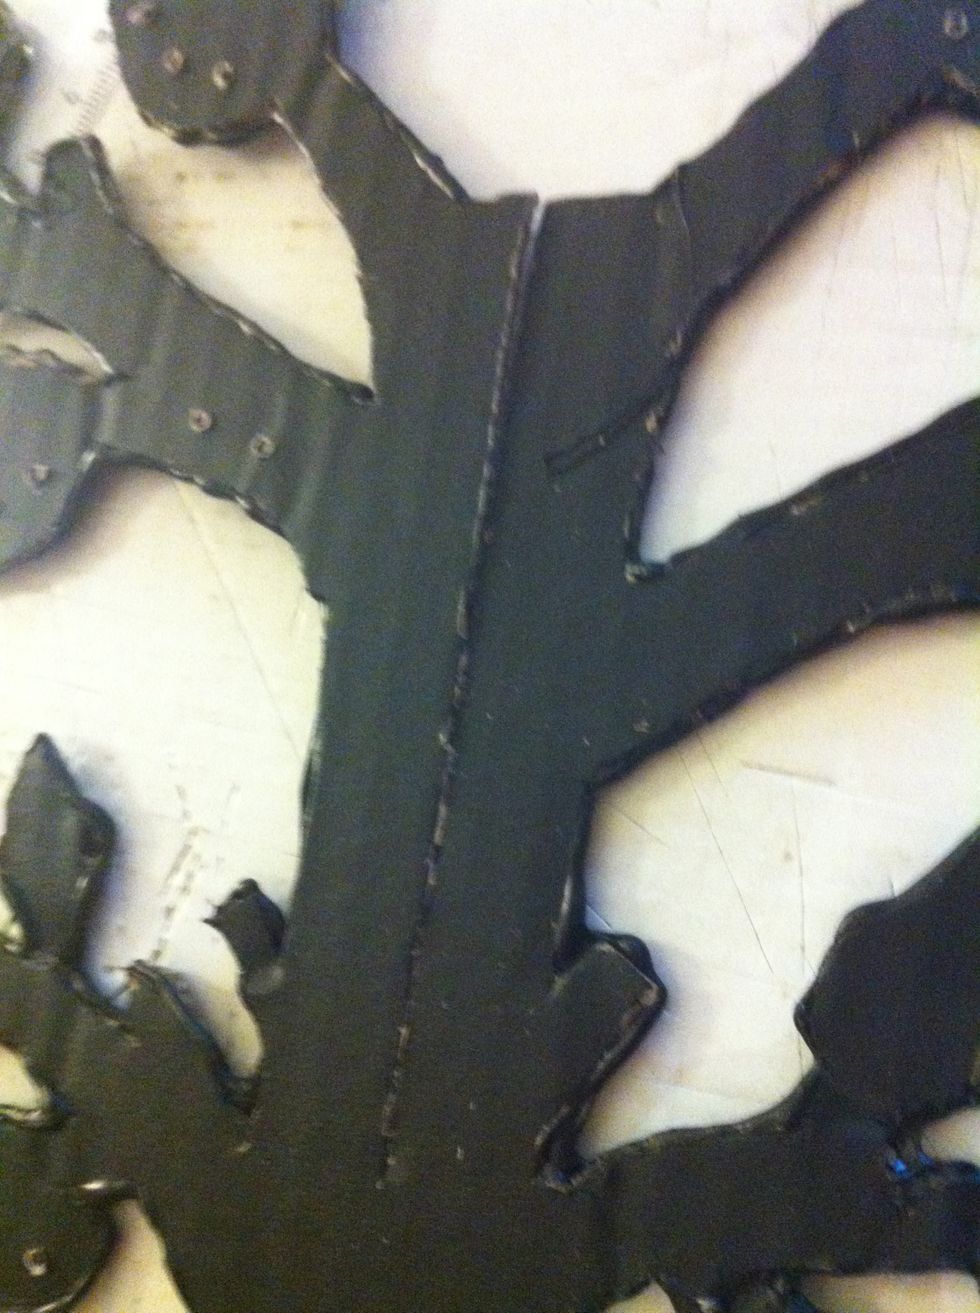
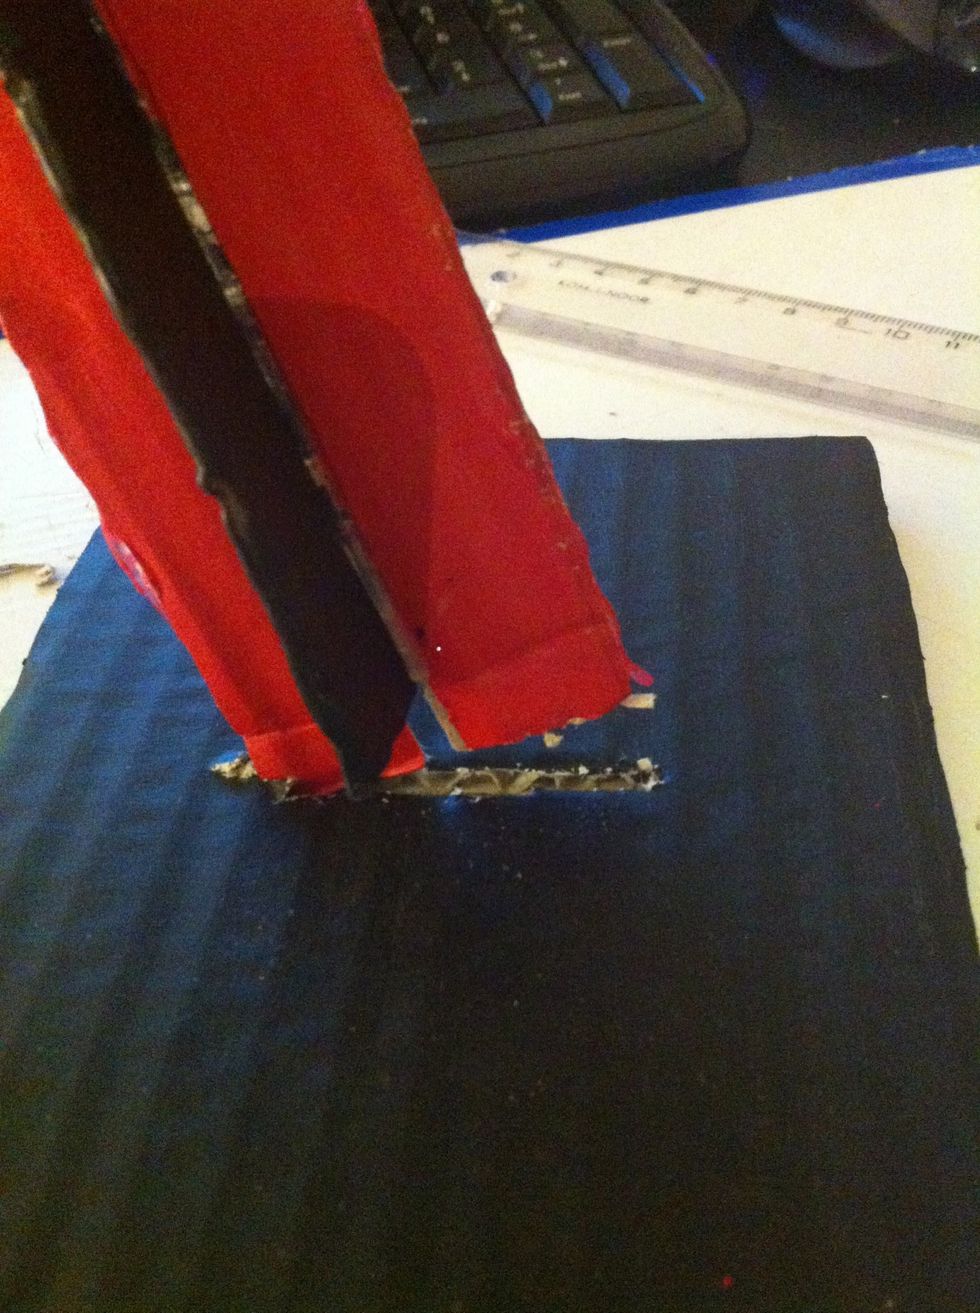
Slide them together. Do not push very hard, not to rip the apart. (Those are not my hands 😜) If they do not slide in perfectly, make the slits a bit longer.

After you assembled them, glue them together, to make sure it is secure.
This is how it should look at the bottom.
In your base, make a slit, exactly the same size of the longer tree trunk.
And slid them in, securing it with glue.

And you are done. Now you can display all your beautiful earrings.🎀