The Conversation (0)
Sign Up
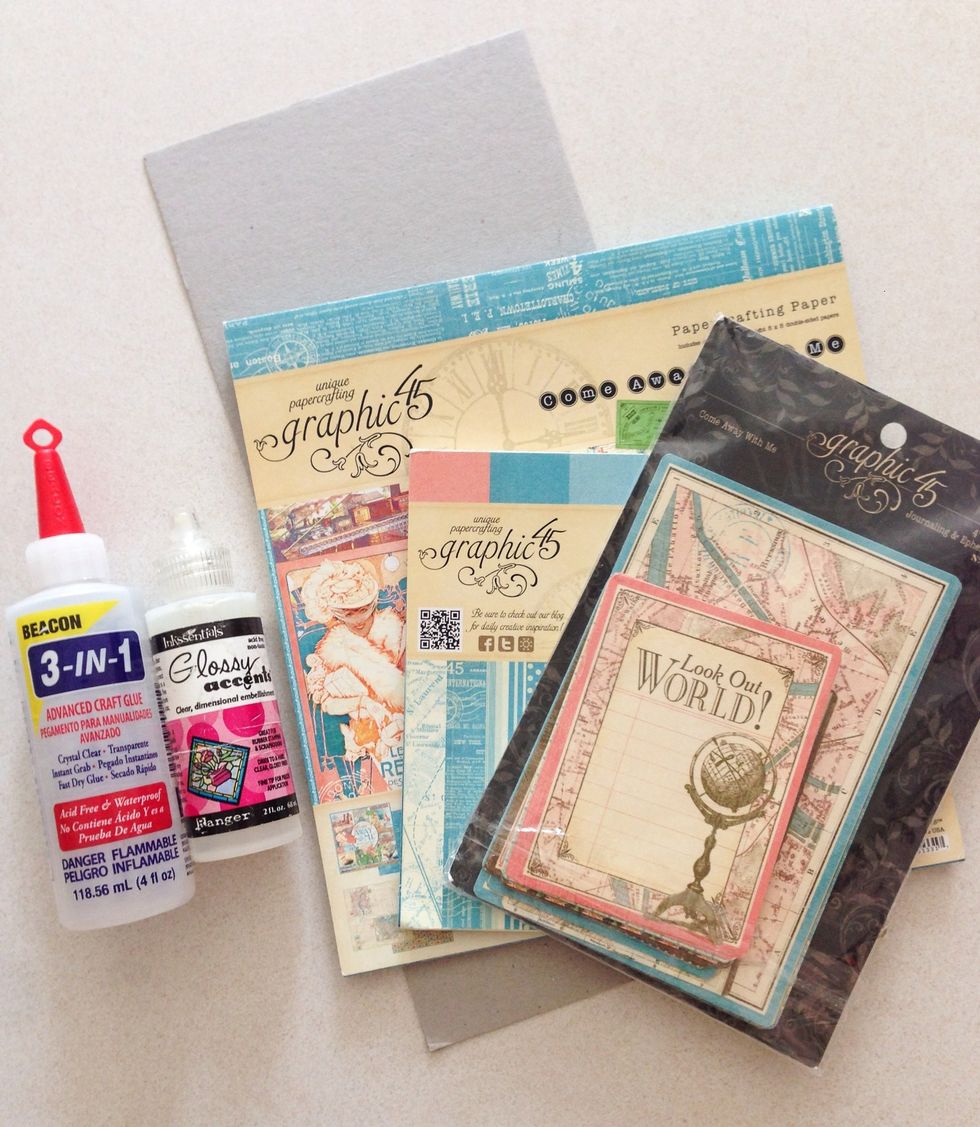
Gather your supplies... List of supplies can be found at the bottom left hand corner of this guide...
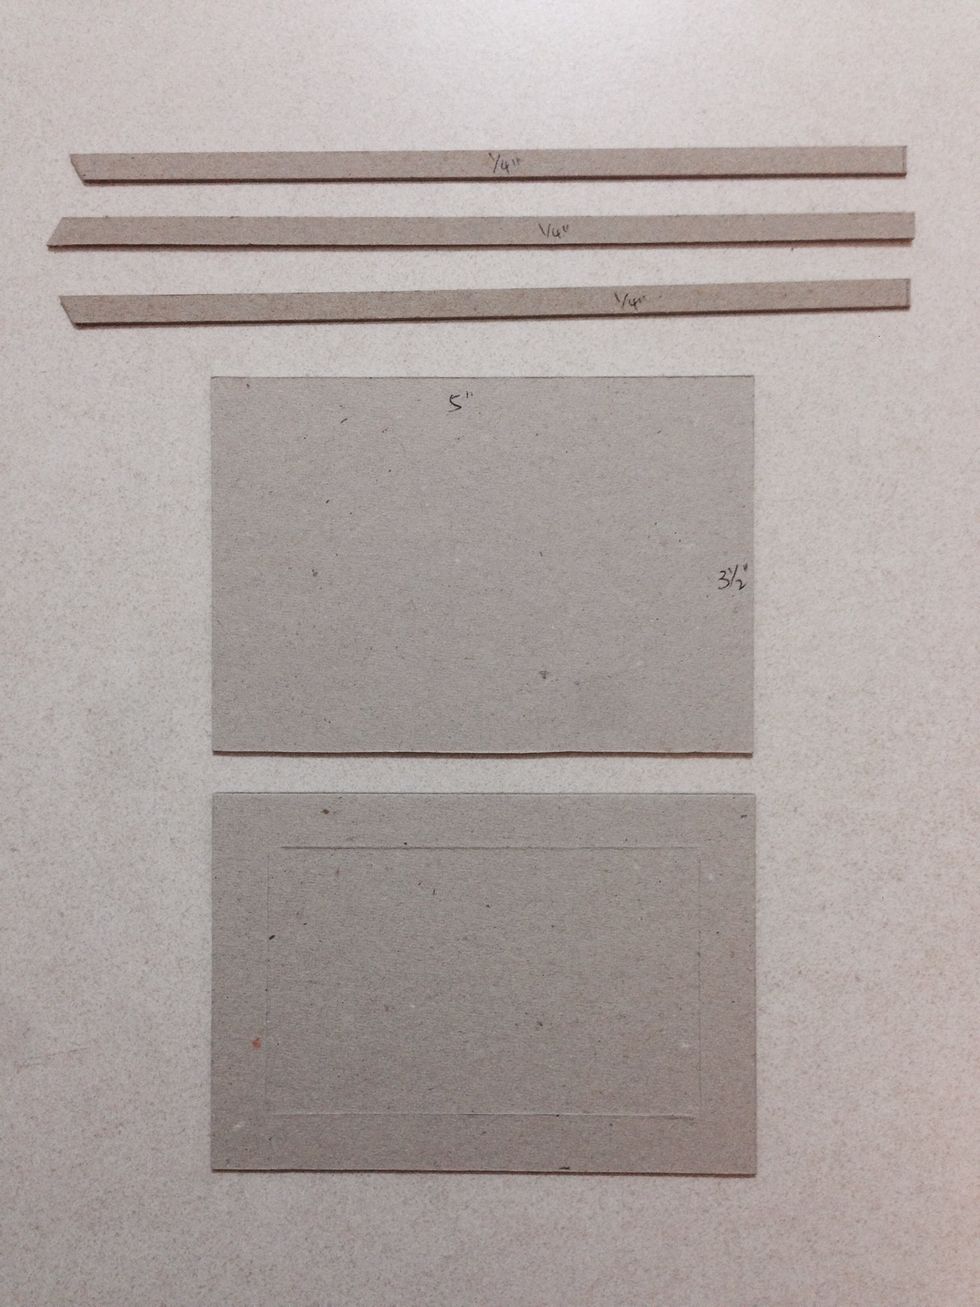
Cut 2 pieces of chipboards into 5" x 3.5" and 3 strips of 1/4" in width...
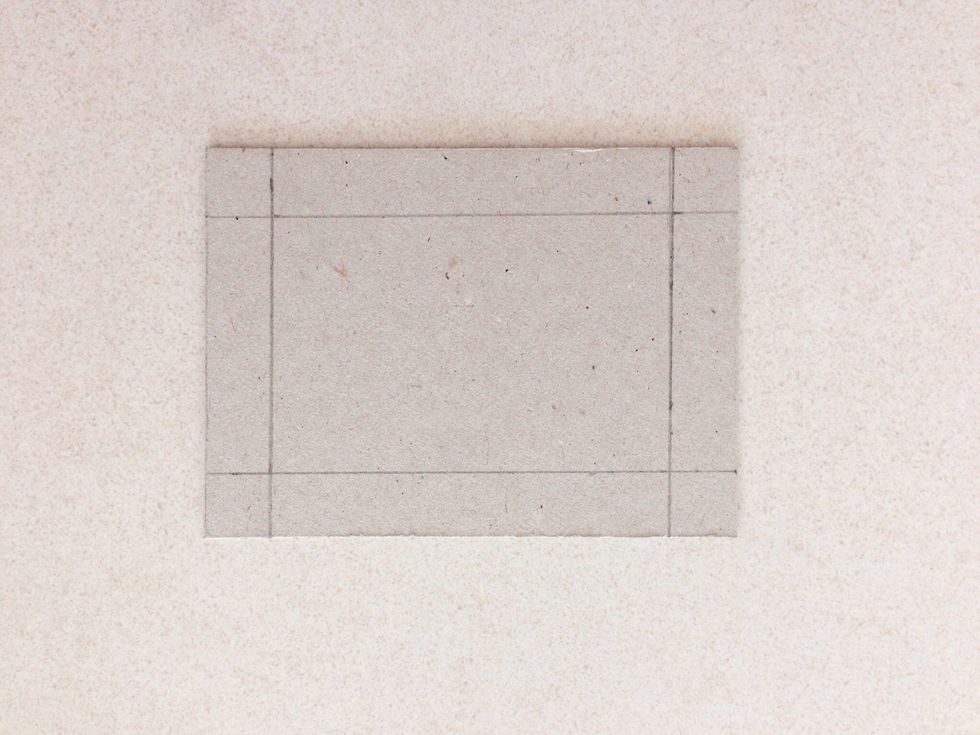
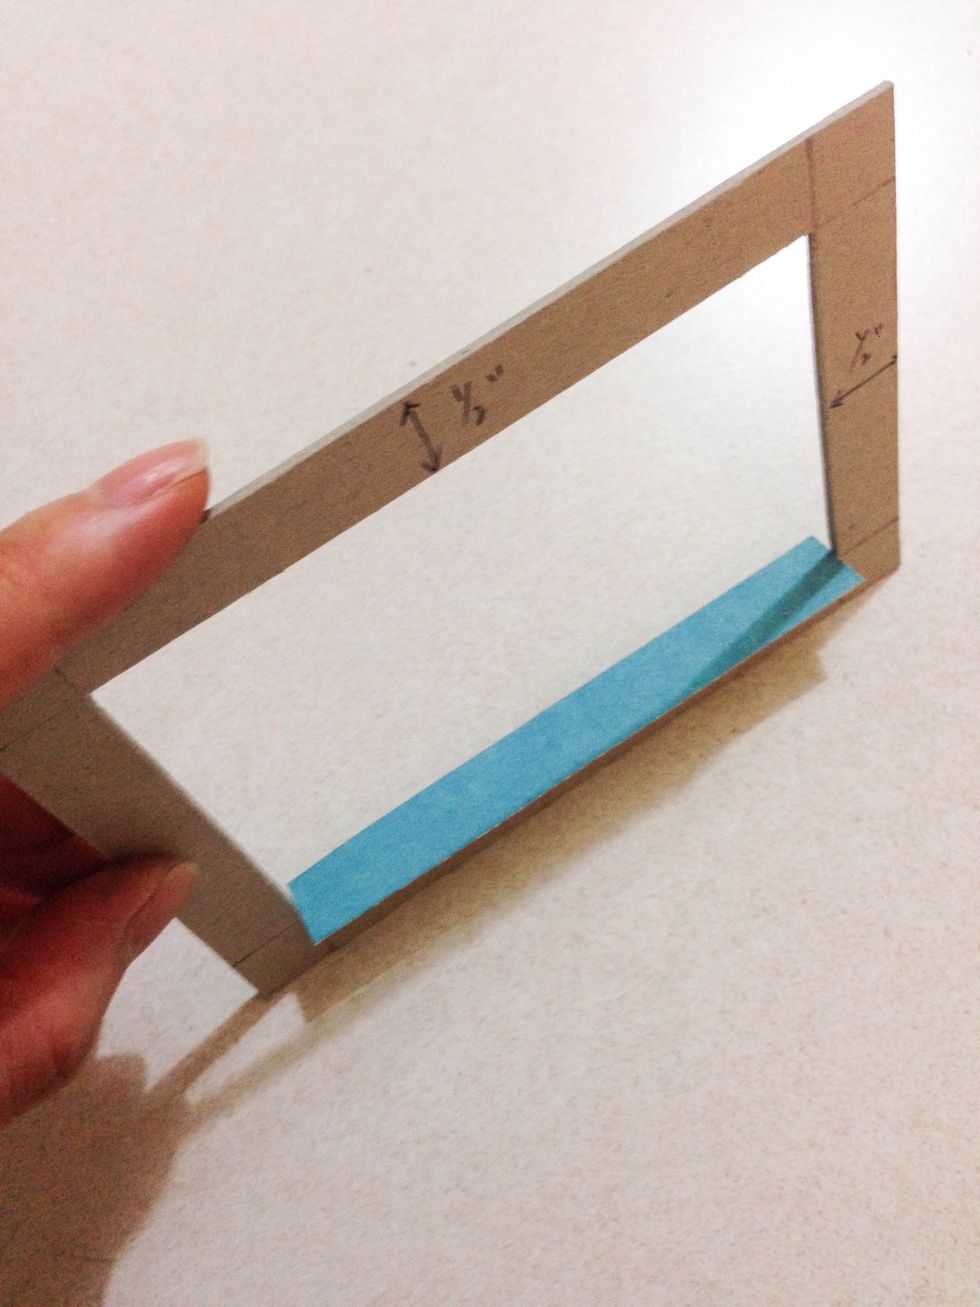
Draw a 0.5" border around on one of the chipboard pieces as shown...

Cut out the centre piece, giving you a chipboard frame and a rectangle... Discard the rectangle away and keep the frame aside...

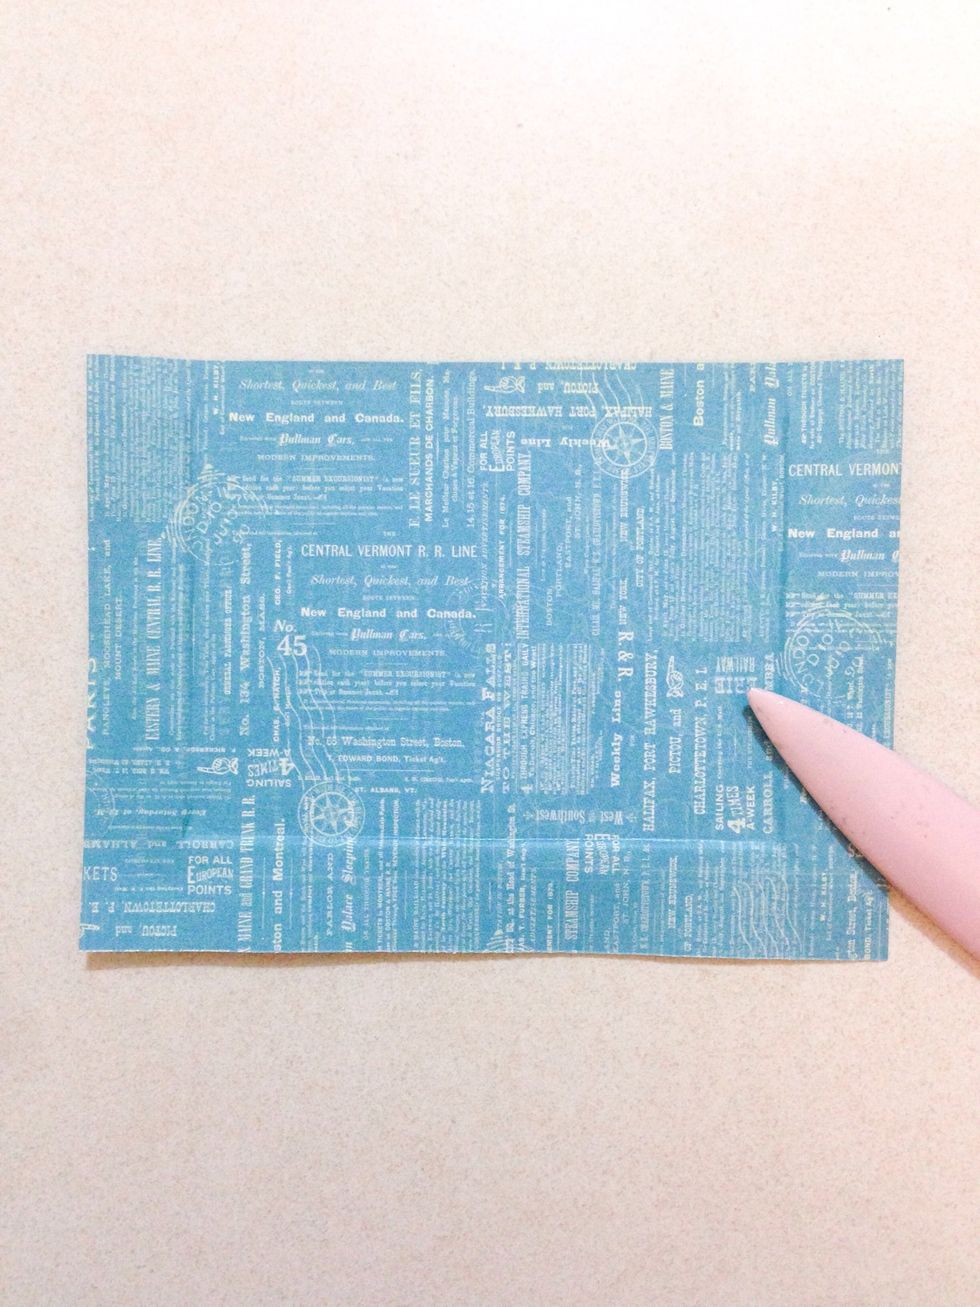
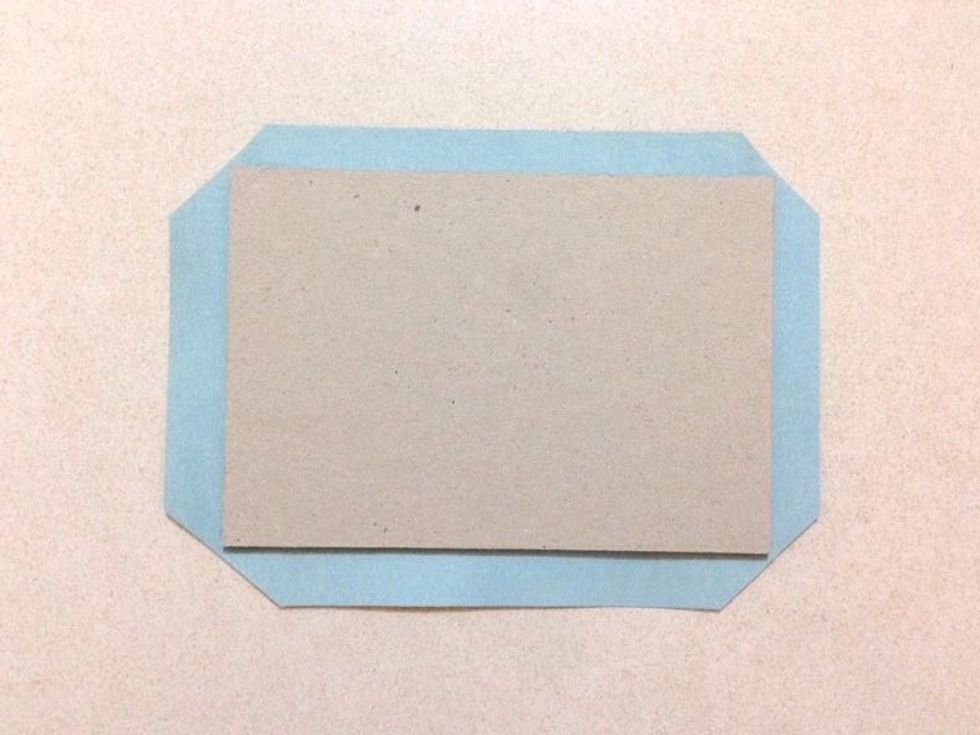
Position the 0.5" chipboard frame at the centre of this ephemera card (on the reverse side as shown on the 2nd piece) and use a pencil to trace around the sides and the centre...

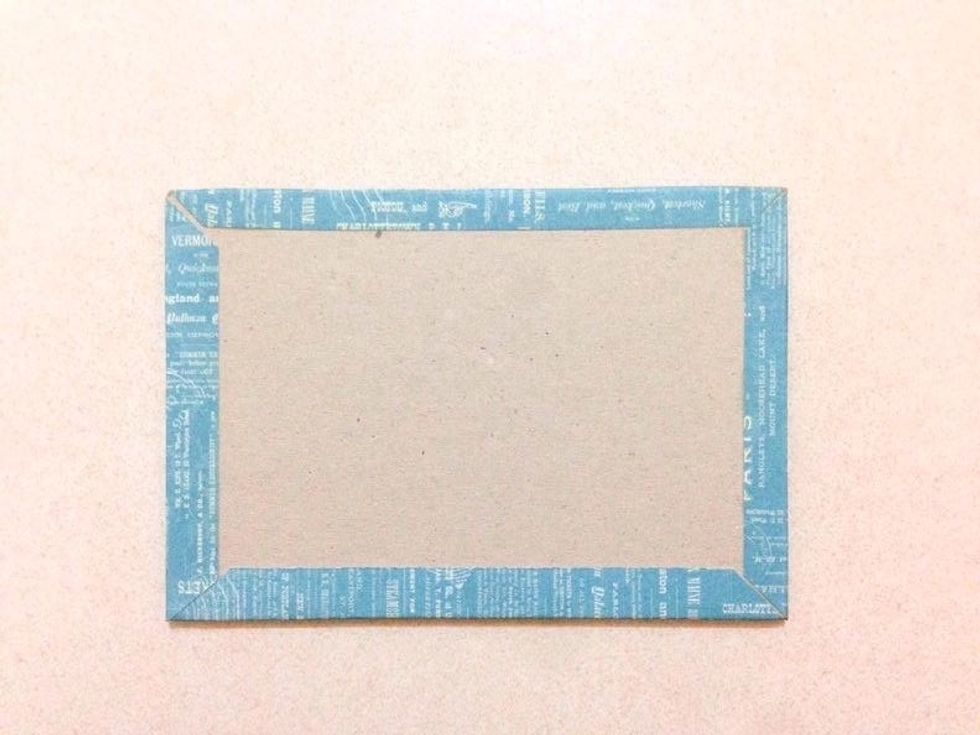
Trim off the centre piece and this is what you will get this frame as shown...
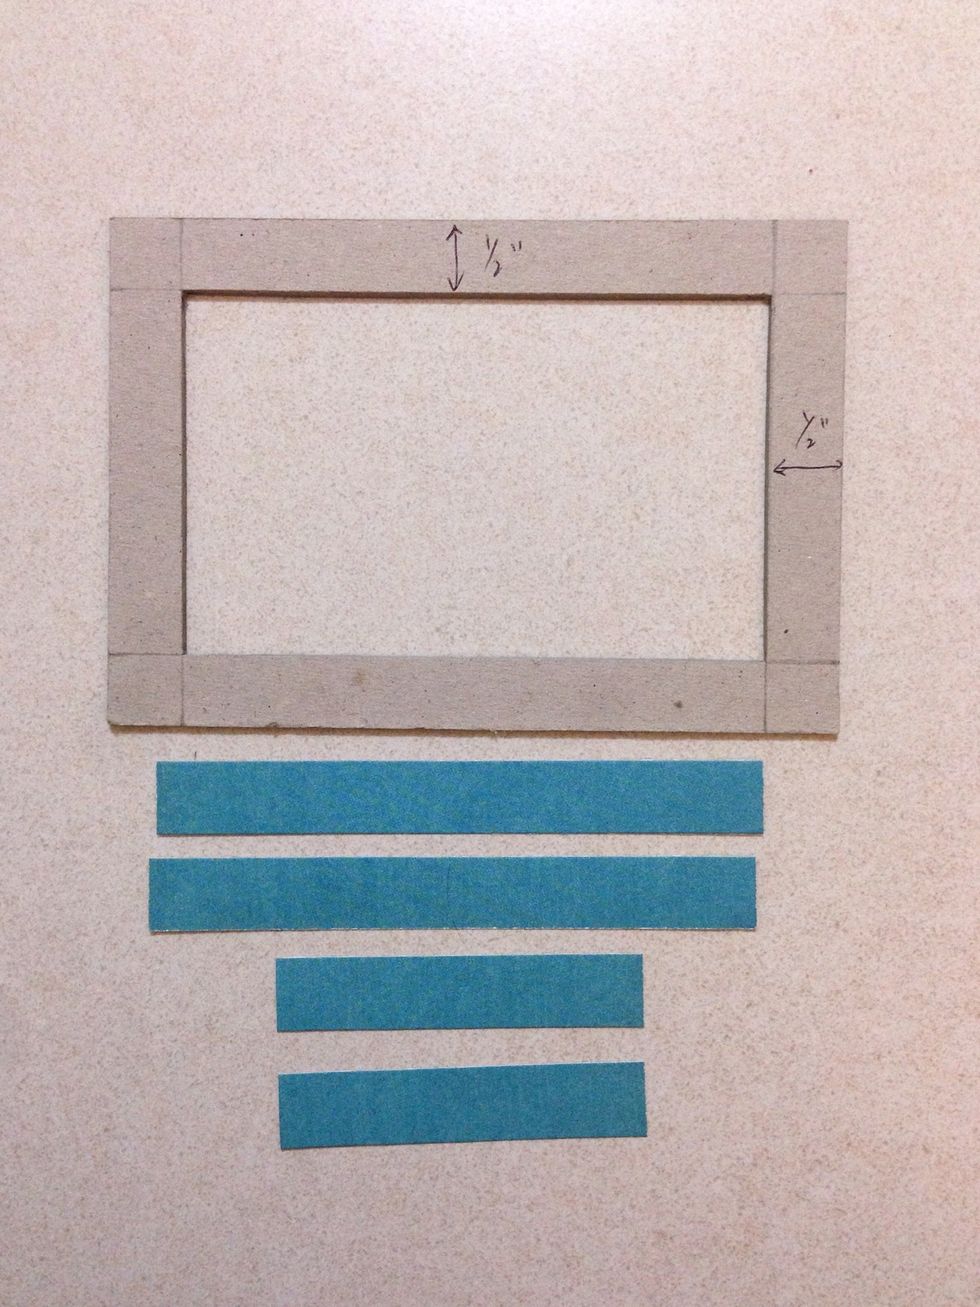
Using one blue sheet of paper from the 6" x 6" Solids & Patterns paper pad, trim strips of 0.5" thick by lengths of 4" and 2.5"... You will need 2 of each...
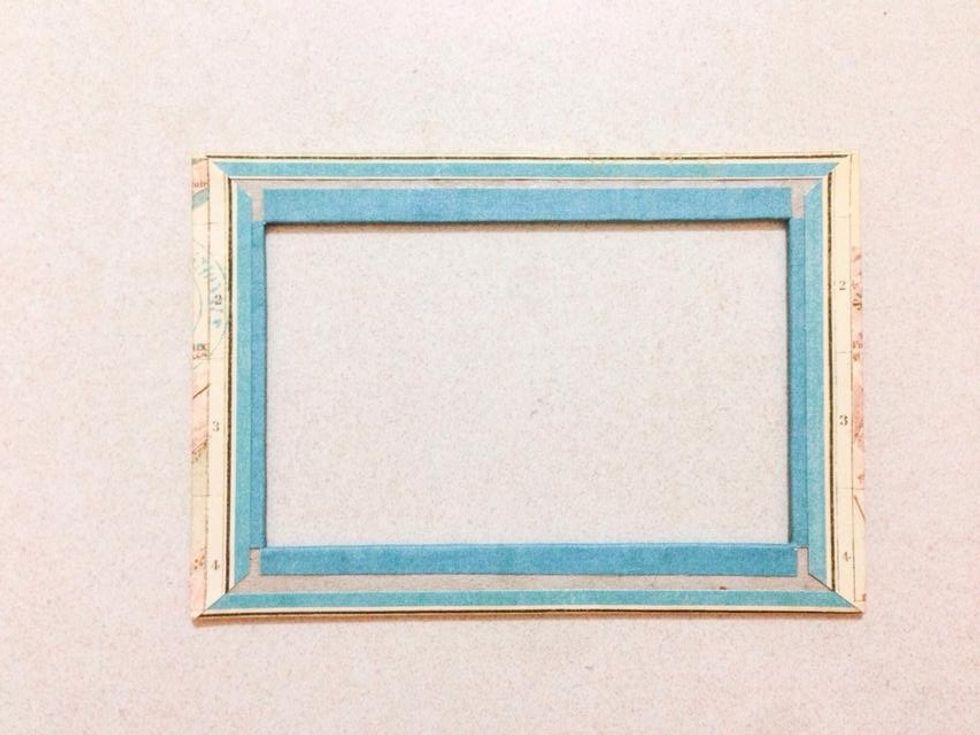
Using the strips you have prepared in Step 7, line and glue down the strips on the inside of the chipboard frame as shown...
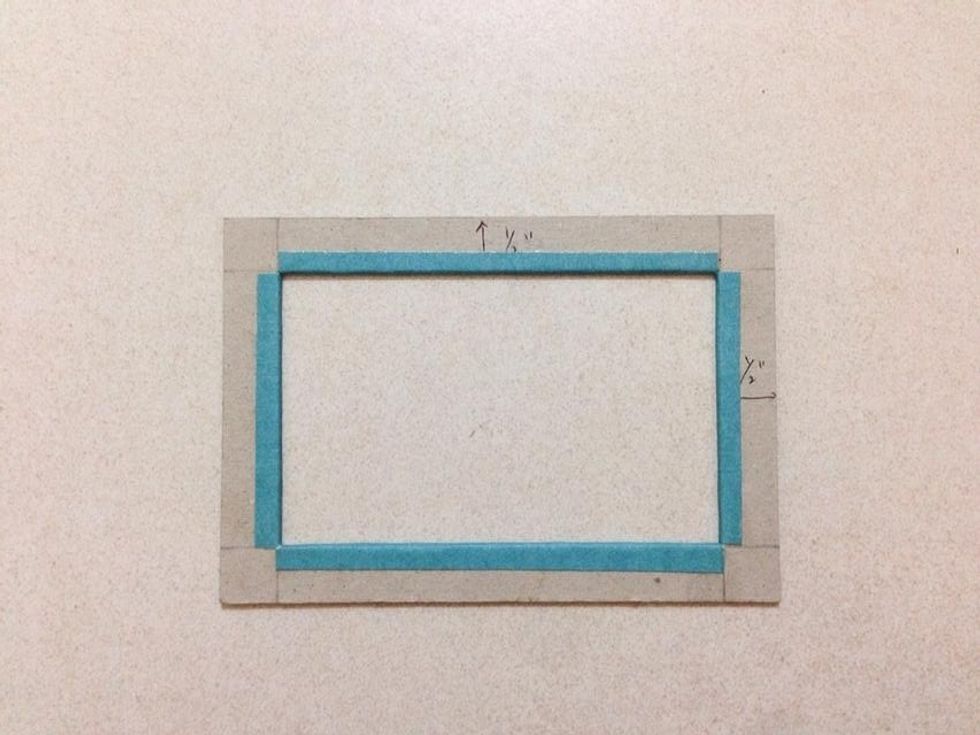
After lining, this is what you will get...
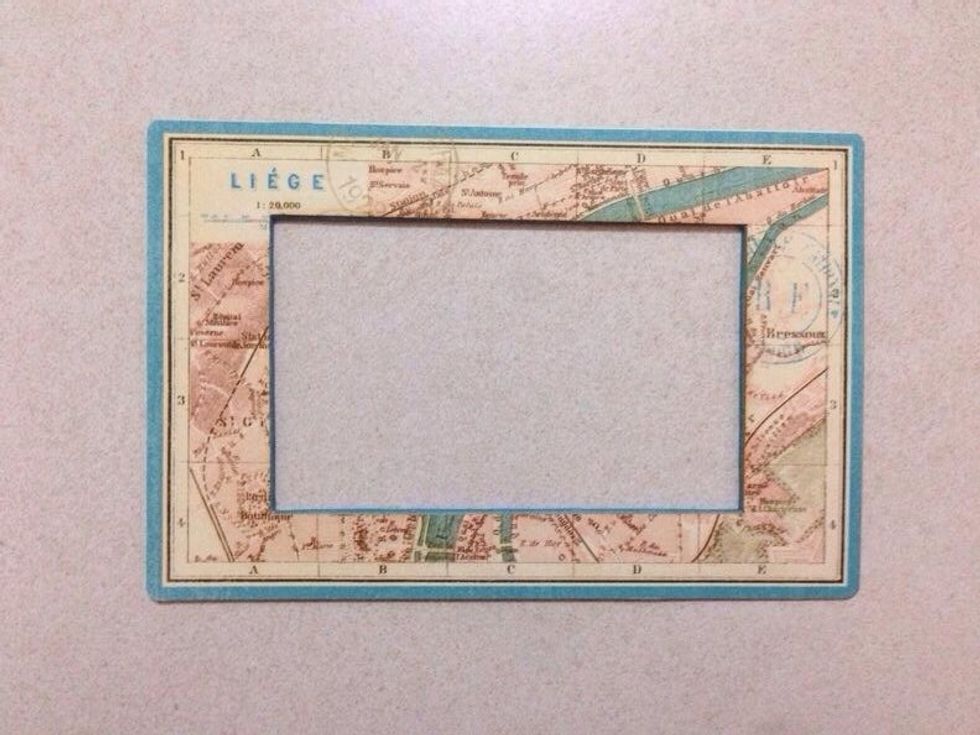
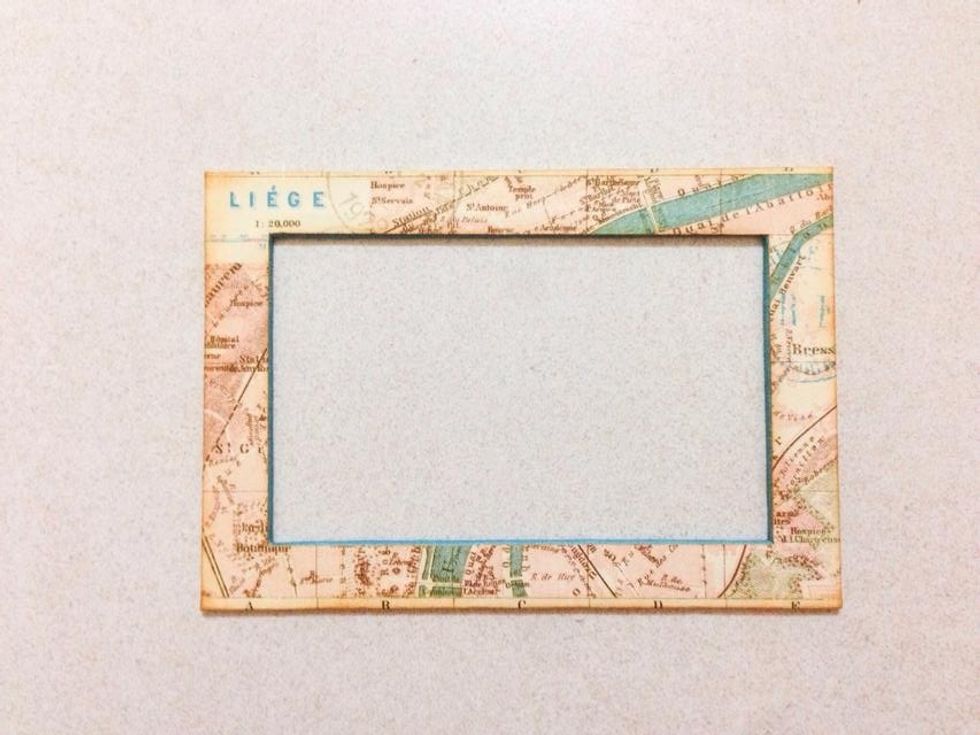
Glue over the chipboard frame using the cut-out frame you've prepared from Step 6...
Flip the frame over and trim off the corners as shown...
Wrap and glue around the frame as shown...
This will be the completed frame...

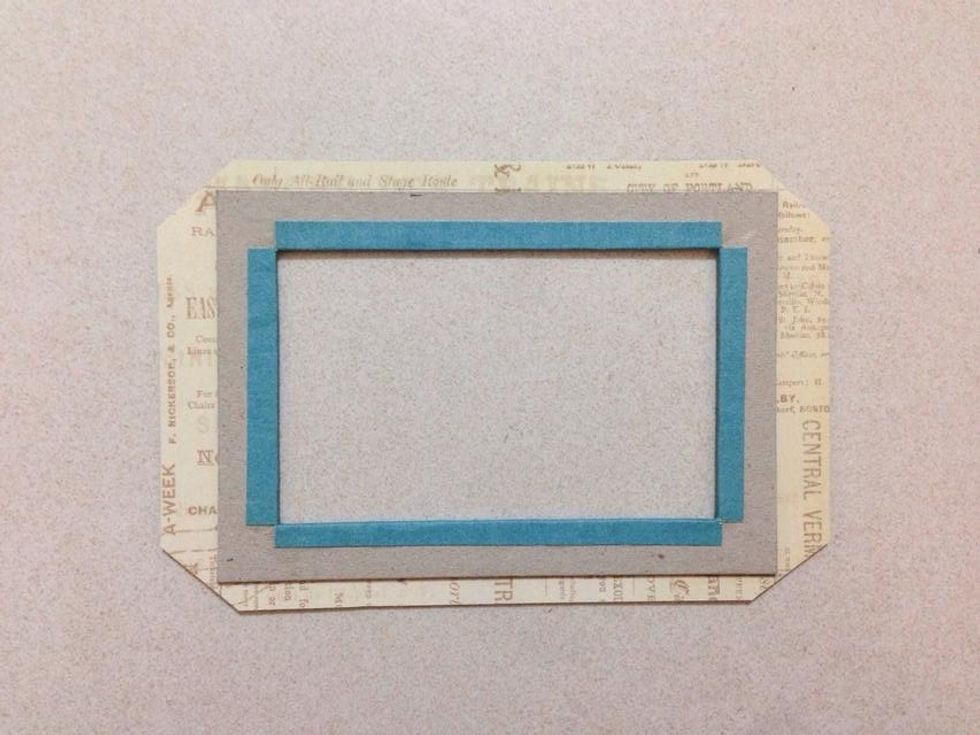
Glue the chipboard strips you've prepared in Step 2 onto the other piece (5" x 3.5") of chipboard as shown...
Using one of the pattern paper from the 6" x 6" Solids & Pattern paper pad, trim and glue over as shown... Use a bone folder to press down the paper around the chipboard...
Flip the chipboard over and trim off the corners as shown...
Wrap and glue around the chipboard as shown...
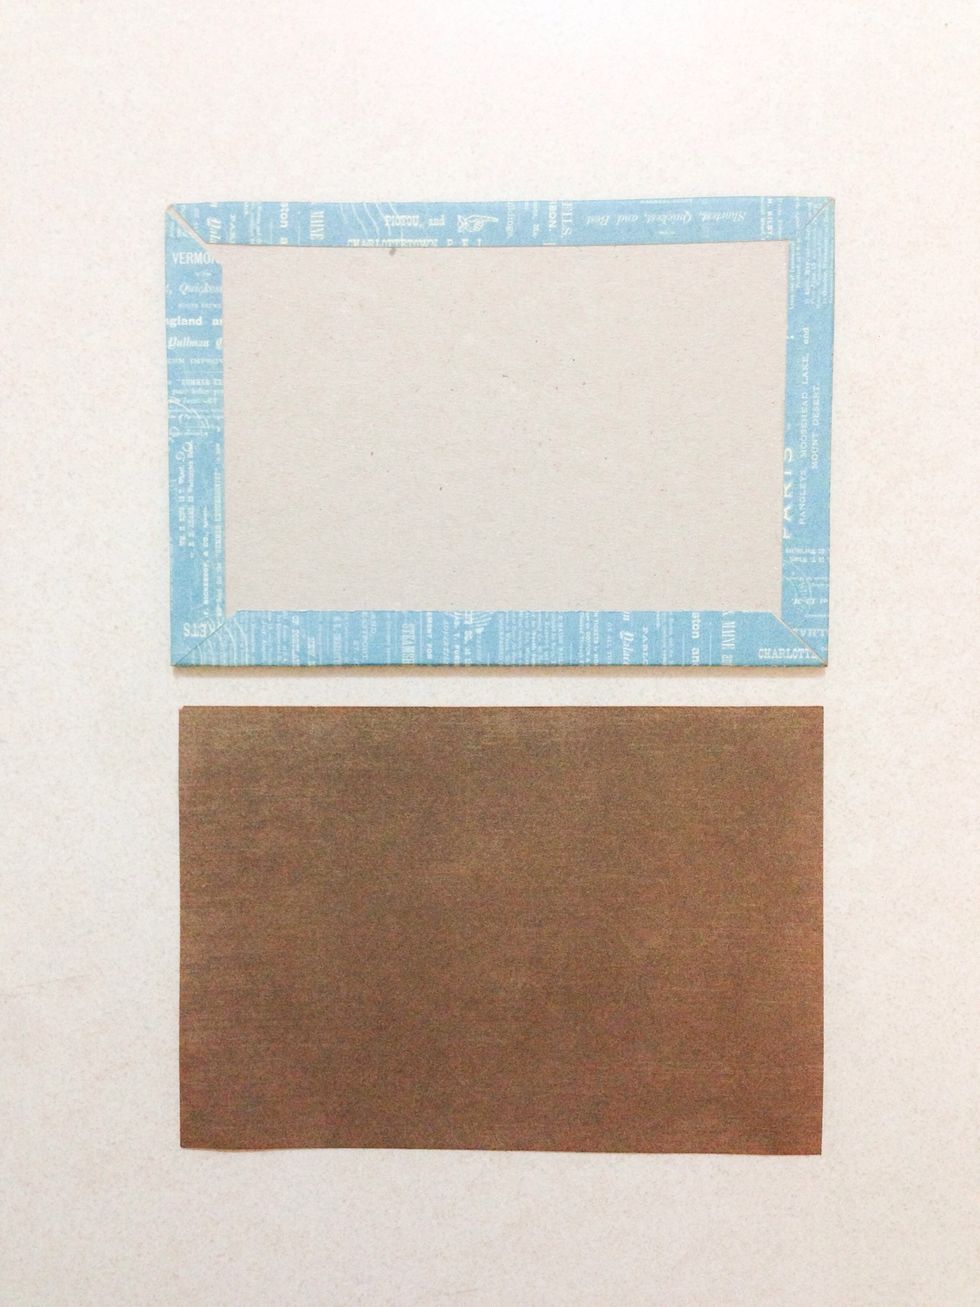
Using the brown paper from the 6" x 6" Solids & Patter paper pad, trim a 5" x 3.5" dark brown paper as shown... Glue it onto the back of the chipboard... This will be the base of the frame...
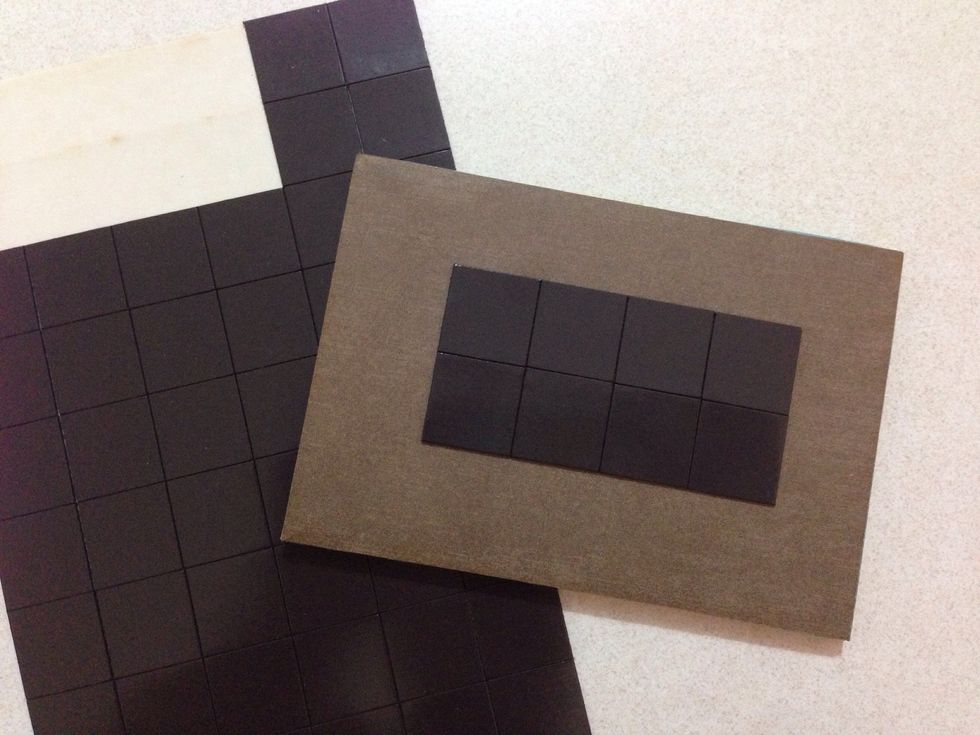
Stick down a few pieces of self-adhesive magnets at the back as shown...
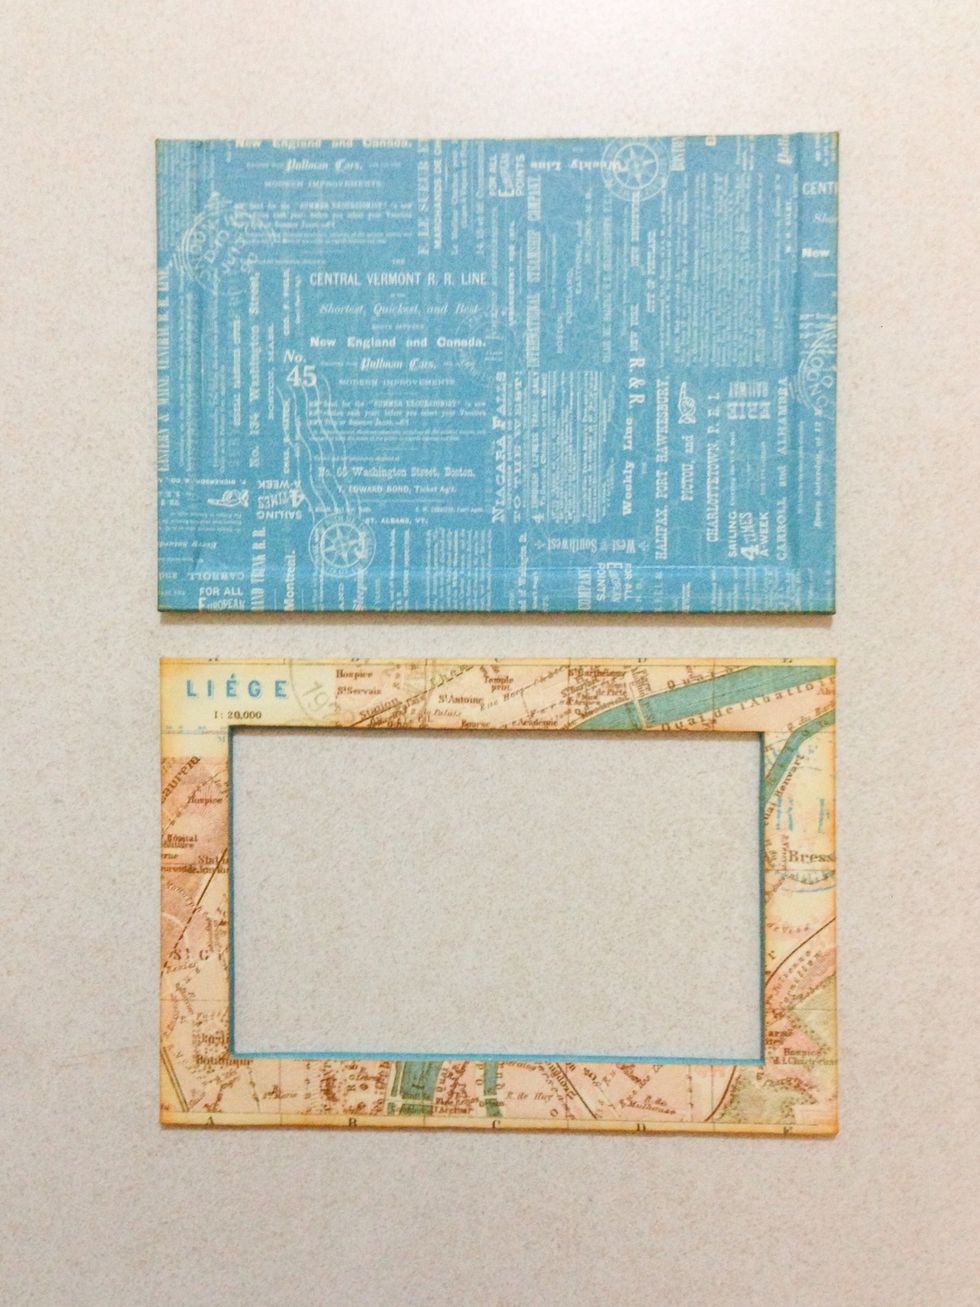
Finally, glue the frame on top of the base...
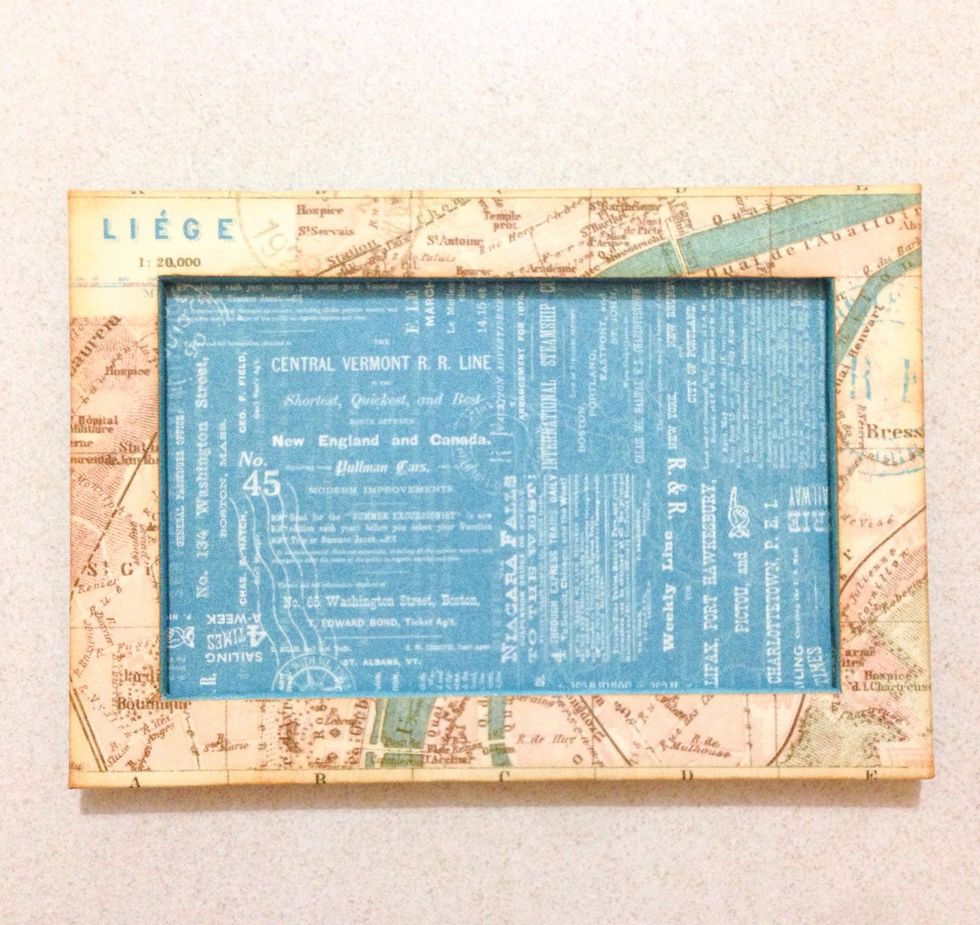
This will be the final finished frame... And you are done!!!
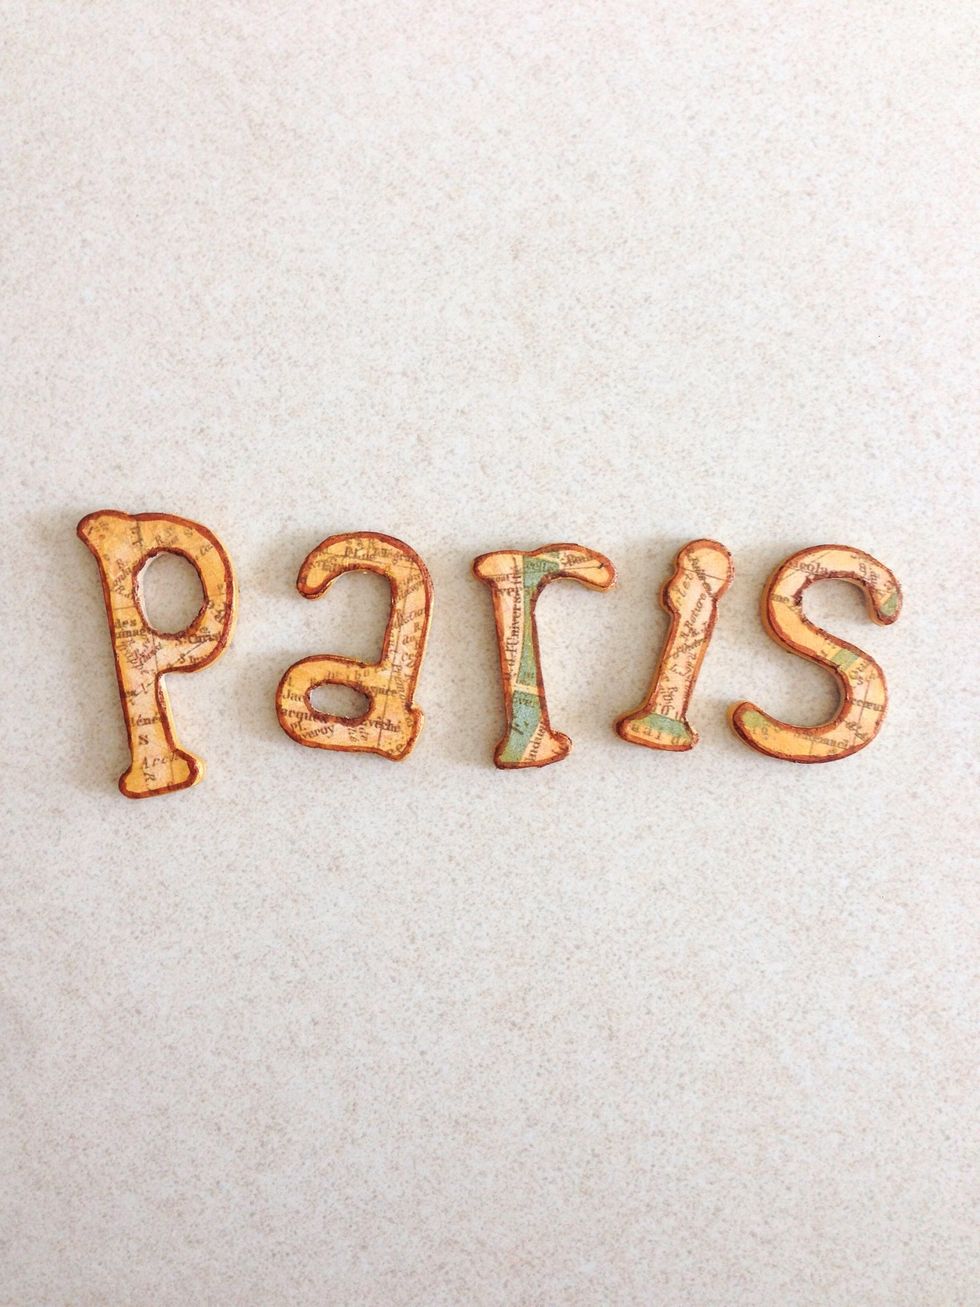
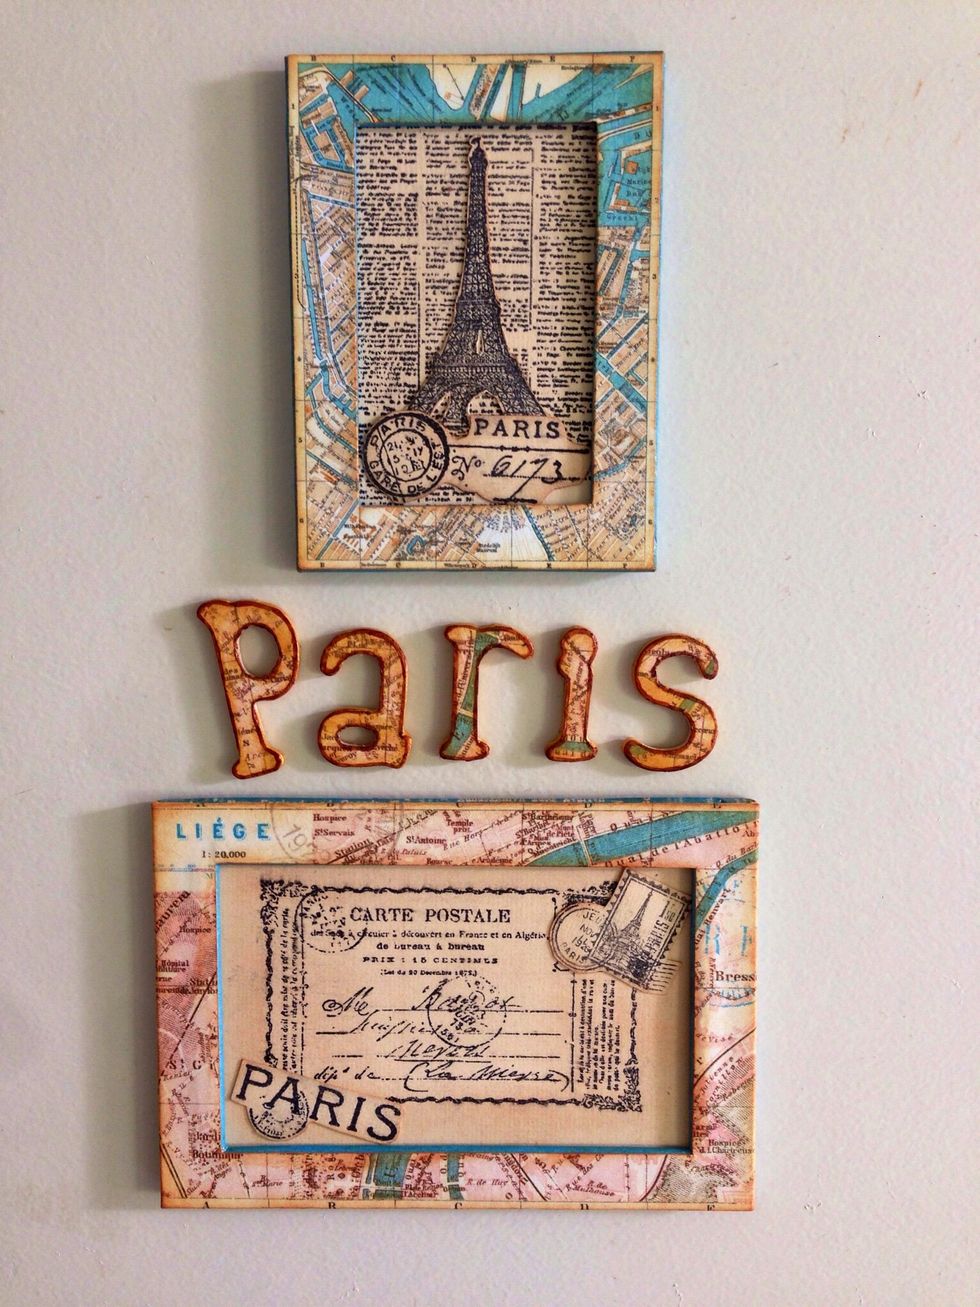
You can use the remaining cut out ephemera to line onto some wooden alphabets like what I've done here...
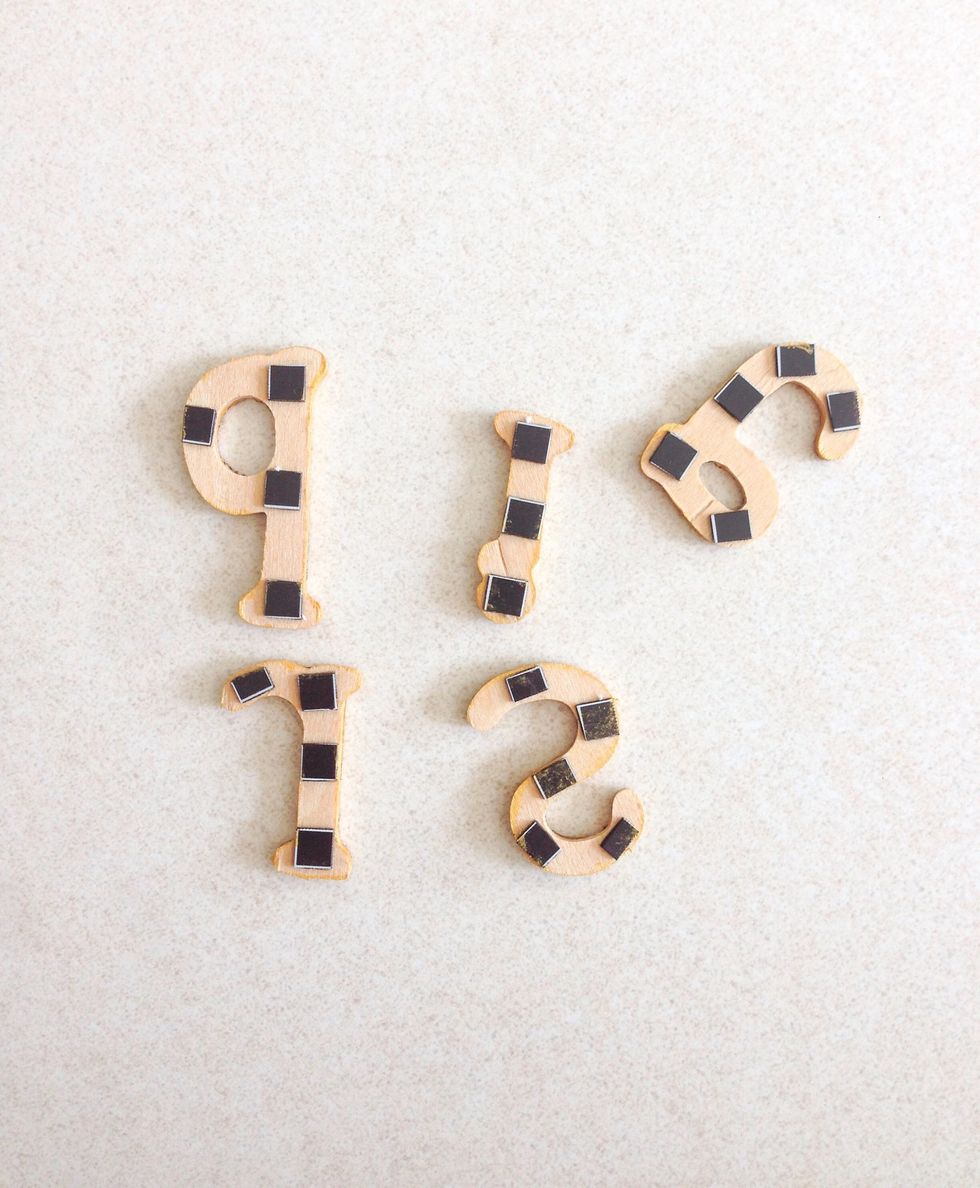
Cut some self-adhesive magnetic sheets into smaller sizes and stick onto the back...
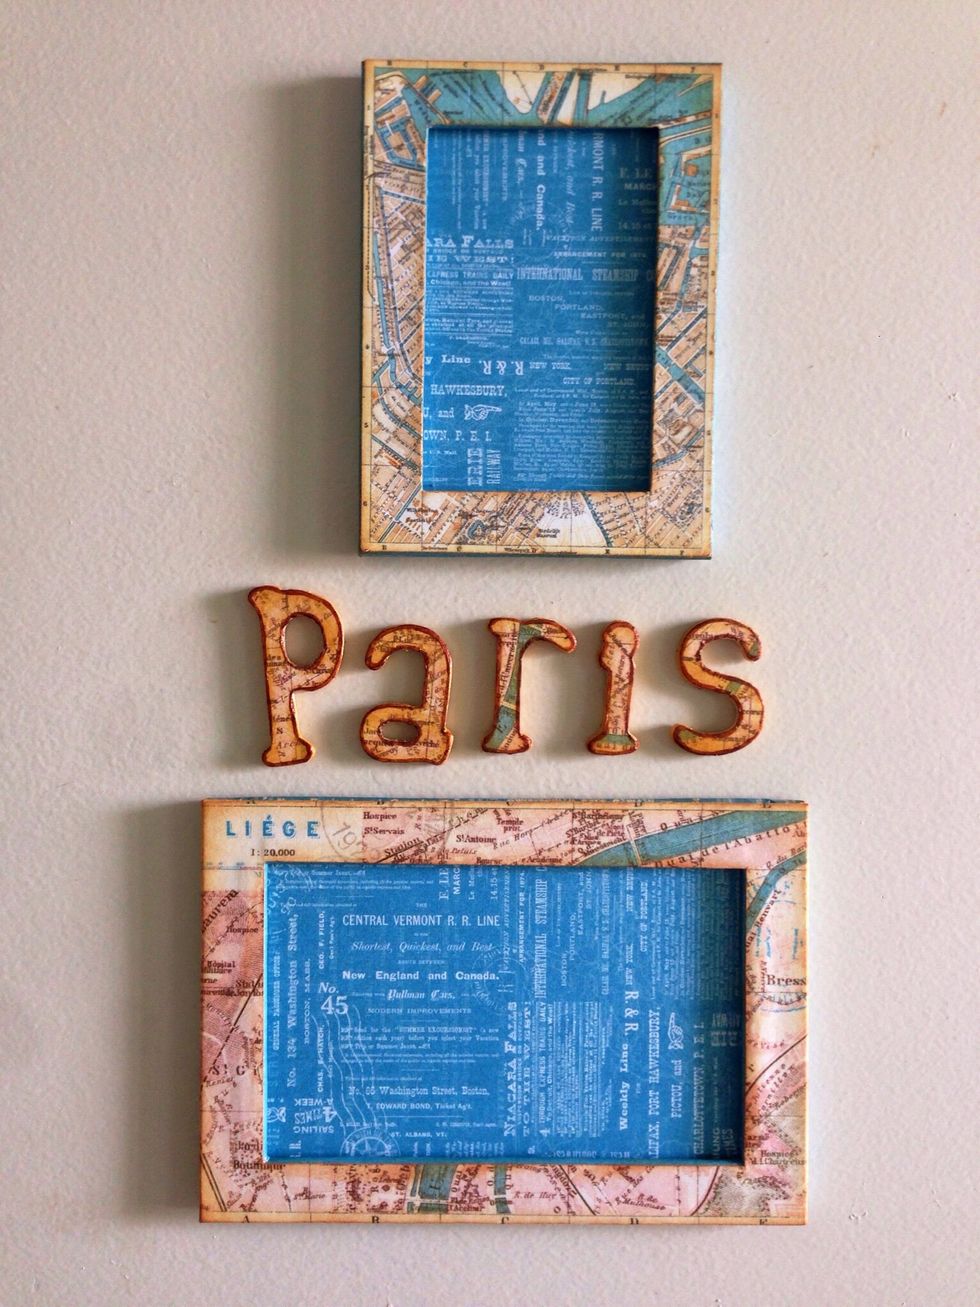
I've used another map ephemera to create one more frame... Here showing 2 travel map frames and the word "Paris" on my steel door...
Display them with your photos or any vintage ephemera like what I’ve done here using various Graphic 45 stamps… Have fun!!!