The Conversation (0)
Sign Up

Download and print tomb party template at http://goo.gl/lr3kFy... Print or trace them onto a thicker cardboard...
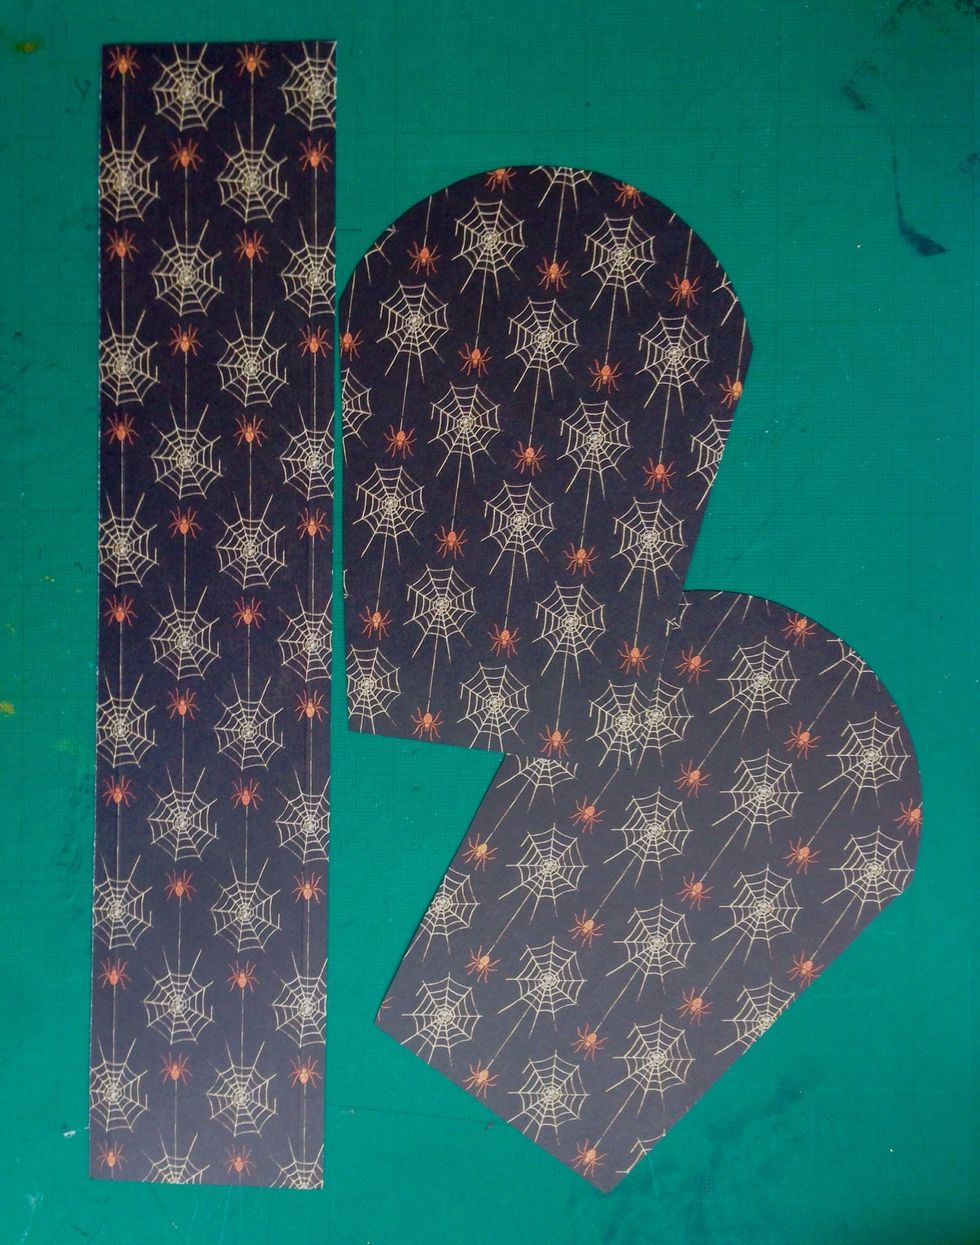
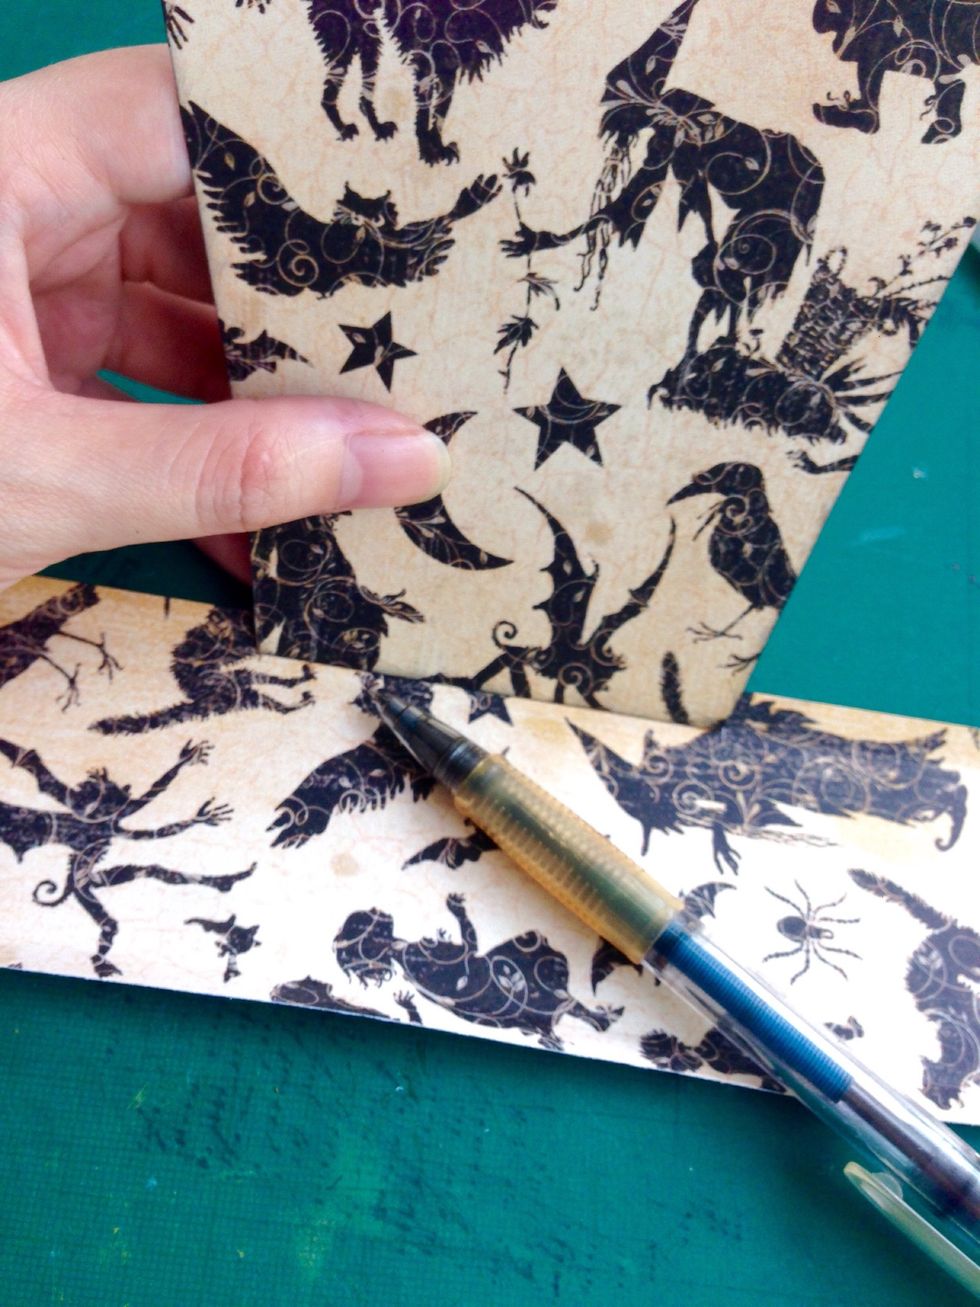
Trace the tomb template onto a pattern paper of choice; you will need 2 of them... And cut a 2.5" x 12" strip of paper as well...
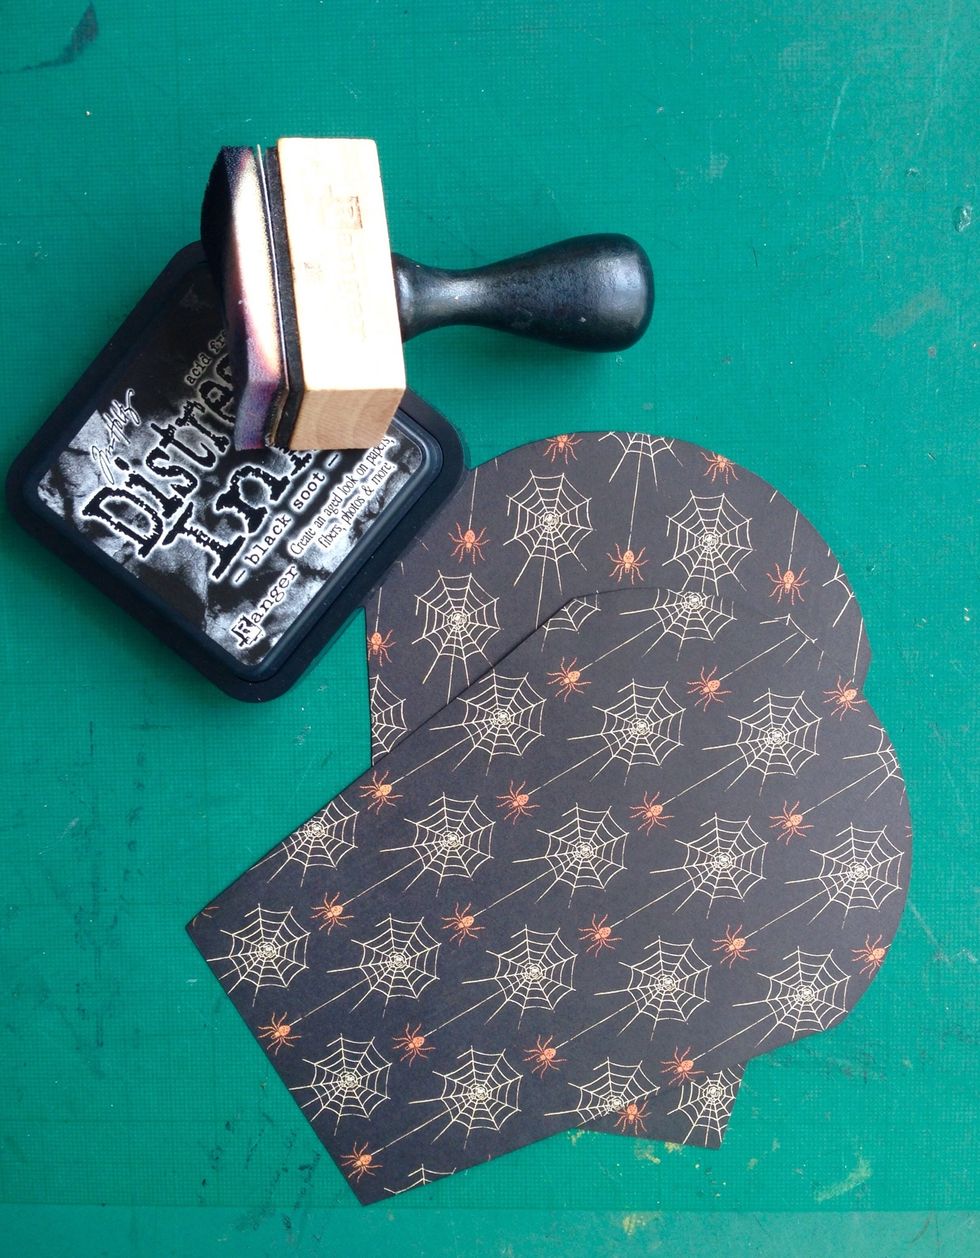
Distress the edges with black soot ink, if desired...
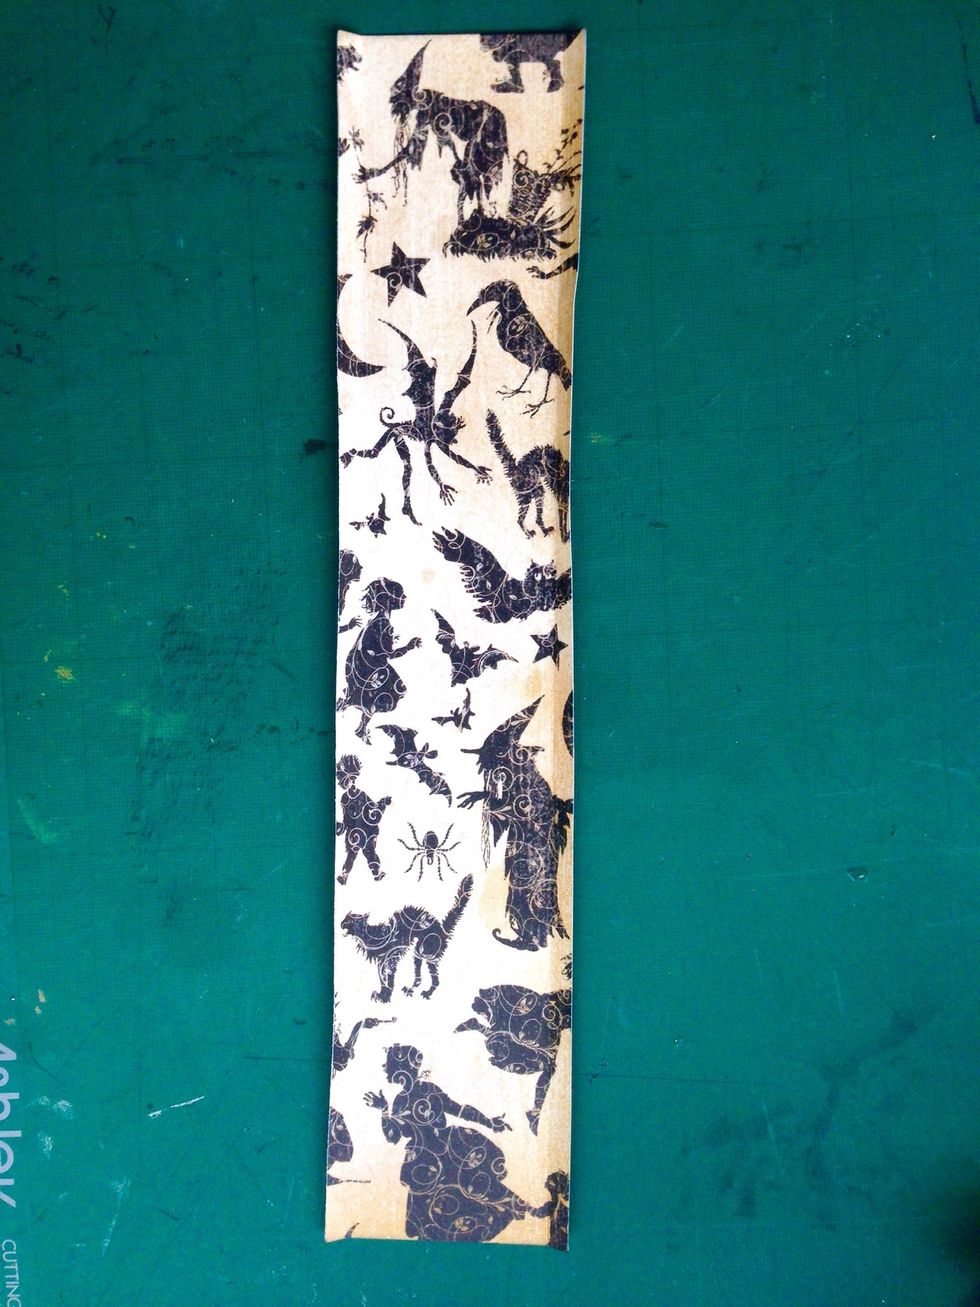
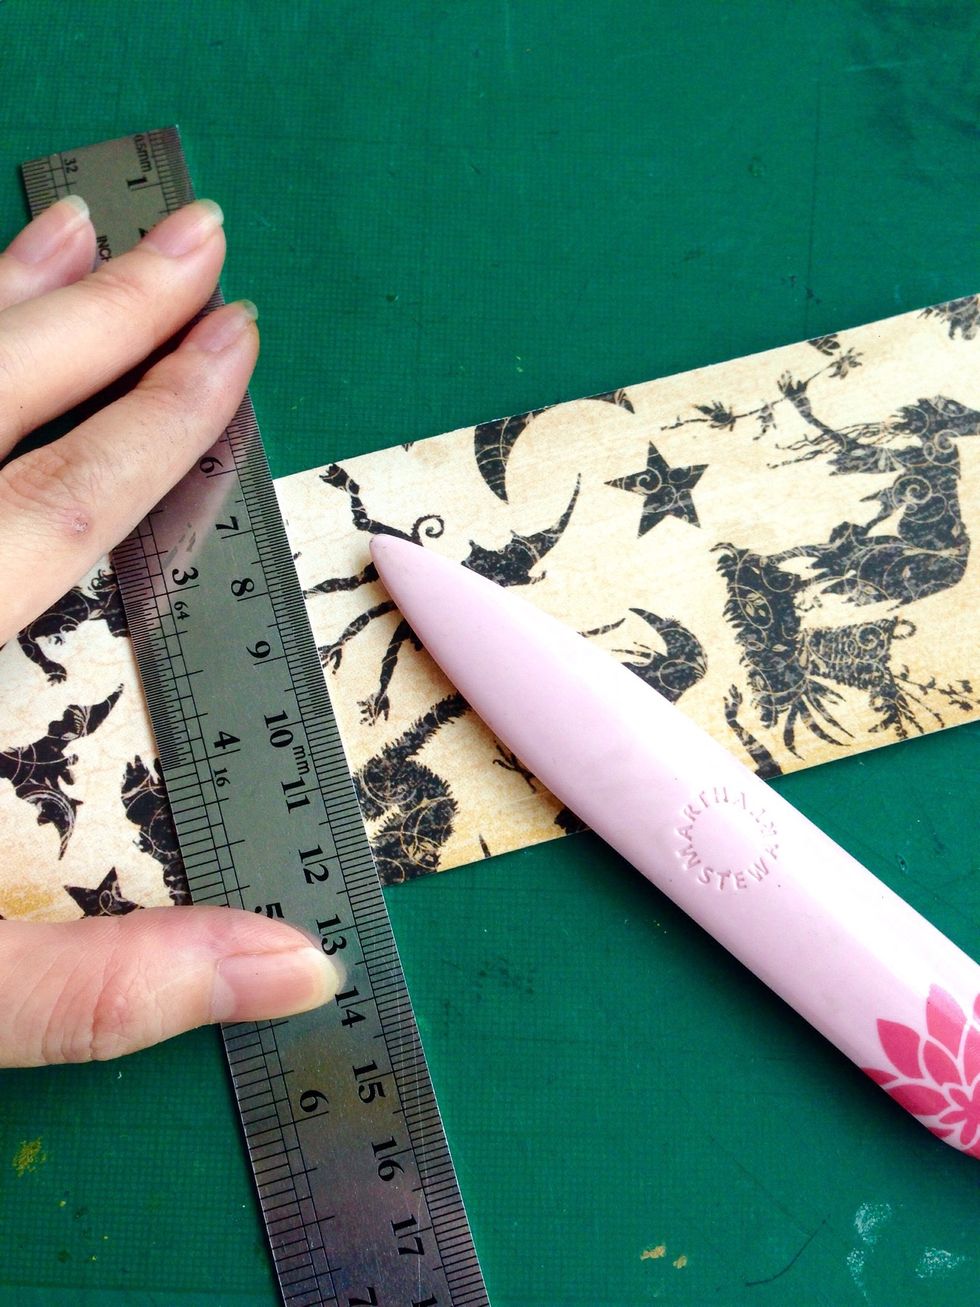
Score 0.25" at both sides of the strip as shown... This strip will serve as the connecting piece of the gift bag...
Using one of the tomb cut out or template, place along the side onto the strip... Make a marking using a pencil...
Turn it around and mark the base... You will have 2 pencil markings on the strip... Turn it down again to the other side, if it's longer, trim to fit...
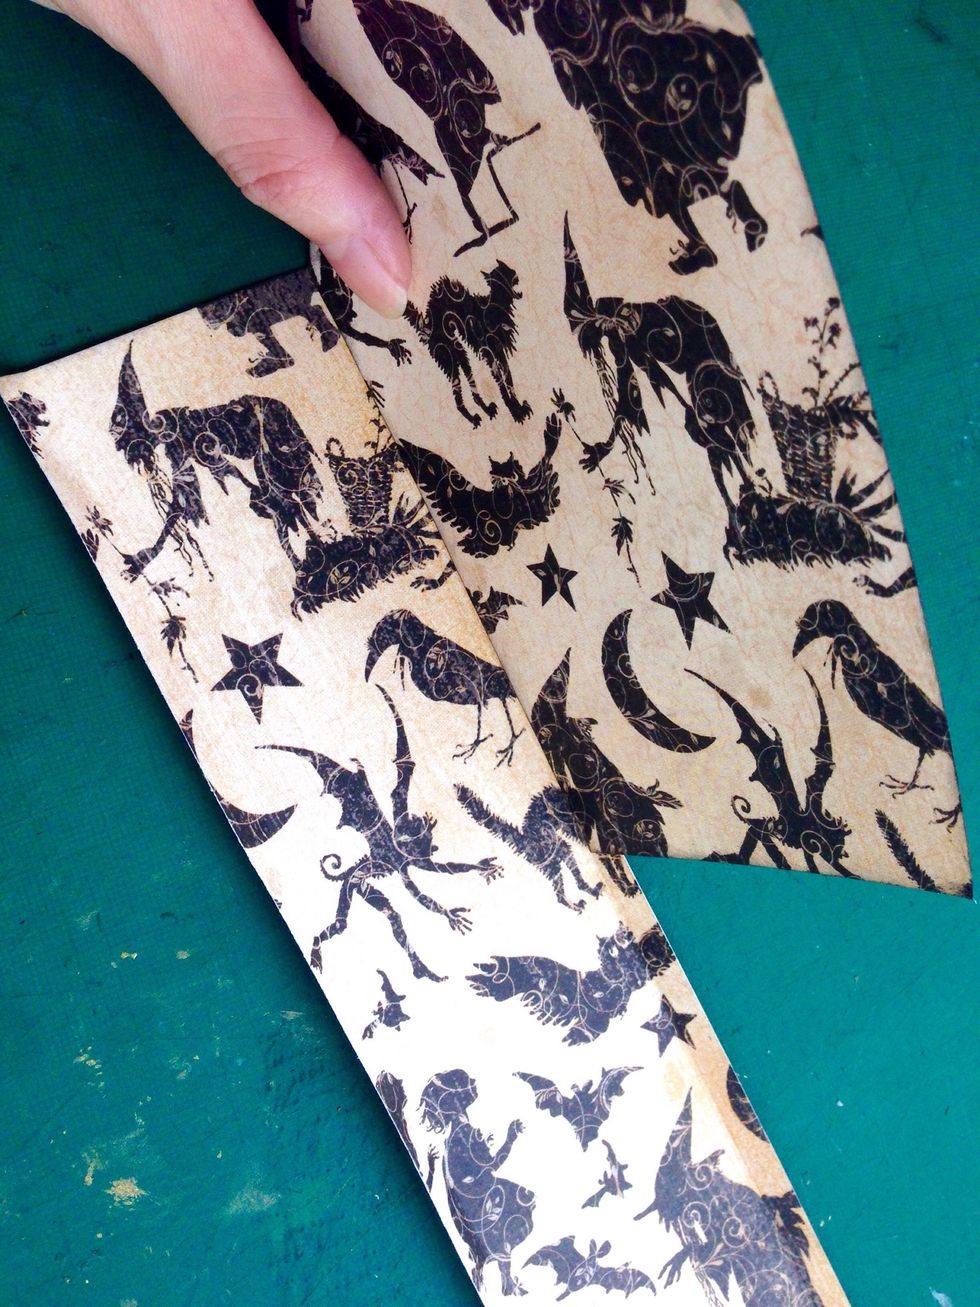
Score the markings down...
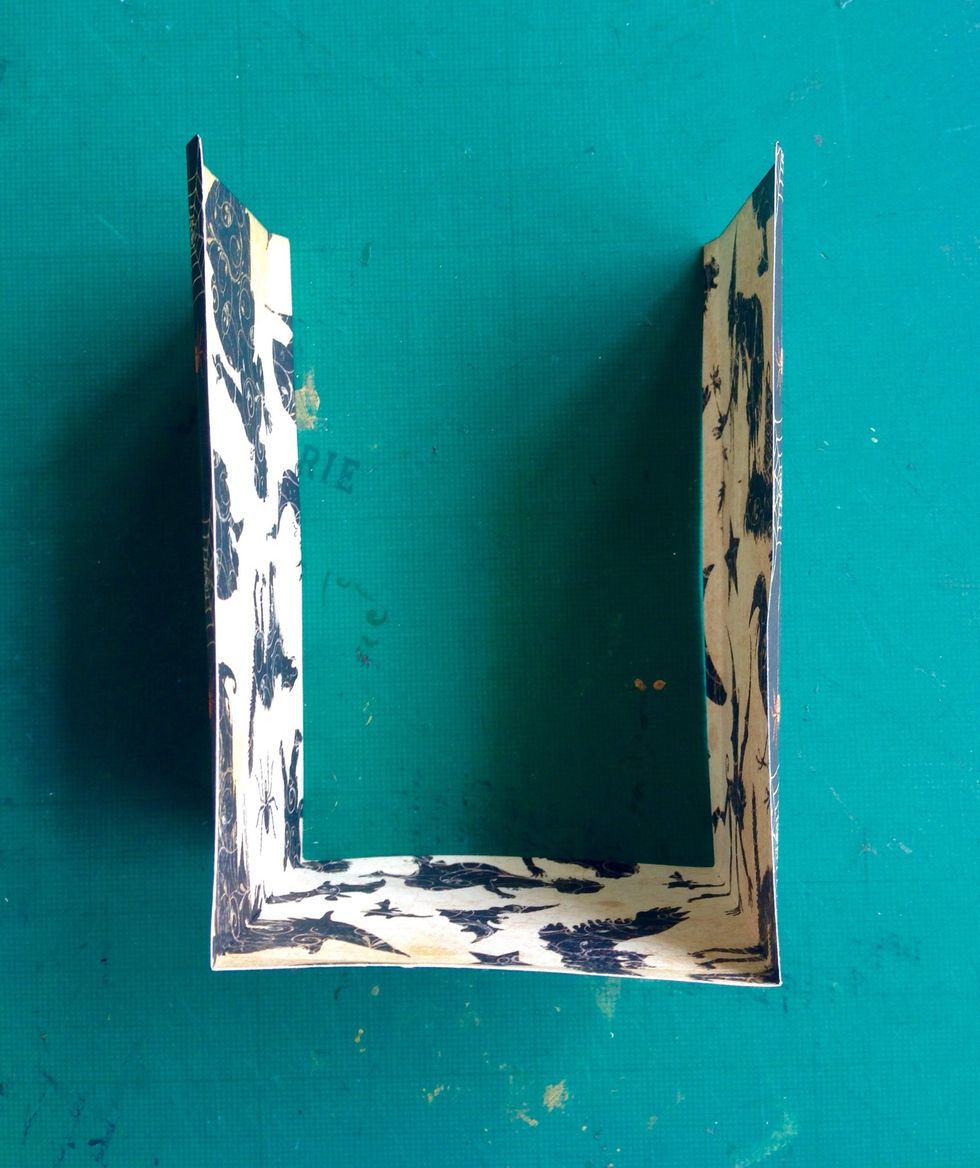
And you will get this U-shaped strip...
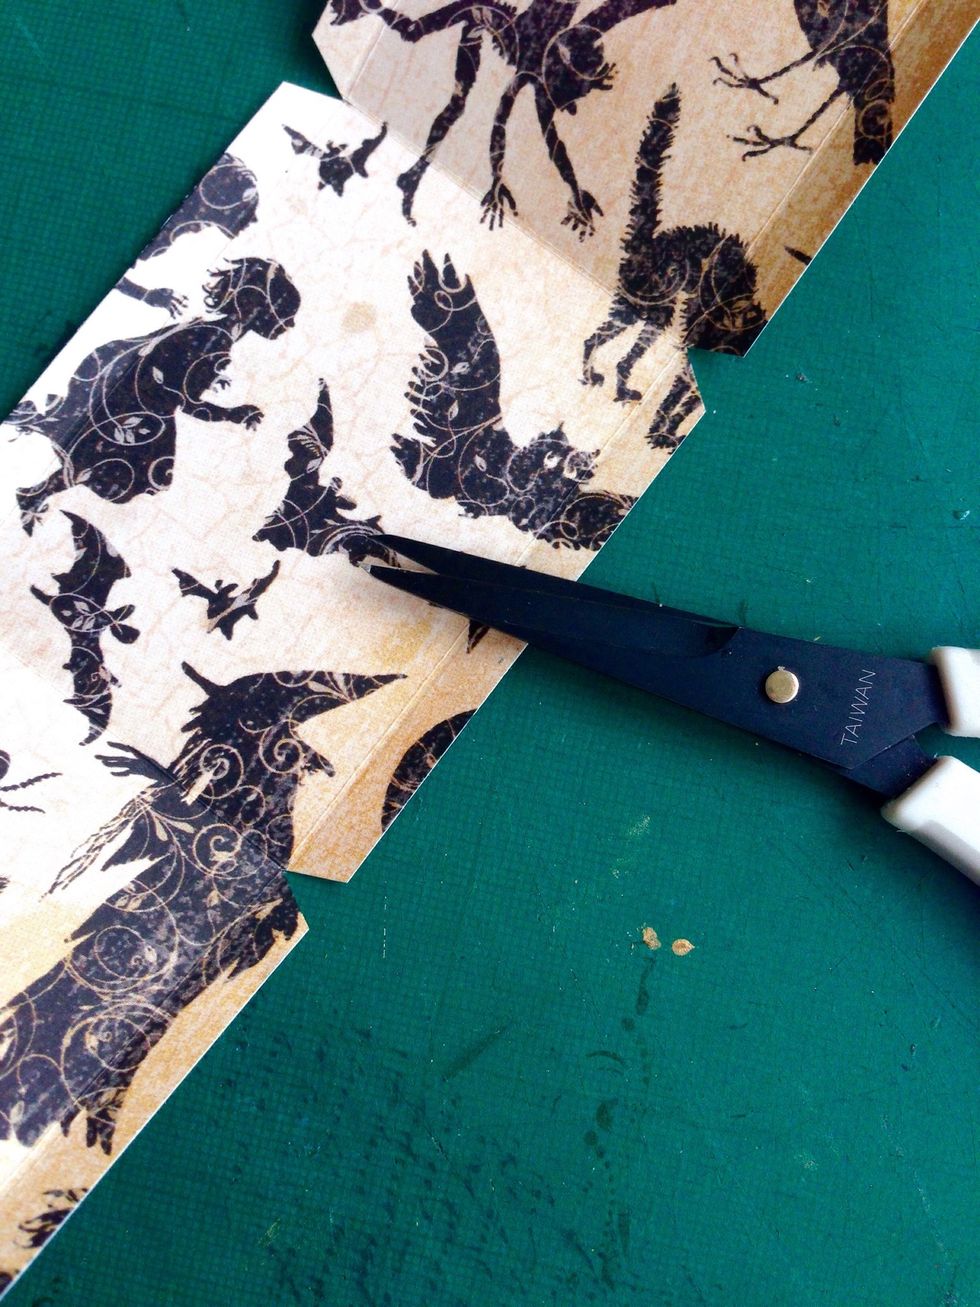
Snip in between the scored marks as shown... This is for easy assembly...

At the ends as well...

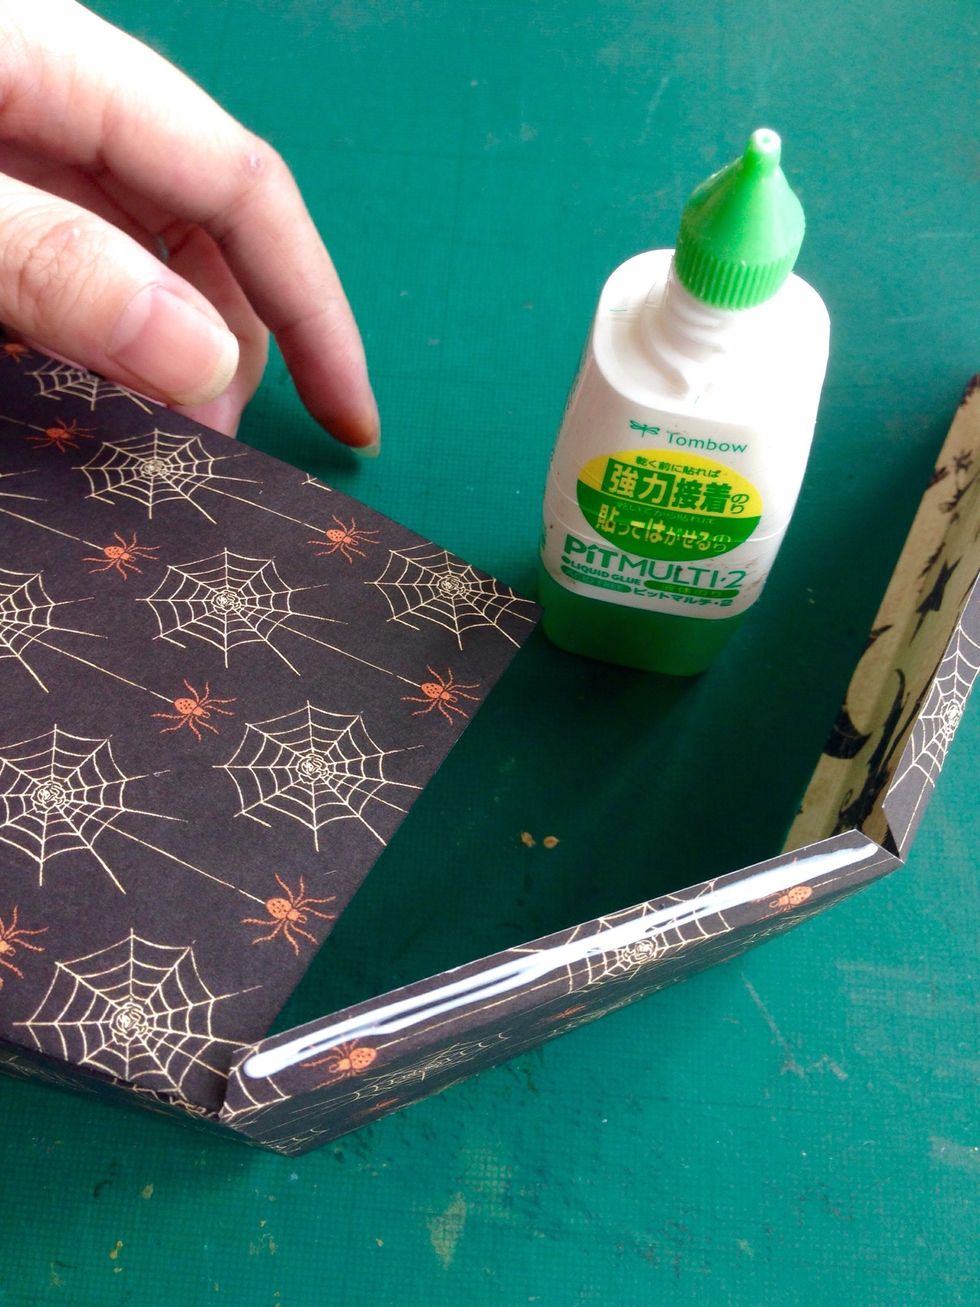
Apply glue onto one side of the strip as shown...

Glue down one side of the tomb cut out...
Apply glue at the base of the strip as shown...

Glue the tomb cut out down to the base...
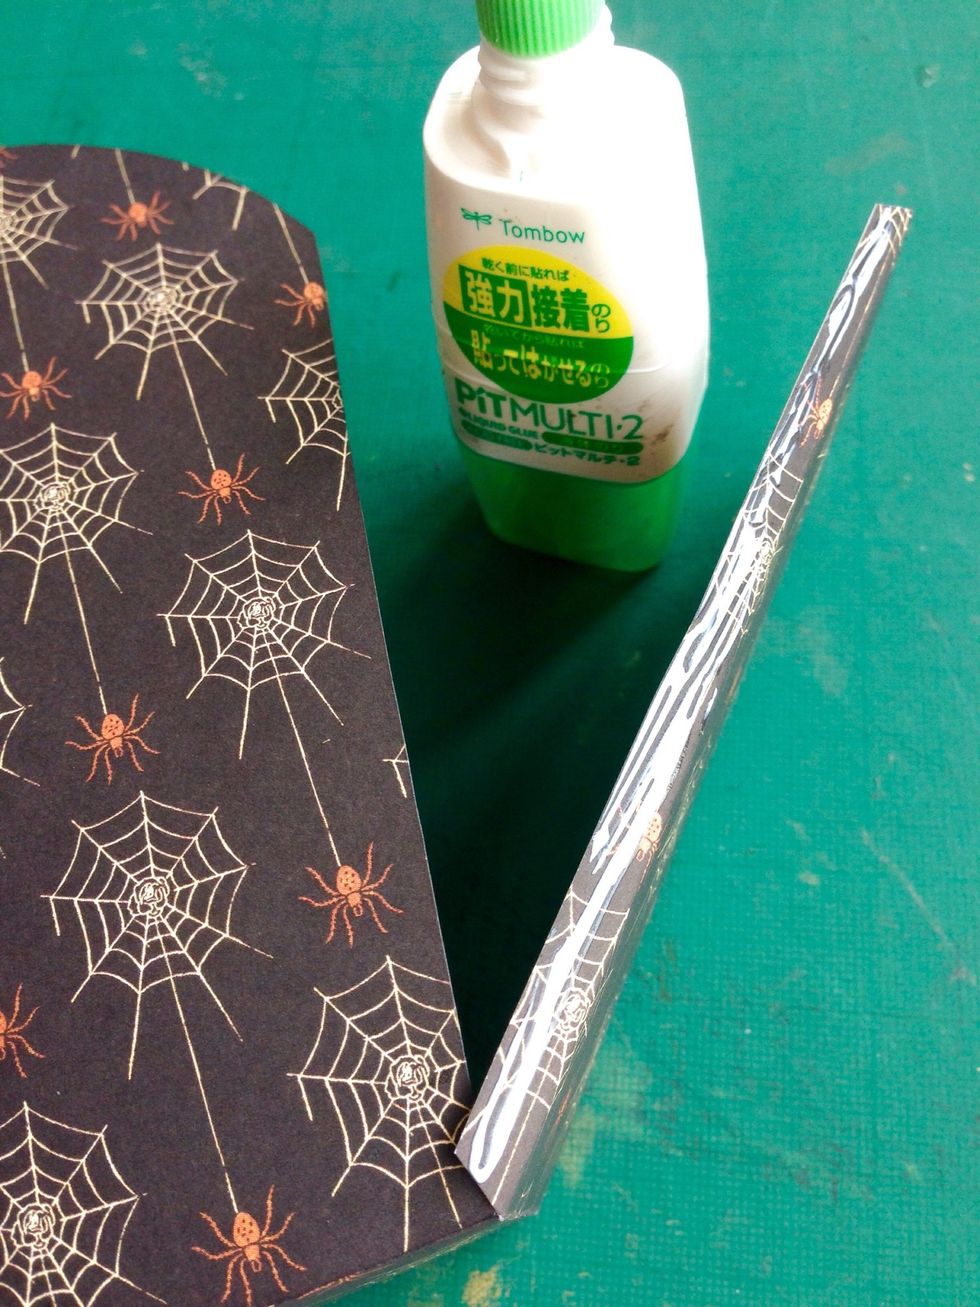
Lastly, apply glue on the other side of the strip... Finish off by gluing in the last part of the tomb cut out...
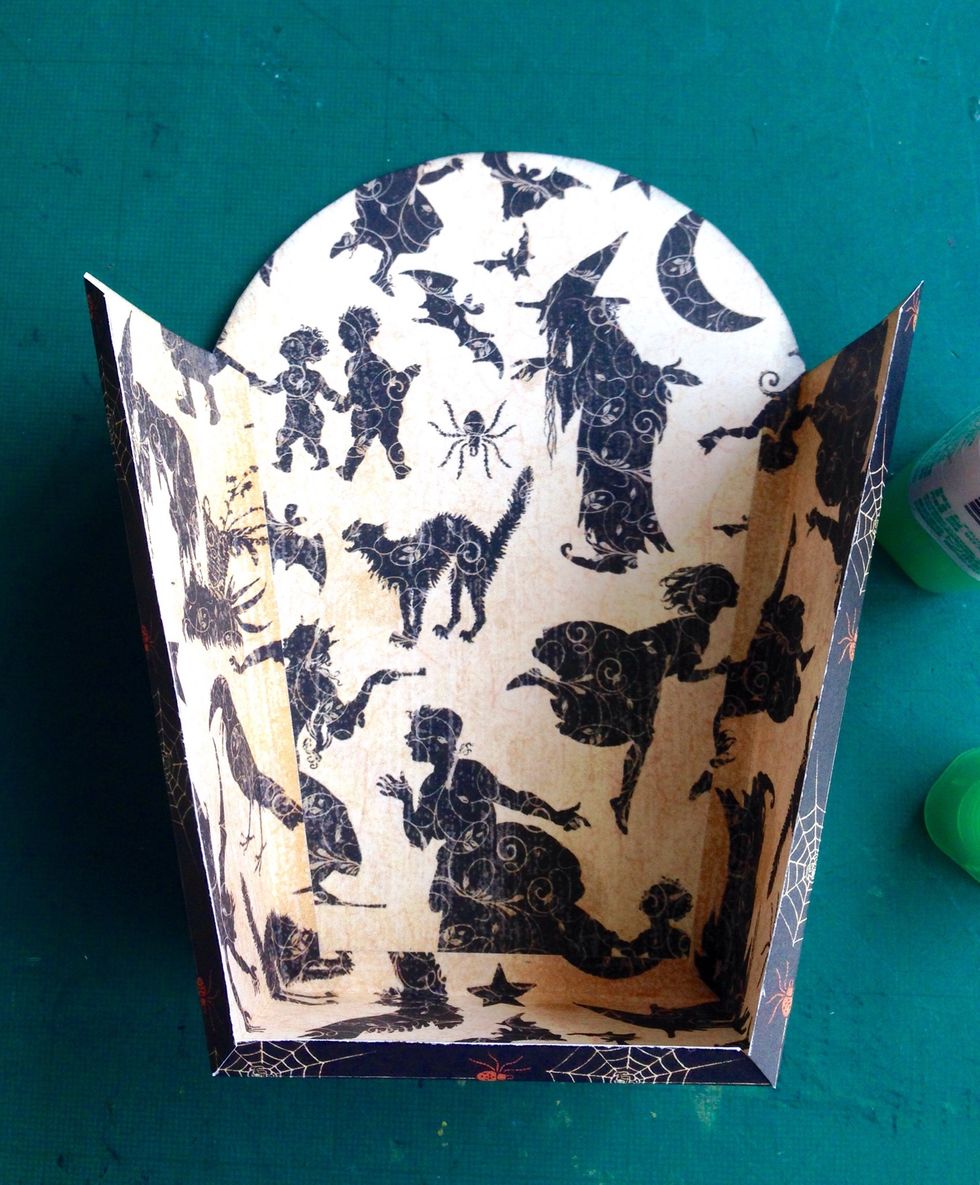
This is what you will get will the strip attached at the reverse side...
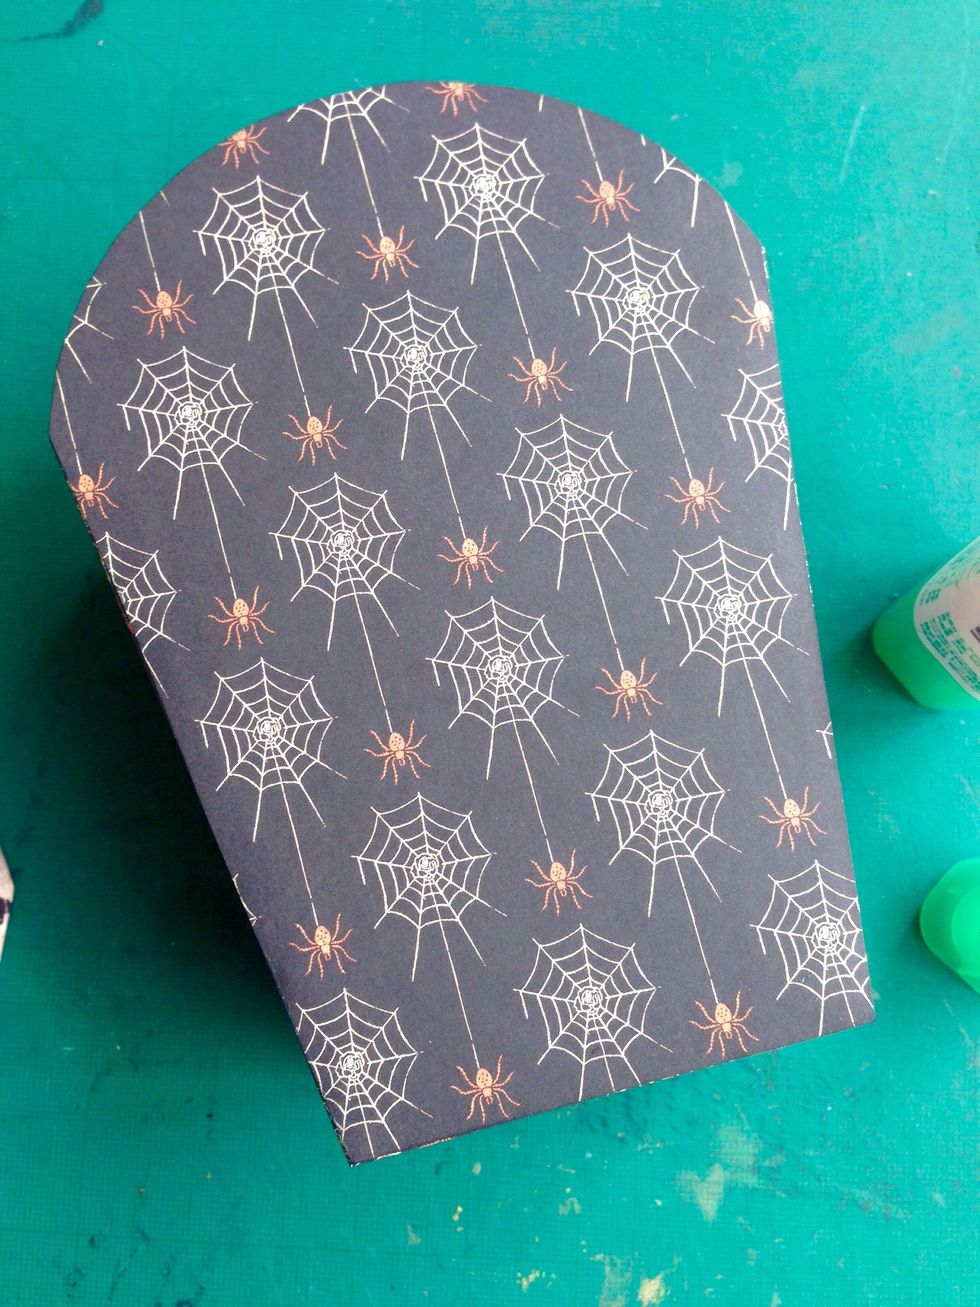
Finally, close the gift bag by gluing down the other piece of tomb cut out...

And the tomb party gift bag is done!!!
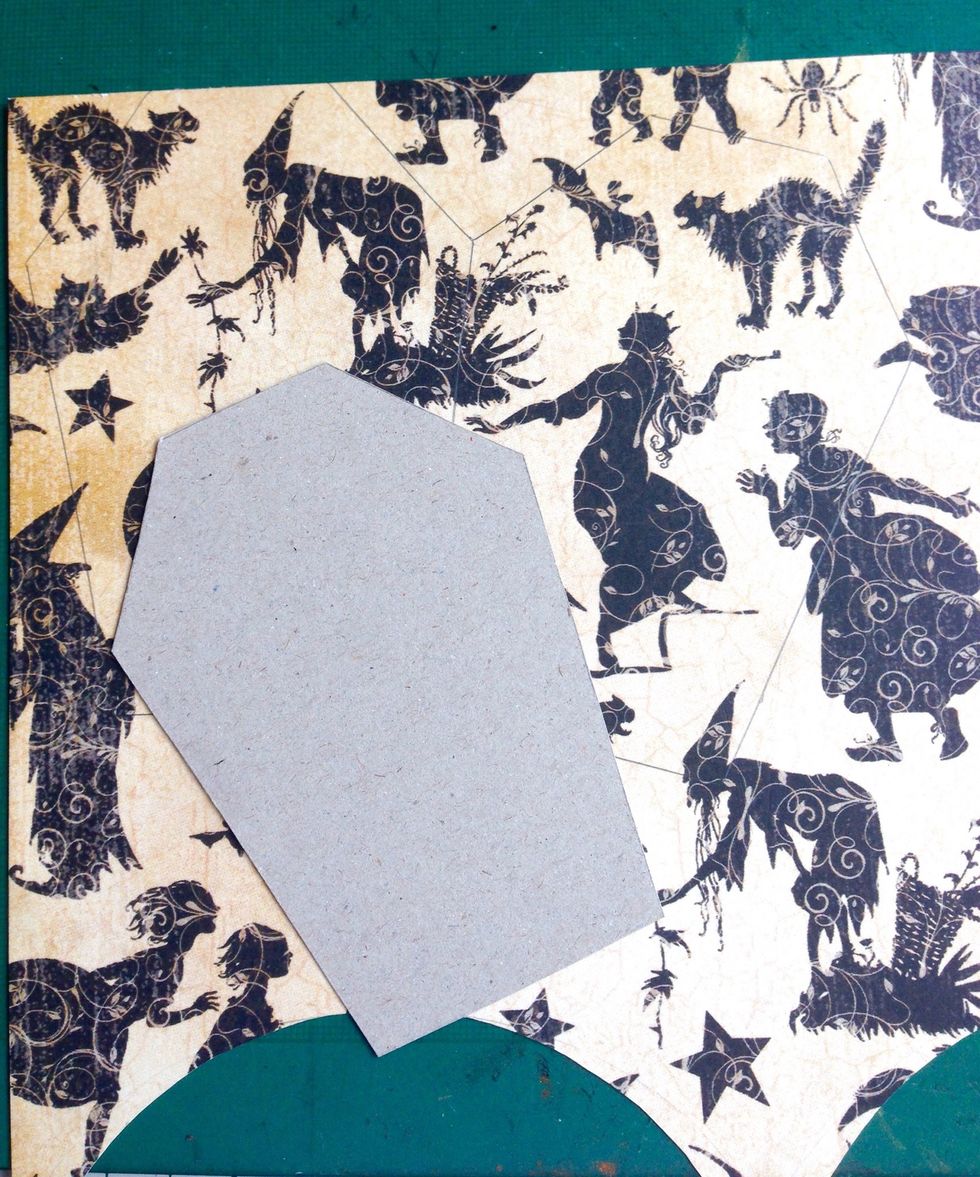
Print or trace the tombcard template onto cardboard... Use the template to trace onto the pattern paper by flipping the template at the side joining them together as shown...
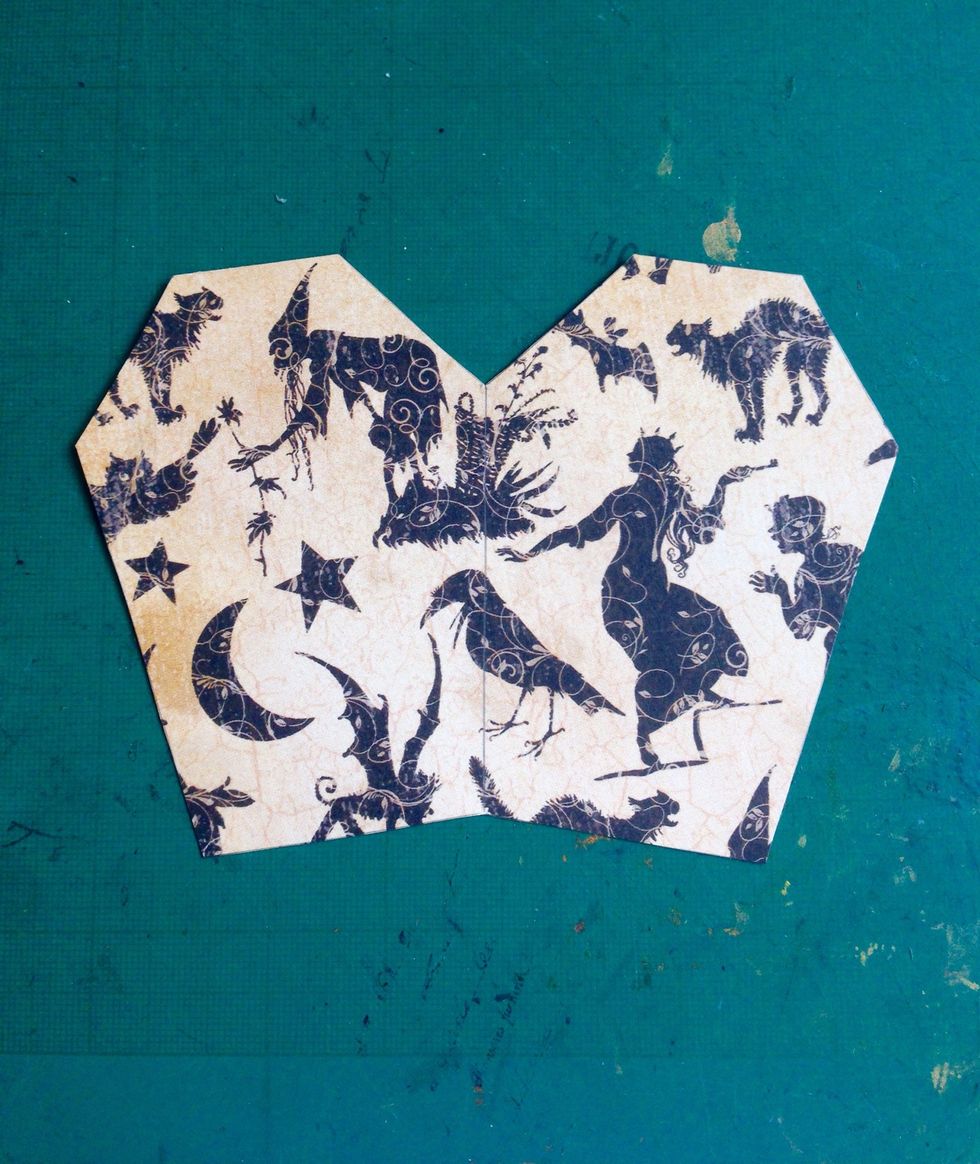
This is what you will get after cutting out... This will be the pocket for the tomb card...

Fold the cut out into half, as indicated by the center line...

Cut a strip of 0.5" and fold info half...
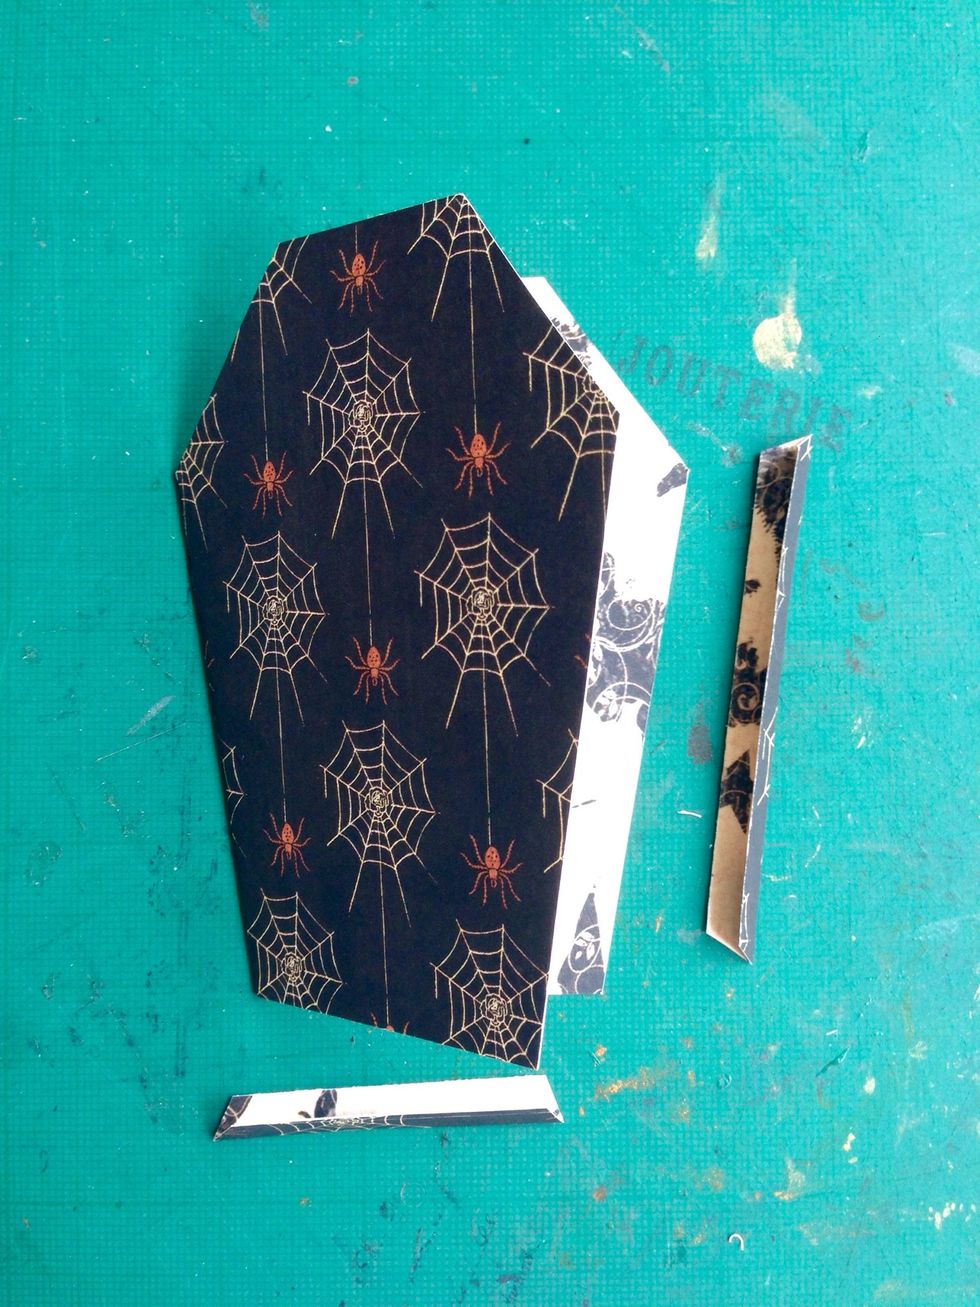
Estimate and measure, cut the strip accordingly to the base and side... These will serve as connecting strips for the pocket...

Glue down the strips onto the side as shown...

Glue down the other side and the pocket is done!!!

Use the tombcard template and trace one single card out onto a black cardstock... This will be the card for the pocket... And you are all done for embellishing!!!
There's a total of 4 different tomb designs, repeat all the steps for the rest of the designs... It's not necessary to use the same design as cards, you can mix and match according to your needs...
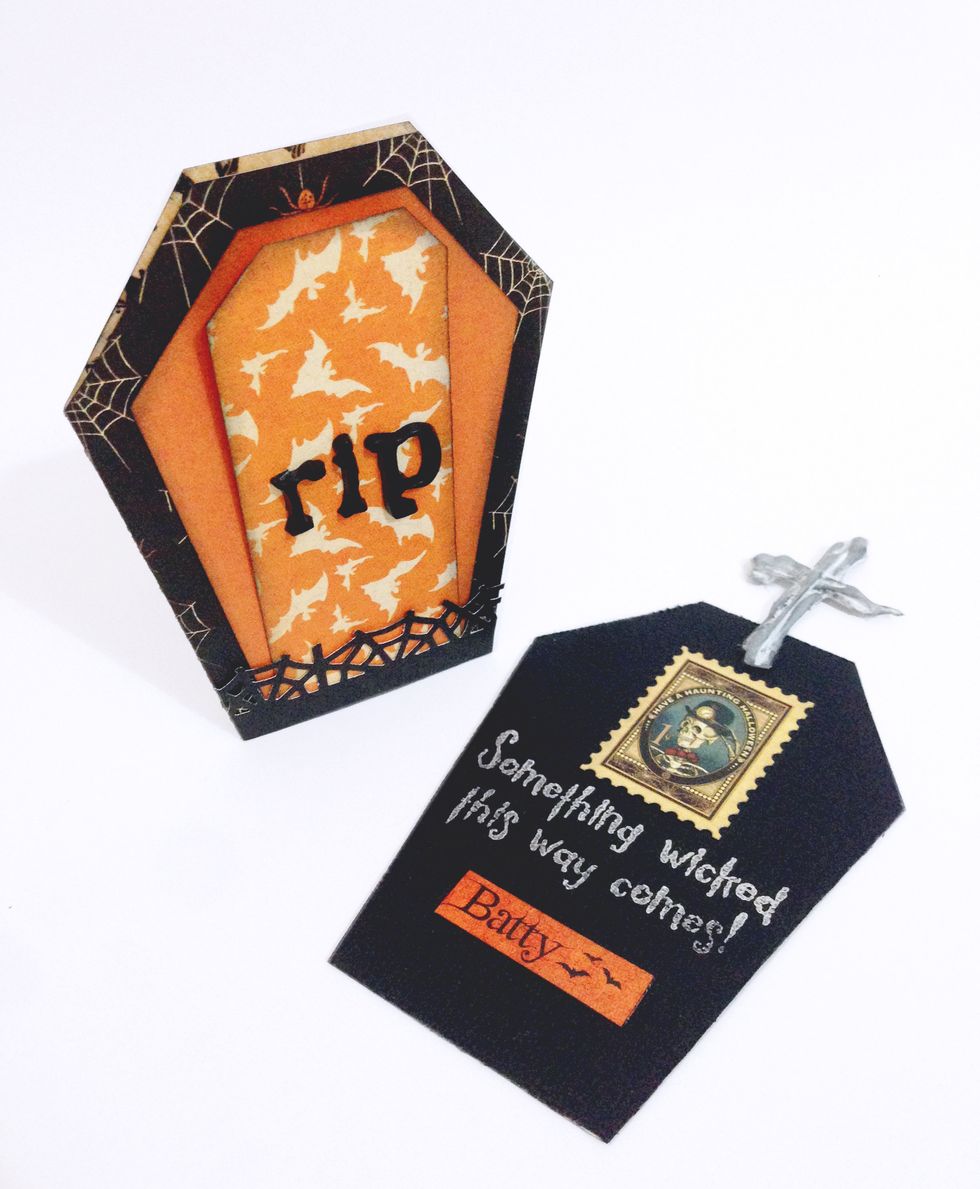
This is what I've done for the pocket and invitation card... Feel free to embellish and create your very own...
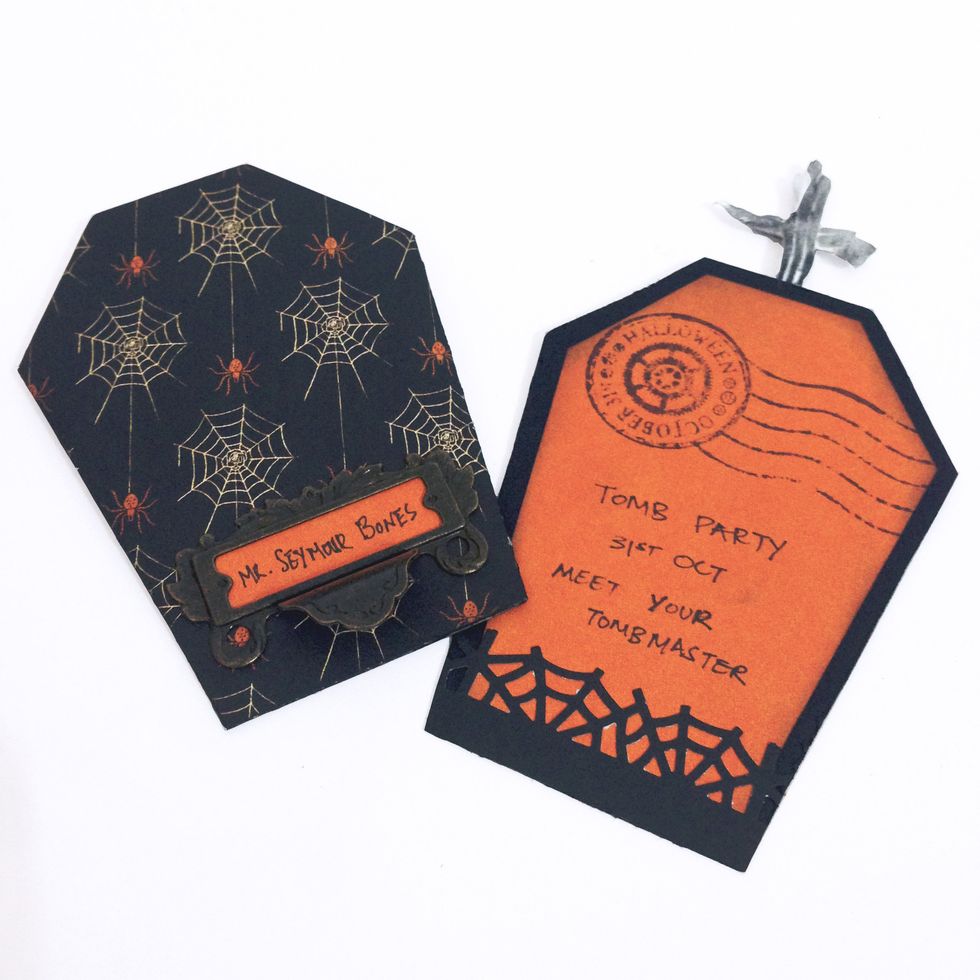
I place a label staple at the back of the pocket so that it could serve as a stand...
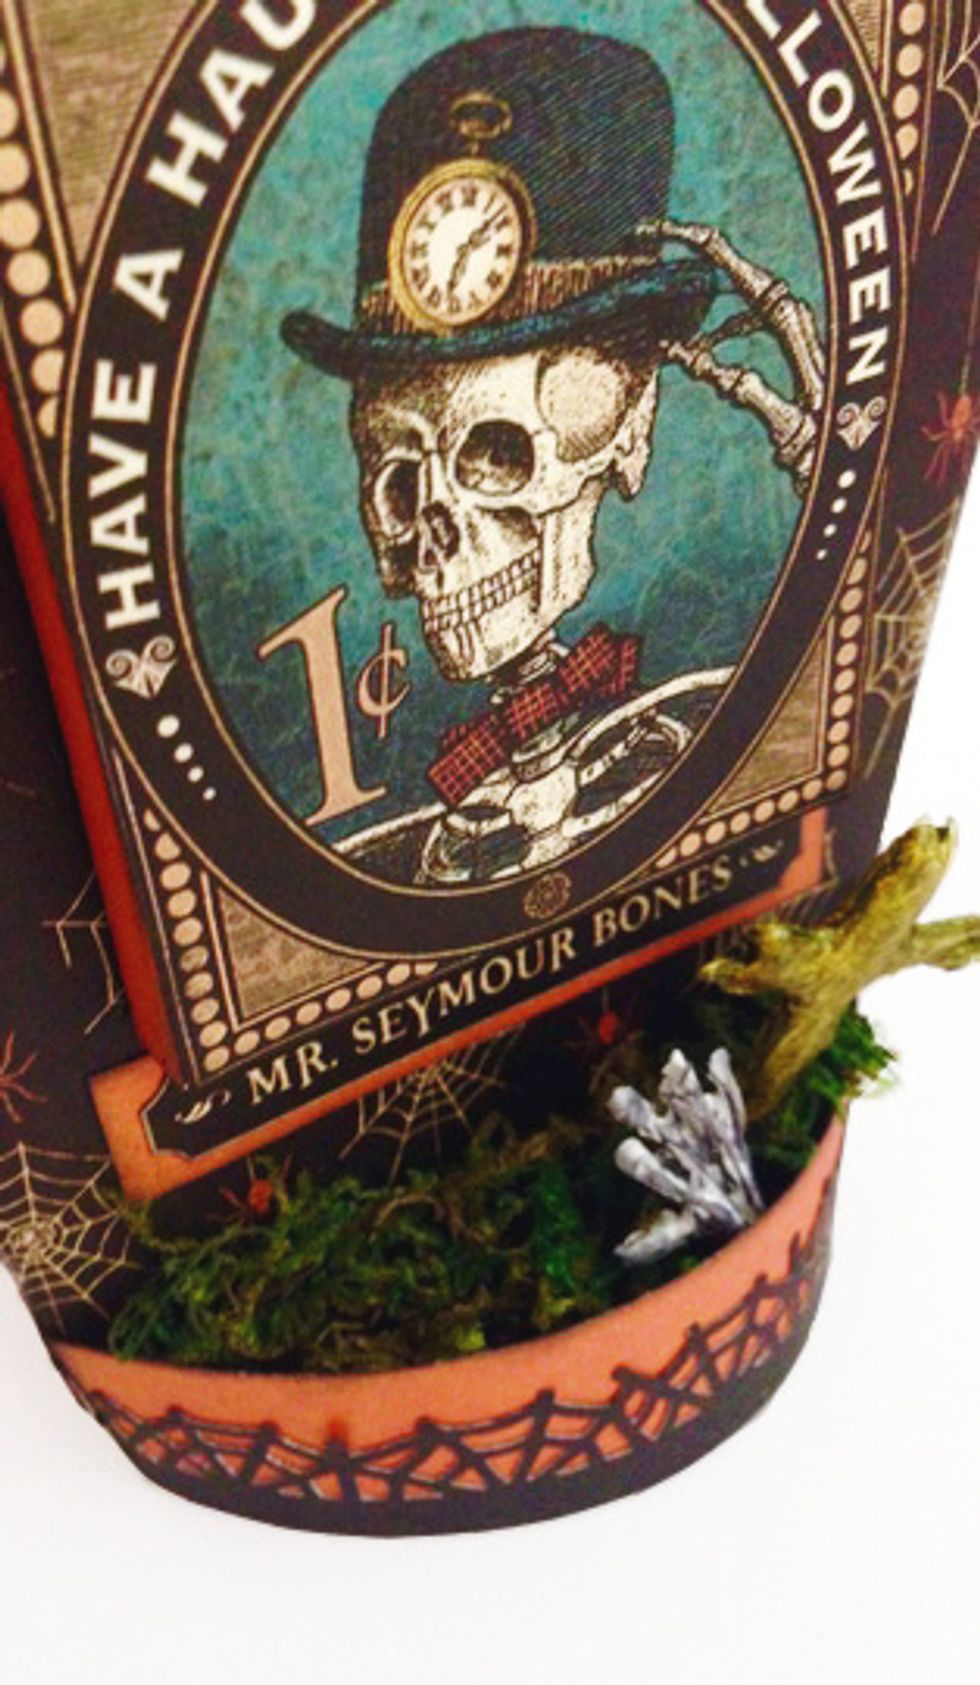
For the tomb gift bag, I created this little balcony at the bottom... I place some dried reindeer moss in the balcony, handmade cross and skeleton hand to make it more spooky...

Optional - spray some black chalk mist onto tissue paper and insert them into the gift bag...
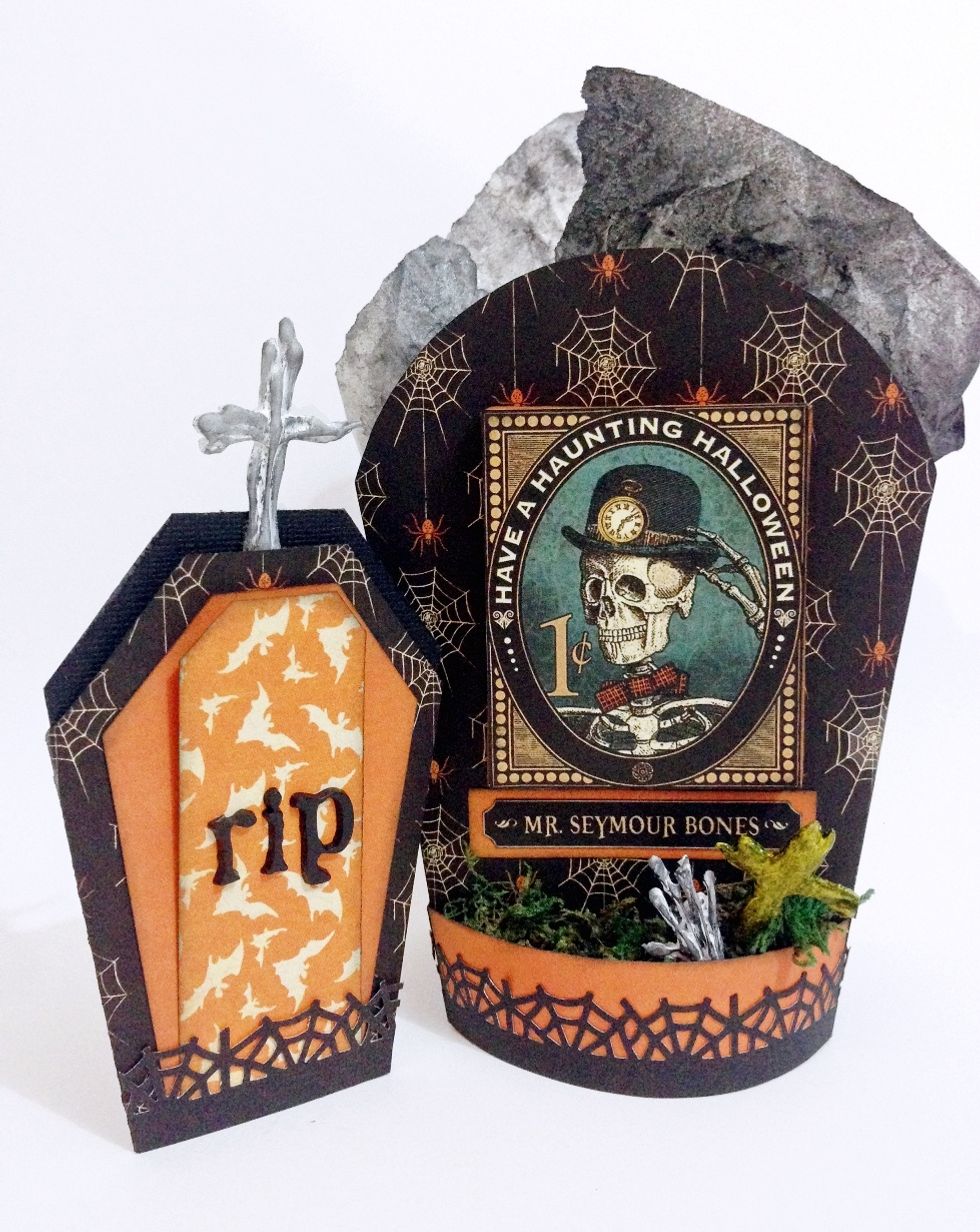
The complete tomb party gift set for Mr. Seymour Bones as shown...
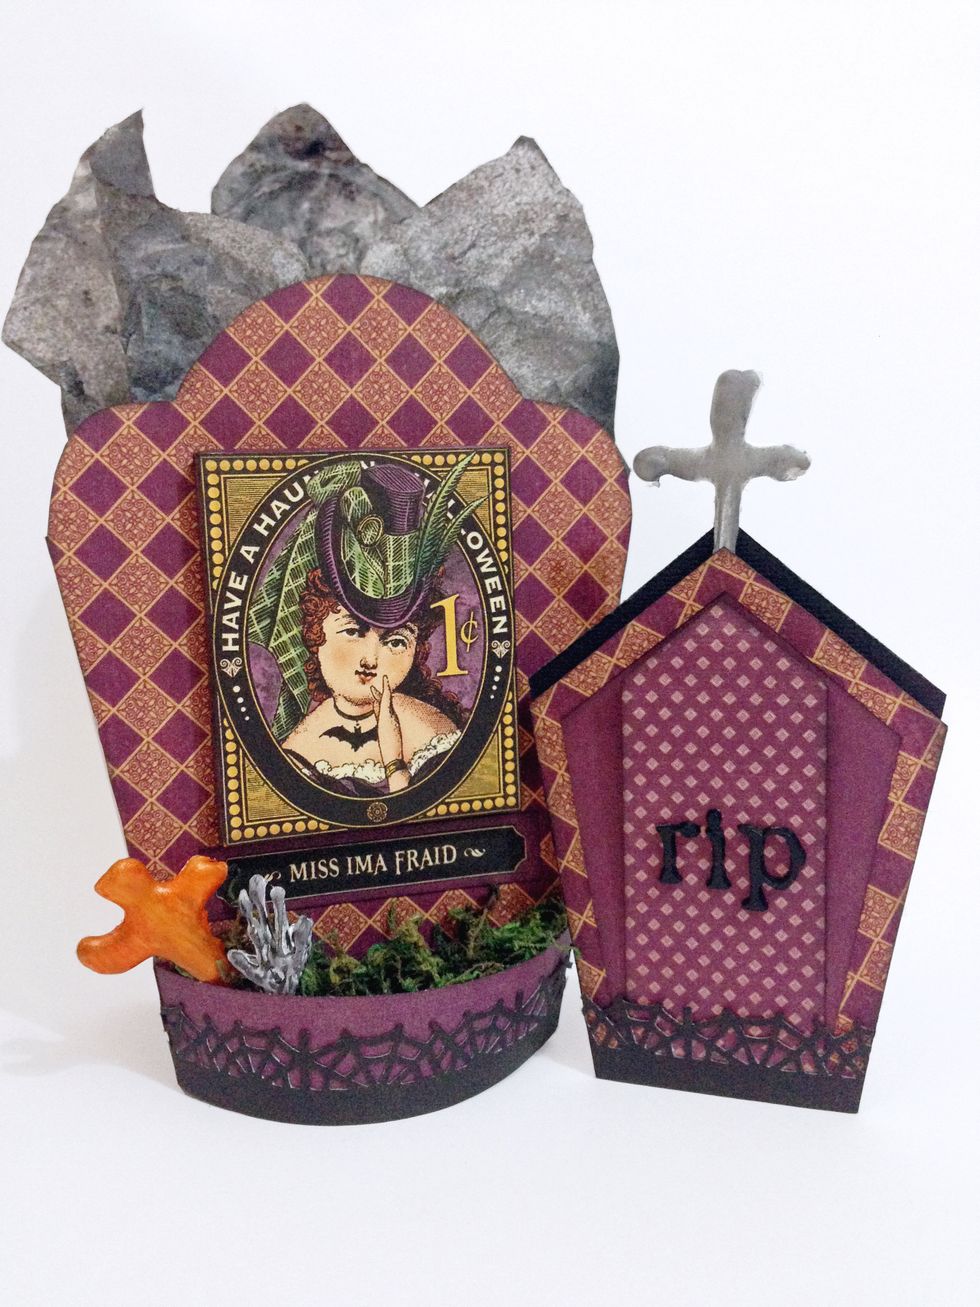
Tomb Party giftset for Miss Ima Fraid...
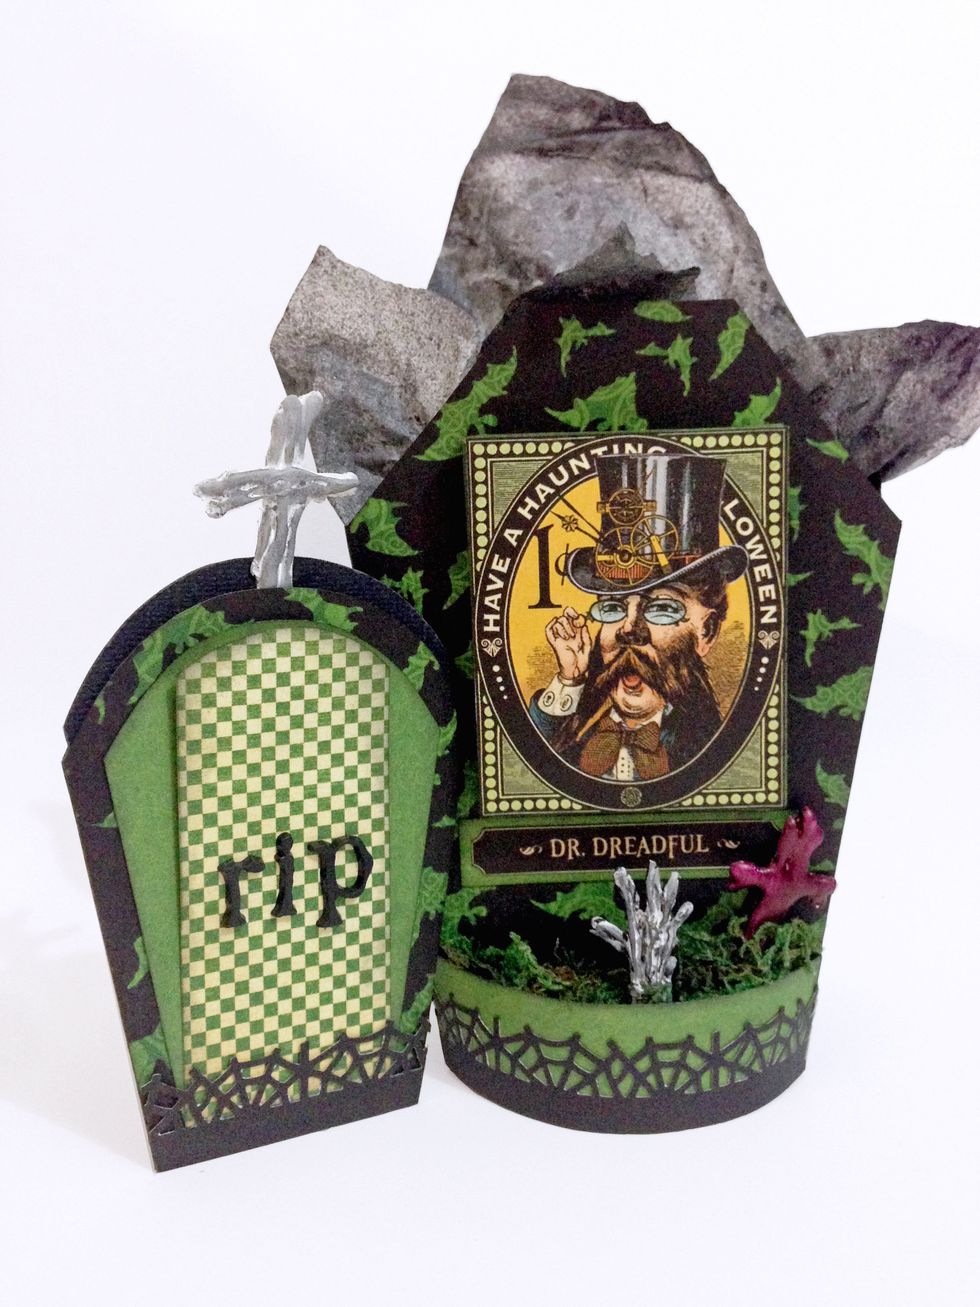
Tomb Party gift set for Dr. Dreadful...
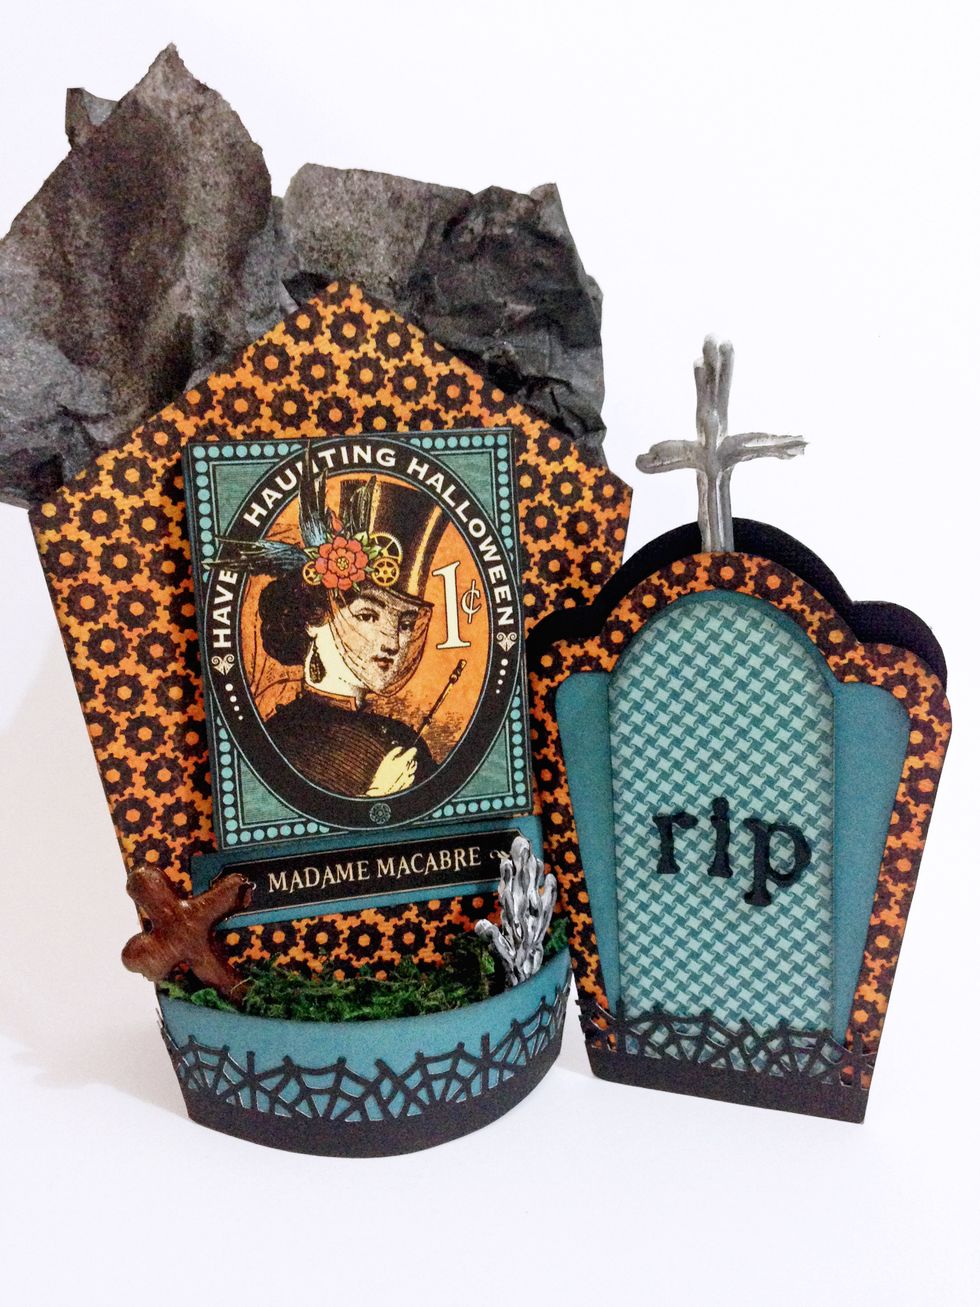
Tomb Party gift set for Madame Macabre...