The Conversation (0)
Sign Up
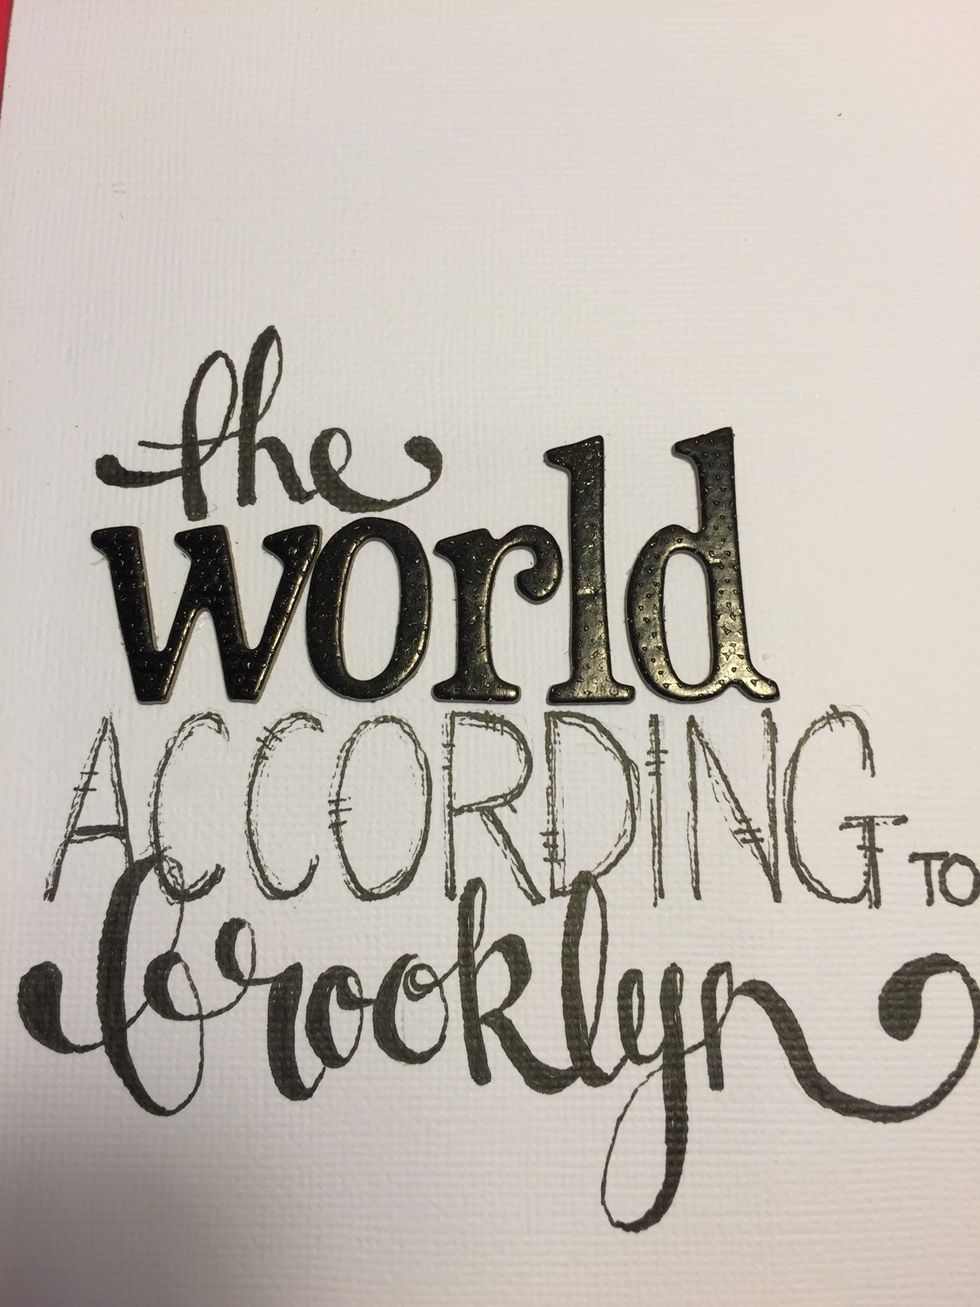
I started my page by working out my title. I used the thickers, for part of the title....then hand lettered the rest. You can lay them out lightly before you decide and use light pencil marks.
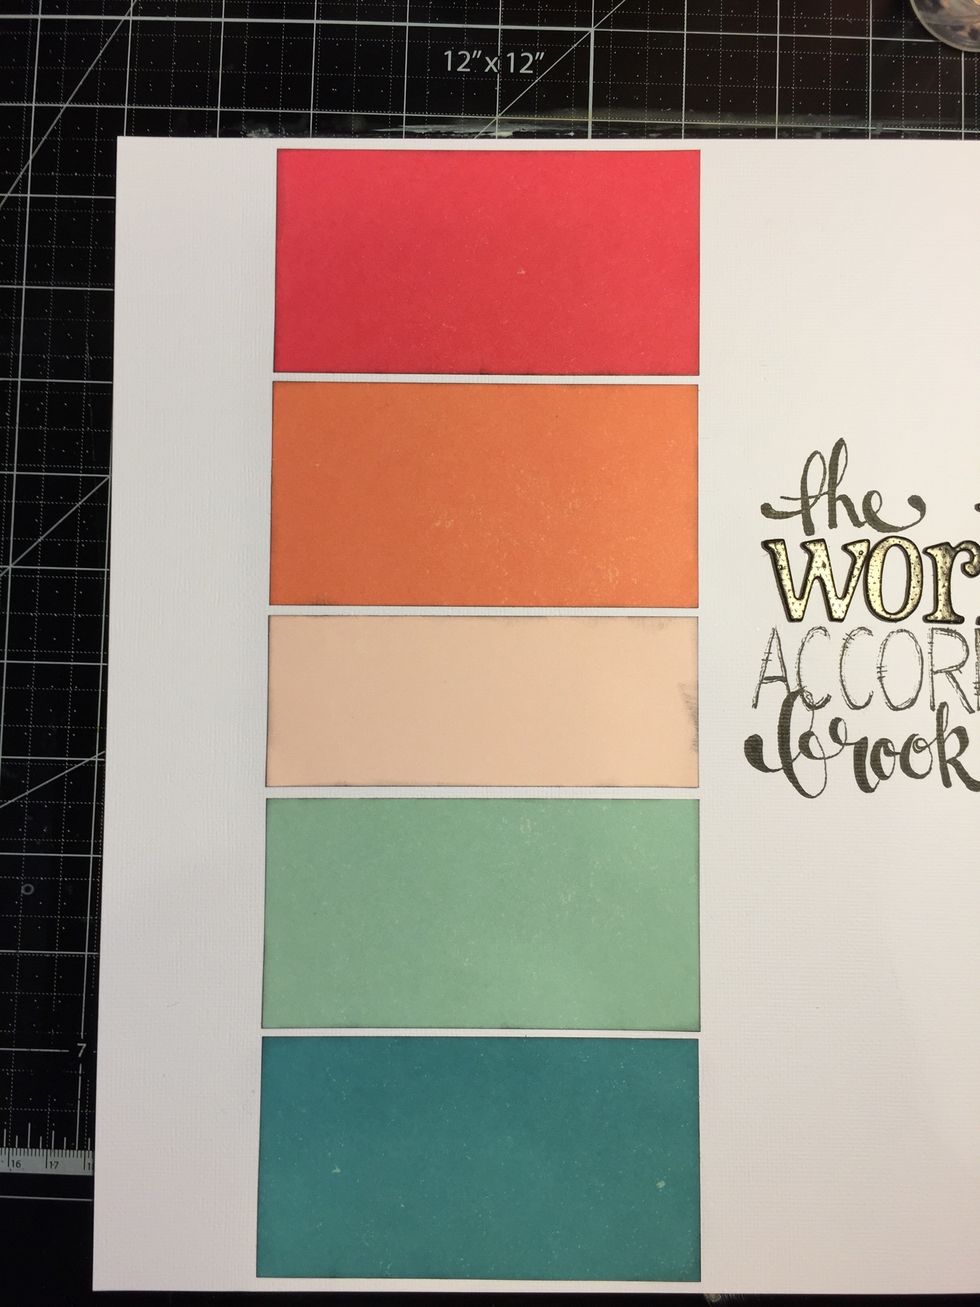
I cut apart the strips in a sheet of patterned paper in the kit. To do this cut a strip off the side the width of the pieces, mine are about 4 .5 inches wide. Then cut them apart.
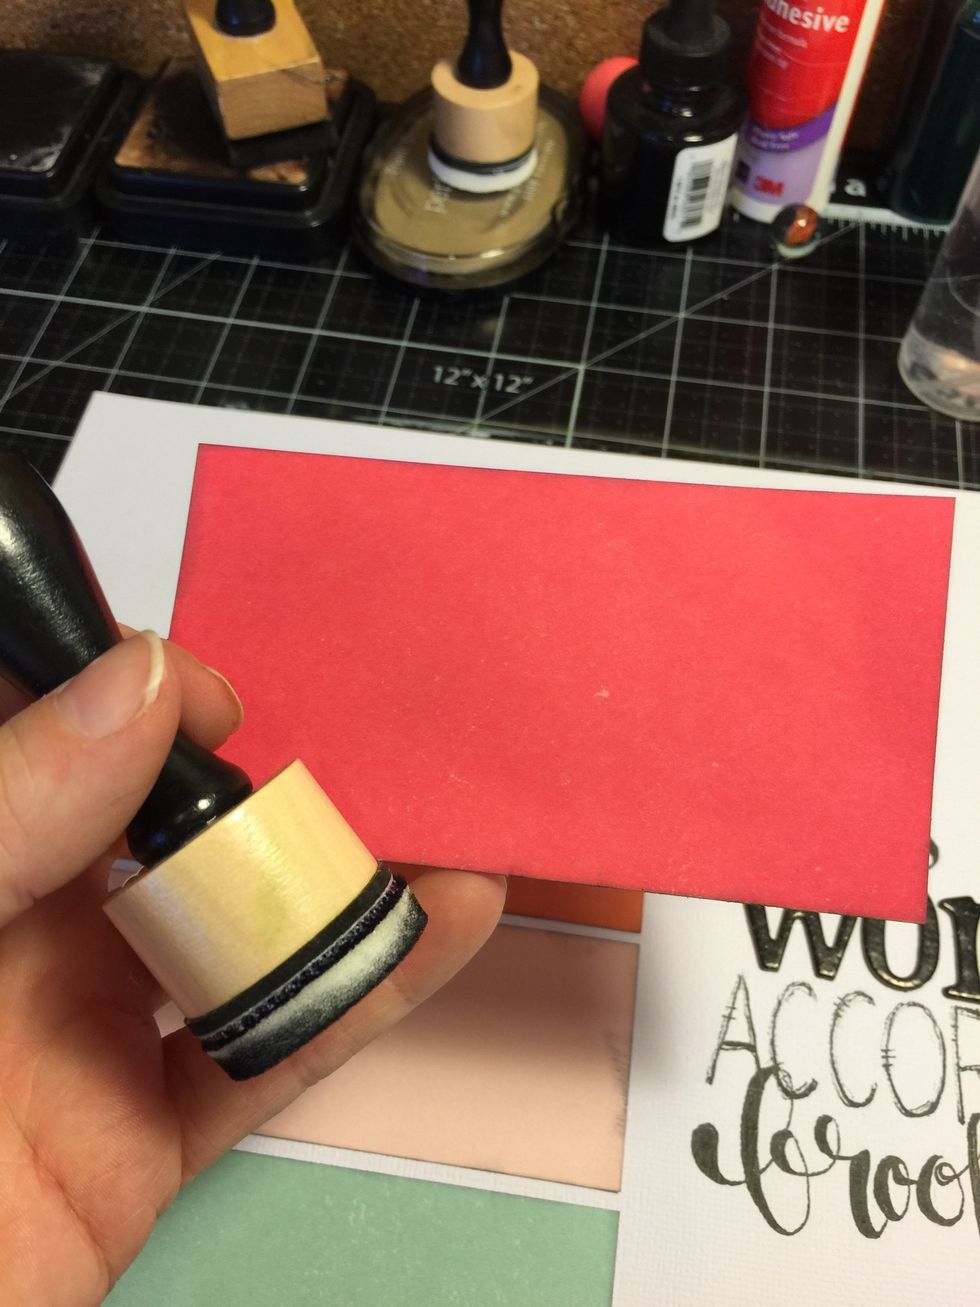
Ink each piece with black soot distress ink and a blending tool to add dimension.
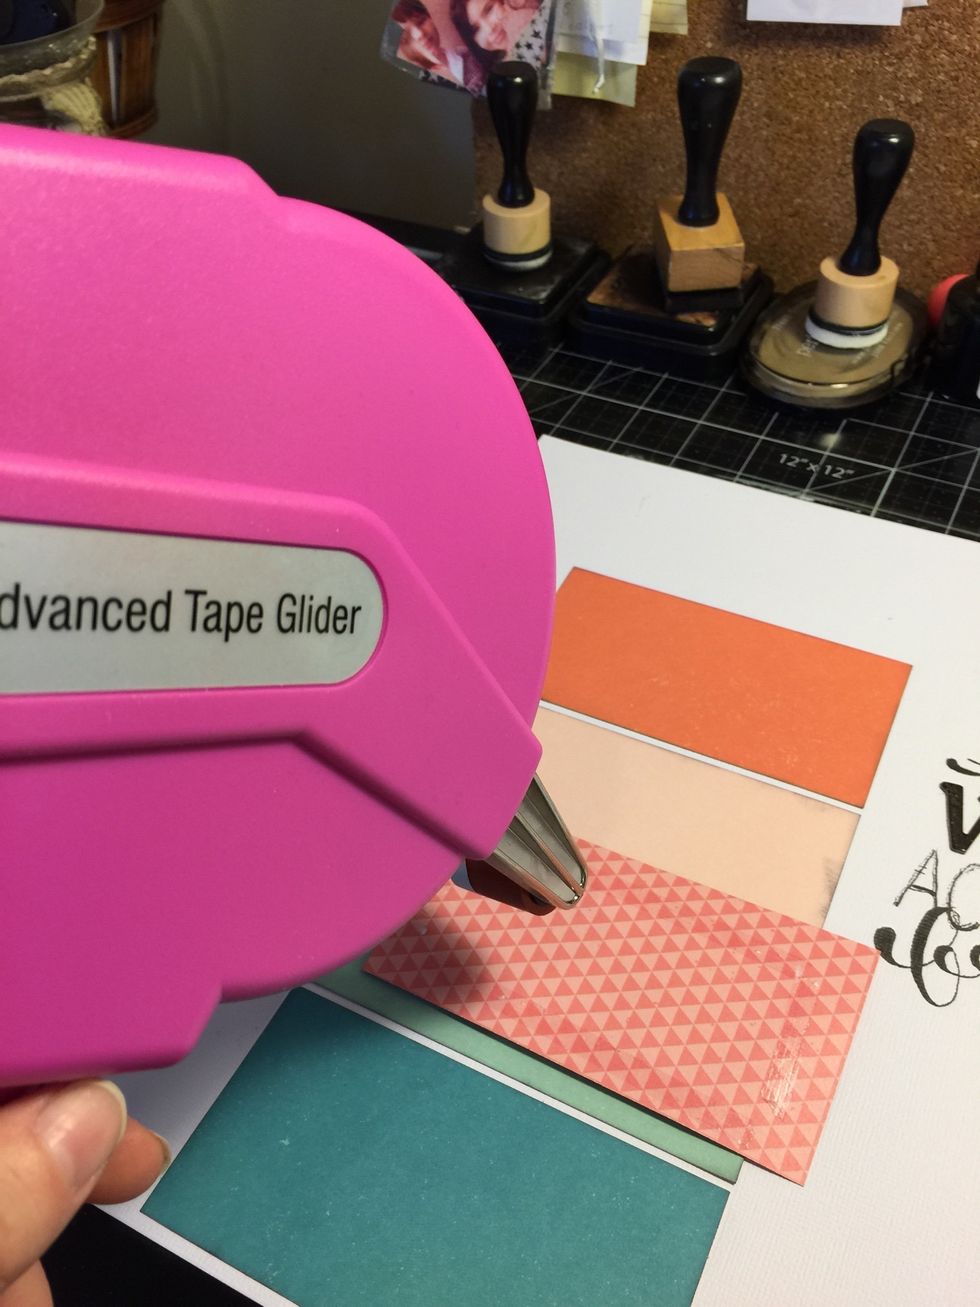
Tack each piece in place to get the correct placement, ready for sewing. Keep the glue away from the edges so you don't have to stitch through it.
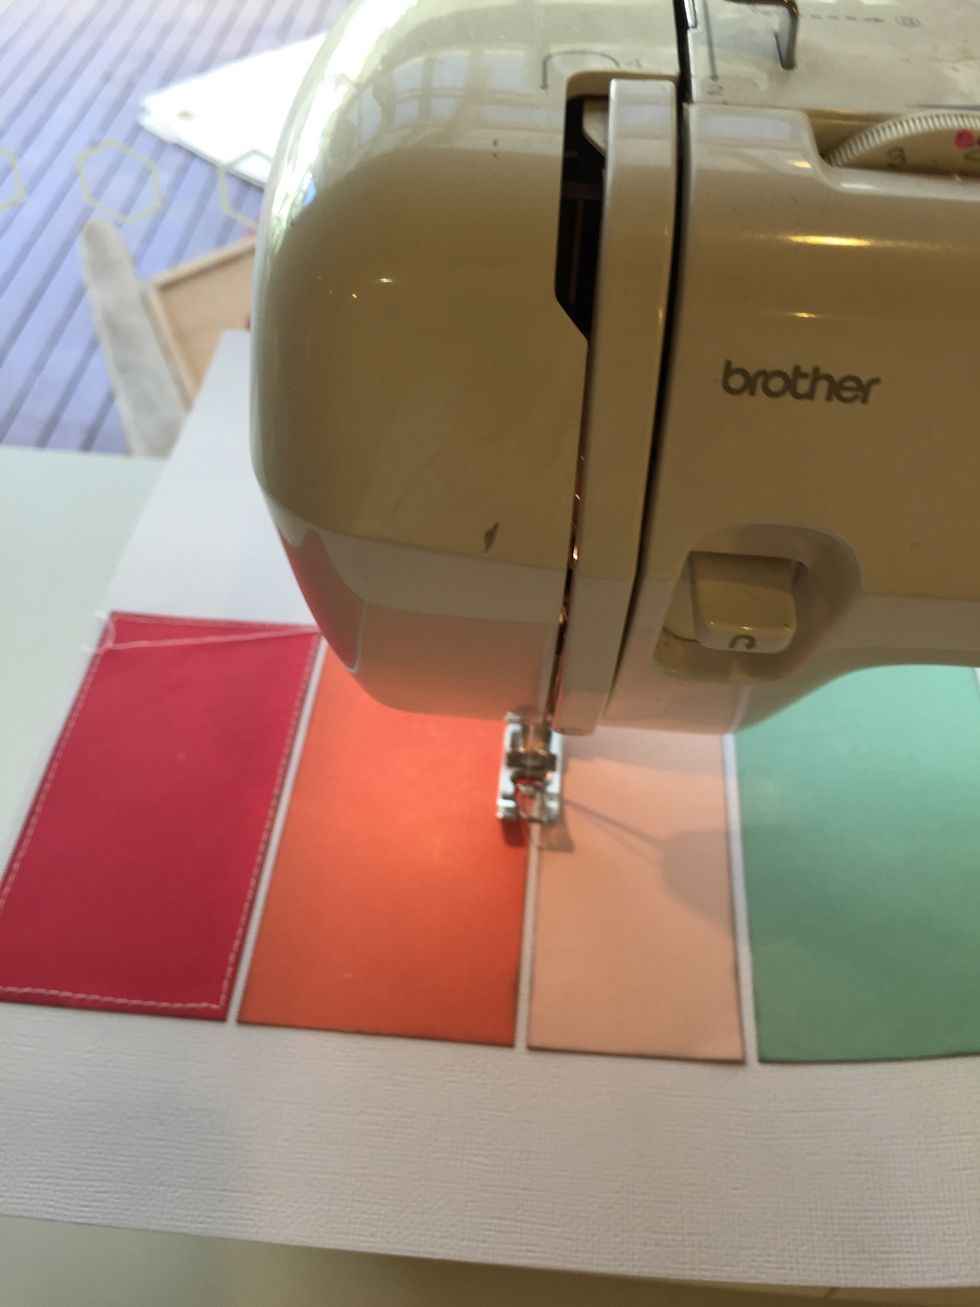
Then straight stitch around each piece on the sewing machine.
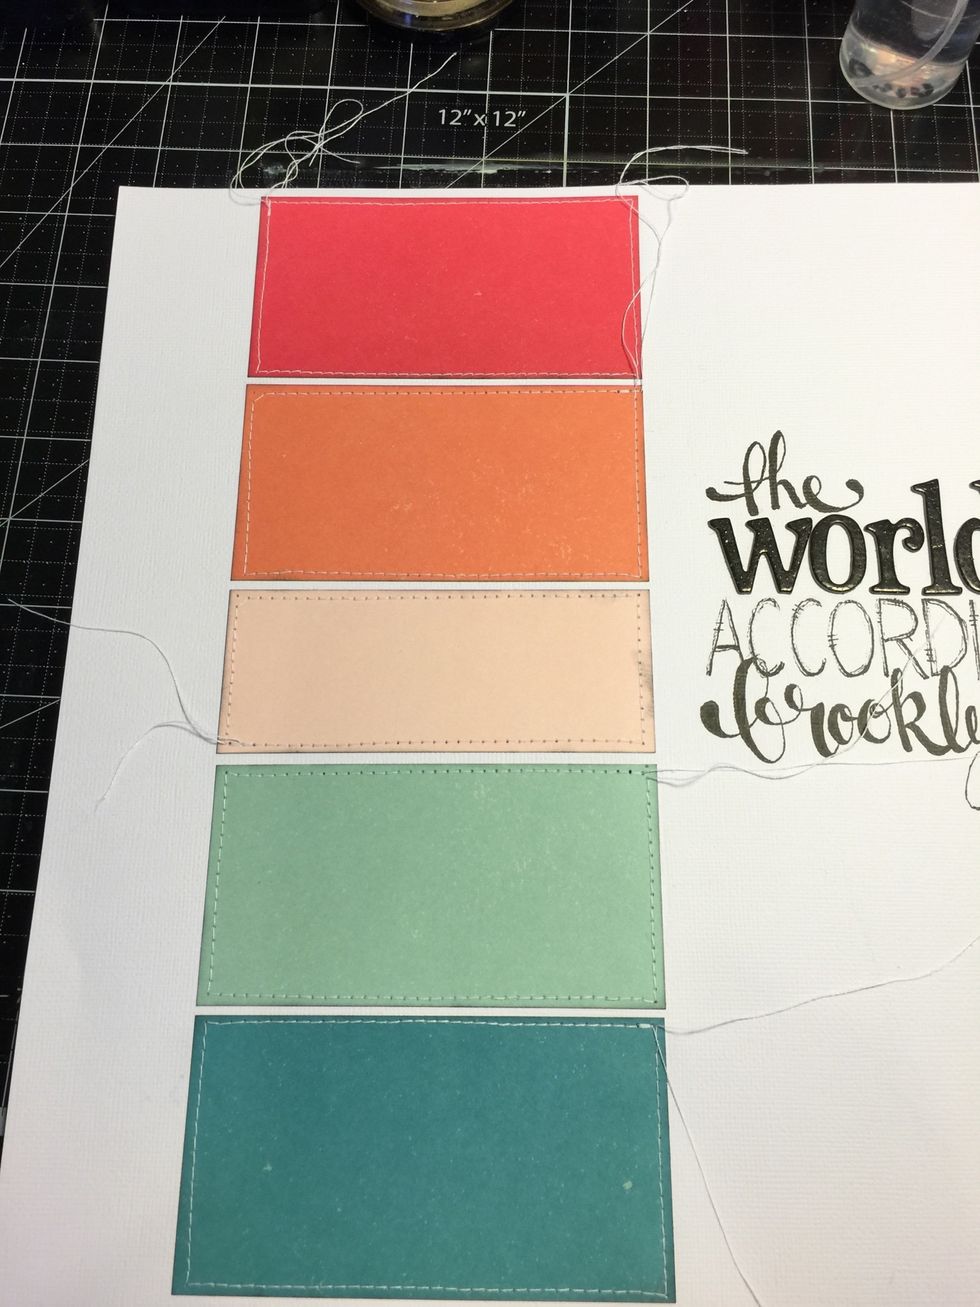
Trim off all the threads.
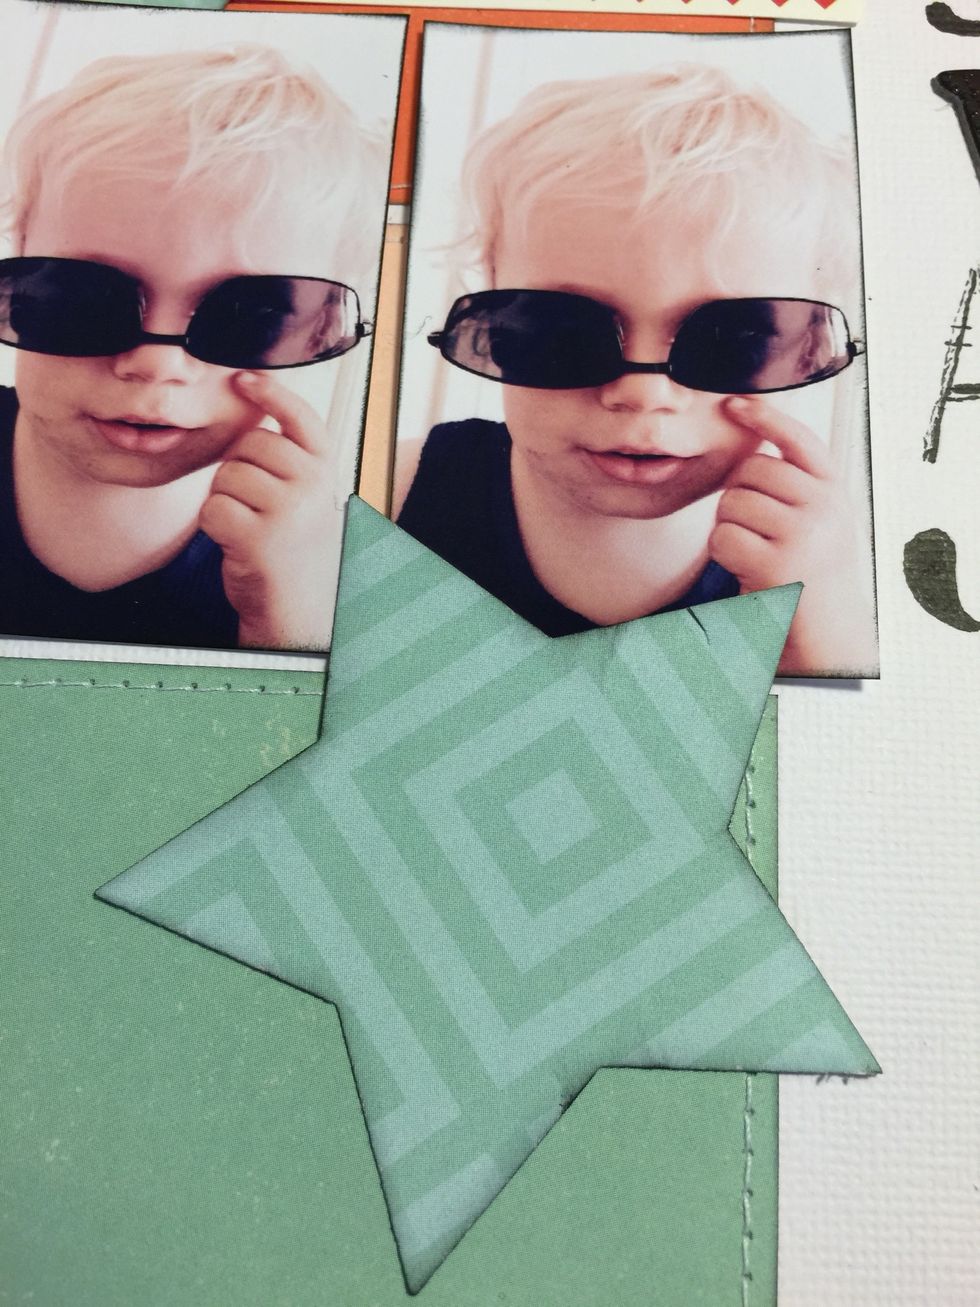
Get your photos. Mine are printed to about 2x3". I punched stars, you can draw your own or, use diecuts. Ink everything.
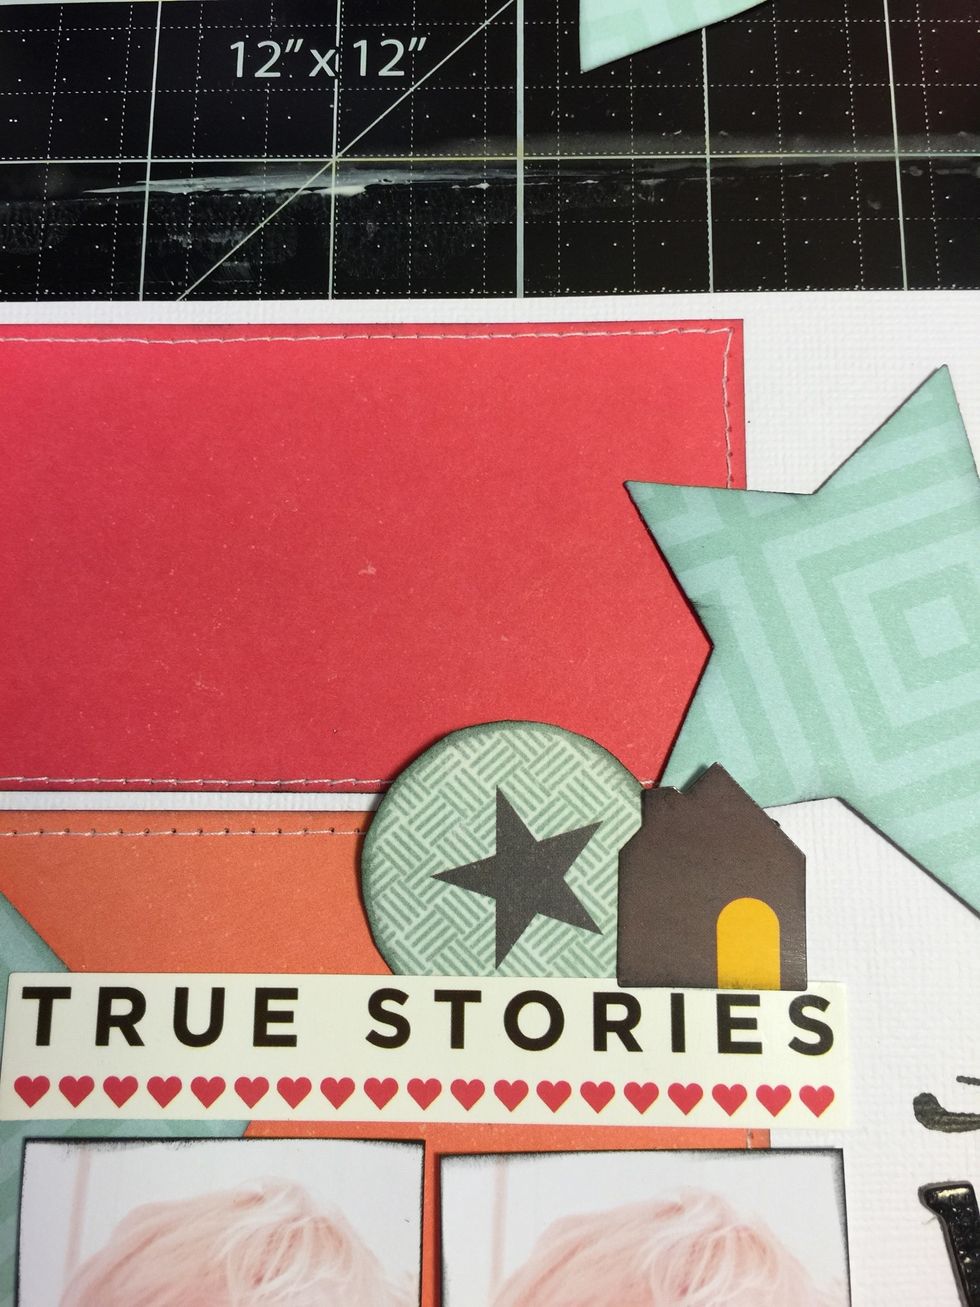
Start to build your layered embellishments. Select stickers and diecuts. Ink them and layer together. (The house is a sticker. The star circle I cut from a paper label.)
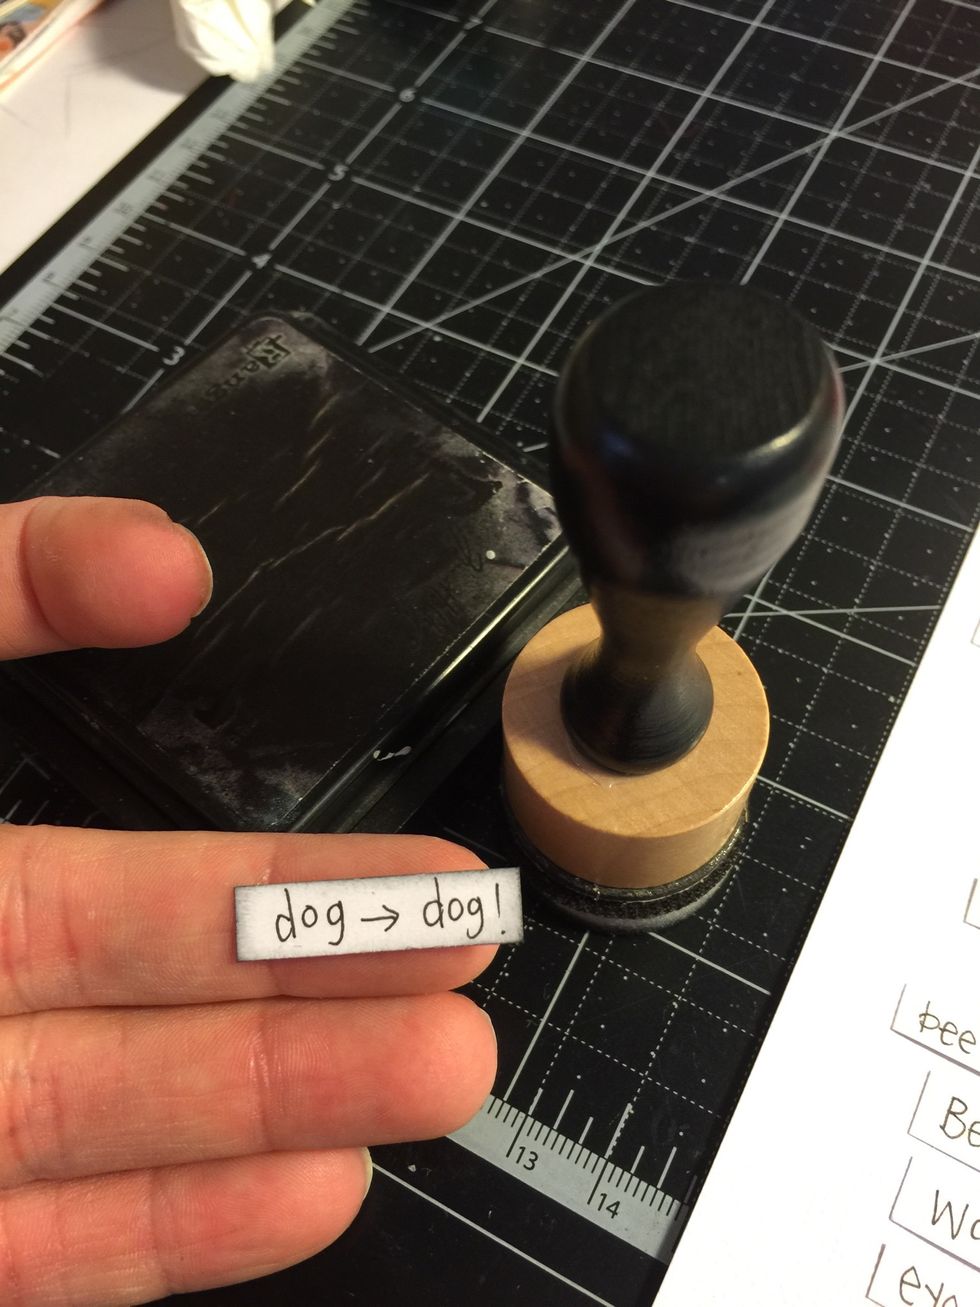
I wrote out all my journaling on strips of cardstock and cut them apart. Ink them.
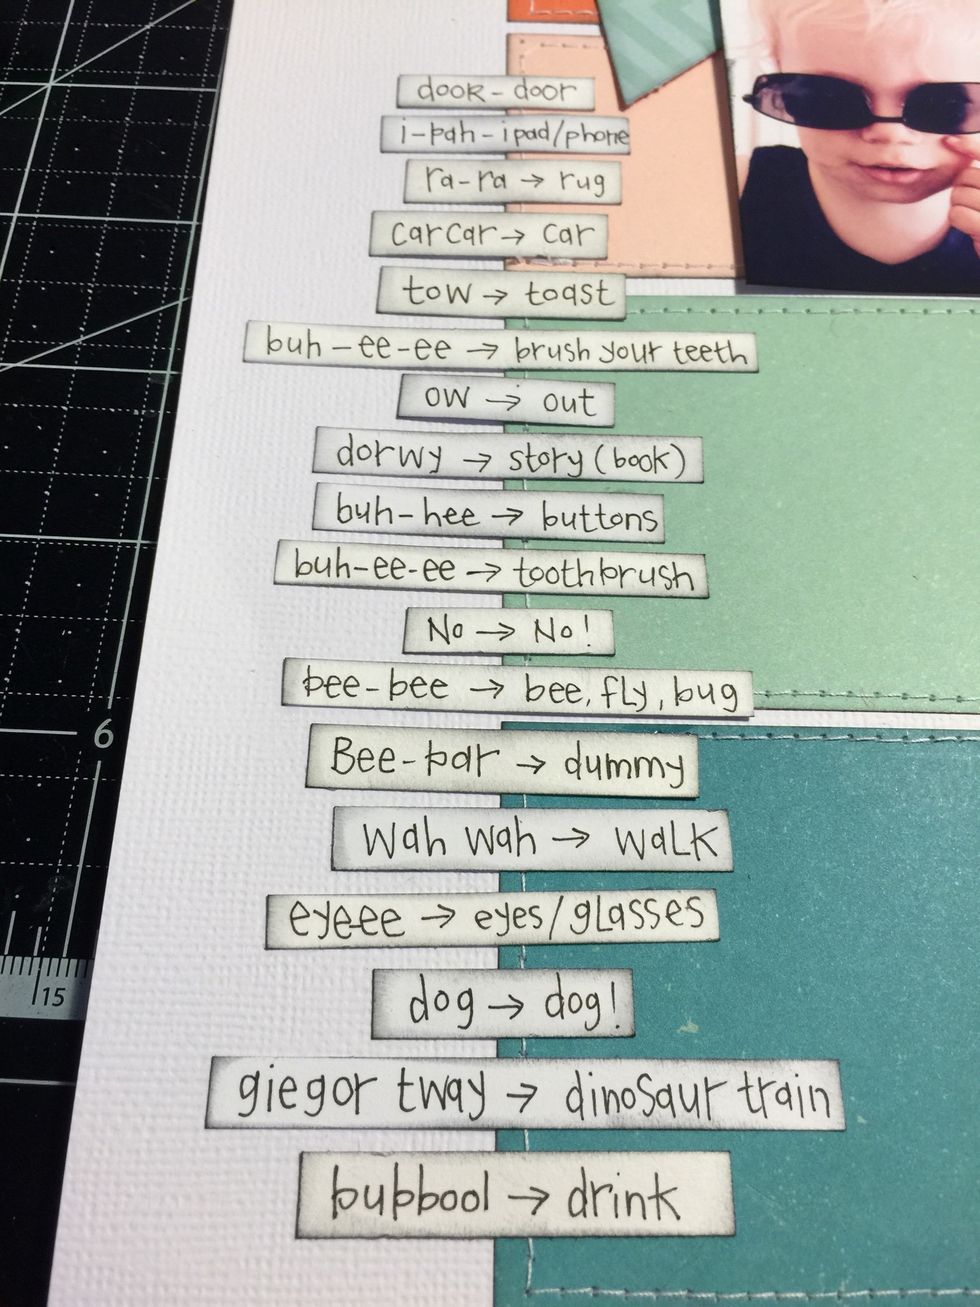
Lay them down the left side of your page overlapping the color blocks. Glue then when you have them how you want.
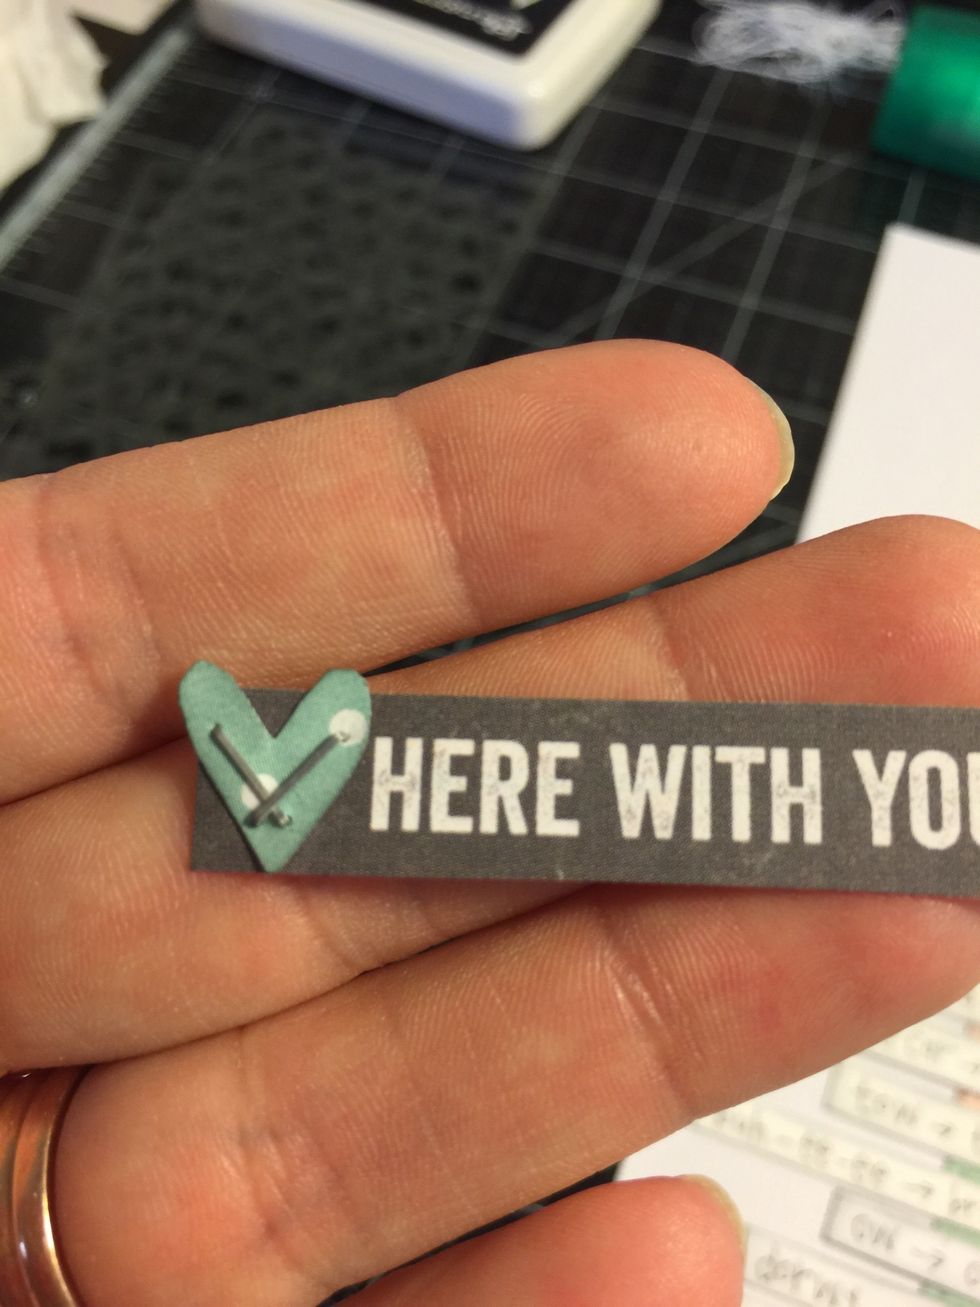
Cut a freehand little heart and ink it. Staple it to a sticker, to embellish the top left side of the page.
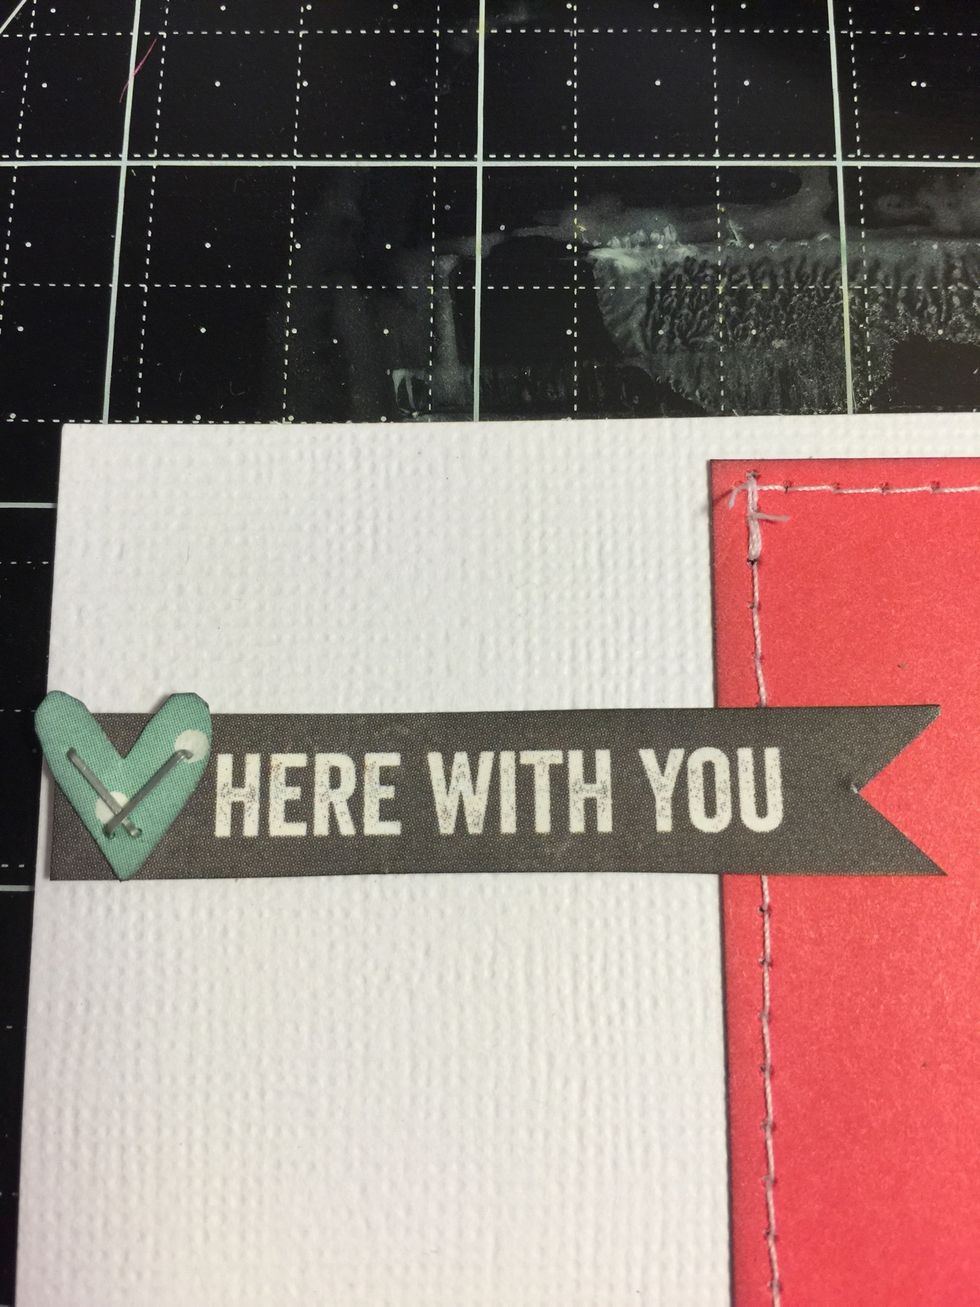
Glue it in place.
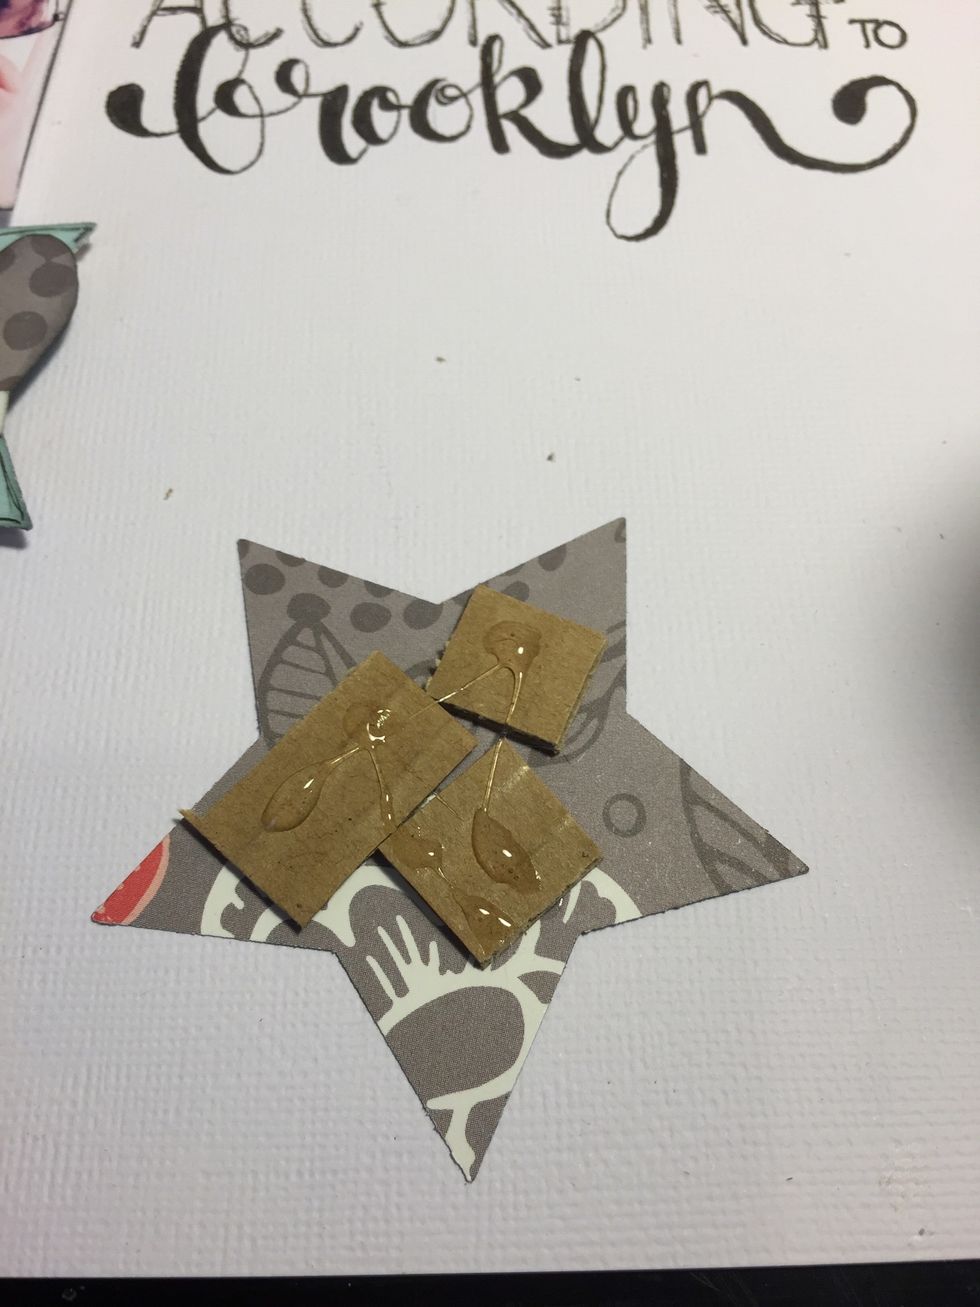
Add pieces of 'squashed' corrugated cardboard to raise the star. (Instead of foam tape)

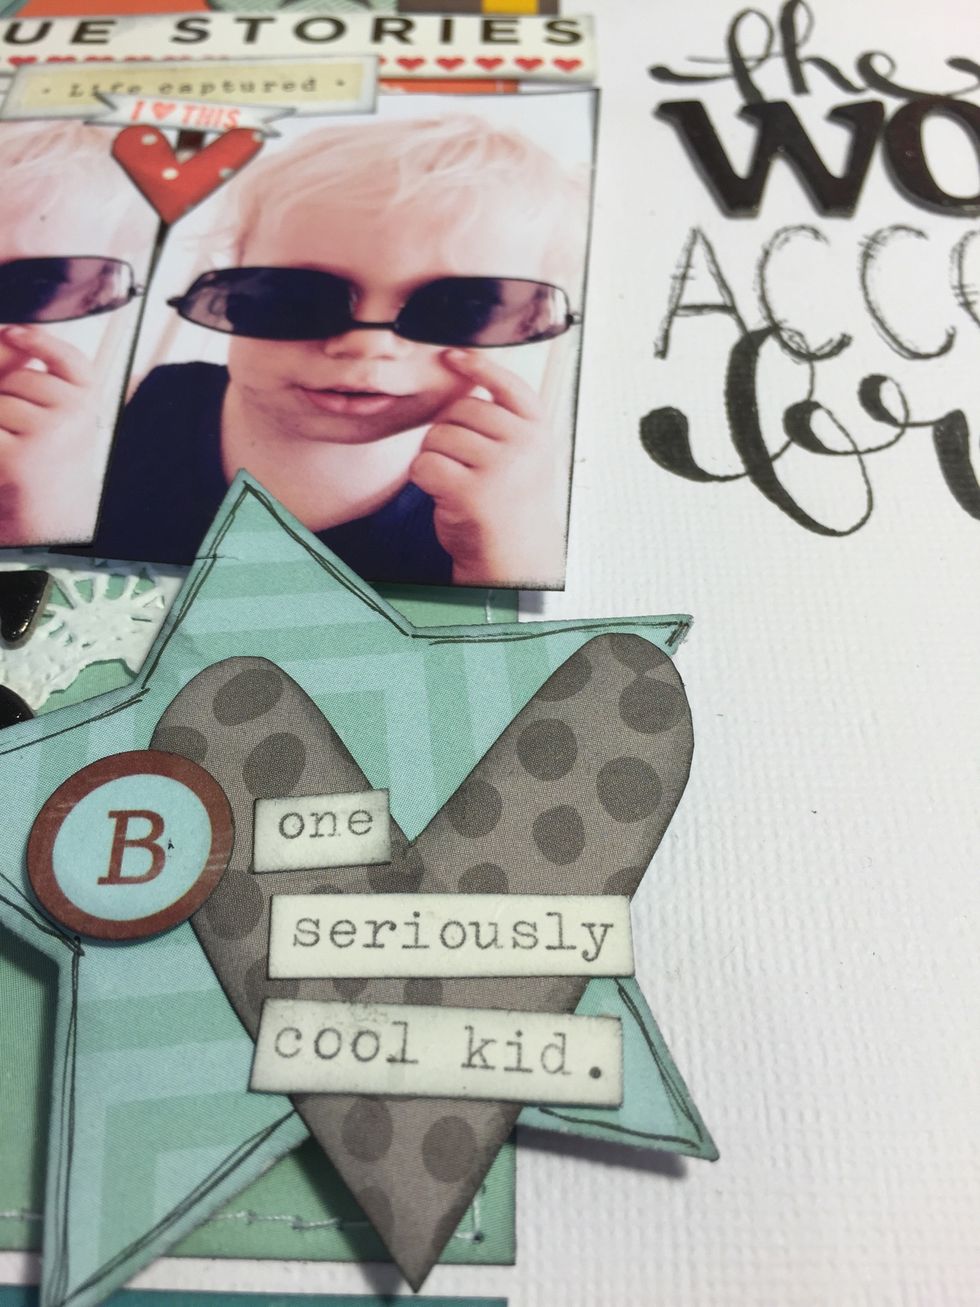
Draw around the edge with a fine tipped pen, freehand a heart, write words with a typewriter, the little 'B' letter has been in my desk for months!!! (Ink it all and adhere together)

Raise your photos with rectangles of cardboard. Then gather stickers and word labels from the pack. Start adding them. The I love this is another little thing I had on my desk :-) (stamp)

I added punched out circles from plain black cardstock here and there as accents. I used my crop-O-dile.
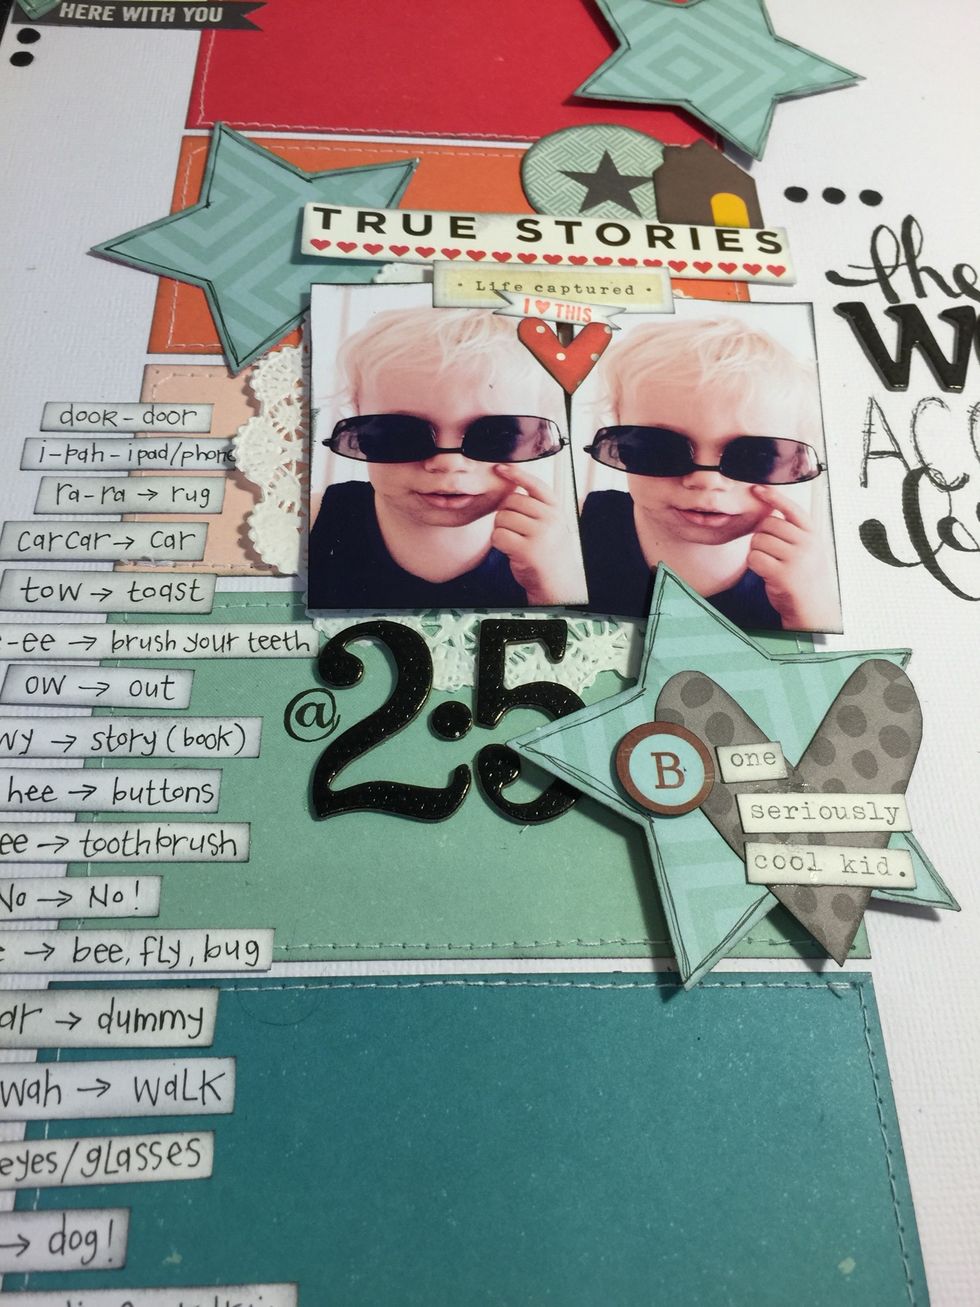
Add the numbers, tucked in behind the star embellishment and draw on the @ with a fine tipped felt pen. Freehand cut a little red star from patterned paper, ink and place between the two photos.
And we are done! One "seriously cool" layout 👍
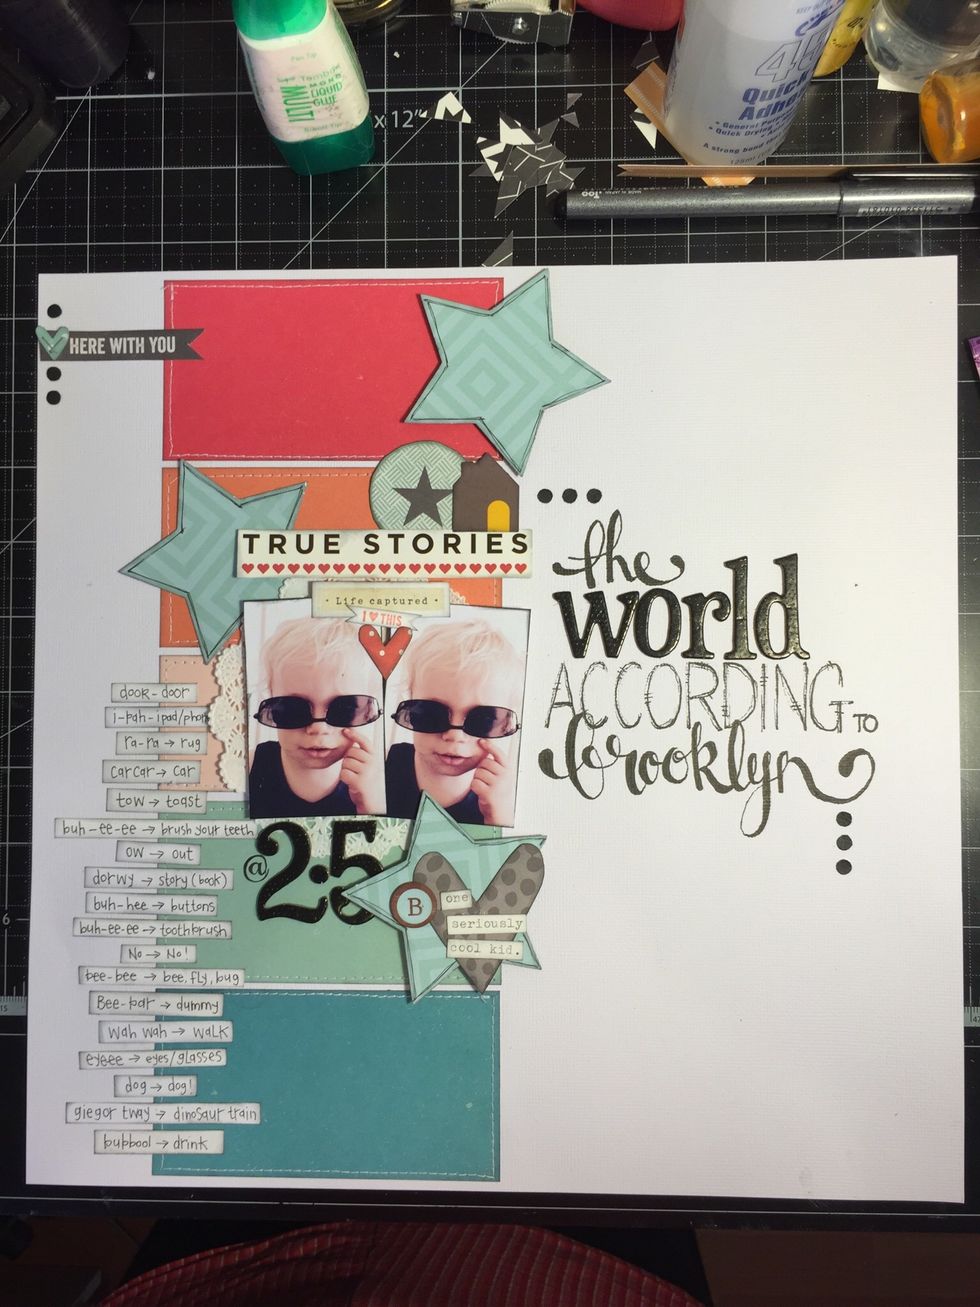
Here's the complete page. Thanks so much for joining me today! Enjoy your 'My Creative Scrapbook' Kit this month! Lydell xo