The Conversation (0)
Sign Up
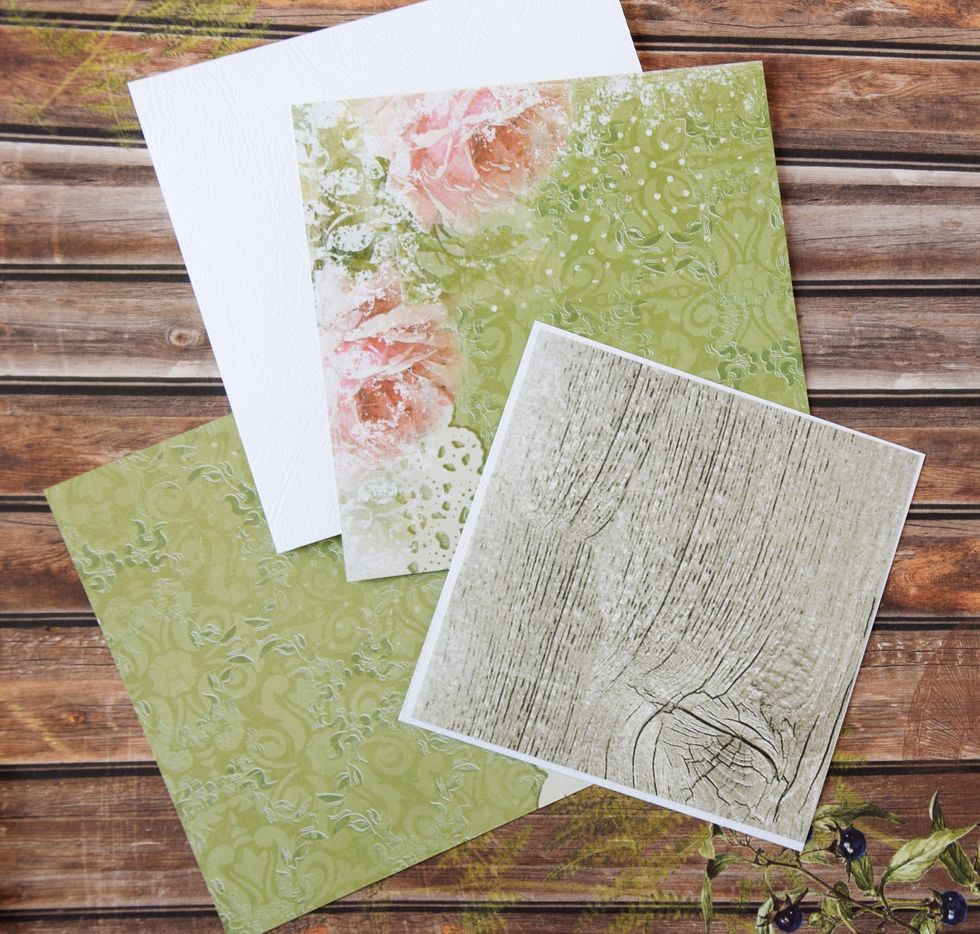
The details of my future card: - white cardstock for the base card: 11 x 5,5", folded in half -1 pc - white cardstock 4,3 х 4,3''- 1 pc - scrapbook-paper 5,3 х 5,3'' - 2 pc and 4,1 х 4,1'' - 1 pc
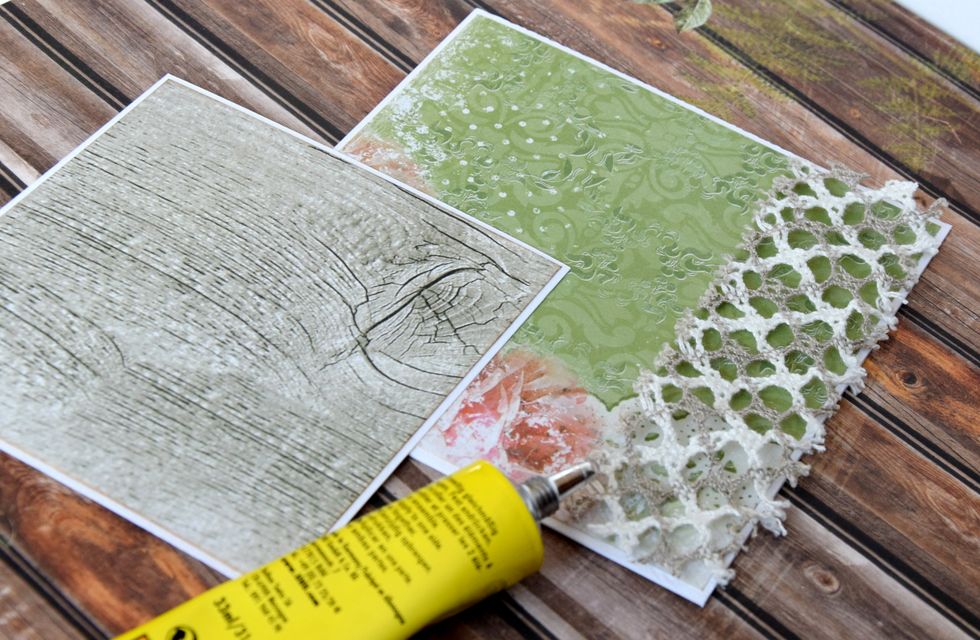
Glue the details of scrapbook paper to the cardstock. Glue the lace
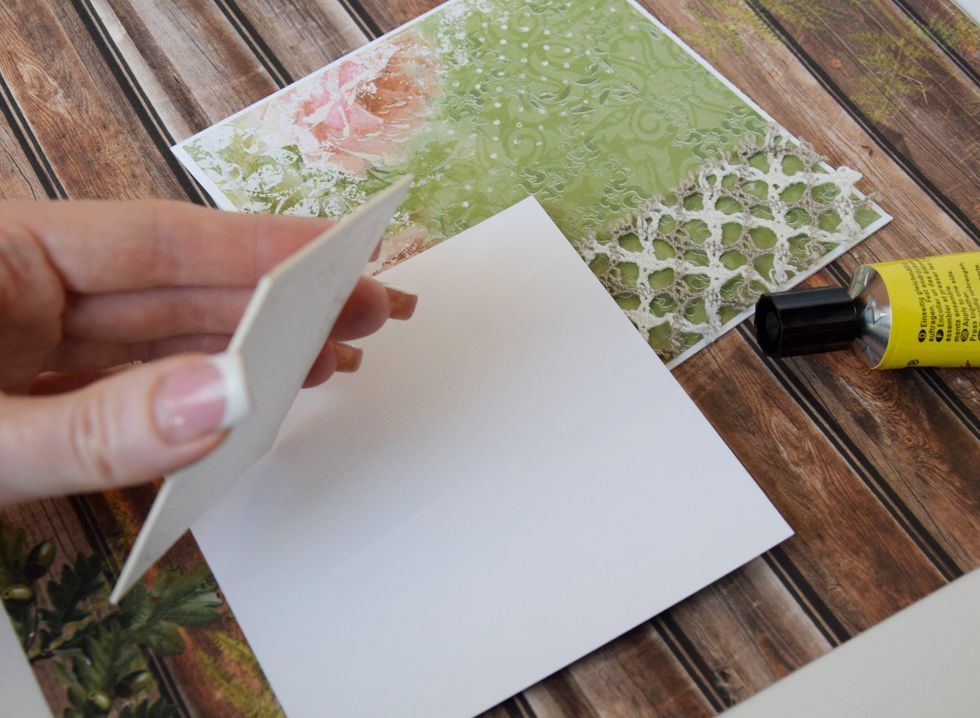
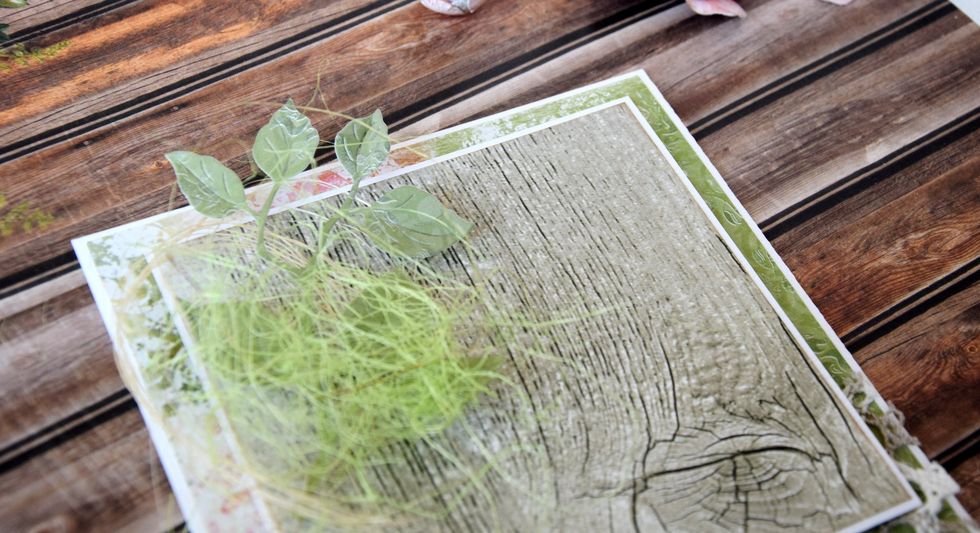
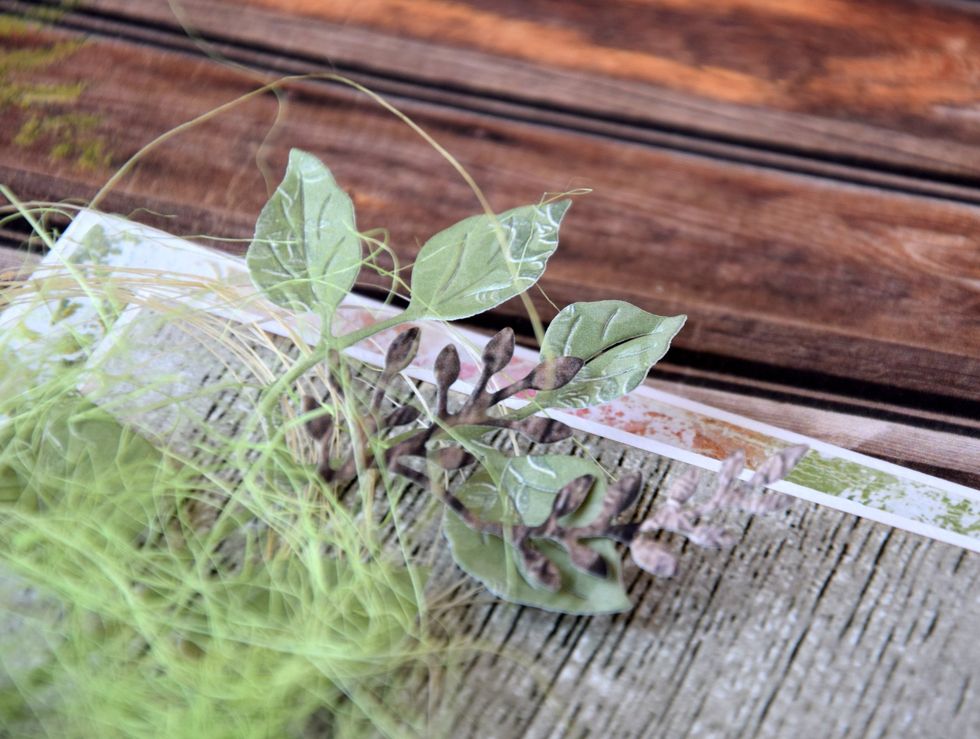
Add some volume with the help of chipboard.
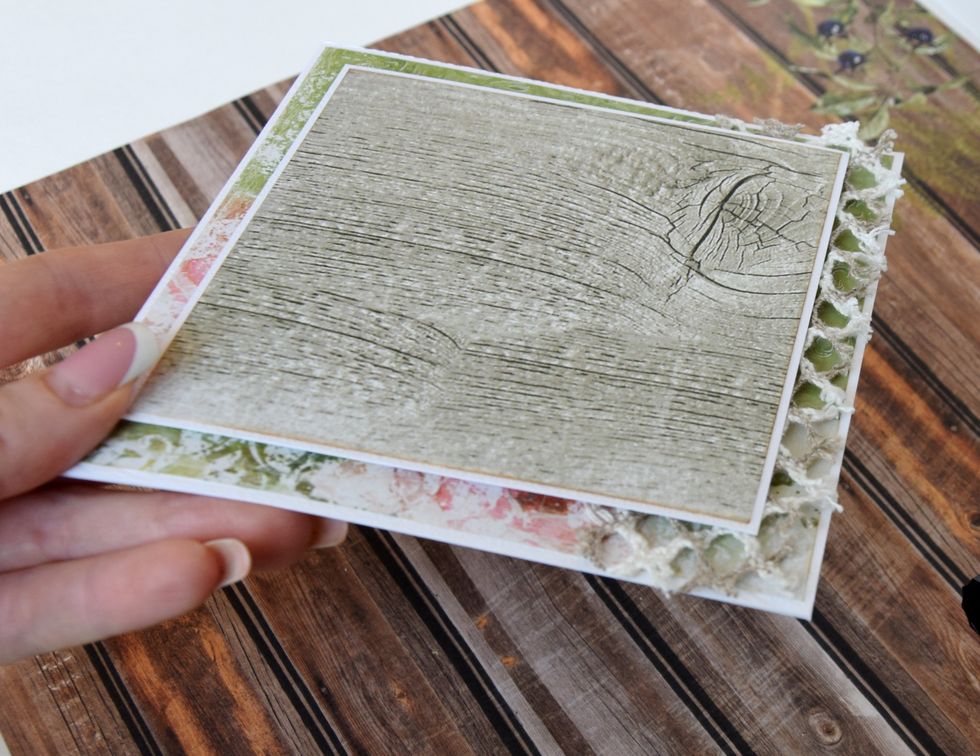
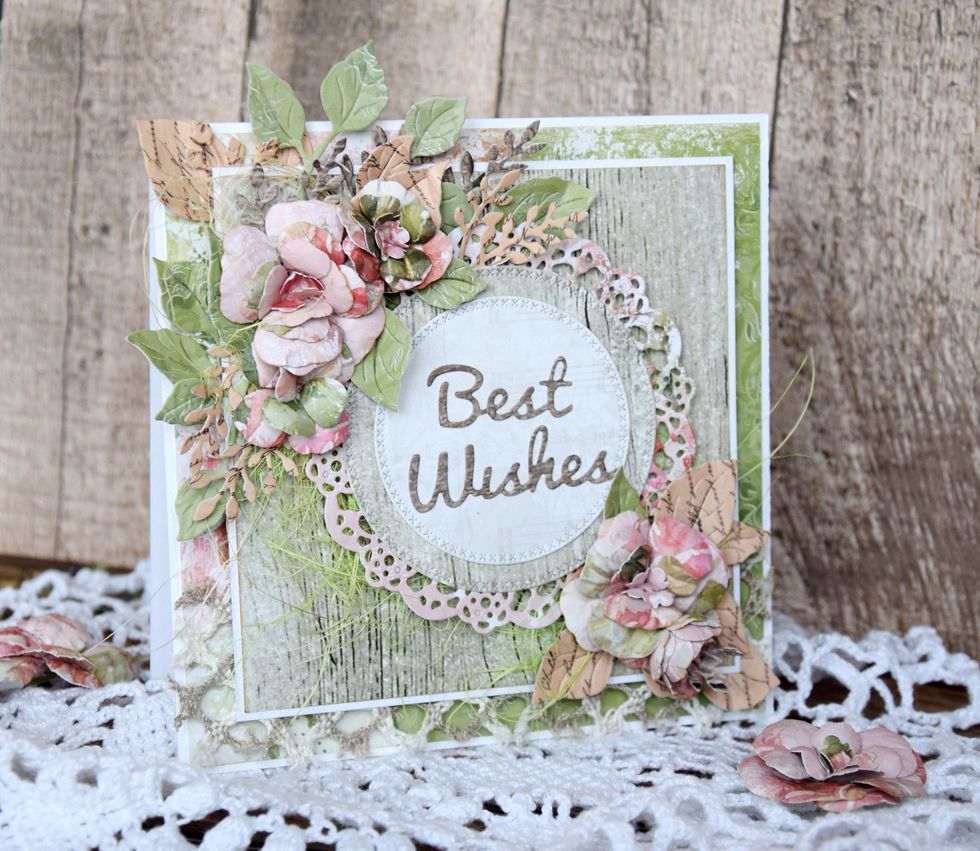
Our card is ready for the next step
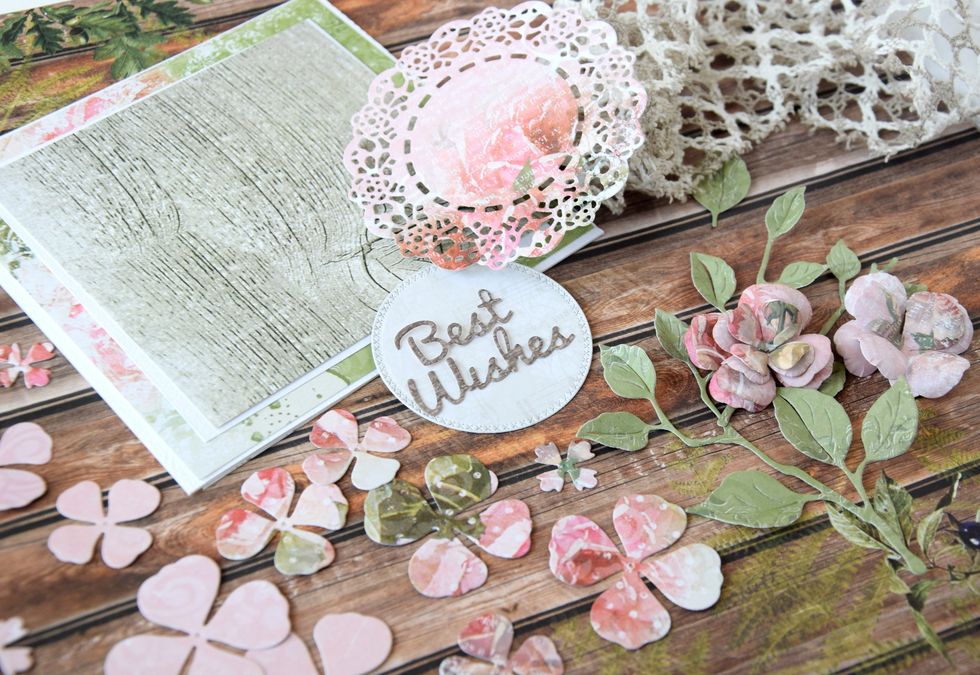
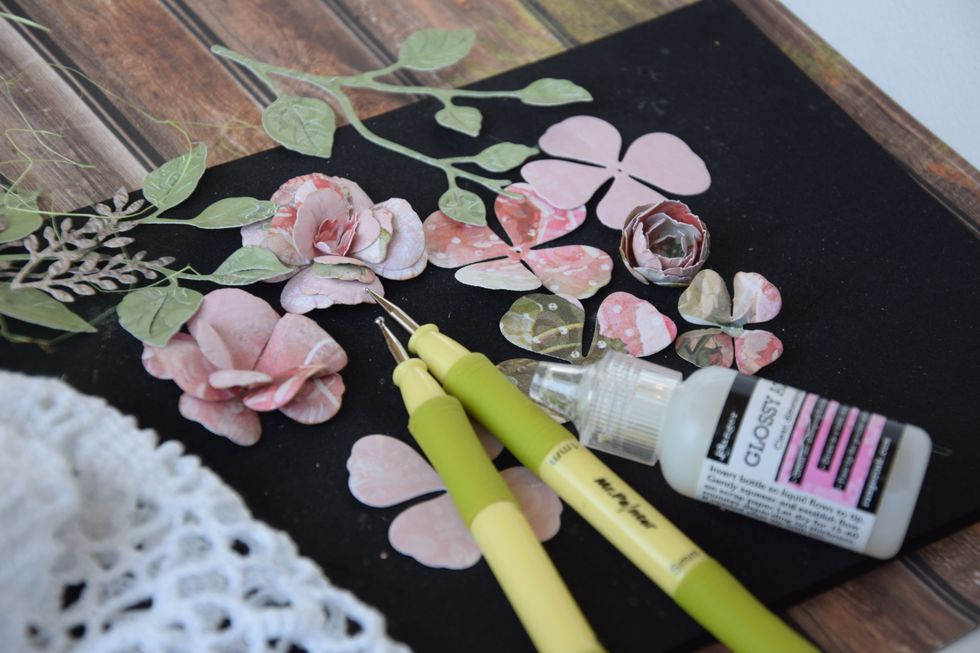
Cut out flowers and leaves from the CottageCutz 3D Flower 5, CottageCutz Leafy Foliage (4x6)
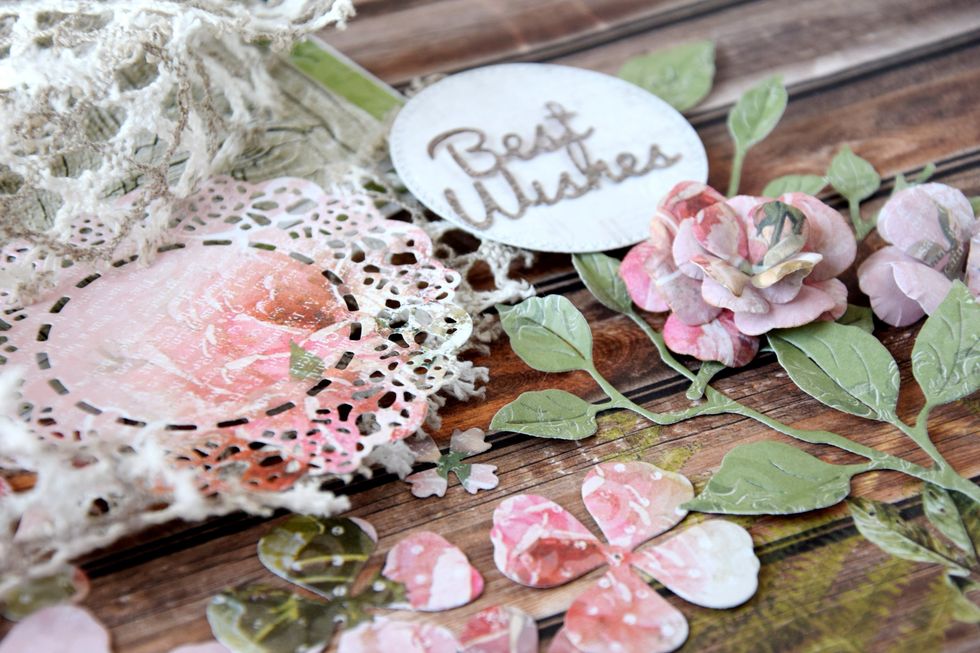
So cute, isn't it?) I use also CottageCutz Tea Time Doily (4x4)
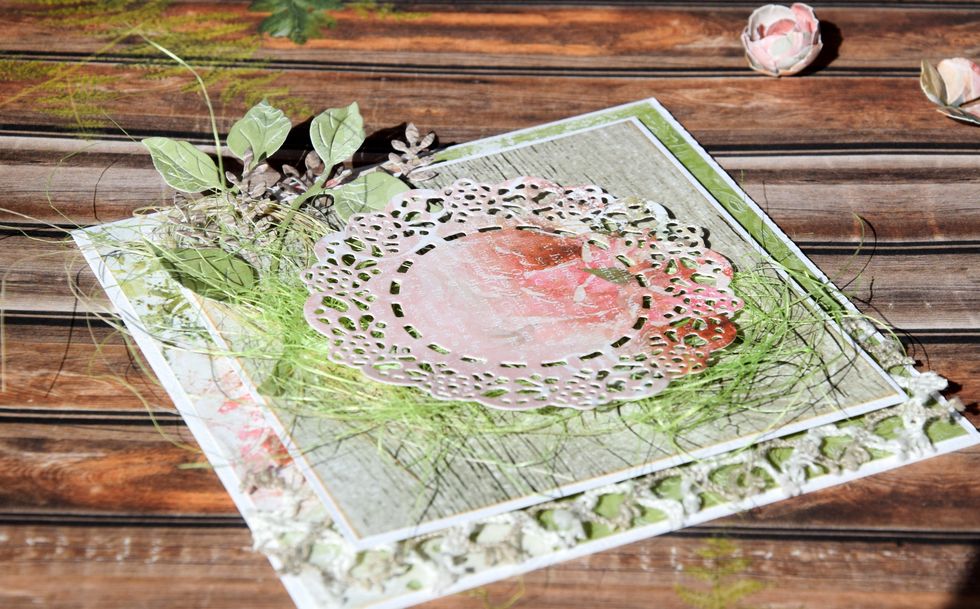
Arrange our details on to the card as shown in the picture below.
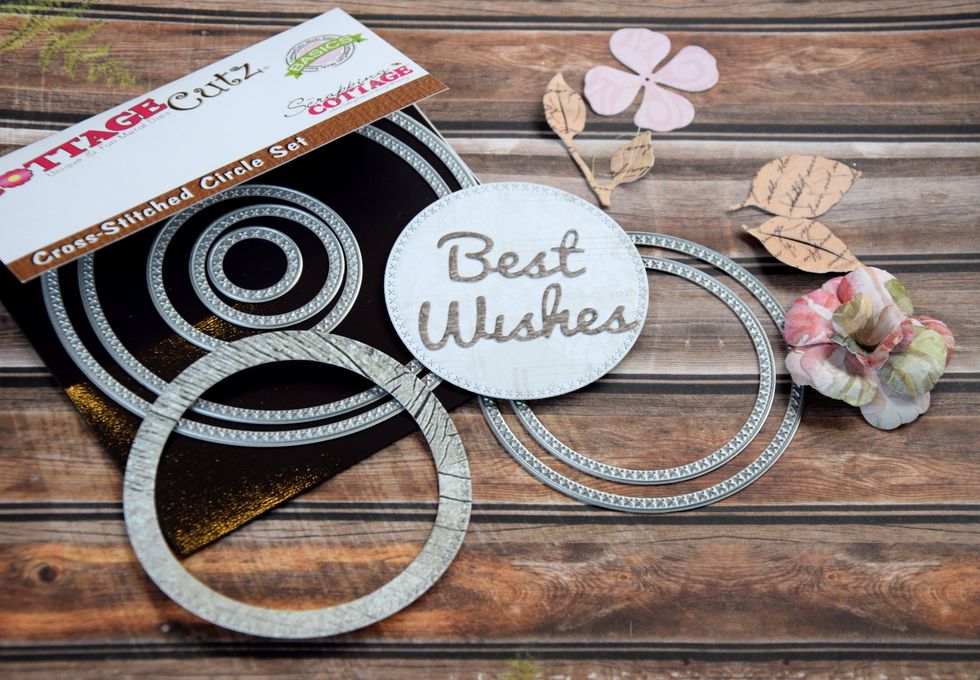
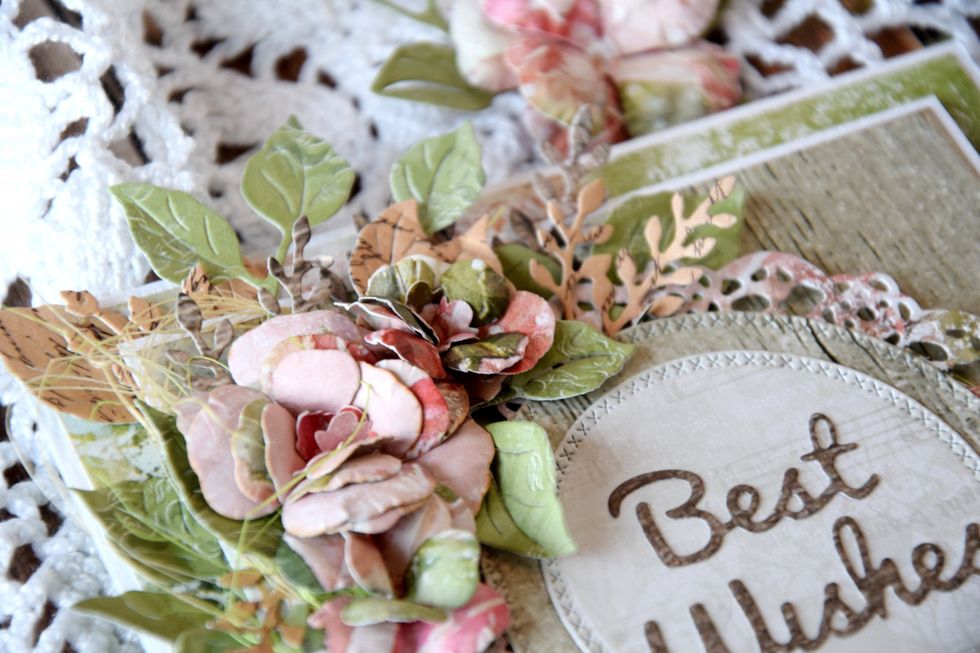
I glue inscription Best Wishes on the circle. I make the very nice circle with help CottageCutz Cross-Stitched Circle Set (Basics)
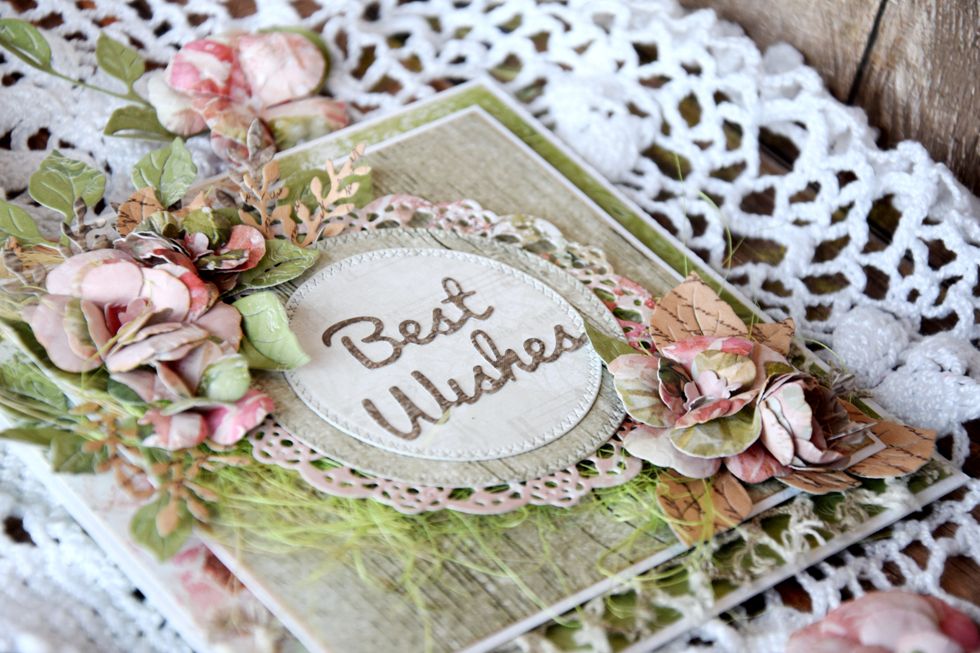
The card is ready.