The Conversation (0)
Sign Up
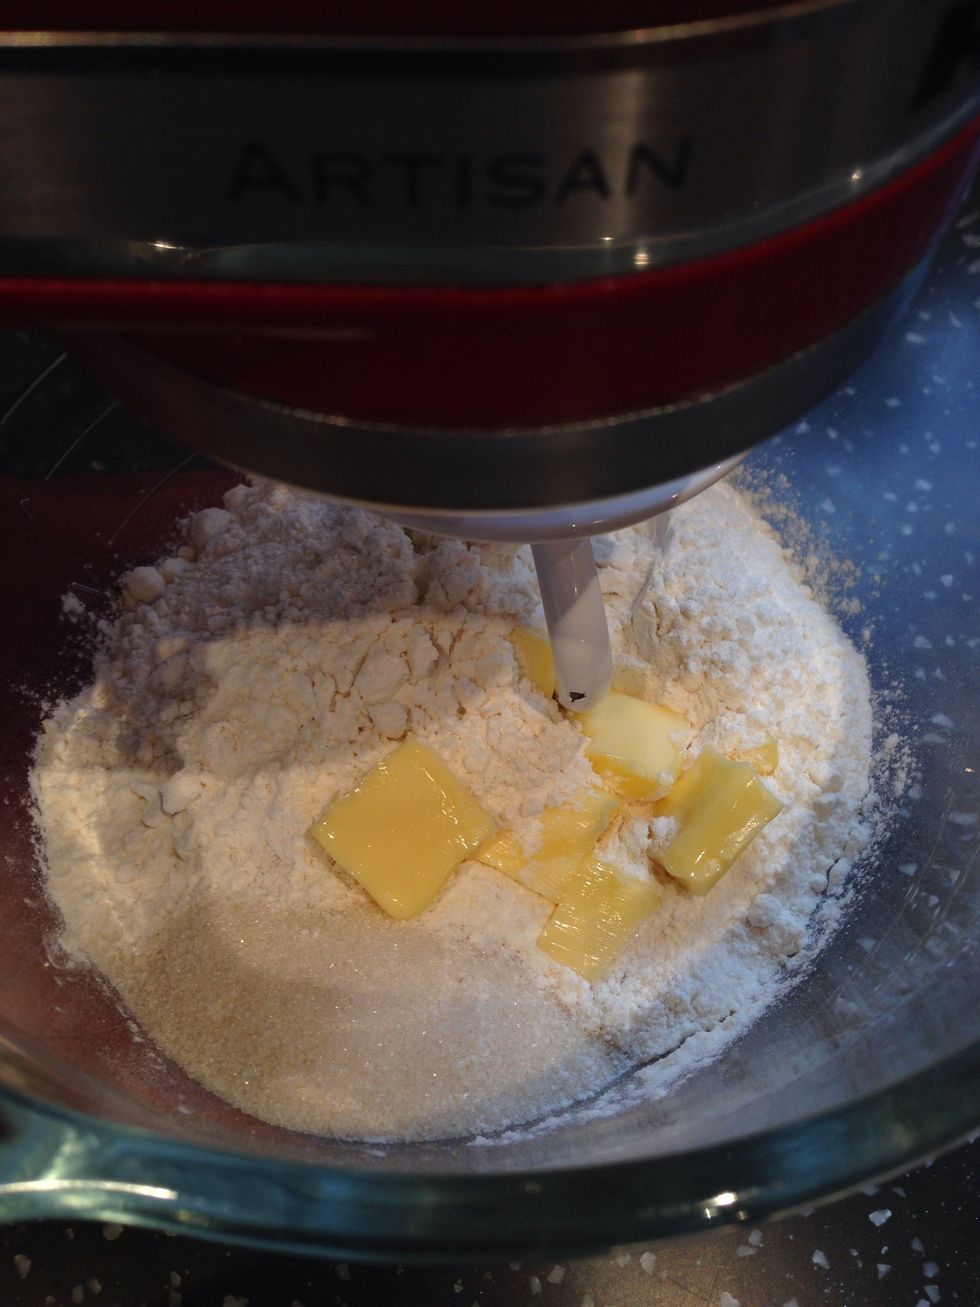
Combine dough ingredients and knead for 3 minutes until it comes together. You don't want too much gluten development or it will be difficult to shape at the lamination stage.
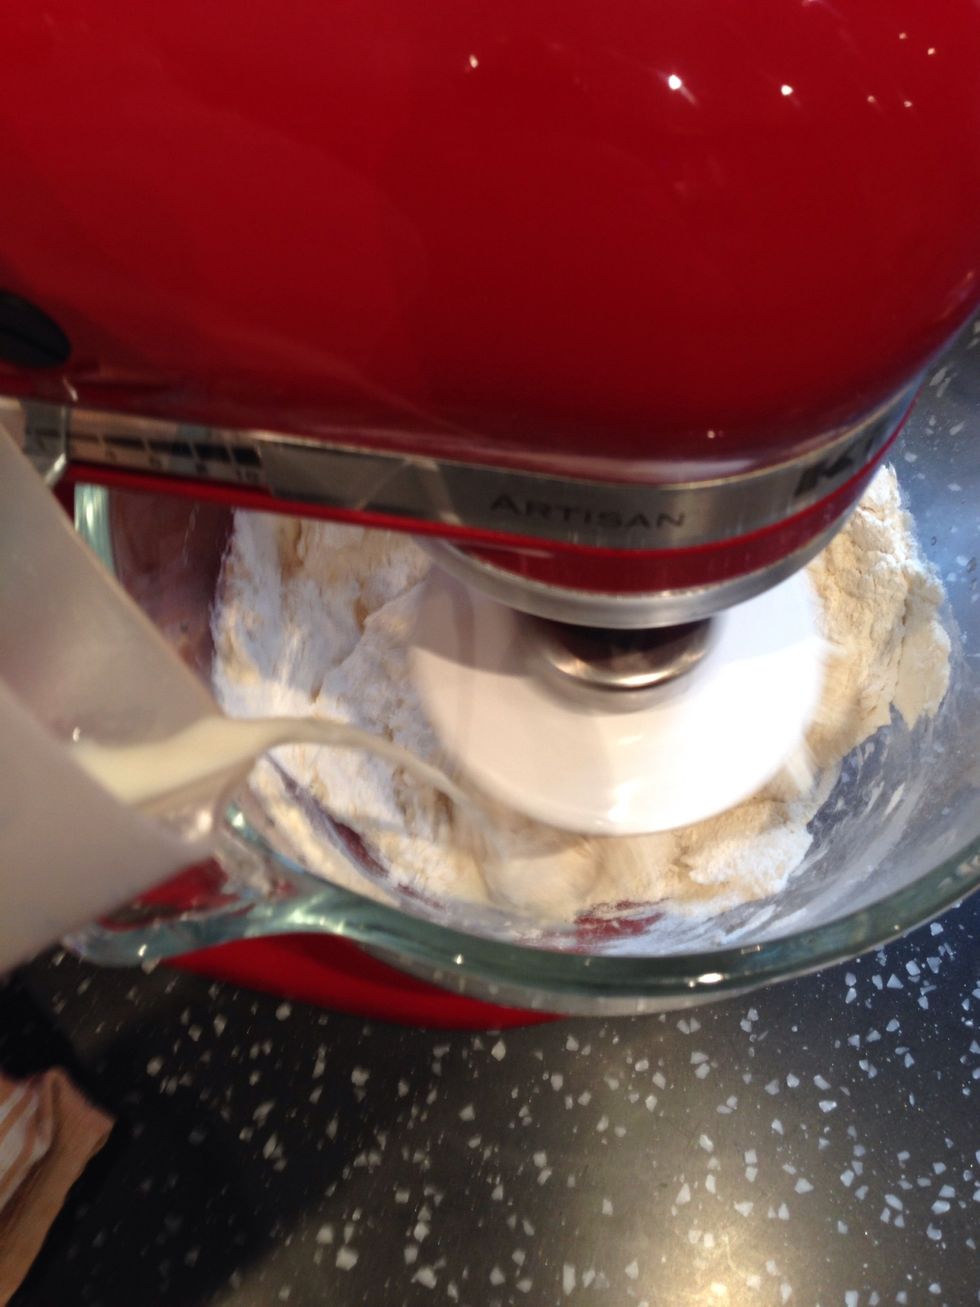
Wet ingredients are added to bring the dough together. You may need slight more or less depending on the humidity in your kitchen.
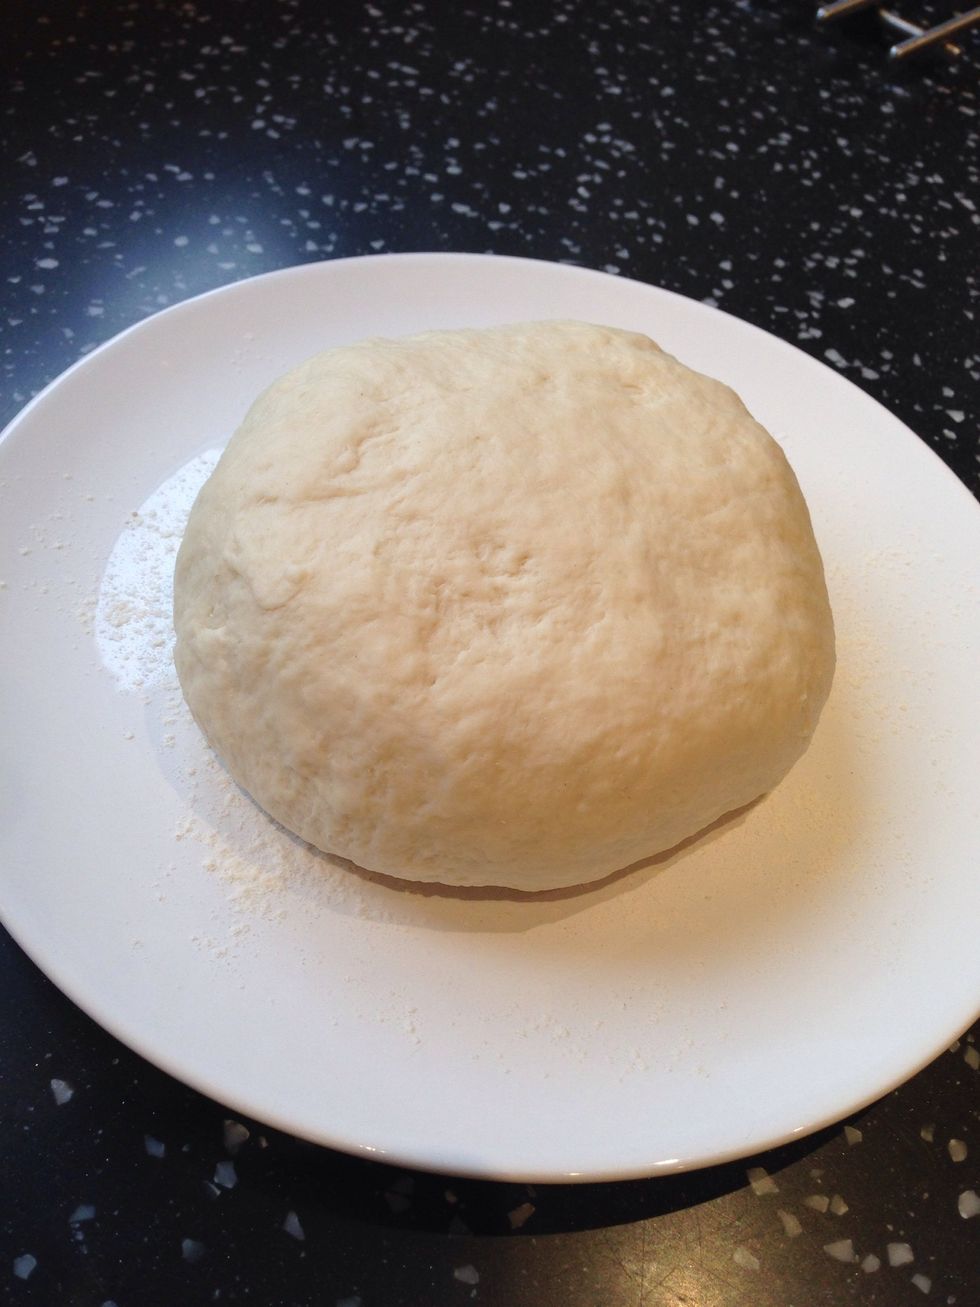
Shape the dough into a disc rather than a ball and place on a floured plate. This will make rolling easier later. Cover with cling film and place in the fridge overnight to chill.
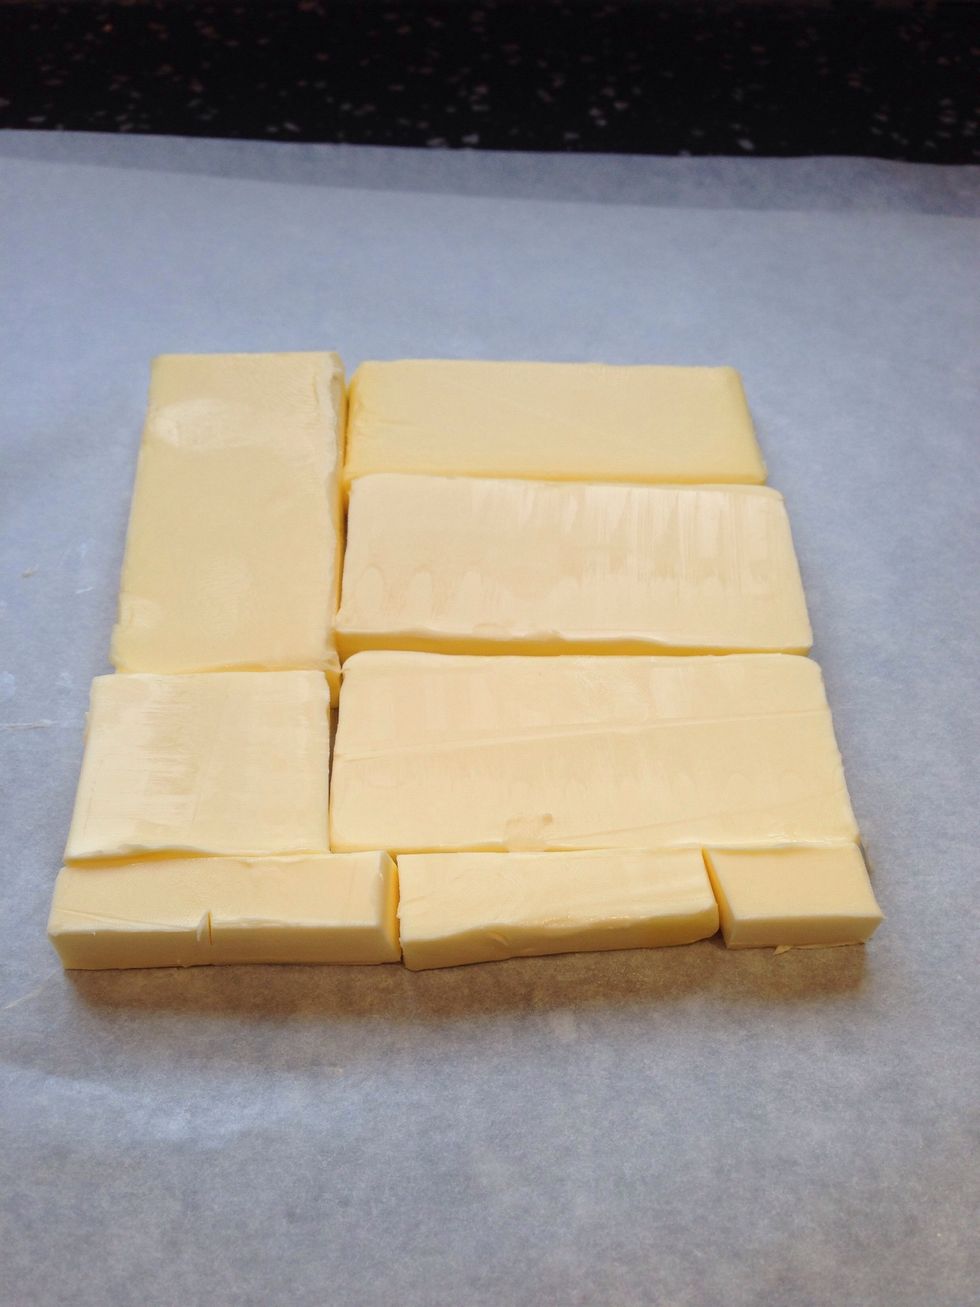
Cut cold butter from the fridge lengthwise into 1.25cm thick slabs. Arrange in waxed paper to form a square of about 15x15cm. Cover with waxed paper and pound with rolling pin until it's 19x19 cm
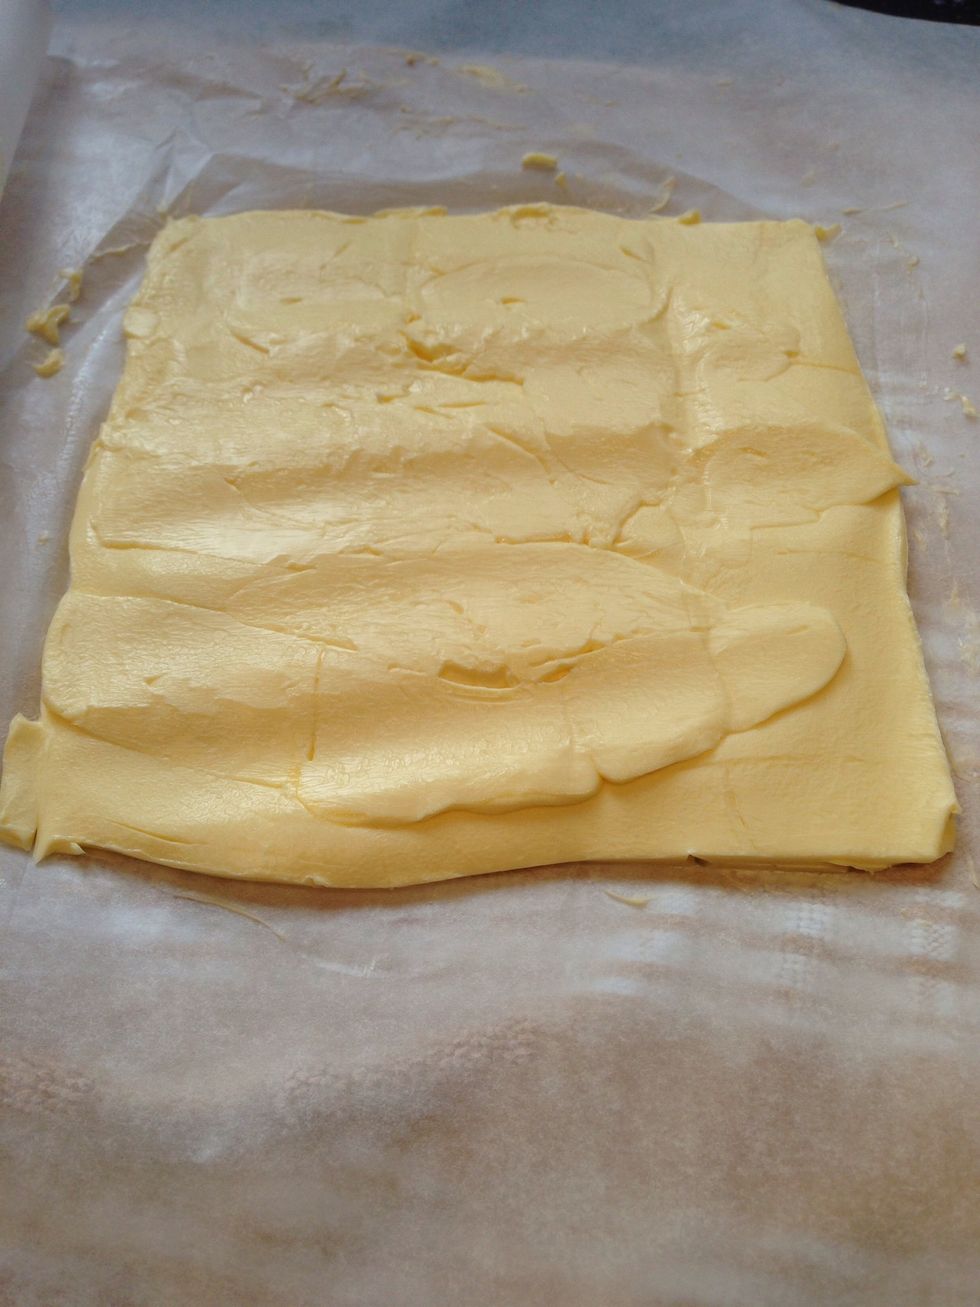
Trim/straighten the edges of the butter and put the trimmings on top of the square. Now pound again lightly until you have a final square if 17x17cm.

Wrap in paper and refrigerate the butter slab until needed
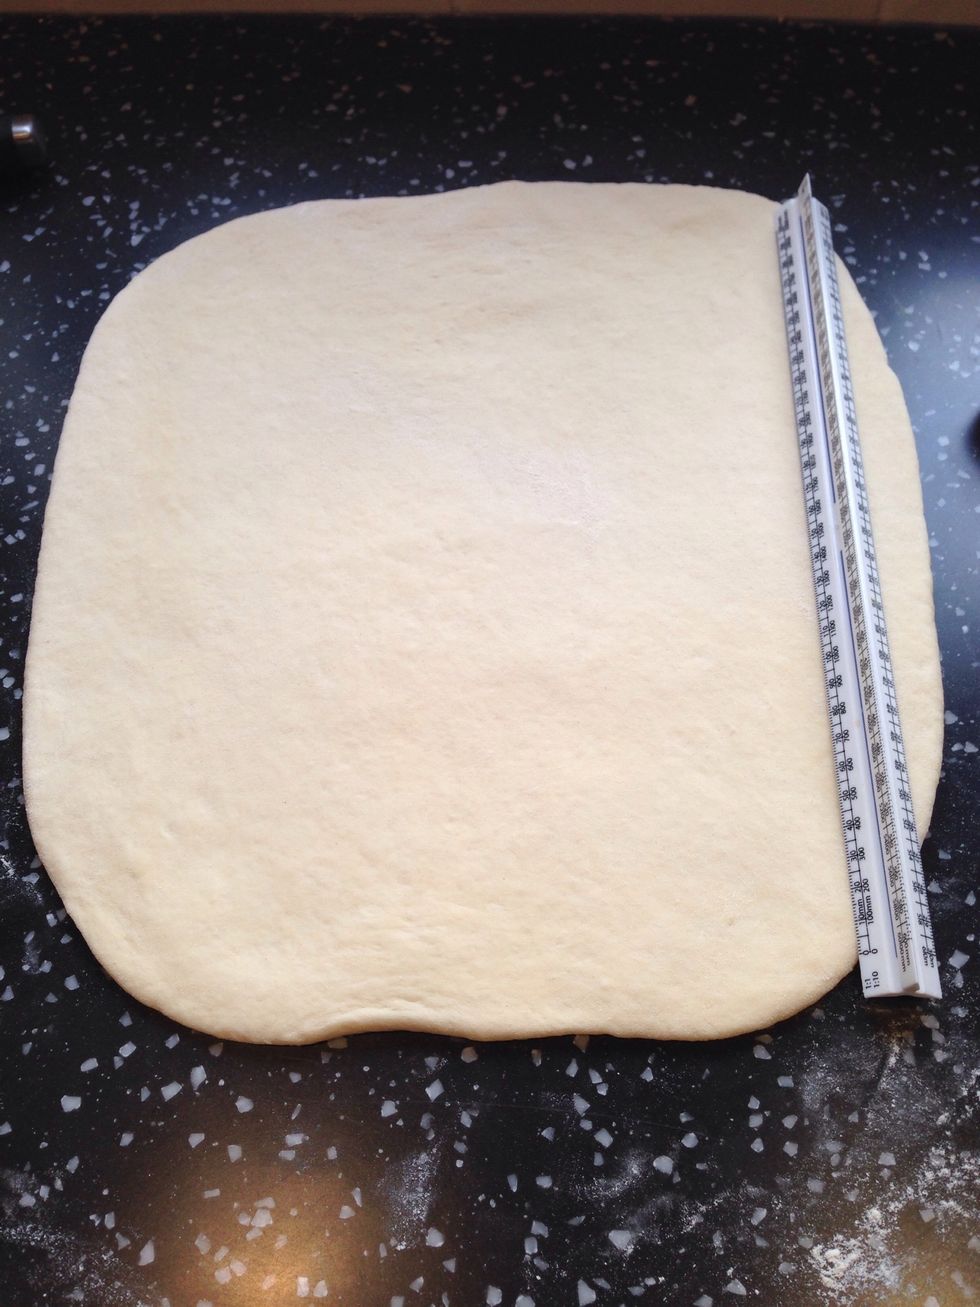
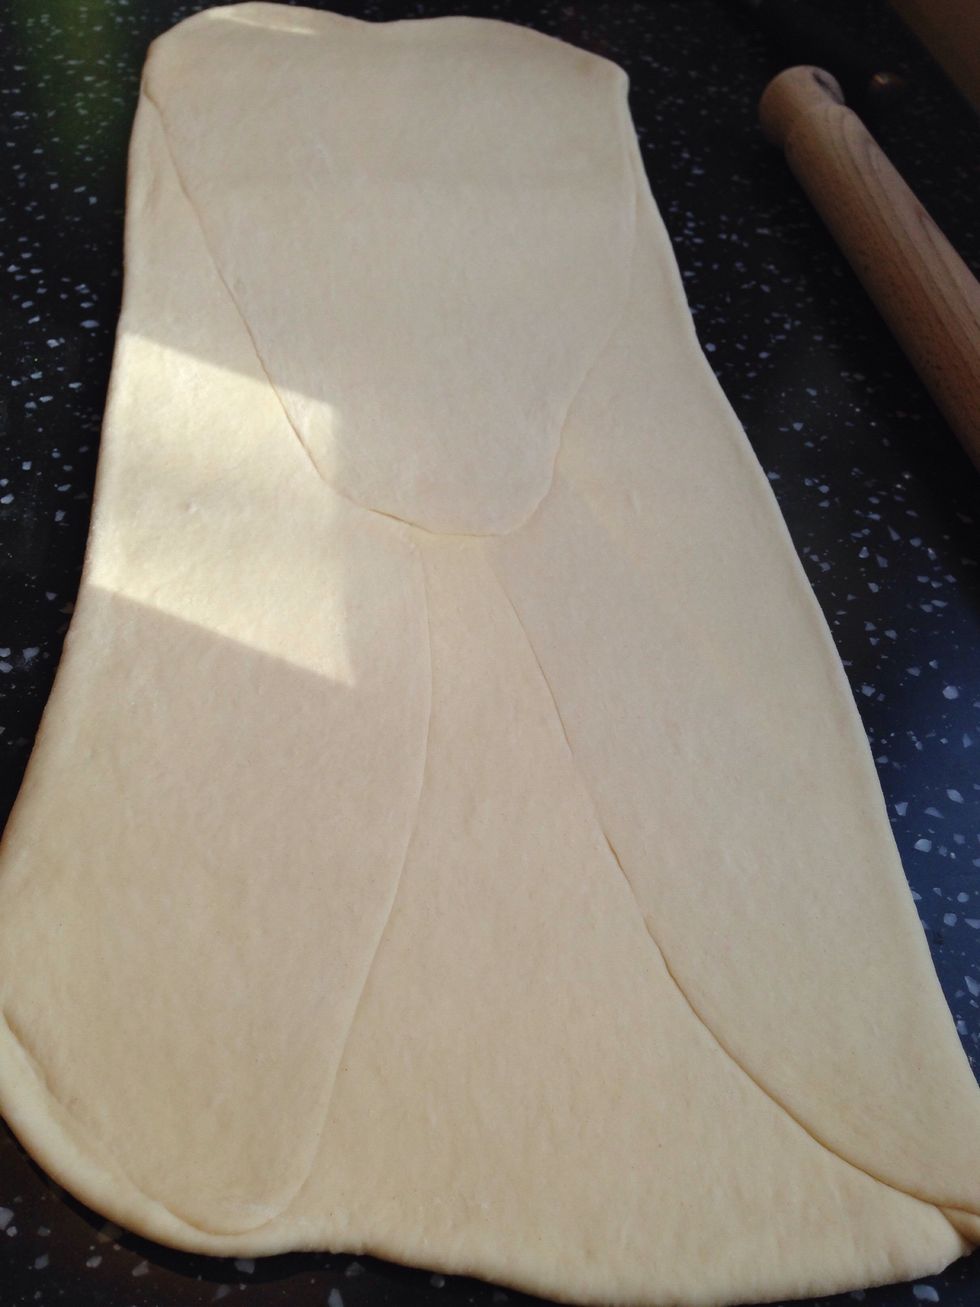
Roll the dough disc into a 26x26cm square. Try to get an even thickness
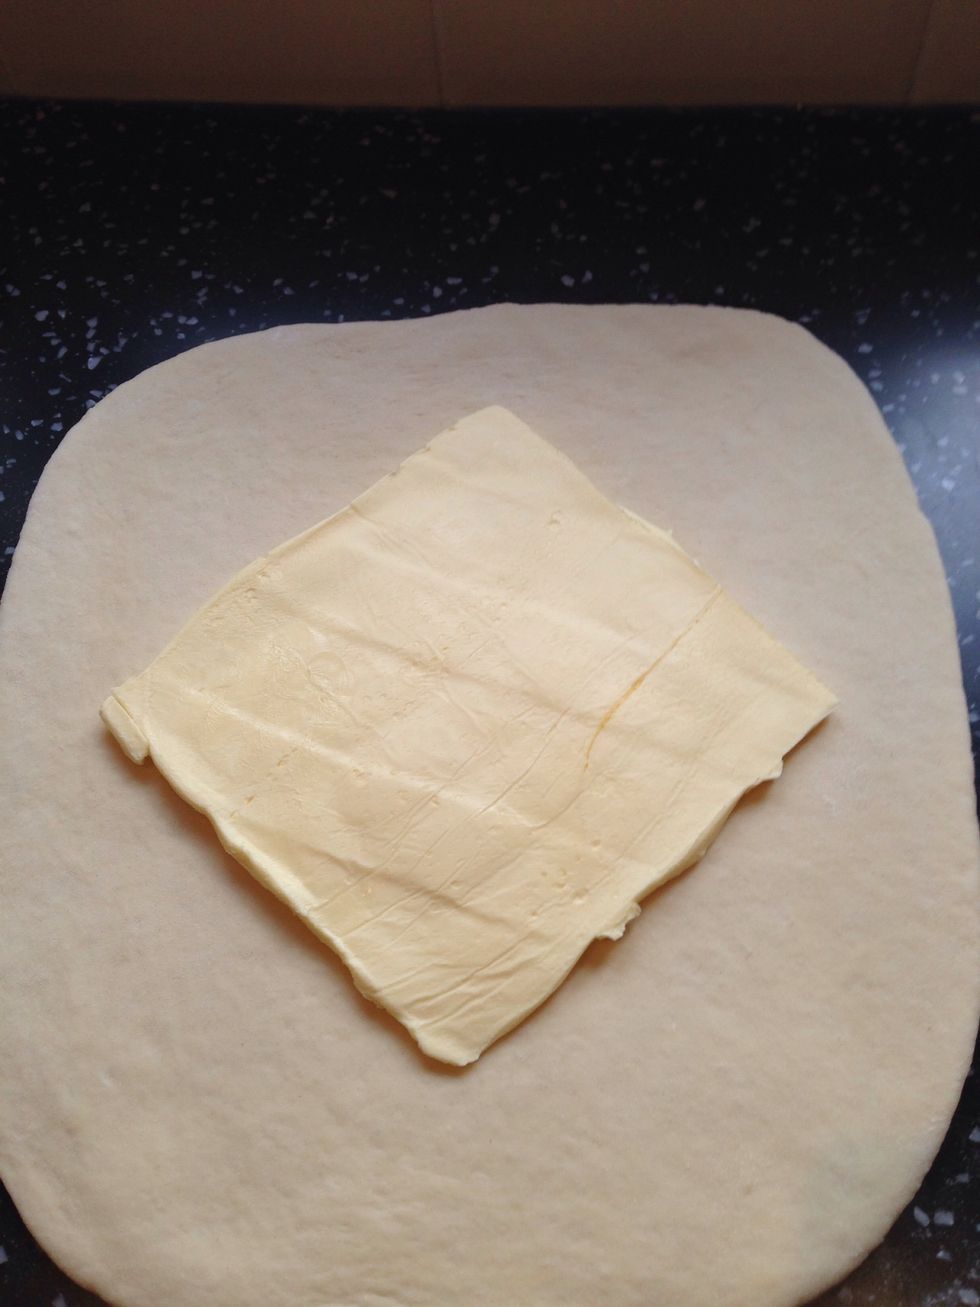
Place the butter slab on the dough at a 45 degree angle so that one if it's corners is facing you.
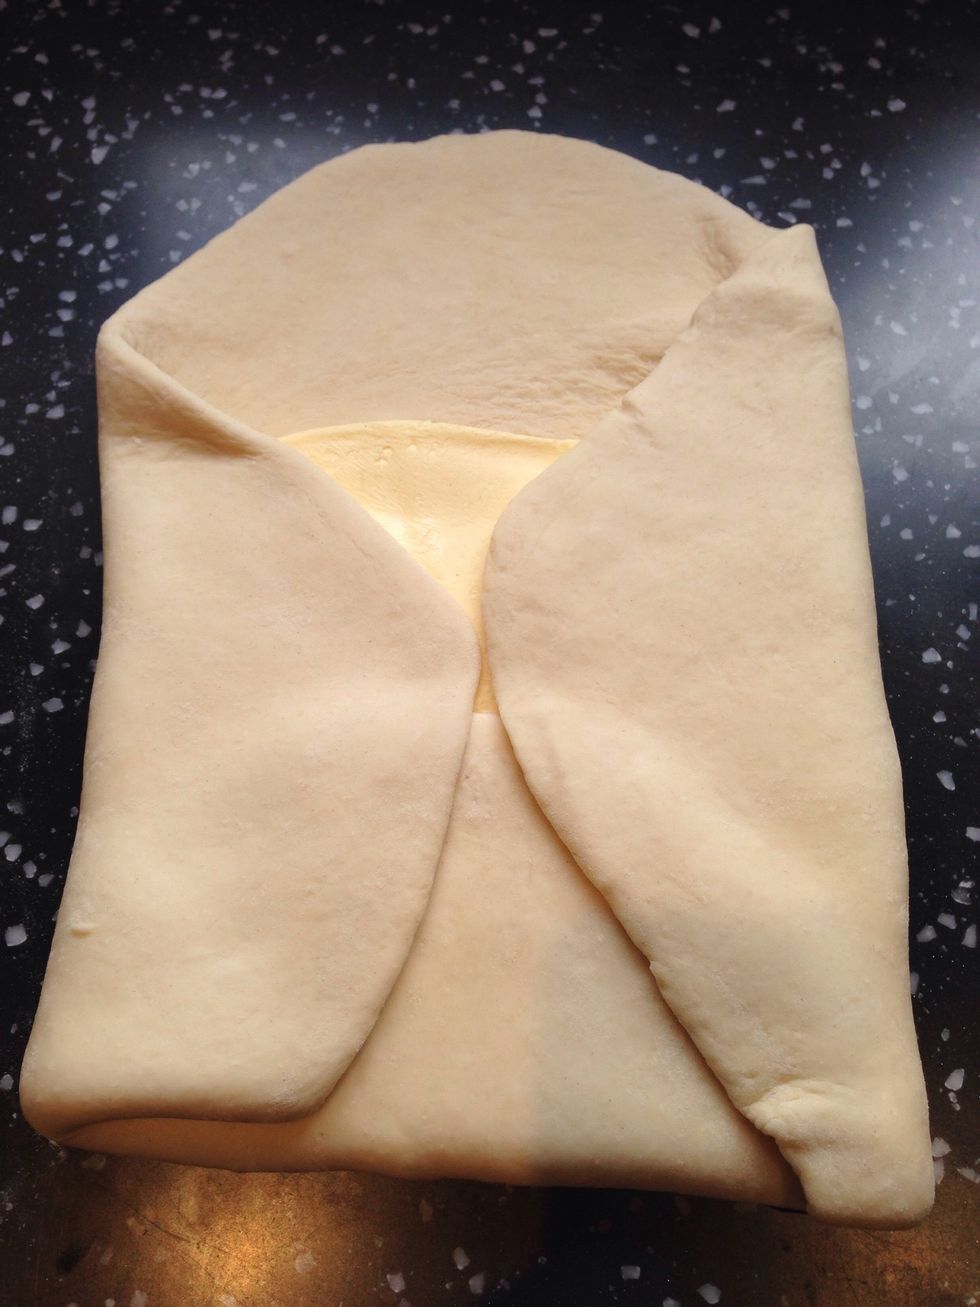
Fold a flap of dough over the butter so the point of the dough reaches the centre of the butter slab. Do the same with the remaining 3 sides. Flatten the dough with your palm gently to seal the seams
On a lightly floured surface roll out the dough and sealed butter until you have a rectangle 20x60 cm. Start rolling from the centre towards the edges. Concentrate on lengthening rather than widening
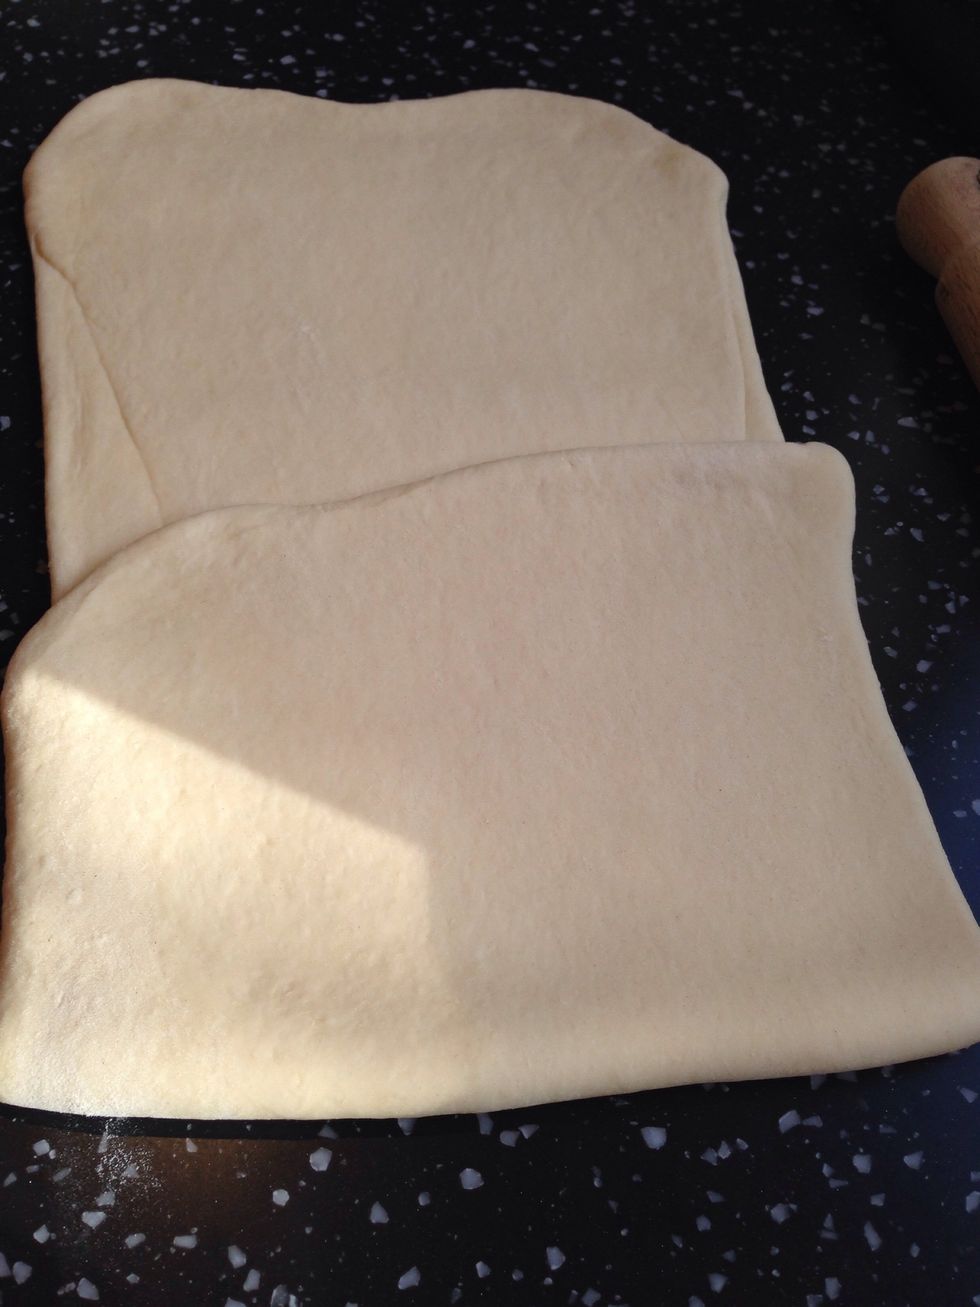
Fold the dough letter style
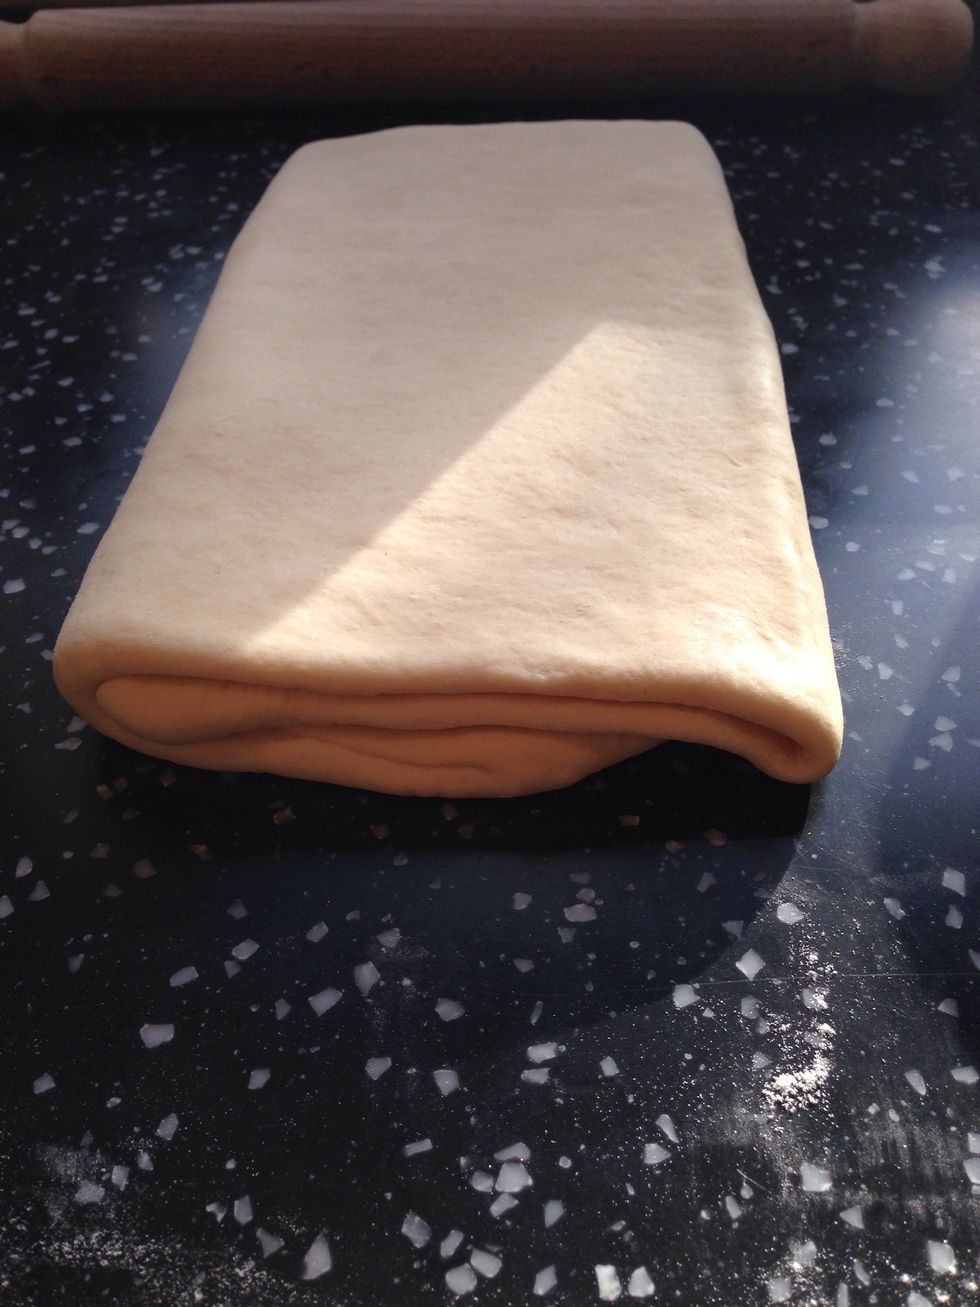
You should now clearly see the start of the layers in the dough! Good start :-)
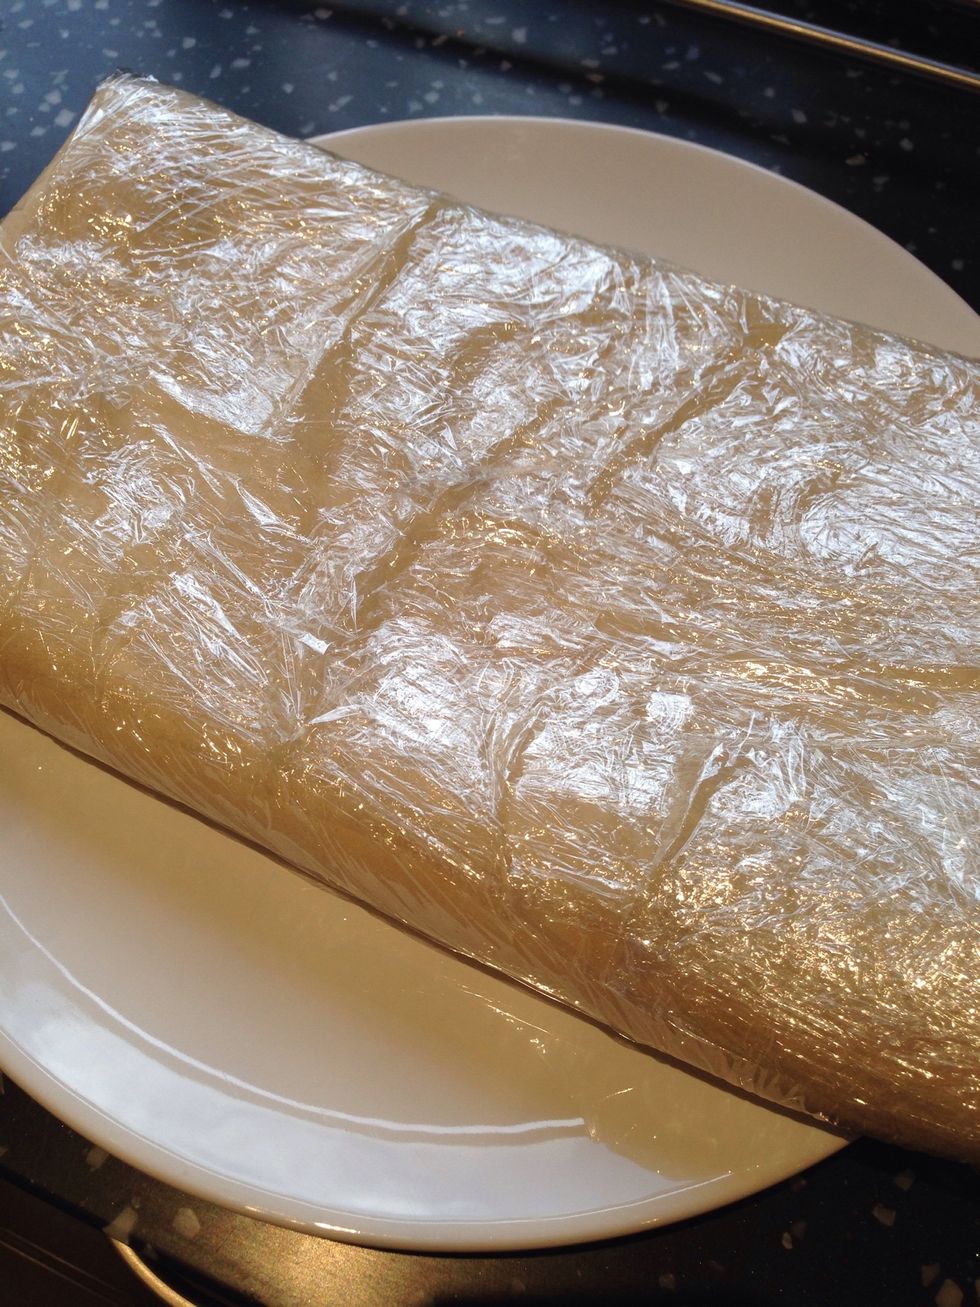
Wrap the dough in cling film and refrigerate for 30 minutes. Repeat the rolling and folding two more times (ending with 27 layers in total). Each time ending with a 20x60cm rectangle.
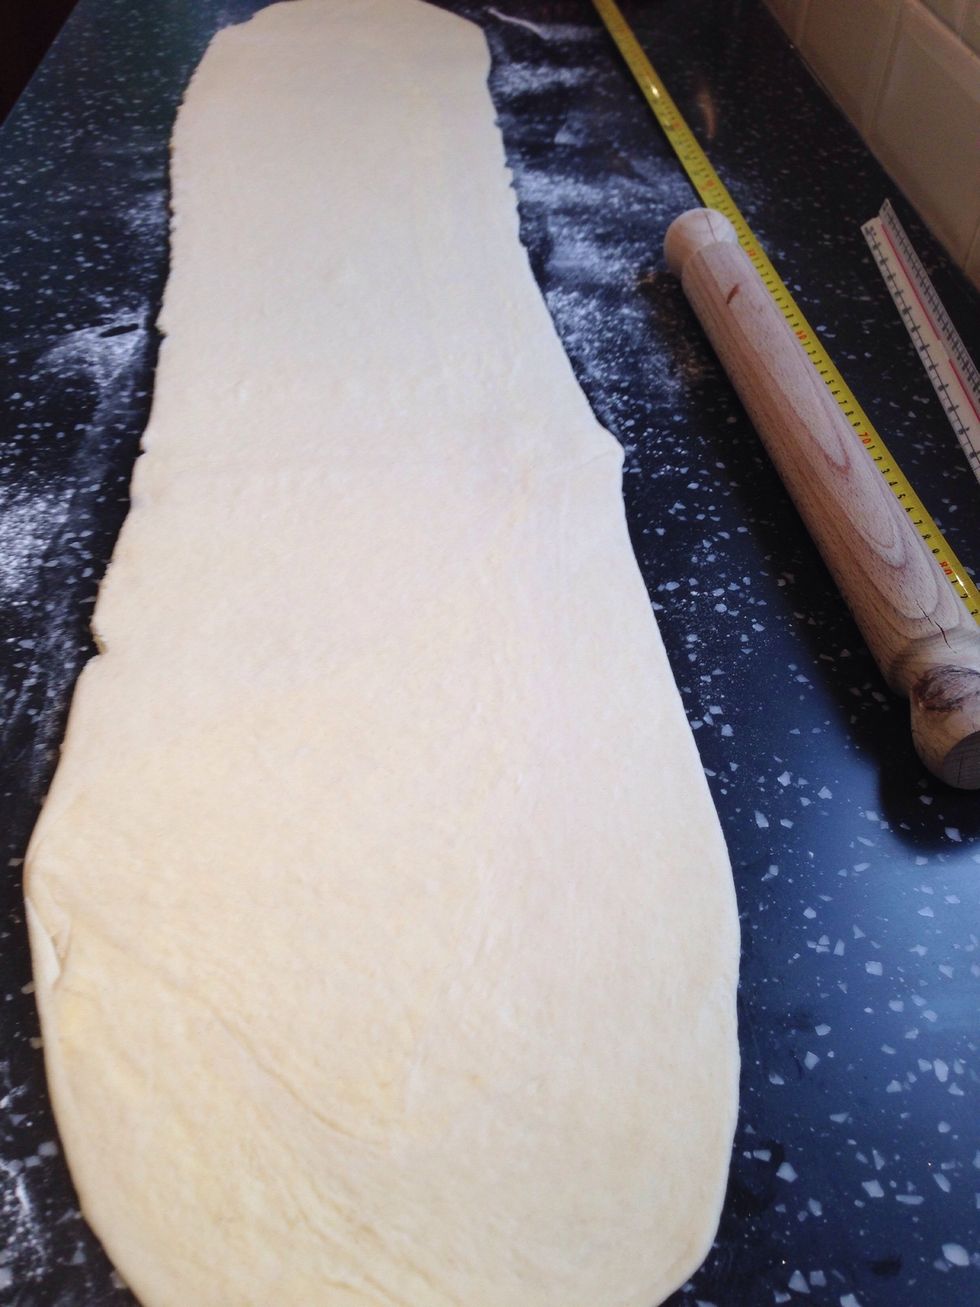
Roll out the dough to 110cm on a floured surface. If the dough resists or shrinks back, fold into thirds and rest in the fridge again for 10-20minutes. This will stop shrinkage at the shaping stage
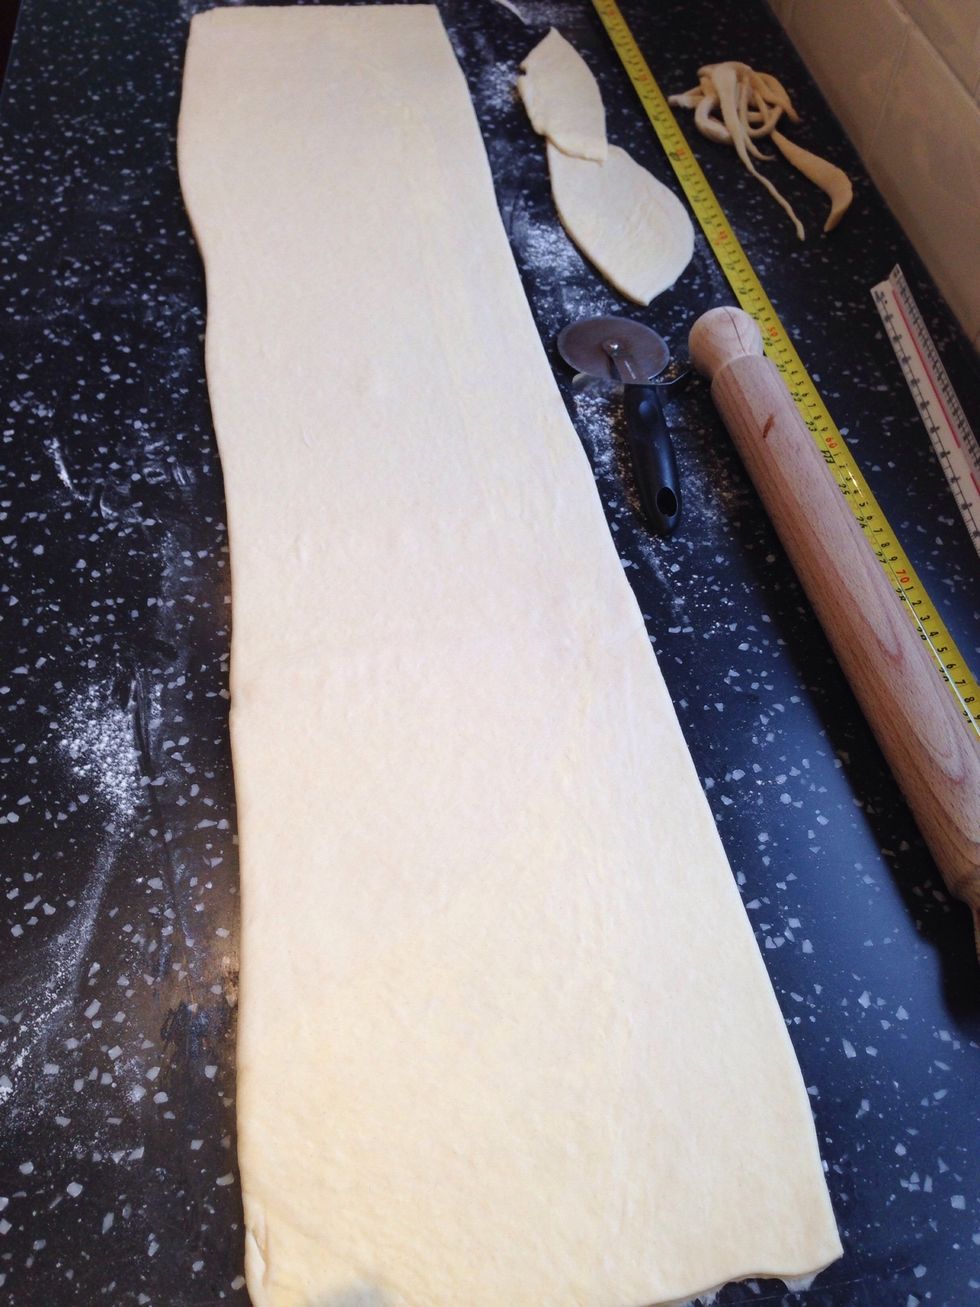
Trim the edges with a pizza cutter. You should have a 100cm length of dough left. (reserve the end pieces make pain au chocolate by placing a piece of dark chocolate in the centre and rolling up!)
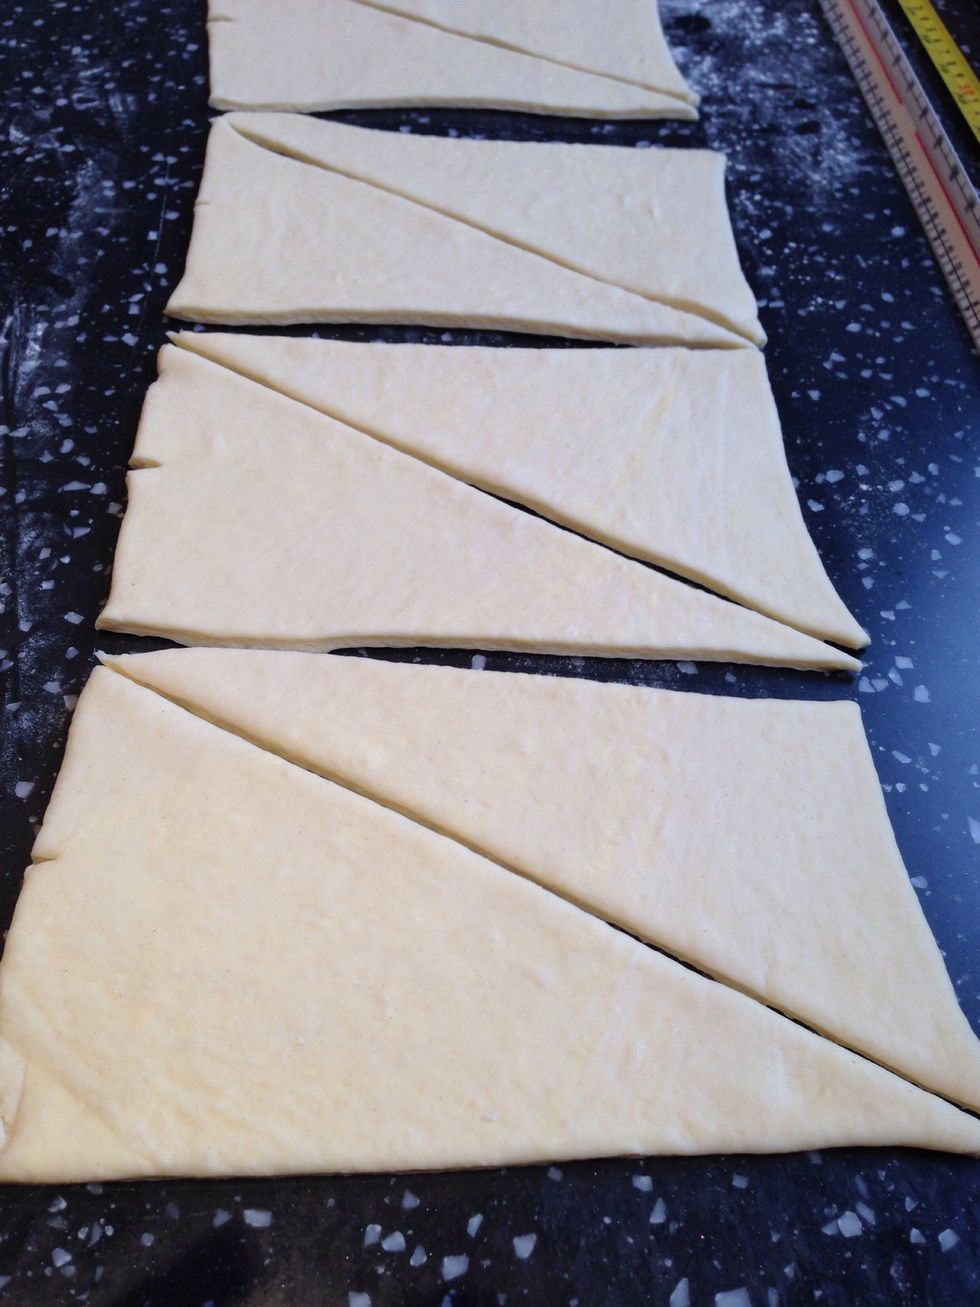
Measure 12.5cm slits along the length of the dough and cut at these points to make rectangles. Then cut diagonally to form triangles.
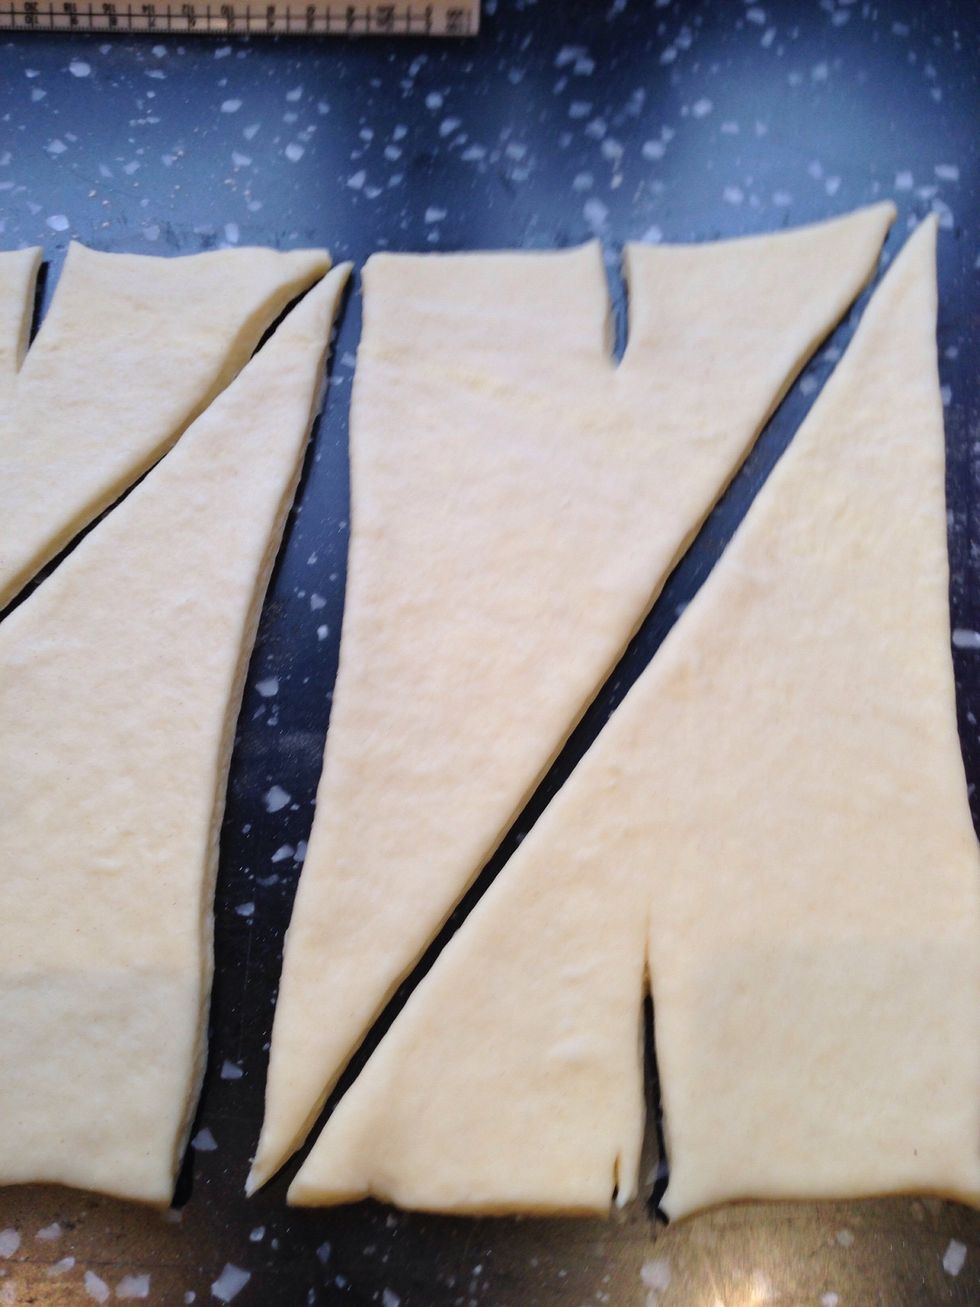
Make a slit a the base of each of the triangles
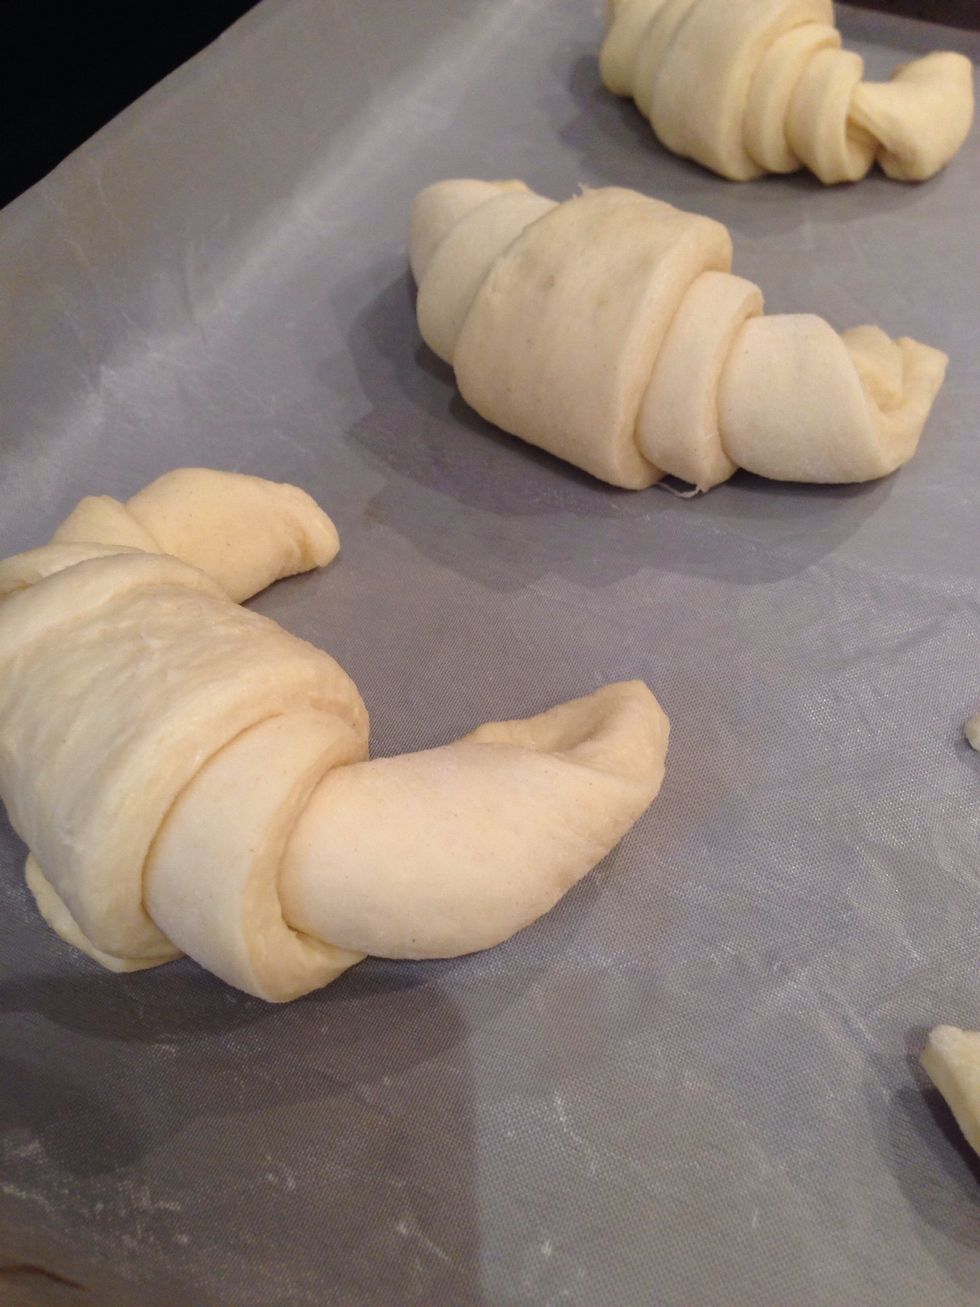
Allow the dough to prove for about 30-40 minutes before placing in the oven. Pre heated to 180 degrees centigrade. Cook for about 20 minutes until brown. Then allow to cool slightly.
In France croissants made in the crescent shape are ones made with butter. Straight croissants at traditionally made with margarine.
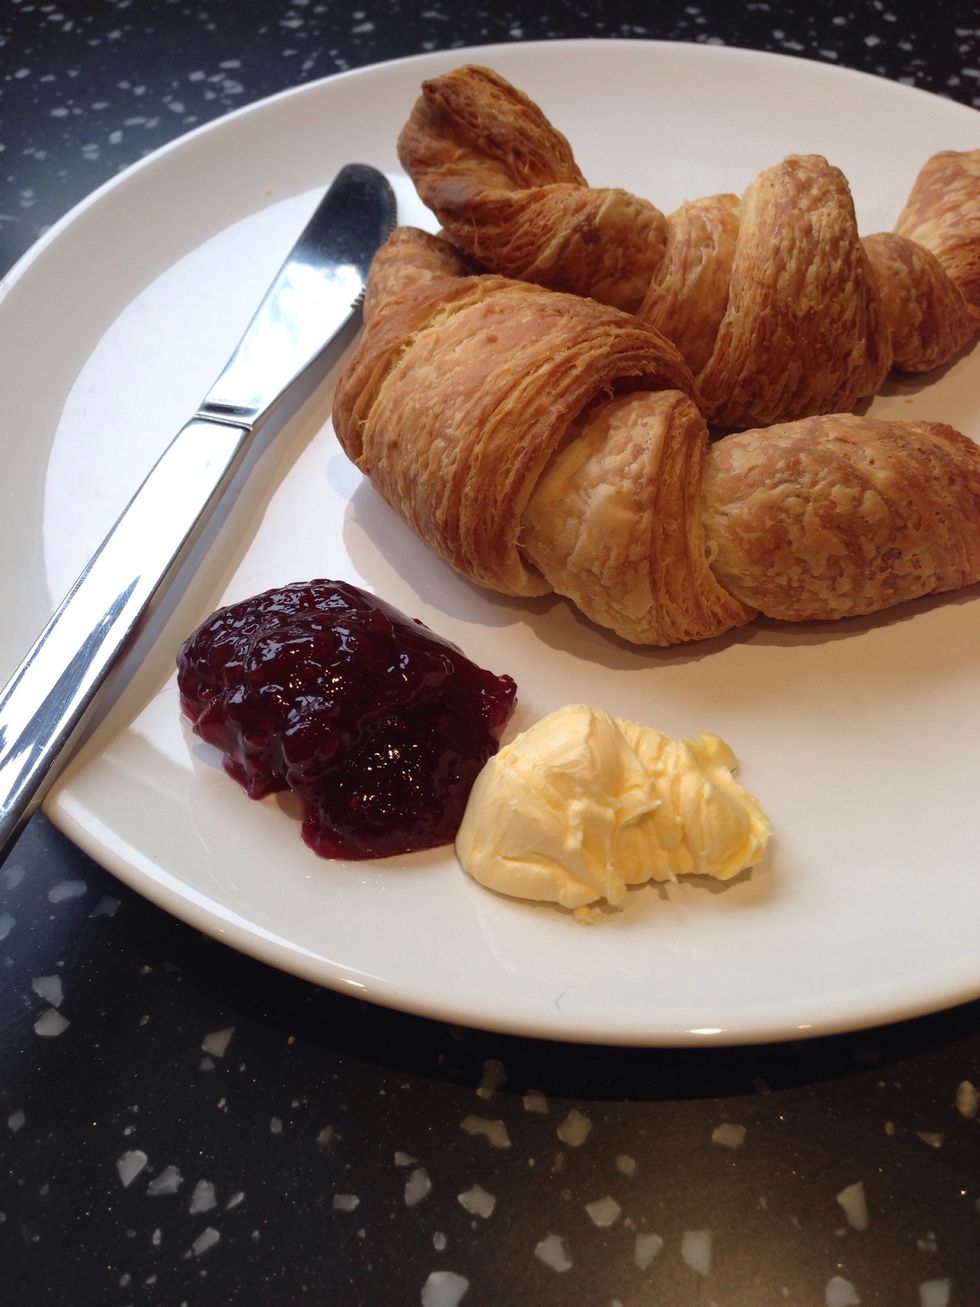
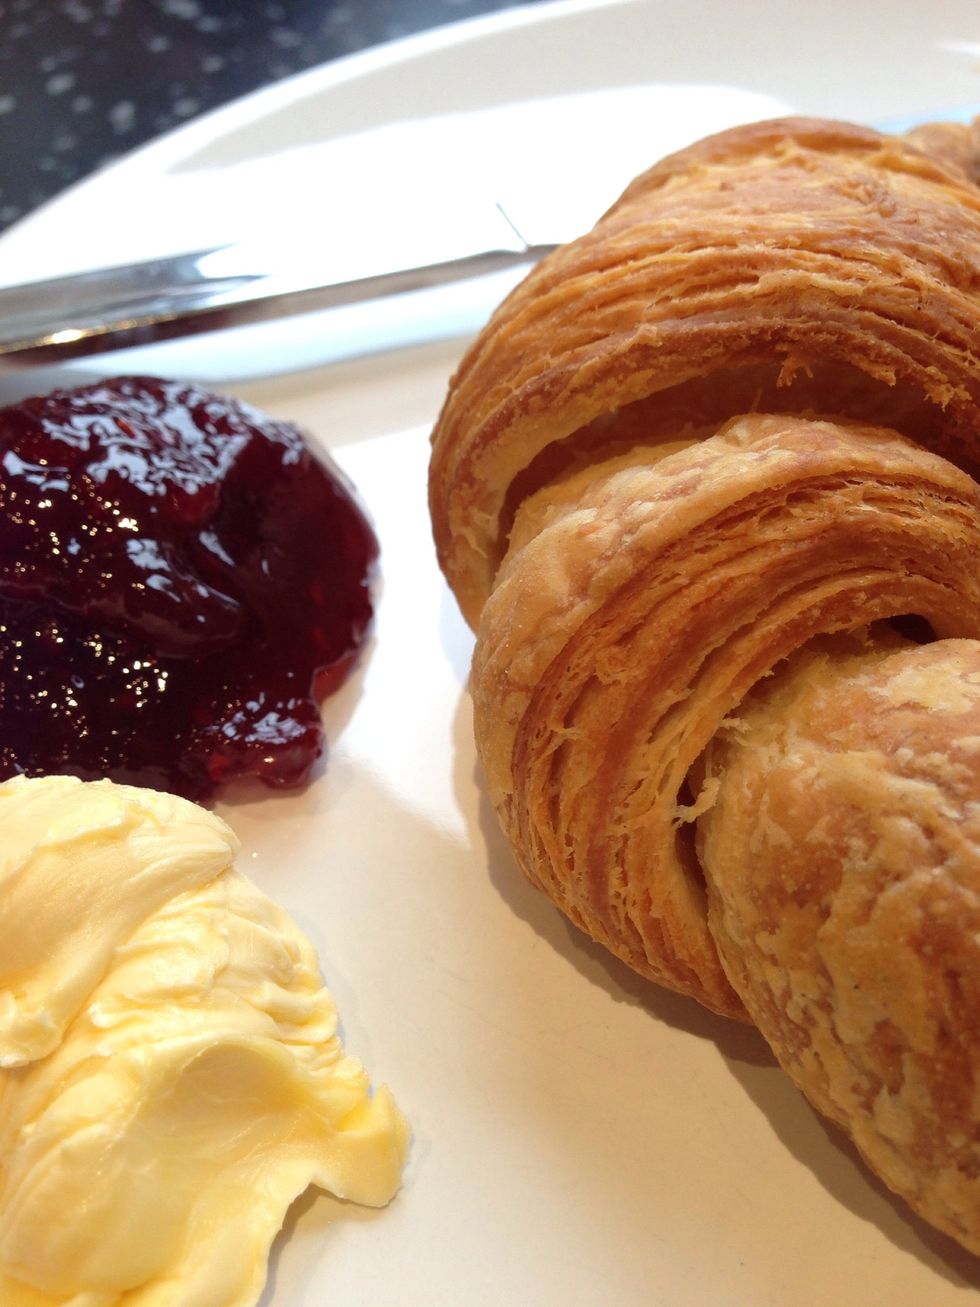
These buttery croissants can be frozen too. (After shaping). Take them out if the freezer the night before you want them and leave to defrost and rise. Then cook as previously described. Enjoy!!!