The Conversation (0)
Sign Up
This bracelet comes from Cheryl M. on YouTube. She was gracious enough to let me share her bracelet with you on SnapGuide. http://youtu.be/DKuIE_kVlTM here is the link if you need a video :)
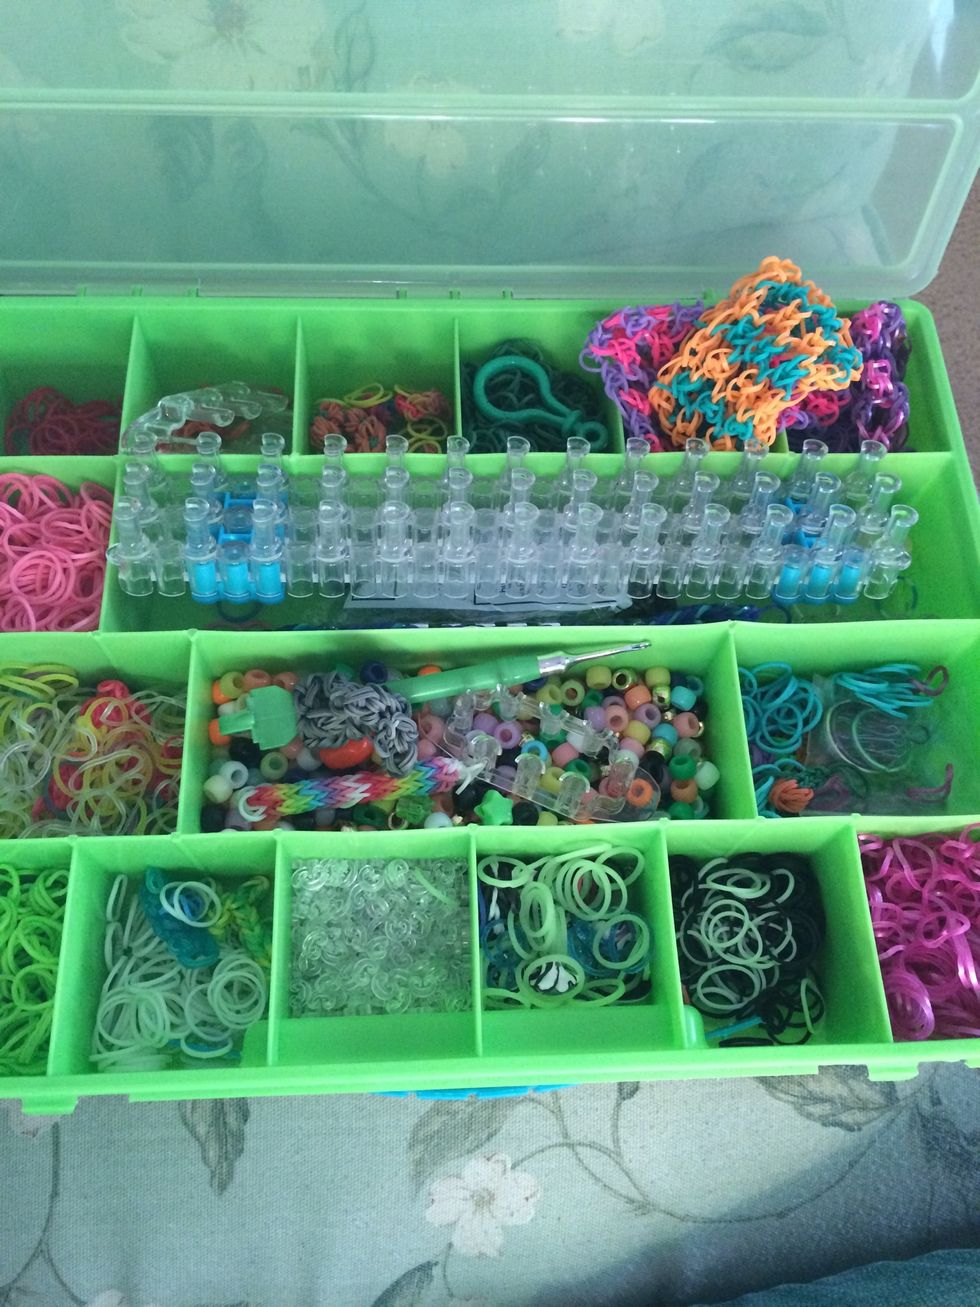
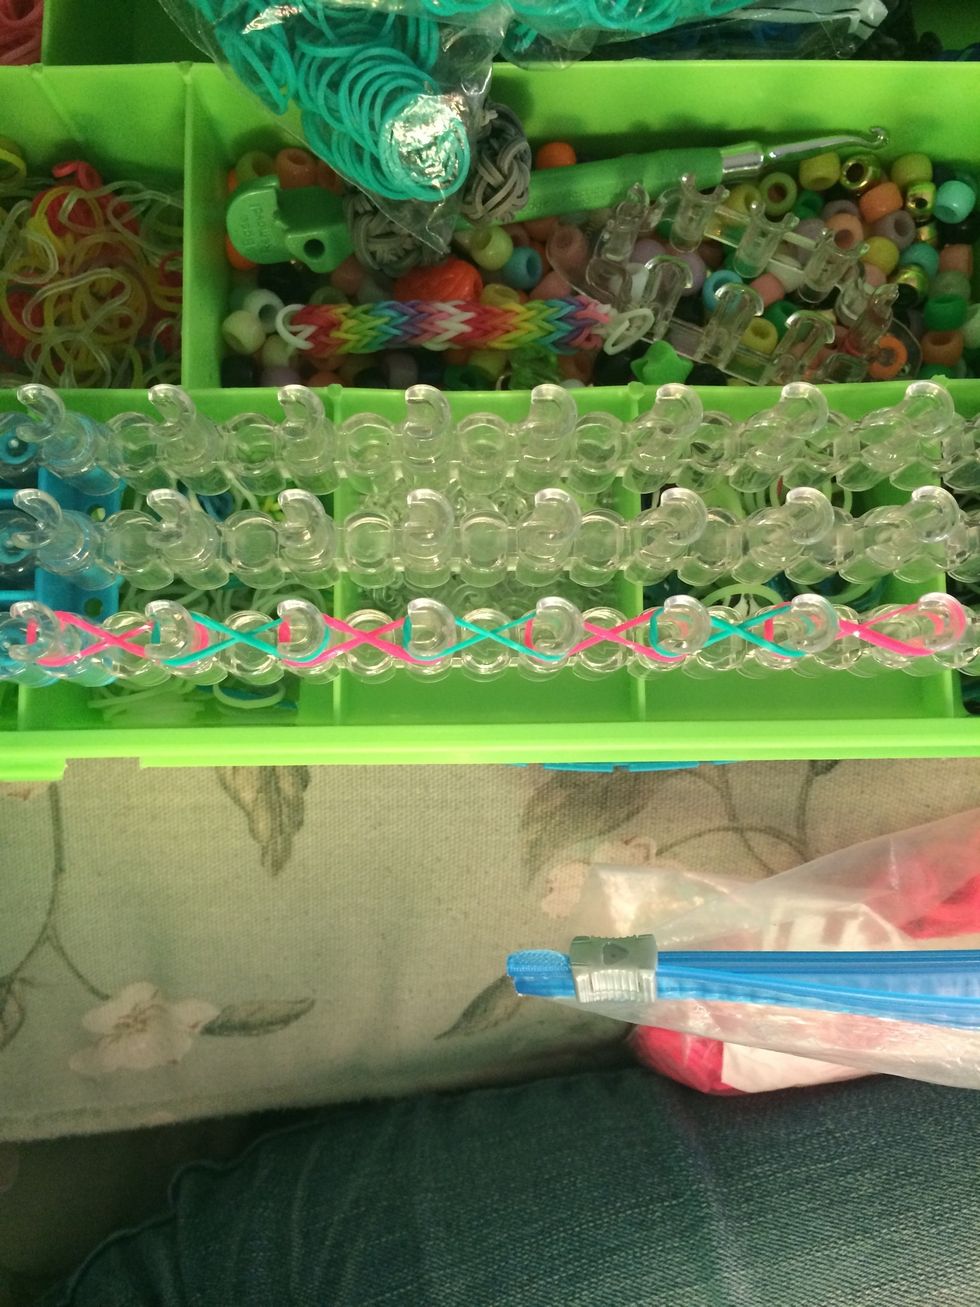
Grab your looming supplies and get ready :). For this bracelet let's get two colors ready
Take 4 bands and make figure rights on 4 sets of pegs
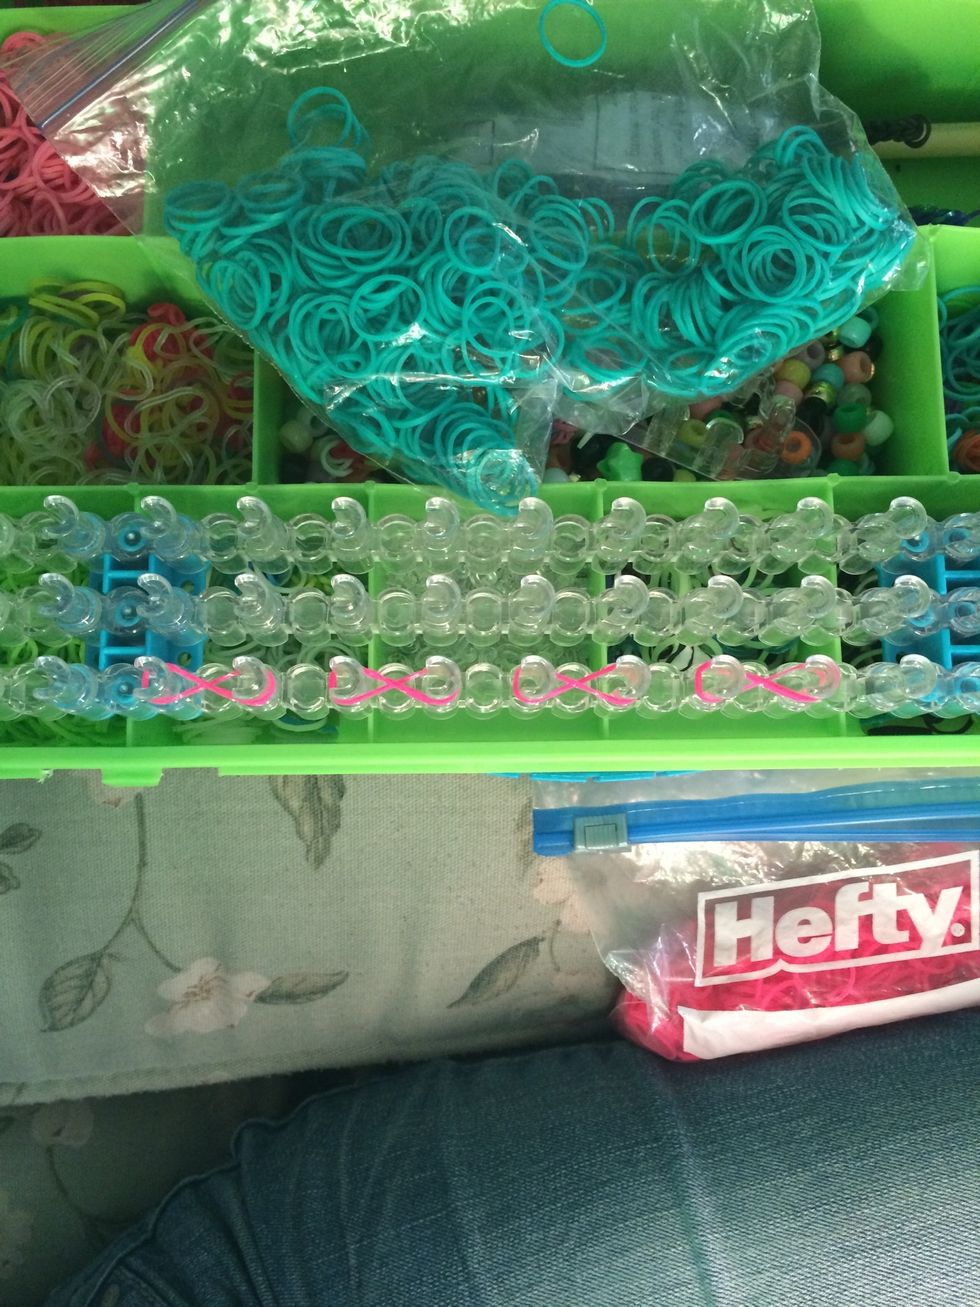
It should look like this
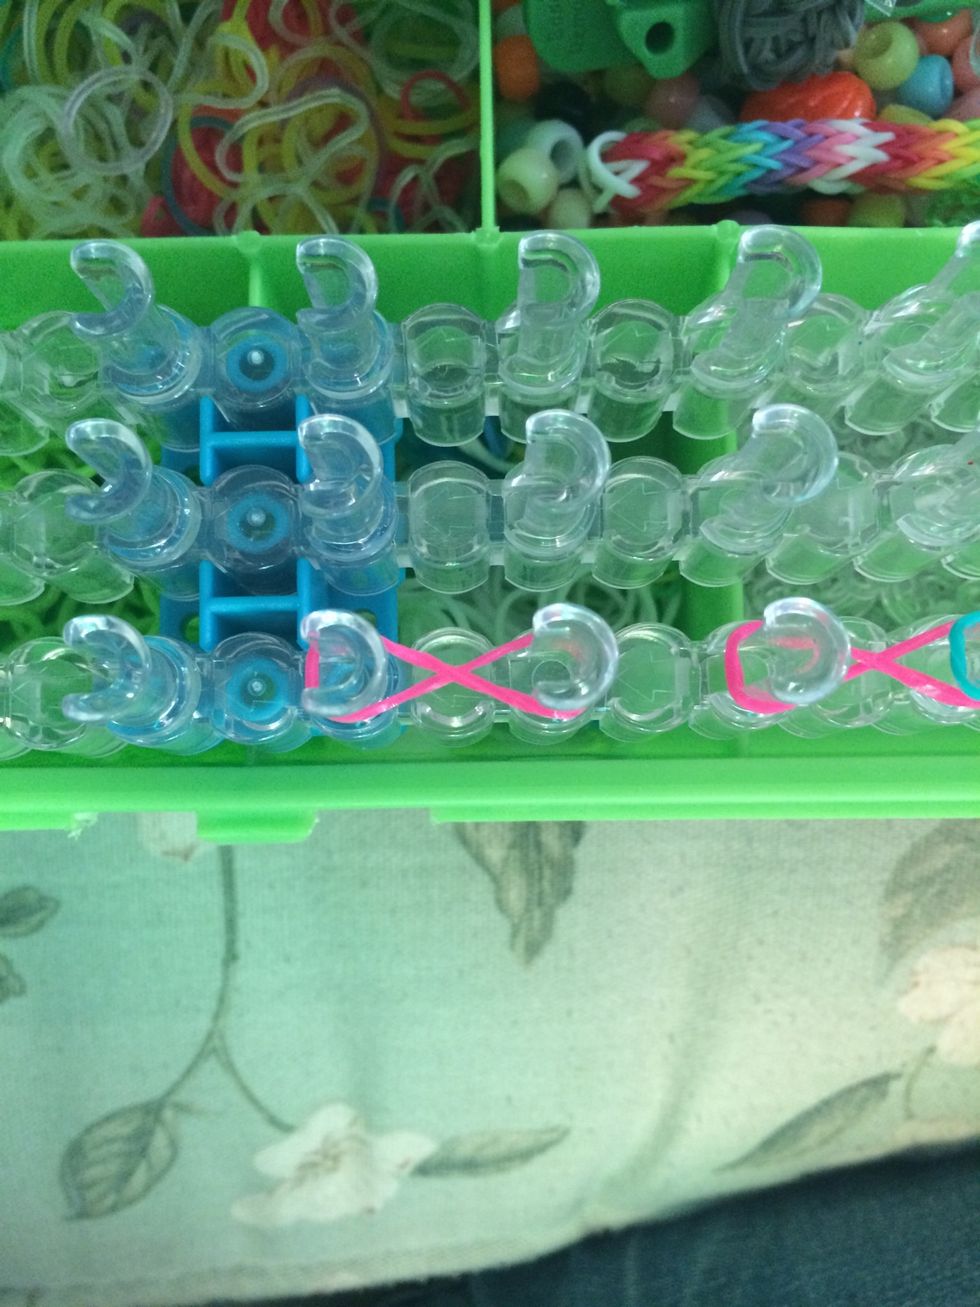
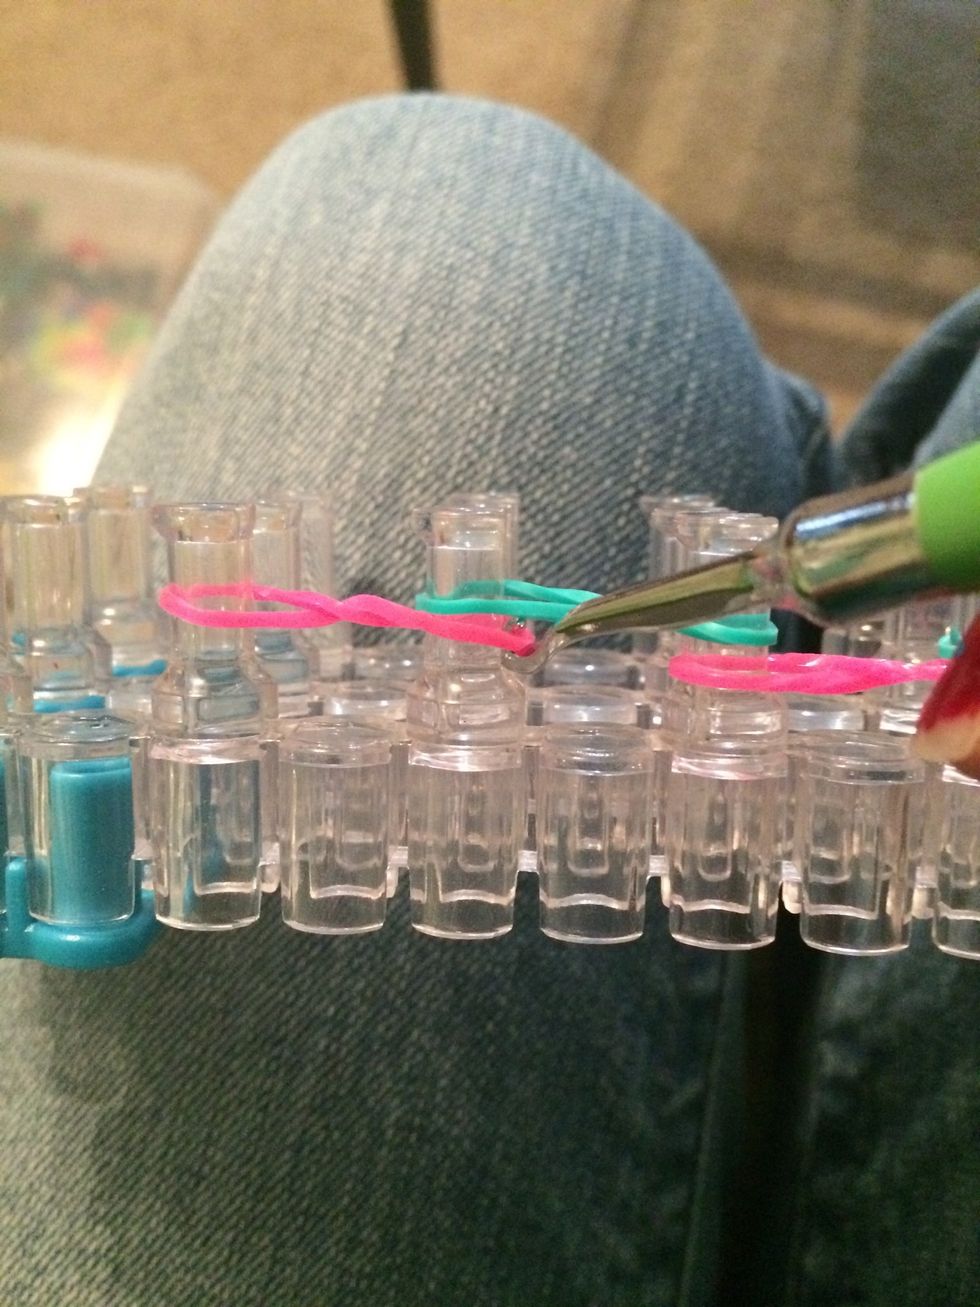
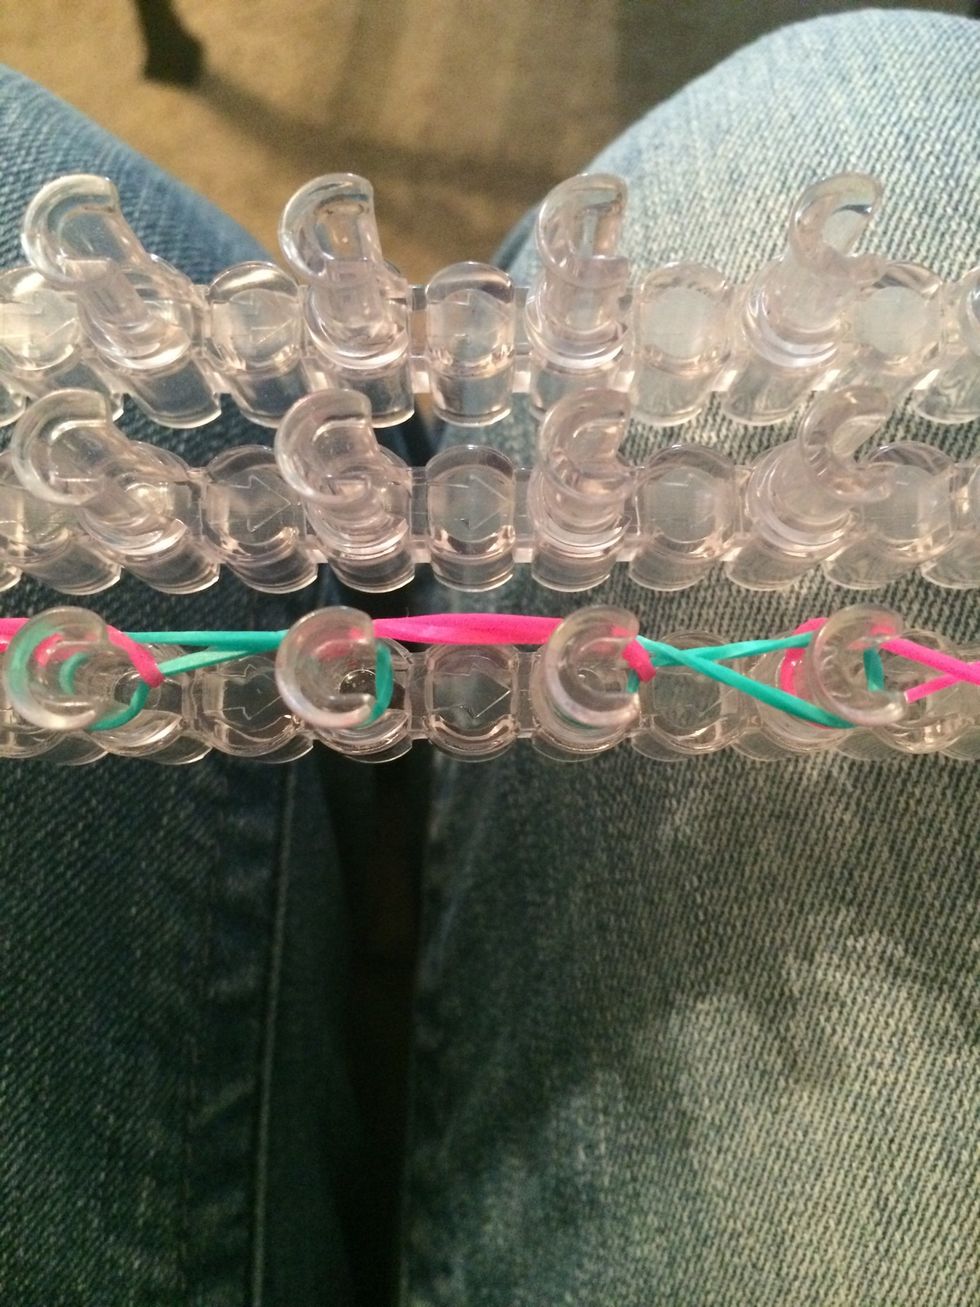
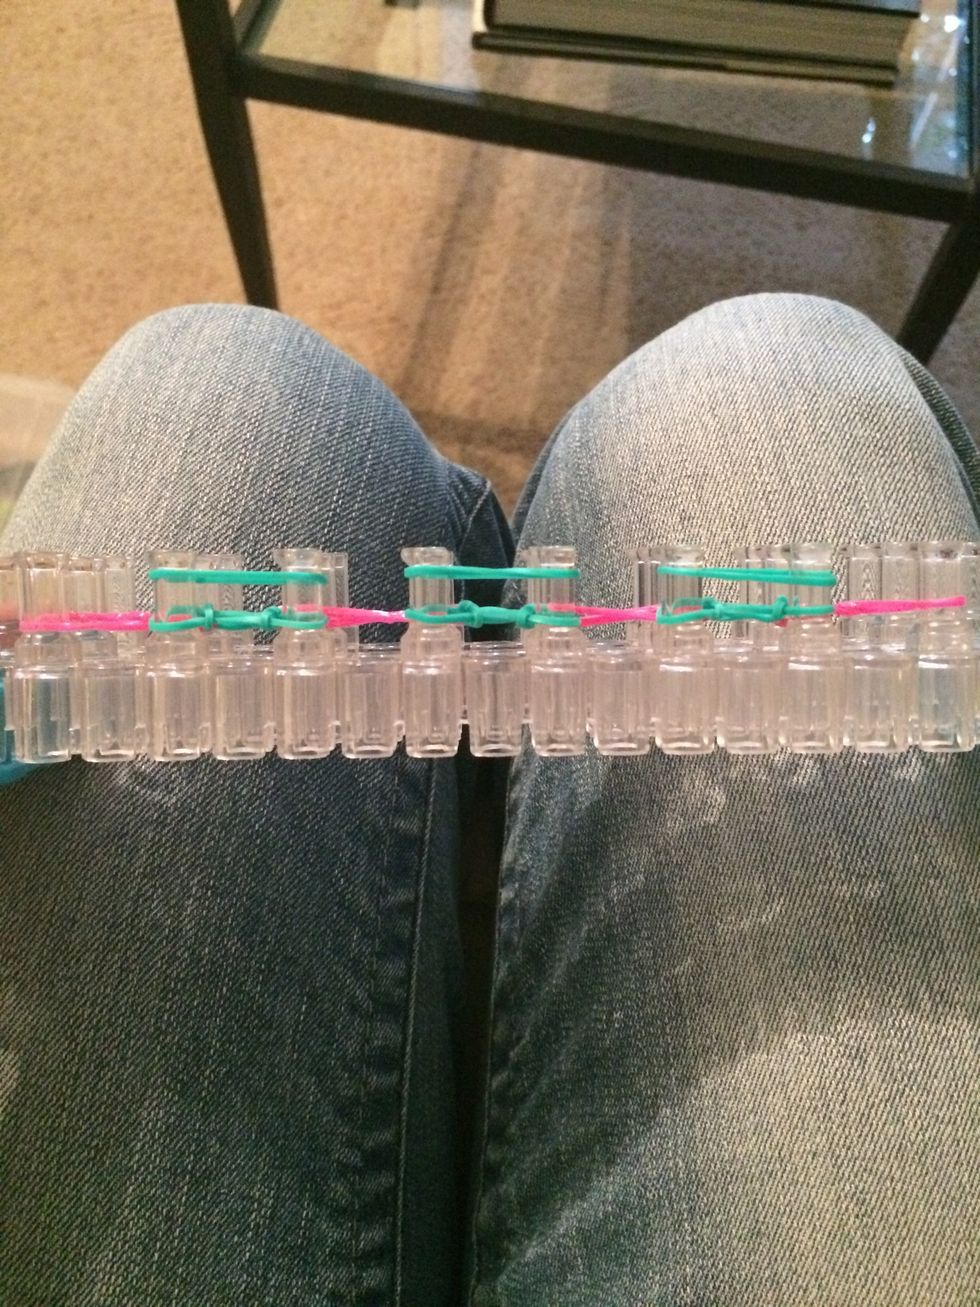
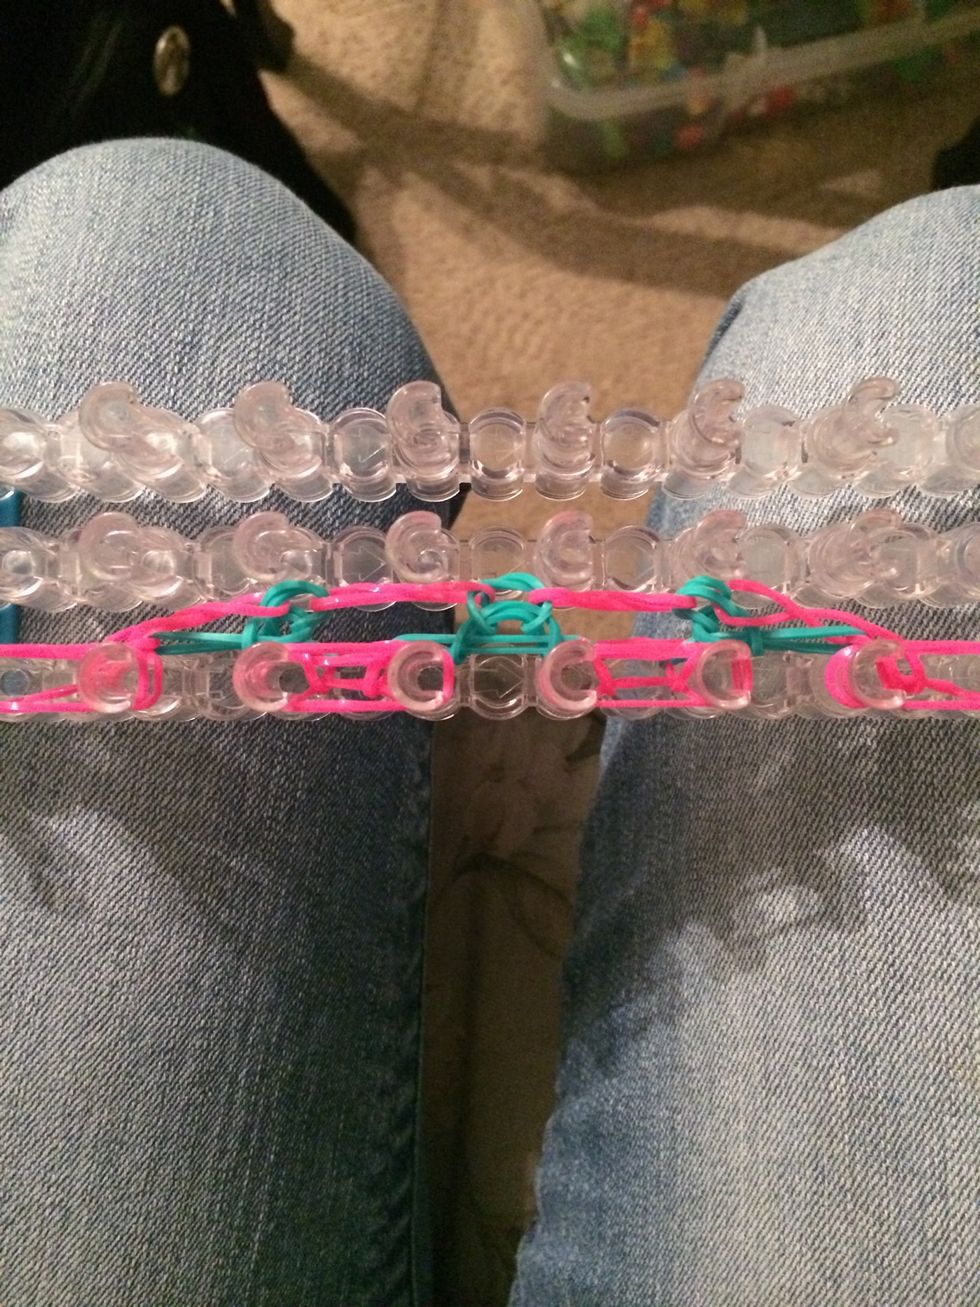
Grab 3 bands and do figure eights in the middle of the 1st set of bands
It will look like this
Grab the bottom rubber band on the second peg and loop it over.
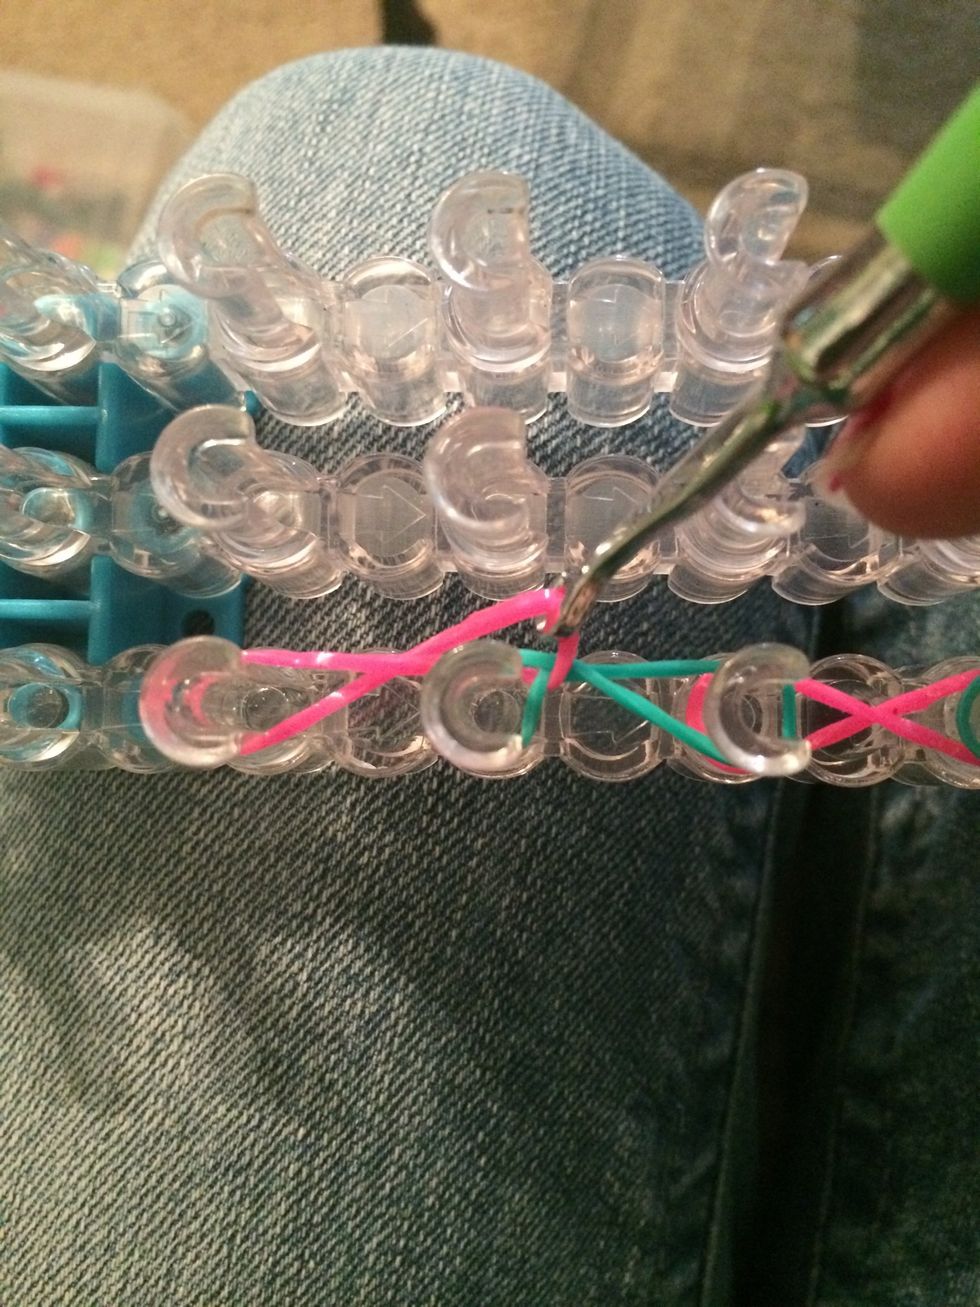
Looping it over the peg
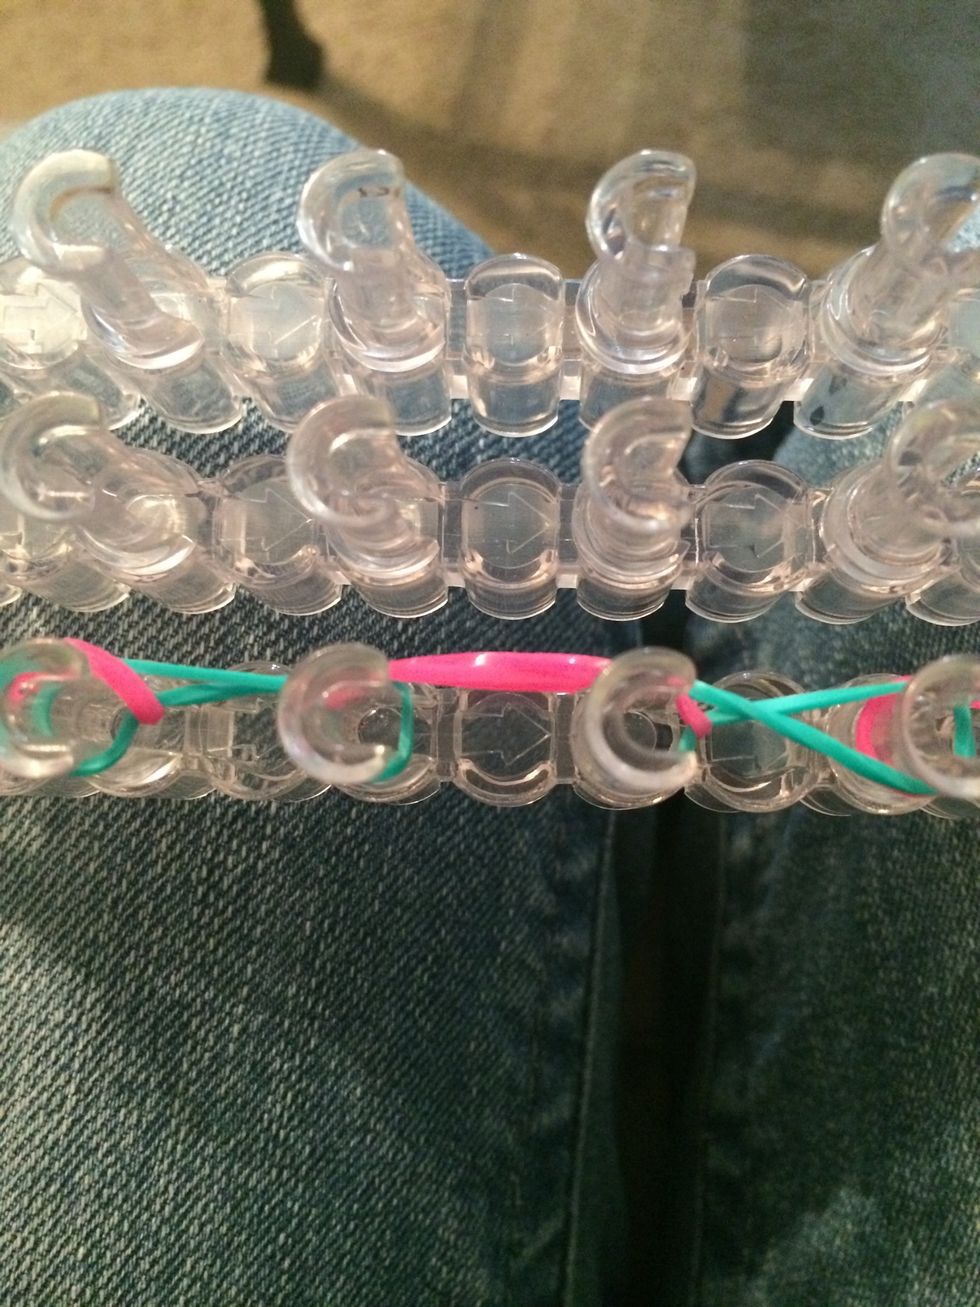
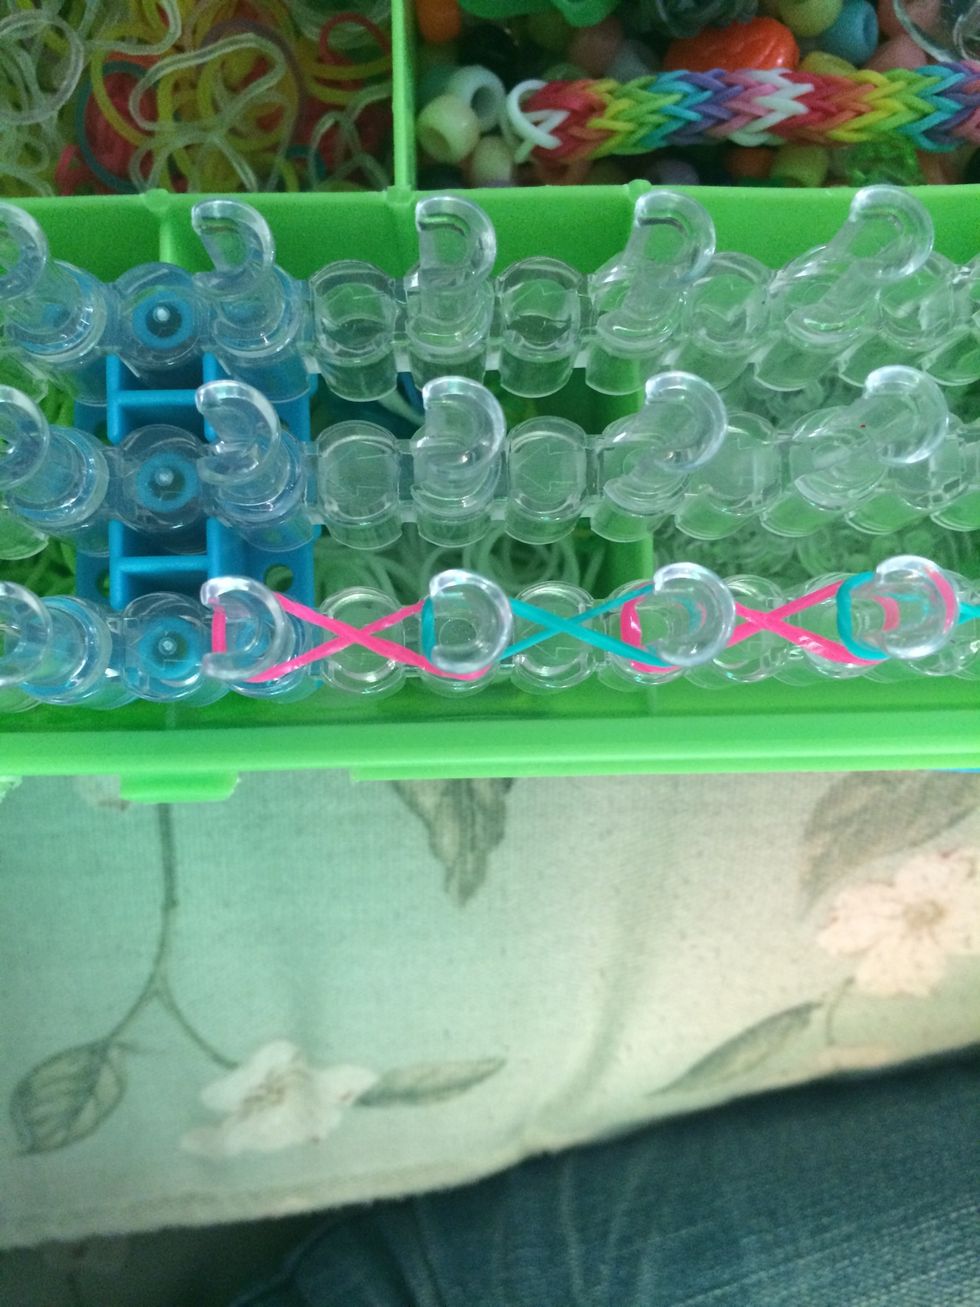
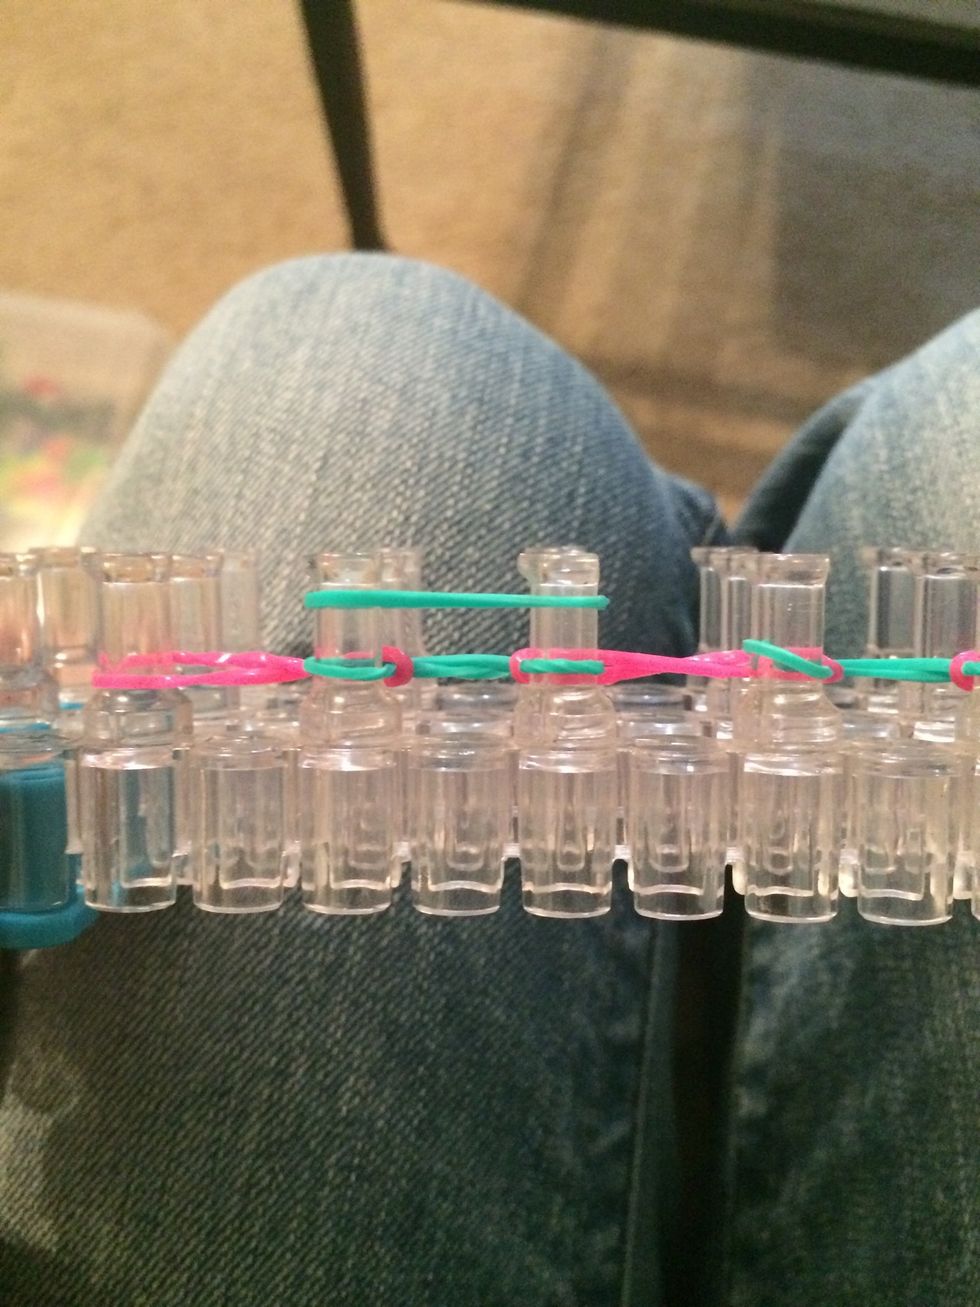
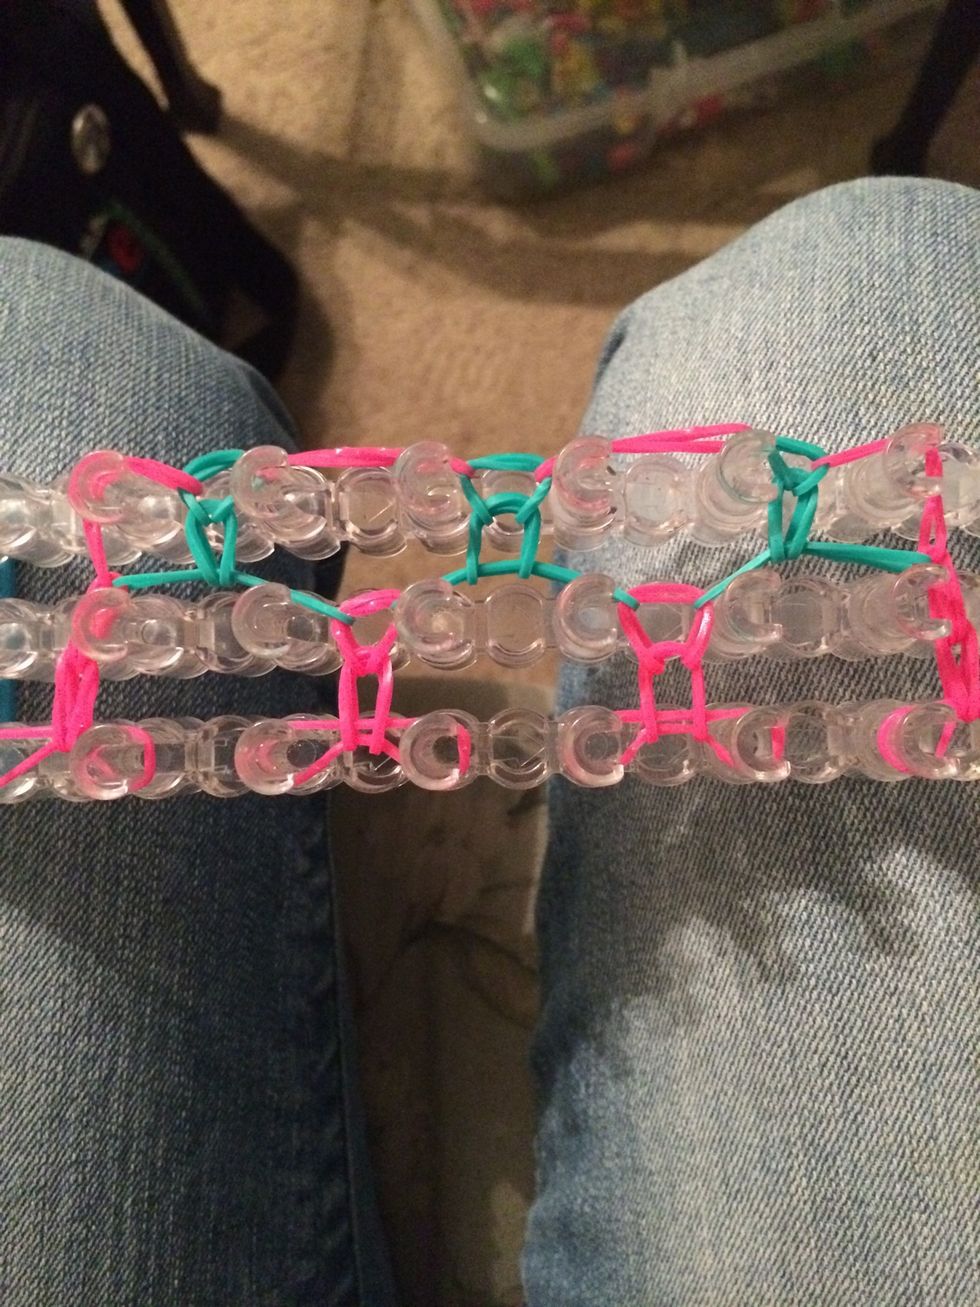
Loop over the next pink rubber band over the 3rd and 4th pegs
Loop the next pink rubber band

And loop the last part of the pink rubber band that is under the blue band. Or which ever color band you picked.
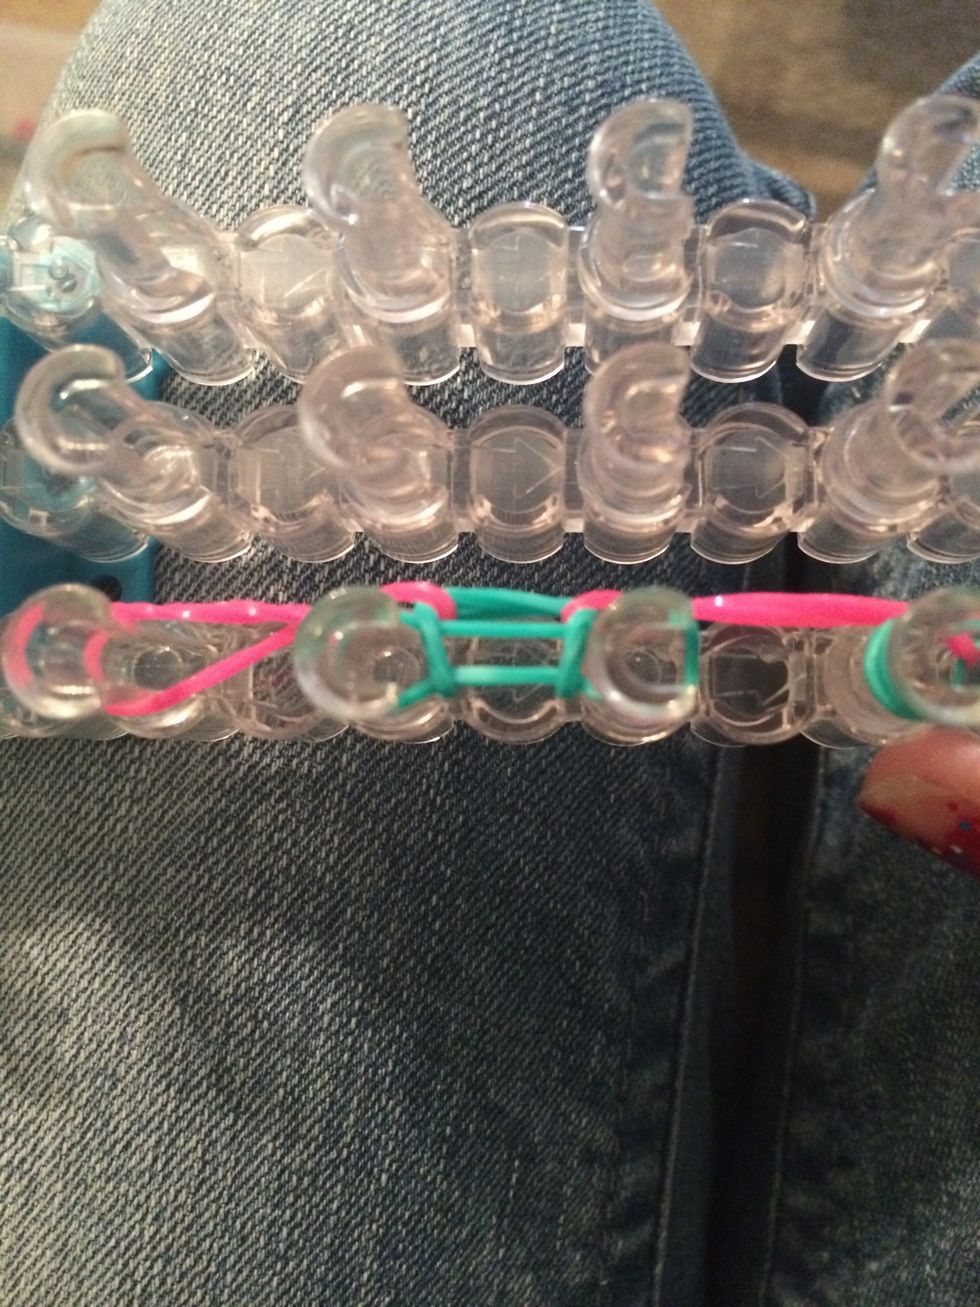
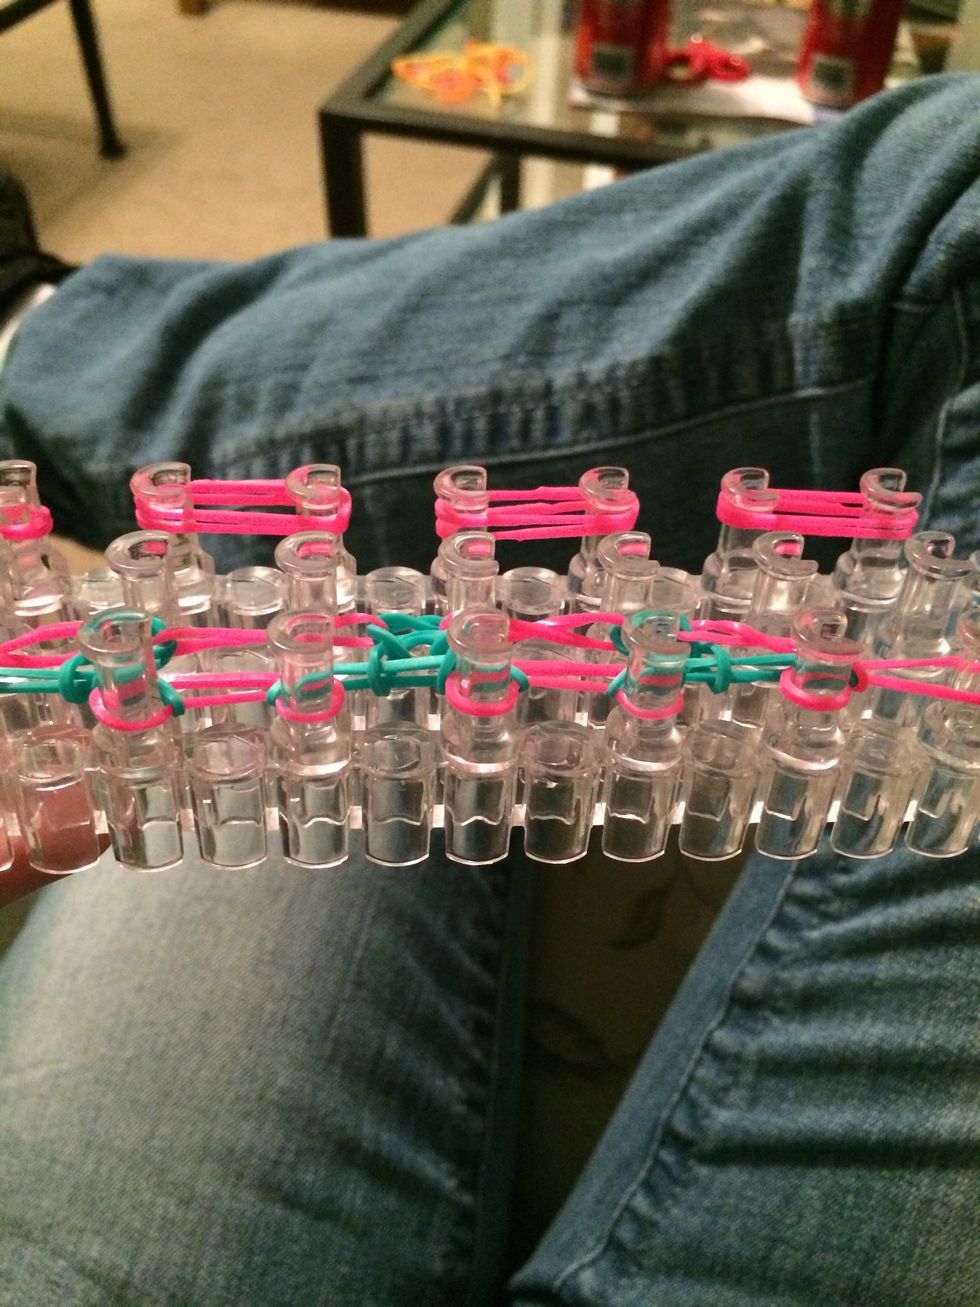
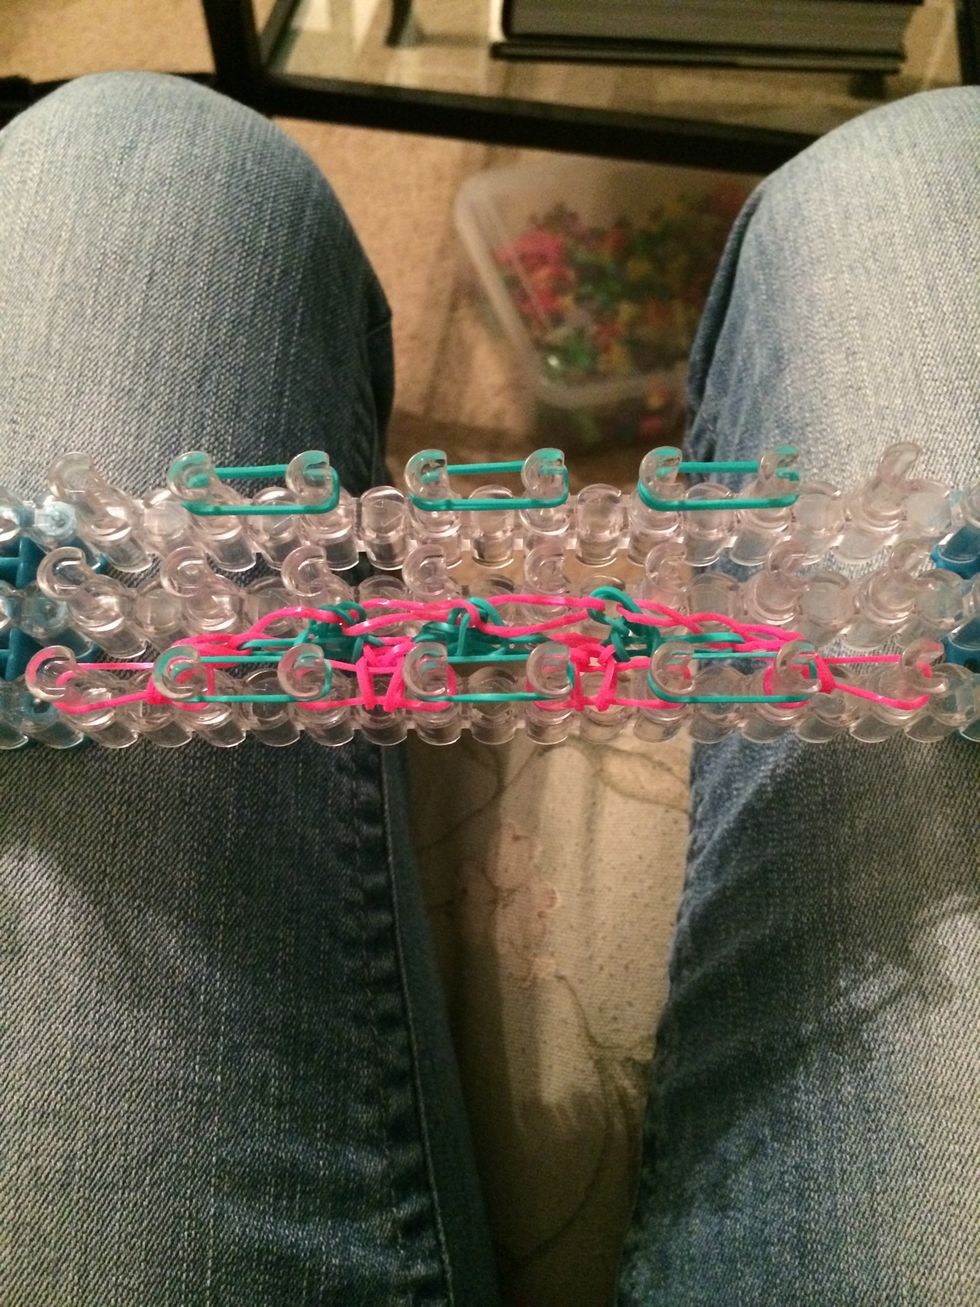
This is where this bracelet differs from the regular dragon scale. Place 2nd row of blue rubber bands.

Place them right on top of the other blue bands

Loop over the bottom set of blue rubber bands
It will look like this after the 1st blue band is looped
Do the rest of the row. And push all the bands down.
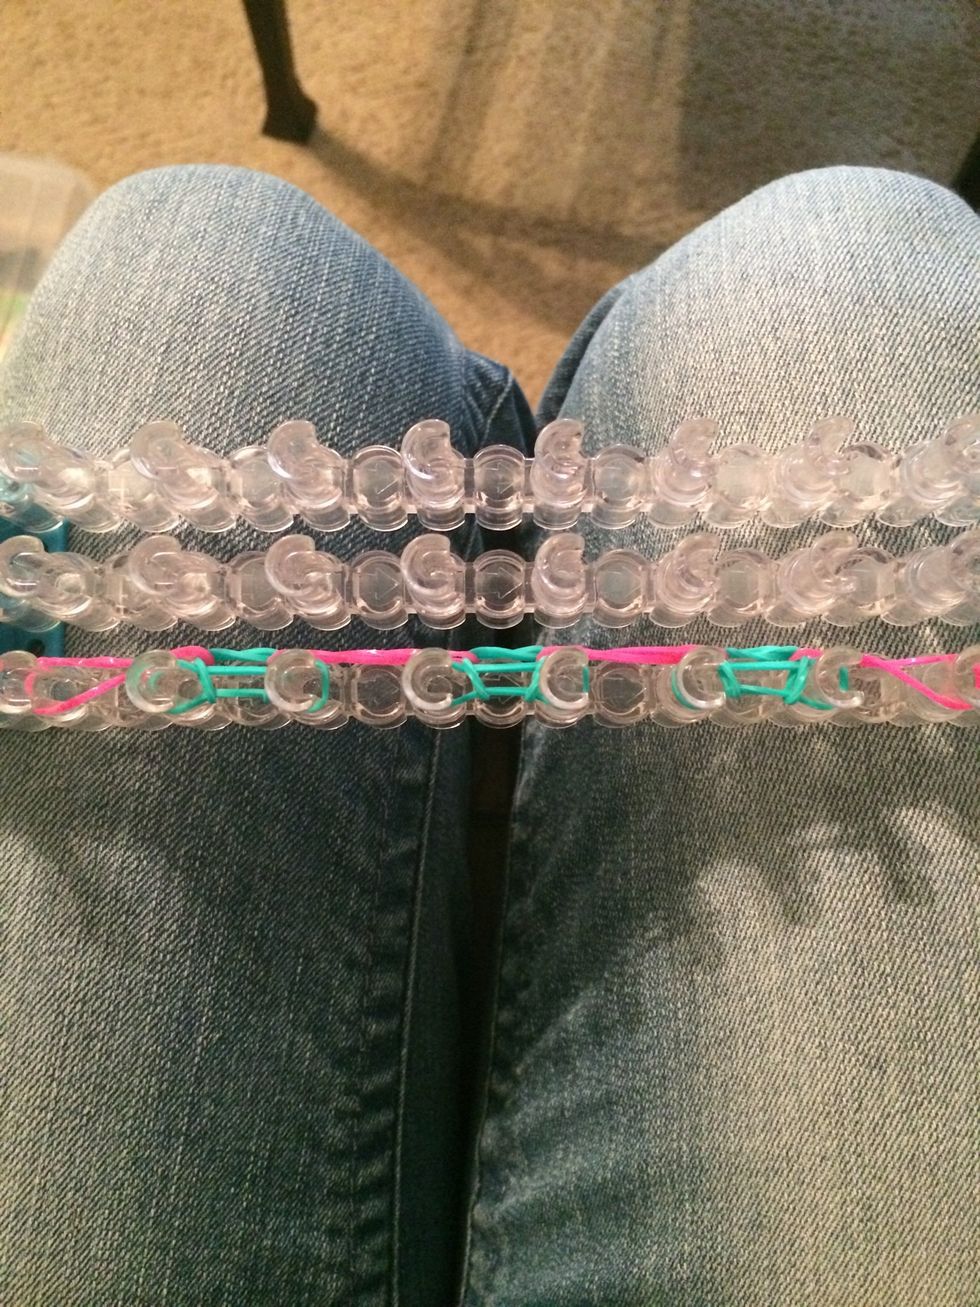
Place a 3rd row of blue bands
Loop over the bottom row of blue bands again. It will look like this. Push the bands down.
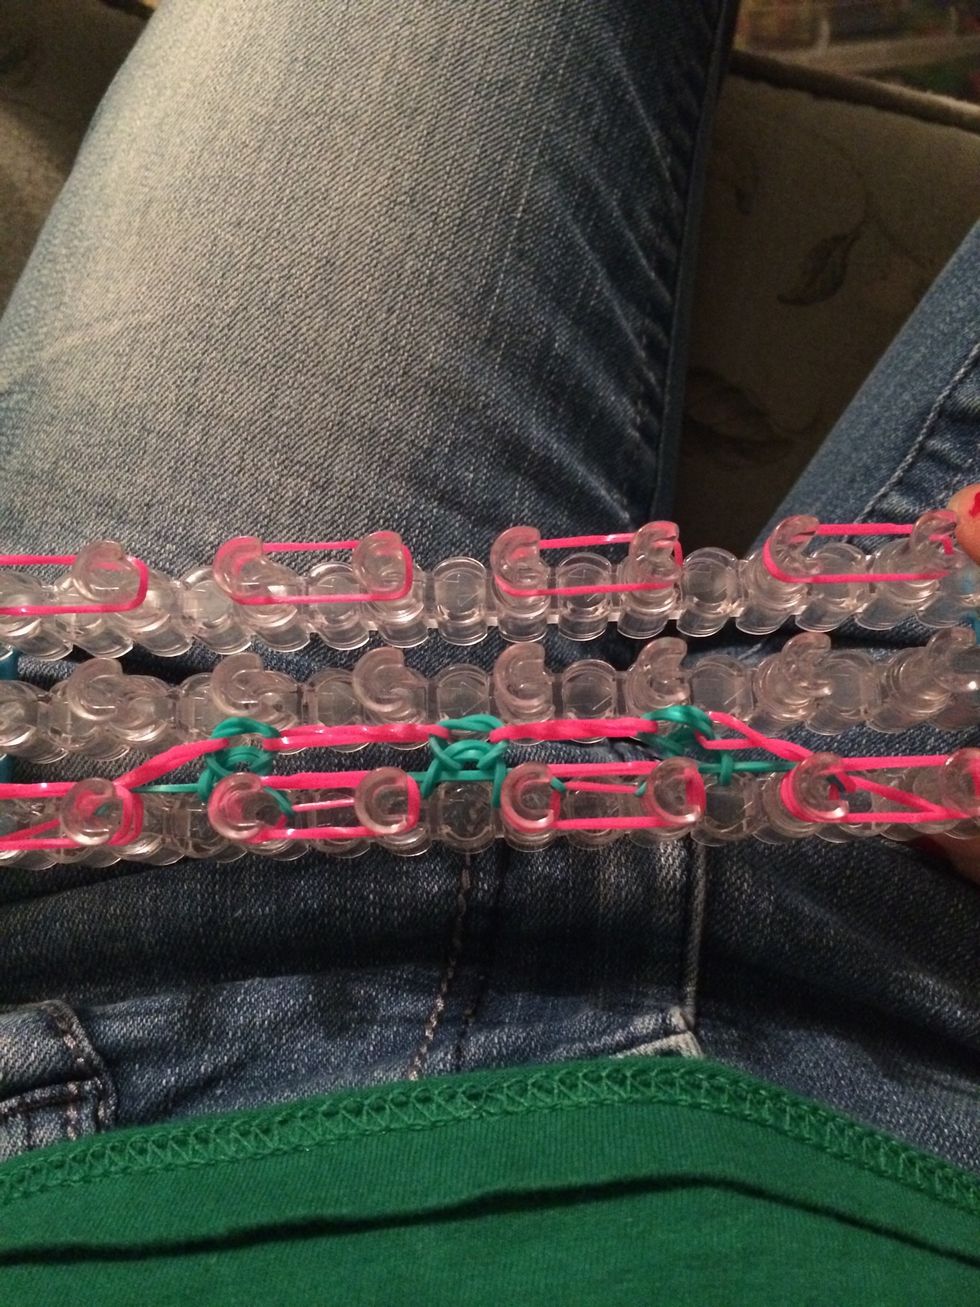
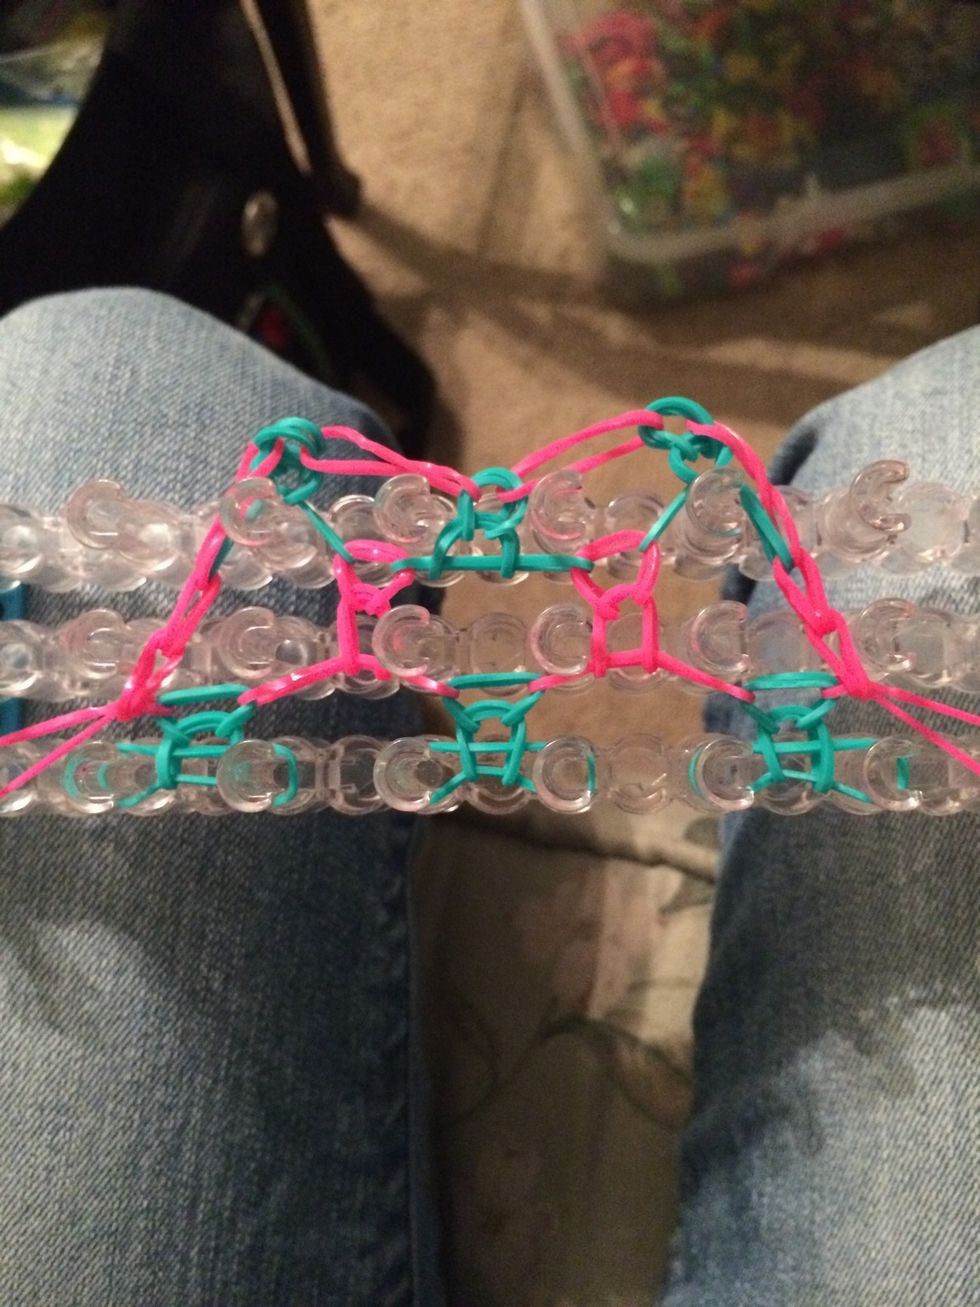
Place a row of pink rubber bands. We will be doing 3 rows of the pink bands just like the blue. This is what gives the bracelet a lacy look. You will see after a few more sets.
Loop over the first pink band under the blue band. Loop all the blue bands that are on the bottom, and loop the 2nd to last pink band.
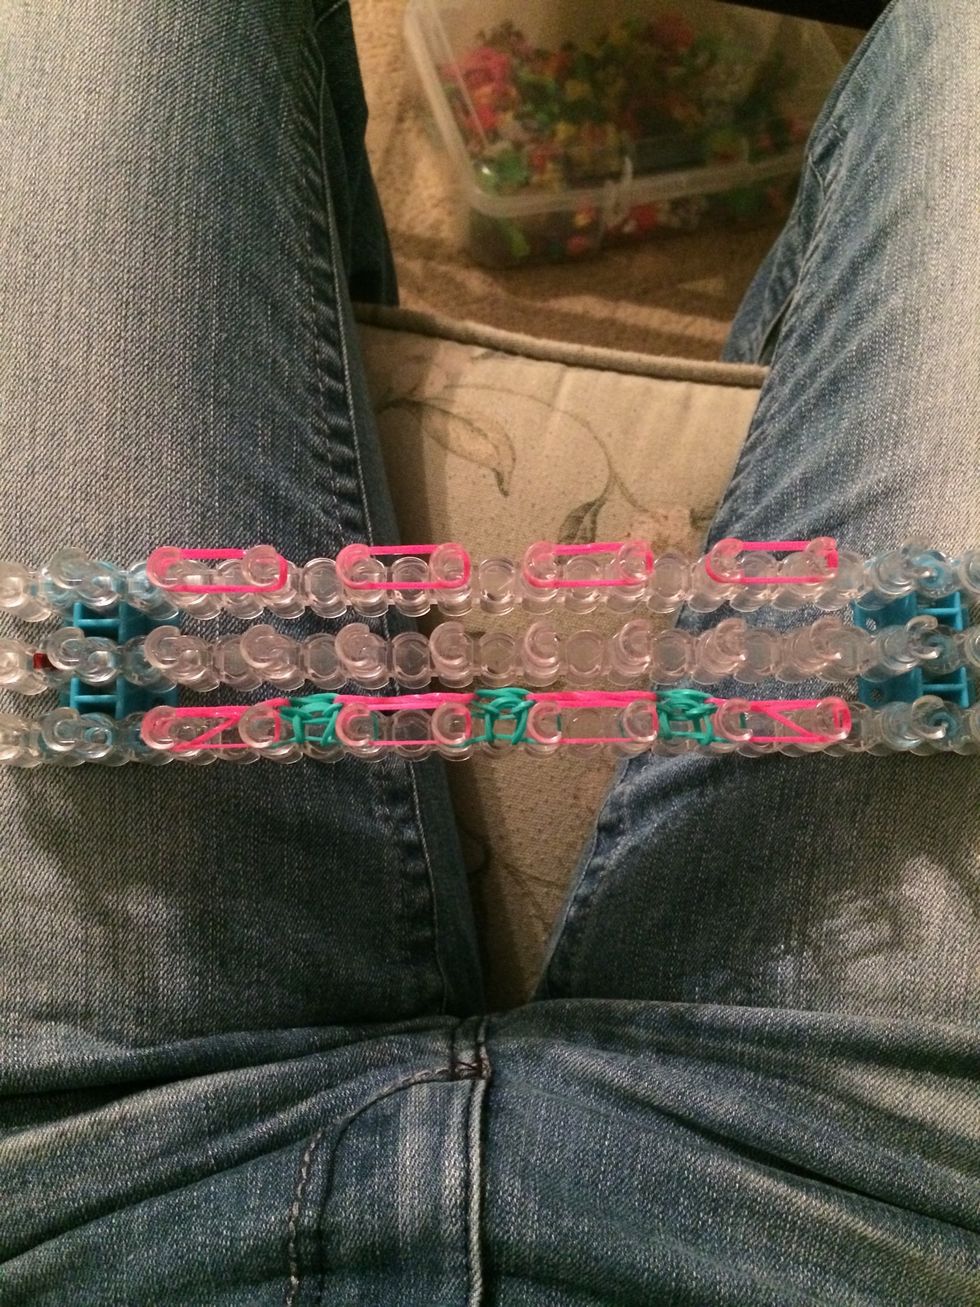
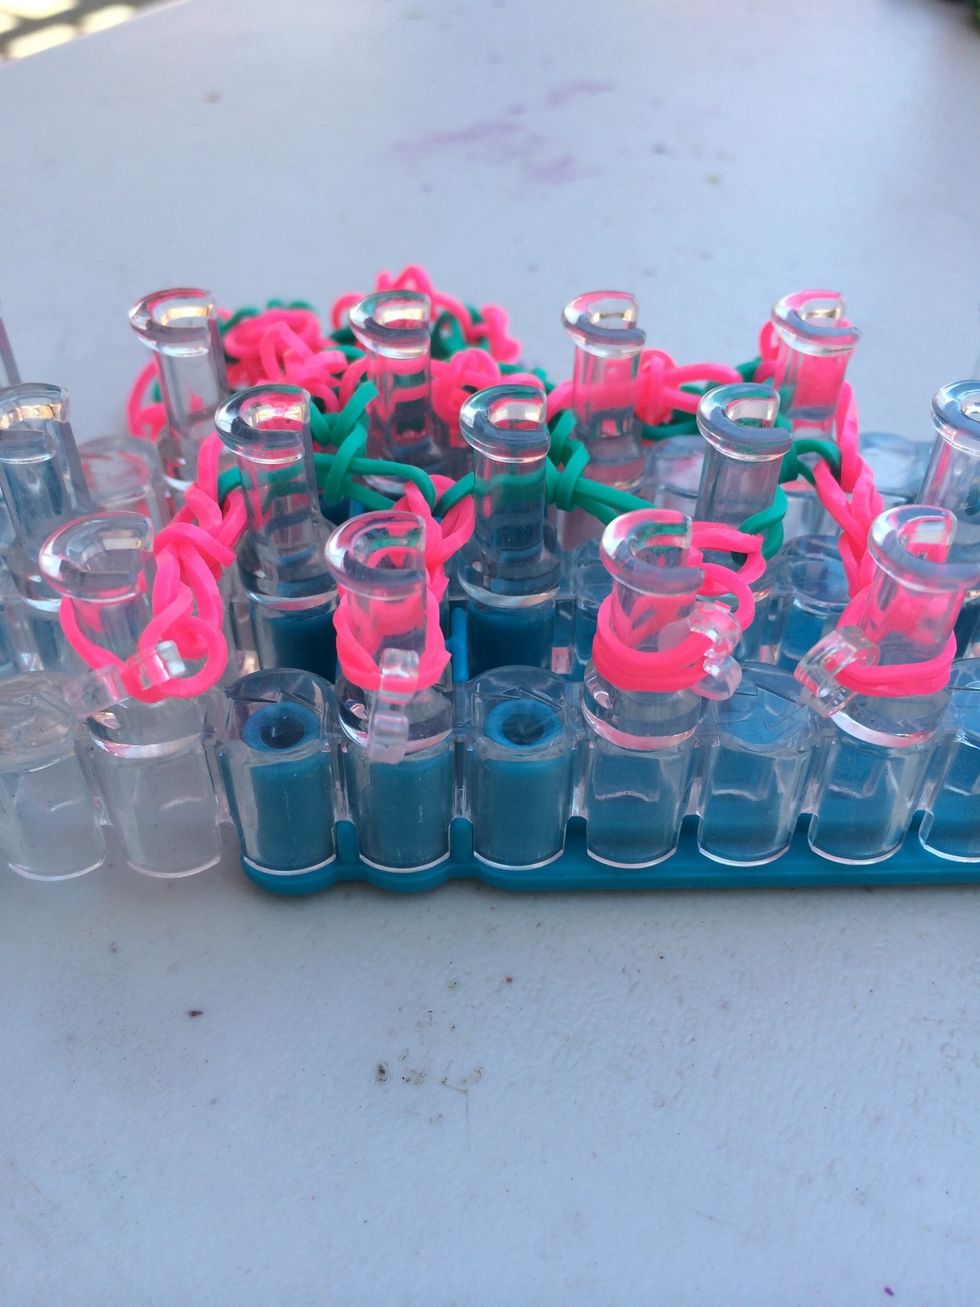
Sorry for the far away pictures, but I want you to see most of the pins. Go ahead and place your next set of 4 pink bands right on top of where you placed the last 4.
You might have thought why there are bands on the other side of the loom. This helps me remember how many sets of bands I have left and it's easy to grab the next row instead of fishing through my bag
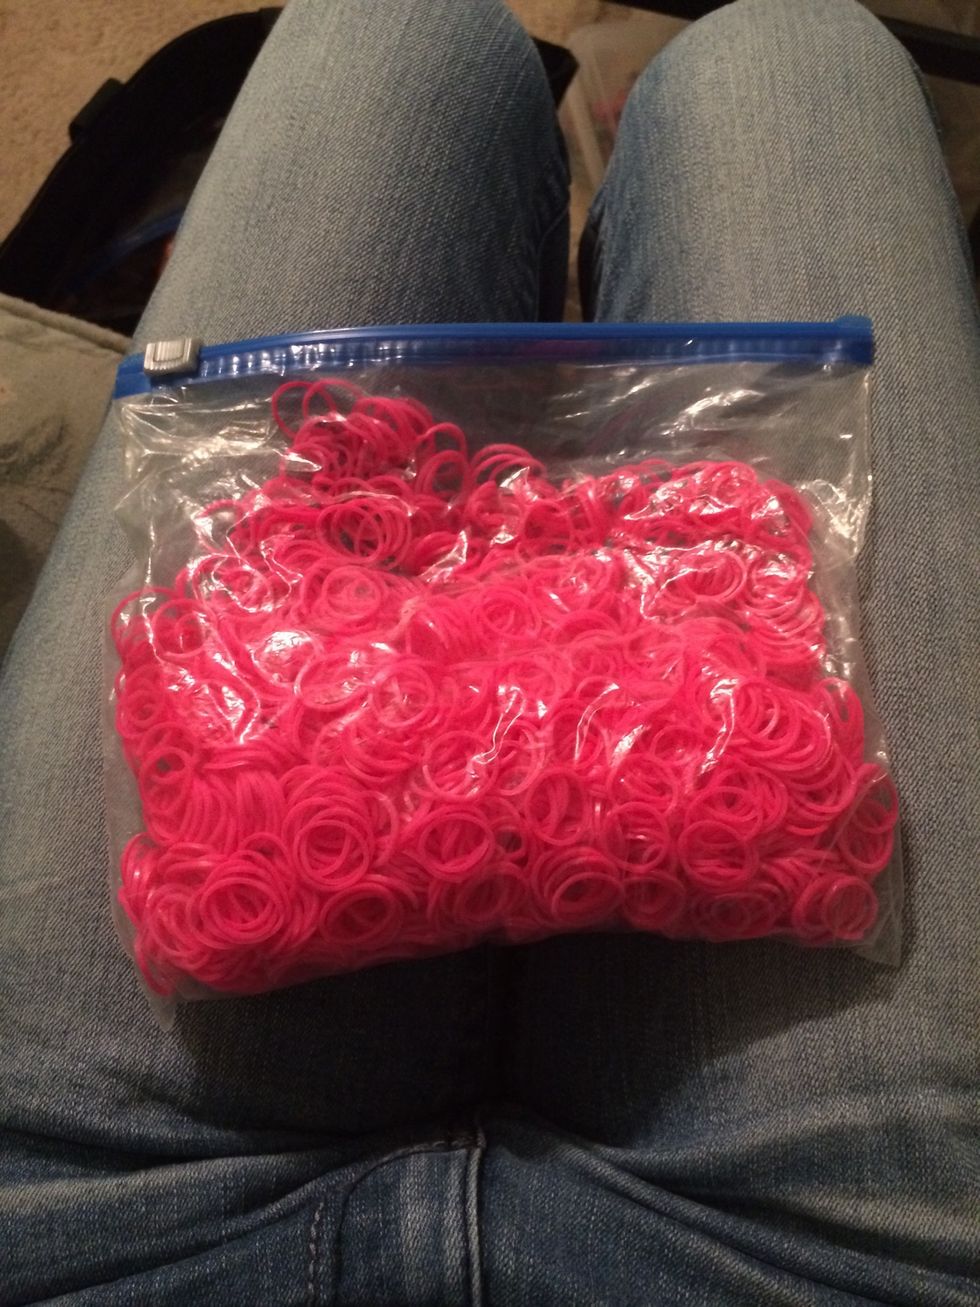
I have a lot of pink bands, lol
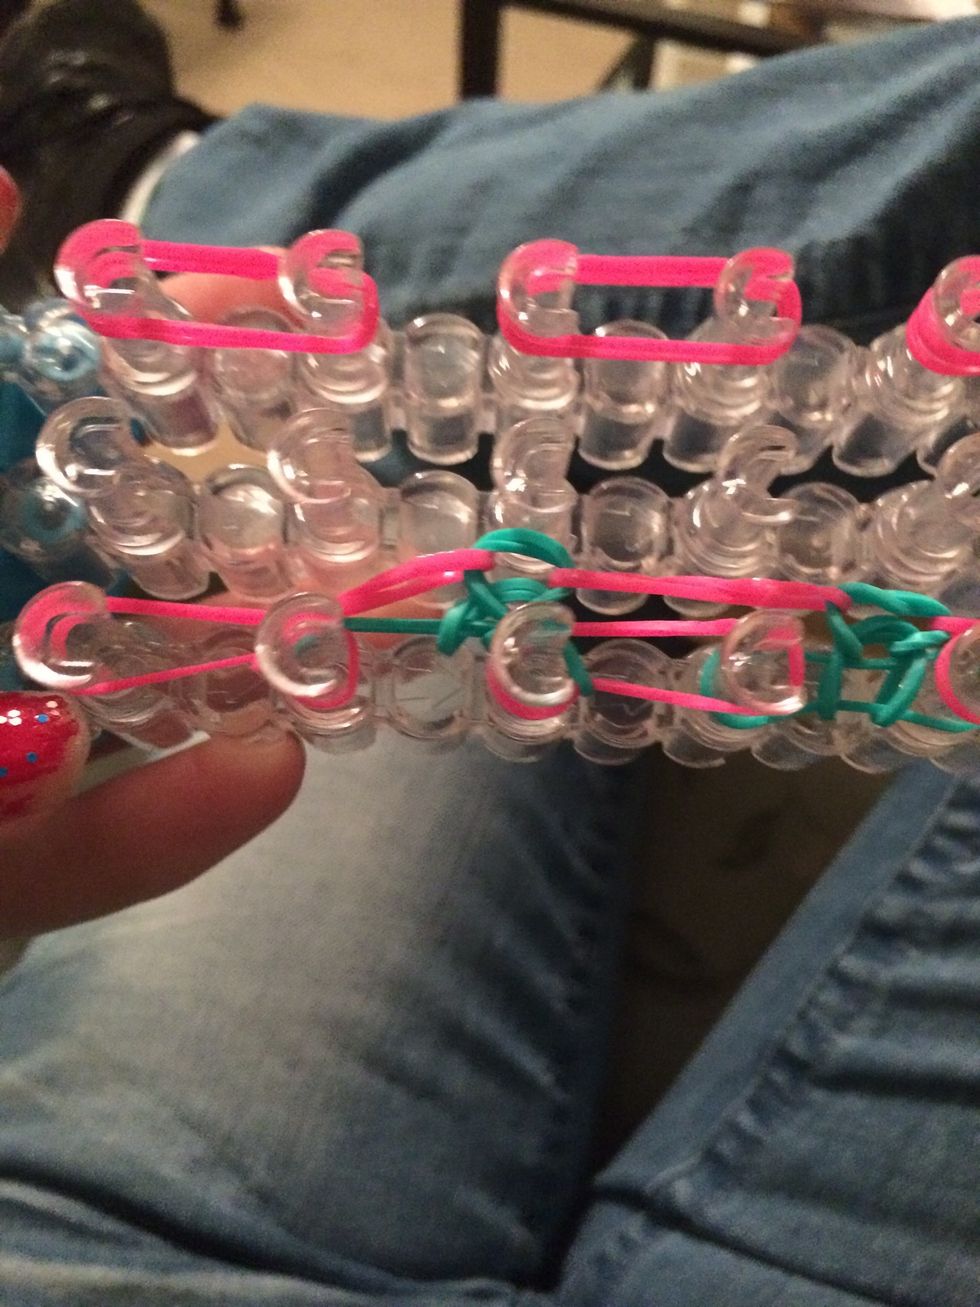
With the 2nd row looped over it's time to place the last row of pink bands.
After you place the bands go ahead and loop over all the bands on the bottom.
This is the start and basic look of the Lacy Dragon Scale bracelet. Let's keep going.
Let's start the next set of colors.
All 3 rows of blue are done and it's time to do the pinks.

With another set of pink done :)
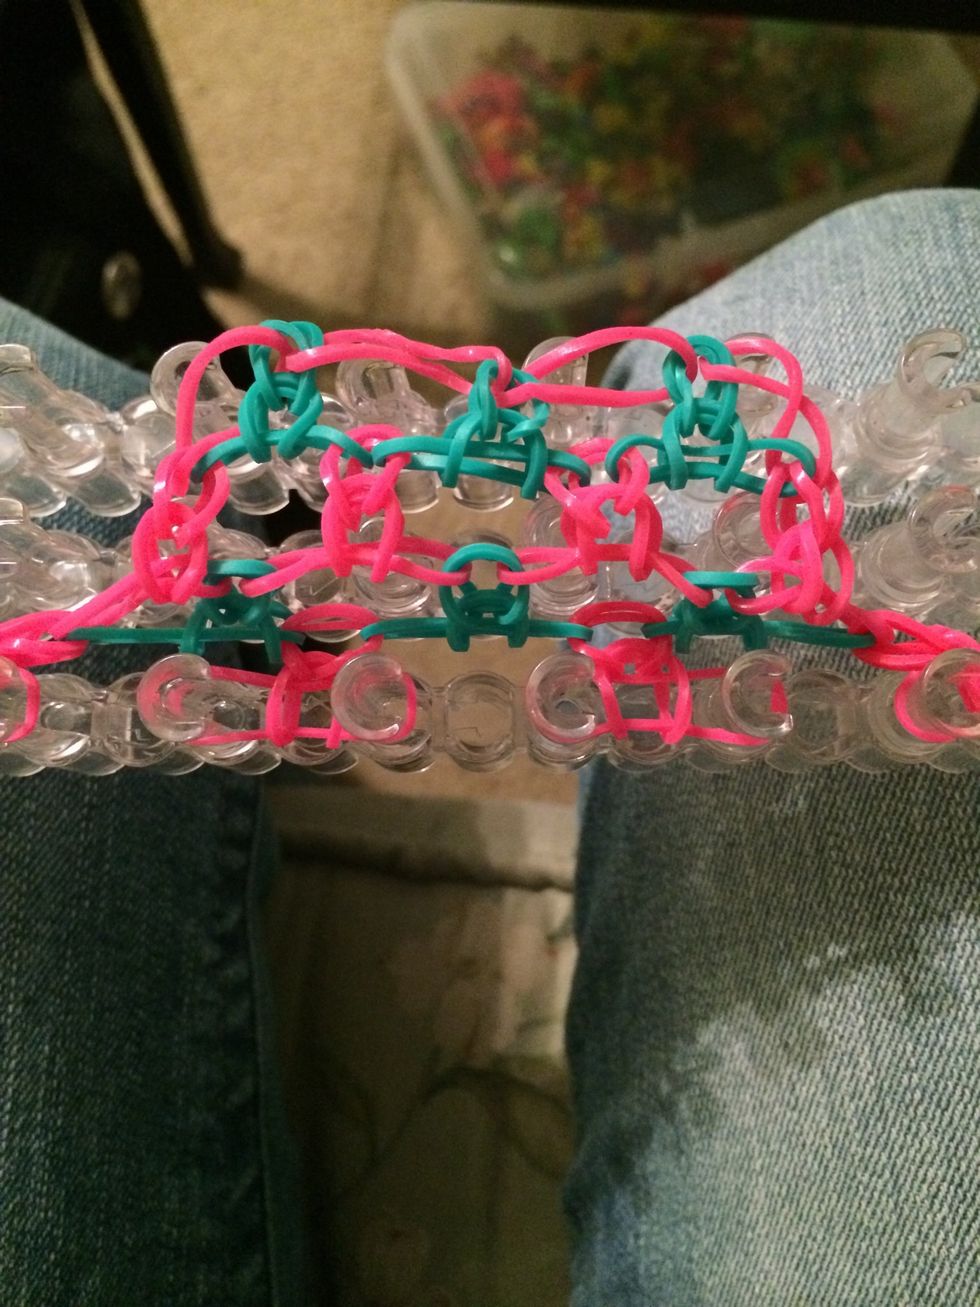
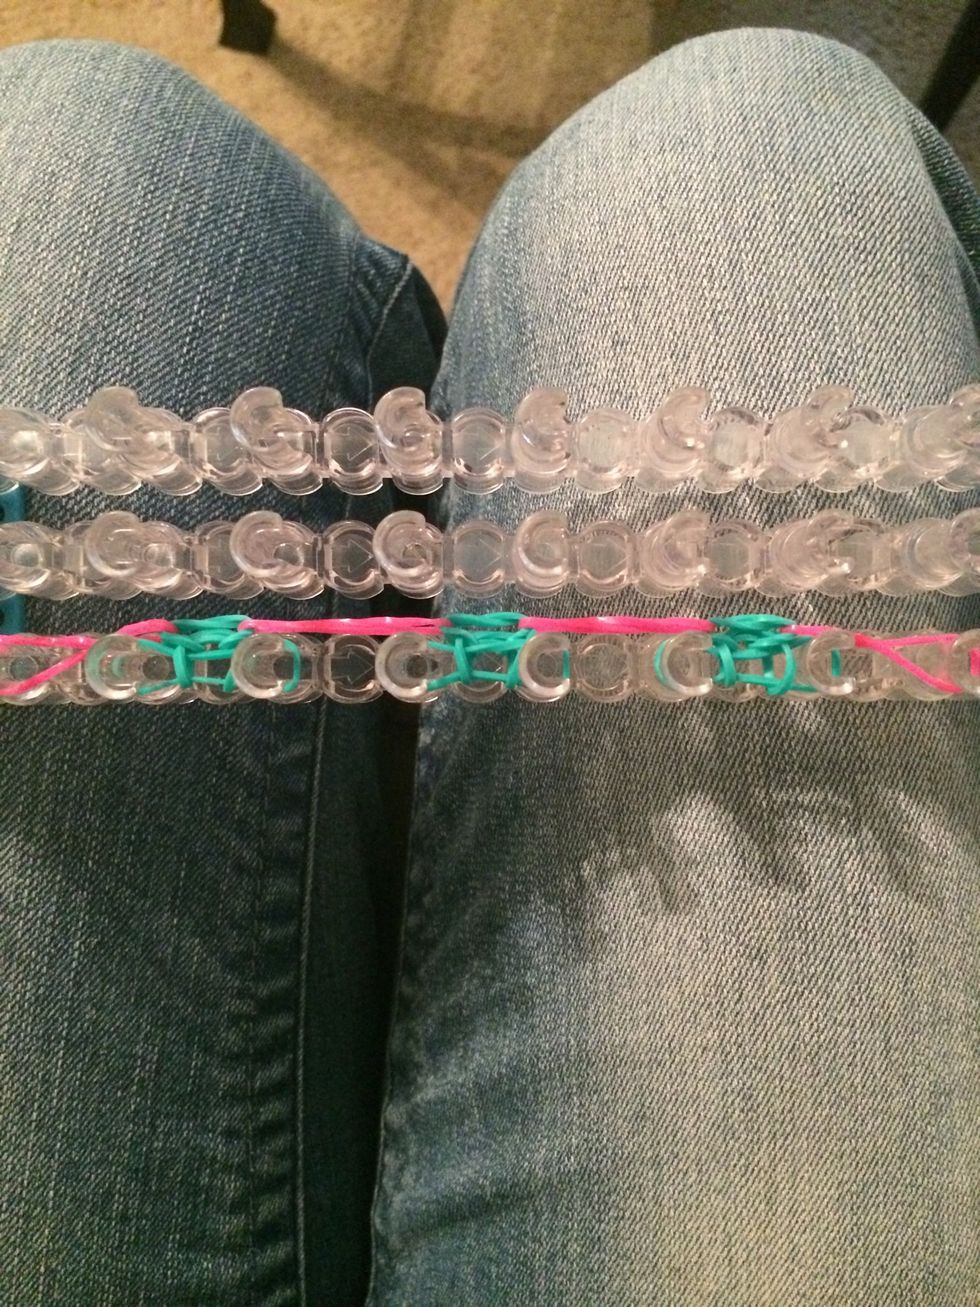
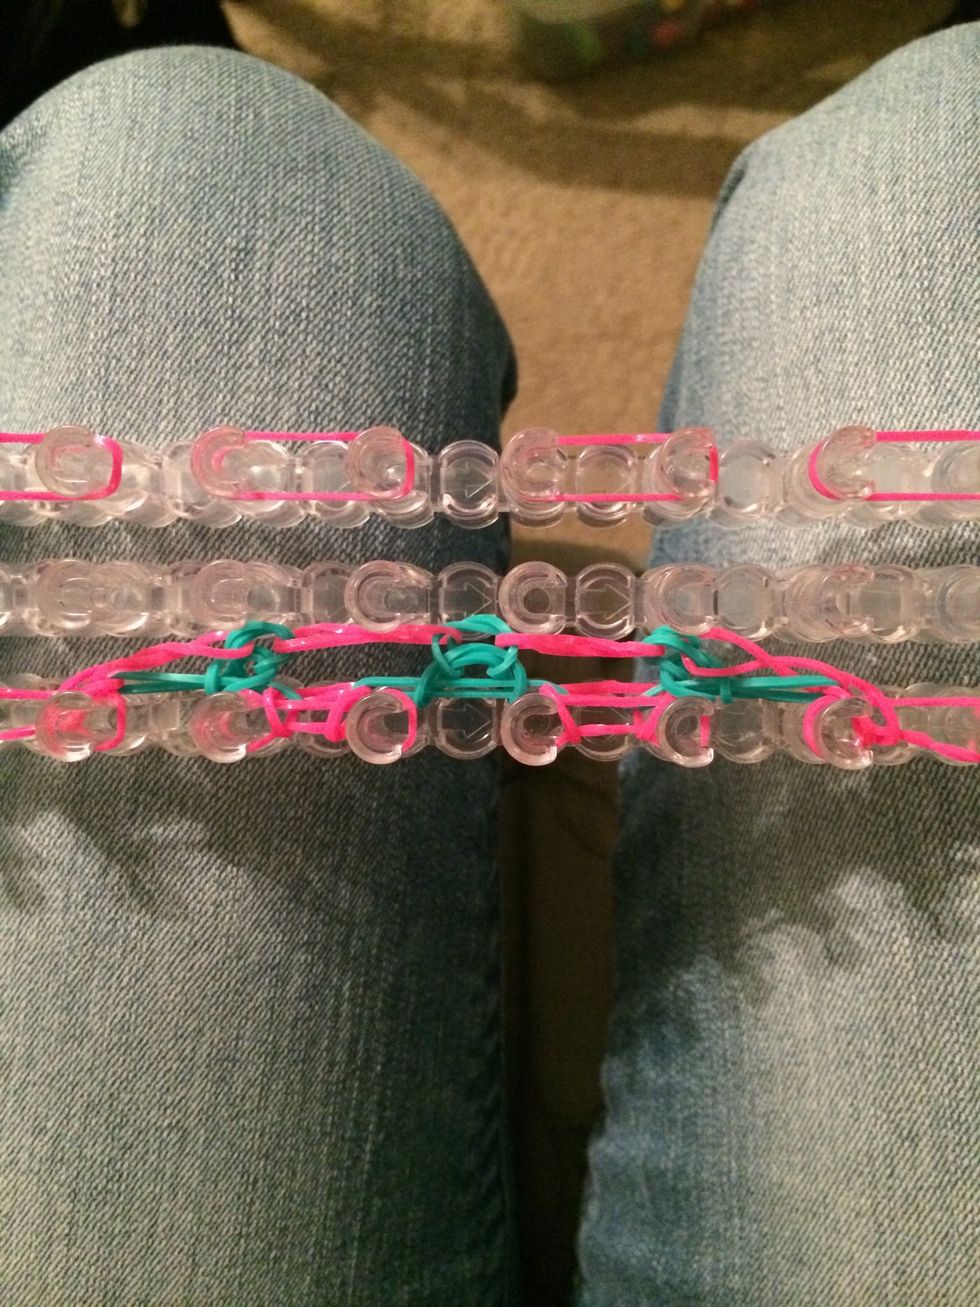
And without stretching it so you can see the pattern, this is what it looks like loosely.
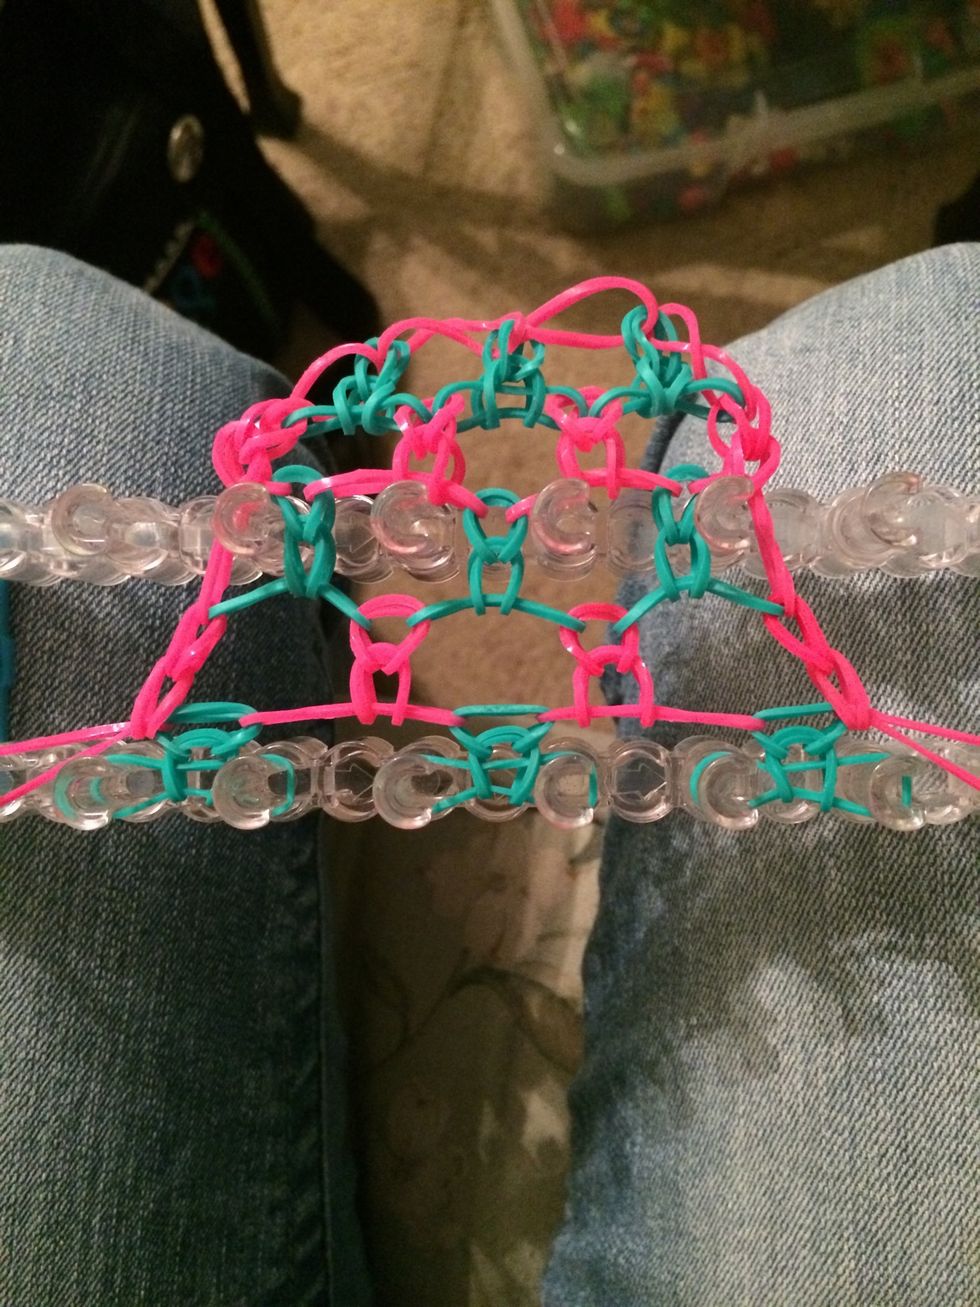
If you want to you can take out the center row of pegs cause we aren't really using it. Keep adding rows of three colors each until you have the desired length that you need.
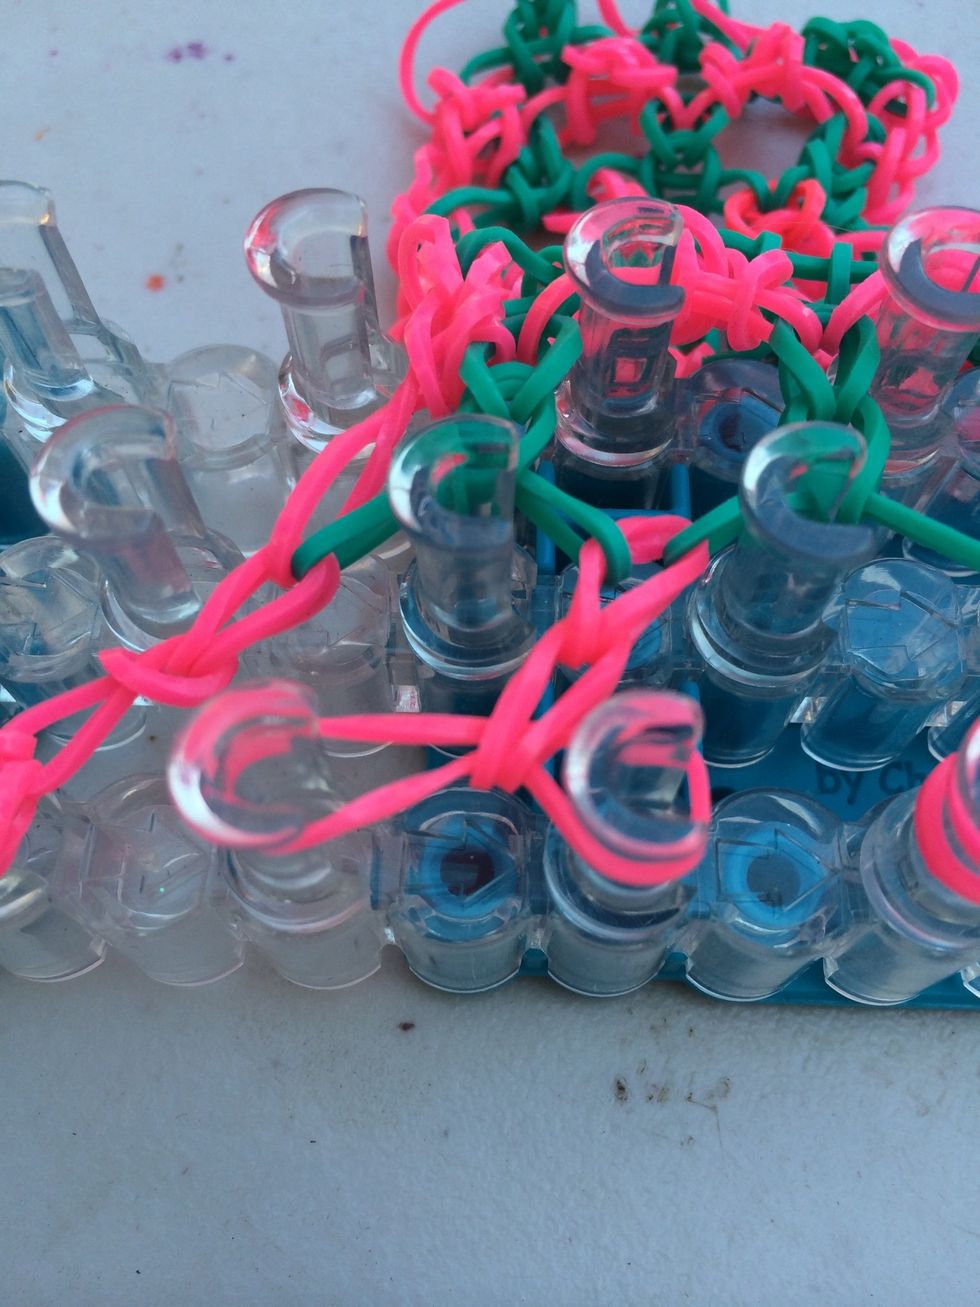
Once you have the length that you want it's time to combine the bands together. Take one side of the rubber bands from each set of pegs and move it to the other one.
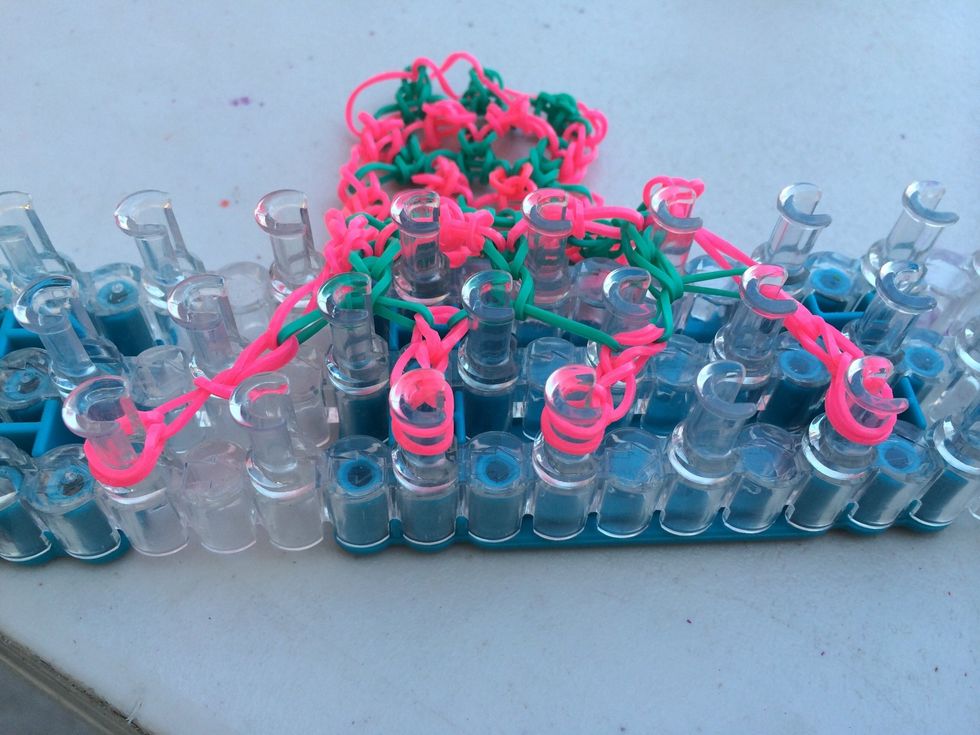
They will look like this.
Attach c-clips to the combined bands. You will be attaching 4 c-clips in total.
Attach the clips to the other side of the bracelet. You can attach them any where that you want.

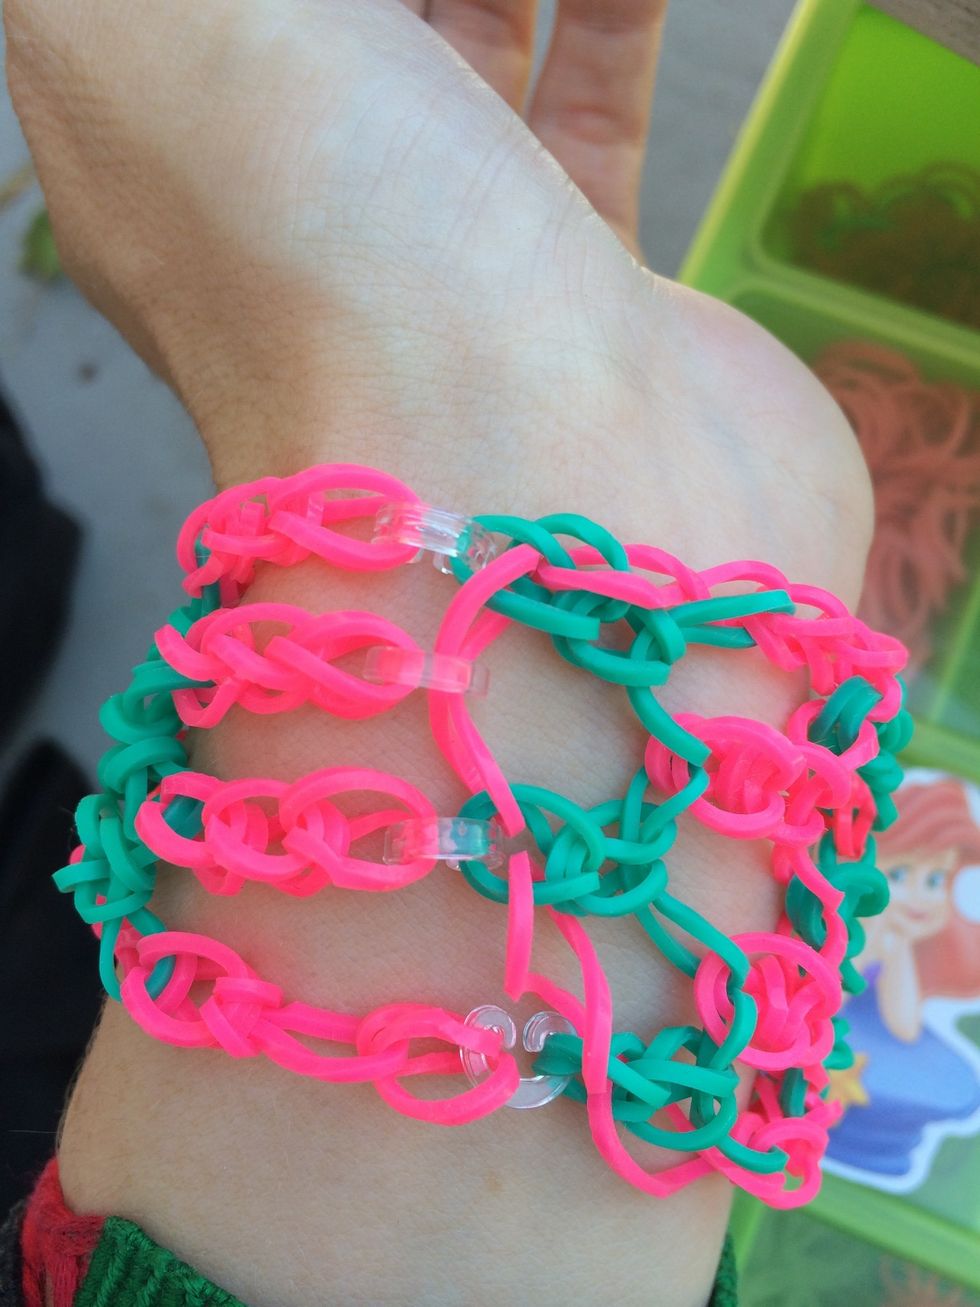
And this is what your Lacy Dragon Scale bracelet will look like when you are finished 😃
I hope you all have enjoyed this guide. If you have any trouble with this and prefer a video please click the link in the beginning and check out her video. Until next time, happy looming 😄