The Conversation (0)
Sign Up
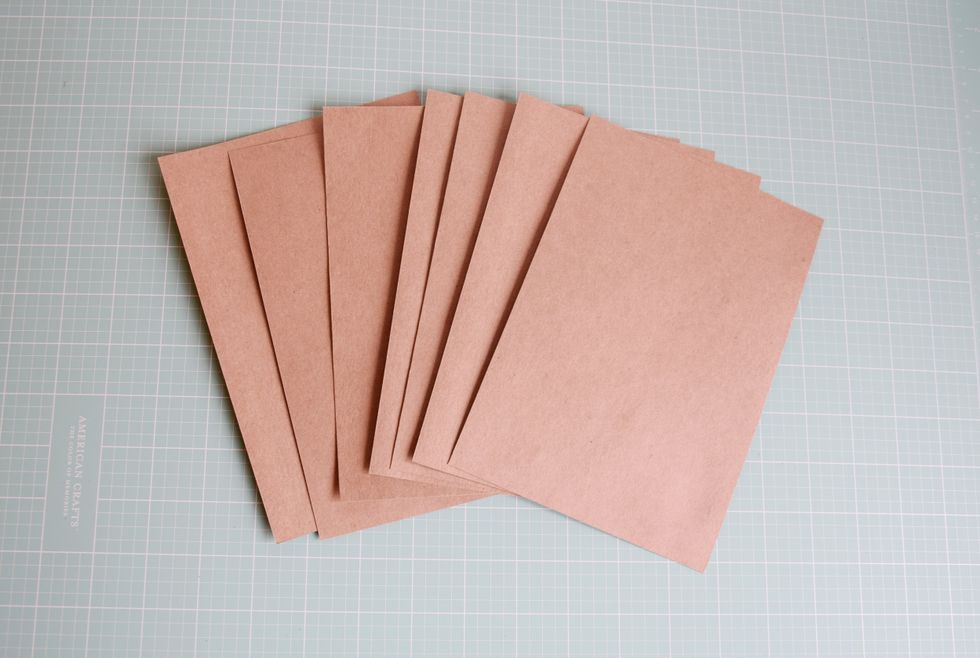
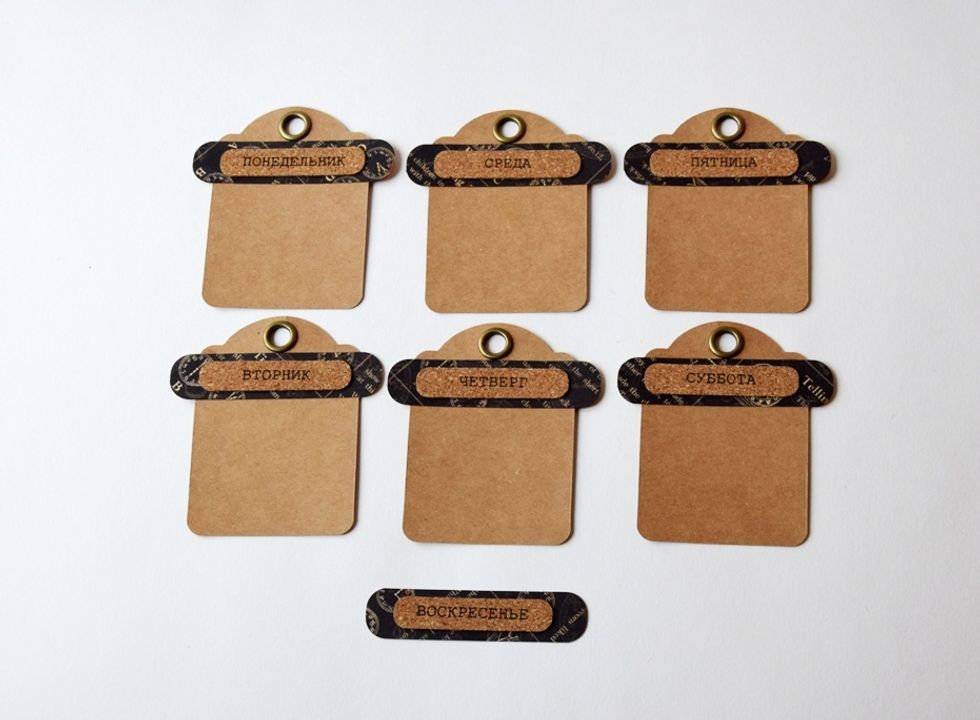
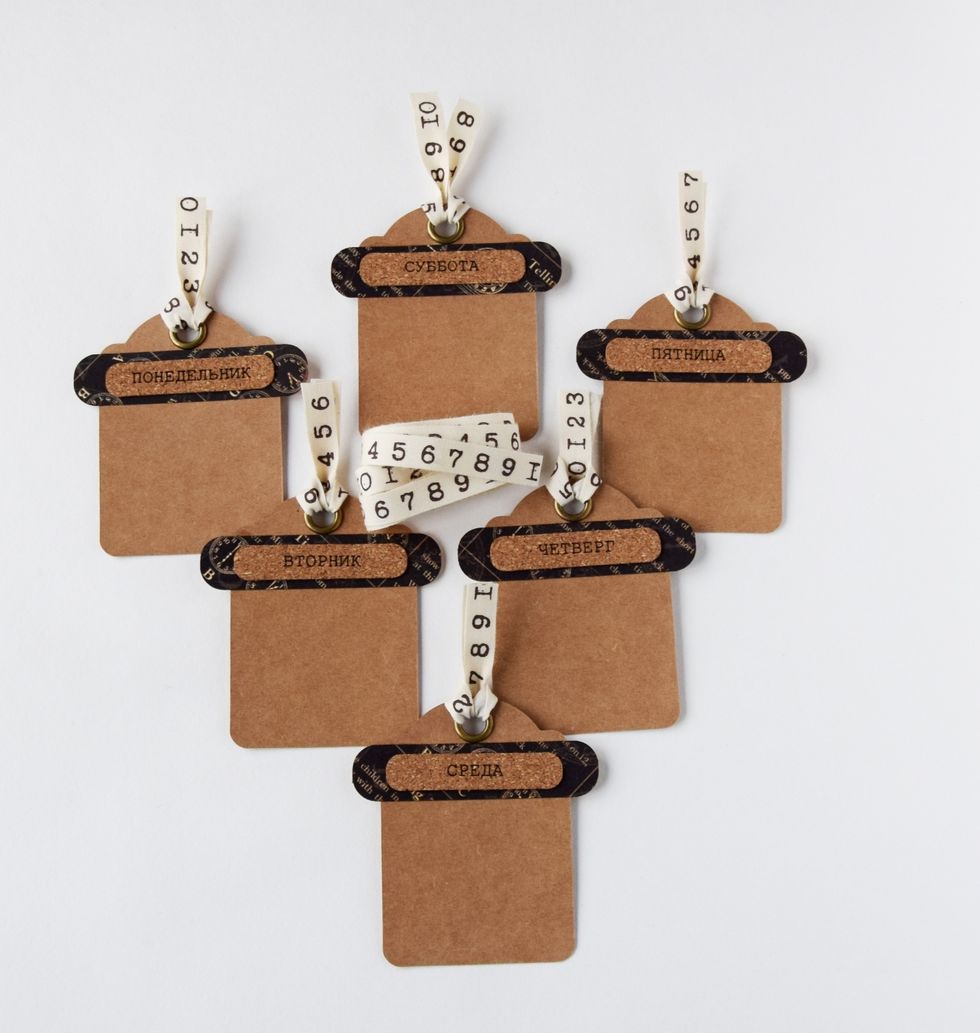
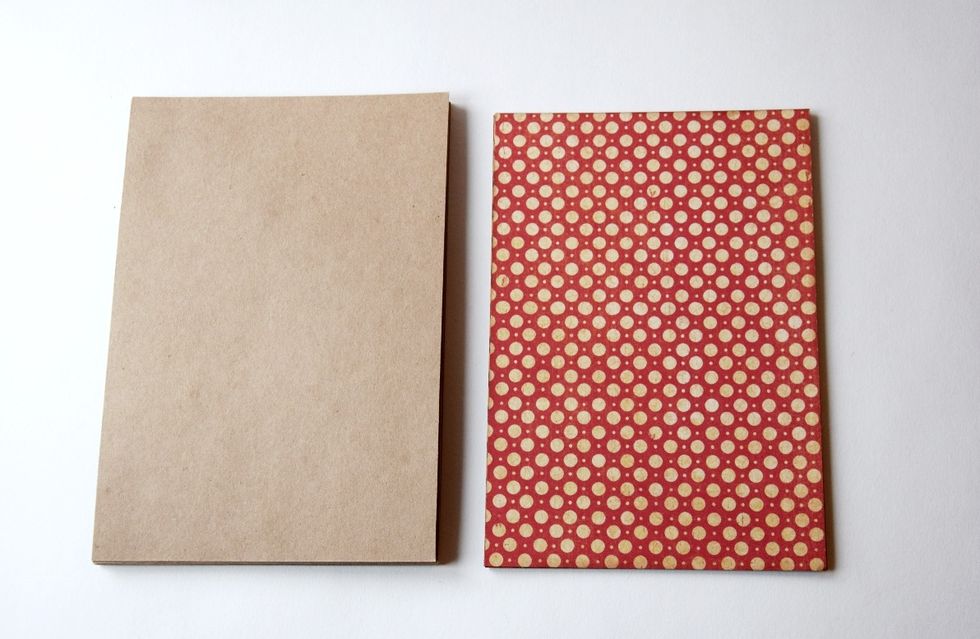
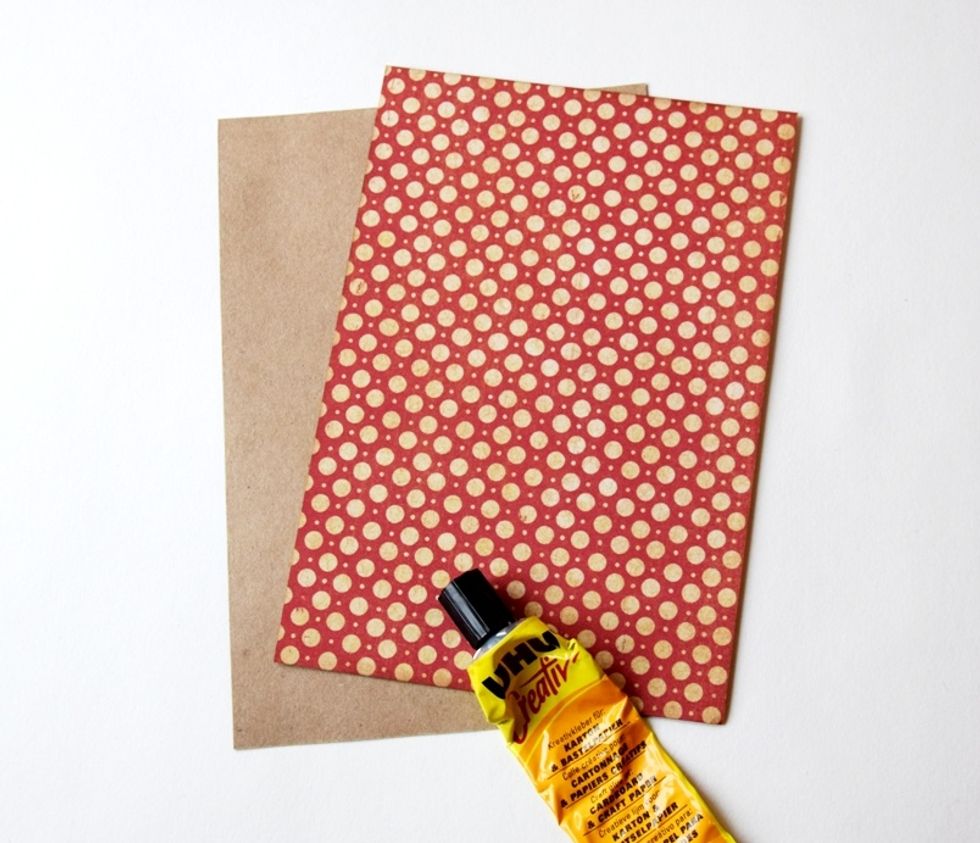
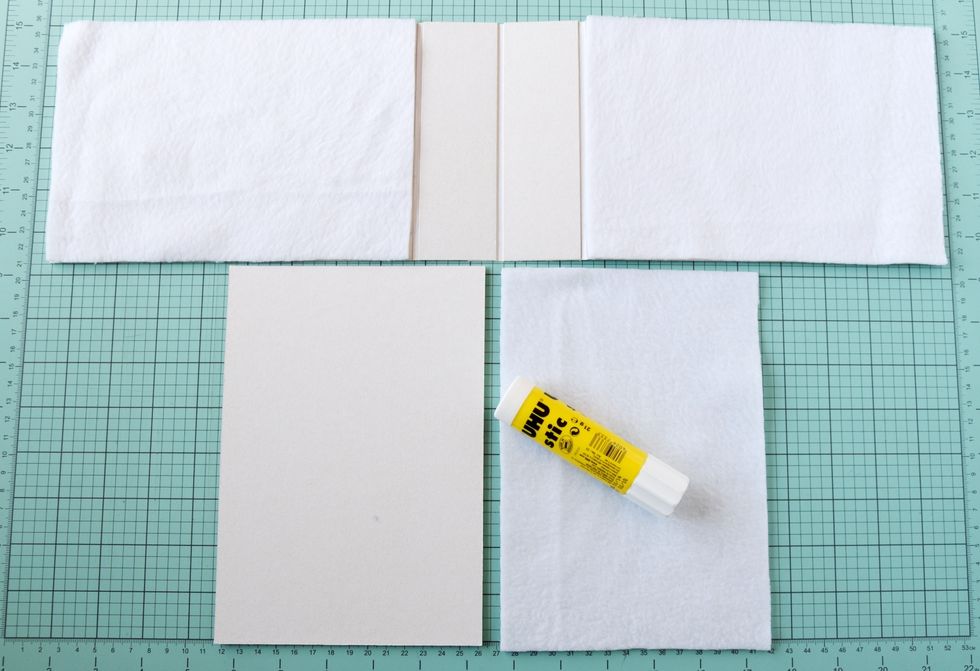
Prepare craftpaper for base Planner - 6 pc 14 cm*20 cm
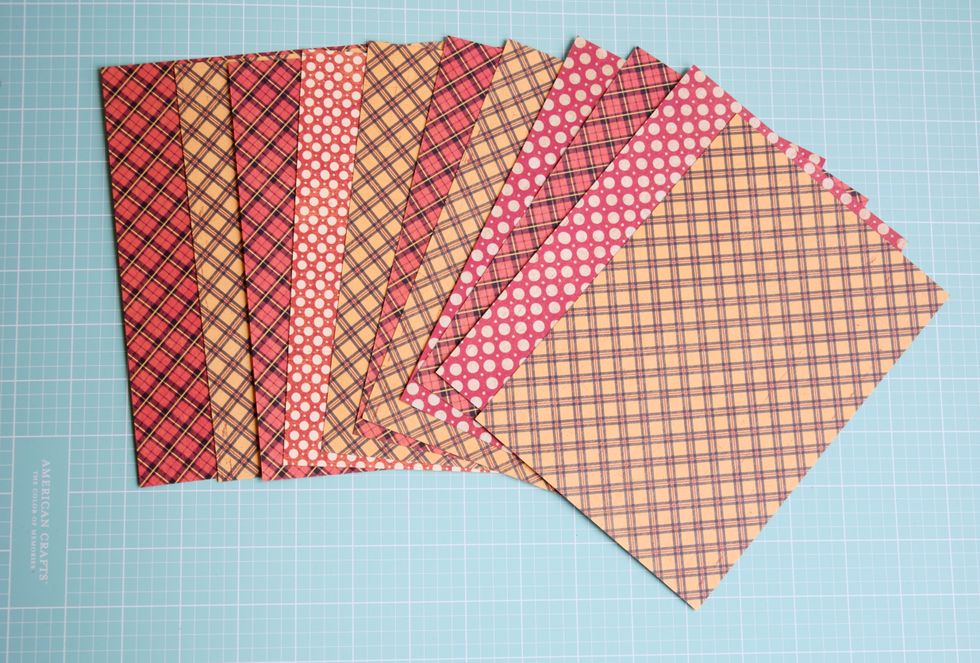
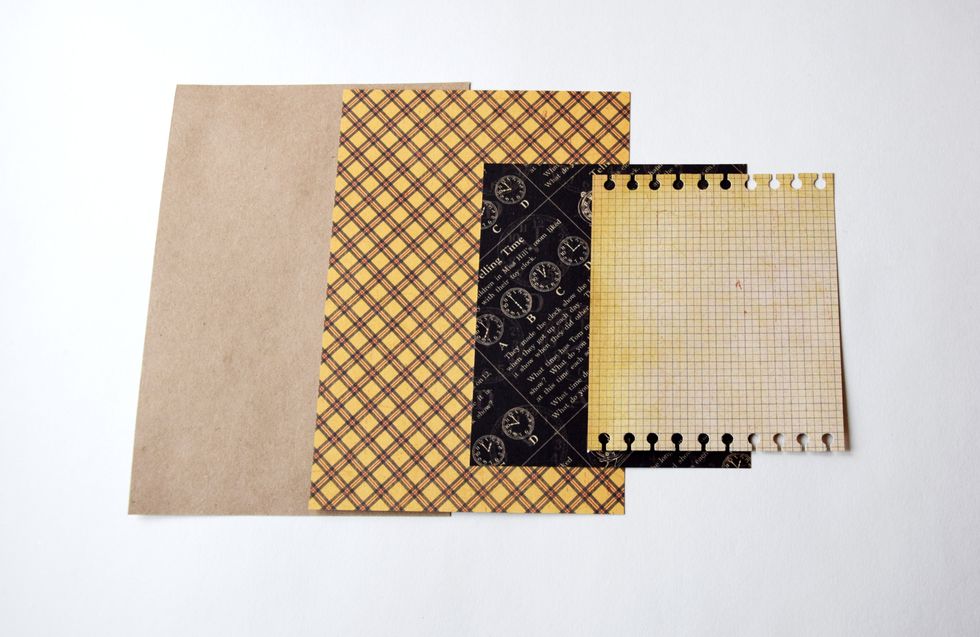
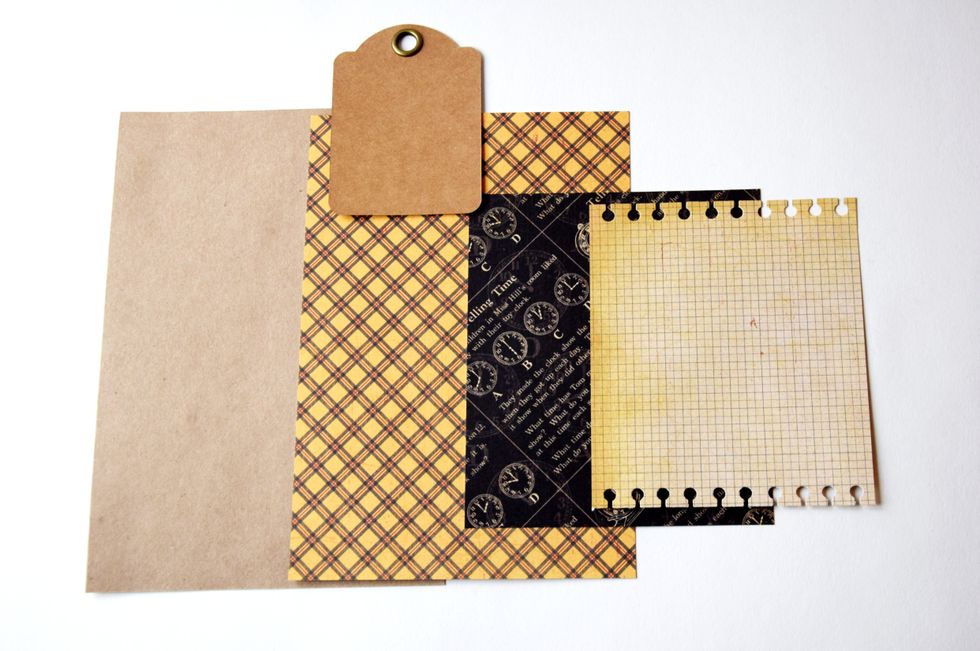
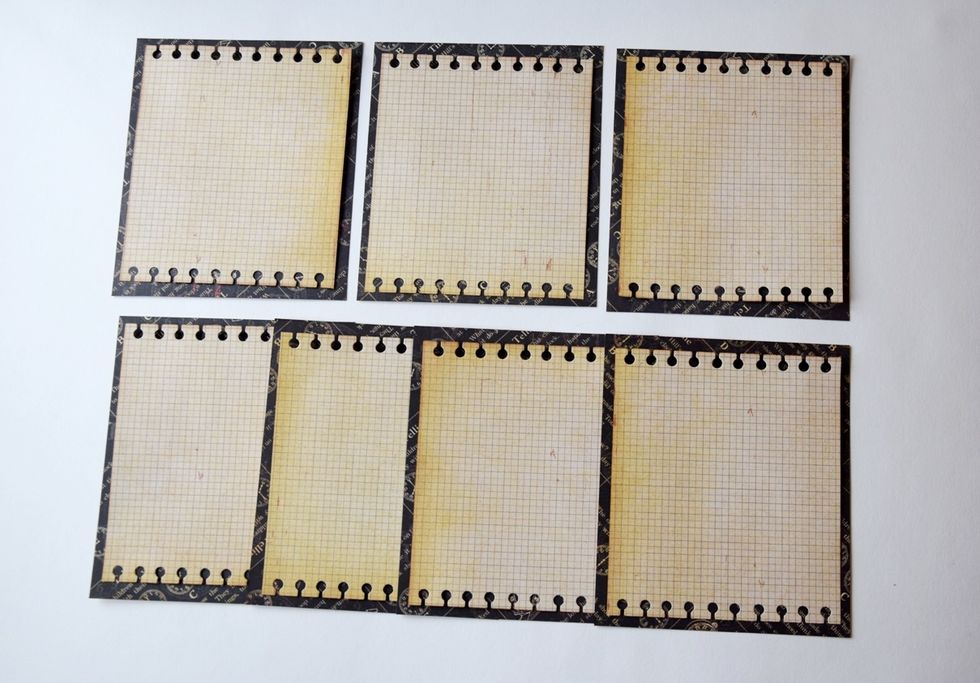
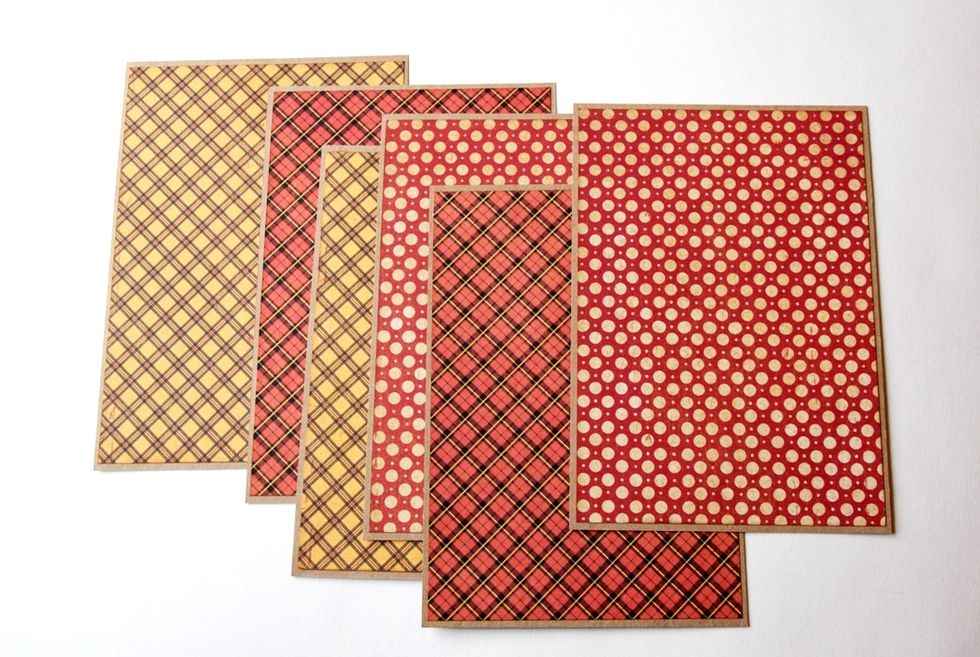
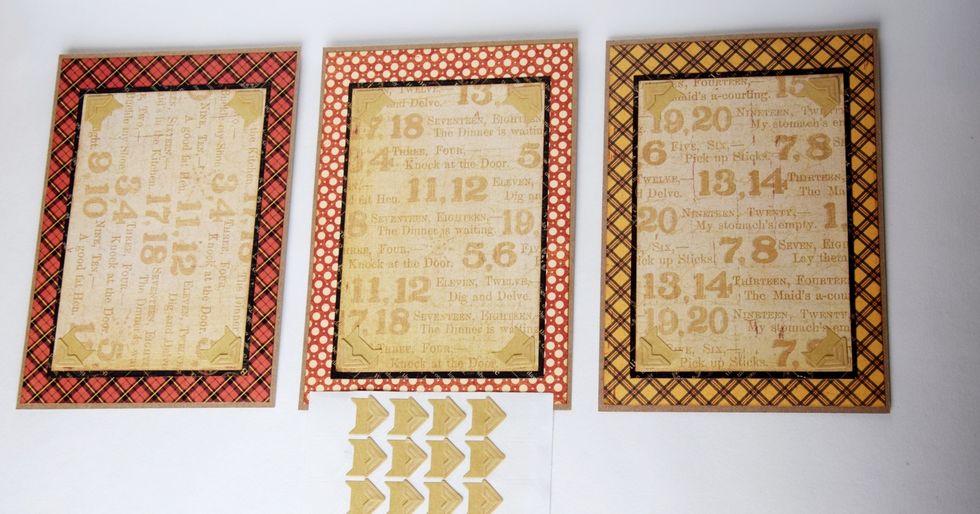
Prepare paper - 12 pc 13,5 cm*19,5 cm
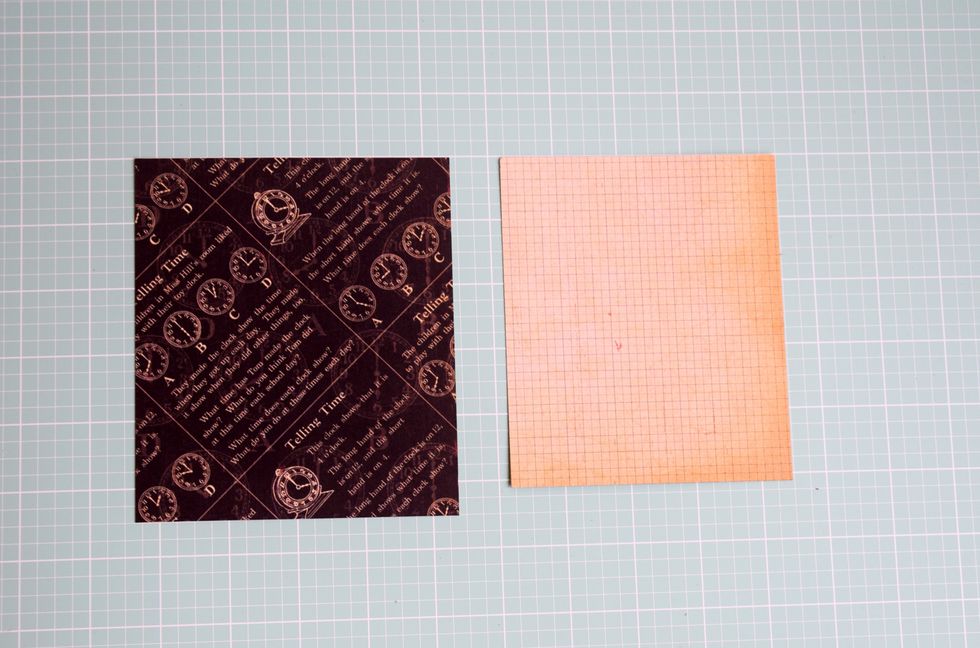
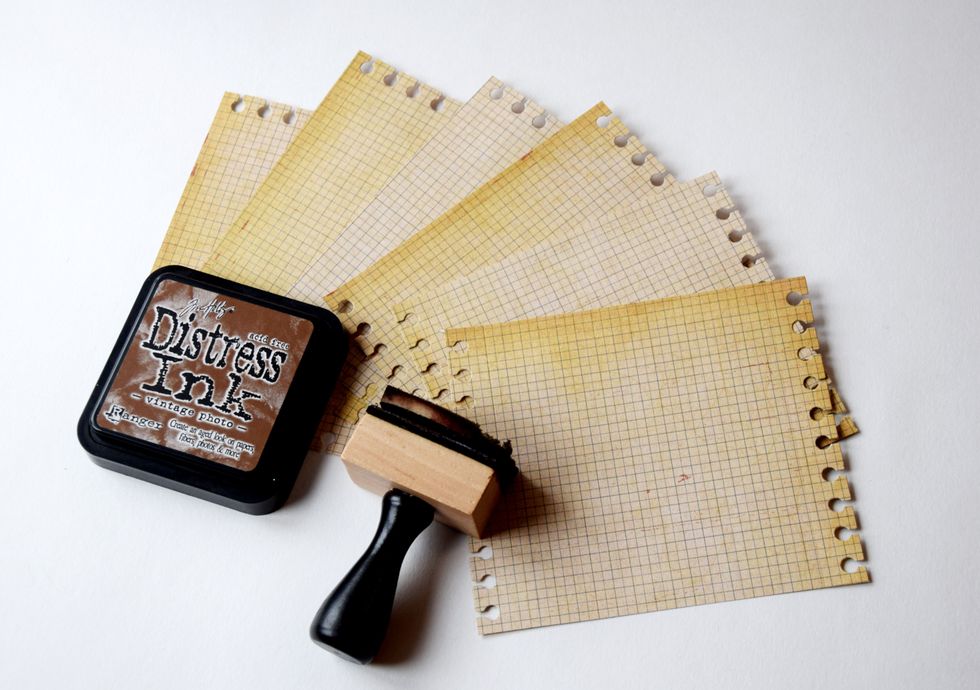
I add some vintage look to the paper with distress ink.
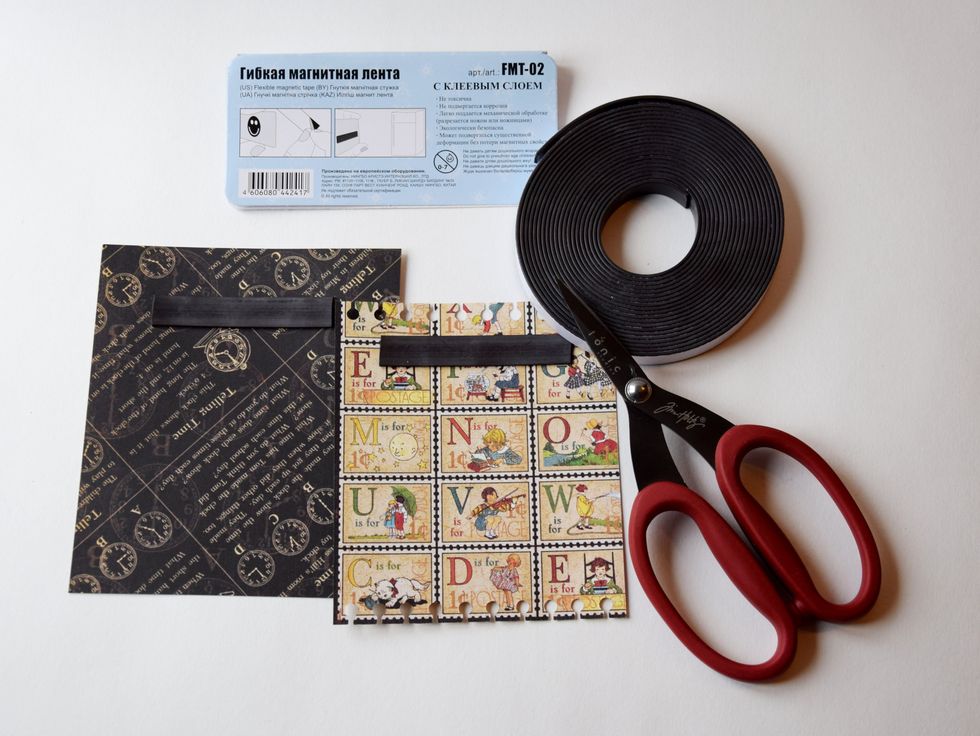
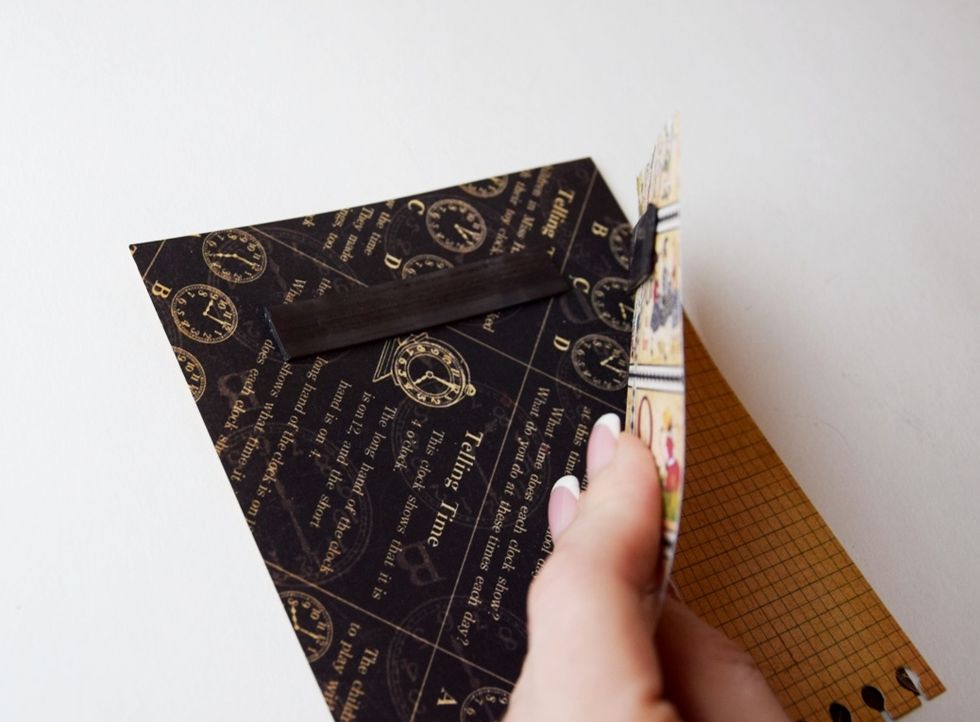
Glue the Flexible magnetic tape as it is shown on the picture.
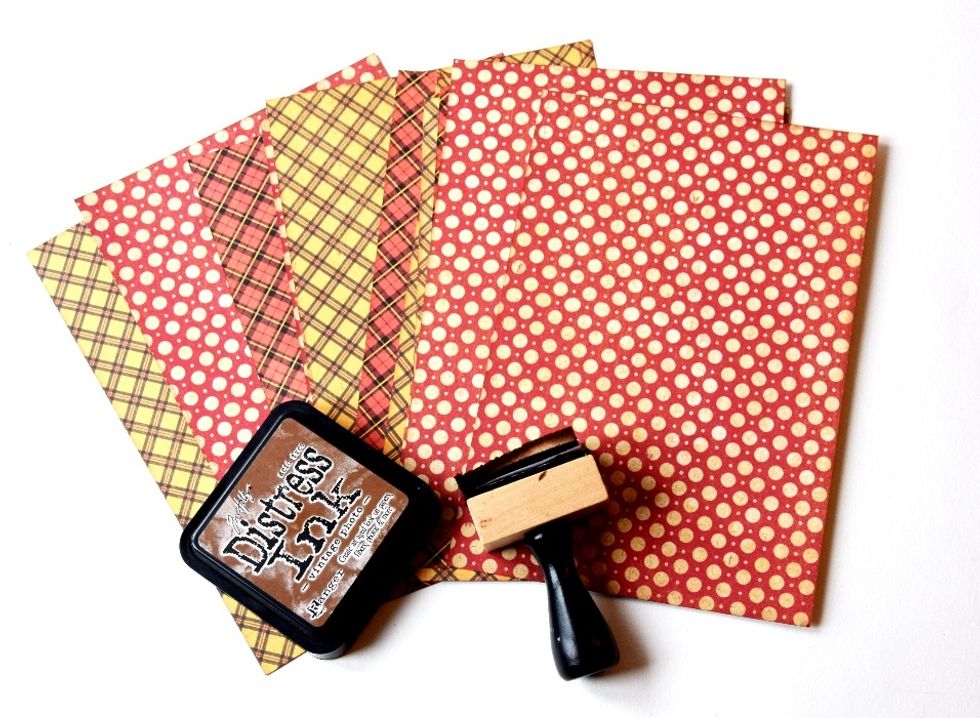
I add some vintage look to the paper with distress ink.
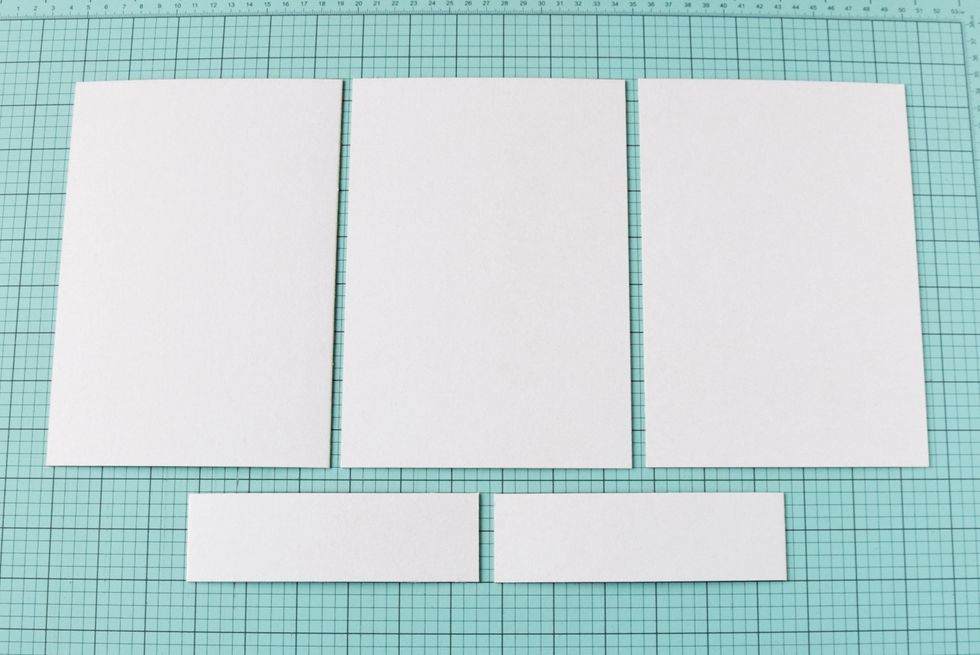
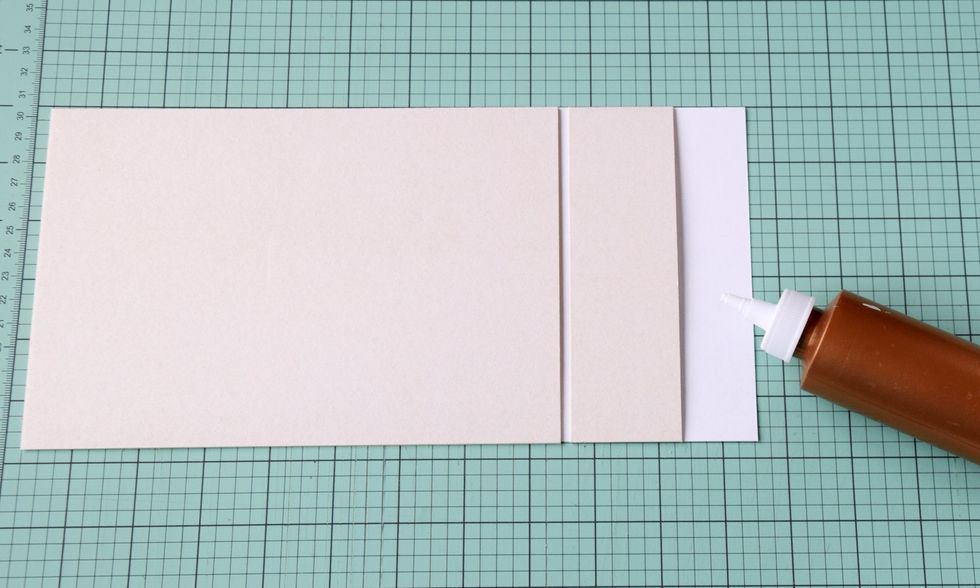
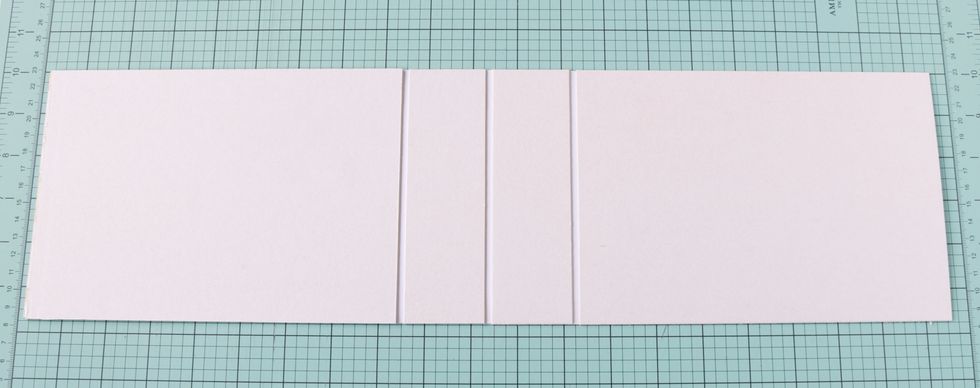
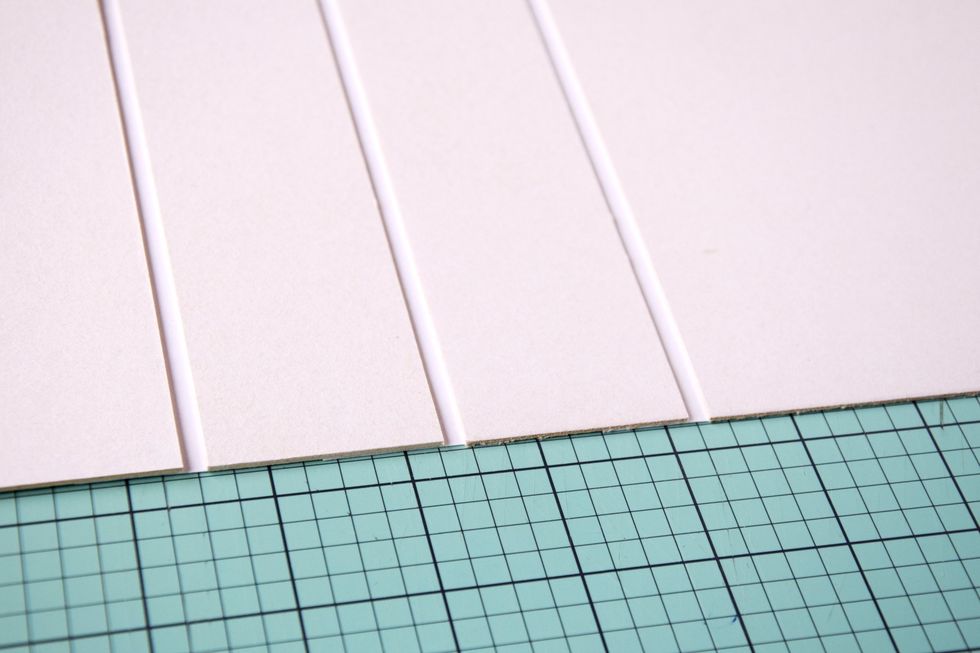
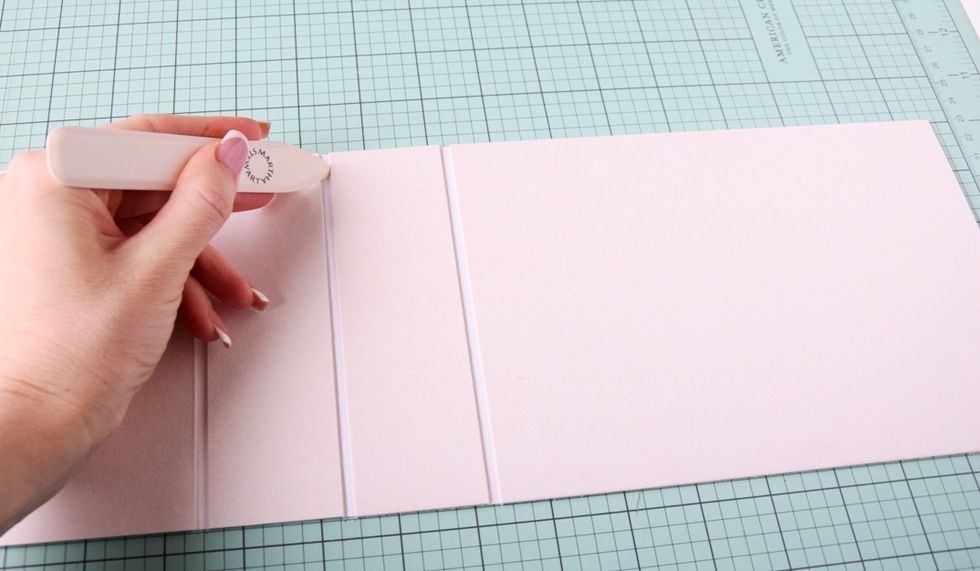
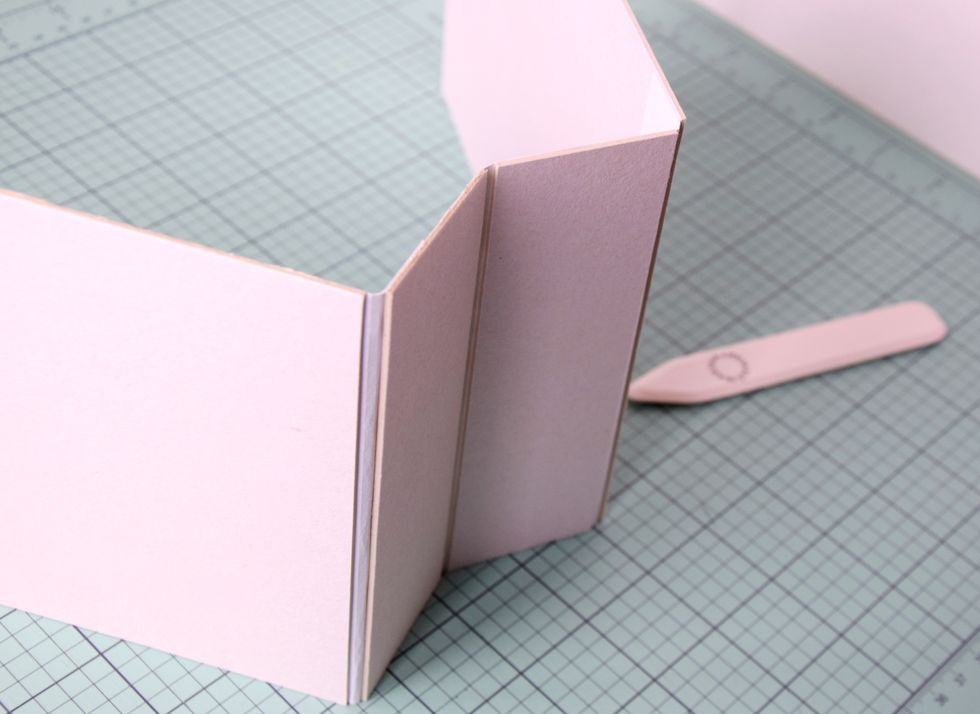
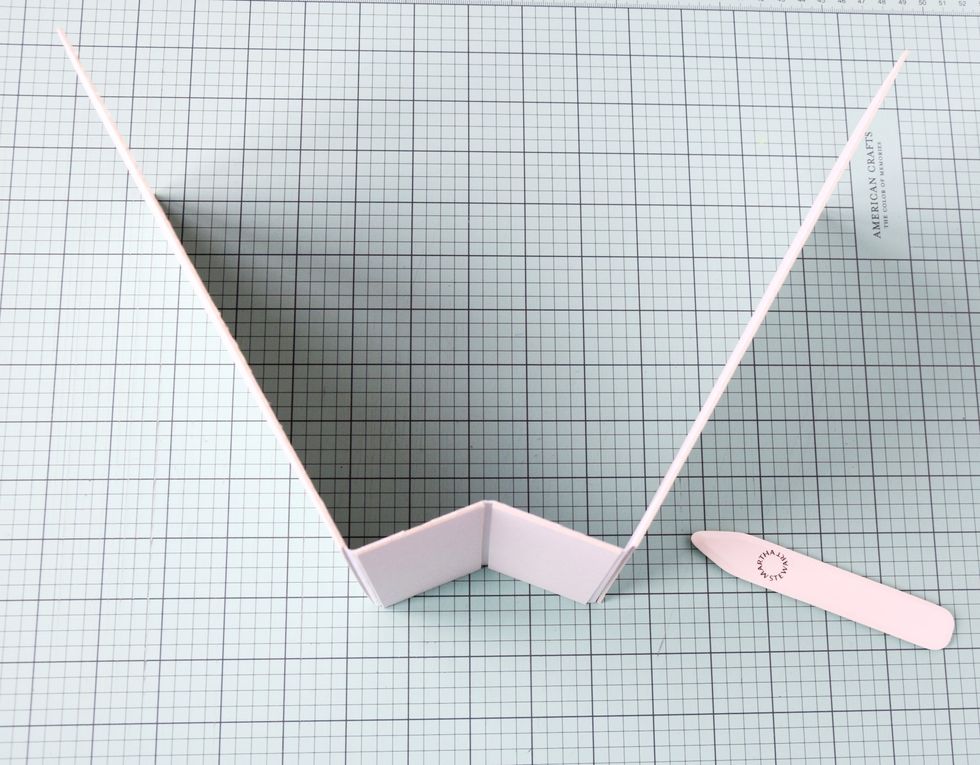
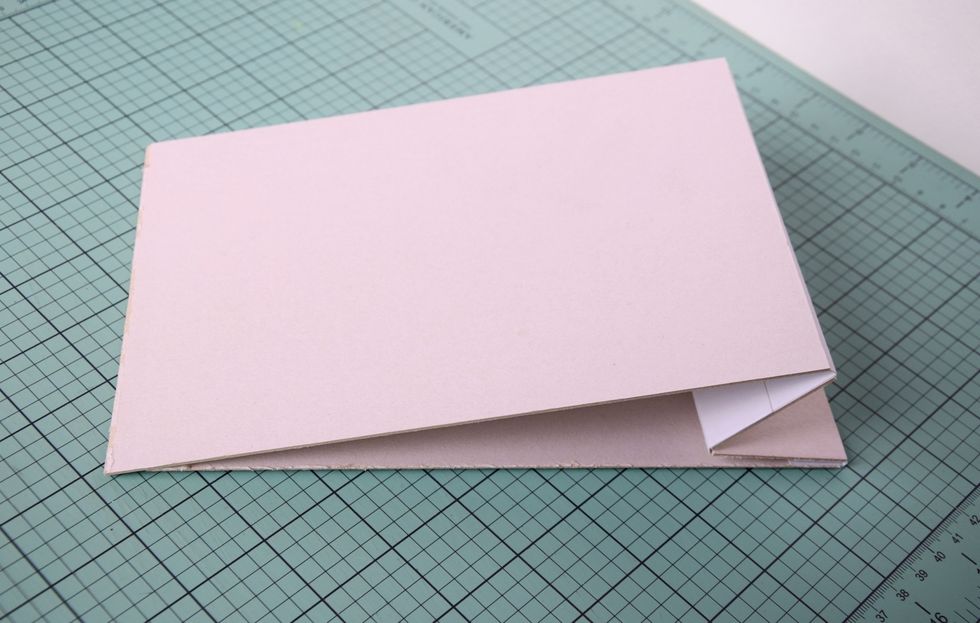
Cut chipboard 3 pc 7,08”х5,11” and 2 pc 7,08”х2,5”. This is the future cover of our Planner.
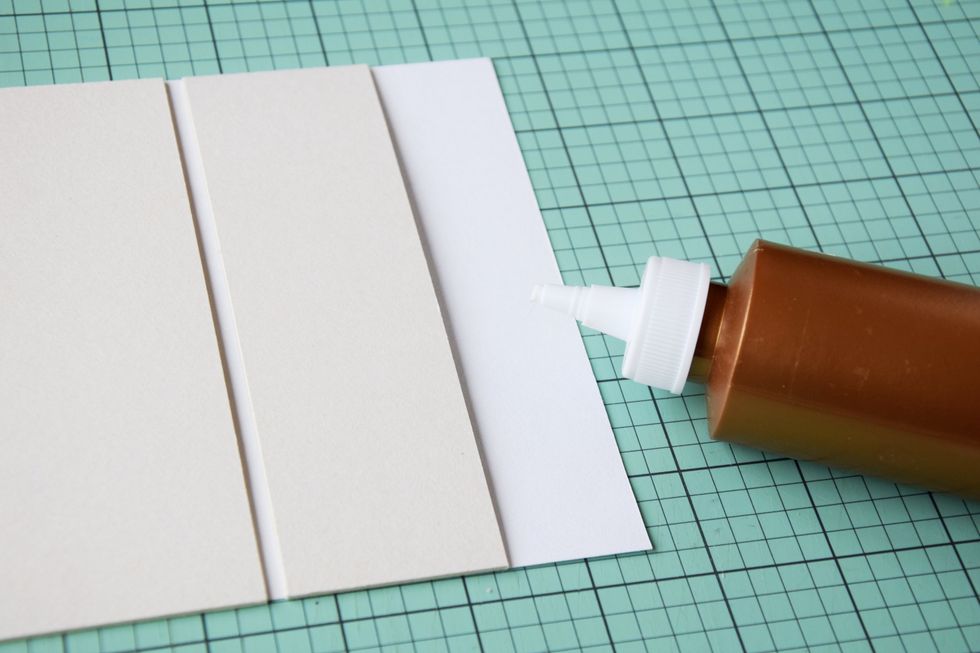
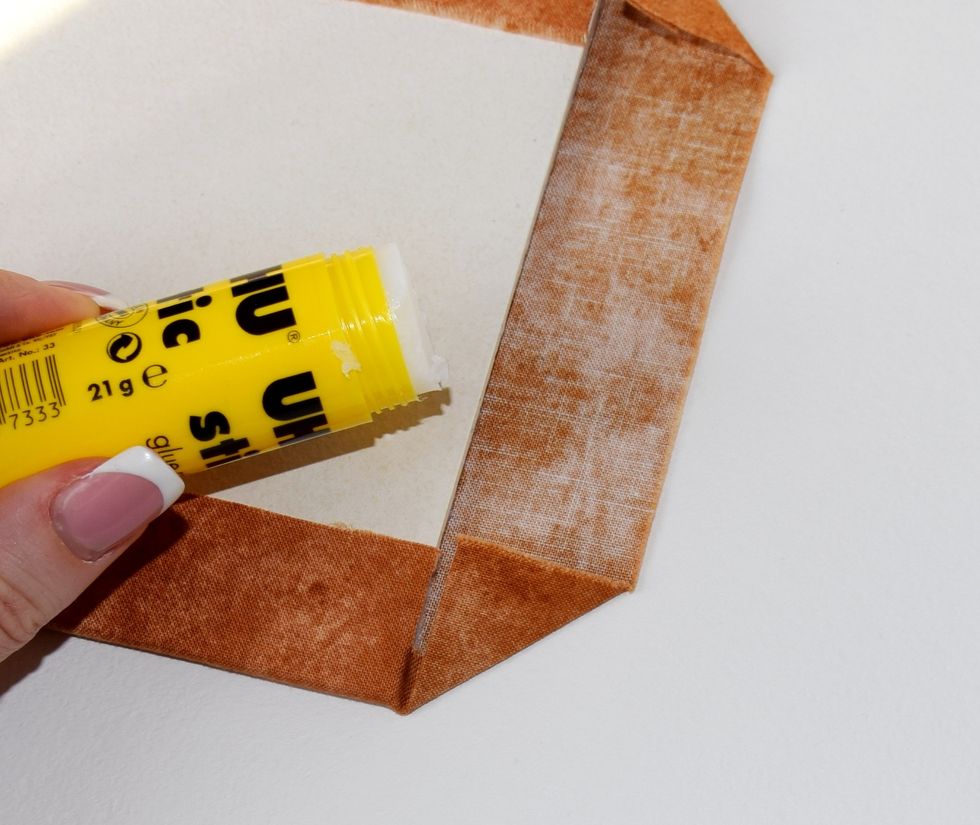
Glue the details as it is shown on the picture.
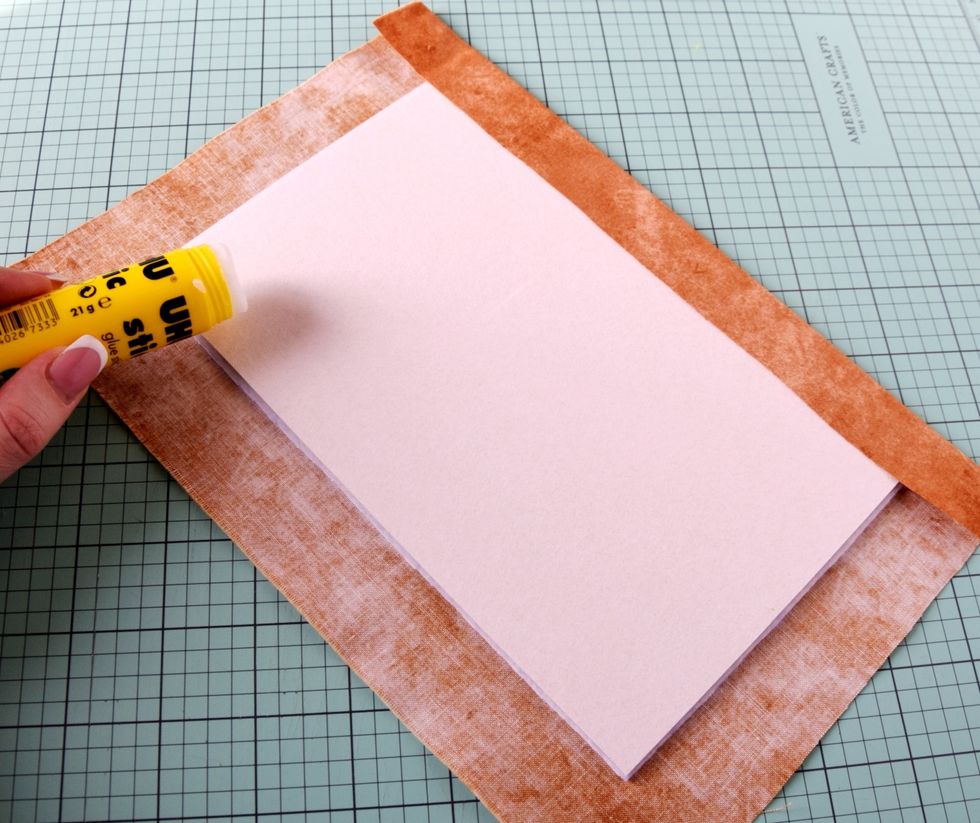
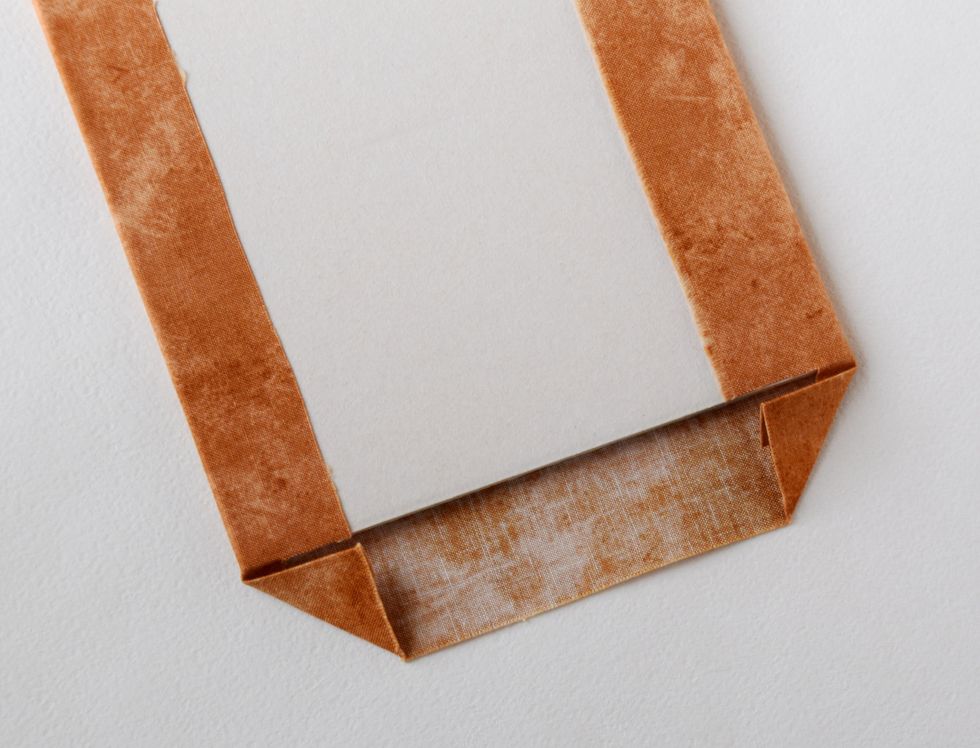
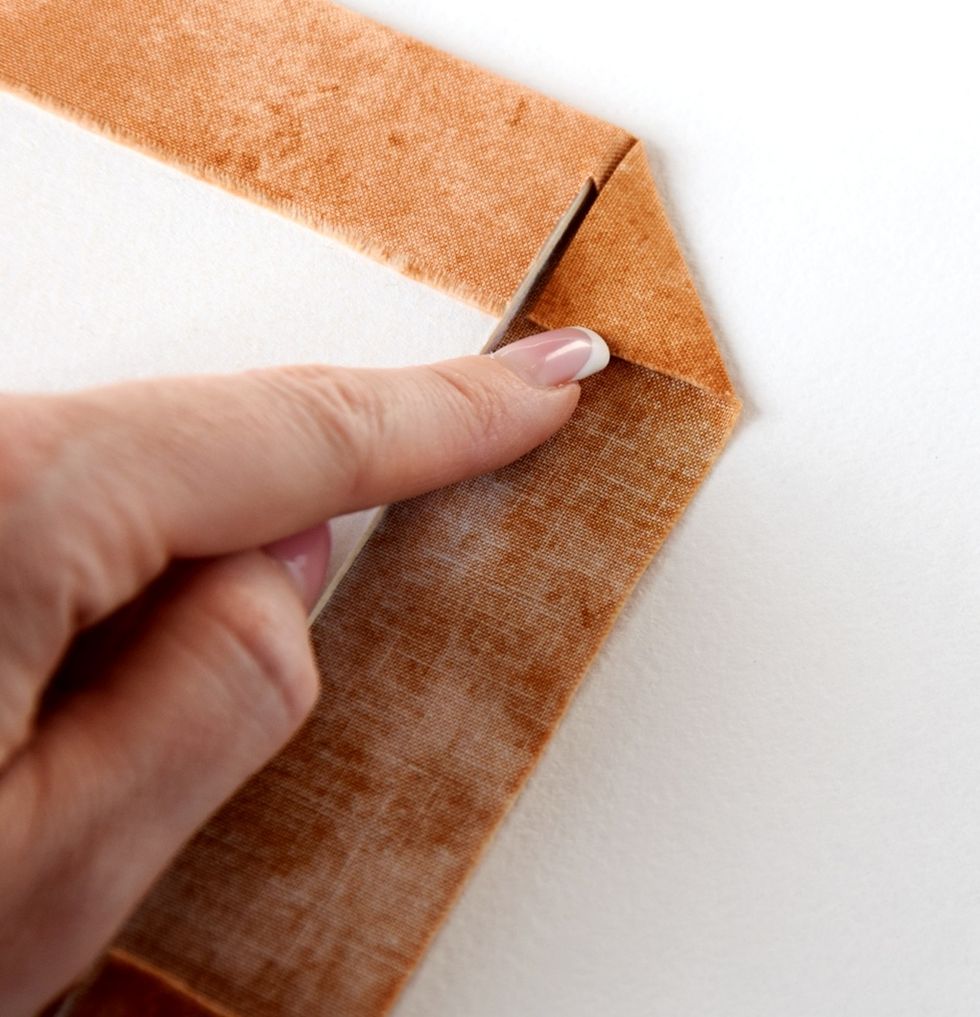
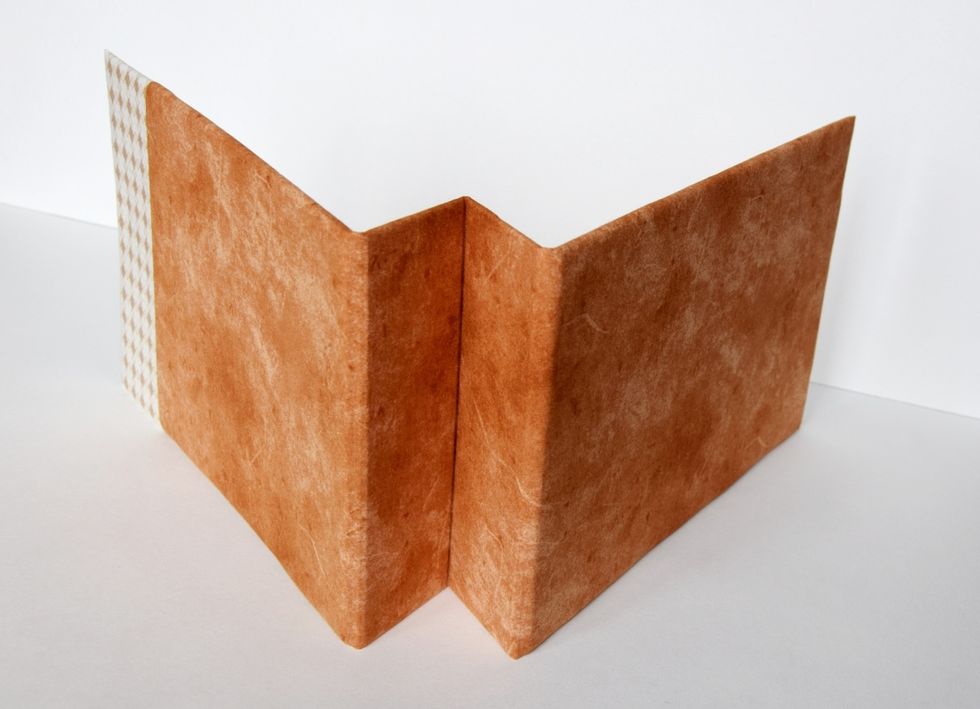
Wrap the cover with the textille.
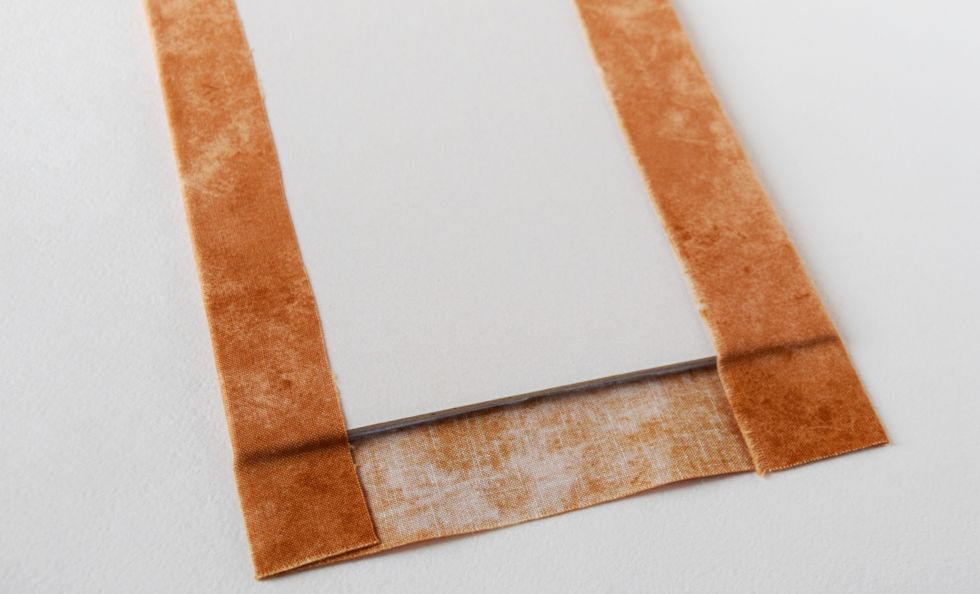
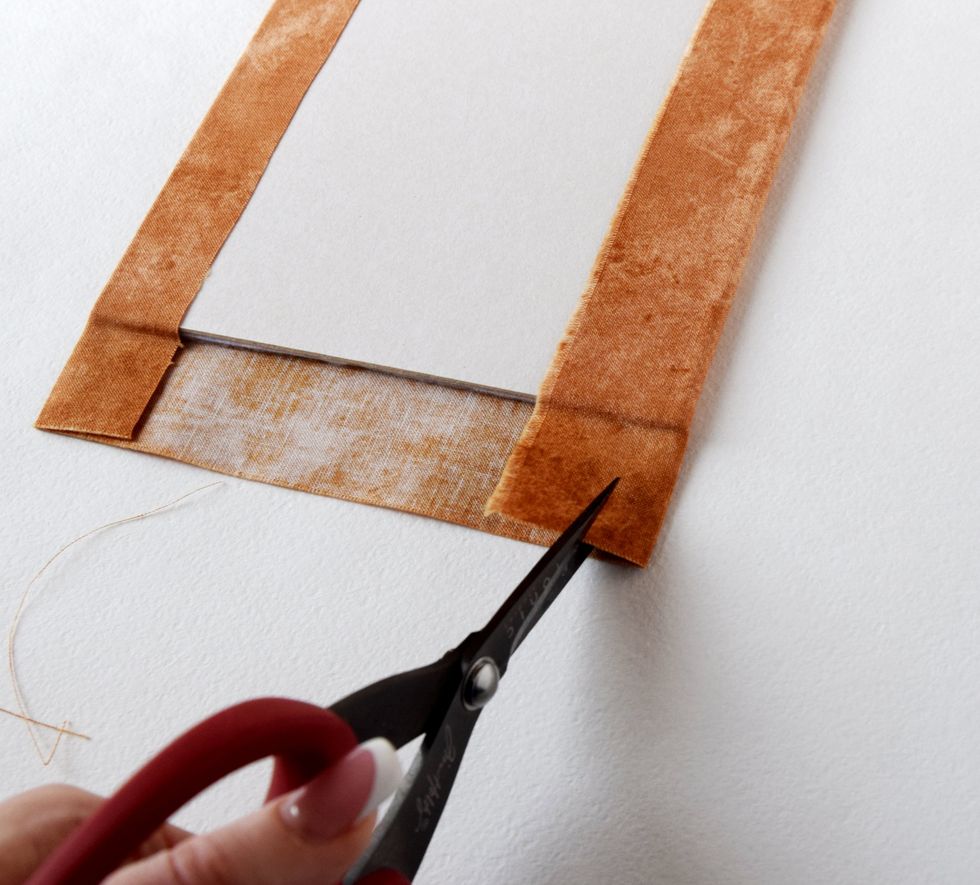
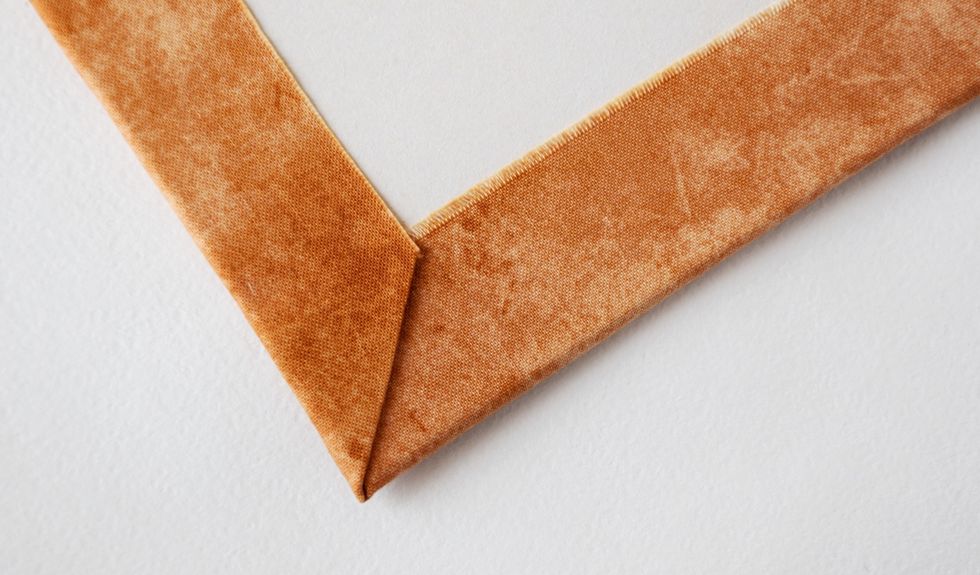
Make neat corners

Great!
Let it dry
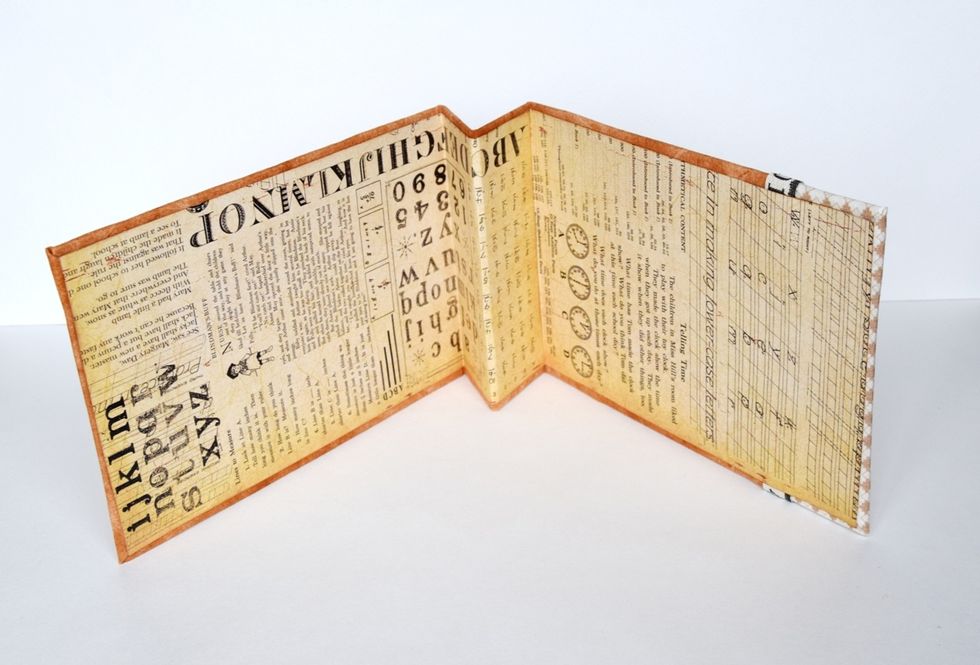
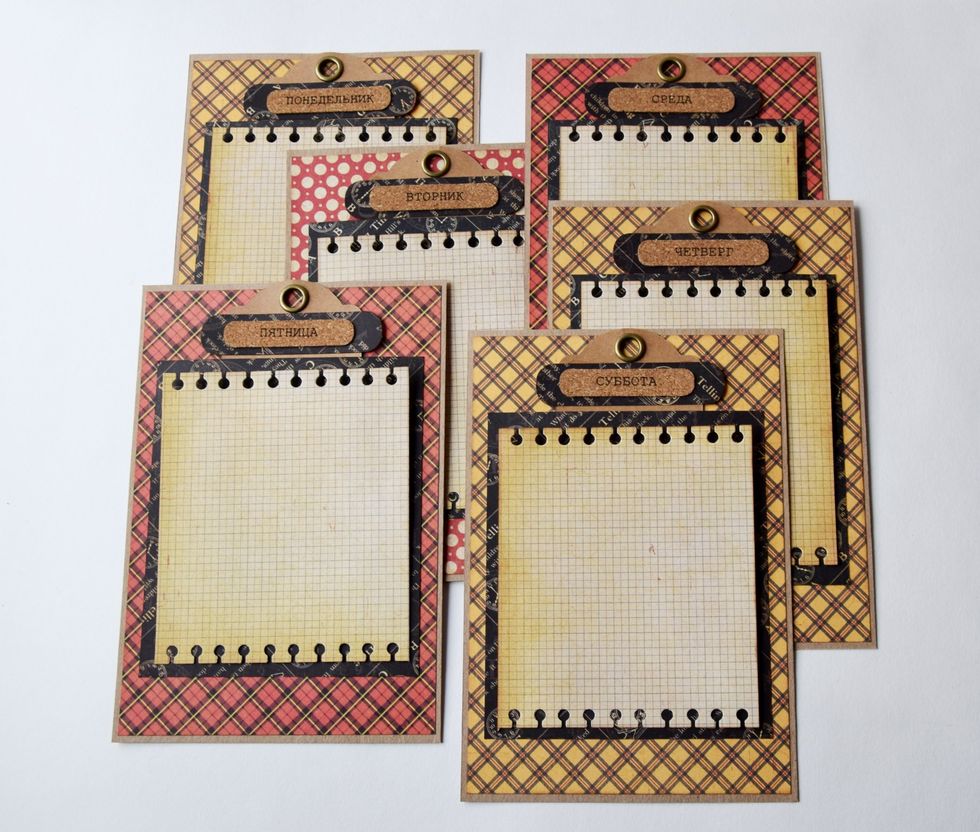
Glue the endpapers
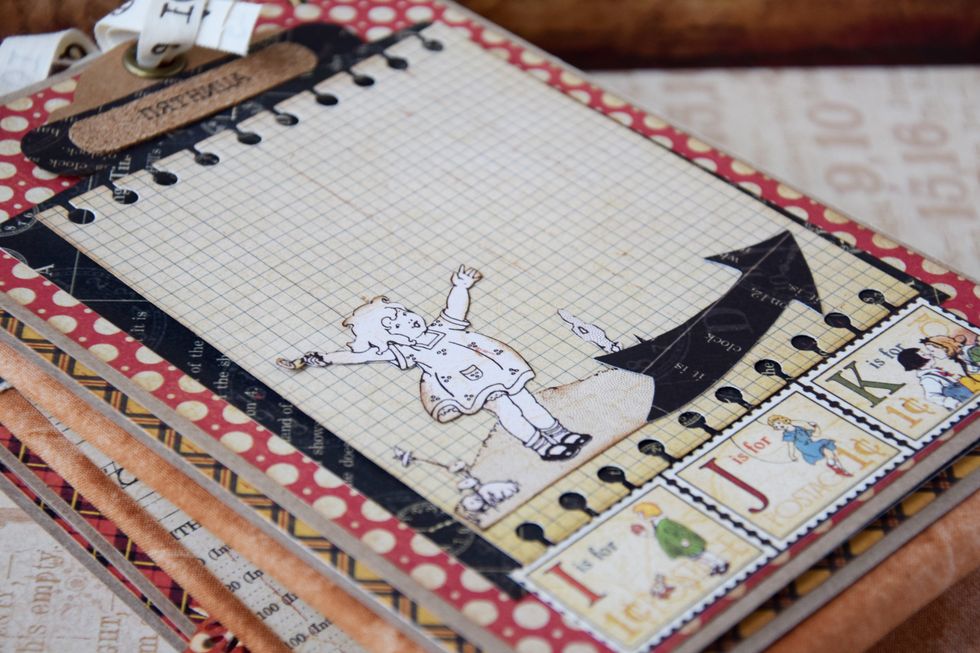
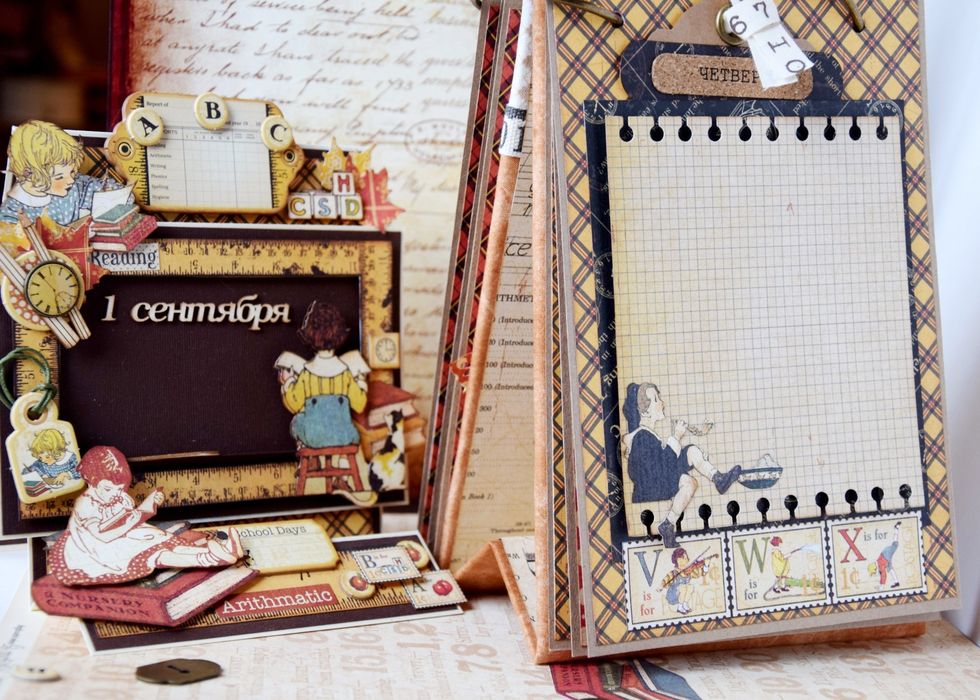
Decorate pages for photos
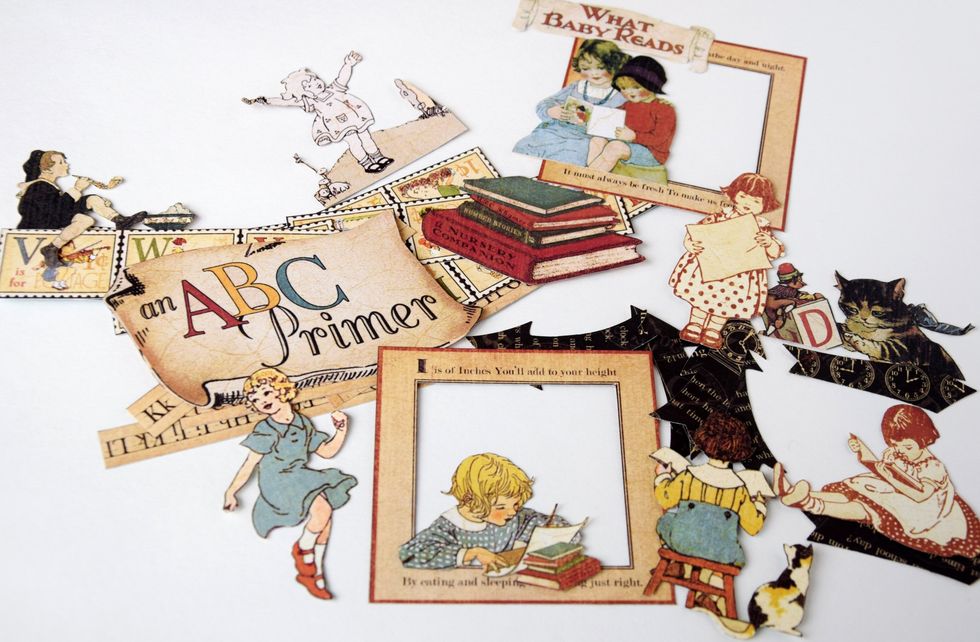
Cut out all little pictures from paper sheets and prepare some die-cuts. I add some vintage look to the paper with distress ink.
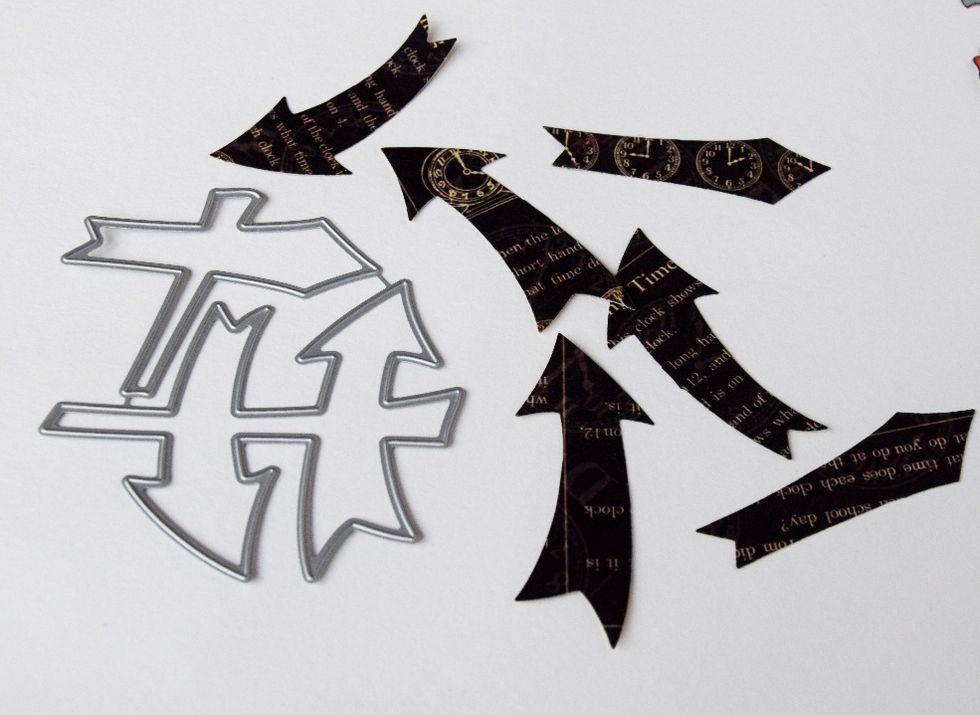
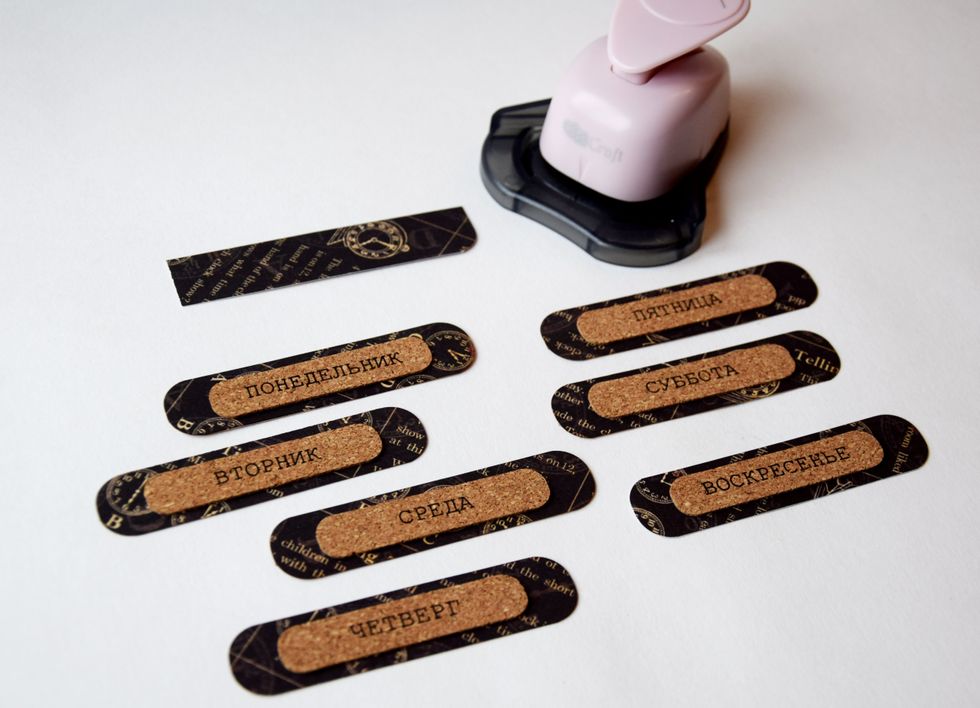
Prepare some die-cuts
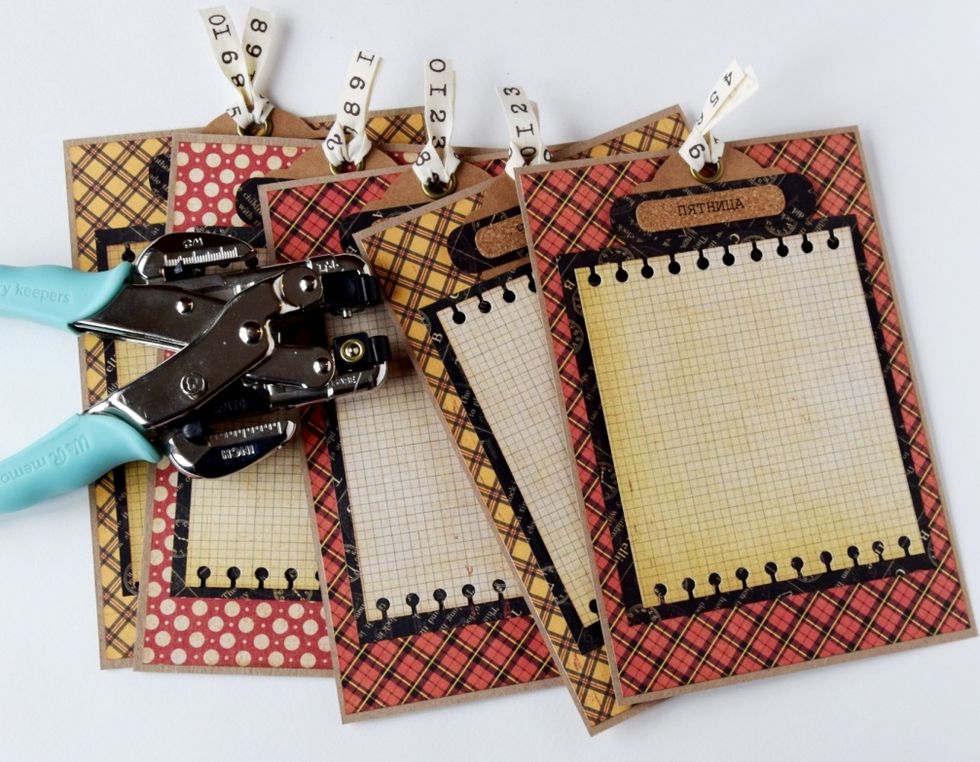
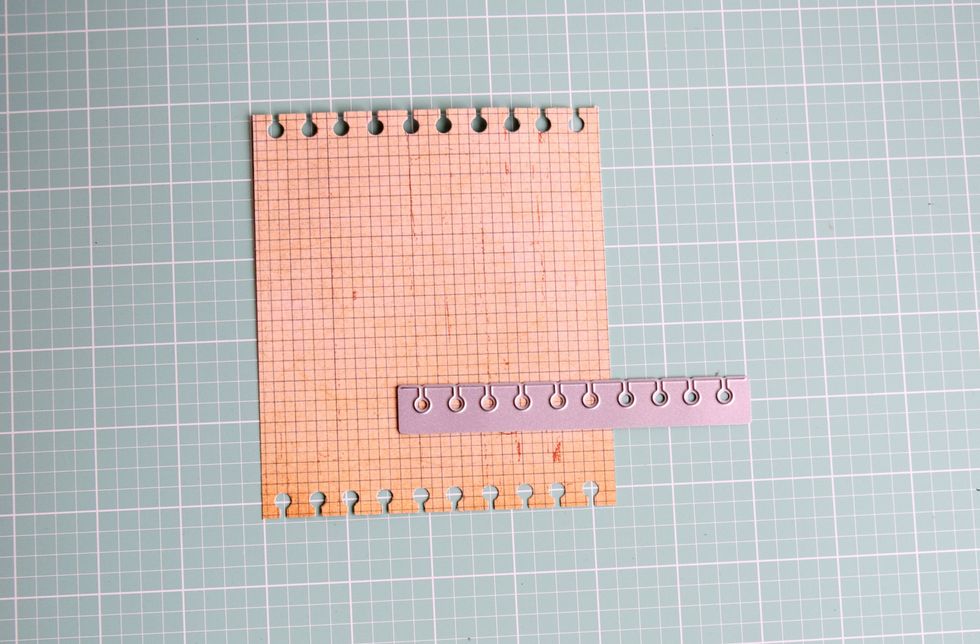
Make holes with the help of cropodile
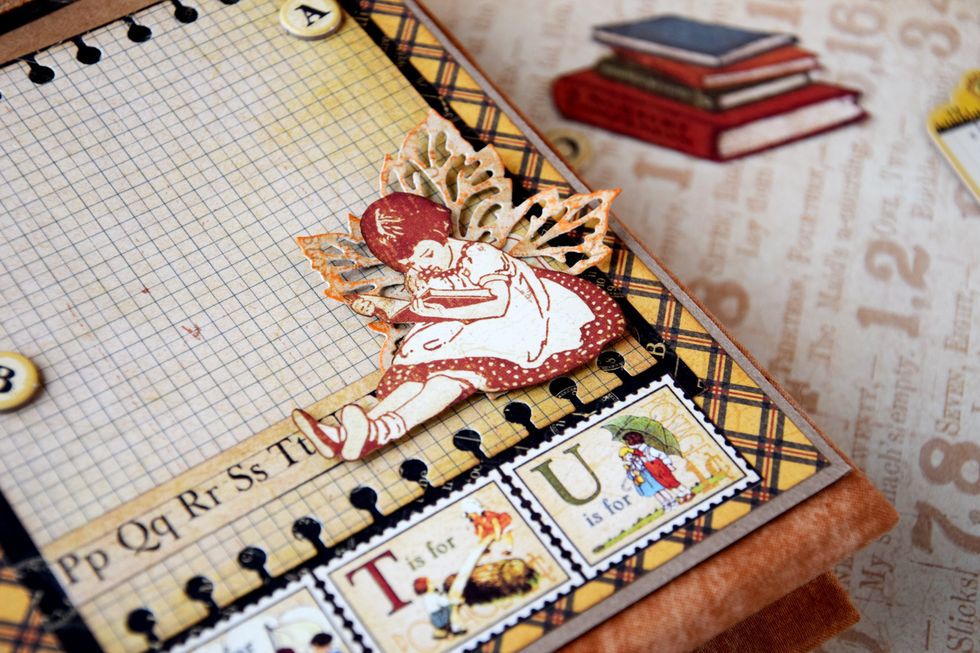
some details
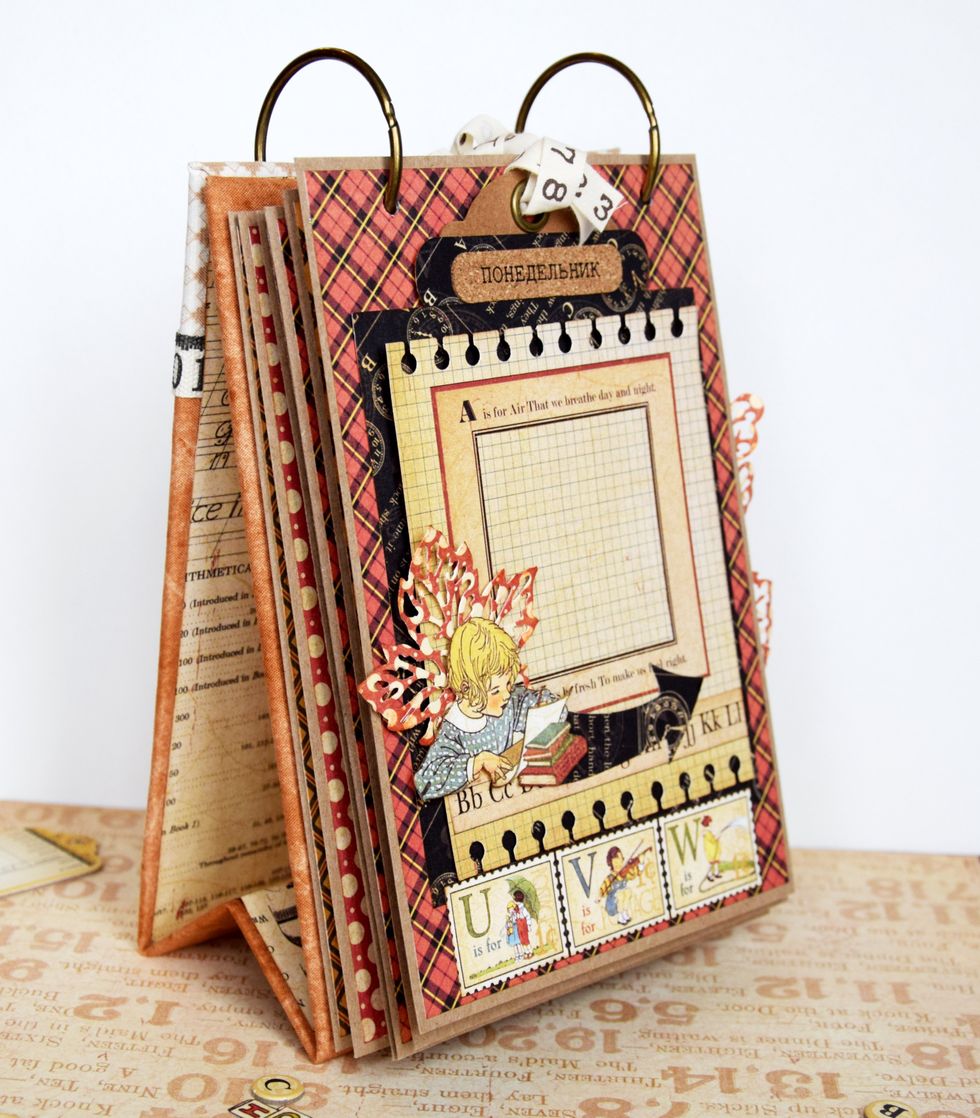
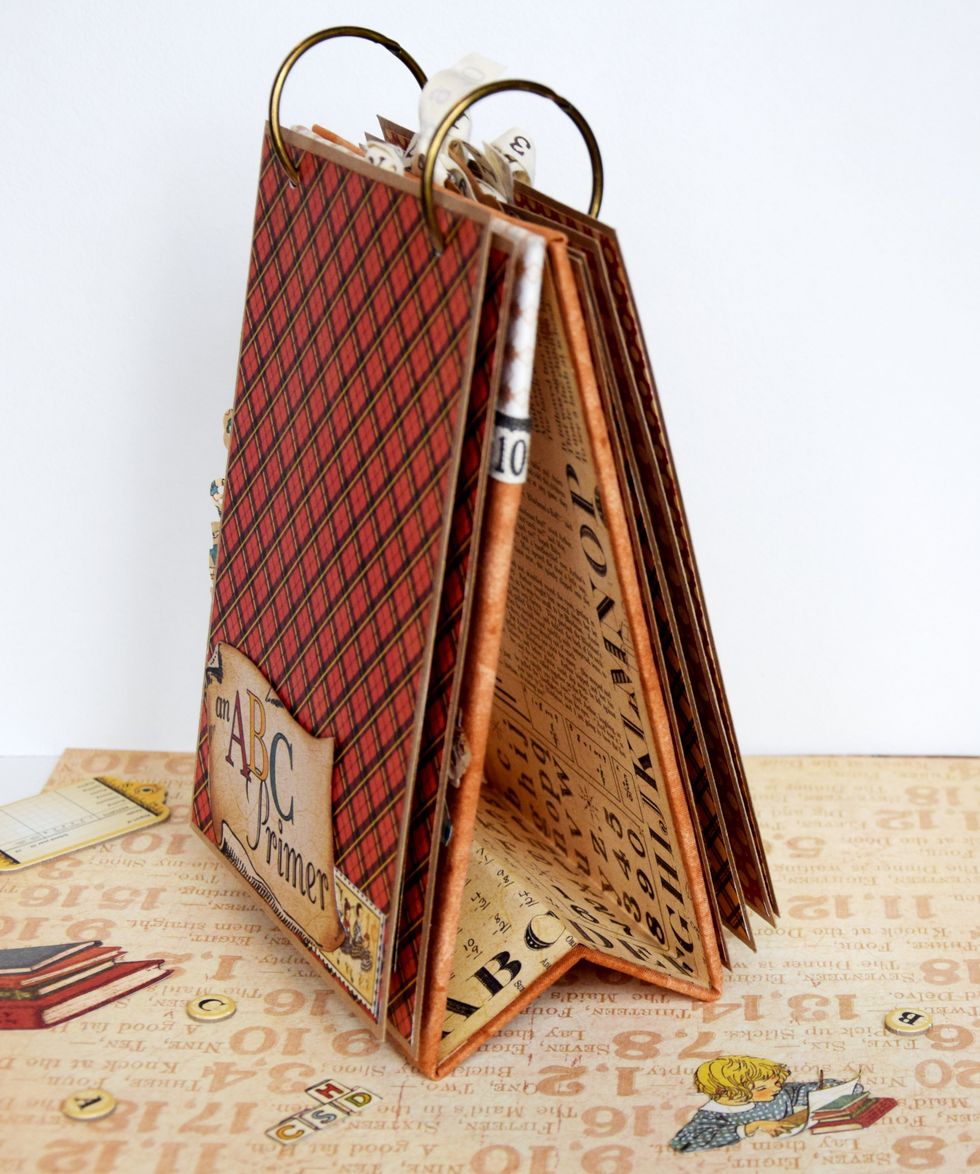
Our Planner is ready
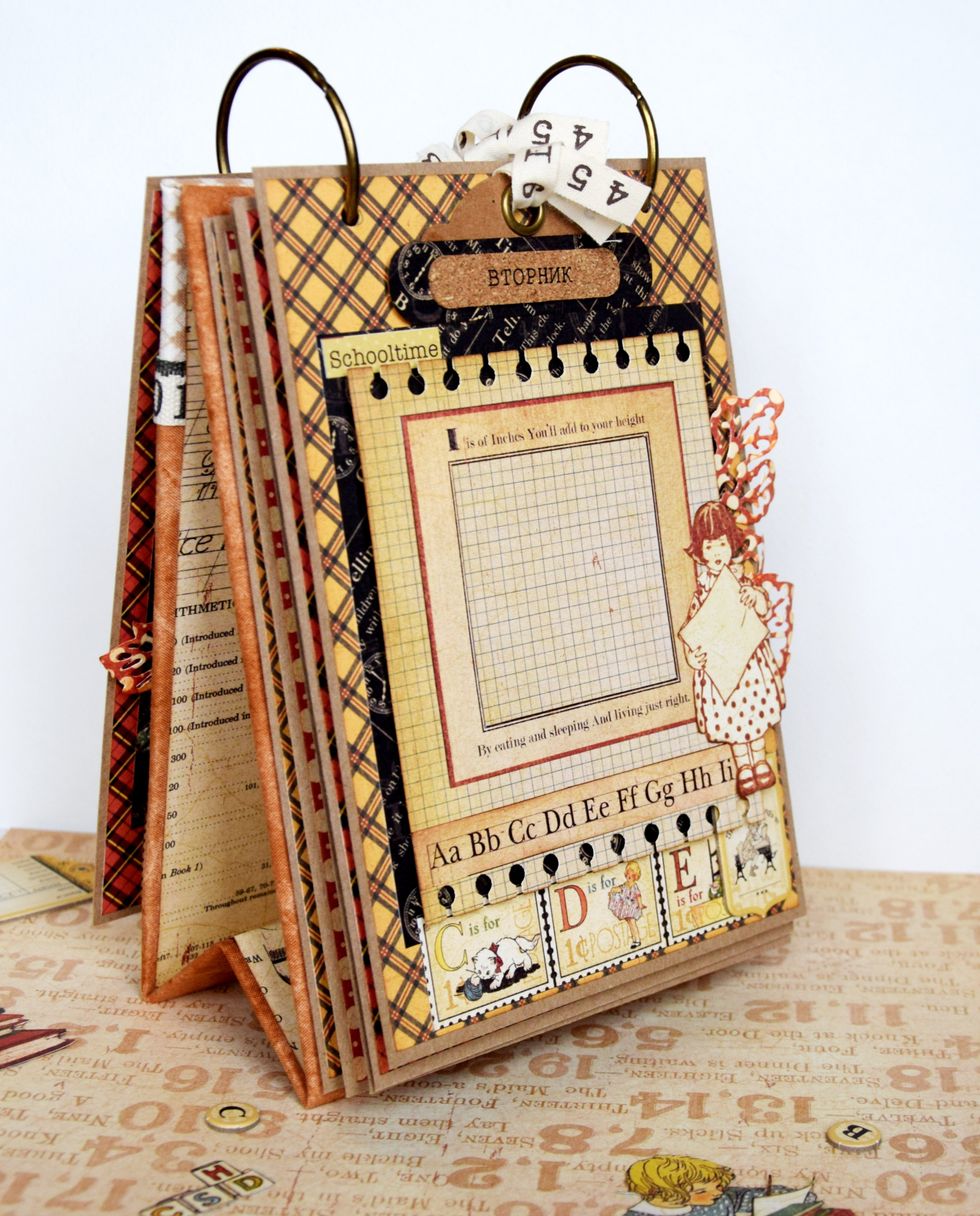
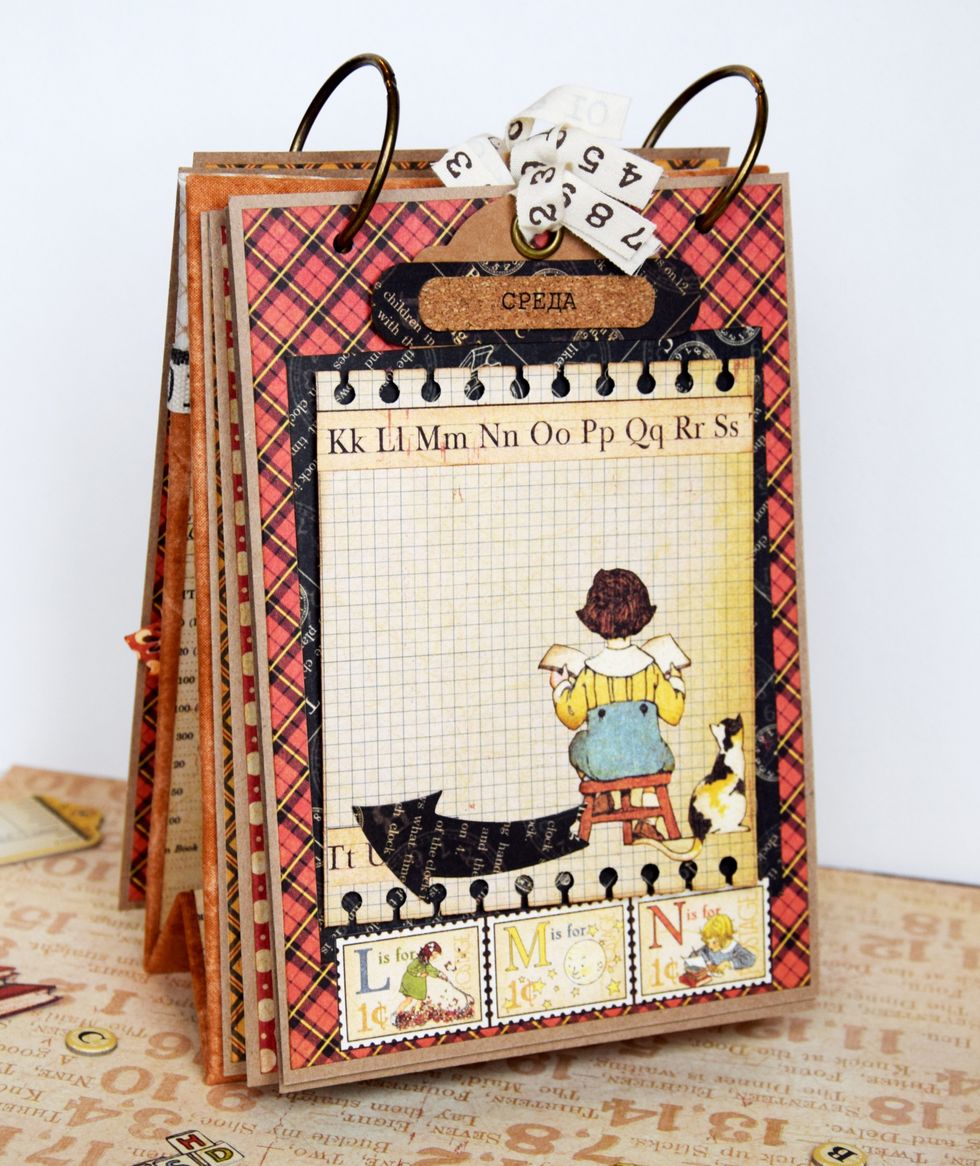
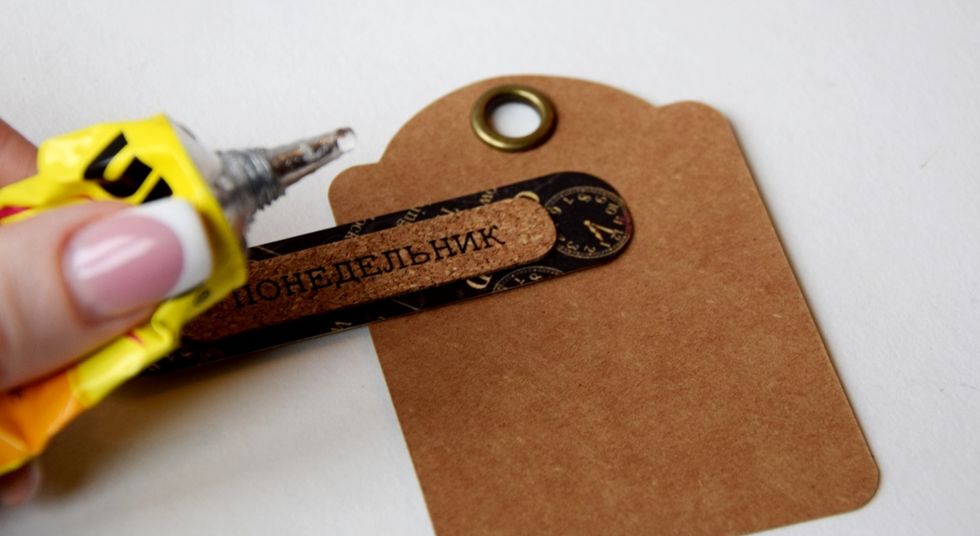
Glue the other details
I hope you enjoy the tutorial and will be happy to inspire you!