The Conversation (0)
Sign Up
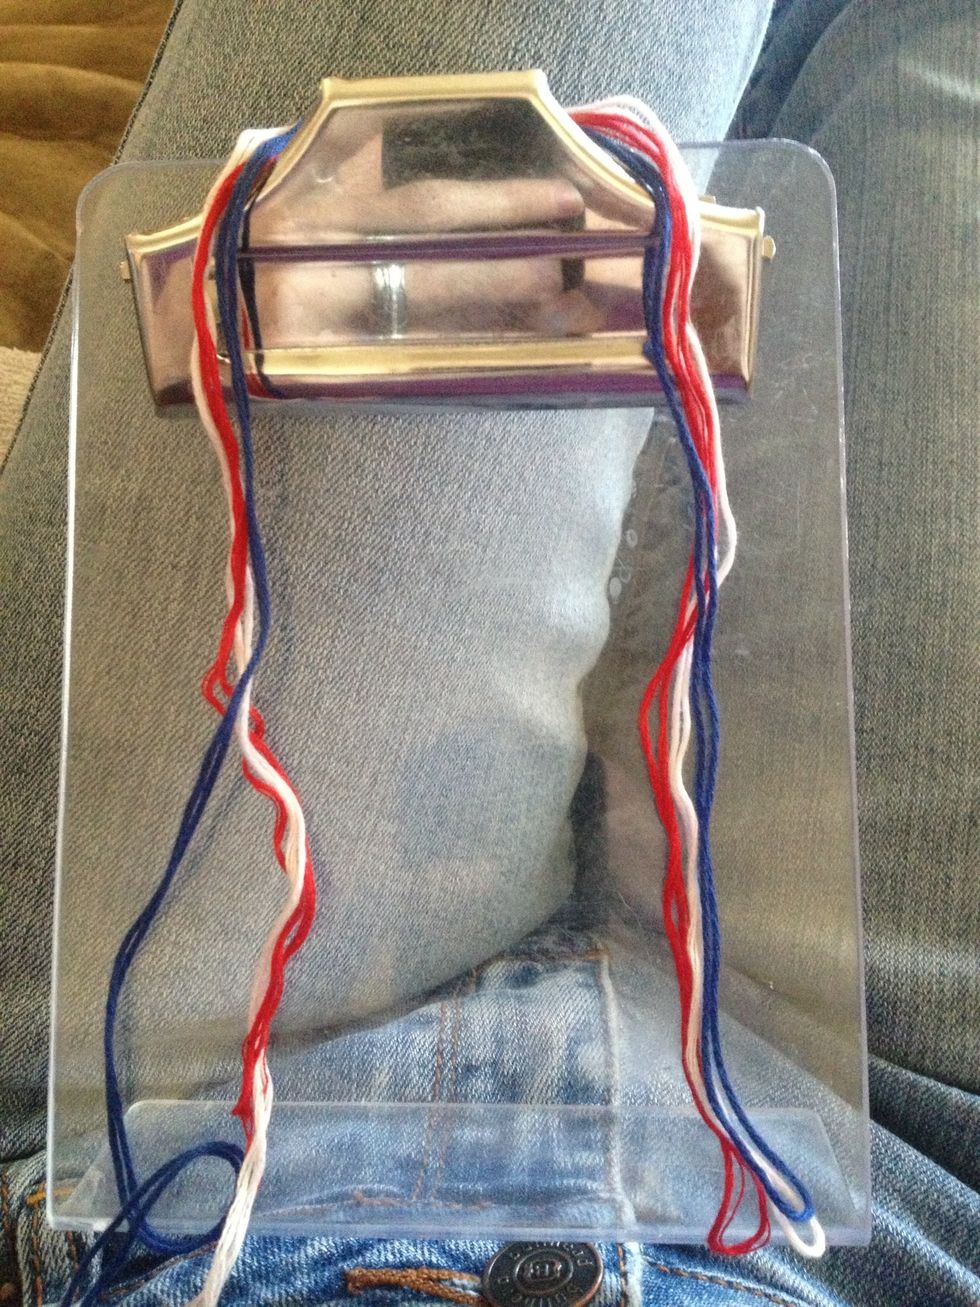
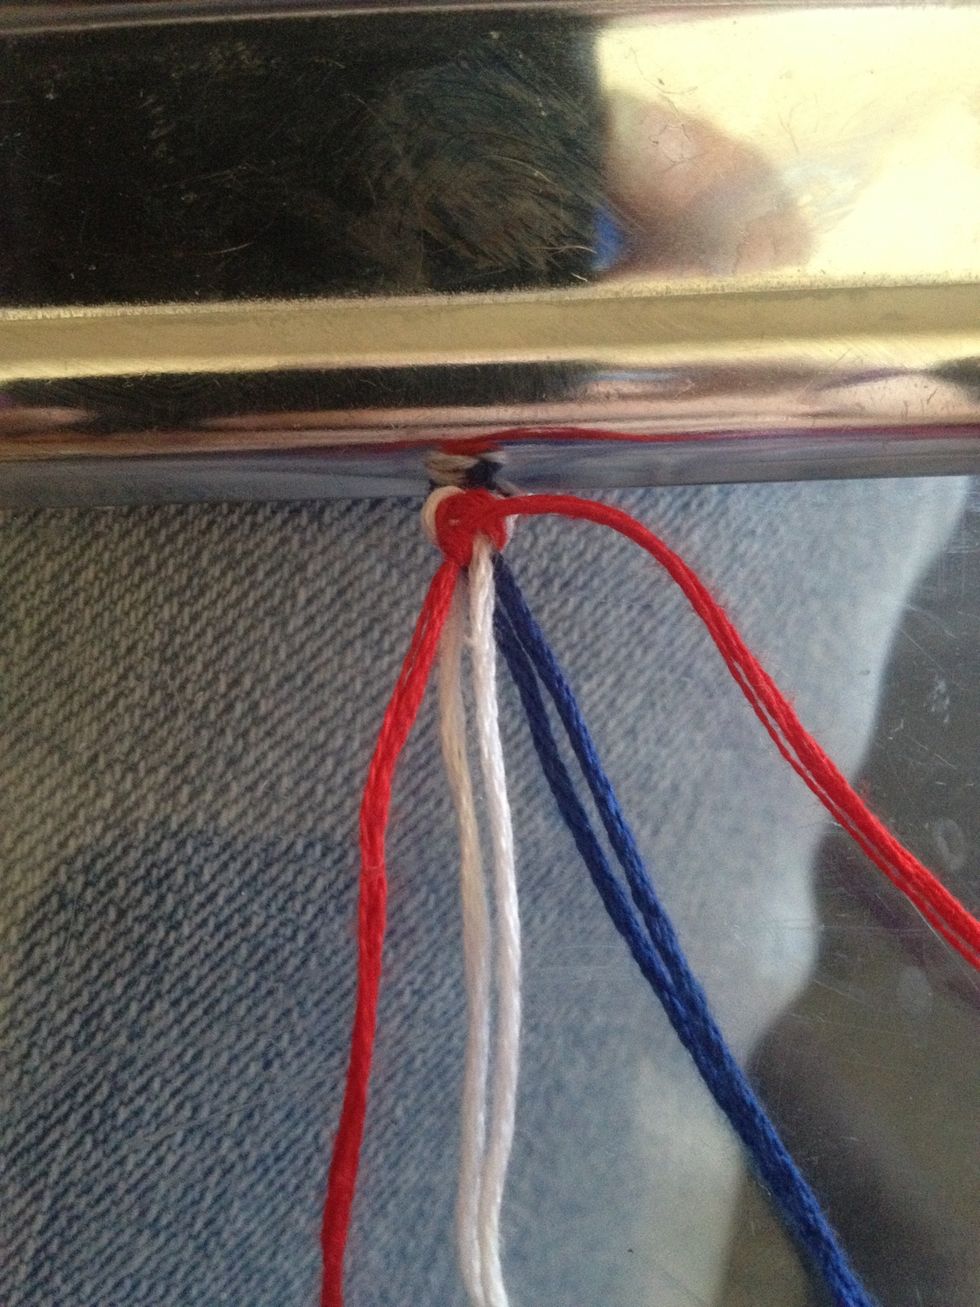
Pick out three colors of floss and fold them in half. To make a regular size bracelet you should use at least 45-60 inches. For this guide I am just using some left over floss.
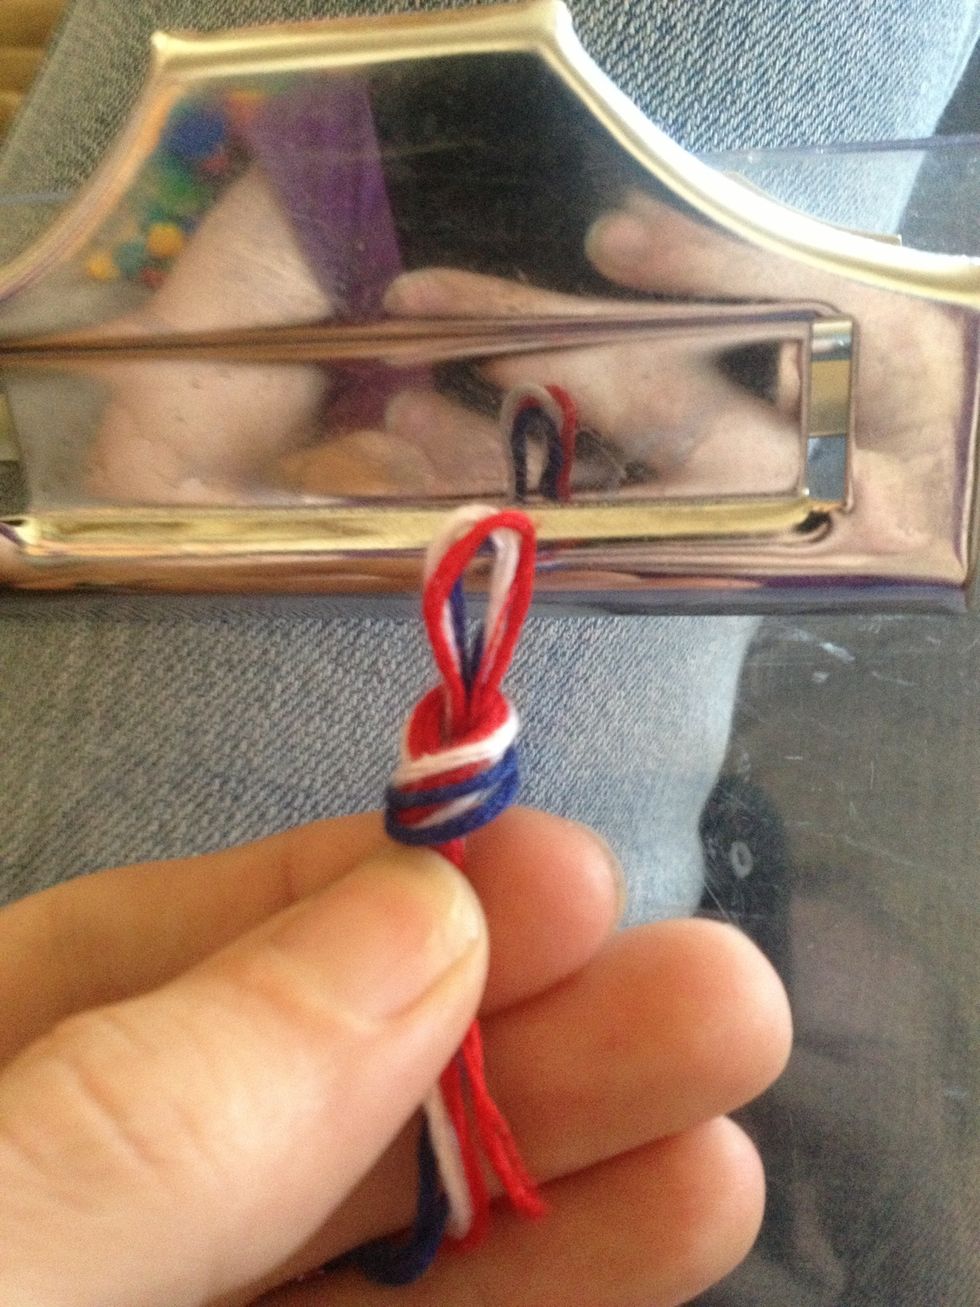
Take all your strings together and make a knot at the beginning leaving a little loop.
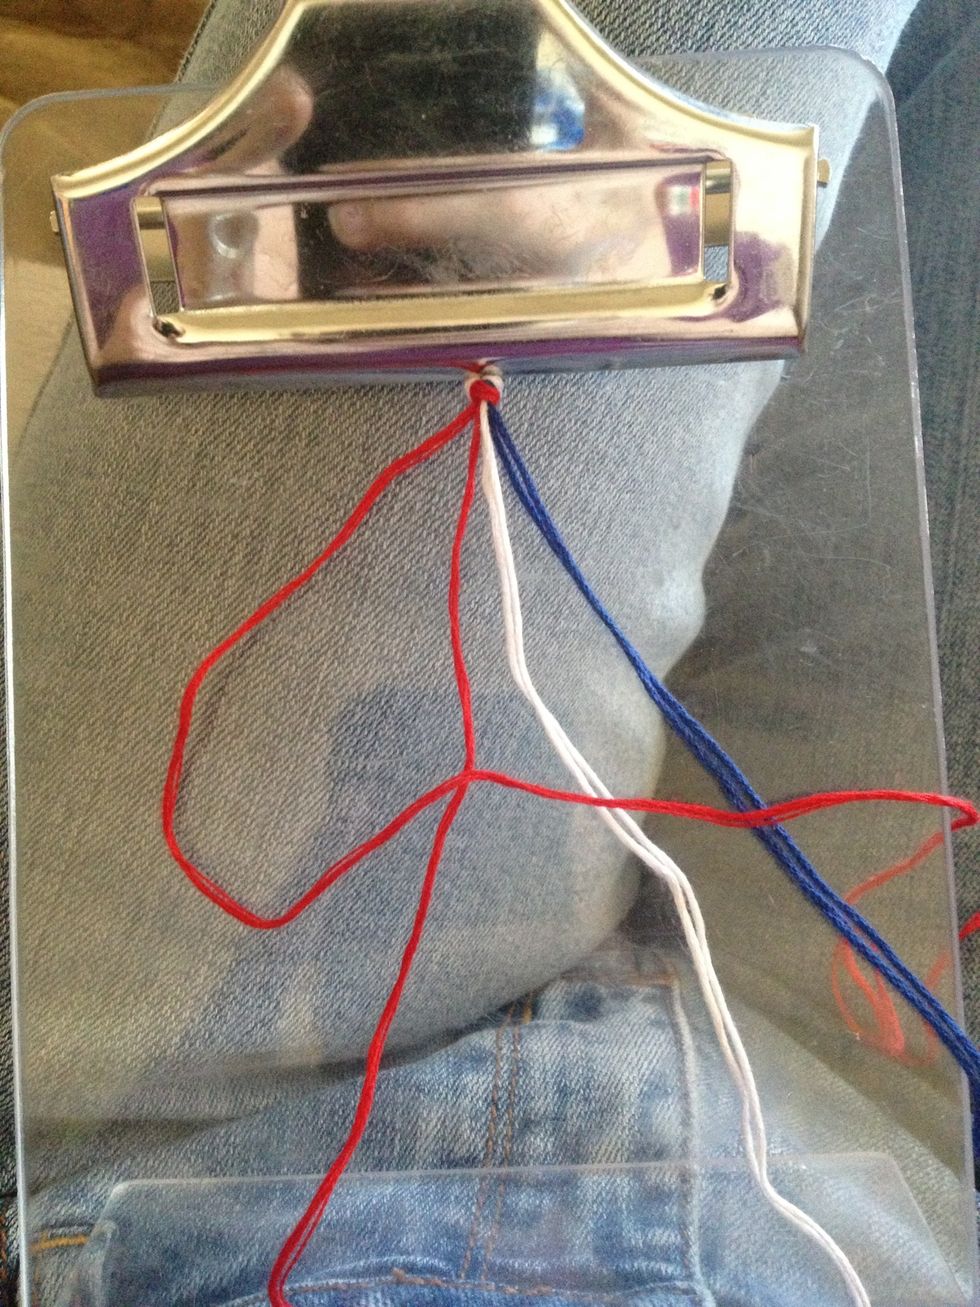
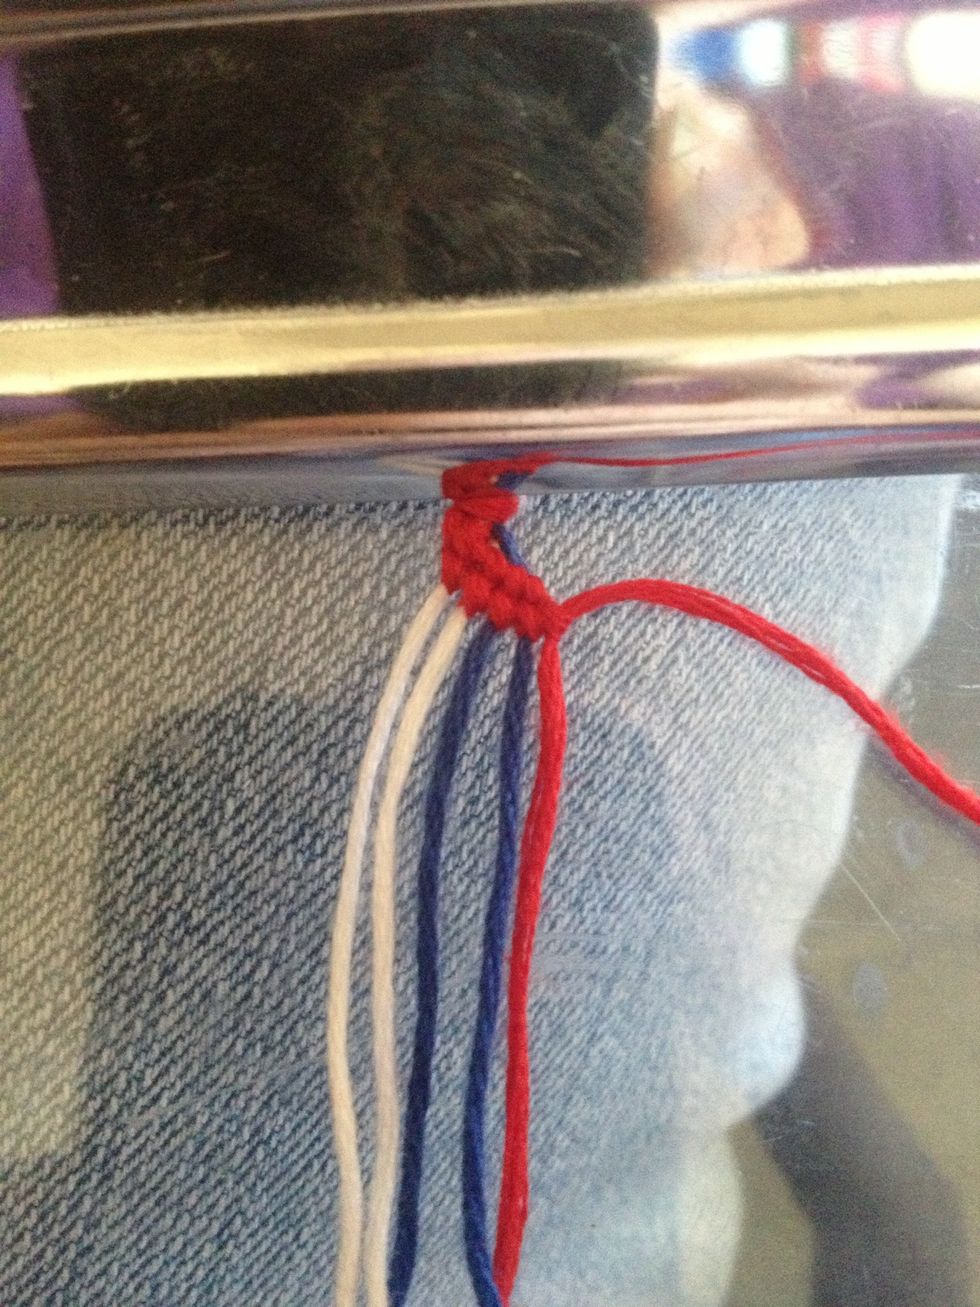
Take the first red string and make a four.
Take the end of the red string and put it through the loop. Once it is through the loop pull the string all the up to the top until you have a knot.
Like this.
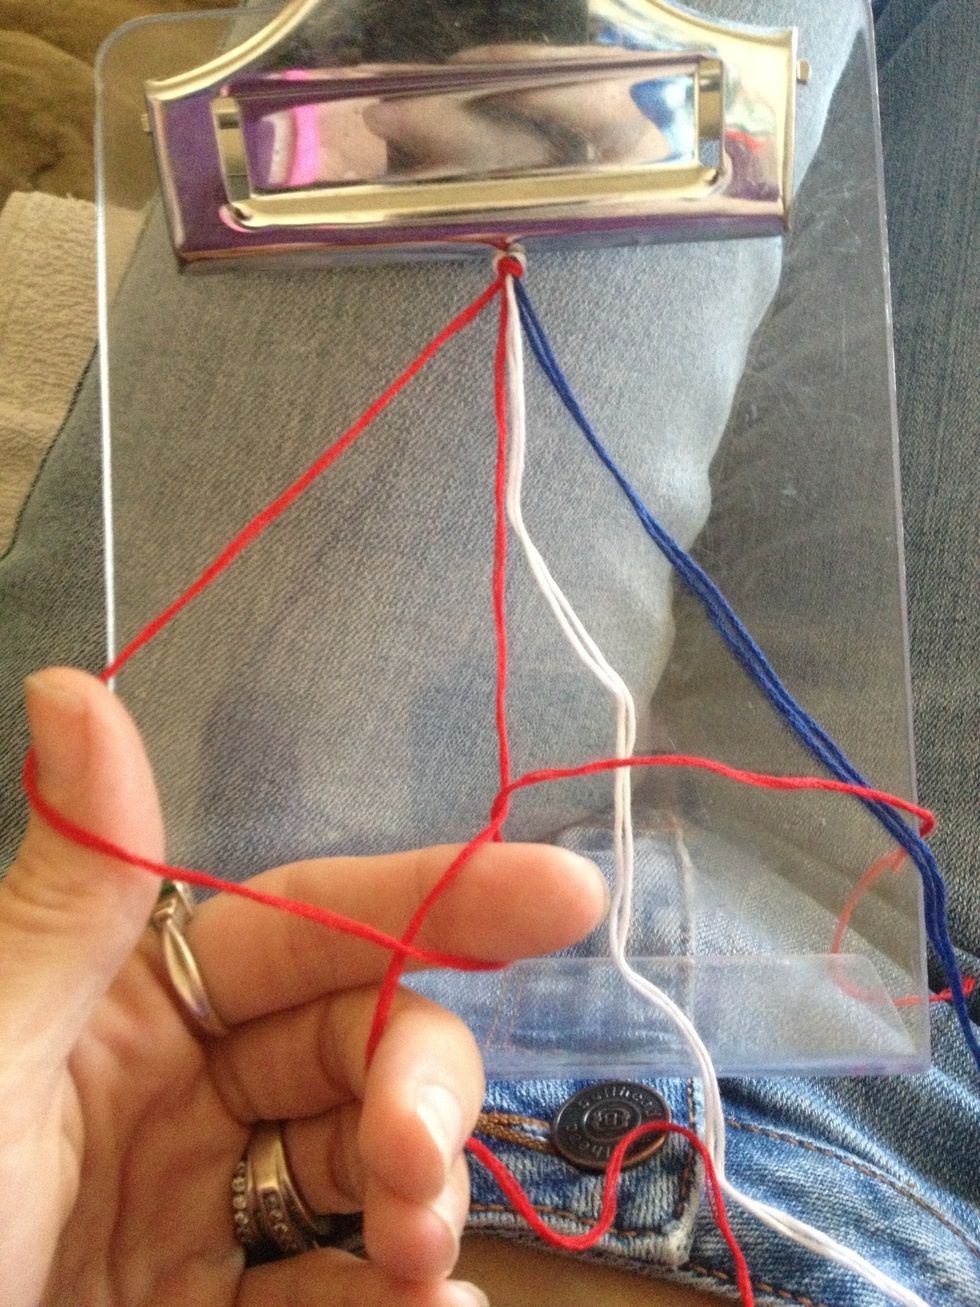
Repeat steps 3-5 to make a second knot. This is called the forward knot. The forward knot is one of the most used knots in making friendship bracelets.
Once you have the first knot done, take the same red string and make a knot on the next color. In this bracelet it would be white. Continue to make knots on all the remaining strings.

When you finish the first row you should have 5 knots. Lets pick up the next string (red) and do it again.
Another 5 knots for row 2 and the red is done. Lets do the same thing with the 2 white strings.

10 more knots and 2 more rows done and the white is complete. Lets do the same thing with the blue :)
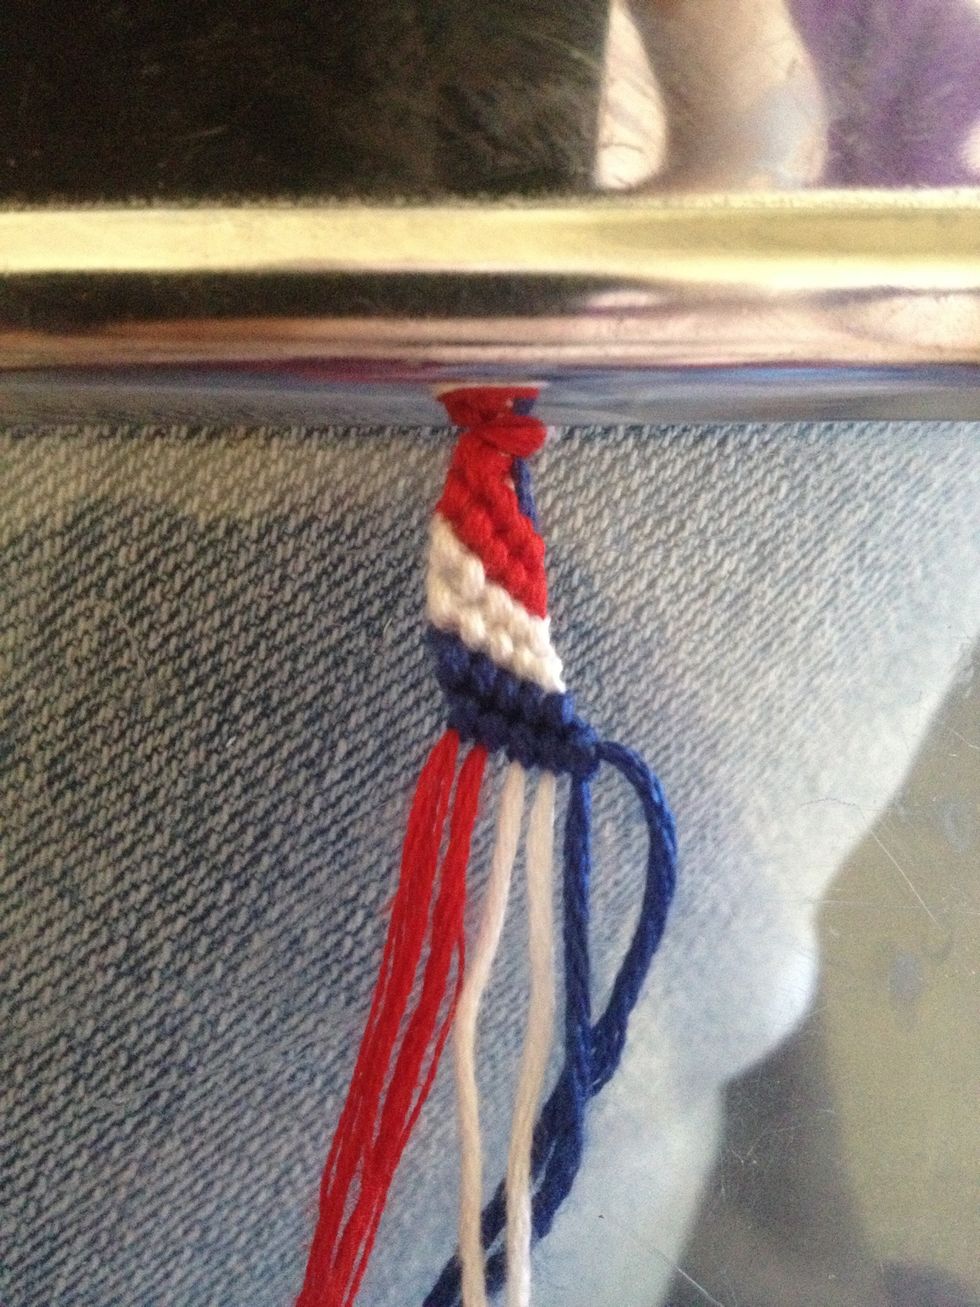
10 more knots and 2 more rows and the blue is done. This simple pattern is called the Candy Stripe. Repeat the colors until you have the length you need for your bracelet.
I love the Candy Stripe cause it has endless possibilities. You can add more string. The most I have used is about 15. You can create so many different color combos.

For an added bonus lets show you a different bracelet to make with the Candy Stripe. Turn your bracelet around so you see the back of the knots. Lets do the blue again in the same way.

With the blue done its time to do the white and than red.
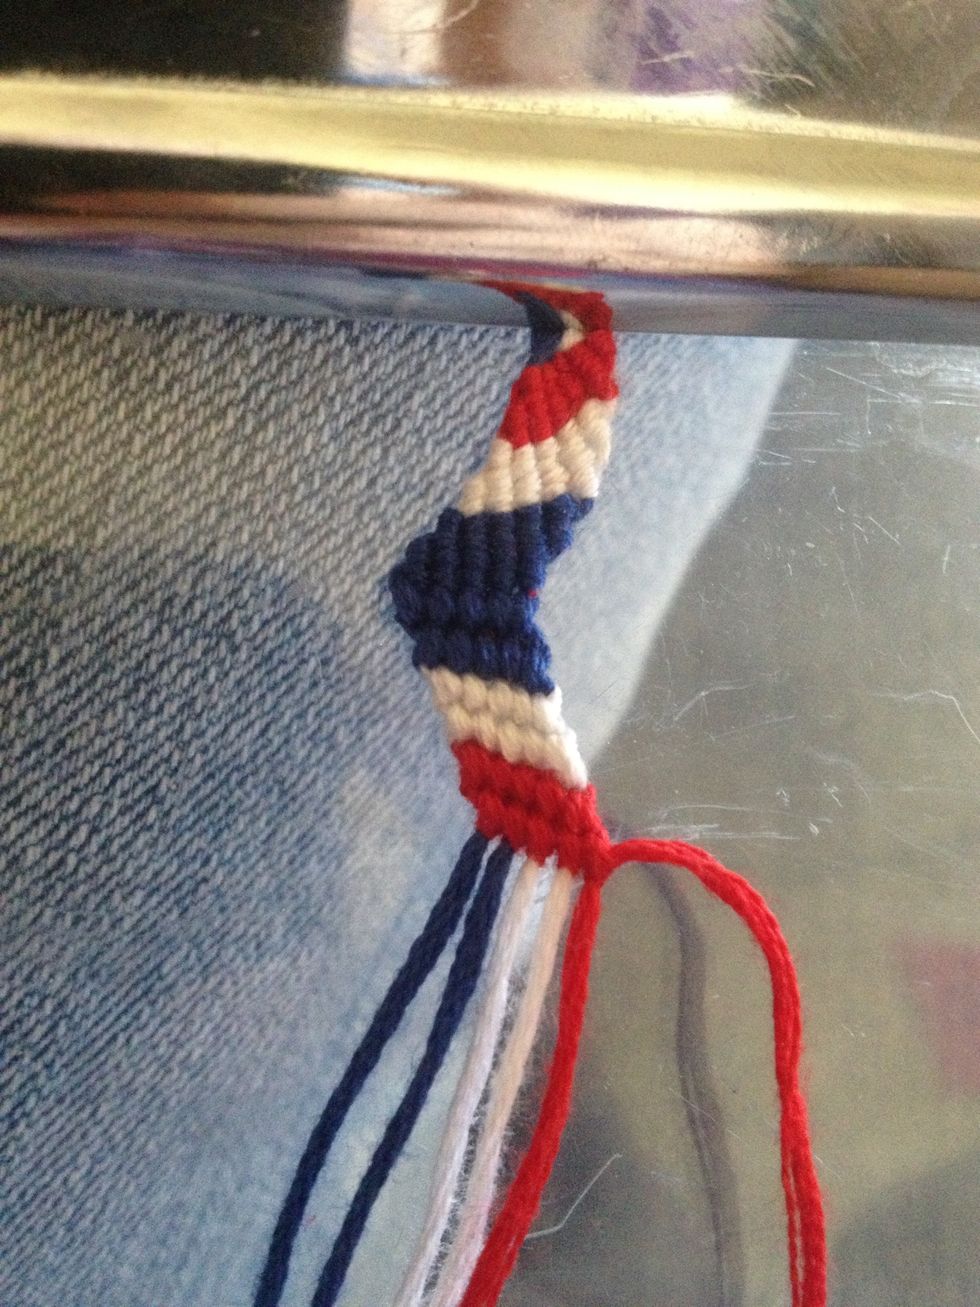
With the white and red done the pattern is starting to show. You won't see the full effects until its done a few more times. Lets flip the bracelet over and do it again.
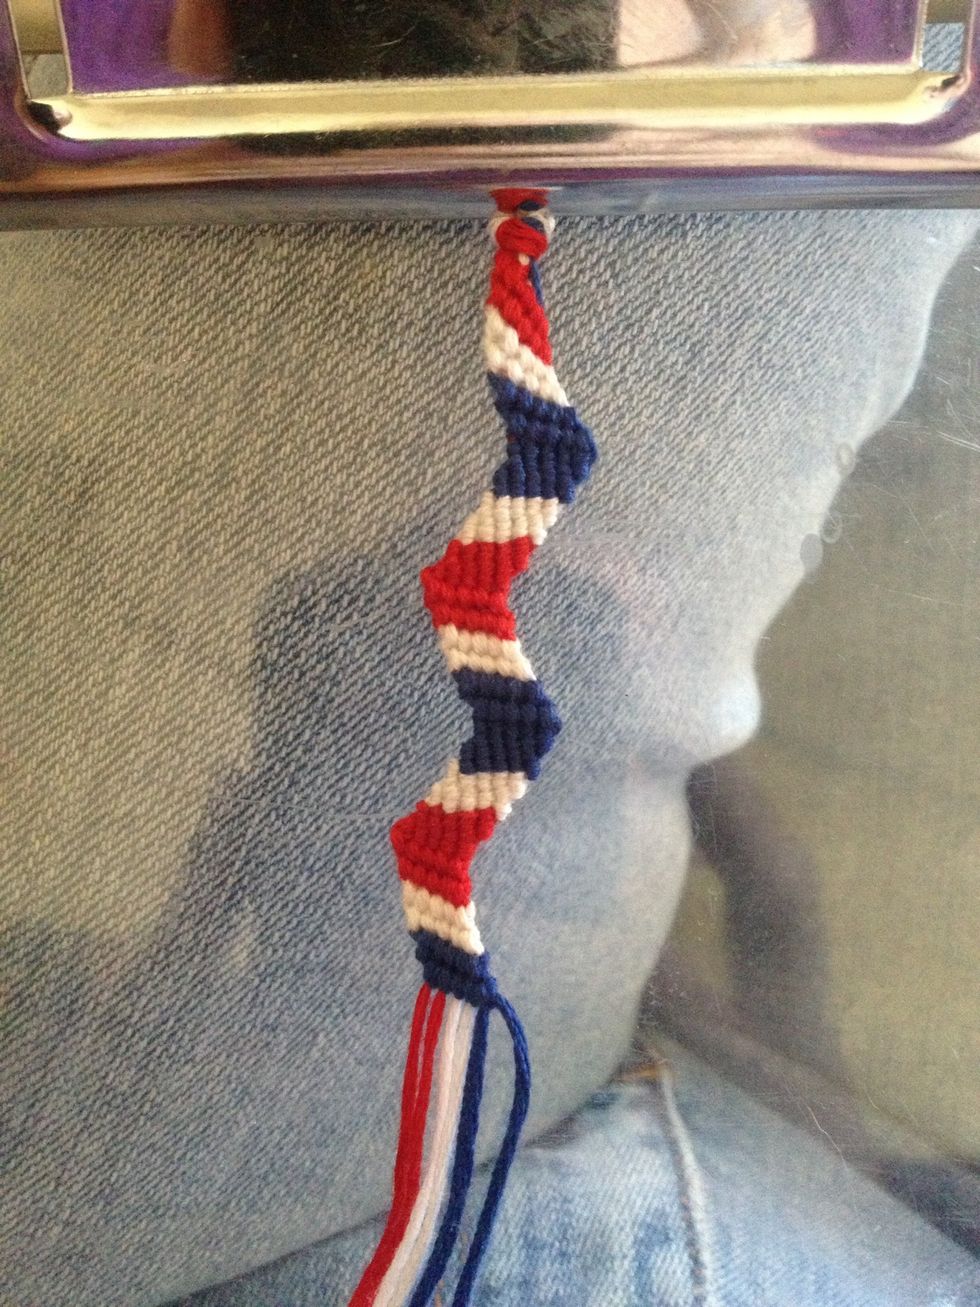
With it done 3 more times so can see "The Wave". You can keep doing the steps until you have the desired length for your bracelet.
I really enjoy doing "The ZigZag" bracelet. It's a fun flip on the Candy Stripe. I hope you have enjoyed my first friendship bracelet tutorial plus the little bonus :).