The Conversation (0)
Sign Up
*We recommend 54" cotton blend fabrics. Synthetics such as indoor/outdoor melt with high heat and will not work with the Steam-A-Seam-II to make the bias banding

First, cut your table top and lining (decorative lining for reversible) 1" larger than your table. Ours was 48x24 so our cut was 49x25

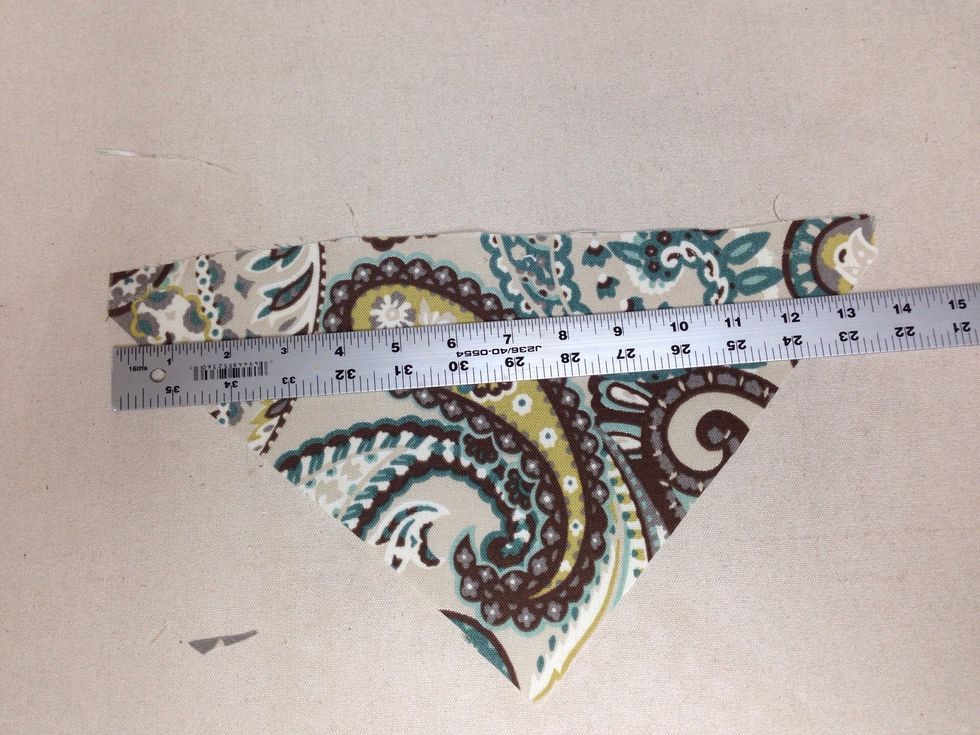
Next cut 8 LARGE points 18 1/2 across the top x 12 long. The sides start to angle 3" down from top side edges and continue the downward angle to the middle of the bottom forming the point.

Next cut 8 SMALL points 13 1/2" across the top and 12" long. The sides begin to angel 3" down from the top on the side edges and continue to the middle at the bottom to form the point.
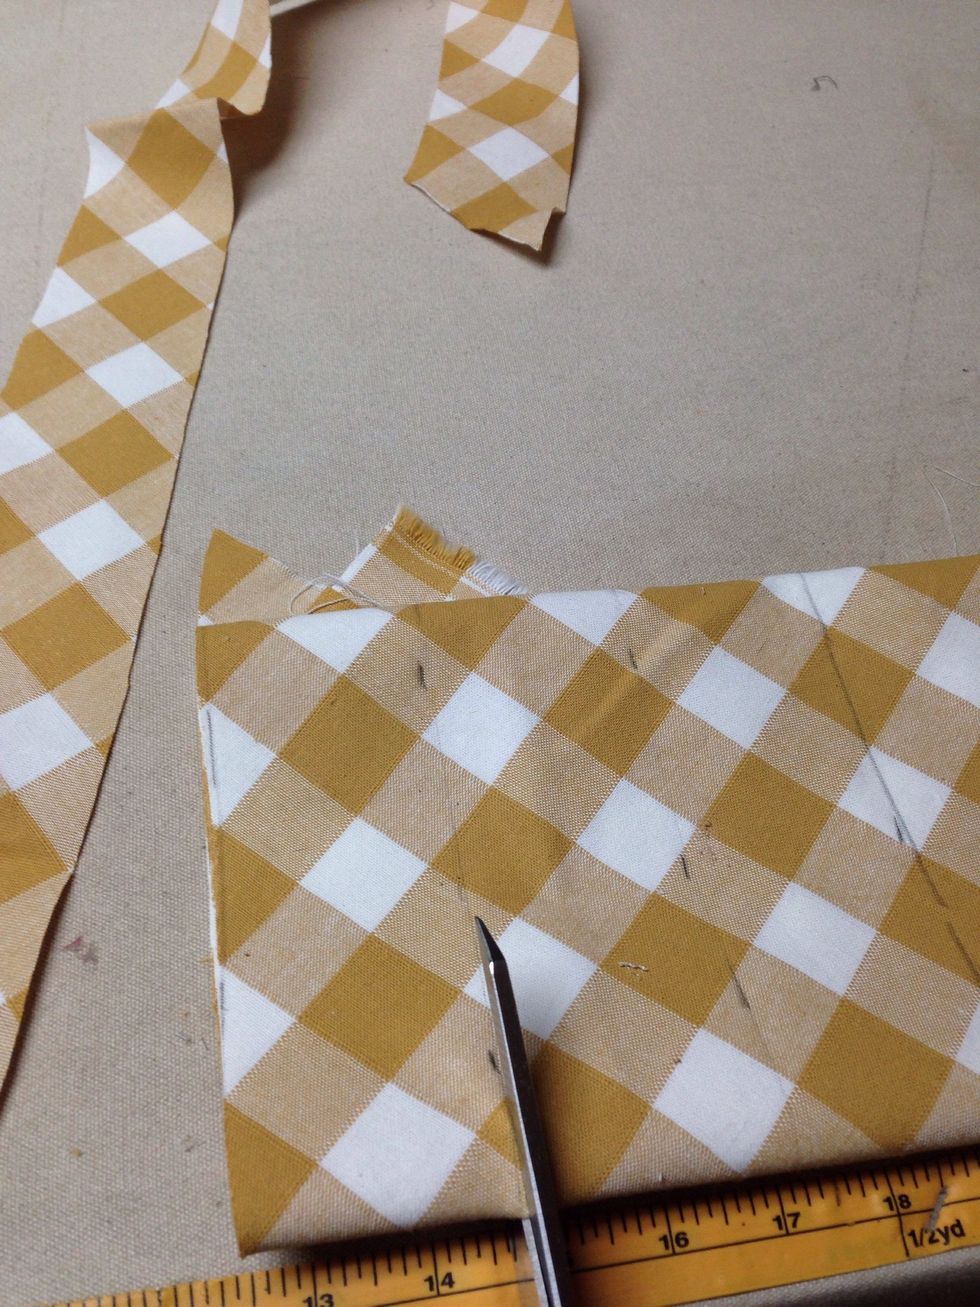
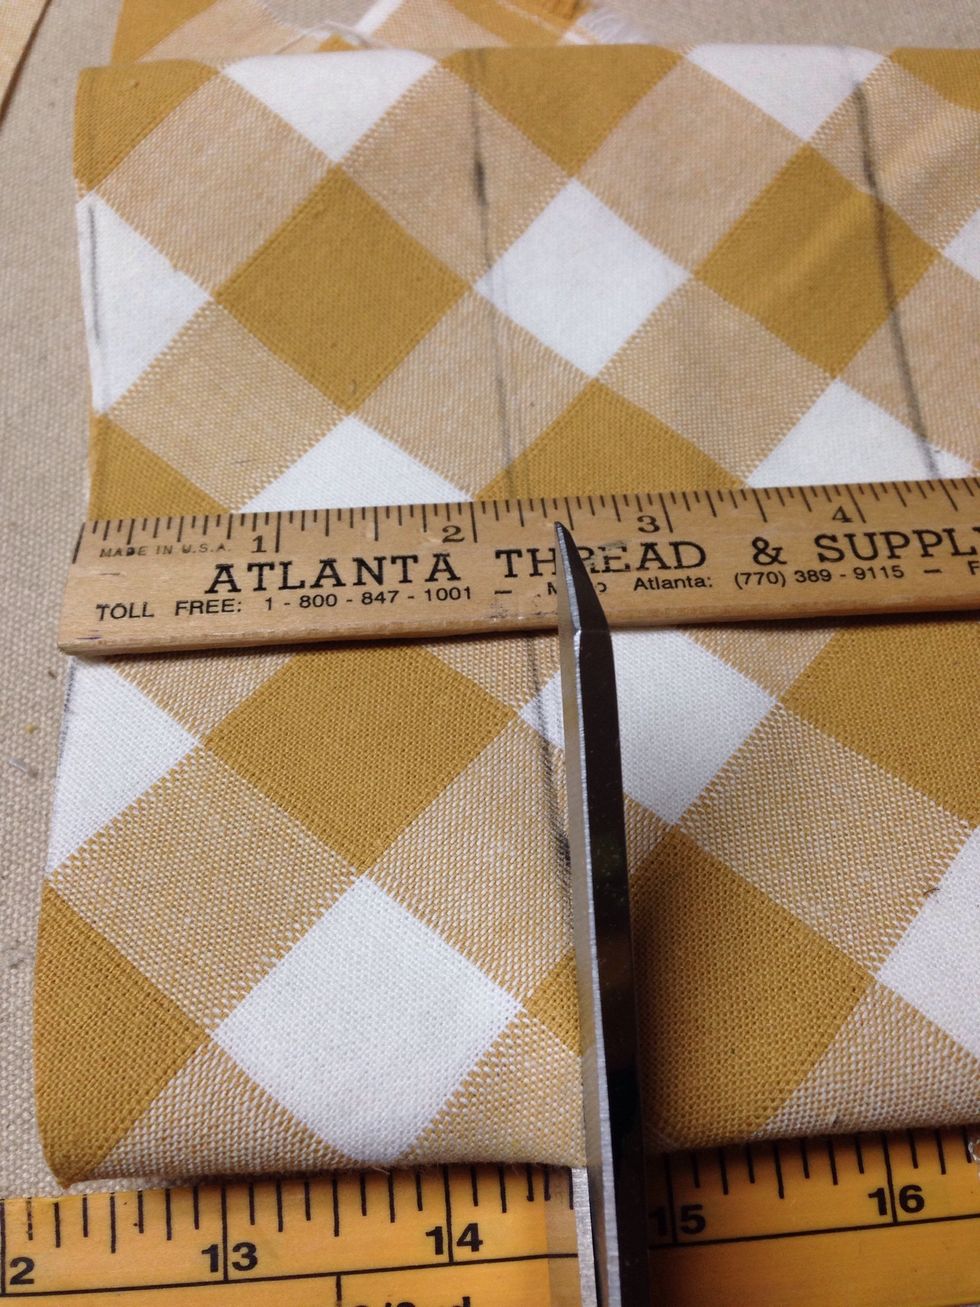
For the pockets, we trimmed 2 inches off the top of 4 of Lg points and 4 sm points. The angle will now start 1" down from the side edge and the length of the point becomes 10" for all 8 pockets.
Next cut the bias banding strips 2 1/4" wide. Steps for doing so can be viewed on our website: http://www.patemeadows.com/Cutting-Bias-Strips-for-Piping-and-Banding_ep_61.html
You will need enough banding to go around all 8 large points and across the top of each pocket. Approximately 15 yards
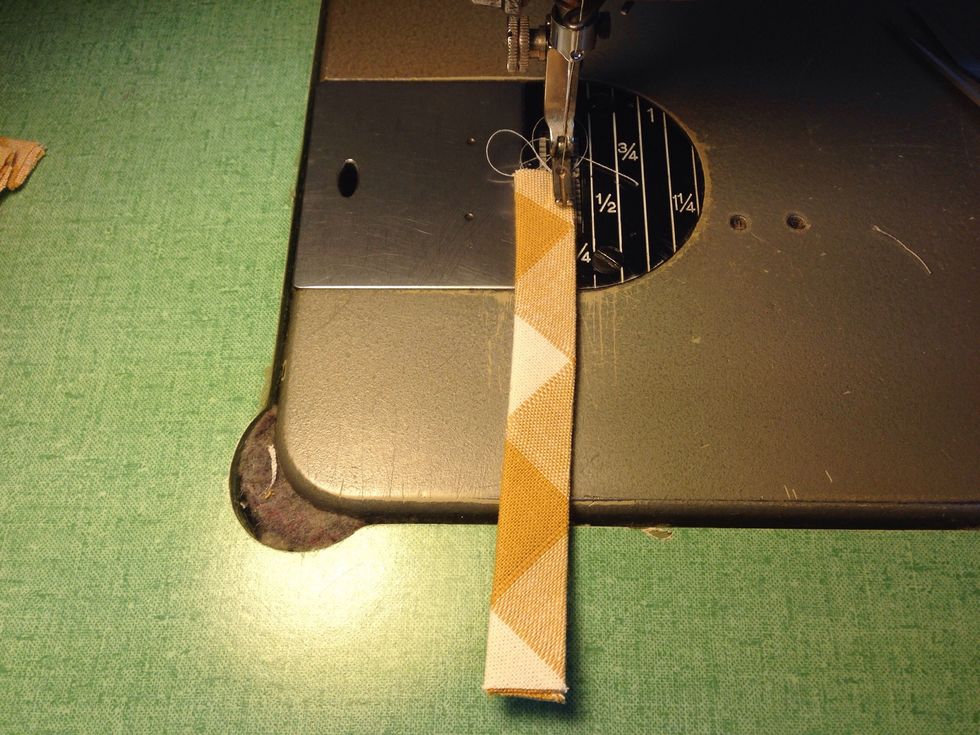
Make your bias banding using the Bias Tape Maker - Begin pulling the strip through the tape maker. See our website for a video http://www.patemeadows.com/Using-Bias-Tape-Makers_ep_62.html
Iron the fabric as you pull it through the tape maker. http://www.patemeadows.com/Using-Bias-Tape-Makers_ep_62.html

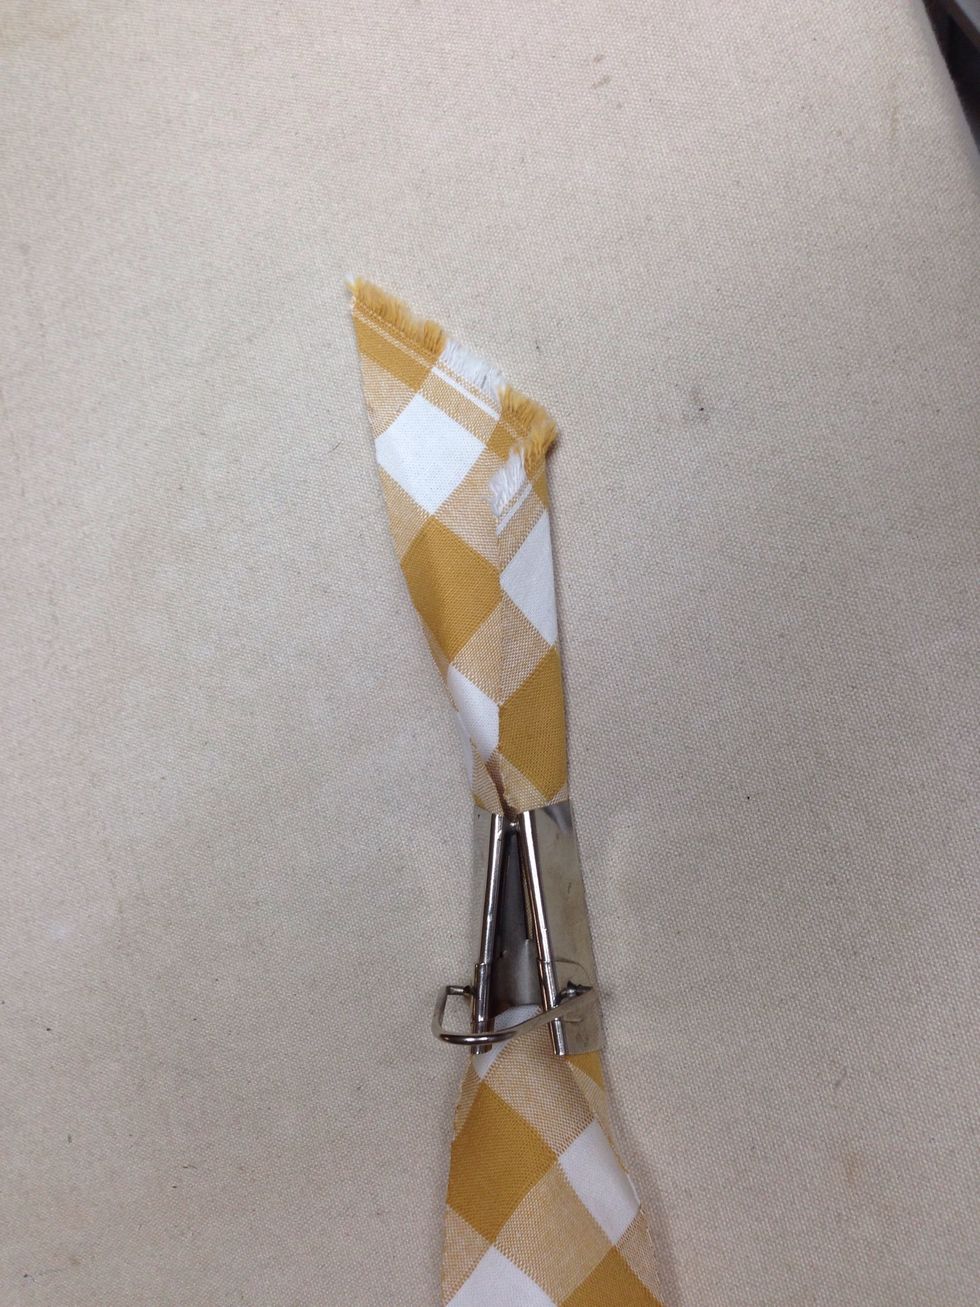
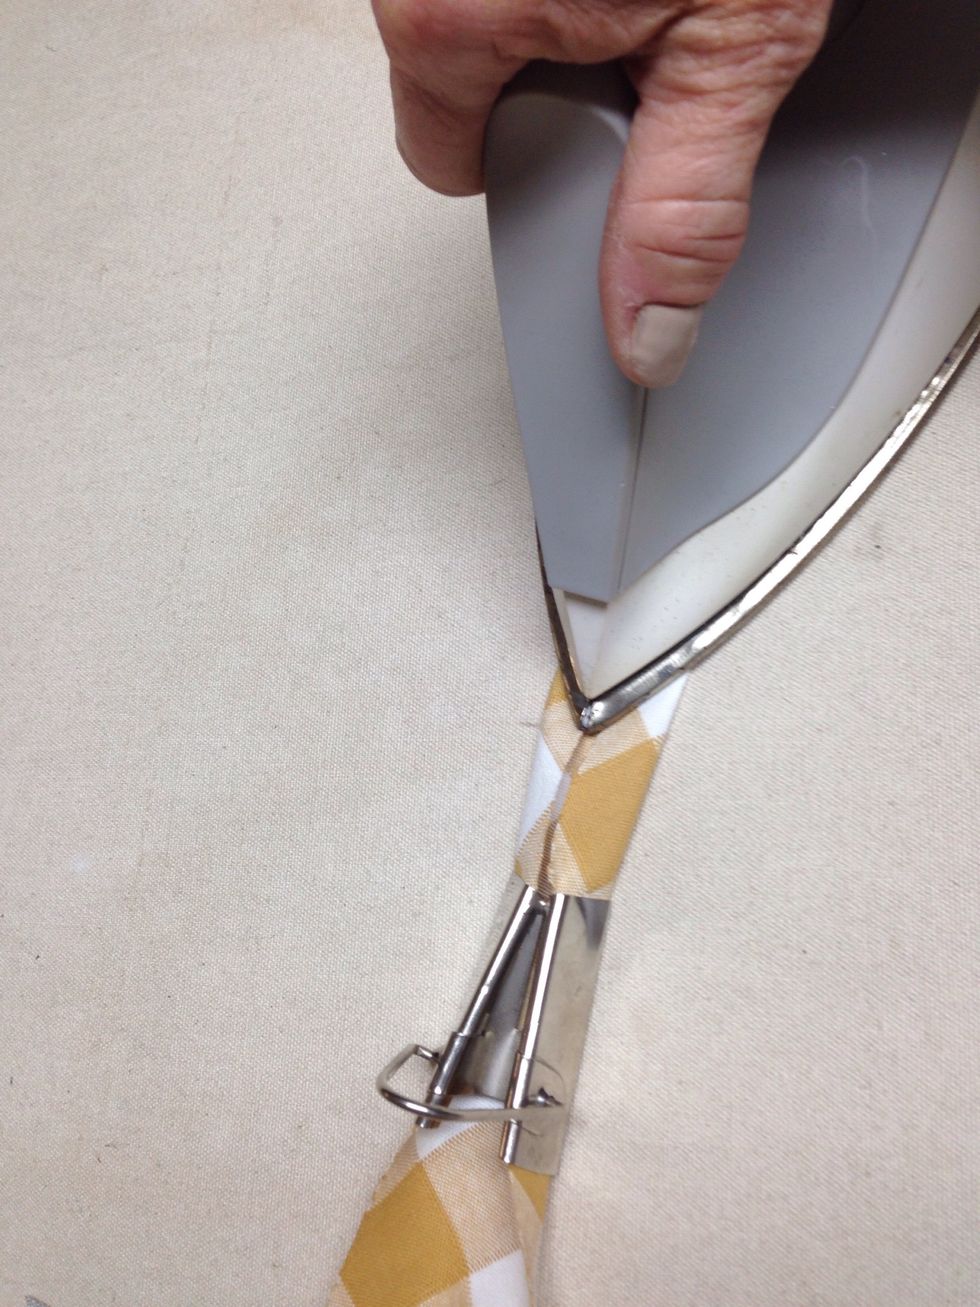
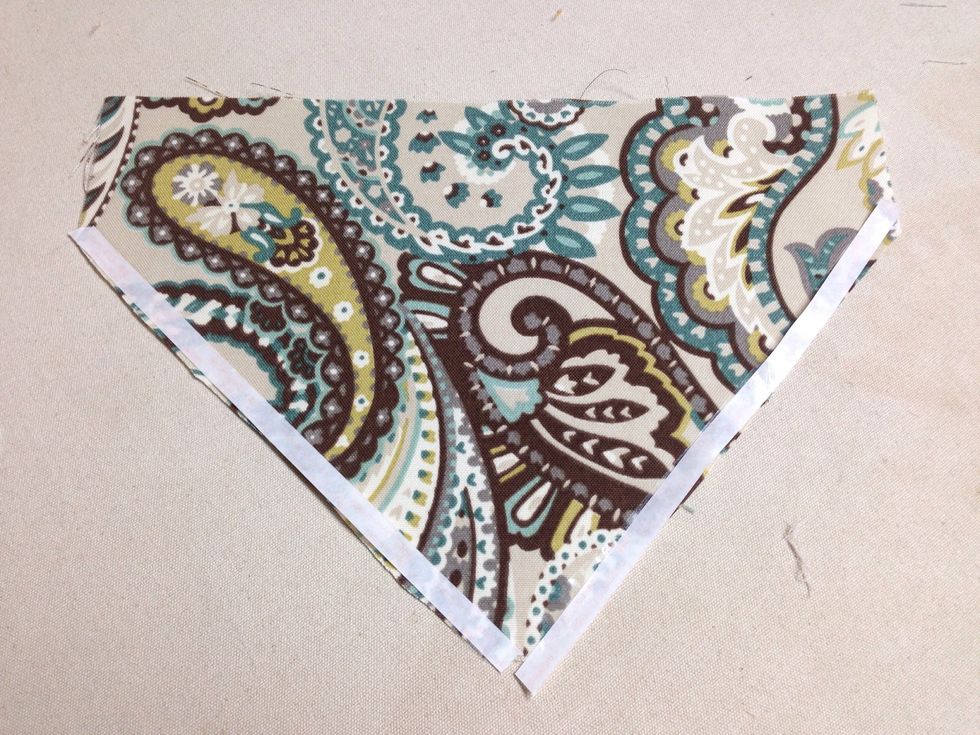
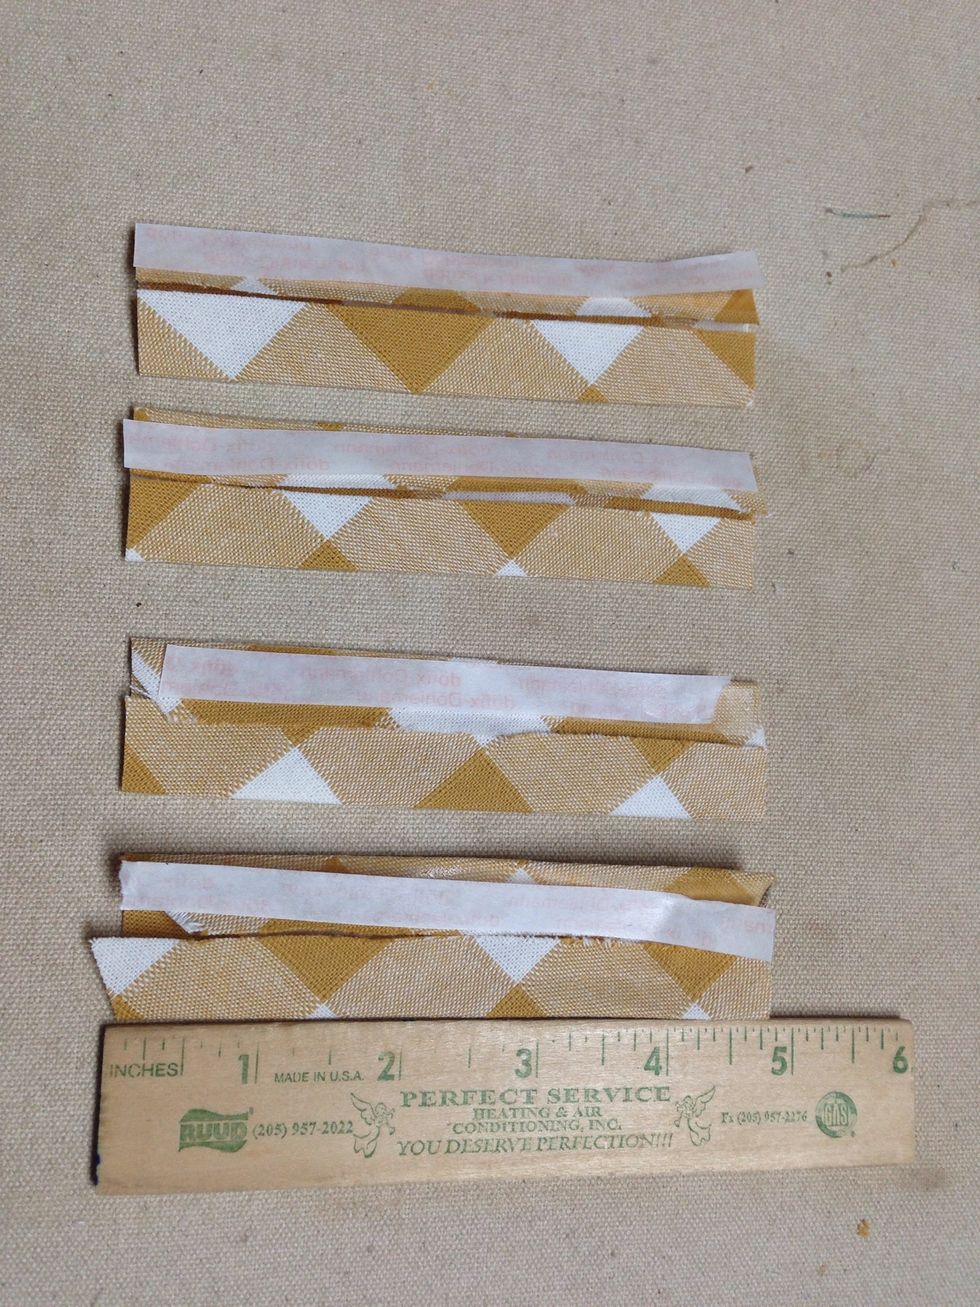
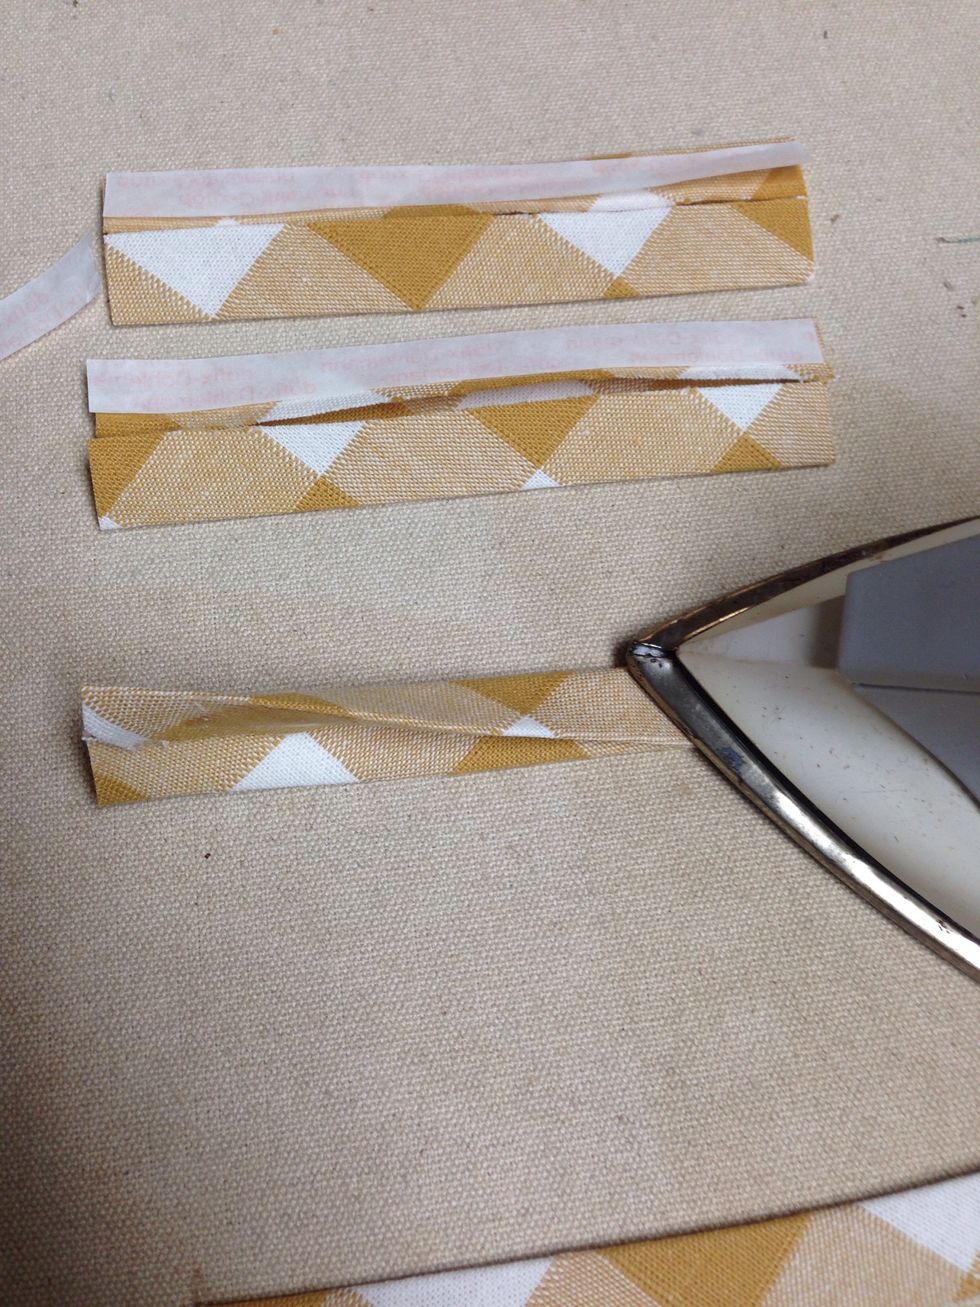
Iron Steam-A-Seam-II on ONE side of each the bias banding strip as shown then remove paper.
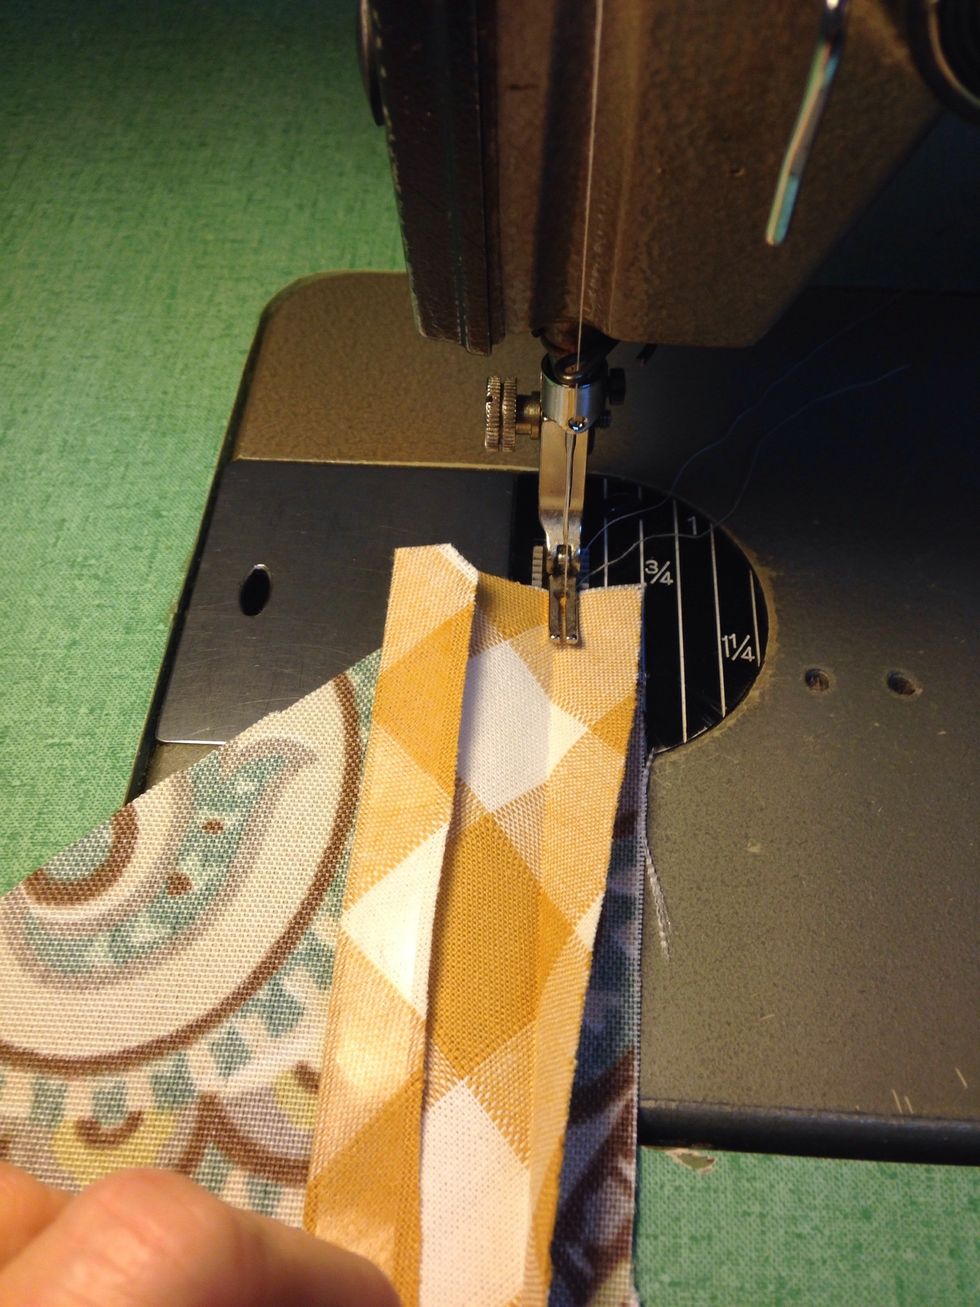
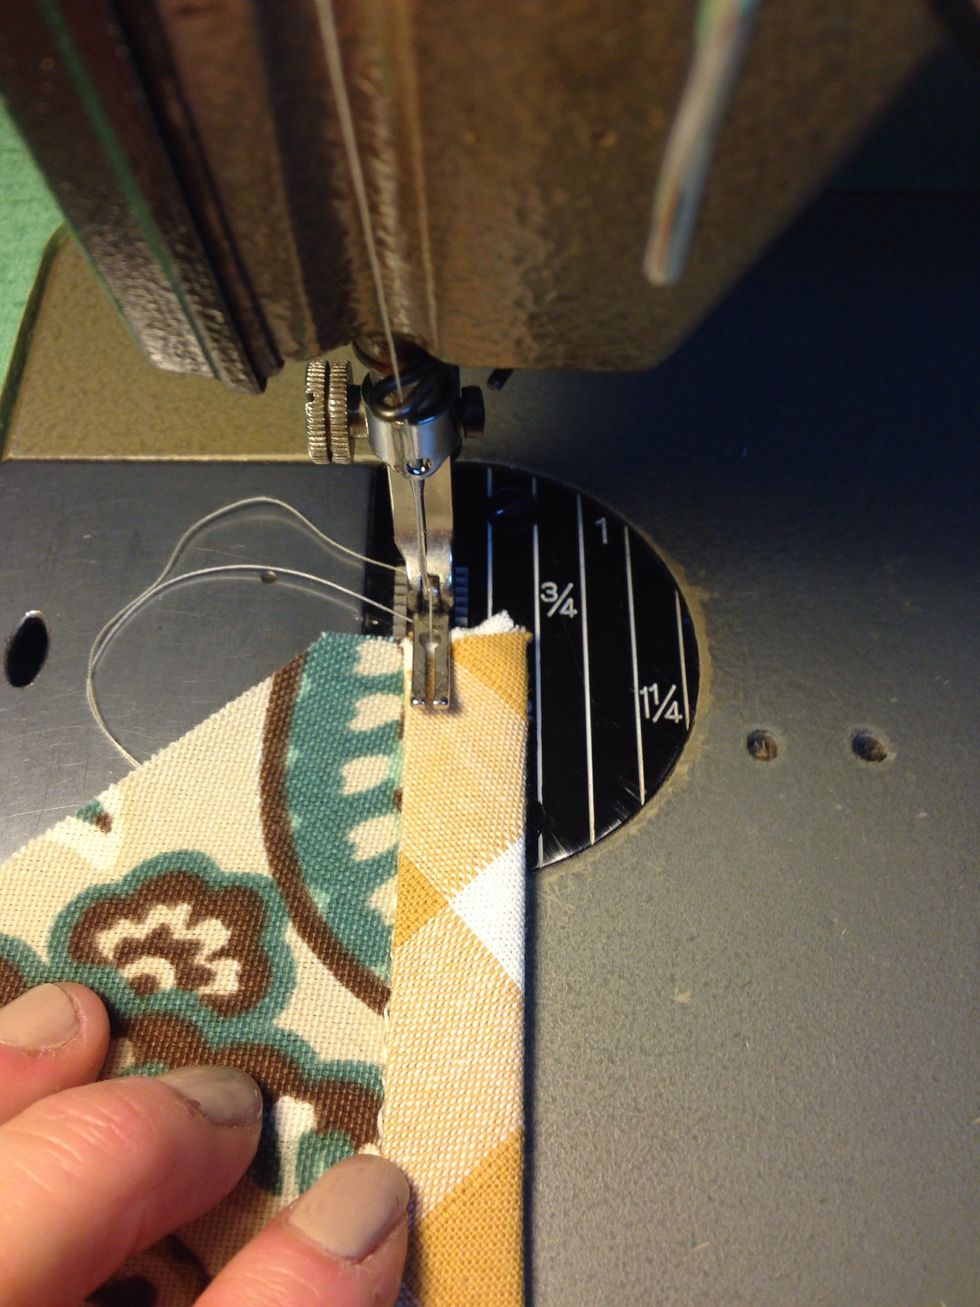
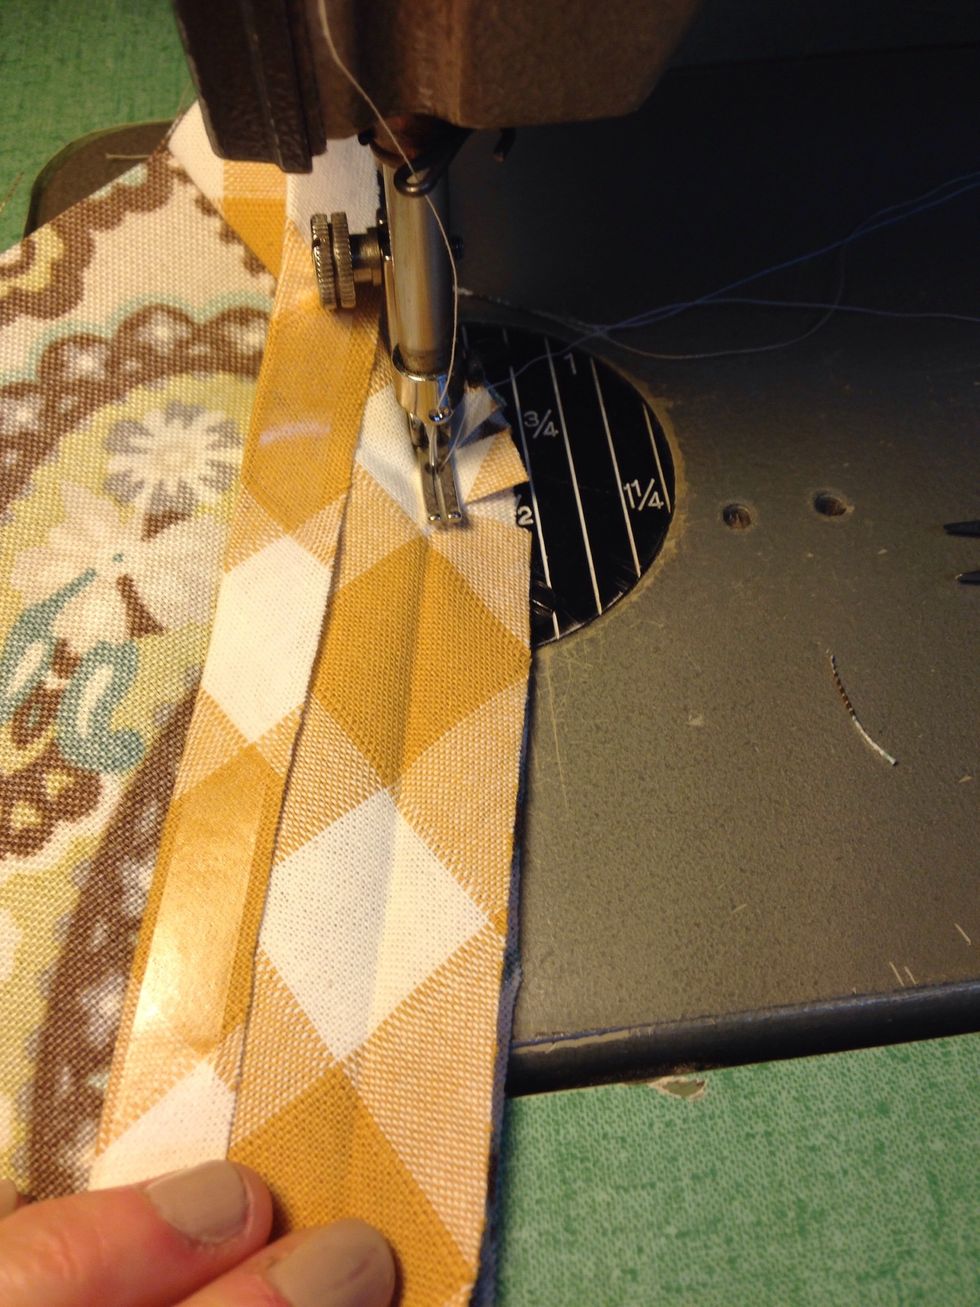
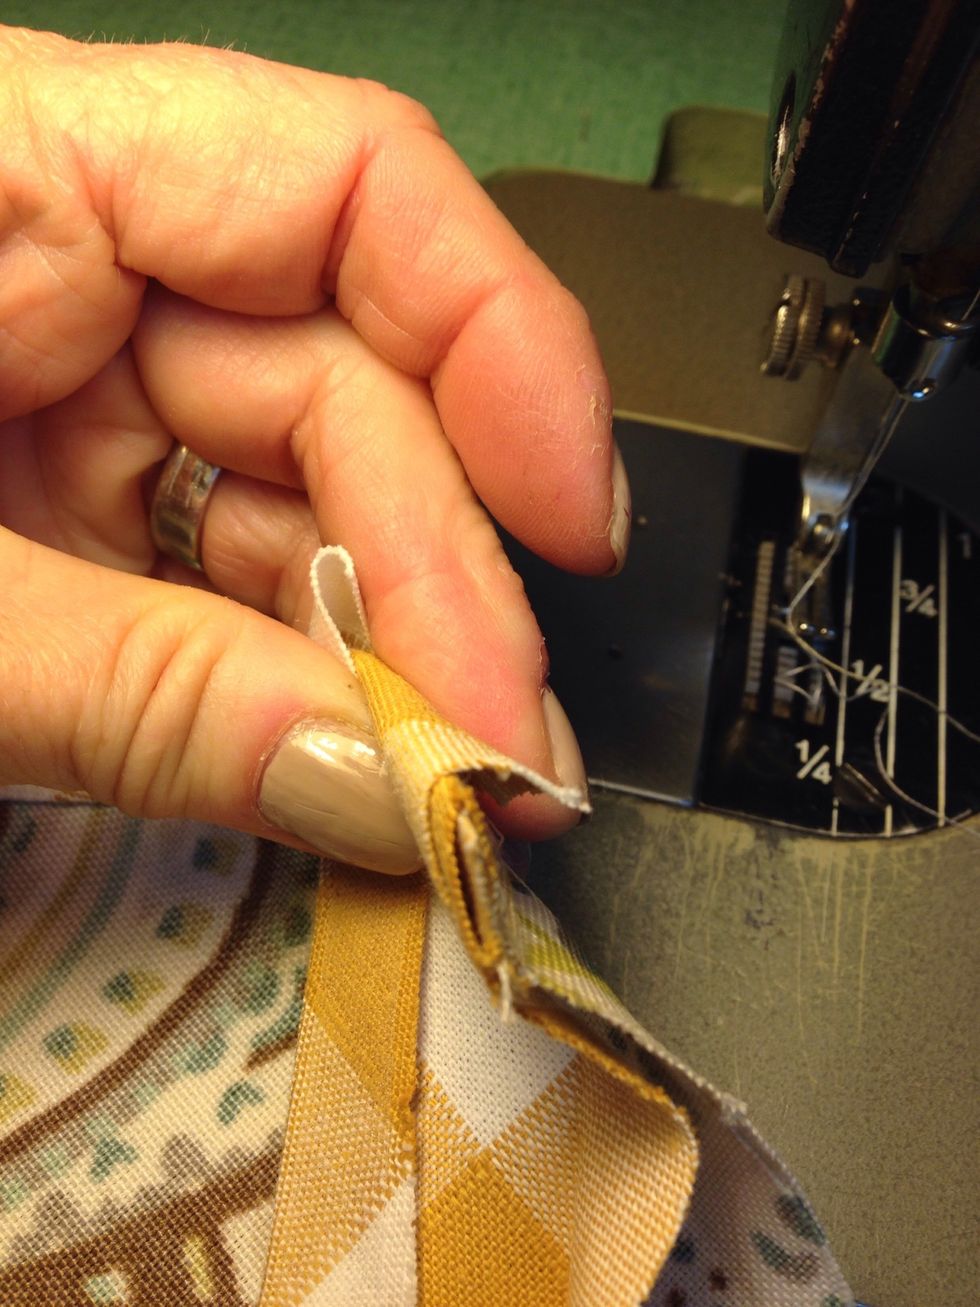
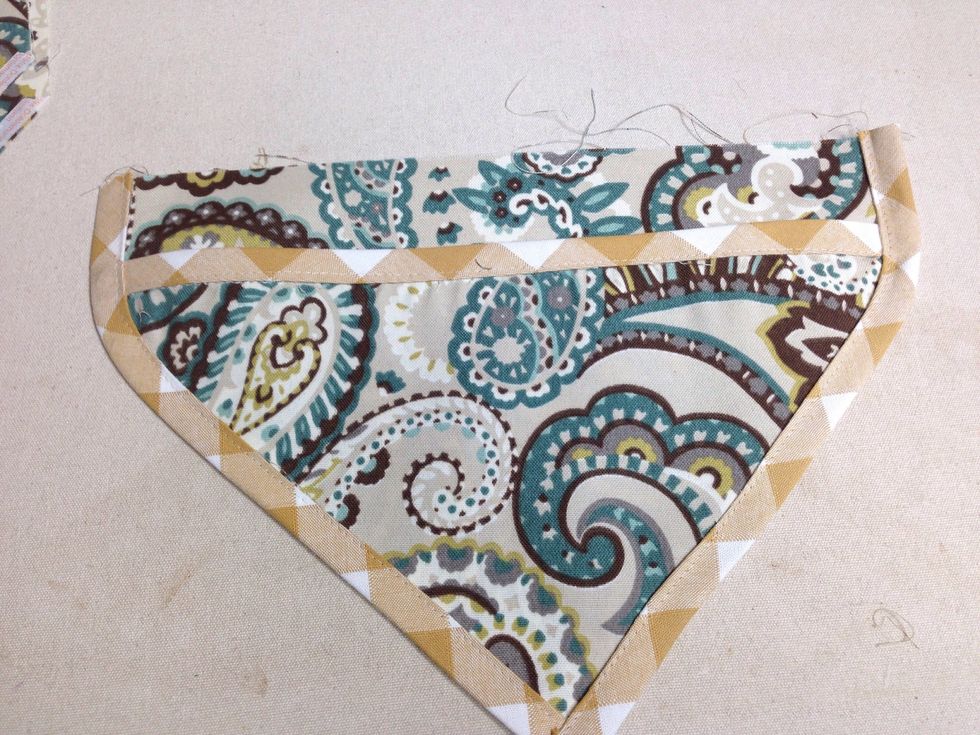
RIGHT side of banding to the WRONG side of pocket top, stitch bias banding to the top of each of the large and small POCKETS. For the reversible version apply the banding to decorative lining pockets
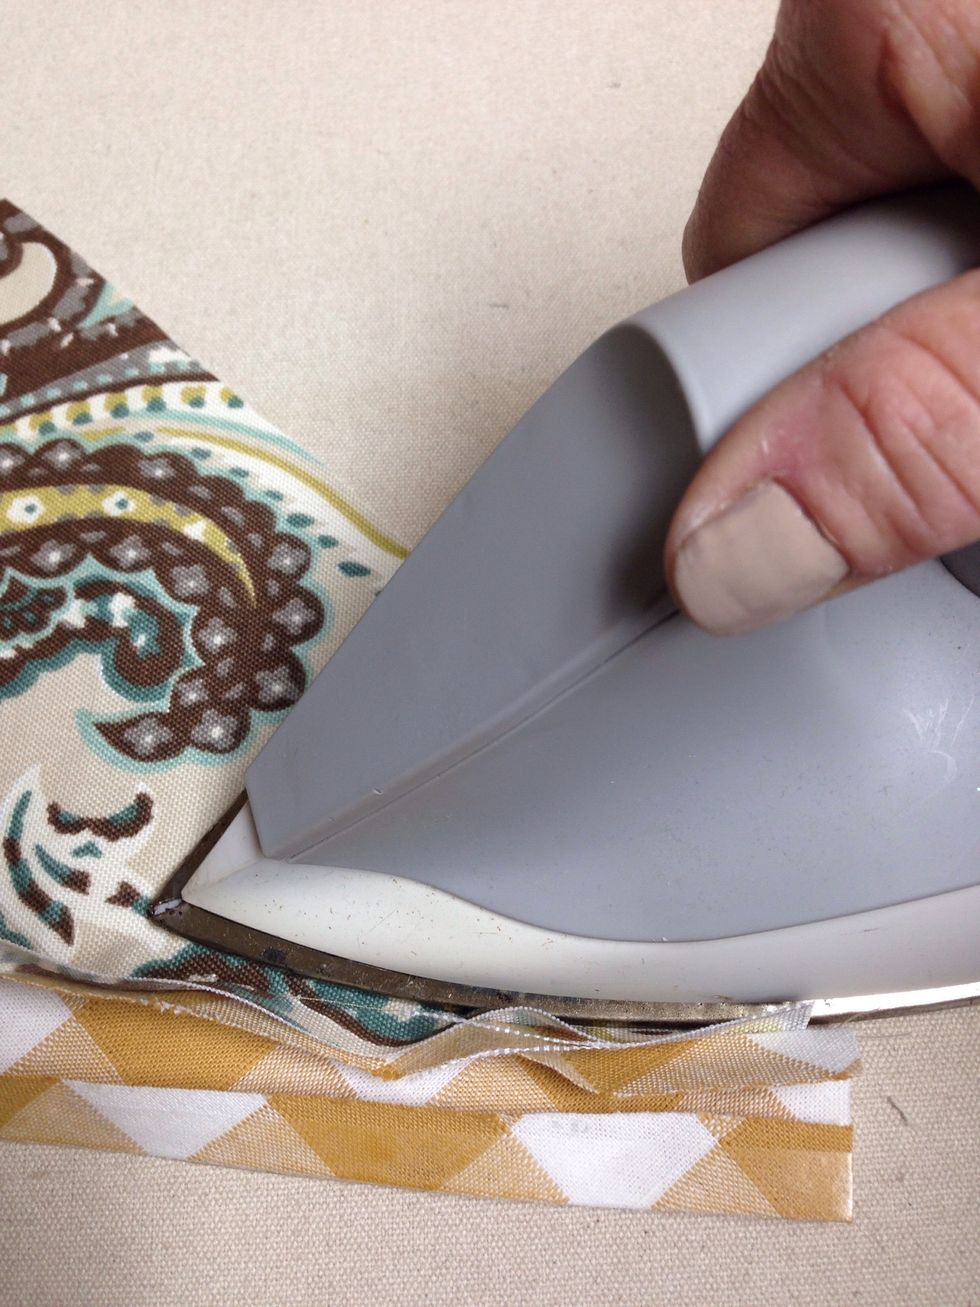
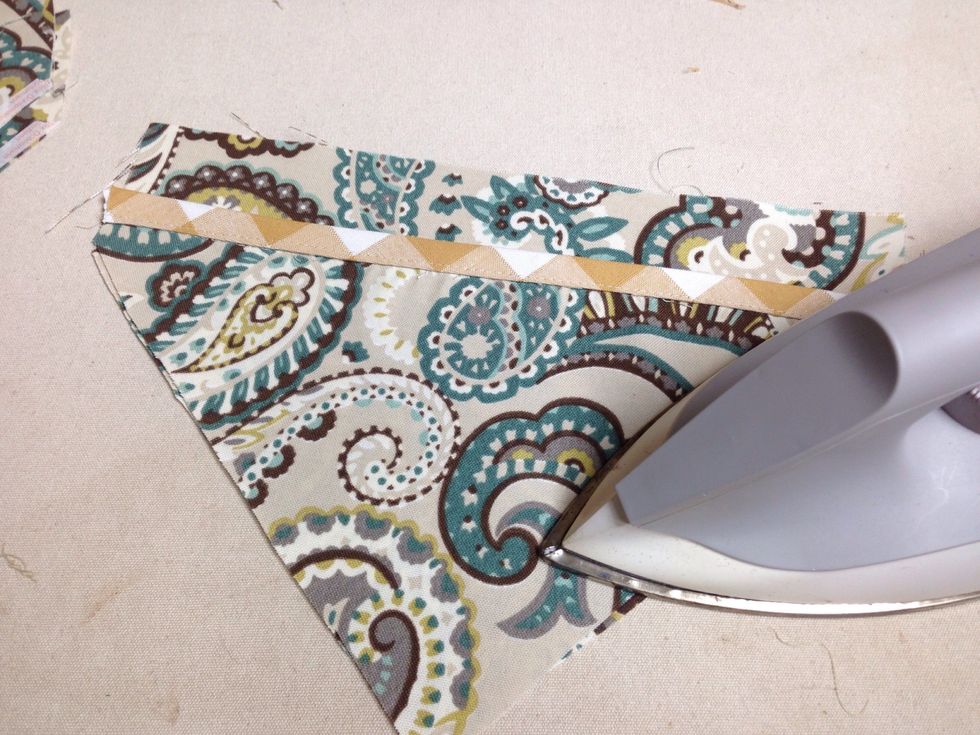
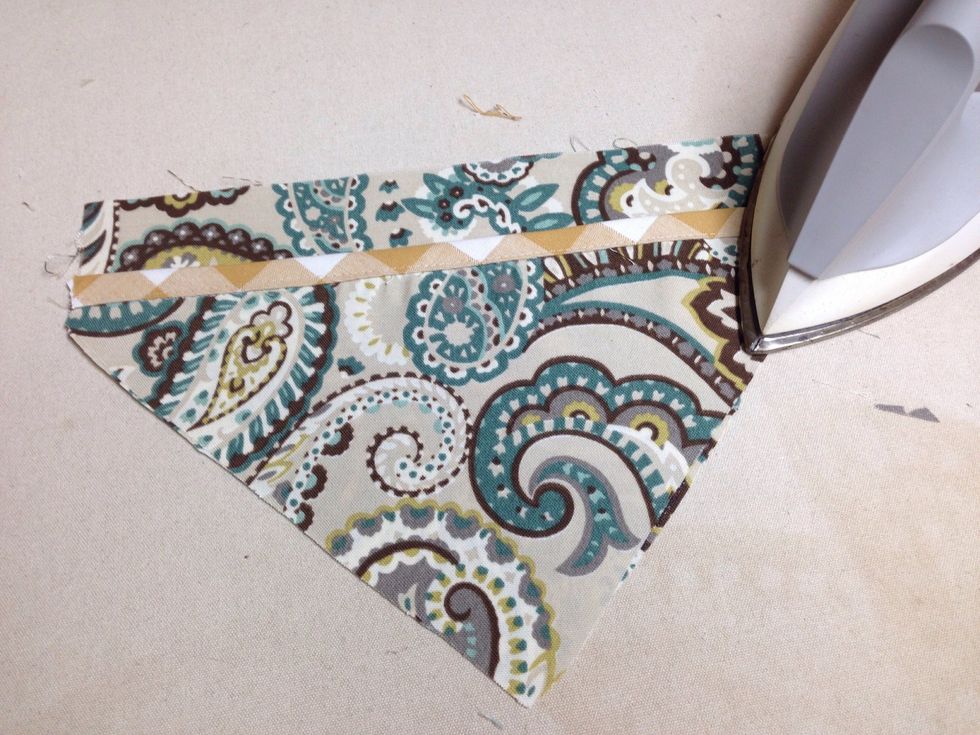
Press the seam and the raw edges toward the bias banding being careful not to touch the iron to the side with Steam-A-Seam-II previously applied.

Top Stitch.
Iron Steam-A-Seam-II to the right side of bottom edges of large and small POINTS along both sides of the point. For reversible version apply another layer to the wrong side of the bottom edge as well
Remove the paper strip from the front side only and place large pocket on top of large point and press so that the adhesive bonds the two together. Repeat this process for all points and pockets.
You should have 4 large points with pockets attached and 4 small points with pockets attached. For reversible version you will have 4 large points with pockets attached and 4 small points and pockets

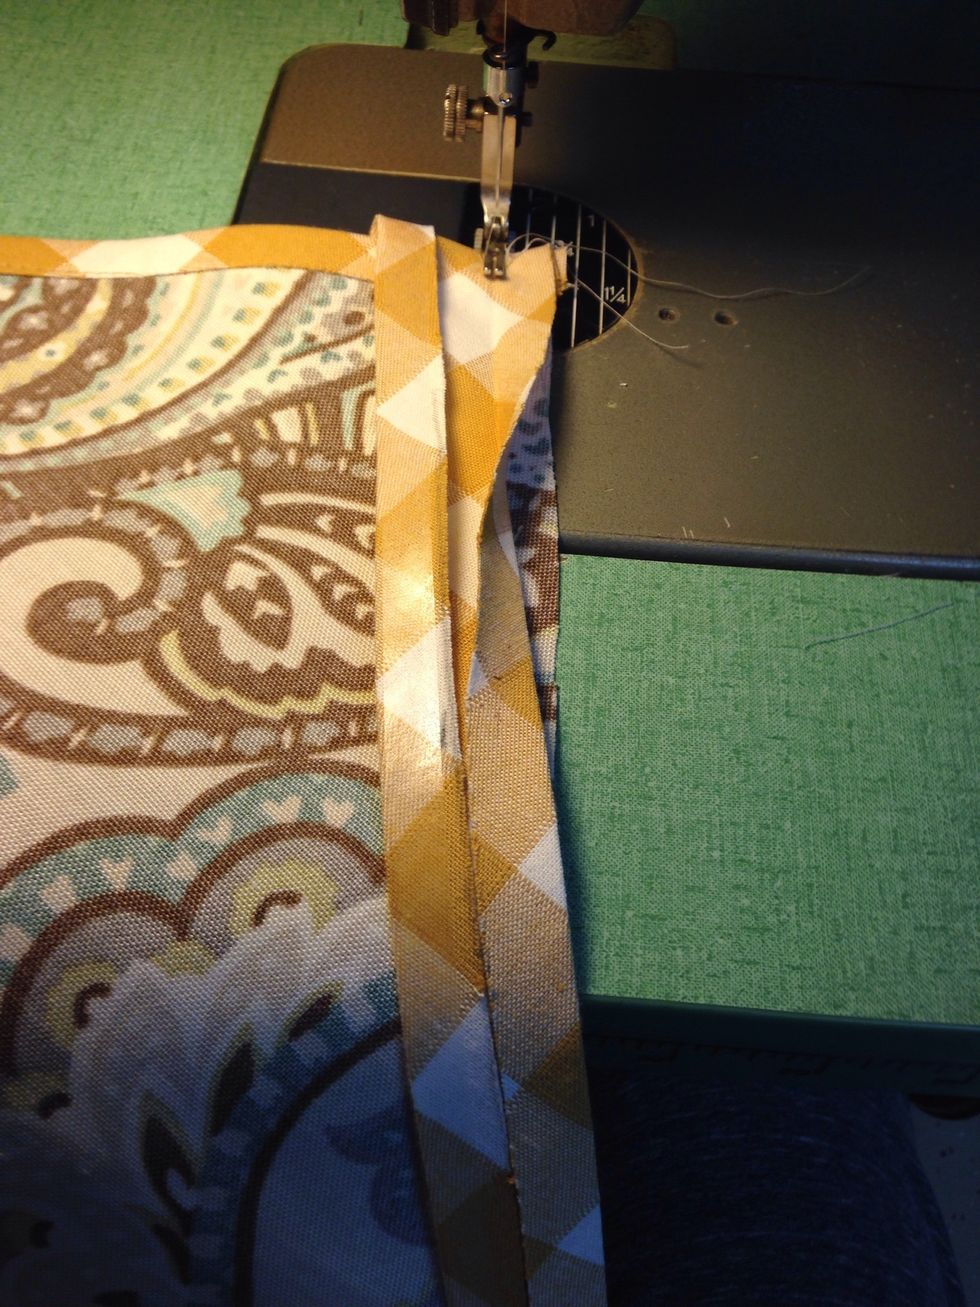
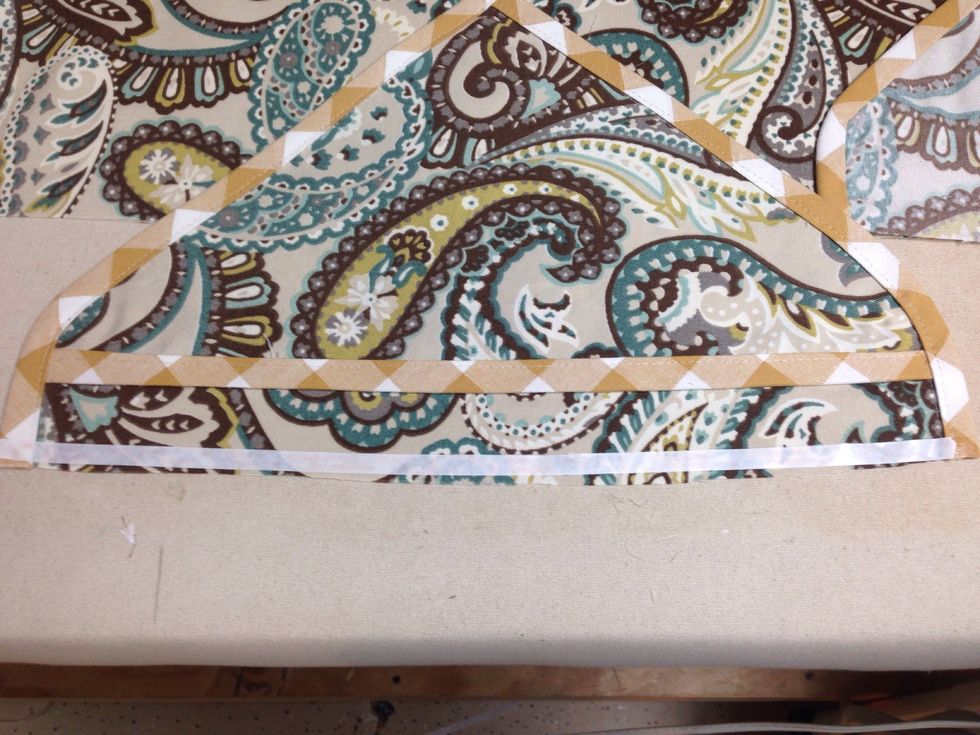
Place right side of bias banding to wrong side of point as done previously. Stitch down side short side and clipping at the corner and pivoting the needle.
Continue stitching down to the point.
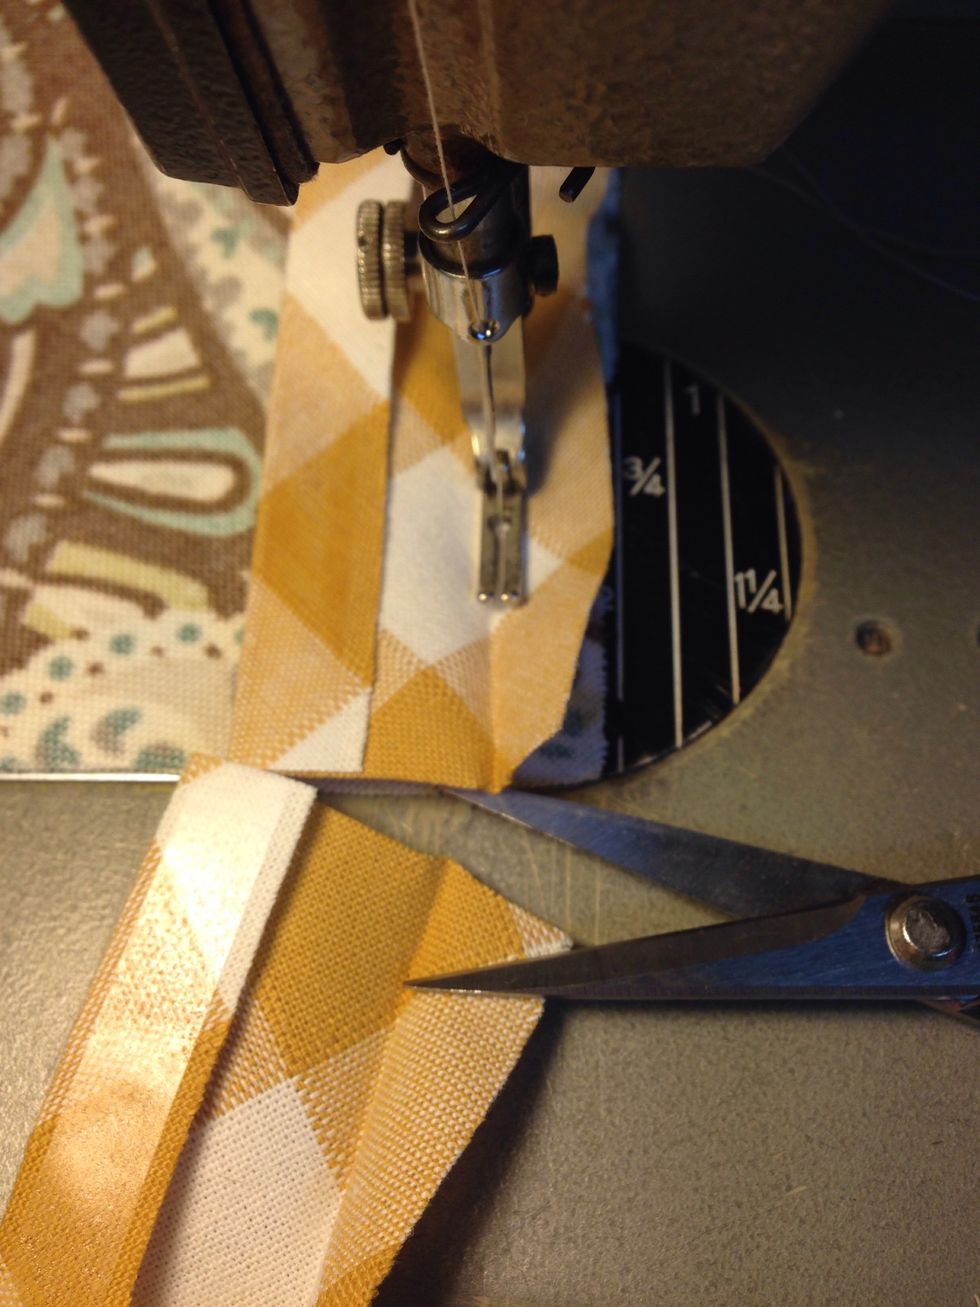
Cut off bias banding even with point.

Wrap bias banding around to the front and press in place.
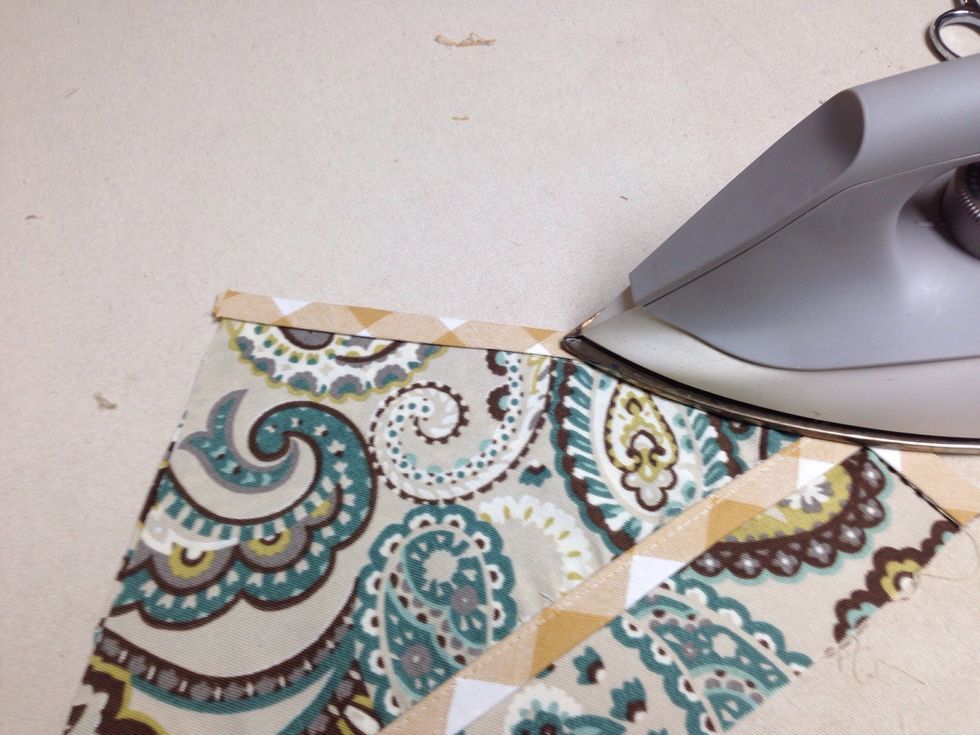
Continue pressing down to the point making sure the band is bonding to the point
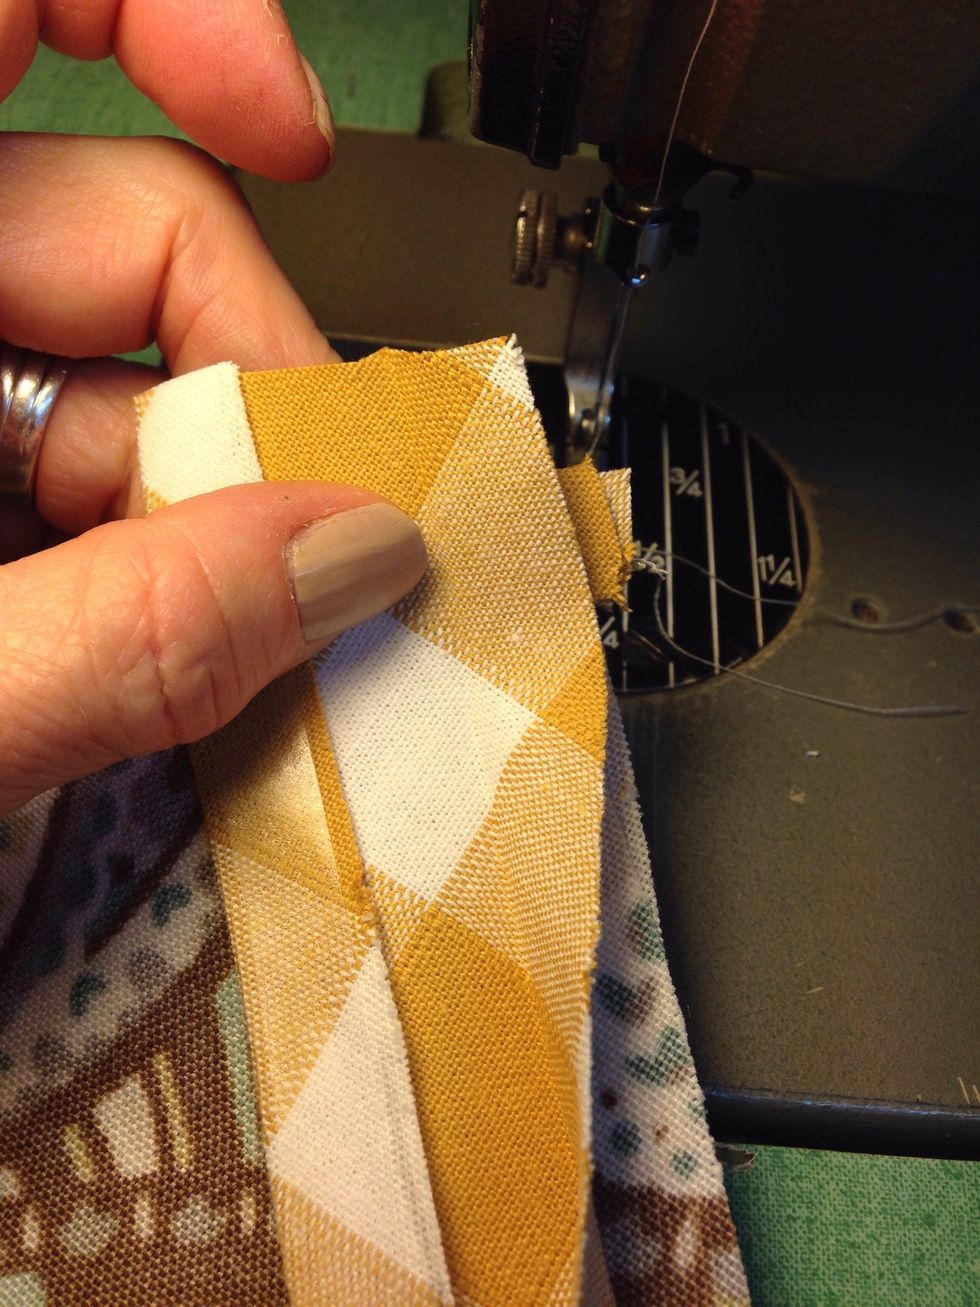
Pull bias banding past the end of the point. Wrap the end of the bias banding around the previously applied banding.
Here's a side view. This is going to create a finished edge
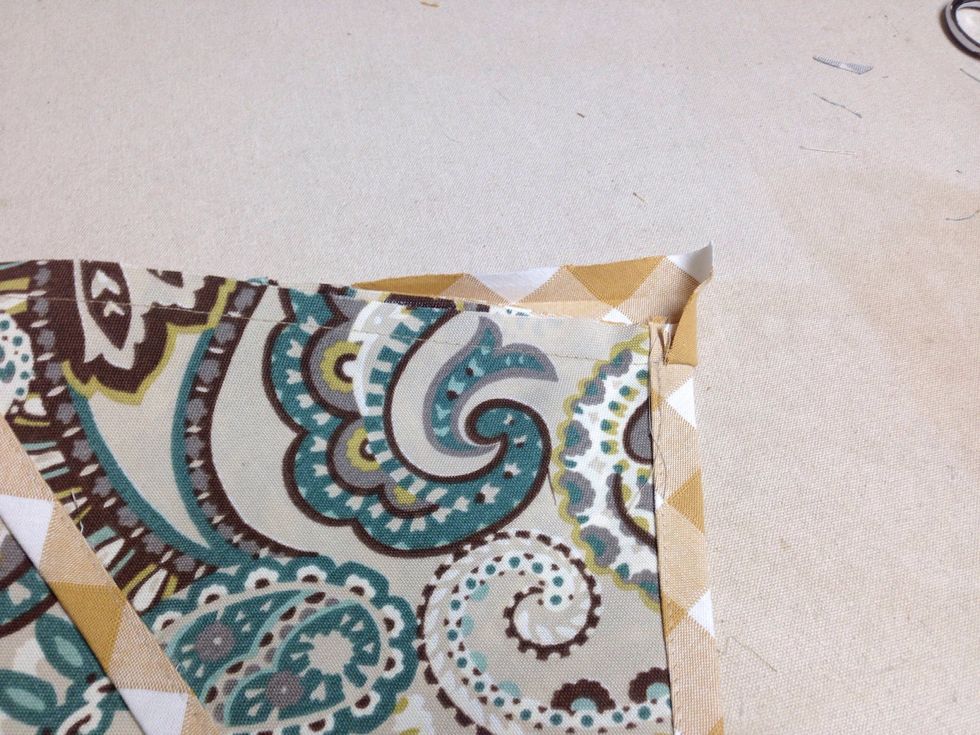
Stitch bias banding up the opposite side of the pattern piece A. Be sure to clip the corner and pivot the needle as previously done.

Clip the banding even with the top of the point
Fold open and press paying careful attention not to touch the adhesive with the iron.
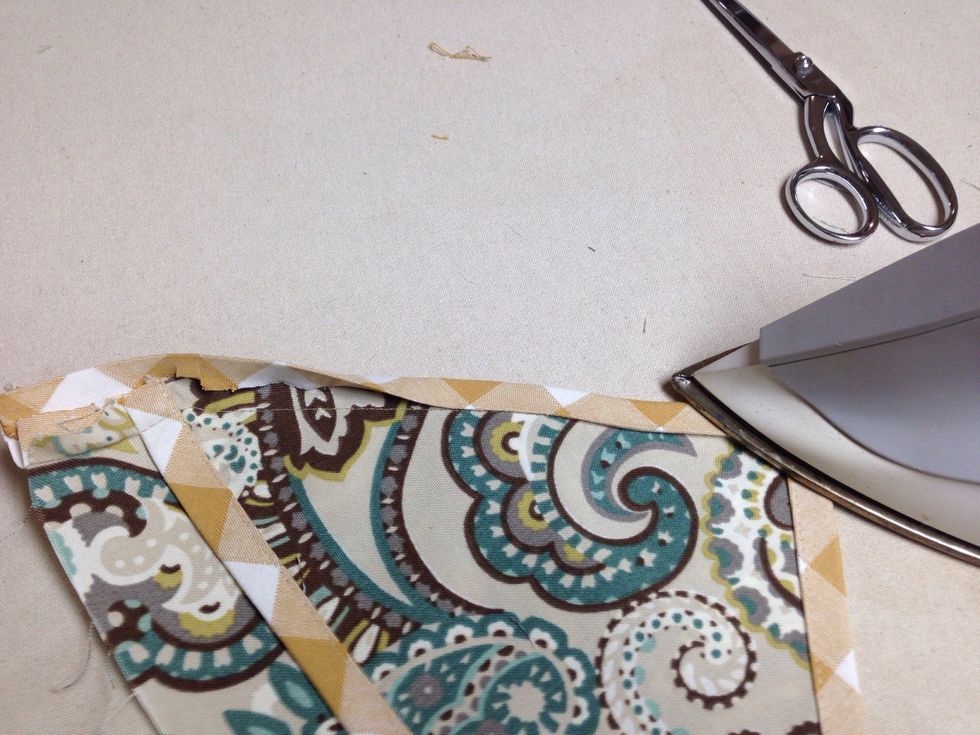
Fold over to front side and press. Top Stitch.
Follow the same steps to complete all 4 large points and 4 small pockets You will either have 4 single sided large and small points or for the reversible version 4 double sided large and small points
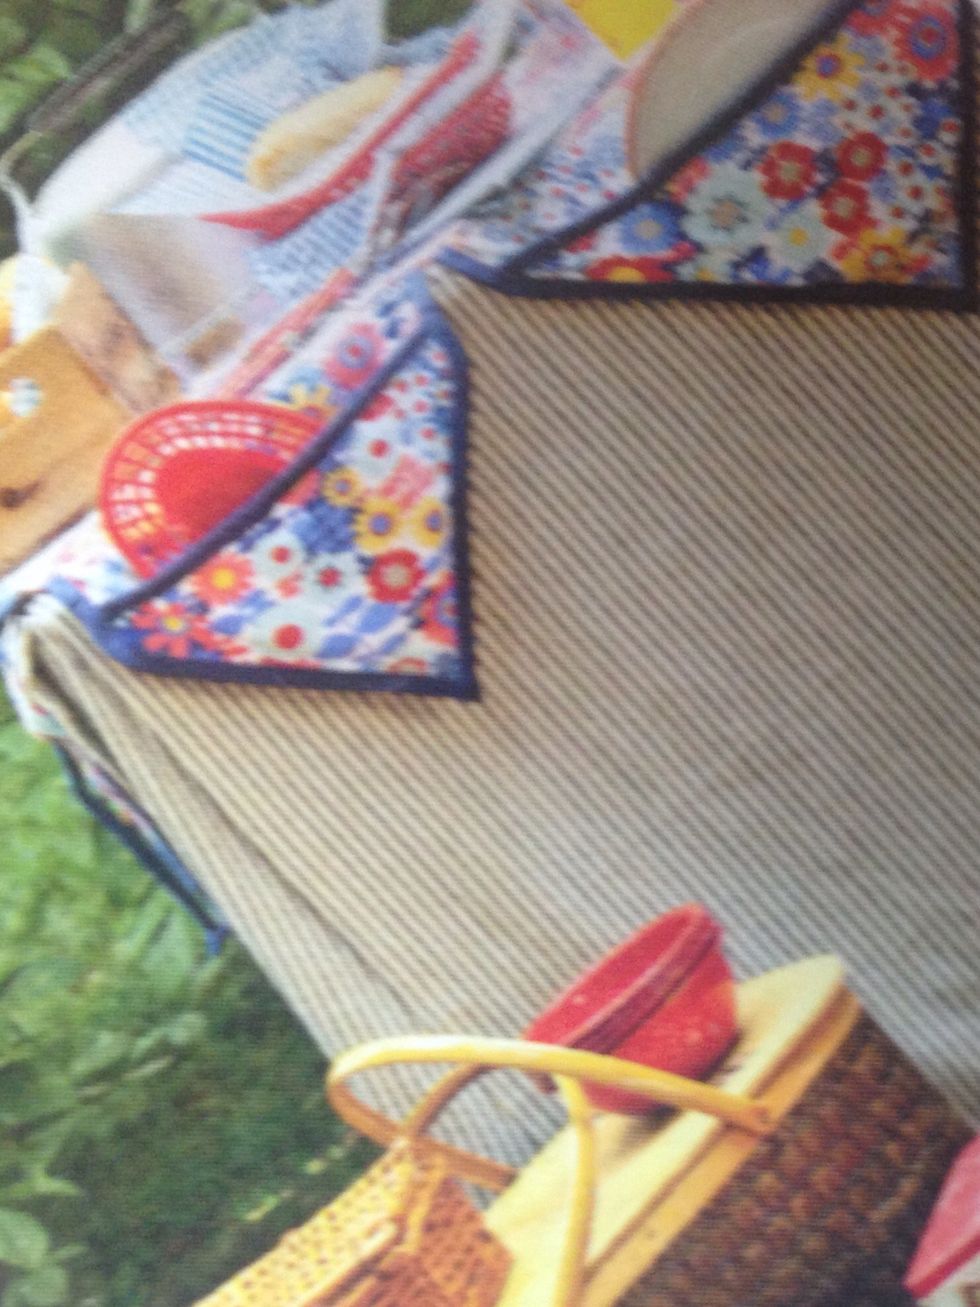
At this point we added loops to the corners to hang little buckets from for extra space. We used an S hook to hook onto the loop then hung the bucket from it Great to serve popcorn, chips or buns.
To make the tabs simply apply the Steam-A-Seam-II to one side then remove the paper, fold in half again and press.
Then top stitch.
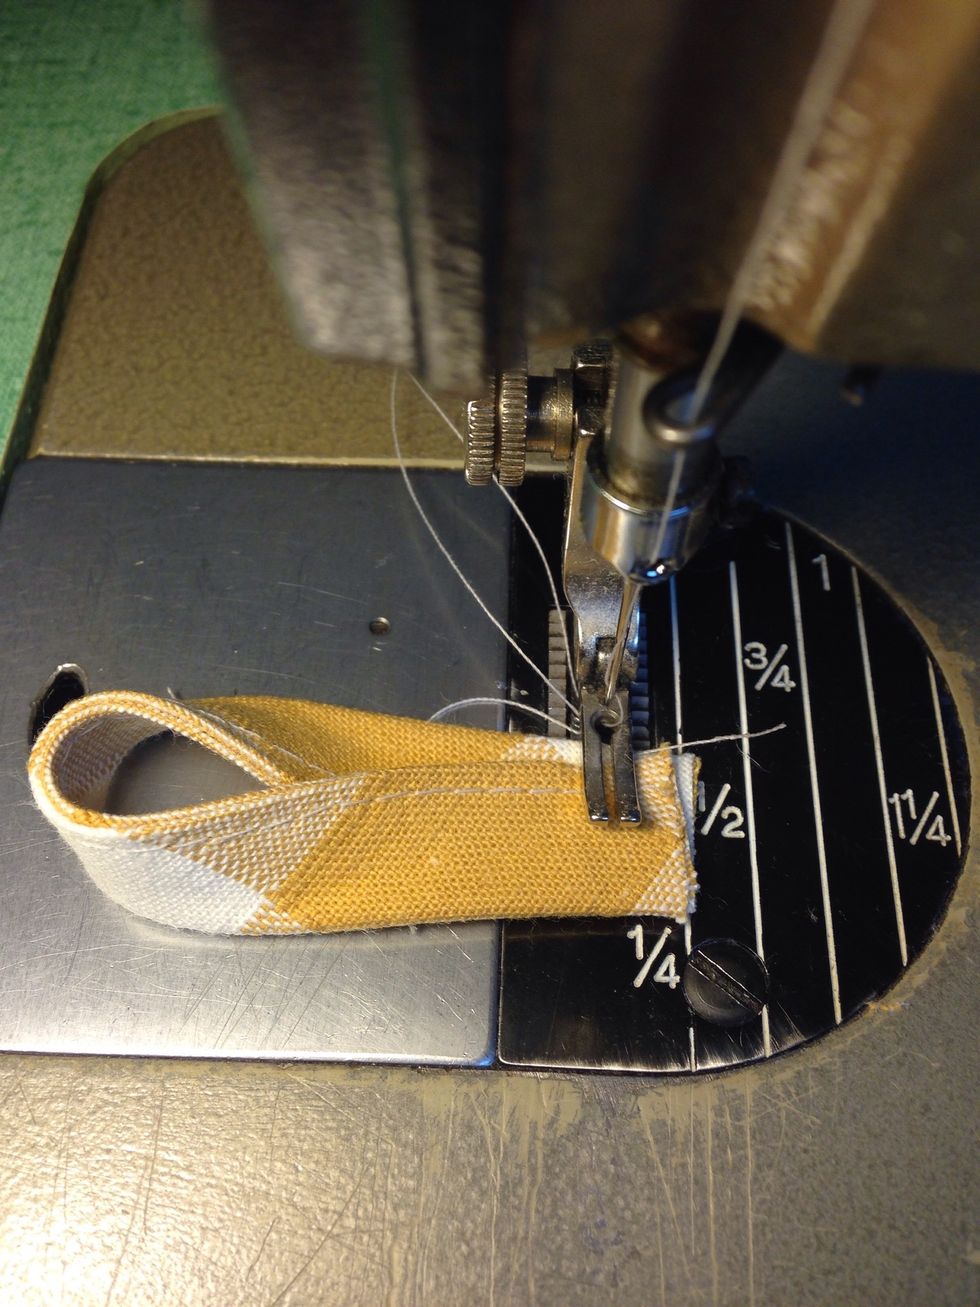
Fold in half and lay one end on top of the other and stitch
Apply Steam-A-Seam-II to front and back sides of the top of all points.
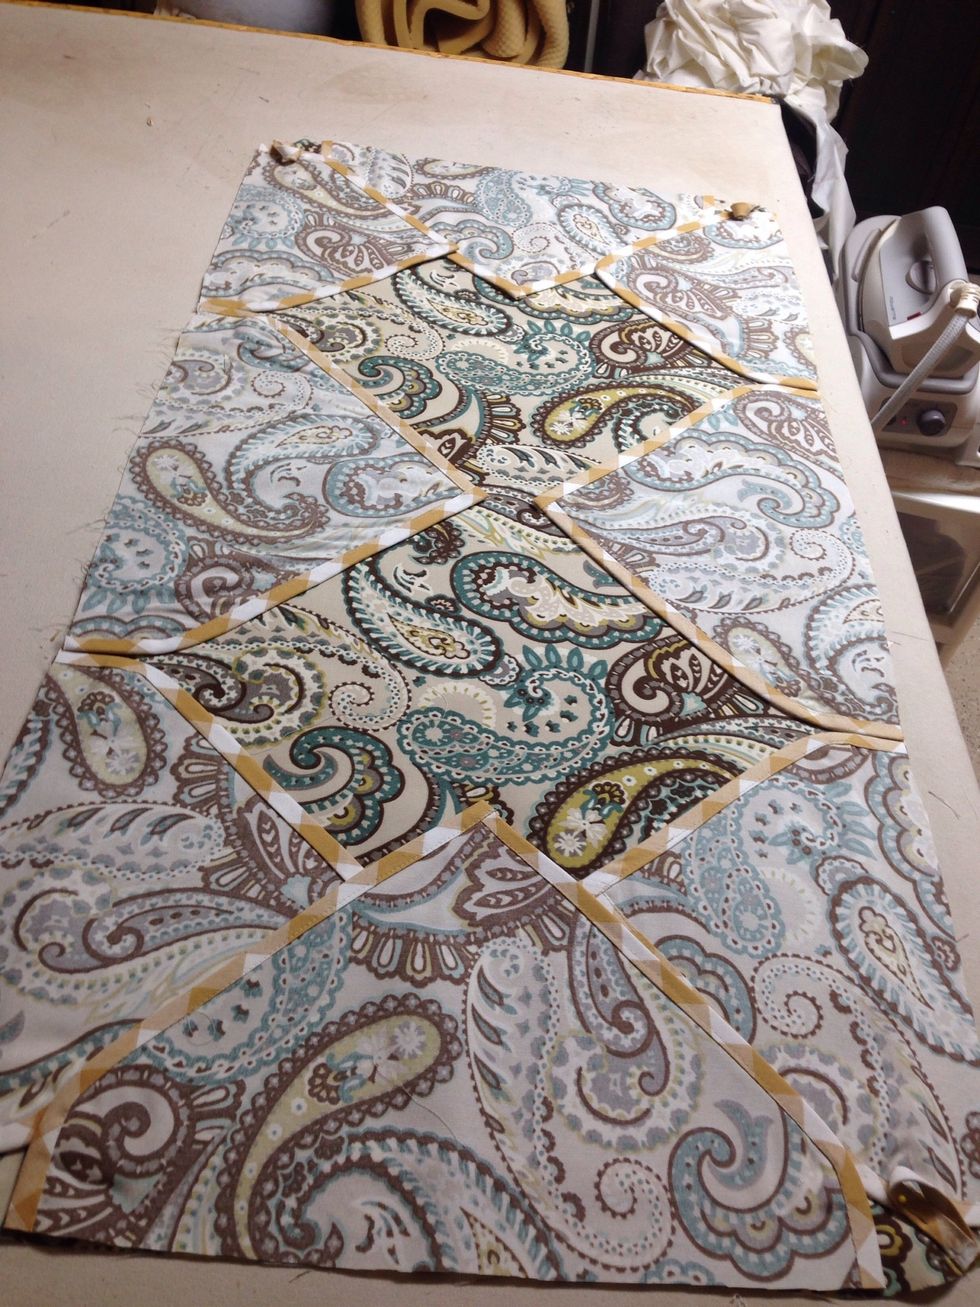
Lay Table Topper top out flat on table or work surface. Remove paper from Steam-A-Seam-II from points and lay face down on topper top as shown Do not remove paper on back side yet. Press in place
Next, pin tabs in the corners, remove remaining paper from Steam-A-Seam-II and lay table top lining on top making sure all layers are even.
Press around the edge leaving a 8 inch opening for turning on one of the ends. Be careful not to iron in this area or it will seal up the opening.
Using a 1/2" seam allowance stitch around entire topper leaving the 8" opening for turning. Turn. Carefully press the opening closed so that the Steam-A-Seam-II bonds the opening securely.

That's it. You're done.