The Conversation (0)
Sign Up
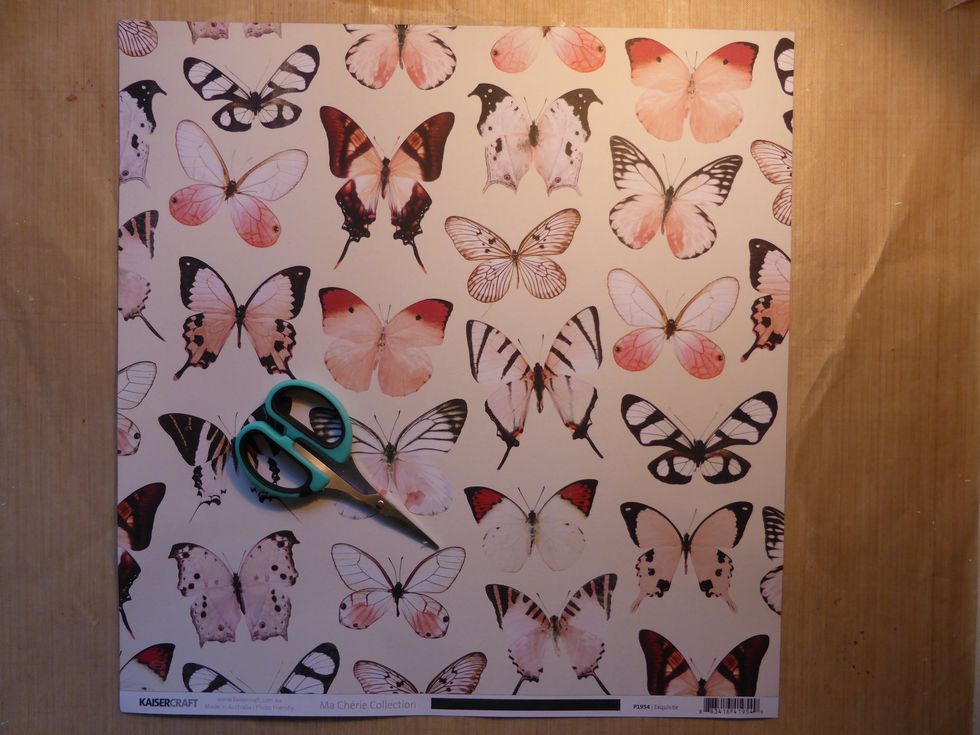
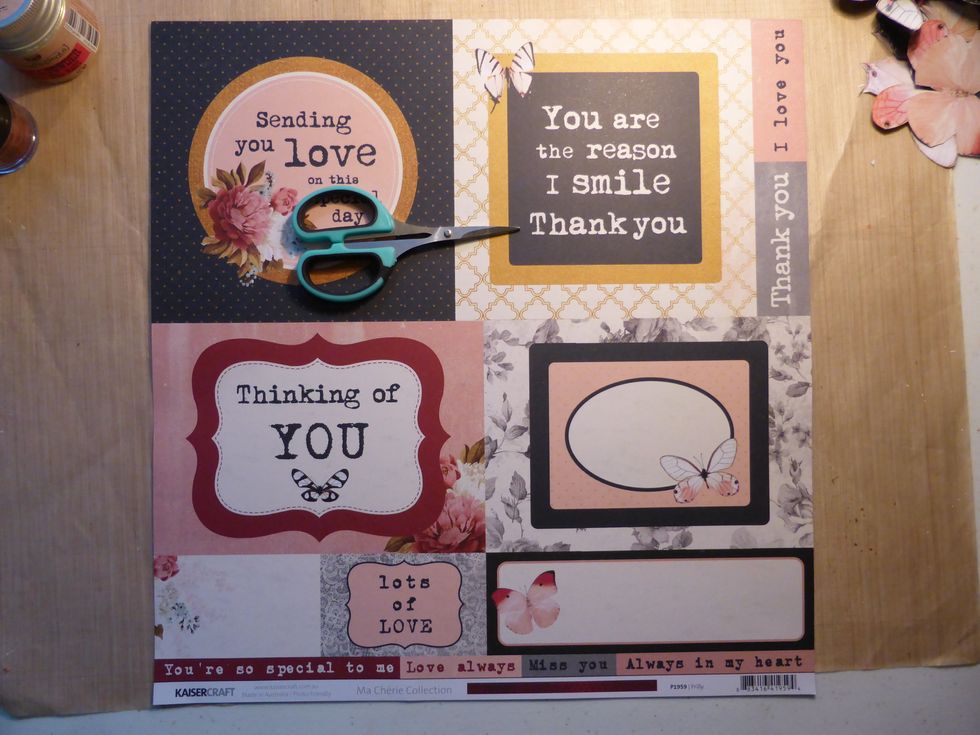
I then cut the small butterflies out of the Frilly paper, as well as cutting this paper into sections
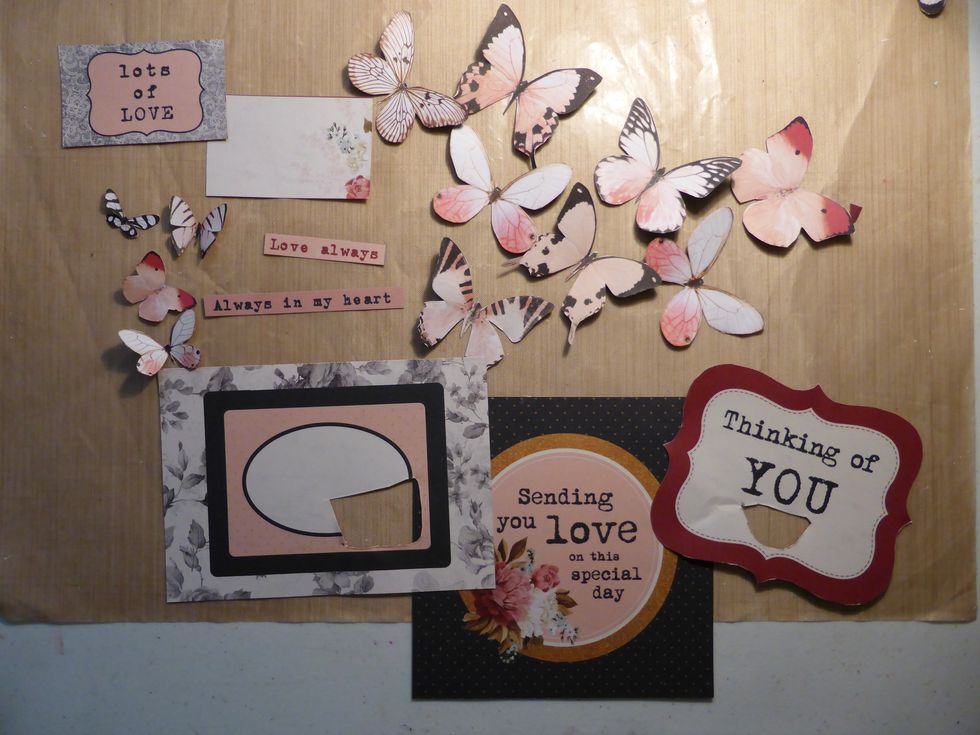
Here are the pieces I will use on the Layout
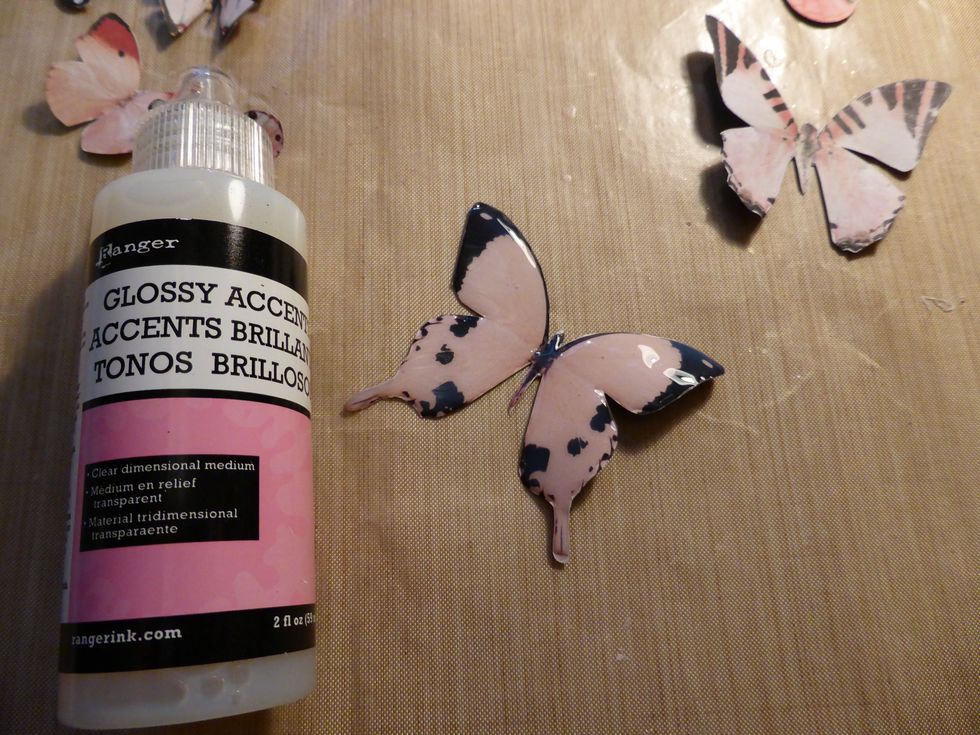
I added Ranger's Glossy Accents to the butterflies. This gives them a lovely shiny finish. If you don't have any glossy accents coating them with clear embossing powder also works
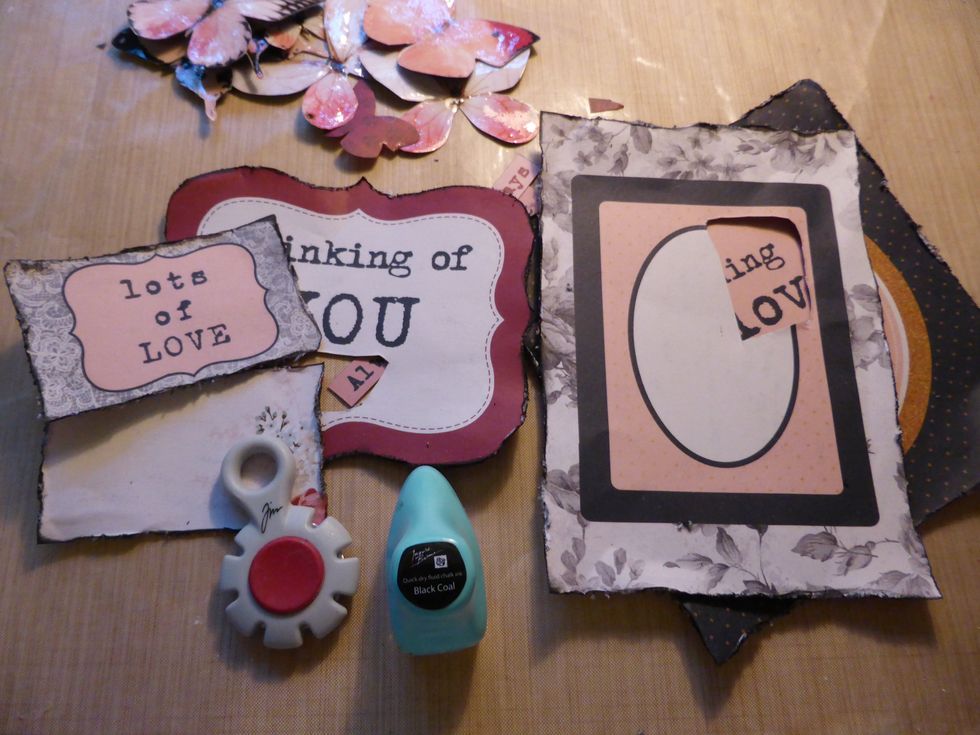
I distressed the edges of my cut-outs and inked the edges with black ink.
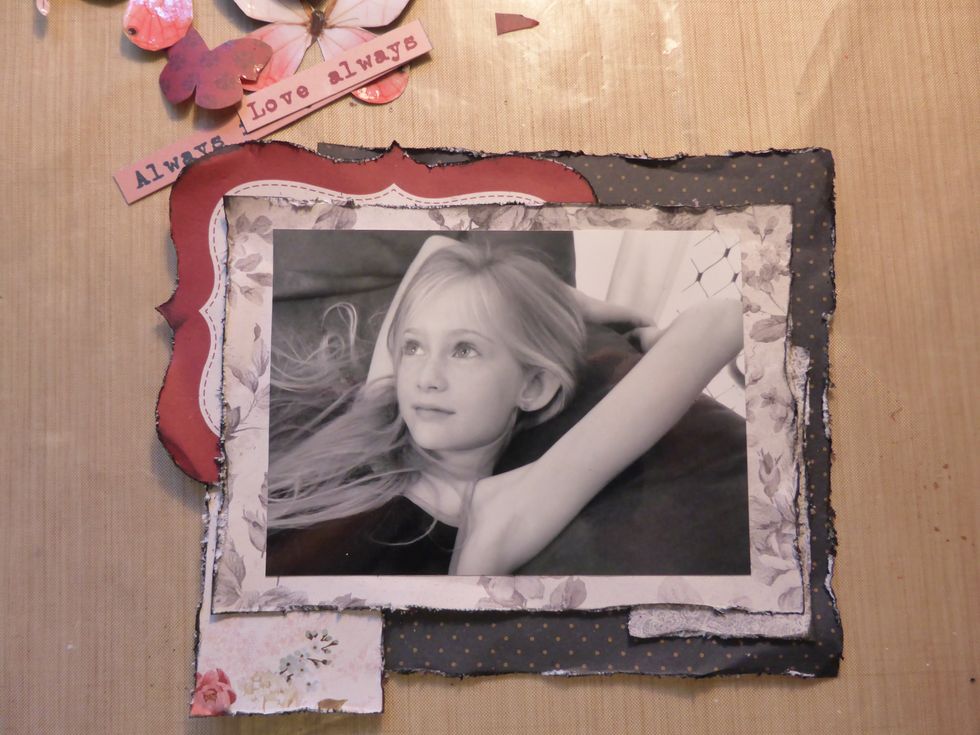
I assembled the cut-outs to frame my photo
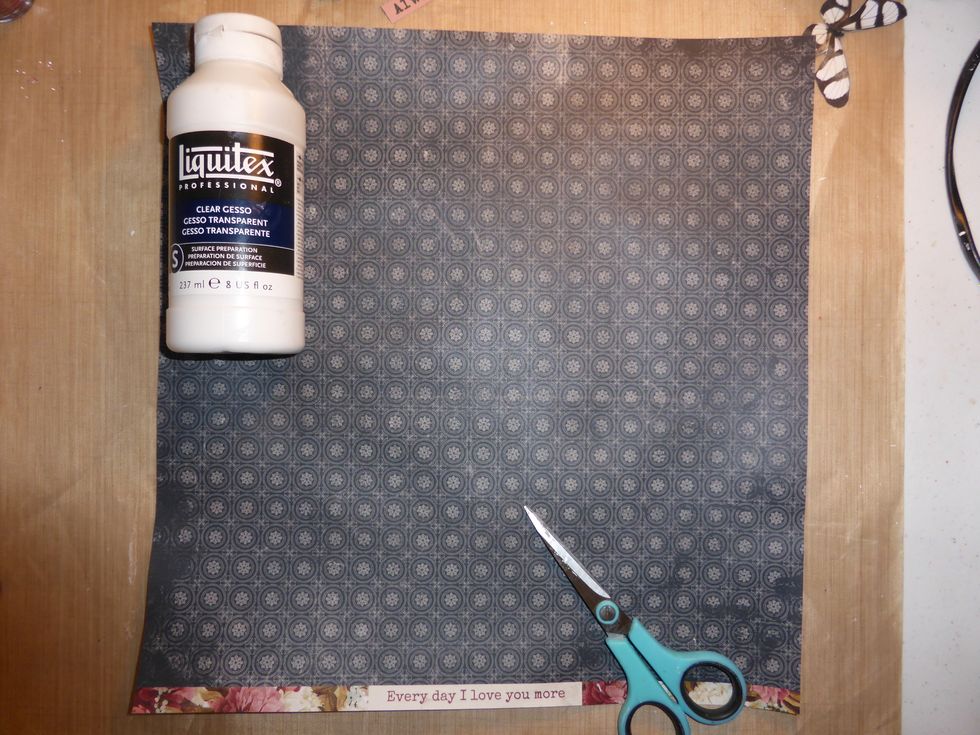
I covered the Beauty paper with clear gesso and cut off the bottom strip to use later.
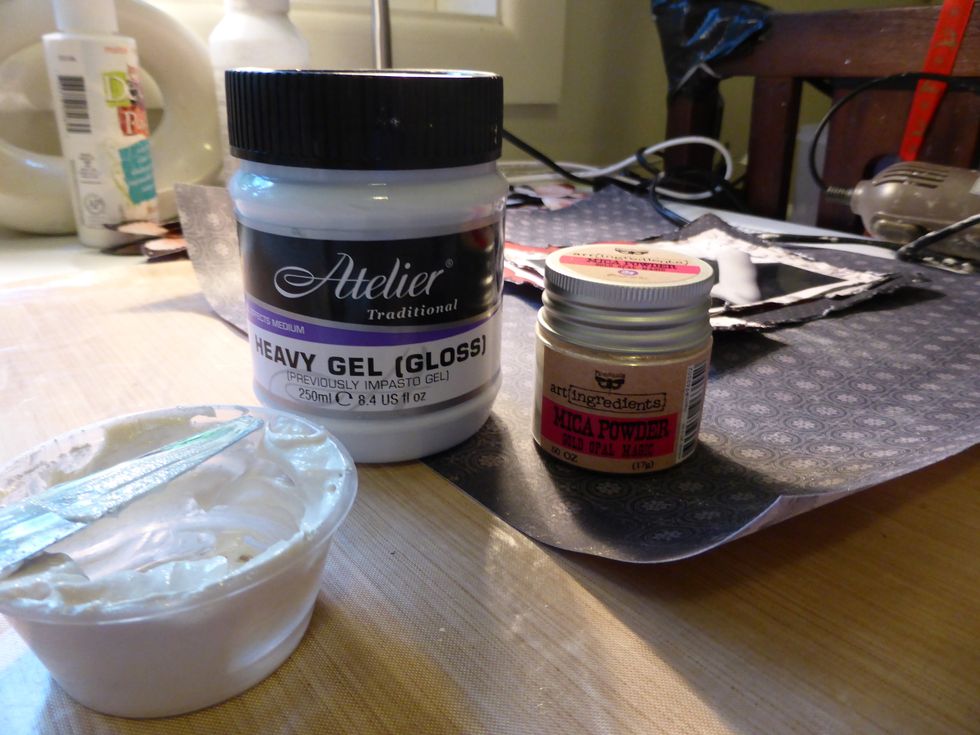
I mixed the Finnabair Mica powder that came in the November 2015 mediums add on Kit with Heavy gel medium

I then used this through the Crafters Workshop stencil Tuscan Wall that also comes in the mediums add on kit. I didn't use the whole brick pattern instead I moved it around so I use got the bricks
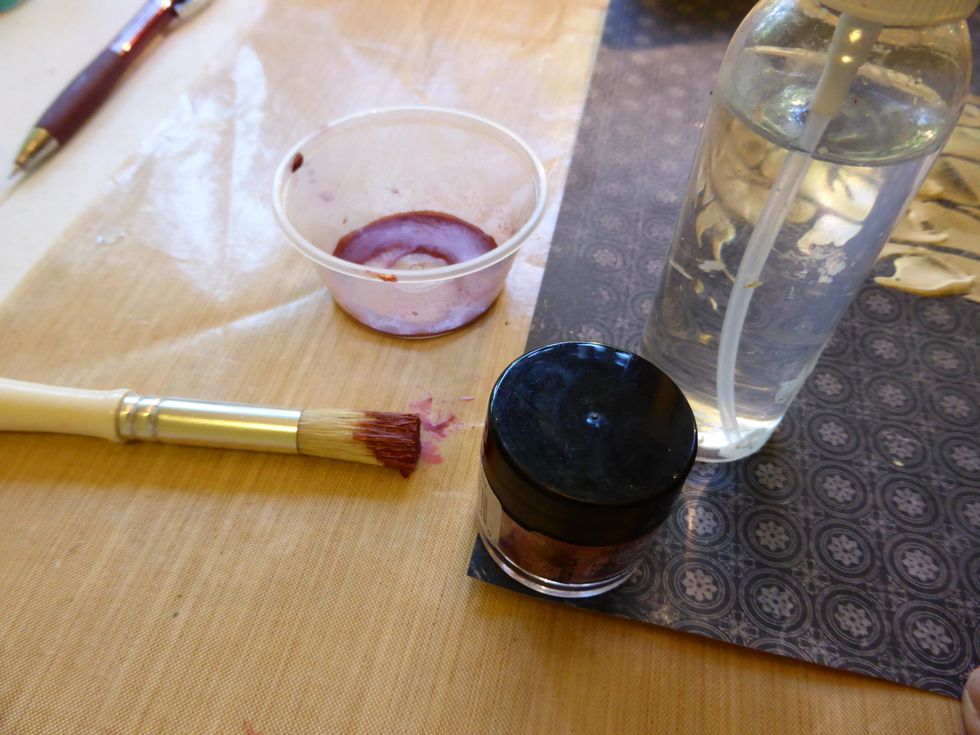
Next I mixed the Pearlex Mica Powder, which is from the November 2015 mediums add on kit, with water and splashed it onto my page. Then I sprayed water on it to help it run.
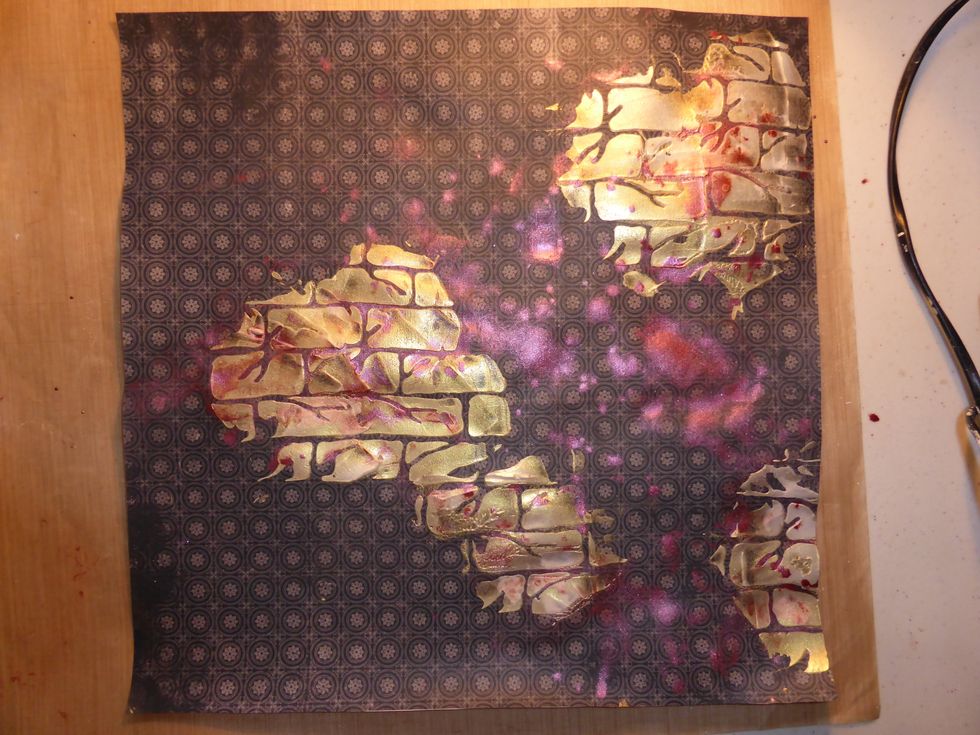
This is what my layout looked think at this point. Note - the gel medium and mica powder takes a while to dry, it's best to leave it dry naturally.

I used the left over Pearlex powder and water to add colour to the Prima flowers from the main kit.
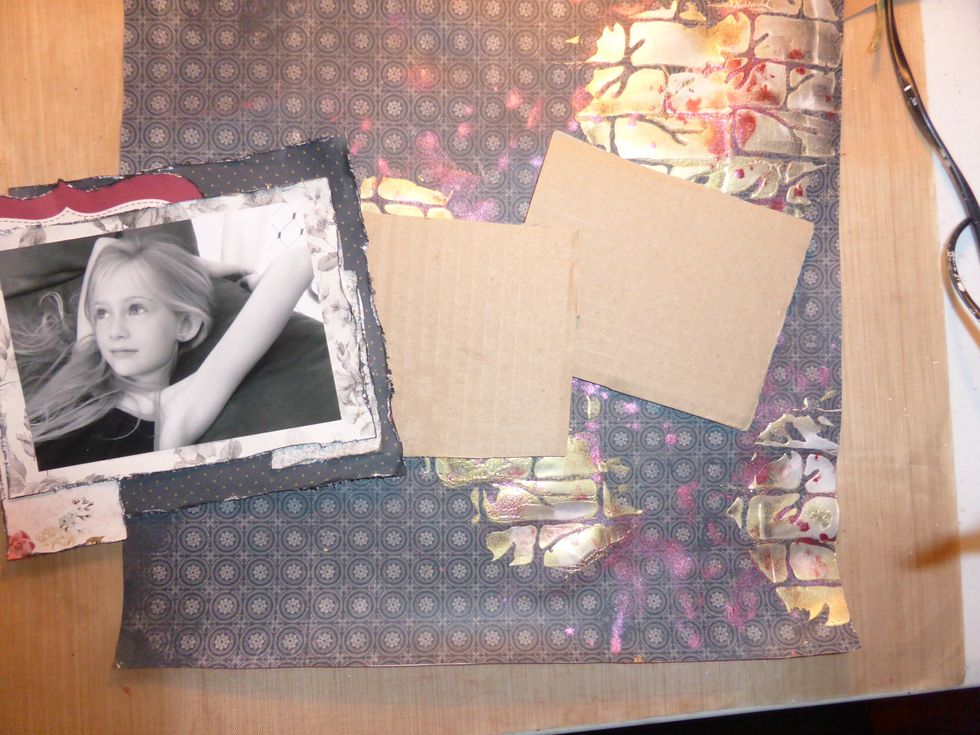
I used two pieces of cardboard under my photo to lift it off the page. I love the 3D layouts with lots of depth
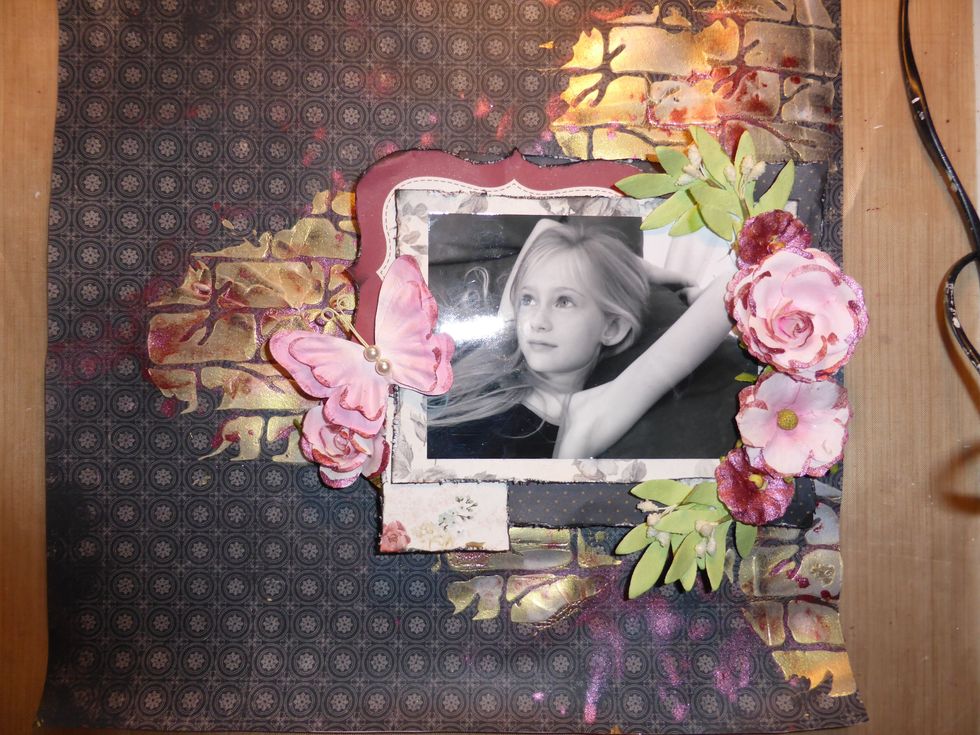
I arranged the flowers around my photo

Then I added the butterflies and sentiments.
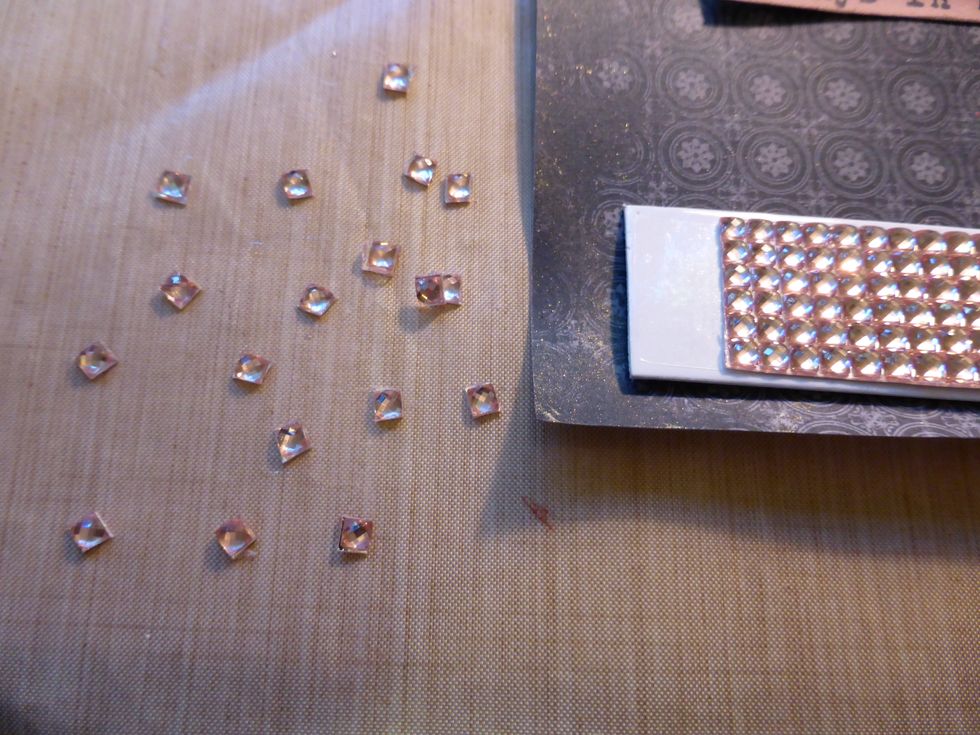
Finally I cut the rhinestone strip from the main kit into little pieces and added them around the page.

The finished layout