The Conversation (0)
Sign Up
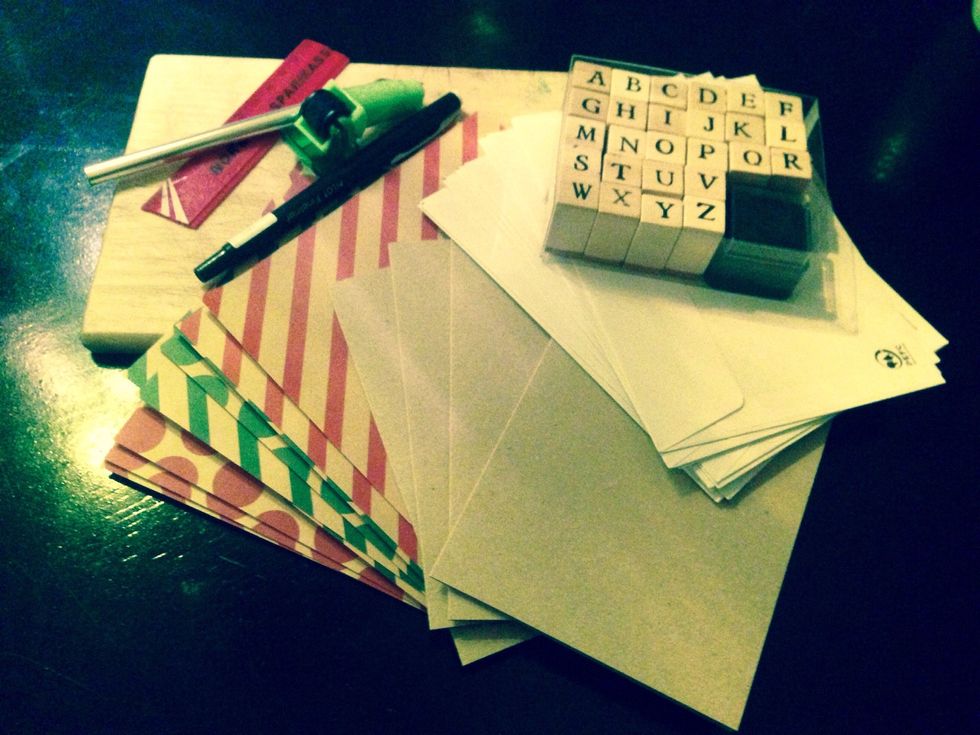
Supplies needed
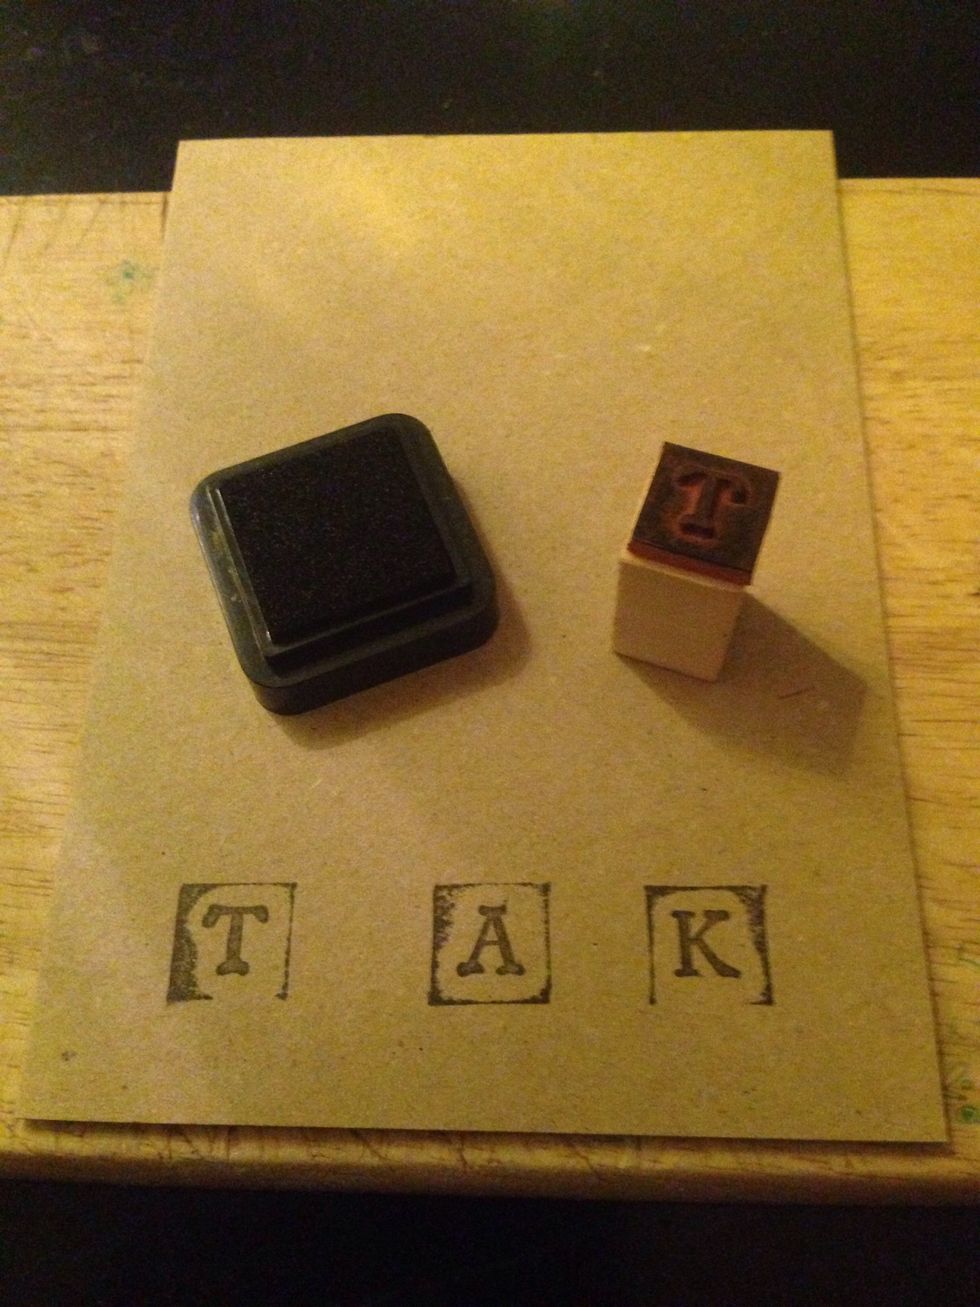
Use your letter stamps to write "thank you" (this is in danish🇩🇰) Make sure to really press it down, in order to make those vintage edges.
Now to the origami part
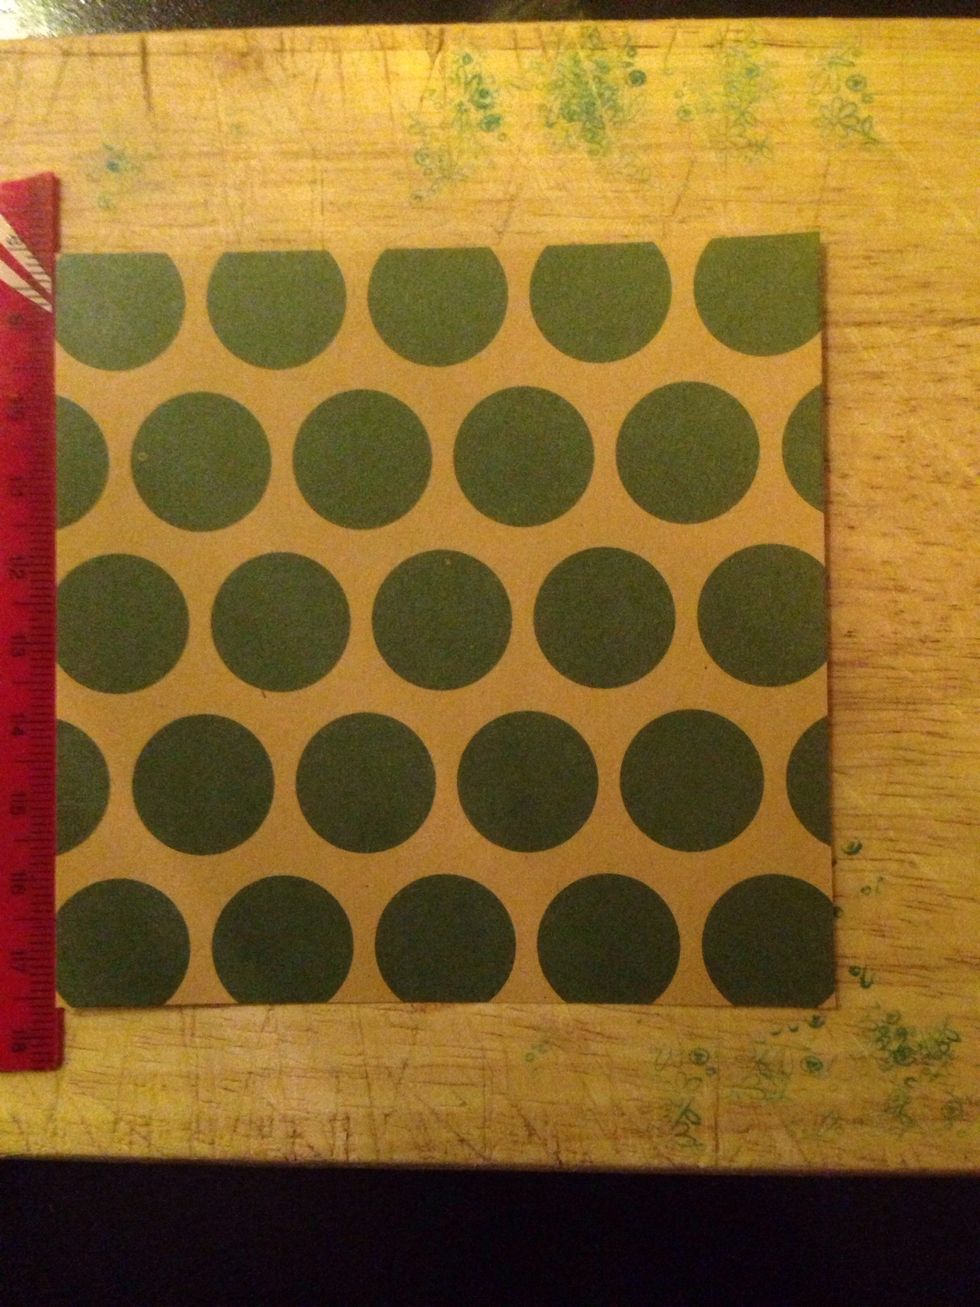
Cut your paper for the dress. Mine was about 10x10 cm
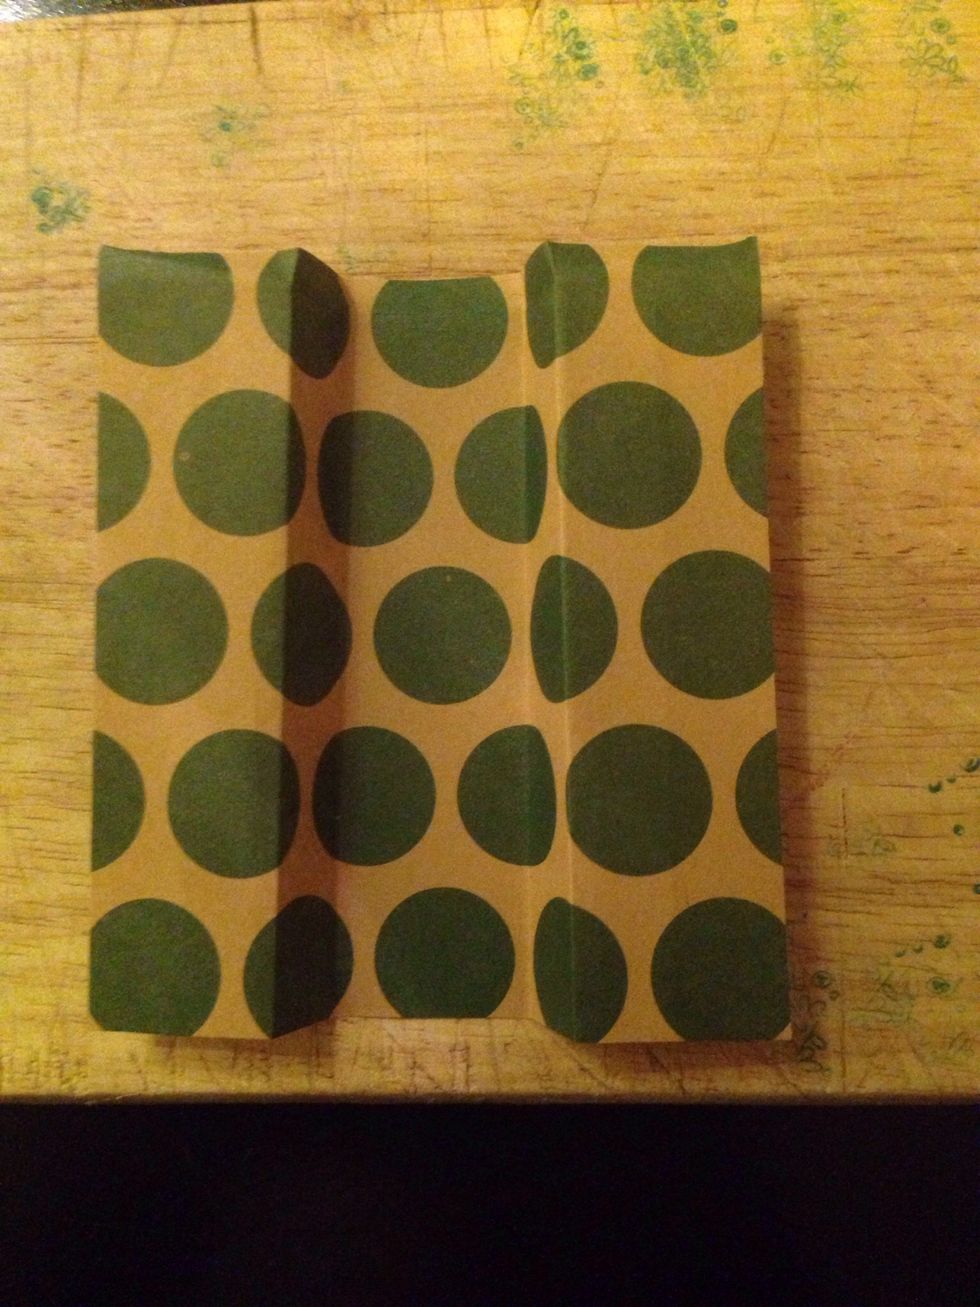
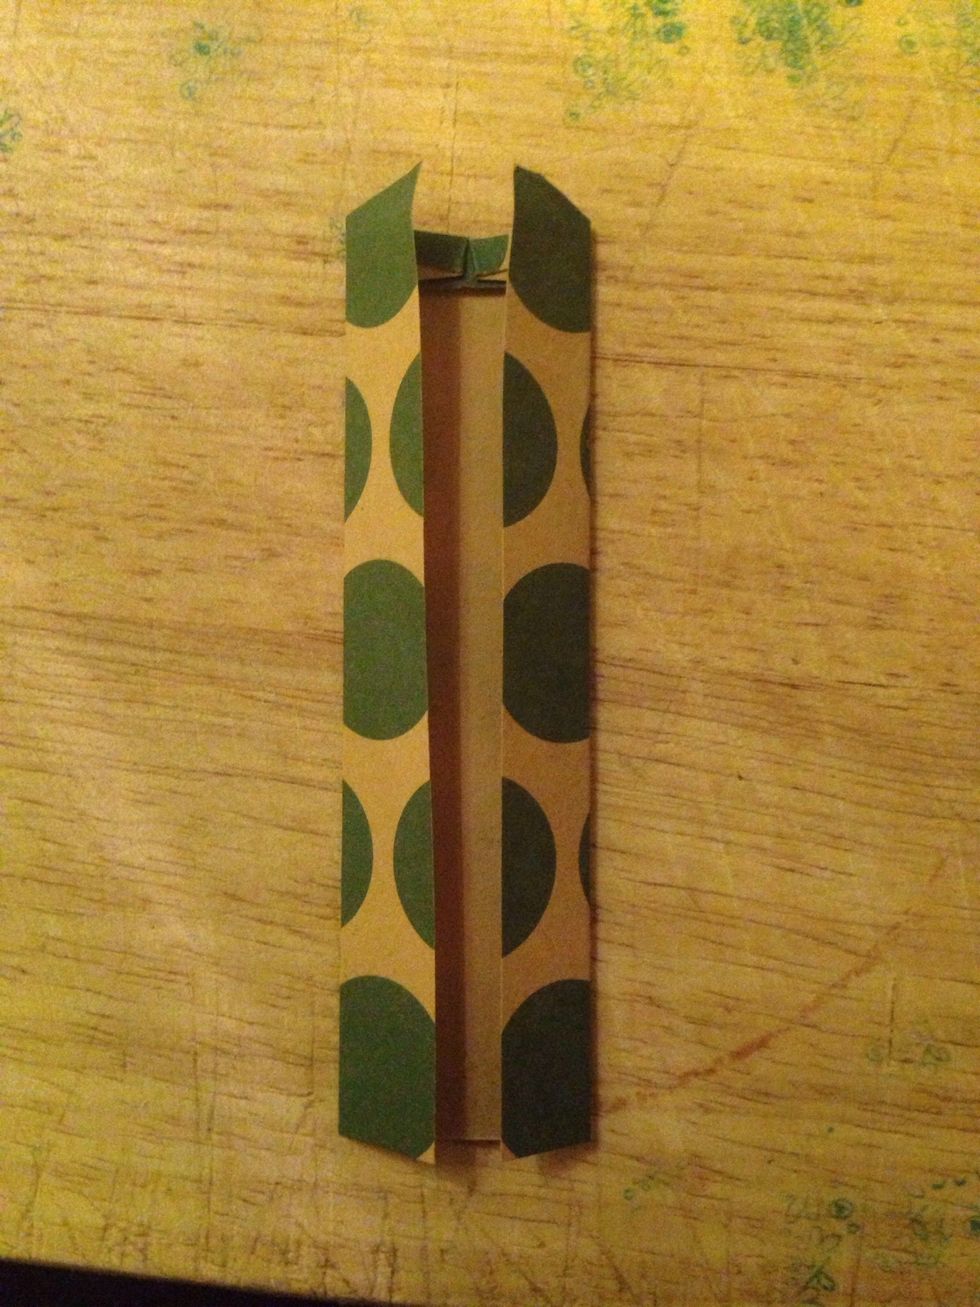
Fold the edges in like this
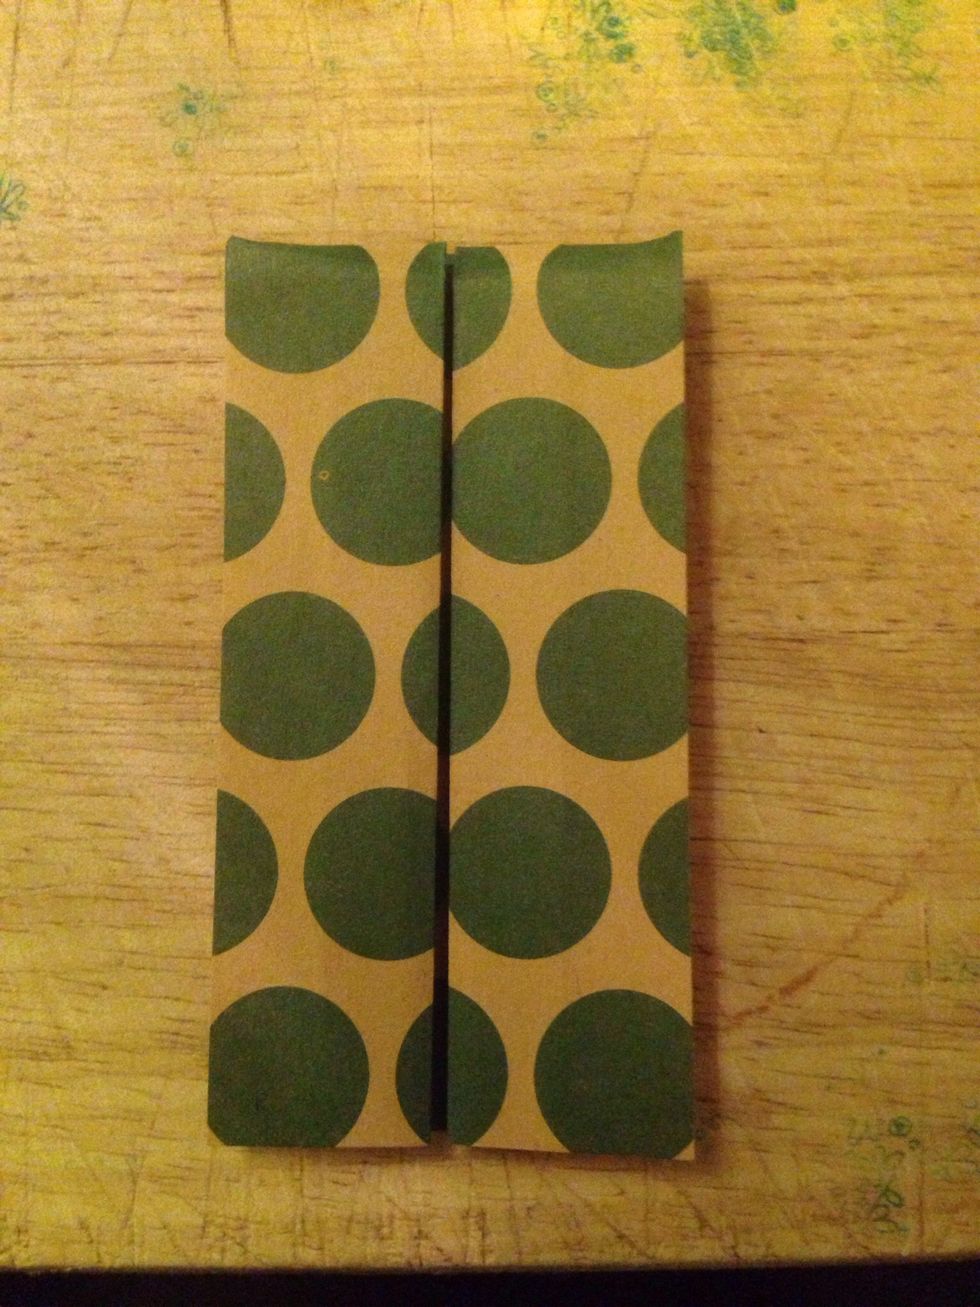
Make the folds meet in the middle
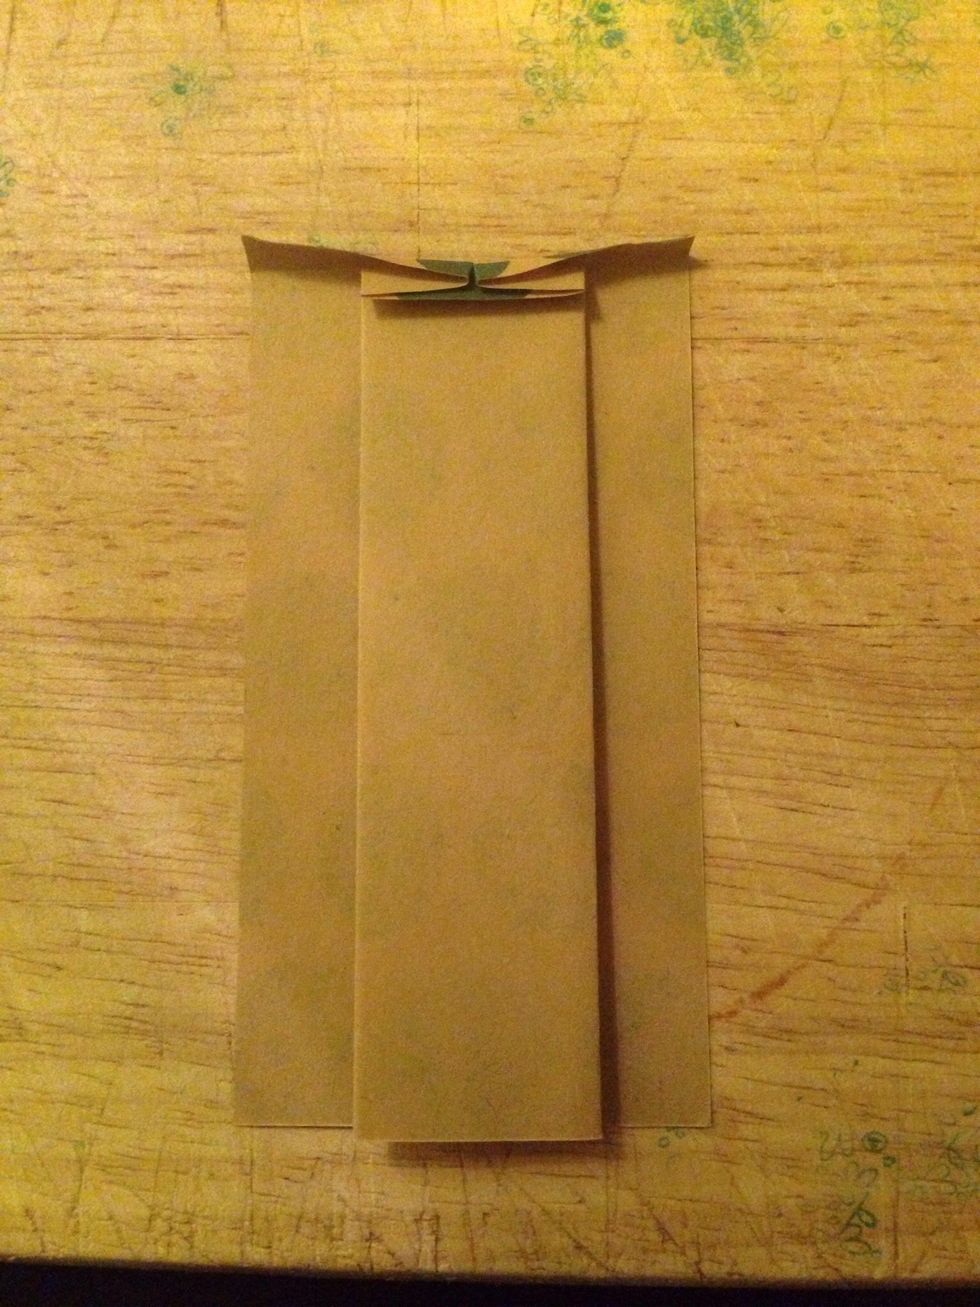
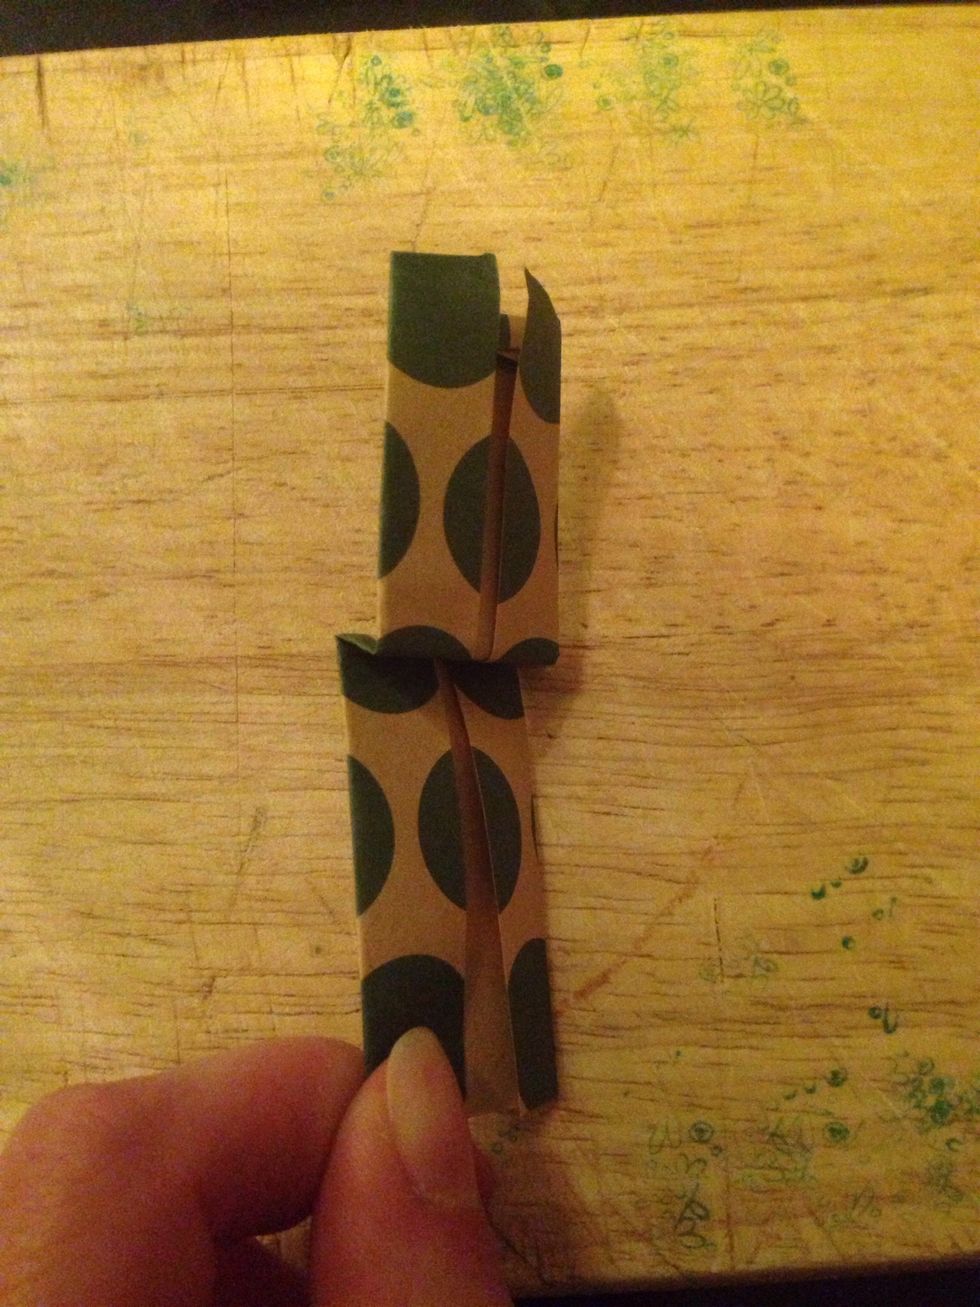
Turn the paper and fold the top middle piece down like this
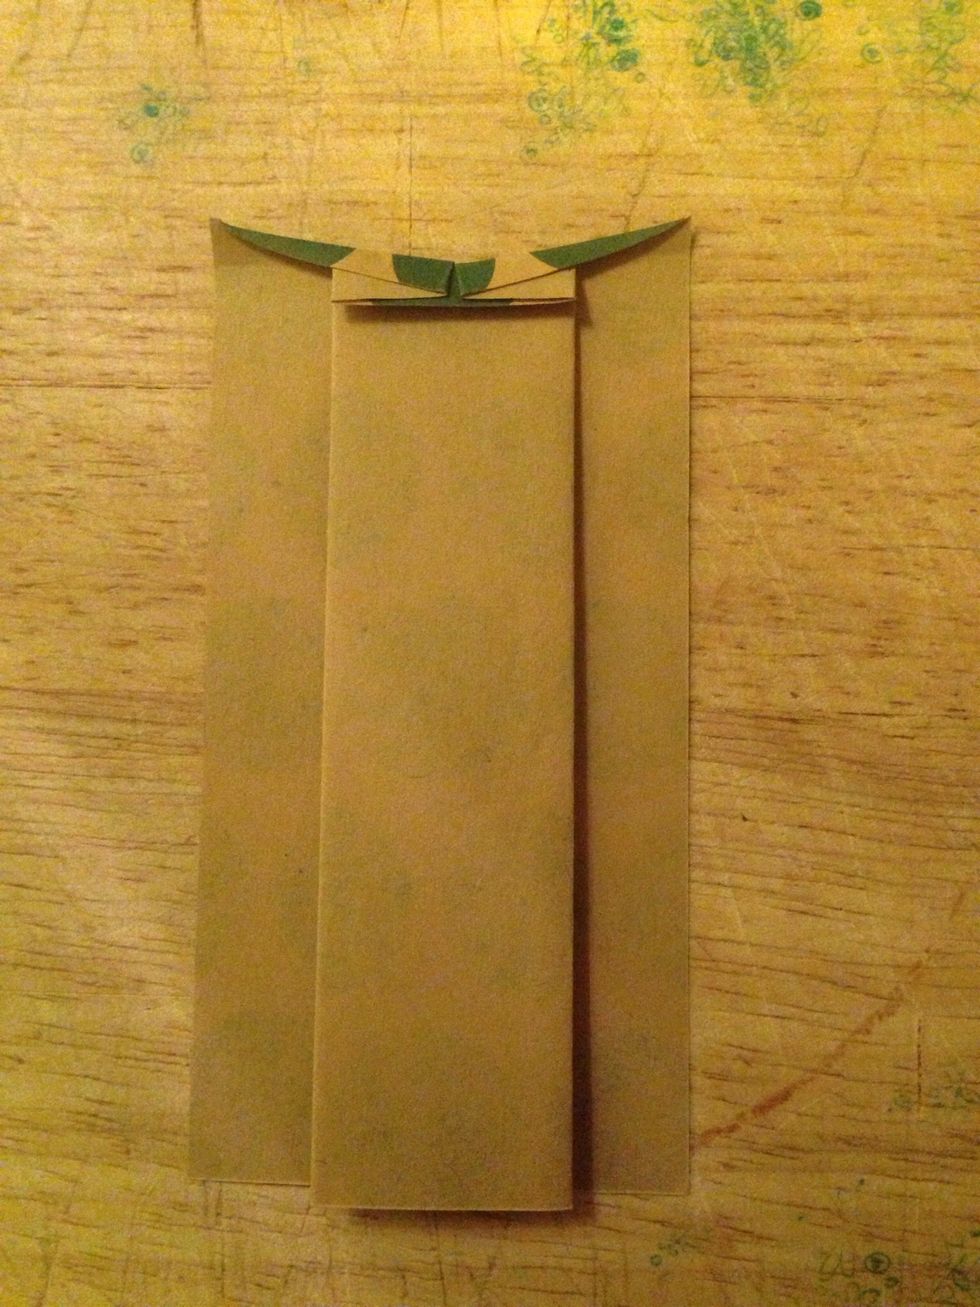
Make a tip in the top left and right corner like this
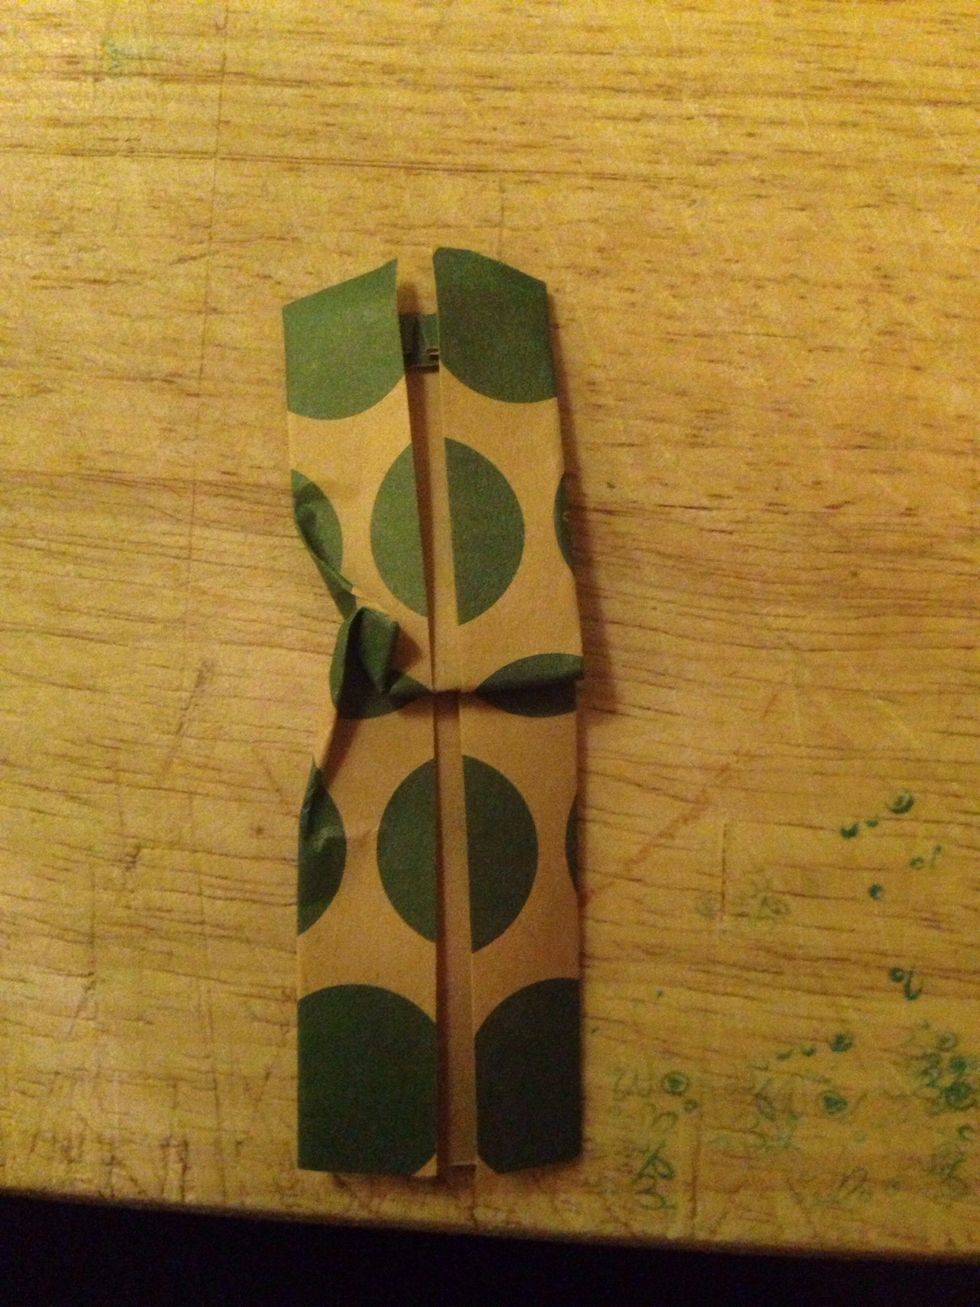
Wrap the sides in like this
Fold the paper all the way down. Then fold it up again so it will look like this
Fold the paper in like this

And the other side. I struggled with this in the beginning, but just make sure it is symmetrical
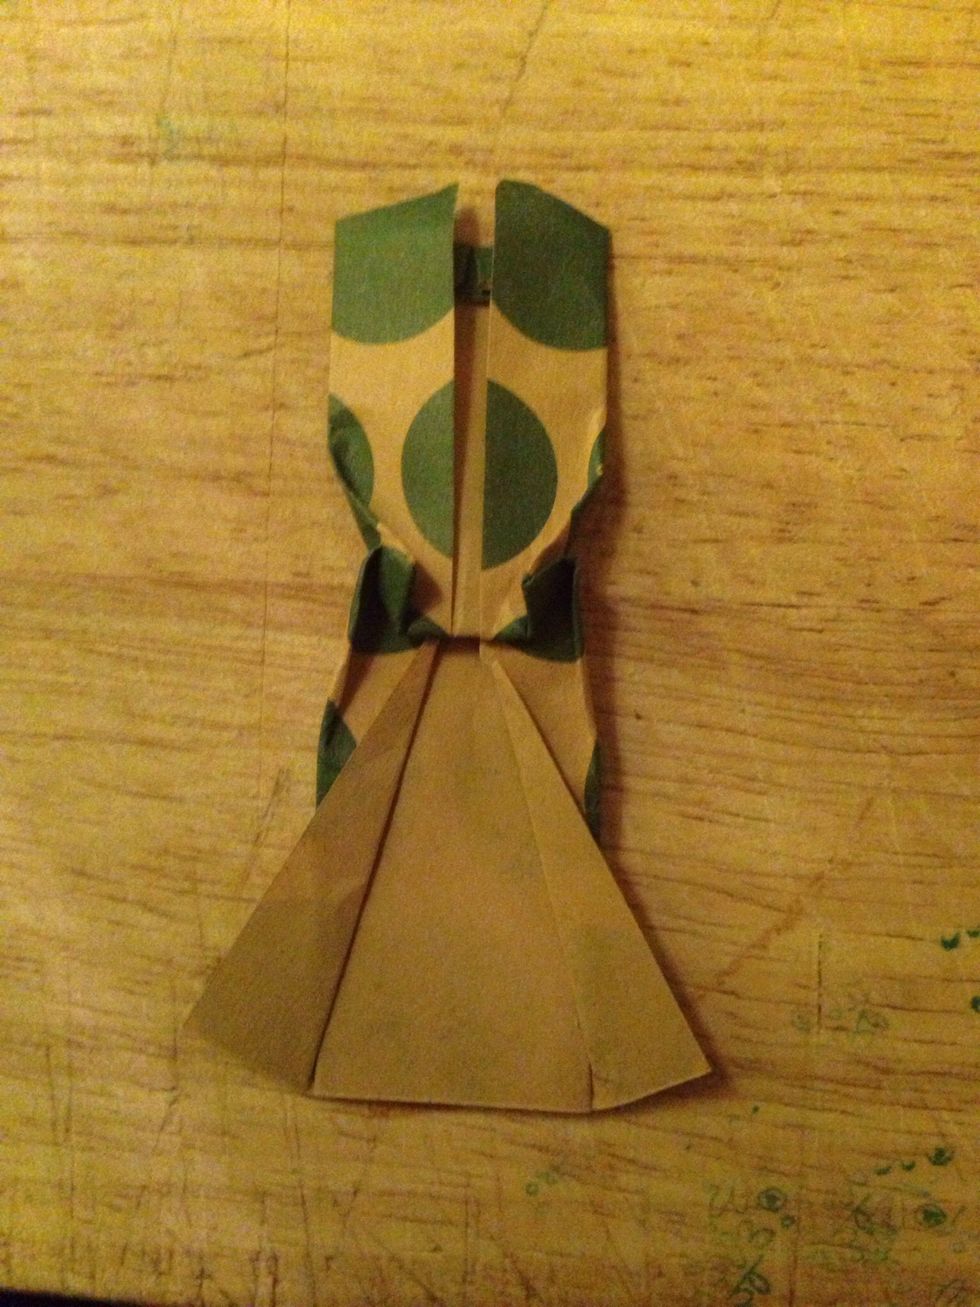
Flip the bottom corners out like this
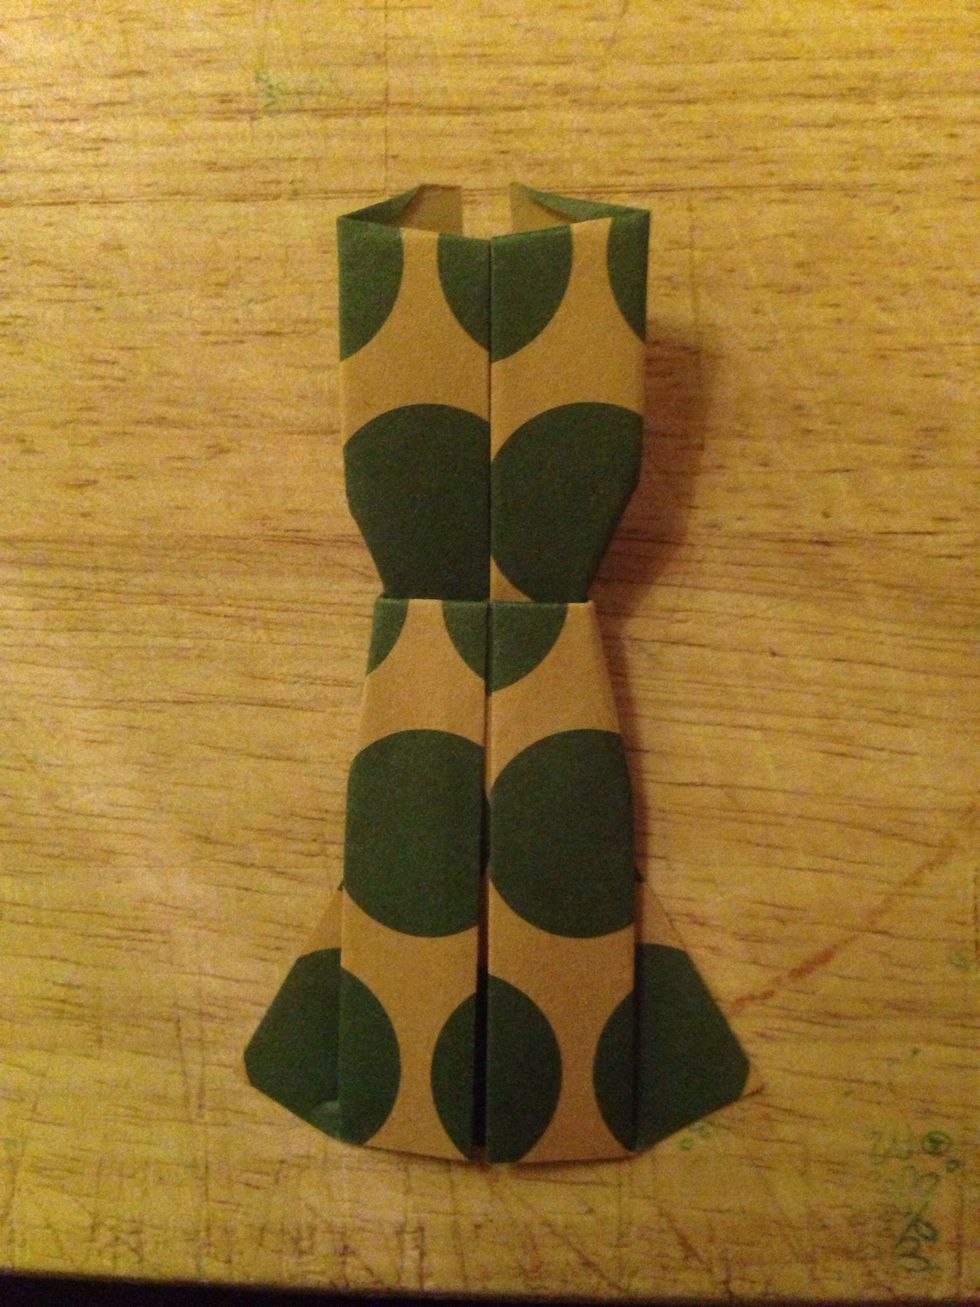
Turn and voilà
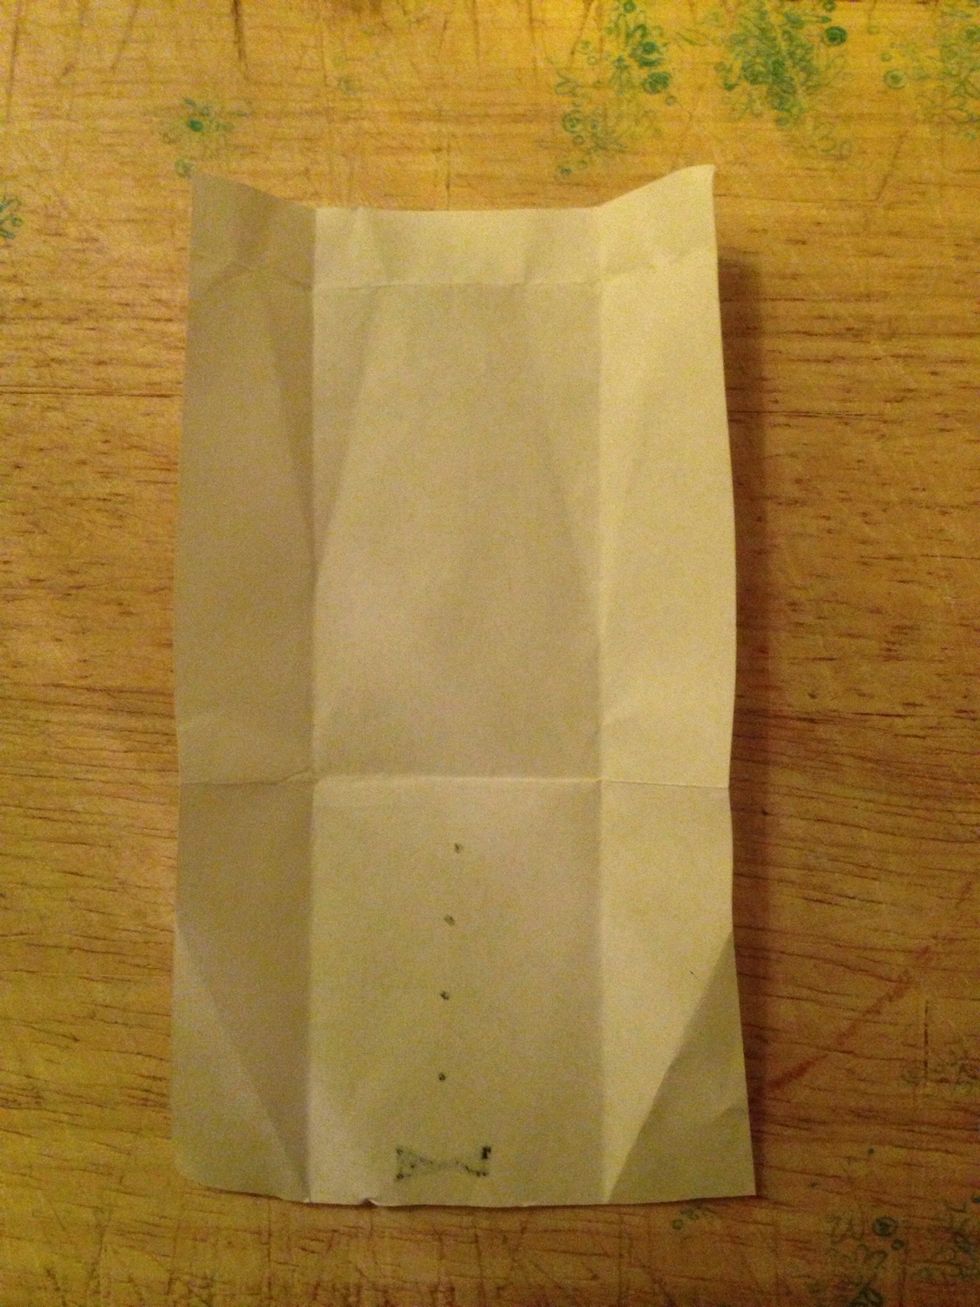
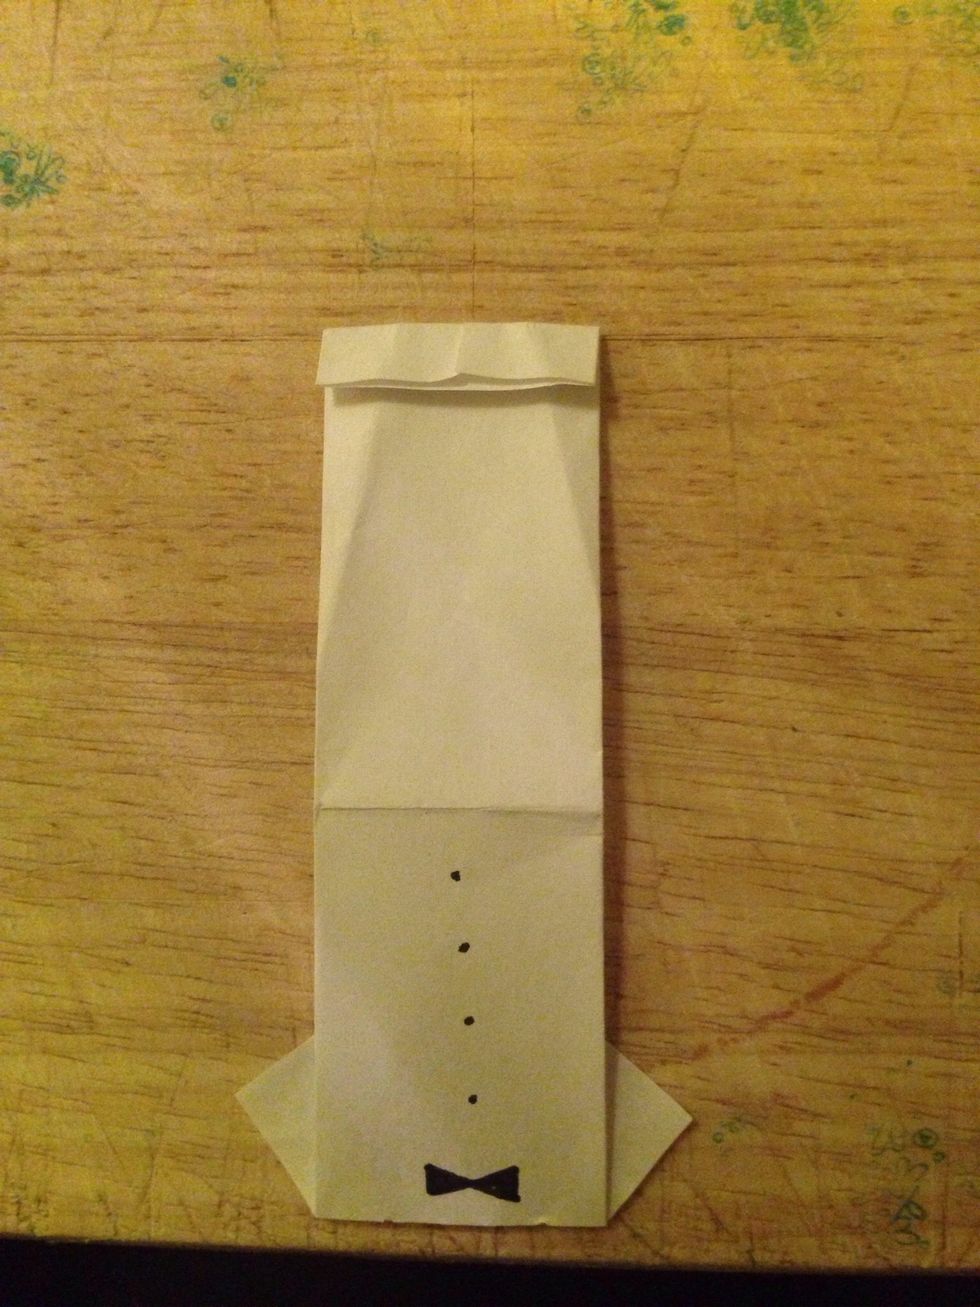
Now for the shirt. I used a white piece of paper about 10x6 cm, it shouldn't be a square
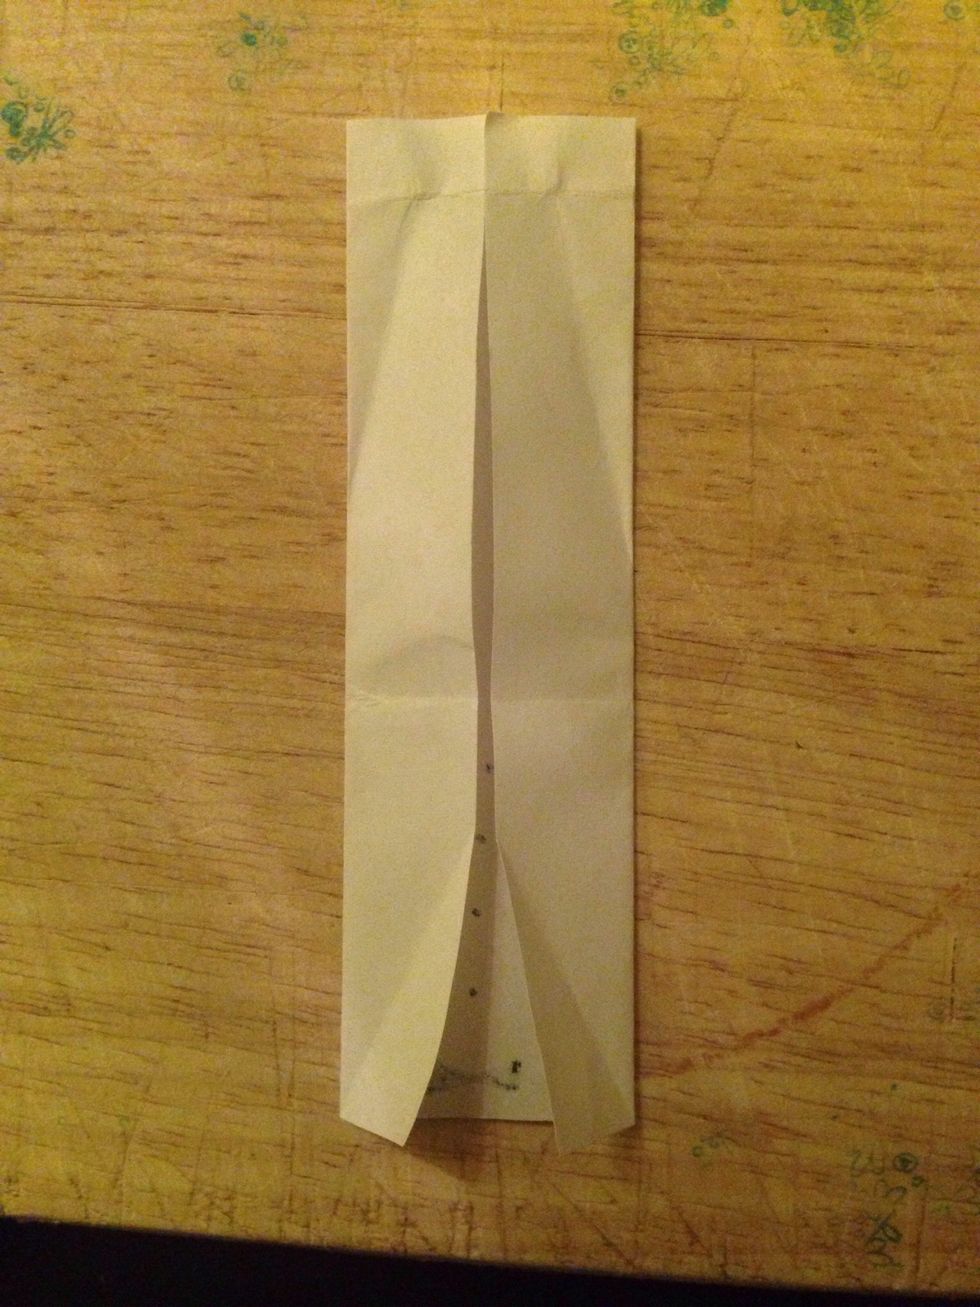
Fold the sides in like this
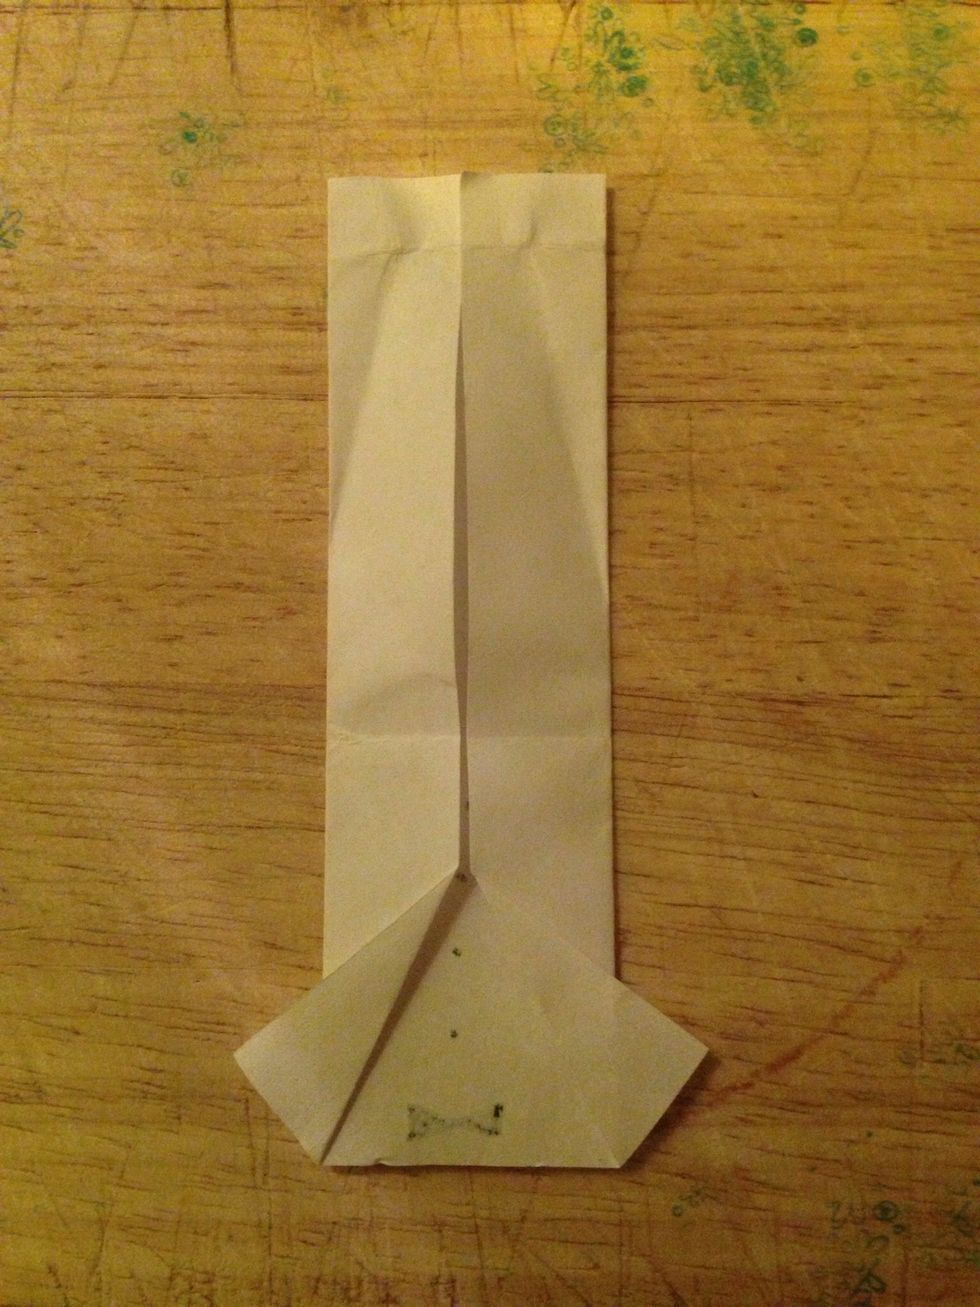
Flip the bottom corners out like this to make a kind of triangle shape
Turn and flip the top down like this
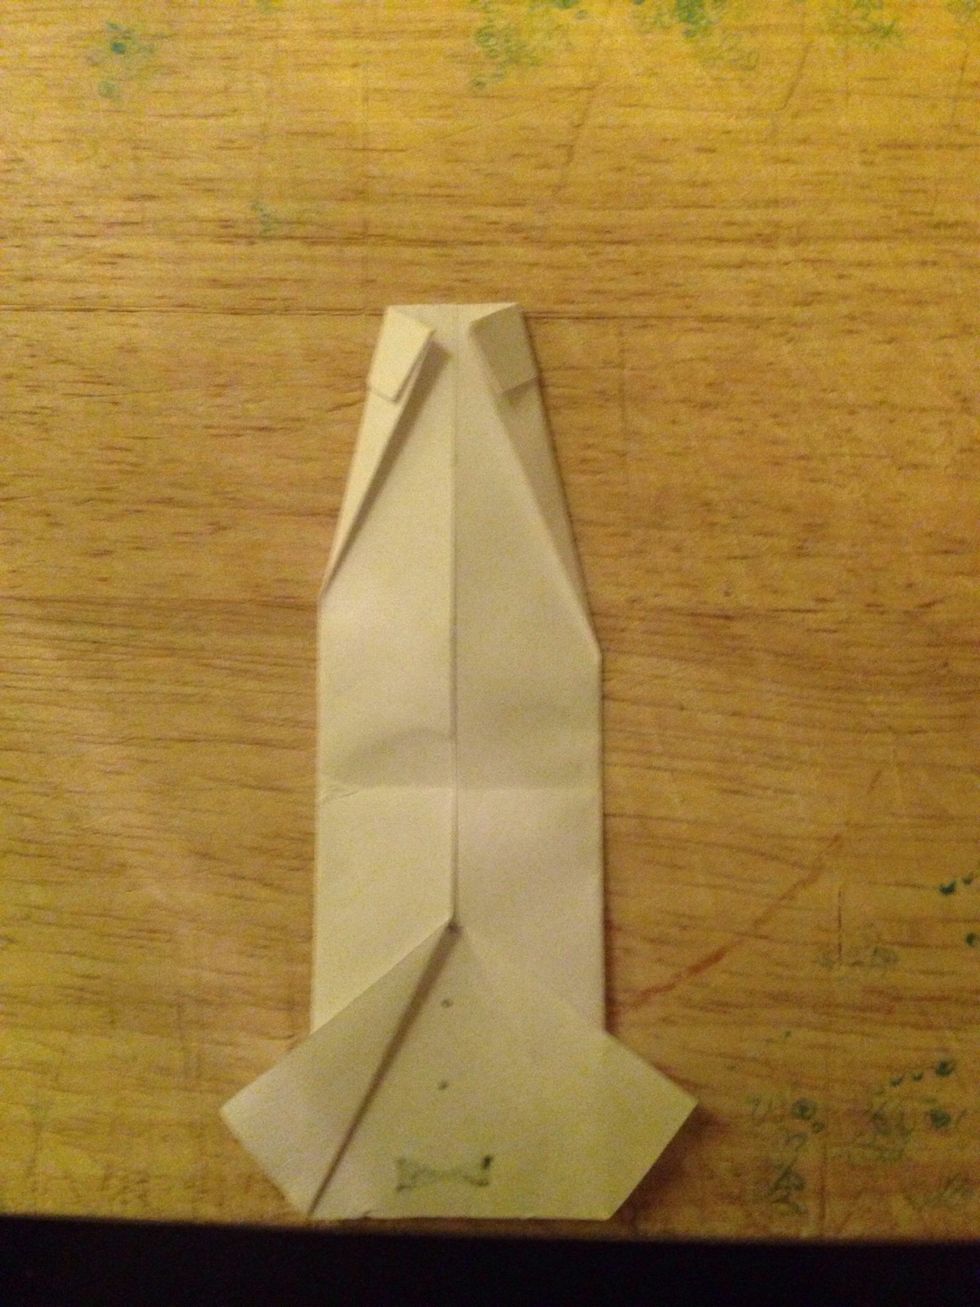
Turn again and flip the top corners inwards like this
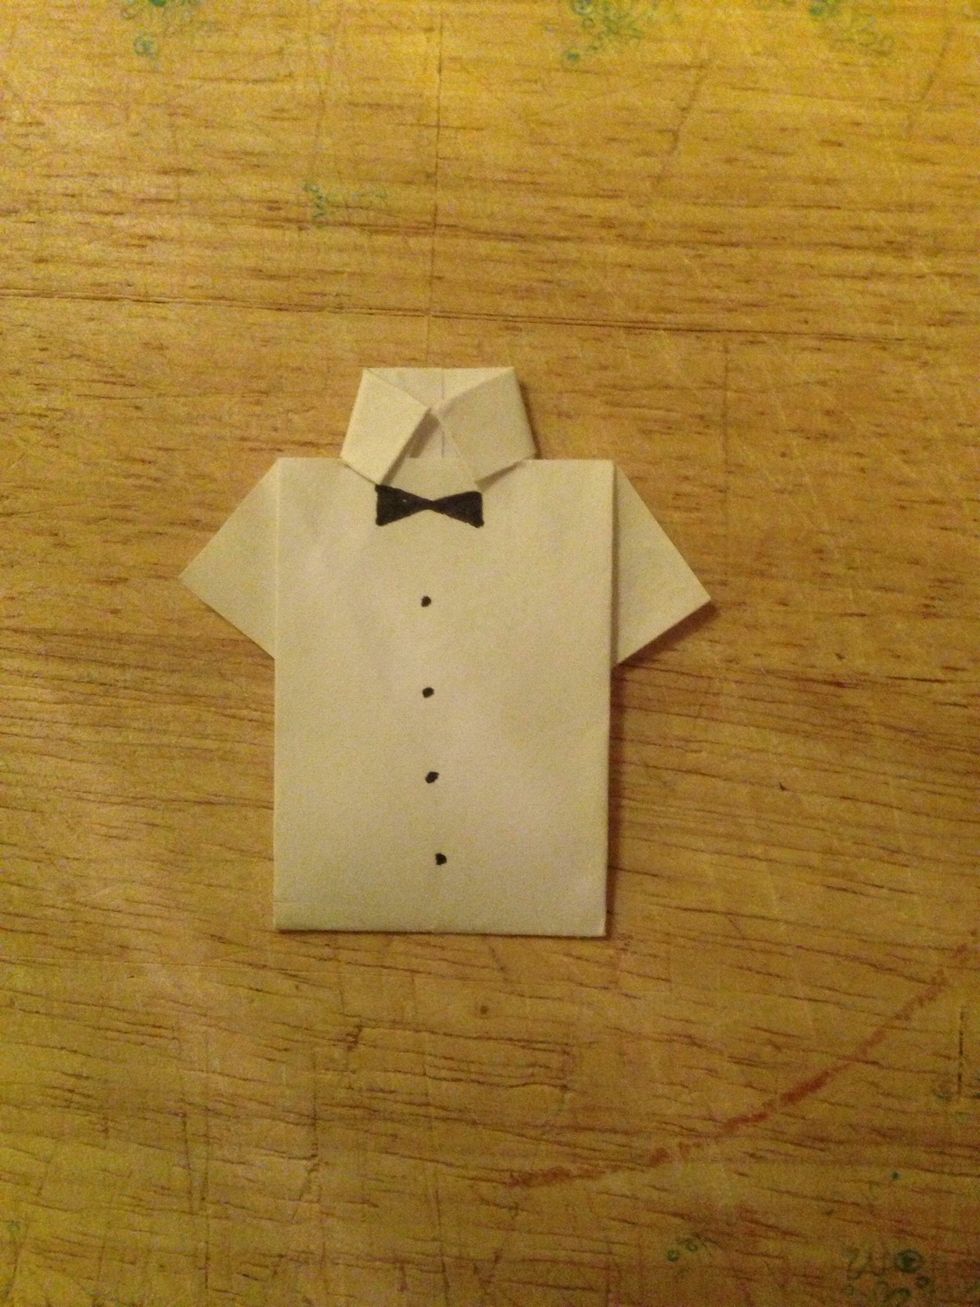
Fold the paper up and tuck it under the collars. You might want to leave it white, I drew a bow and buttons on mine, a tie would also do
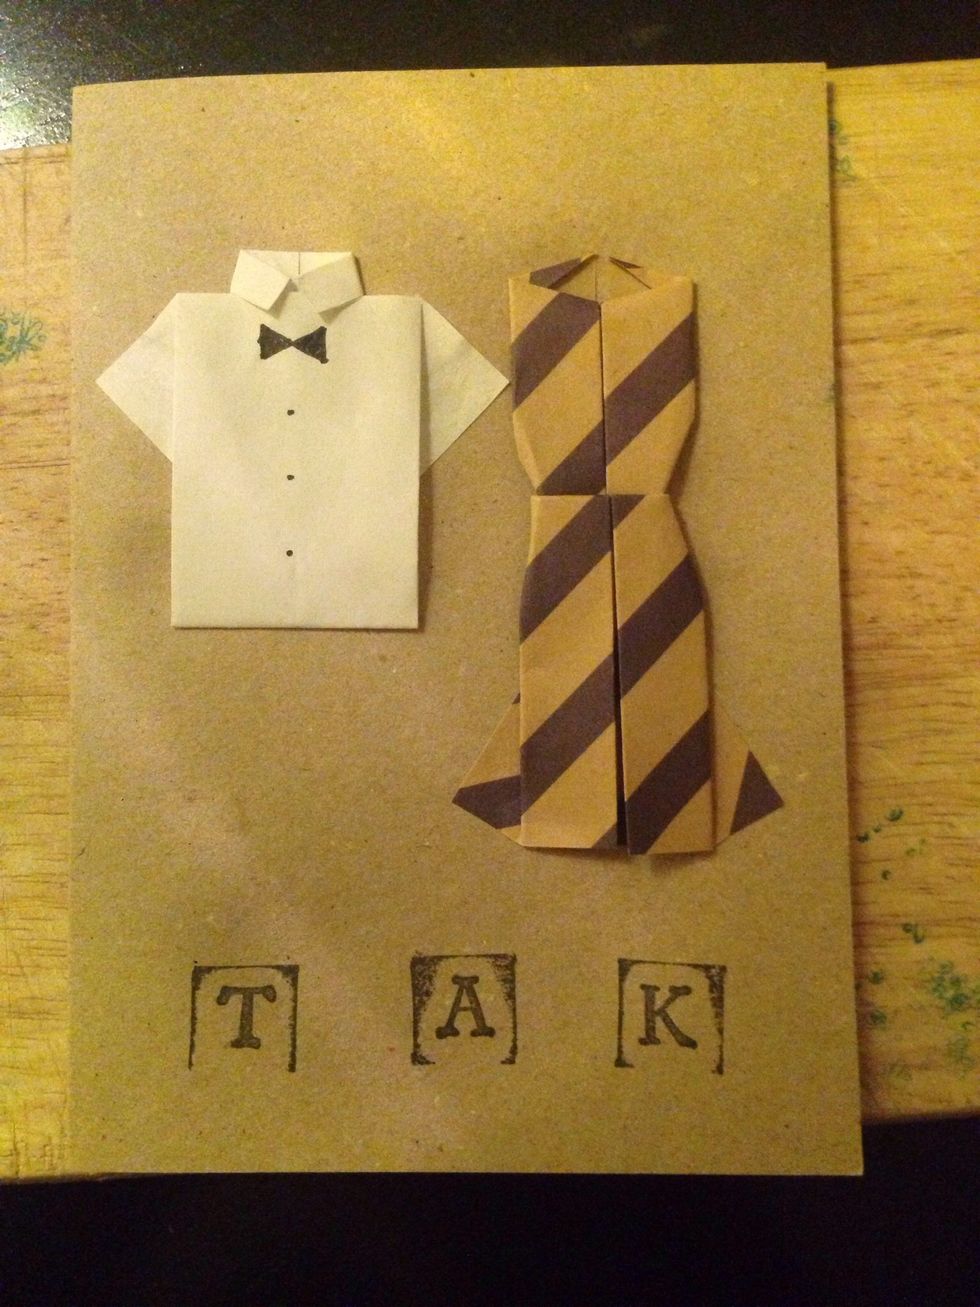
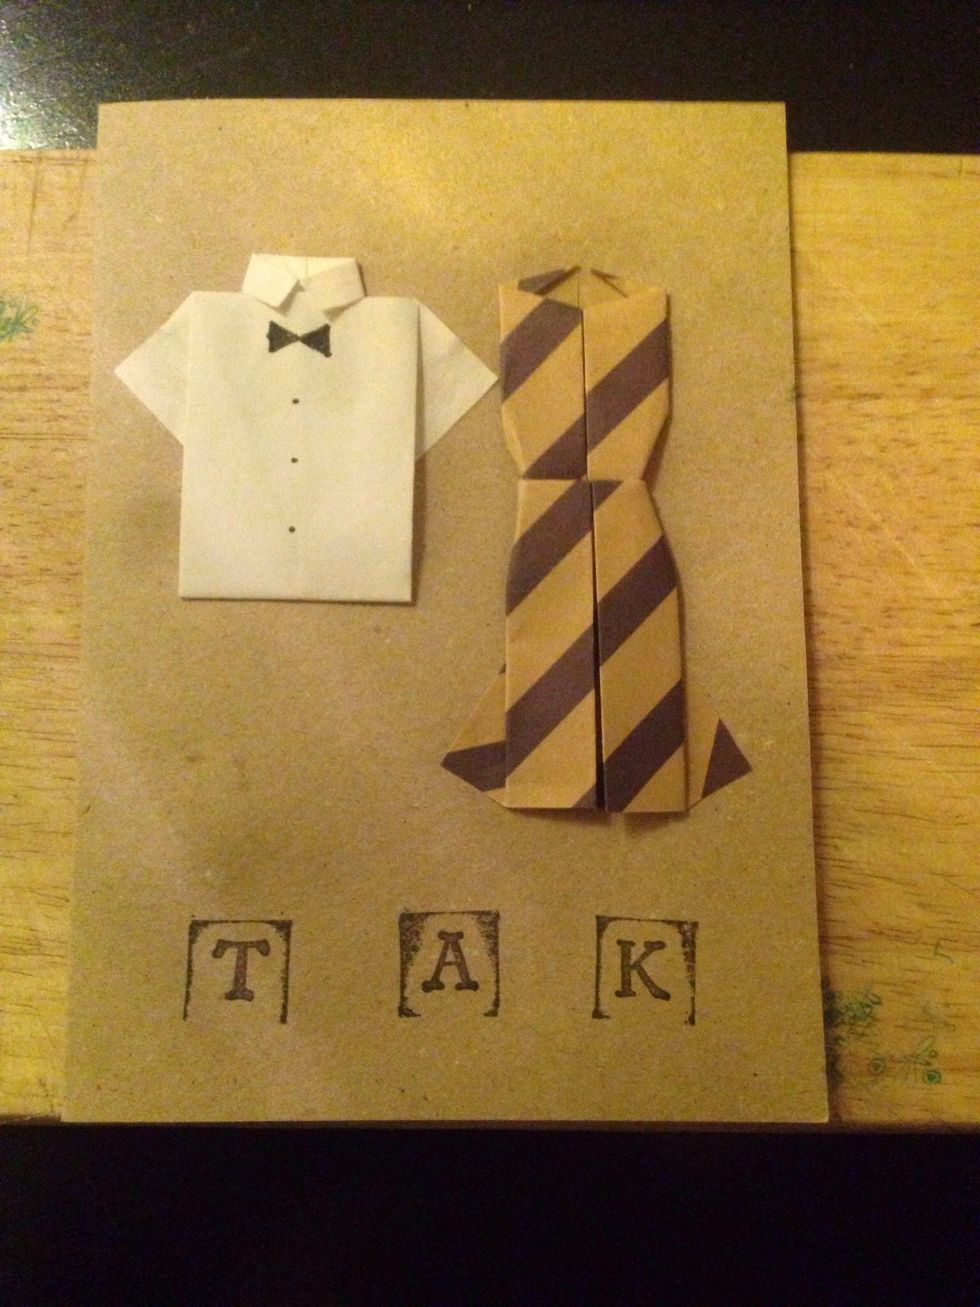
Now glue them onto the card and you are done!
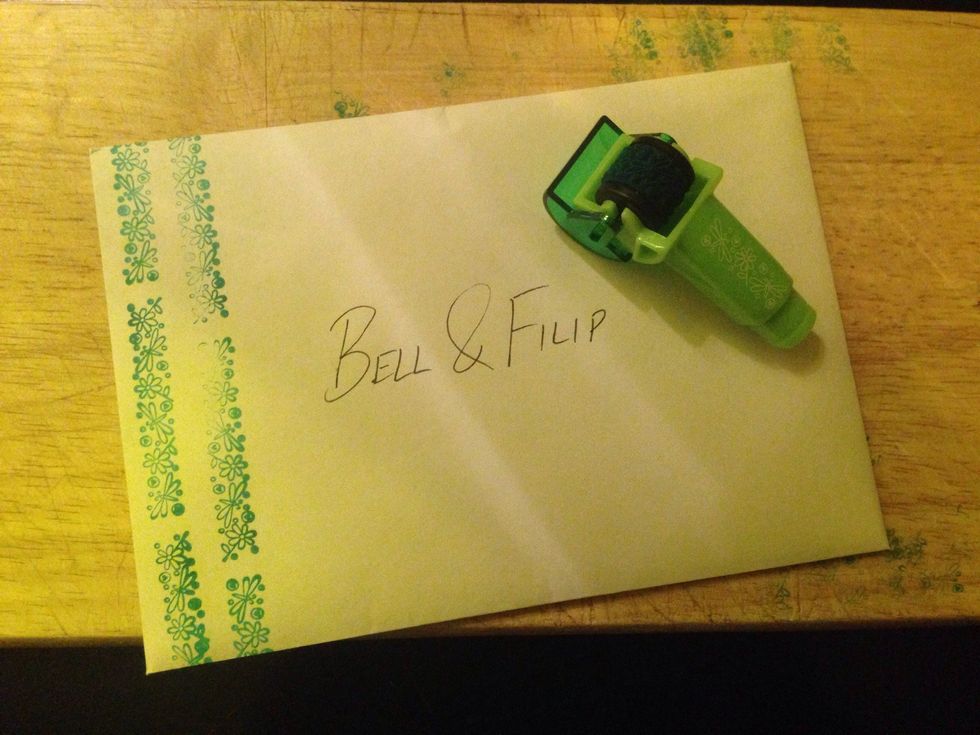
For the envelope I made two stripes of flowers with my roller stamp
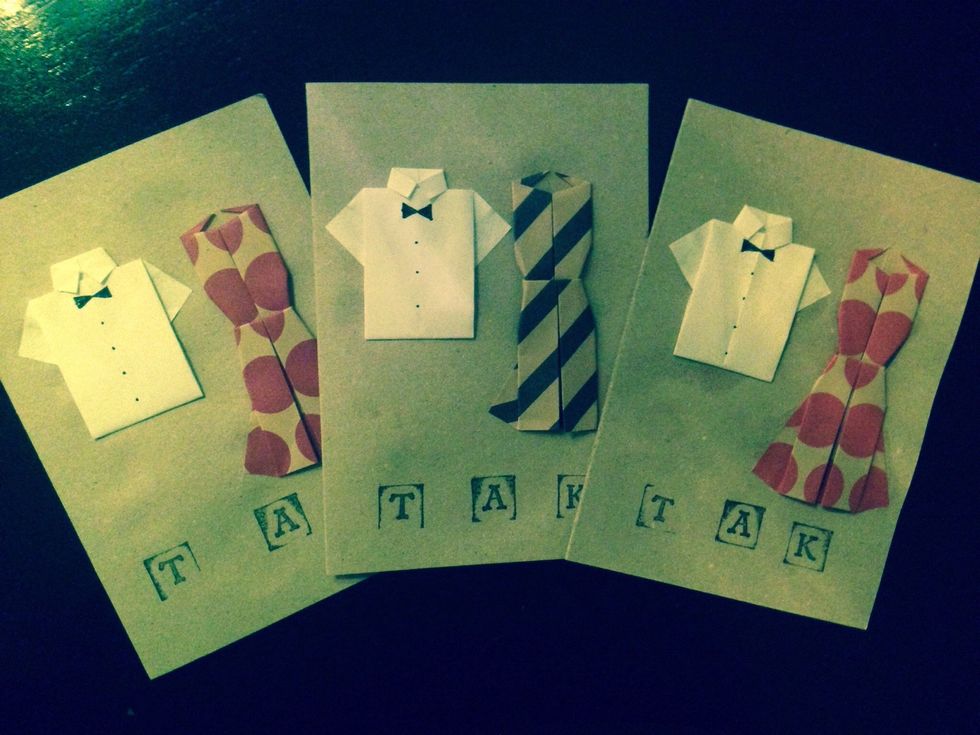
And thats how I made my origami gift cards