The Conversation (0)
Sign Up
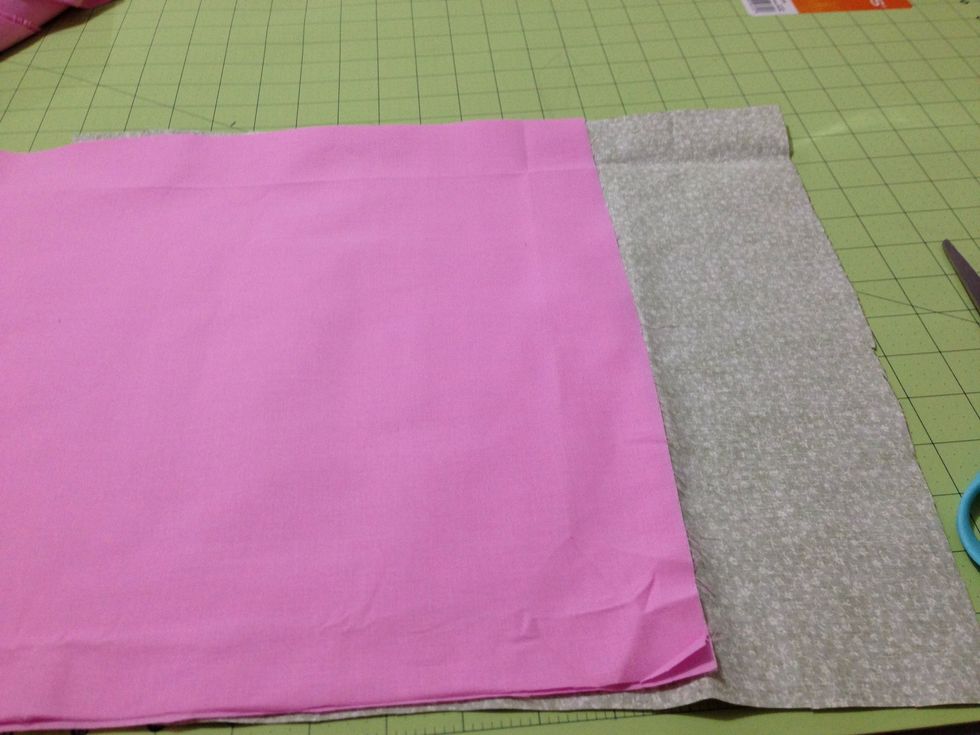
The pink is my lining fabric & the green is my exterior fabric. You need to have two of each.
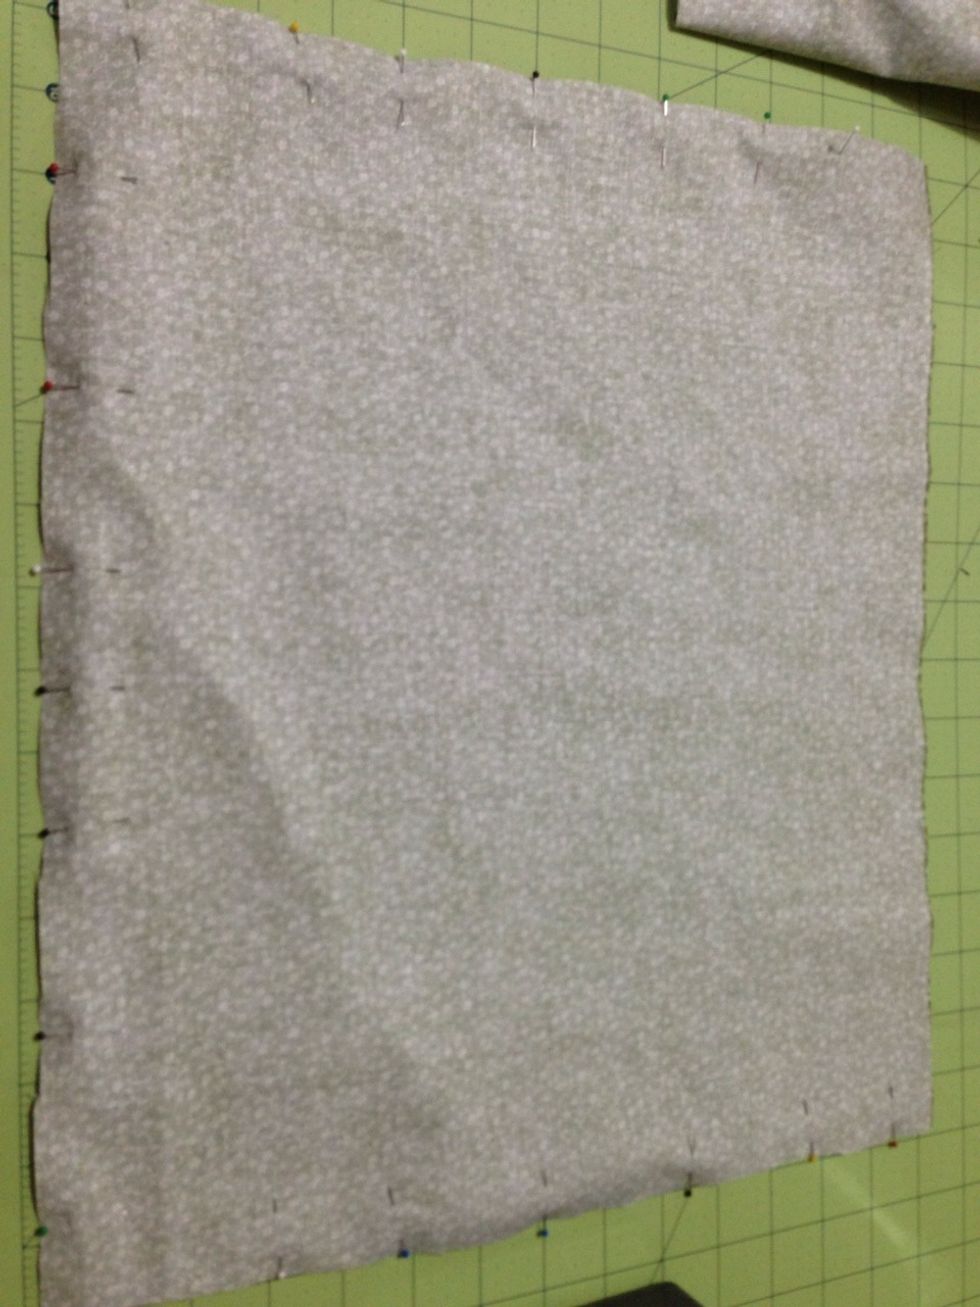
With the right sides facing each other & pin both sides & bottom together. & starting at top of one of the sides sew, backstitching at beg & end, sew around turning at the corners.
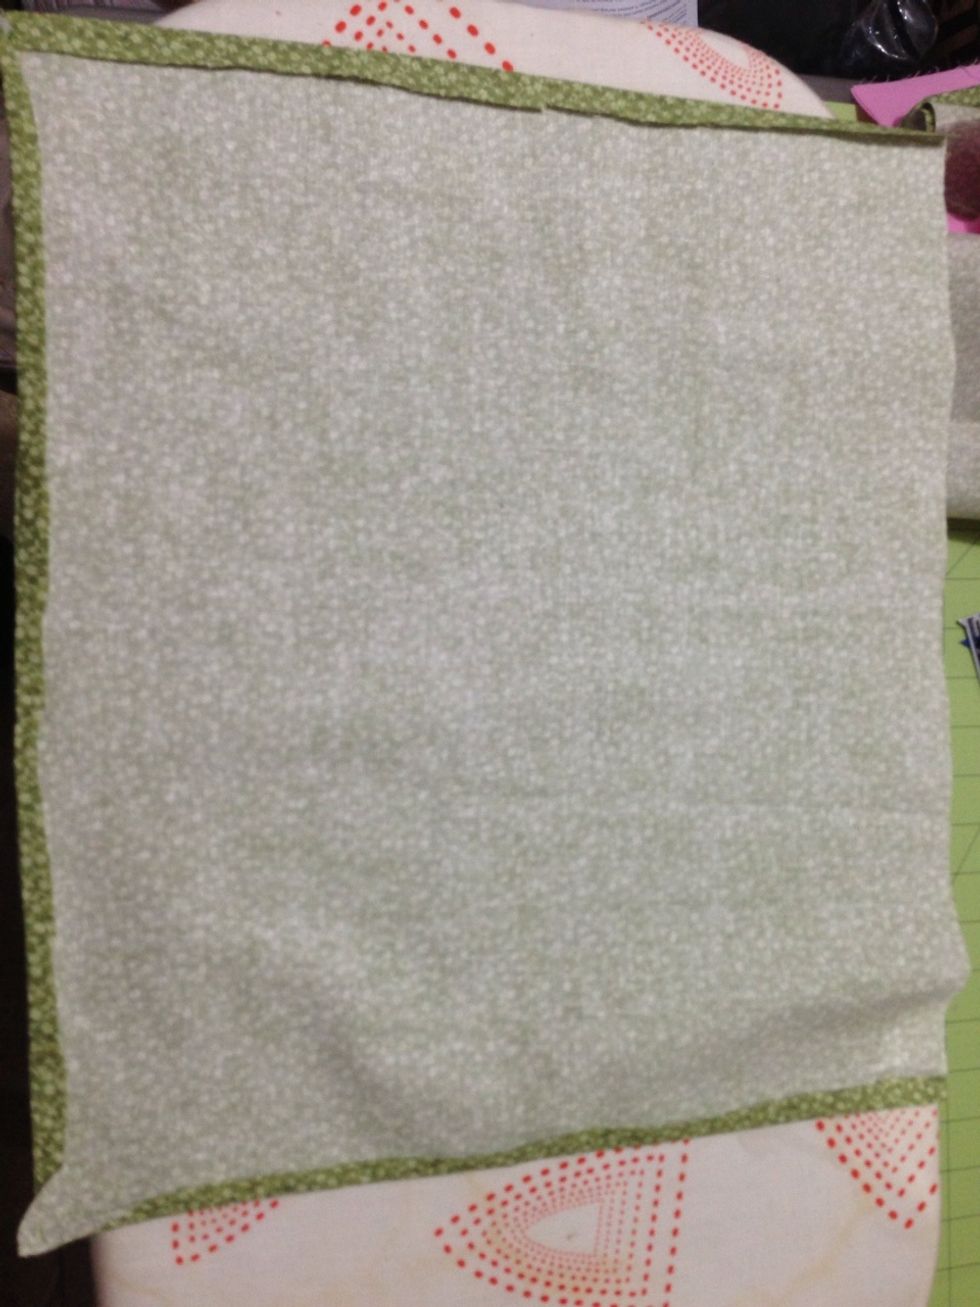
Press the seams because it will lock your stitches.
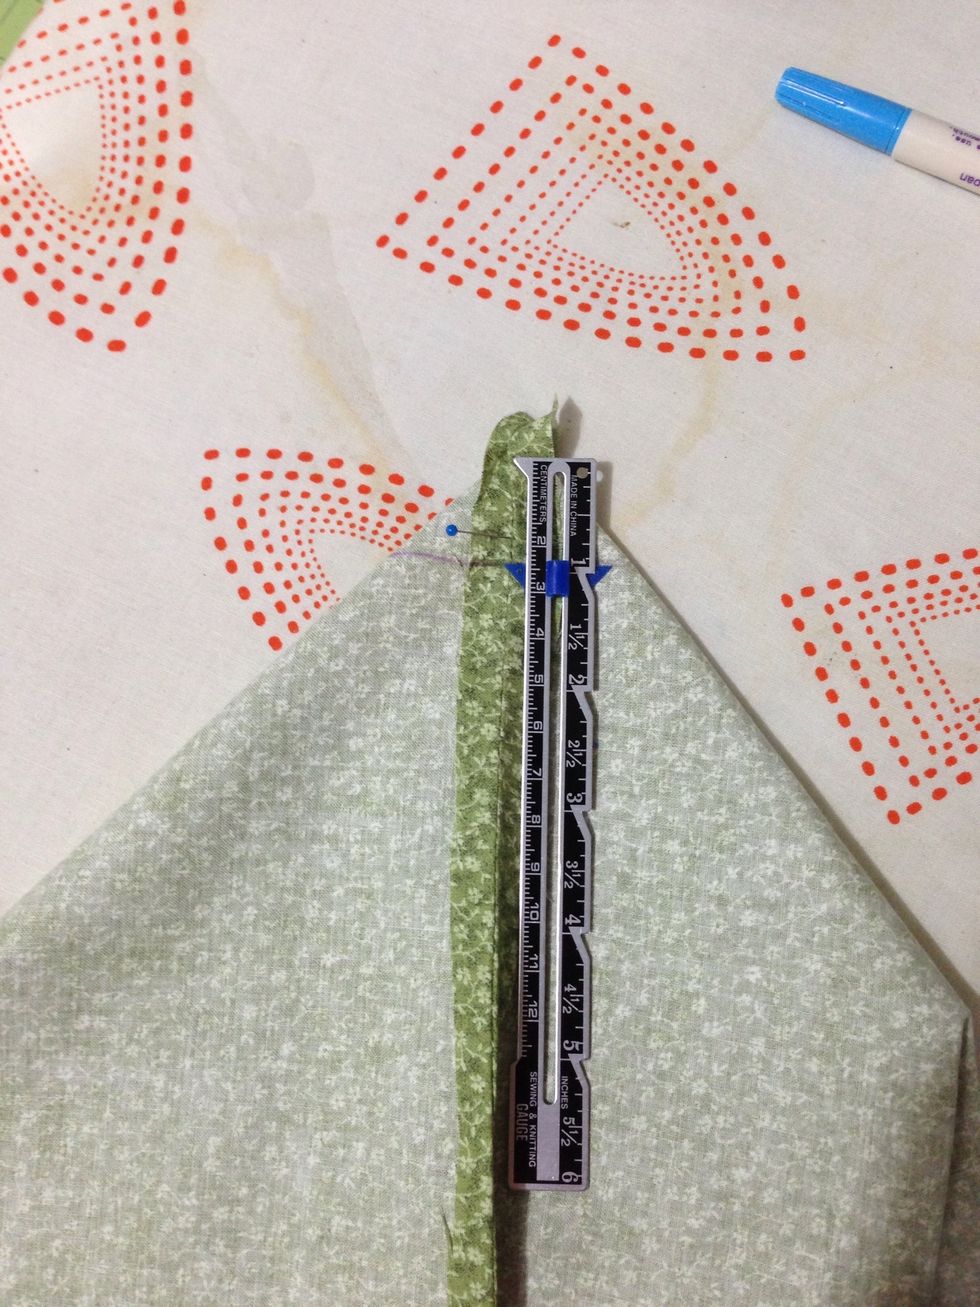
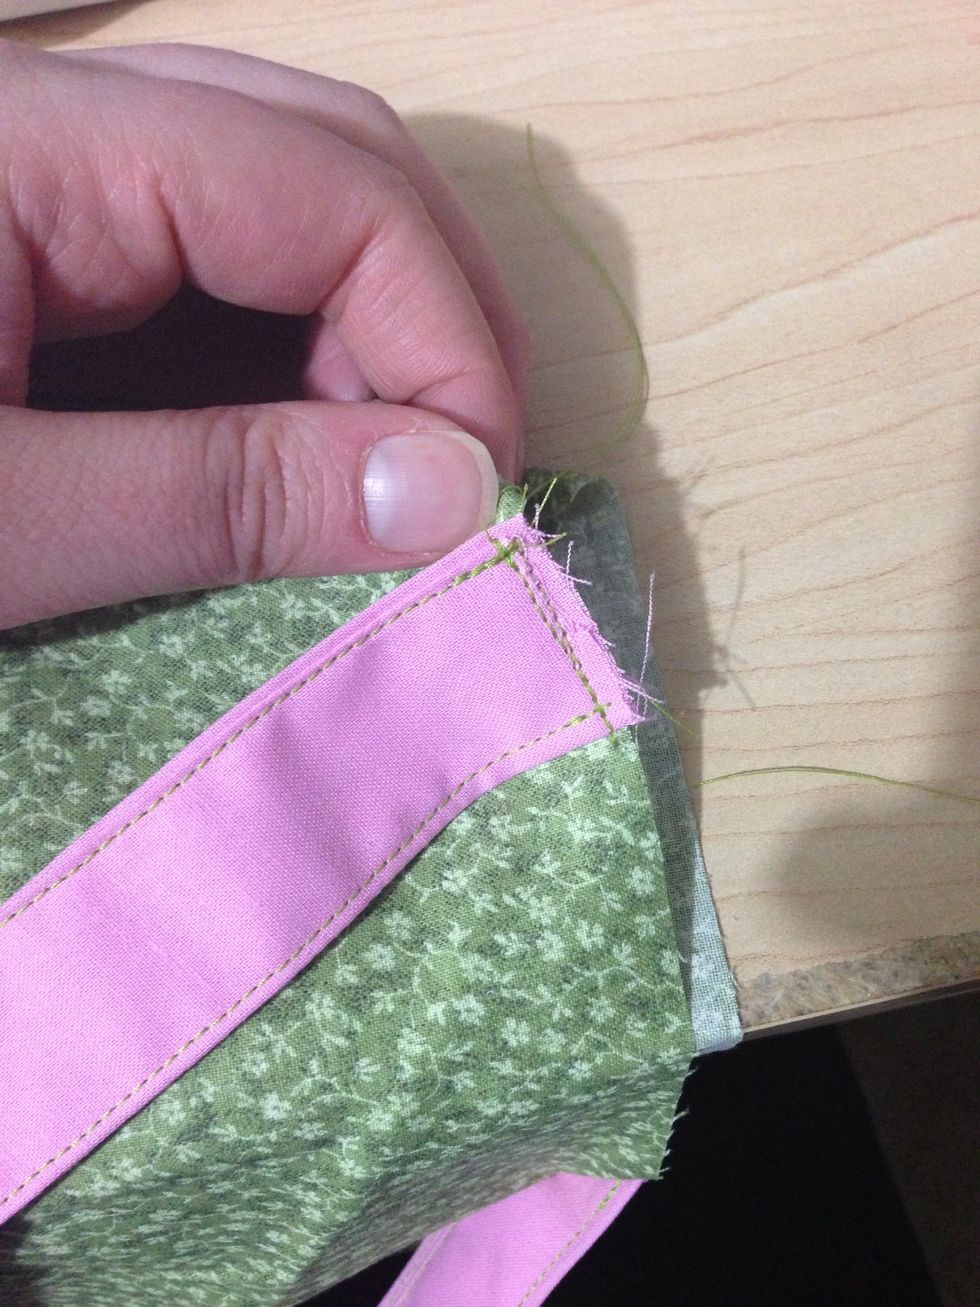
Pin bottom seam of bag to one side seam creating a triangle. To make sure it's even put a pin through the top seam & if it comes out the seam on the other side you are good. Measure 1/2 in & mark it.
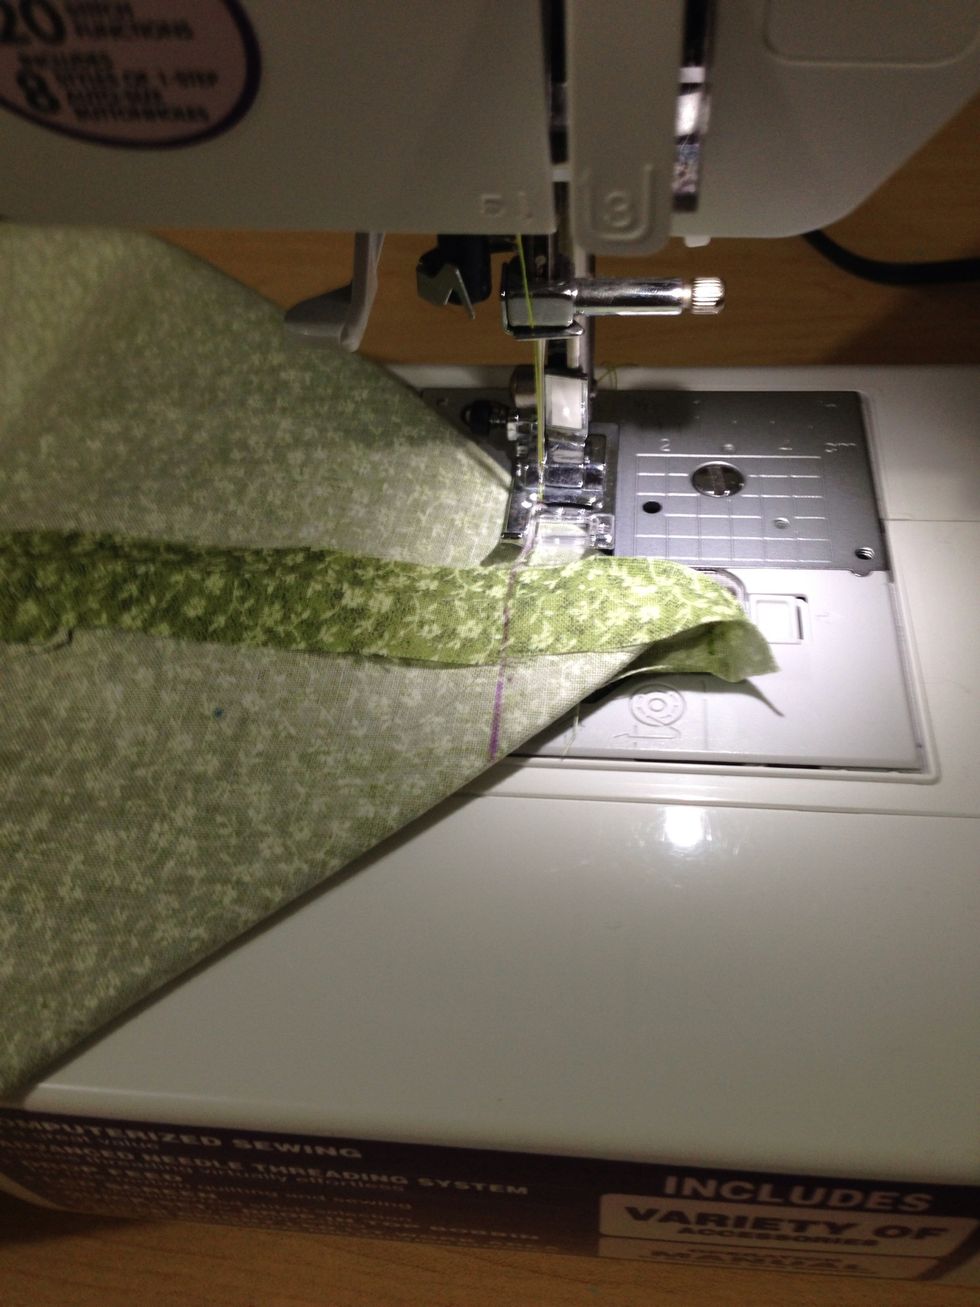
Sew over the mark & when you reach the end backstitch over it & then sew over it one more time.
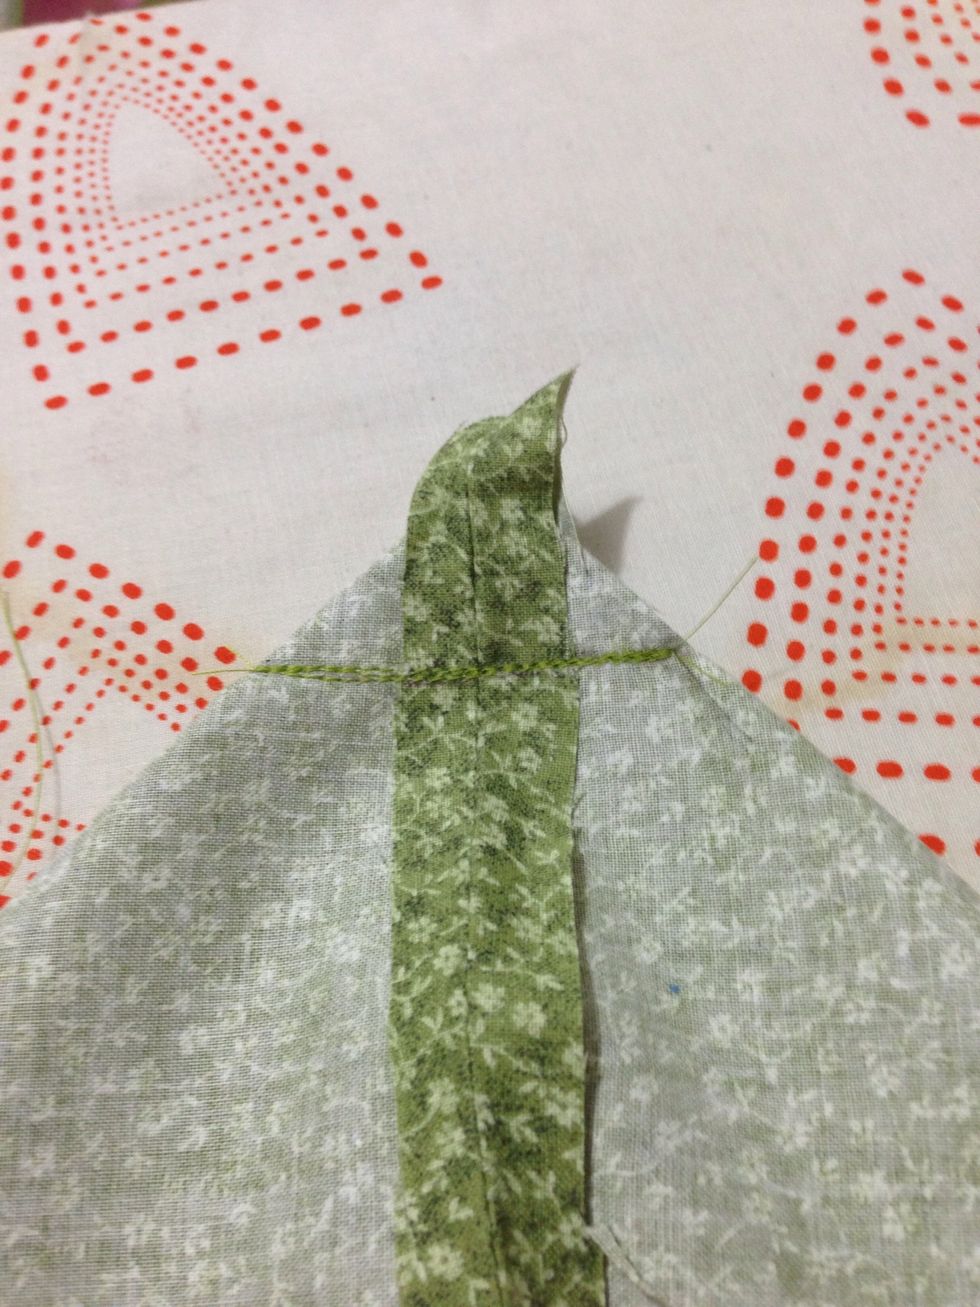
Here's how the corner will lock when you are done.
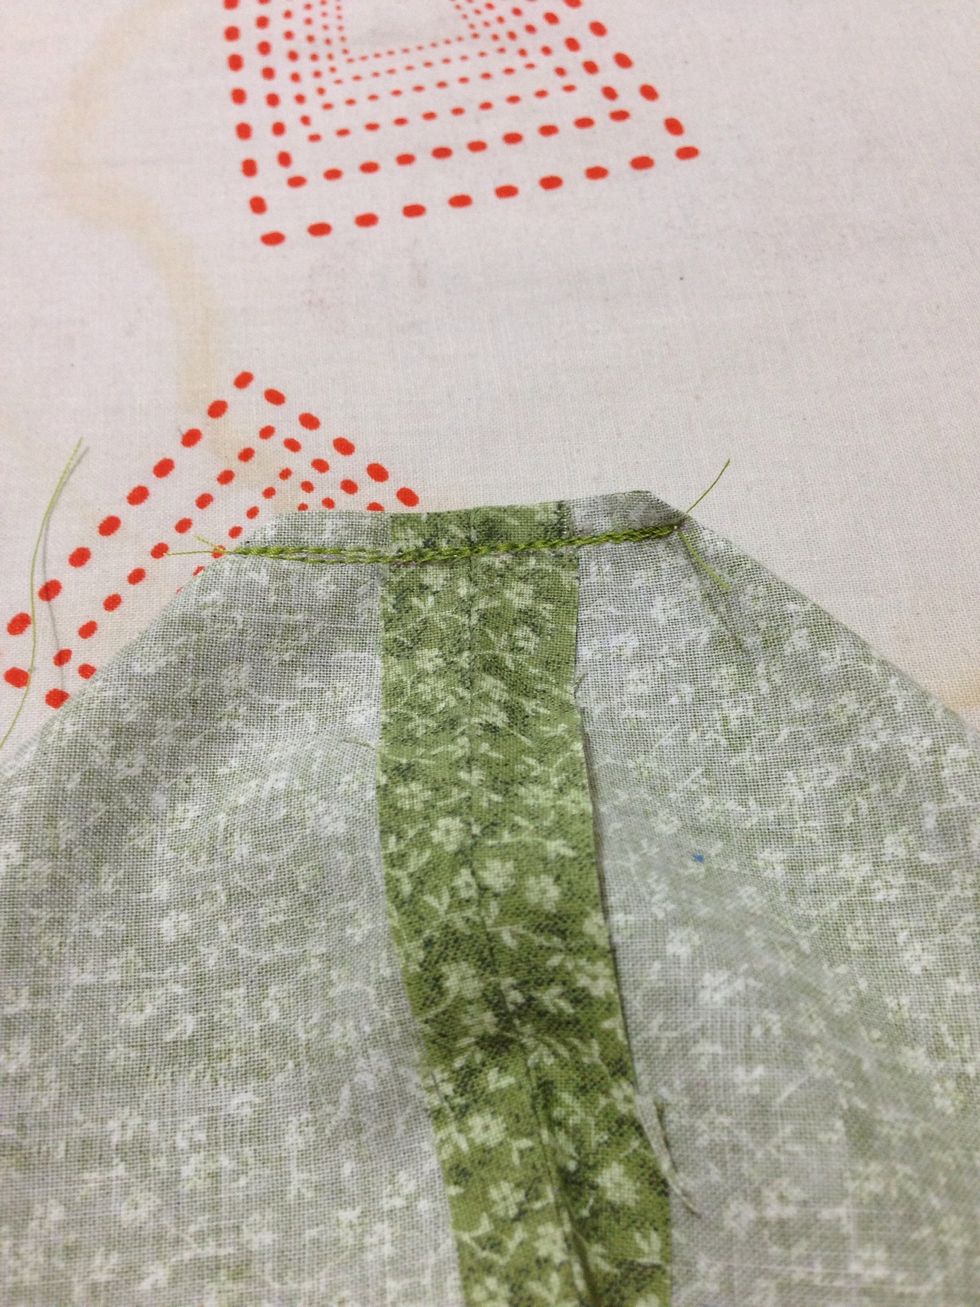
Cut the corner off 1/2" above the seam.
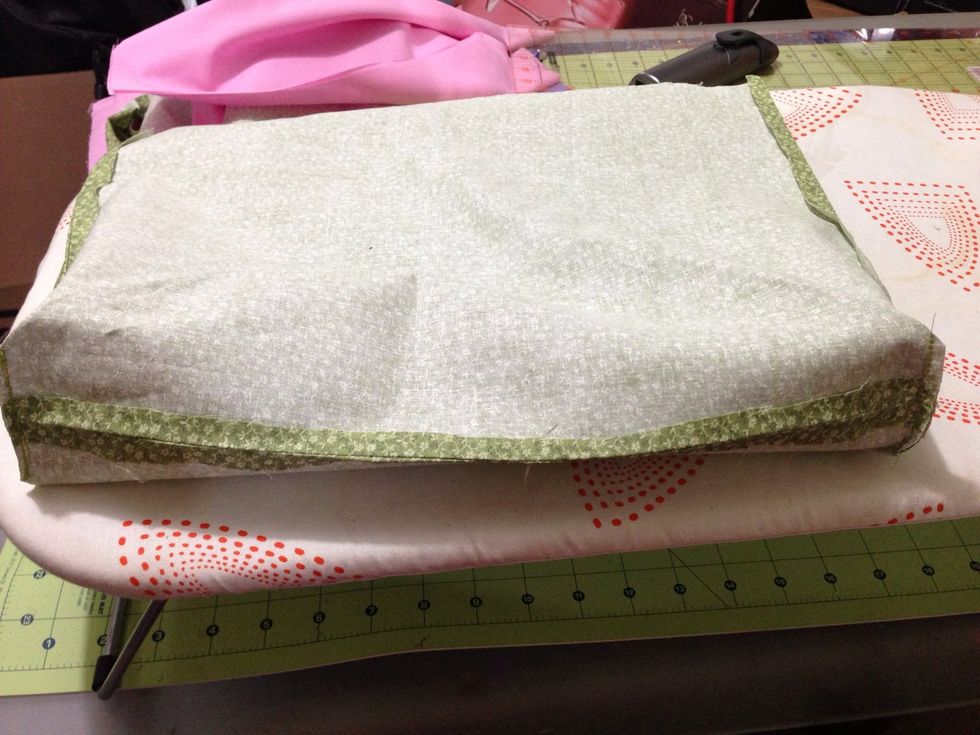
Do this to both sides of the bottom of the bag.
Repeat steps 2-8 on the lining.
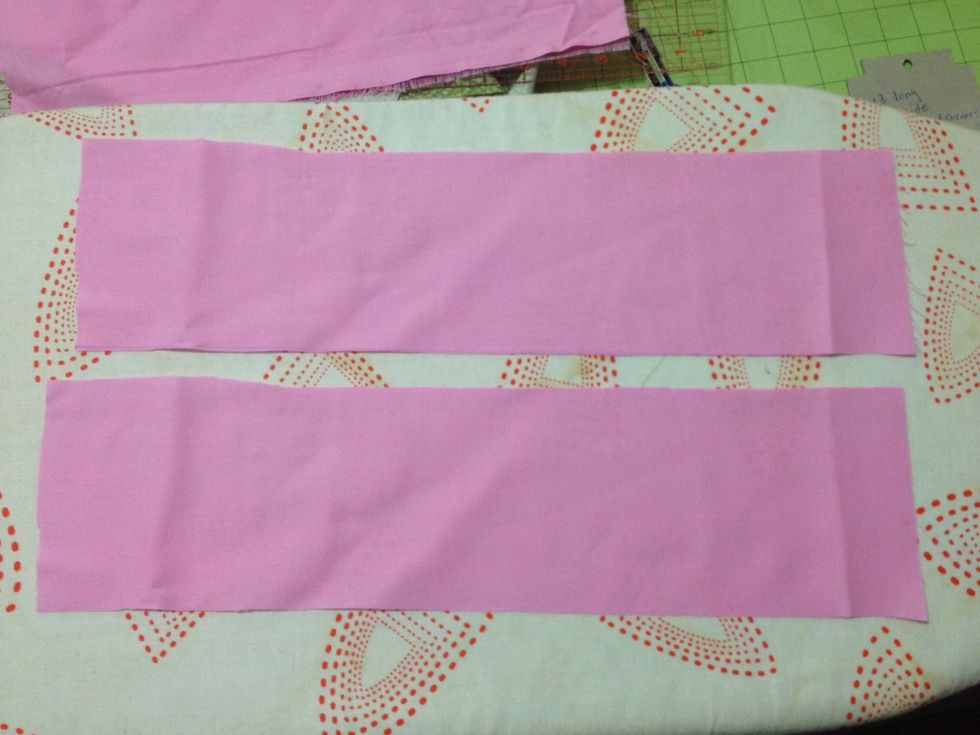
These are you handles
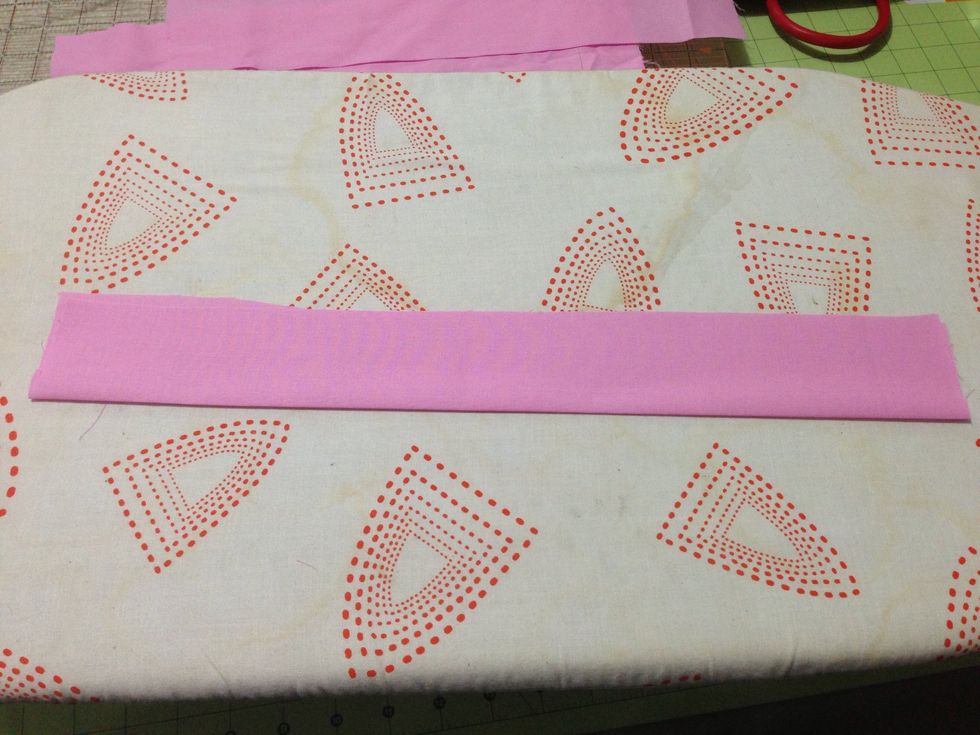
Easiest way to make the handle is to fold it in half lengthwise & press it.
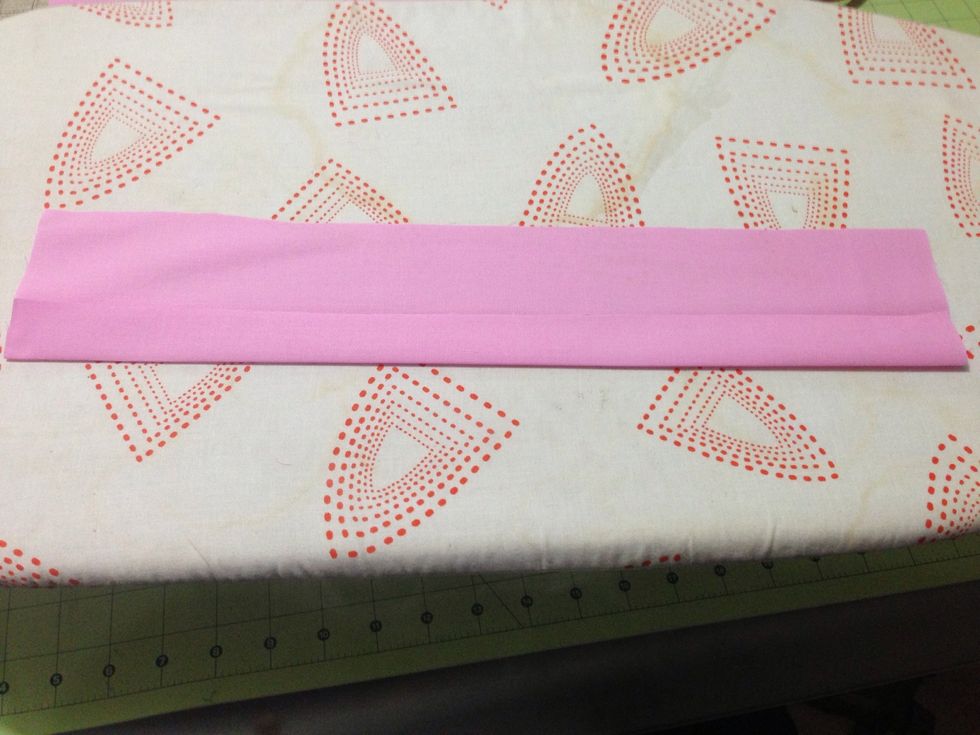
Next open it & fold one edge to the crease. press just the new fold. Repeat with other side. When you are done you should the raw edges lined up with the original crease.
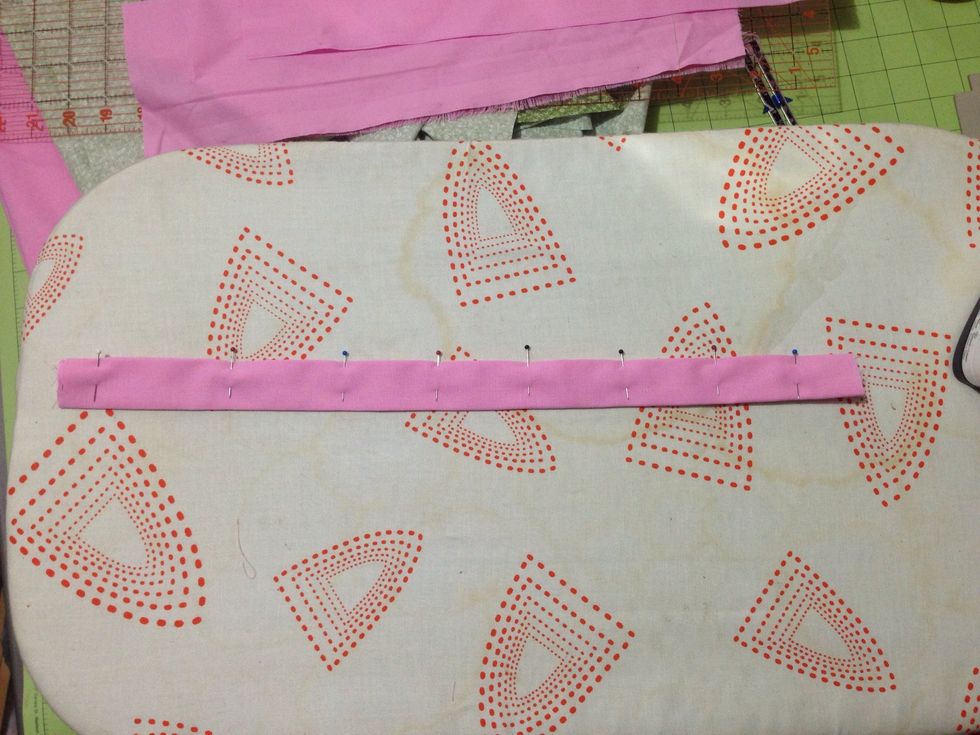
Fold in half again so edges are inside. Press & then pin along the edge.

Make a narrow seam,backstitching at each end, on both sides of the strap. By doing a narrow hem on both sides it gives it a professional look.
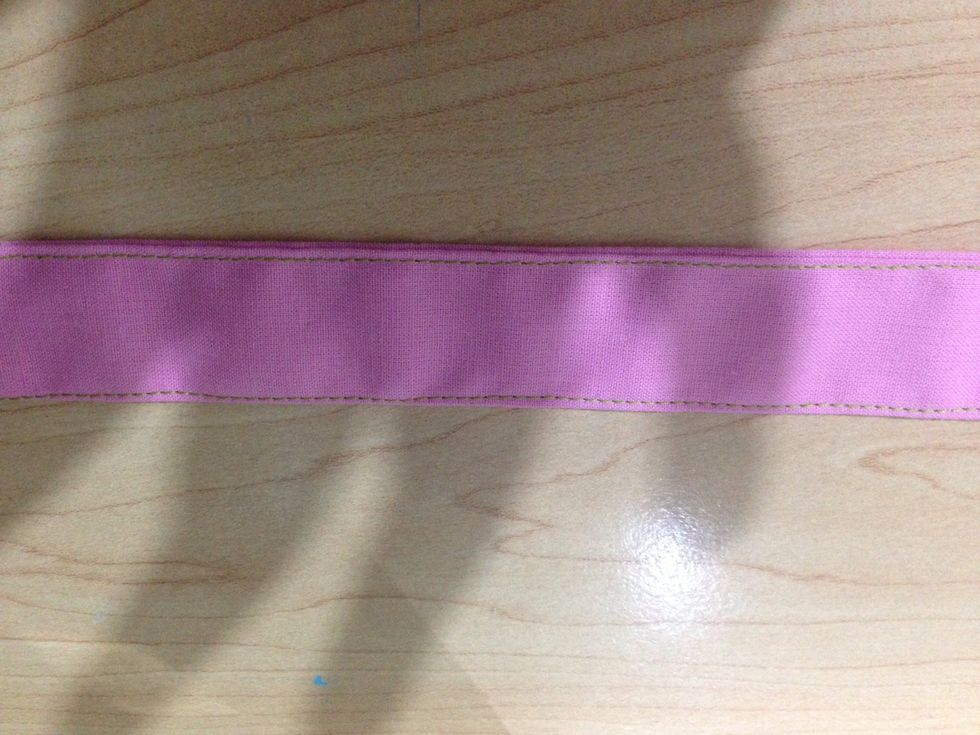
By doing a narrow hem on both sides it gives it a professional look. Repeat steps 11-14 to create a second strap.
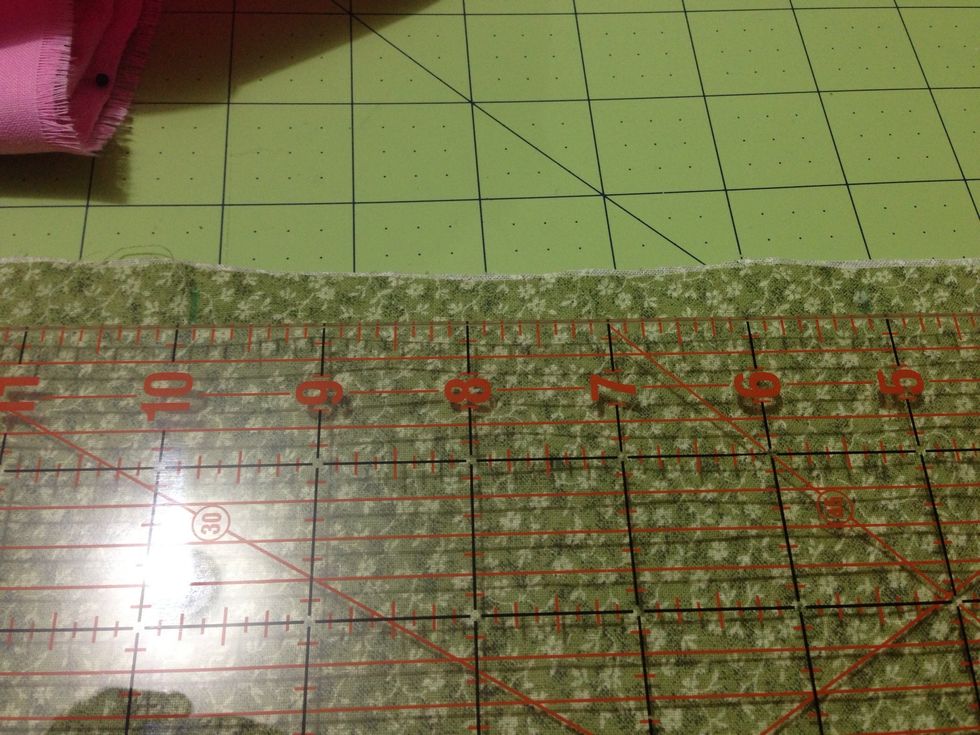
With right side facing out measure 4 in's from each side & mark it.
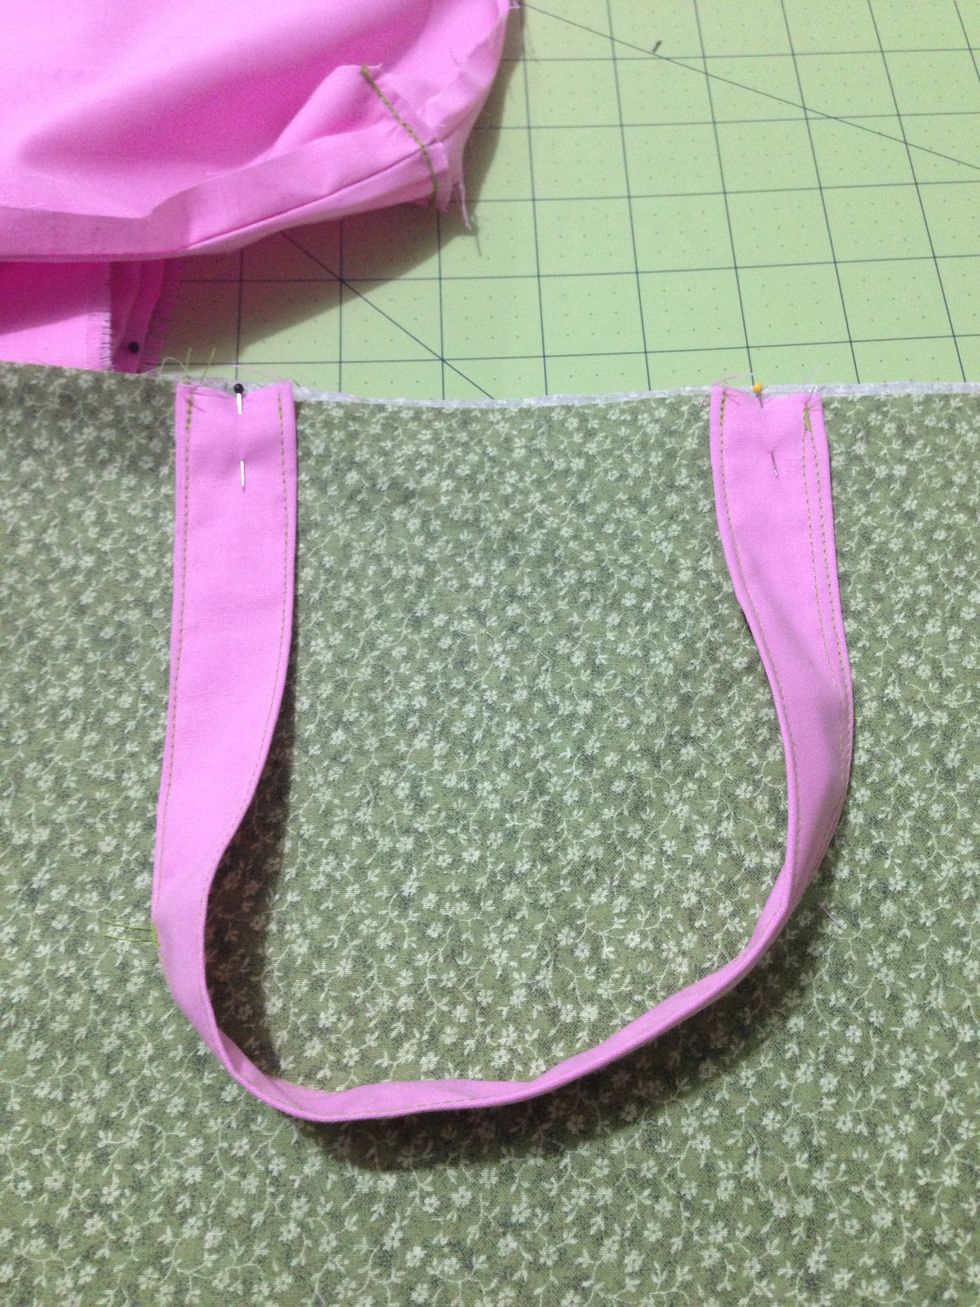
Pin handles at marks making sure the handle isn't twisted.
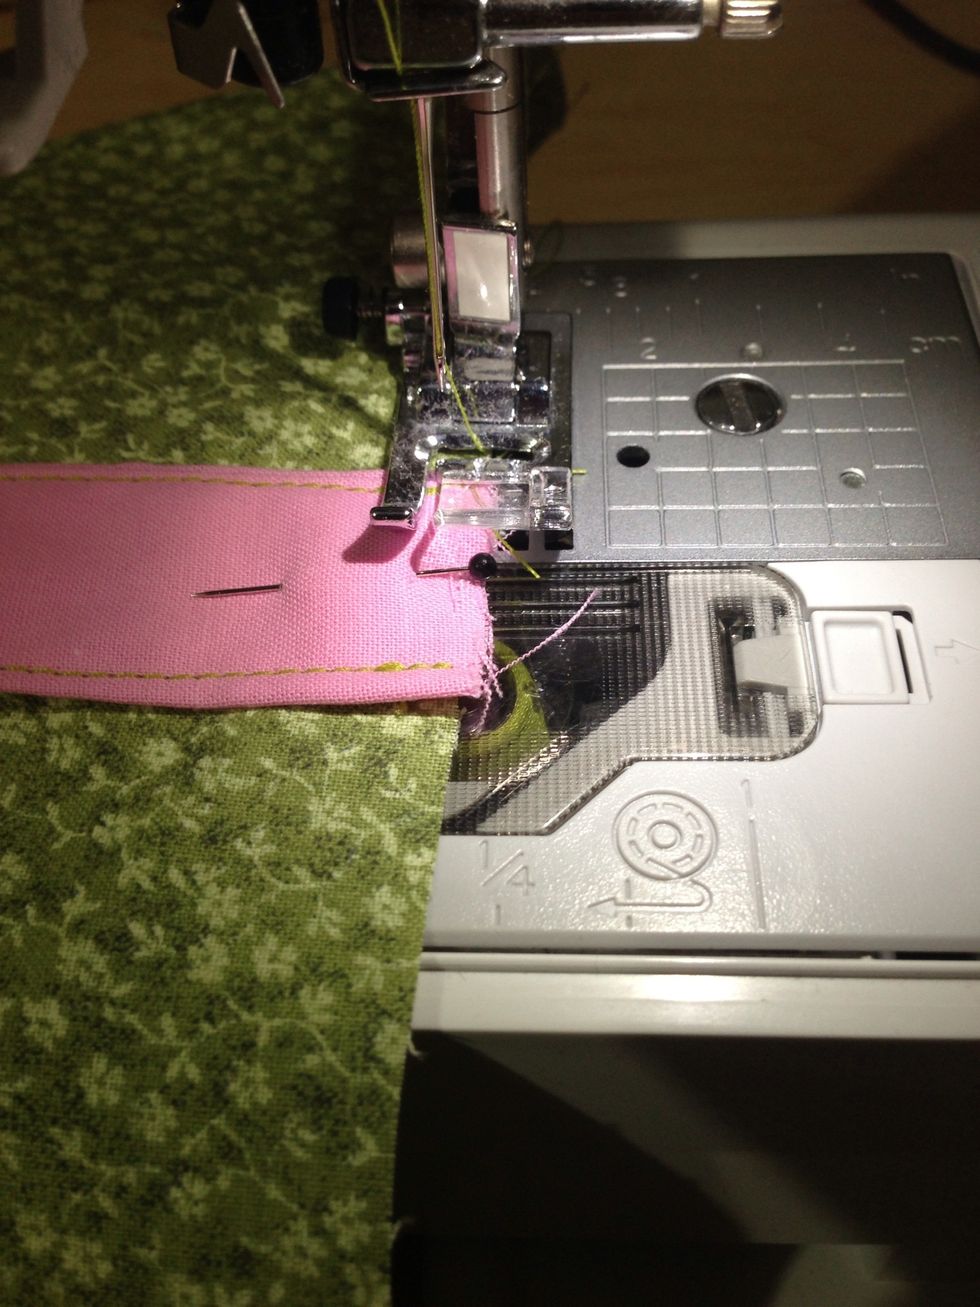
Sew handle in place using a 1/4 in seam allowance. I sew and then backstitch over what I just sewed. Repeat on other side of handle.
Repeat steps 16-18 on other side of the bag.
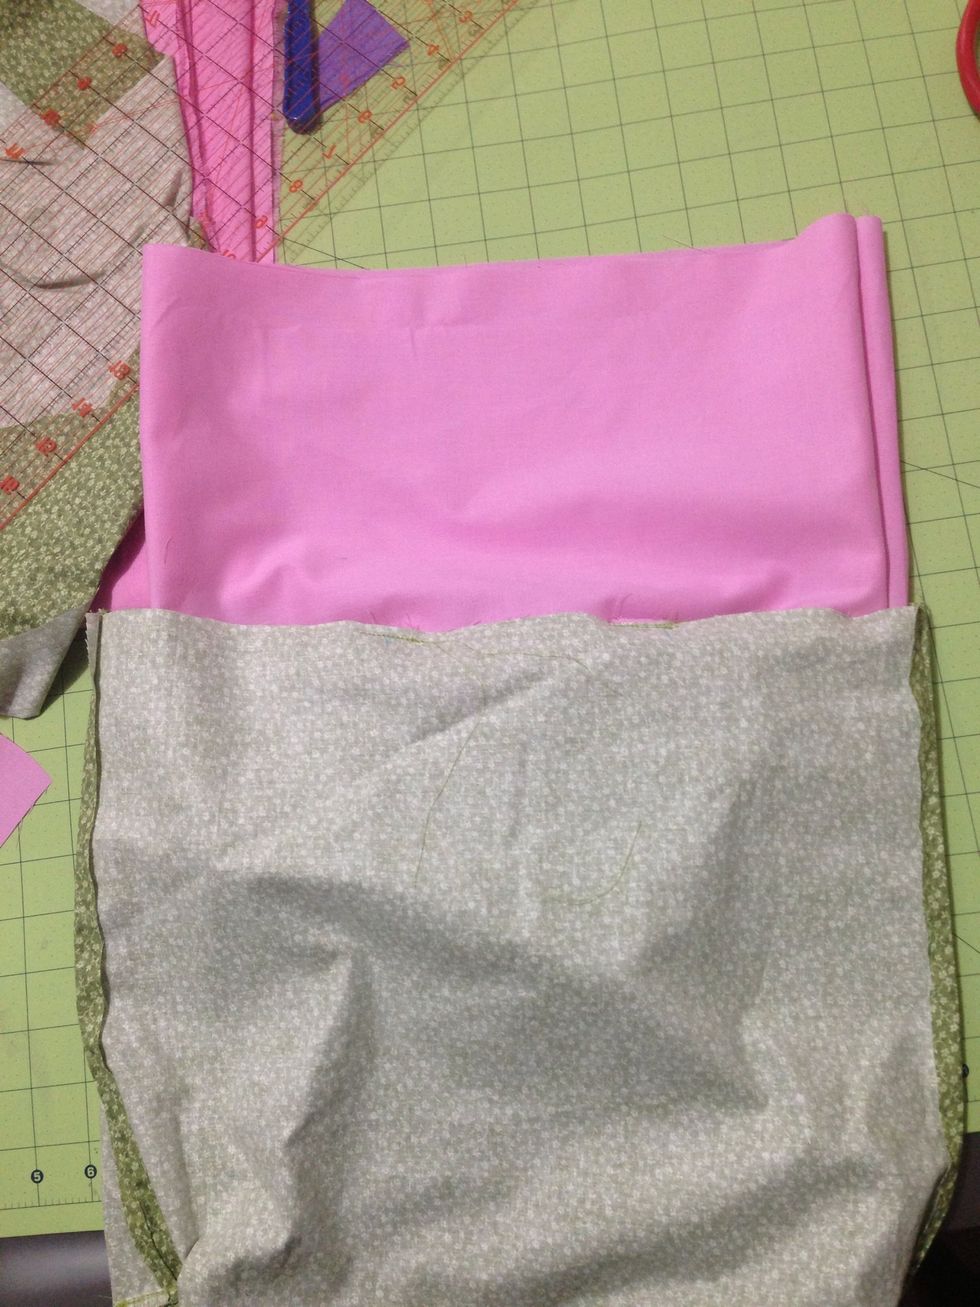
With right sides facing each other insert lining into bag matching up the side seams.
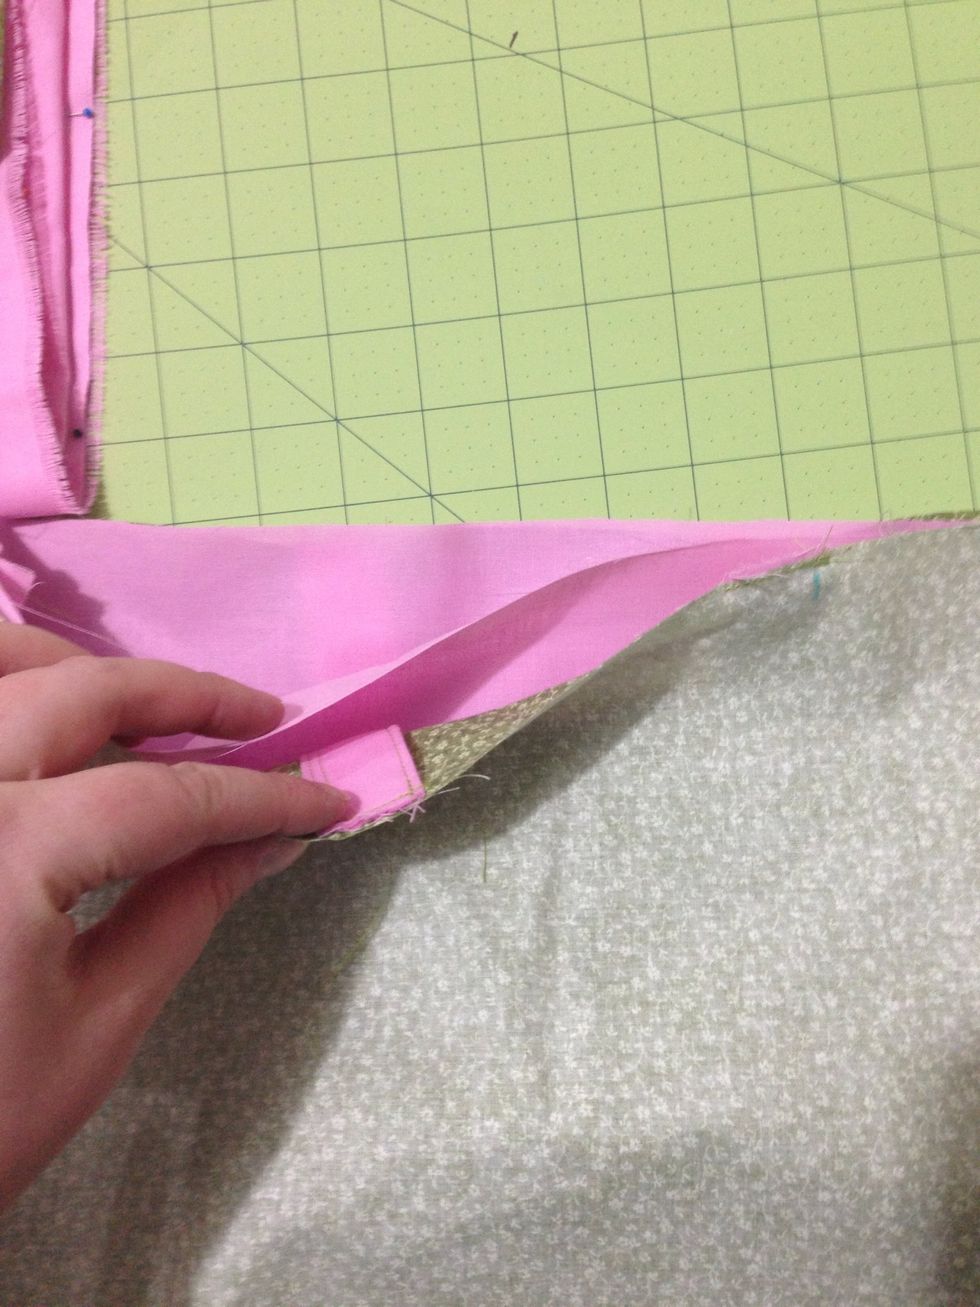
Make sure handles are flat on the inside so that you don't sew over the wring part if the handle & have an awkward situation.
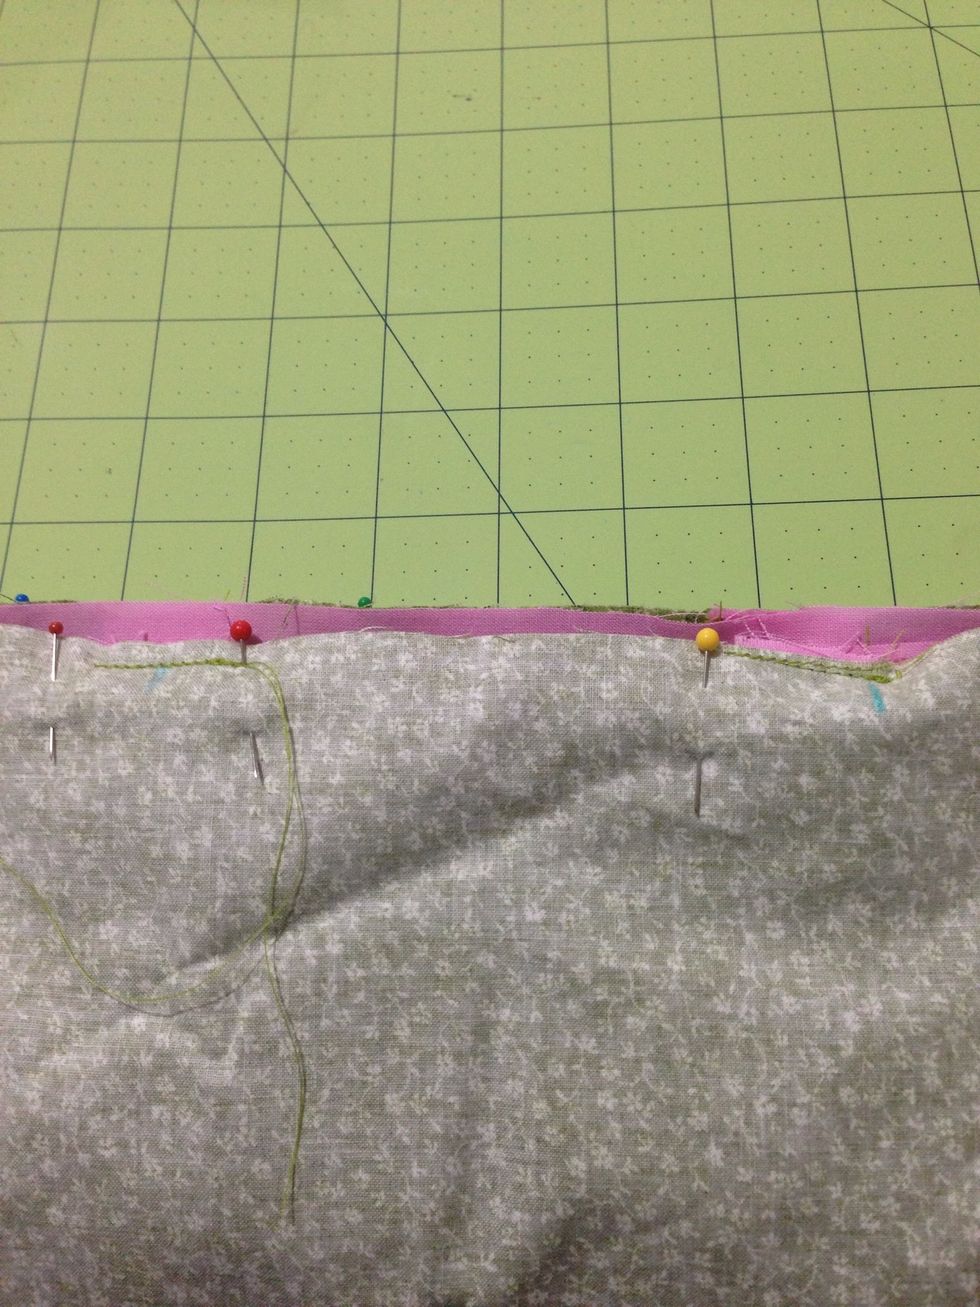
Pin around the top leaving the space between one set if handles open. I used bigger pins to mark out this area.

Starting at one marking sew narrow seam around top of bag stopping when you reach your other mark. I usually leave a 3 in gap. Remember to backstitch when you start & stop.
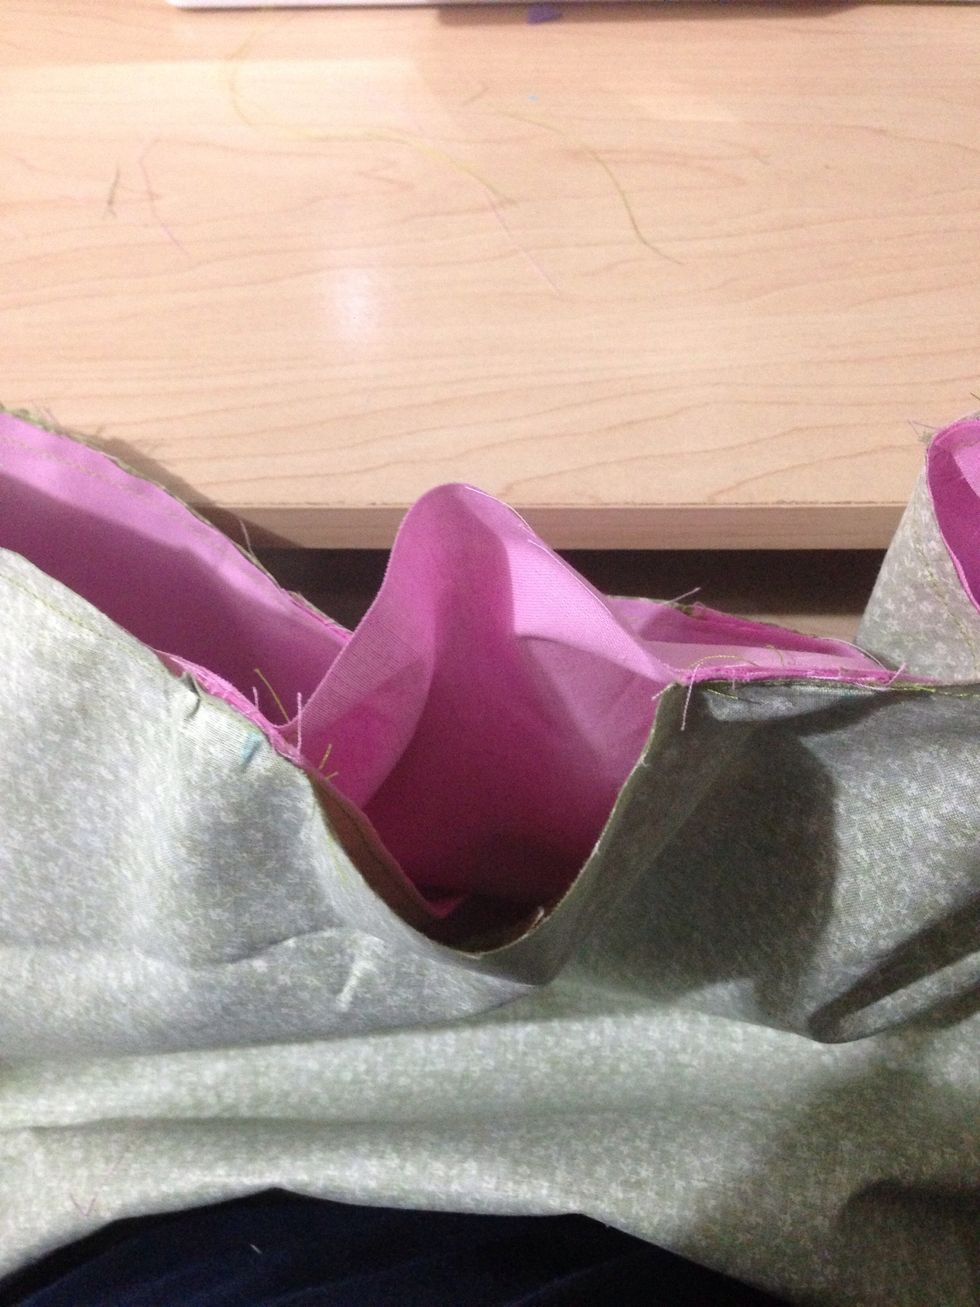
This is the opening you are going to use to pull the bag through to make it right side out.
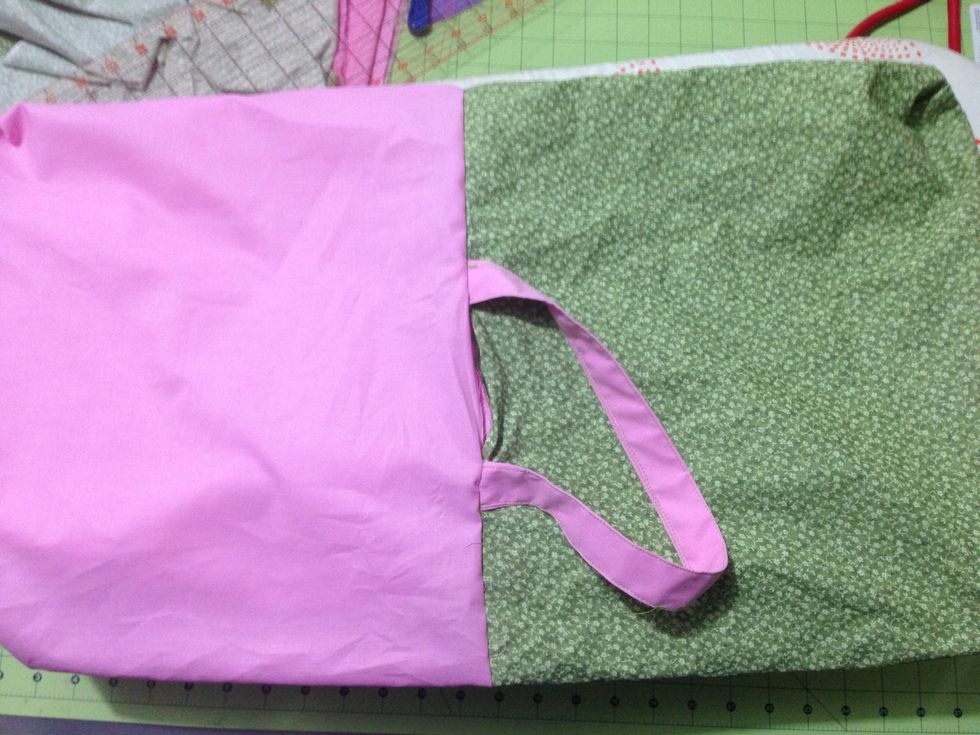
See now you have your handles & the lining & exterior facing the right side. Put the lining inside of the bag.

Pin the gap close tucking the raw edges inside. Lightly press the top of the bag & then sew a narrow seam around the top if the backstitching at the beginning & end.
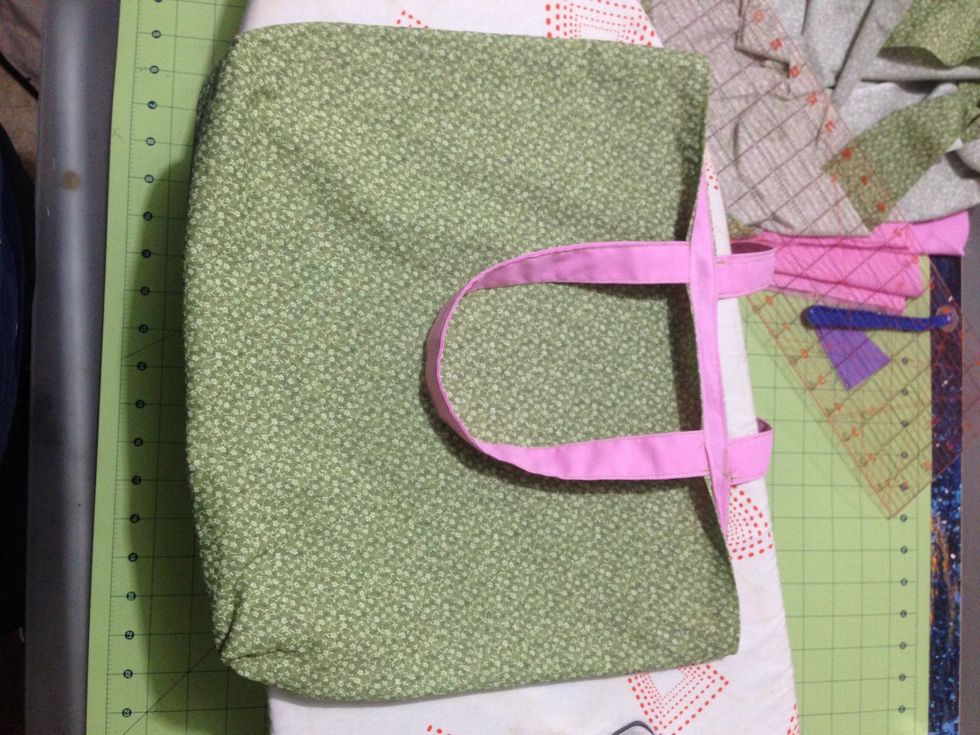
By sewing a narrow seam around the top of the bag you close the gap as well as create a finished looking edge. Press the bag.
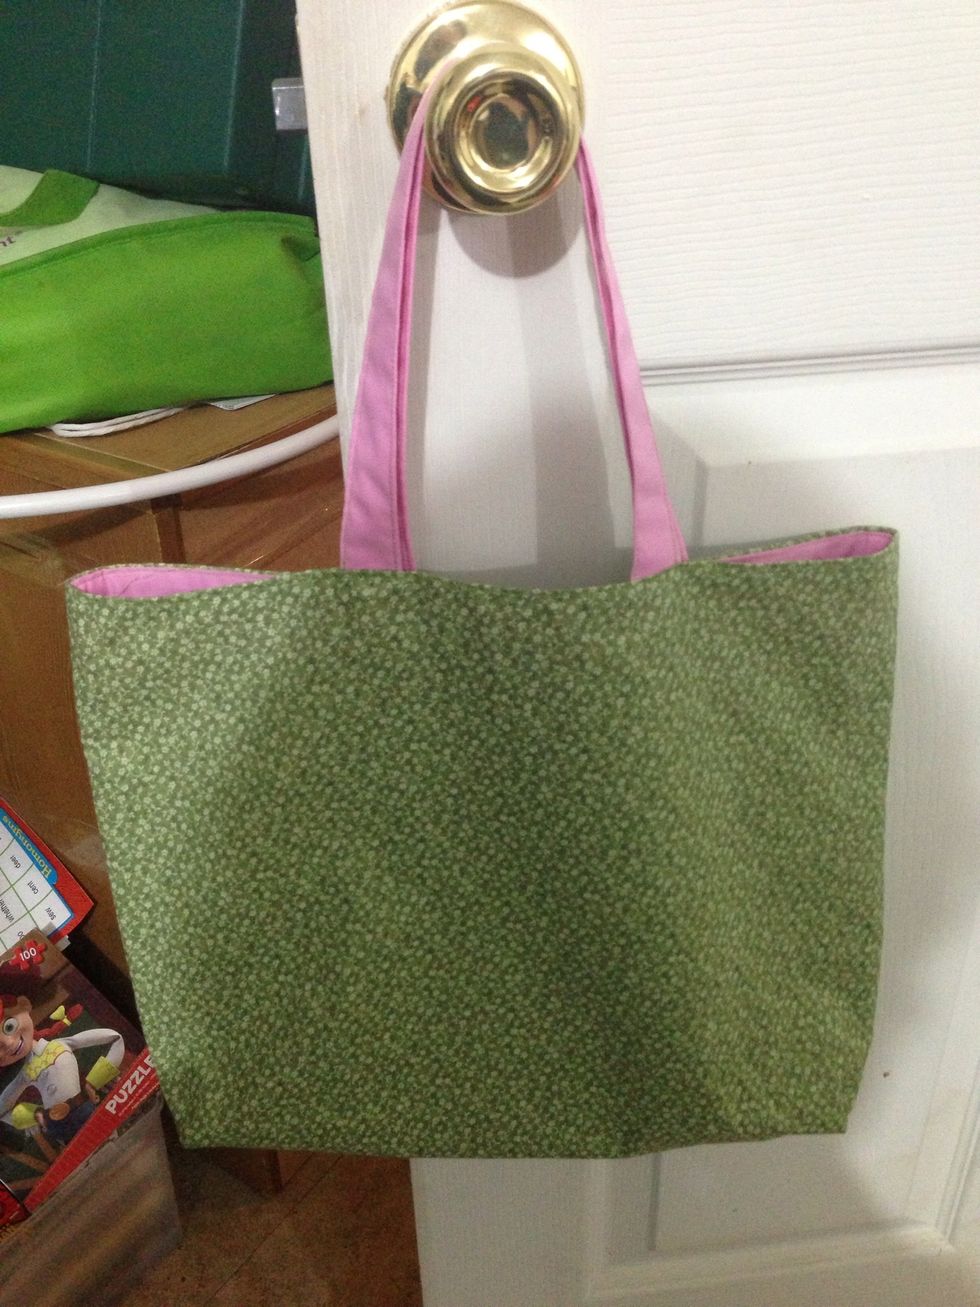
Now you have a pretty bag with a contrasting lining.
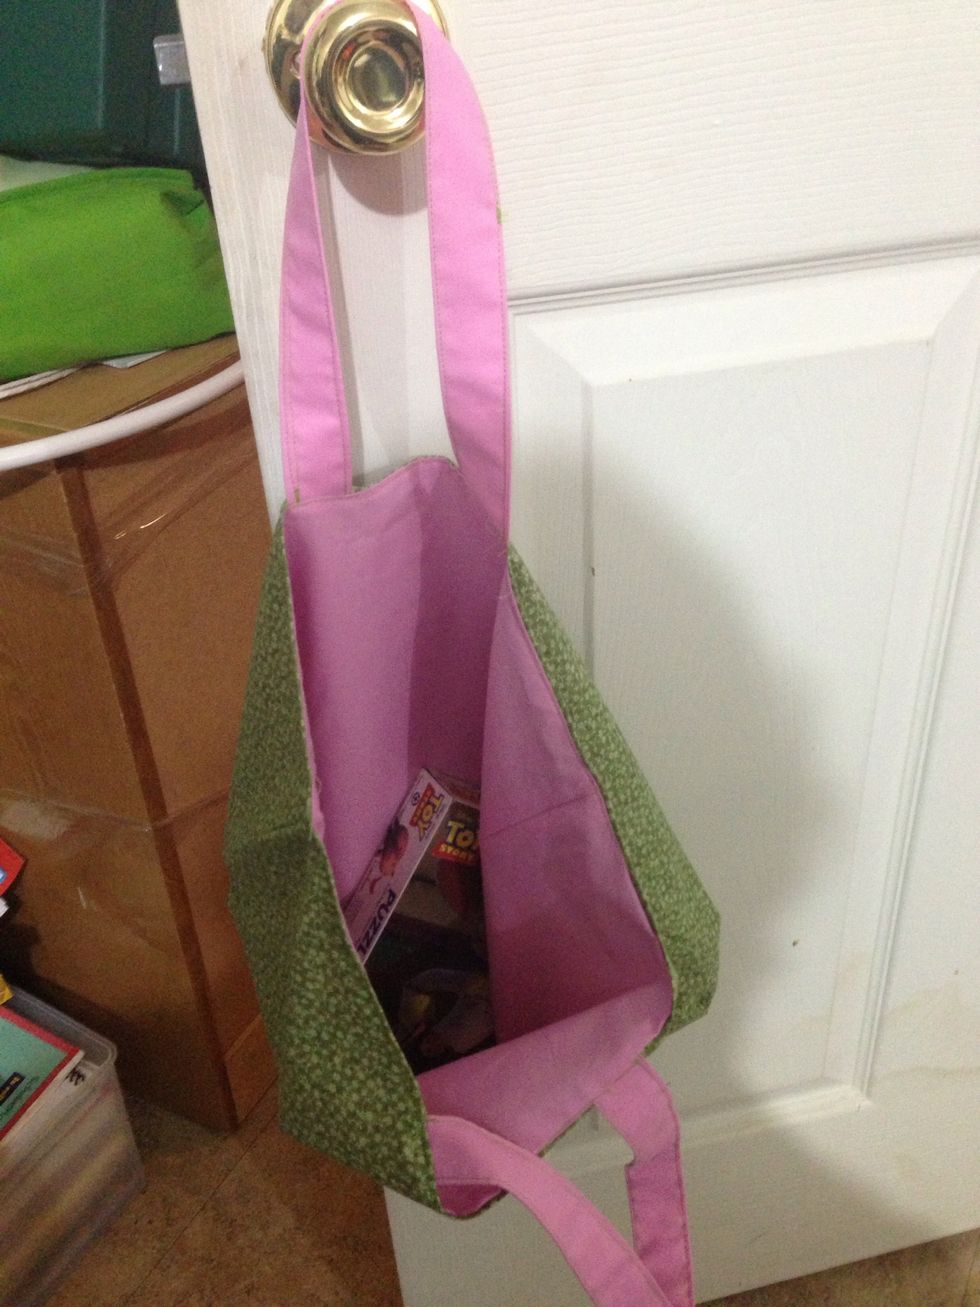
Here's the inside. I made this for my daughter who uses it to bring her church books with her to mass on Sunday's.