The Conversation (0)
Sign Up
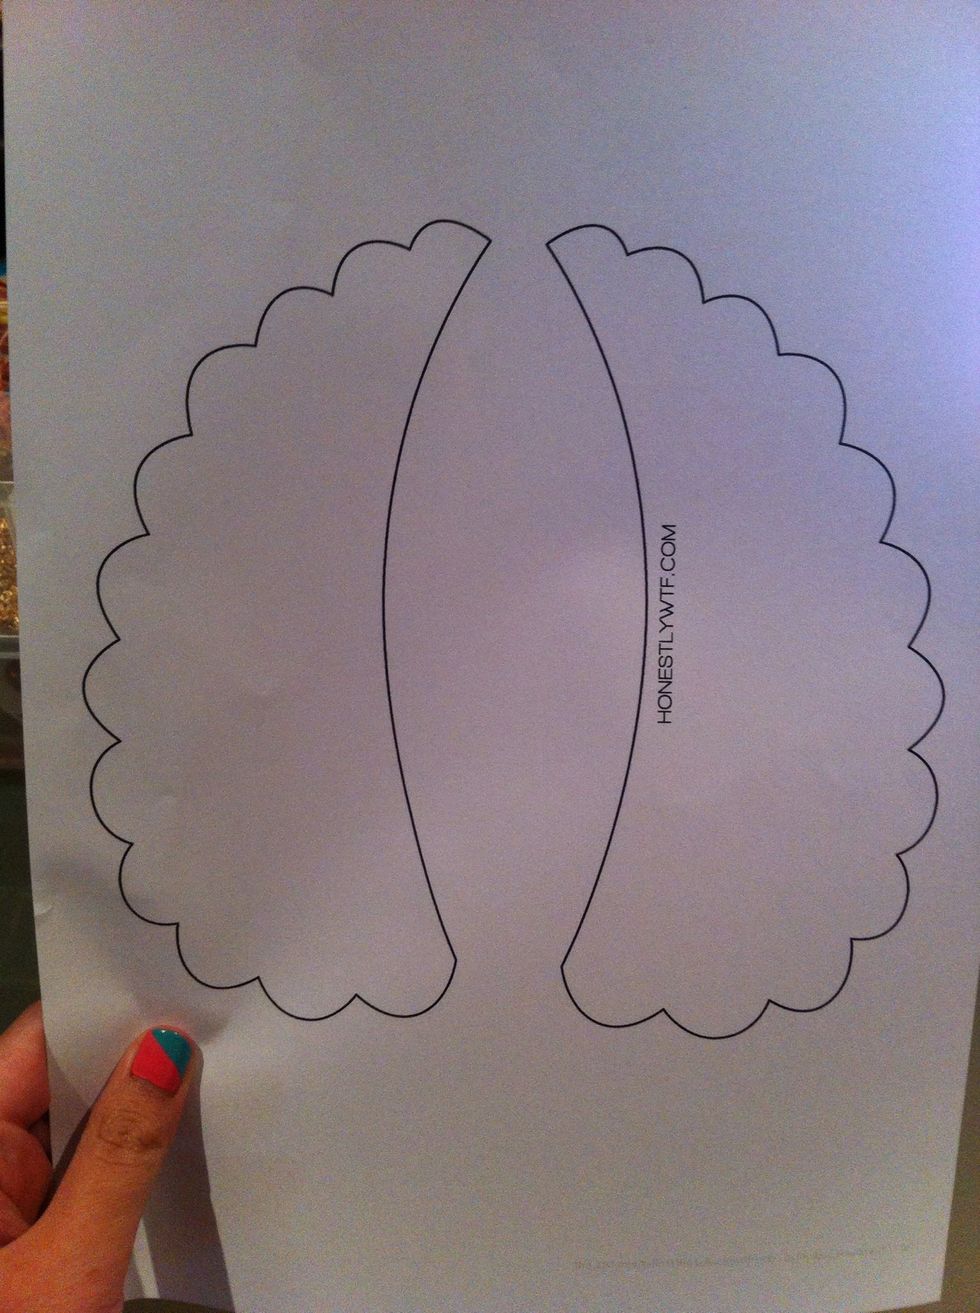
Print out your template or draw your own. Mine was from honestywtf.com (a great DIY blog)
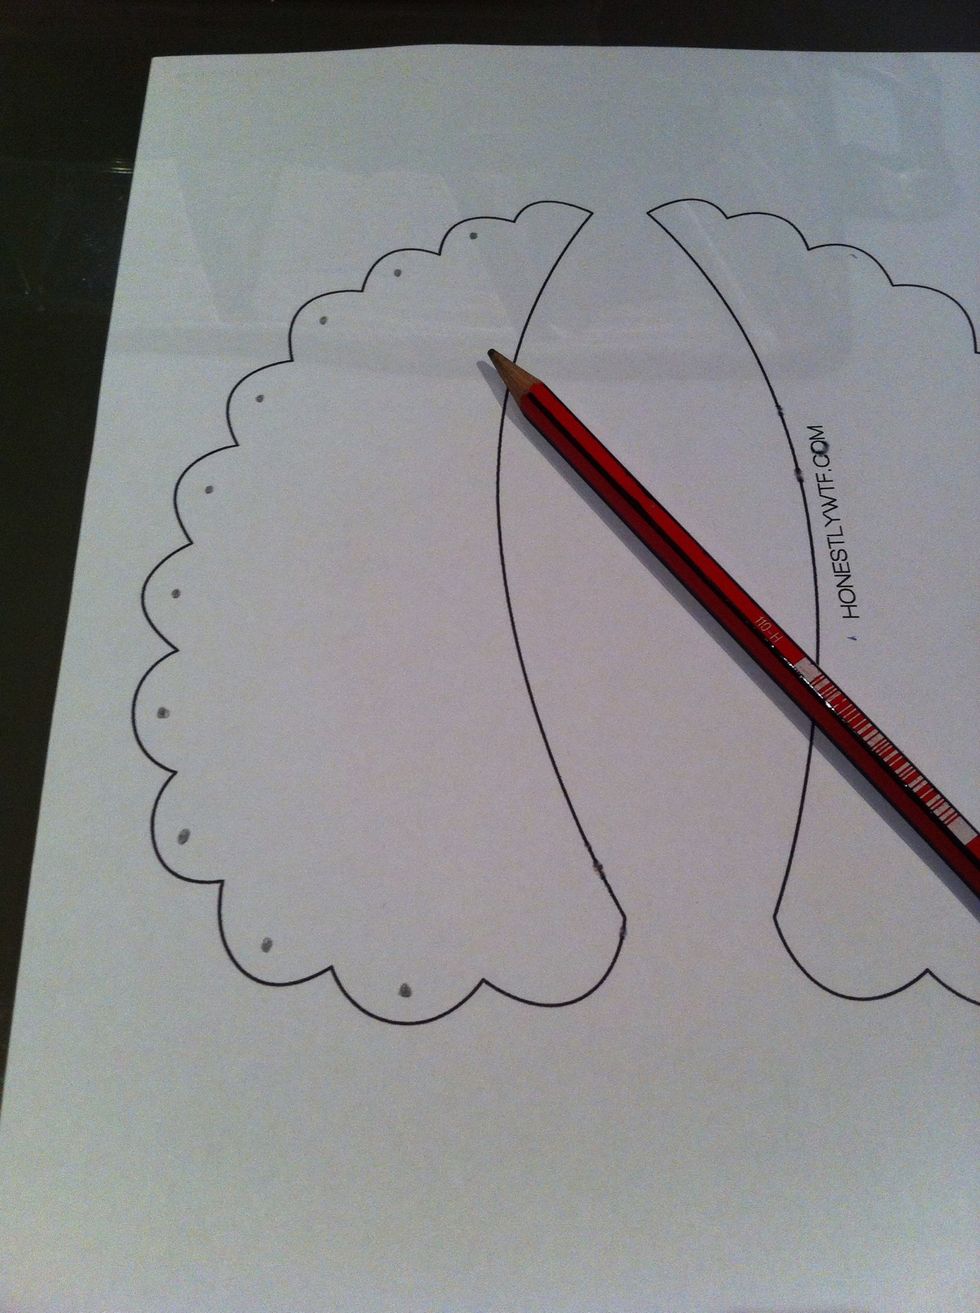
I drew in some dots in the middle of each scallop as a guide for the rhinestones later
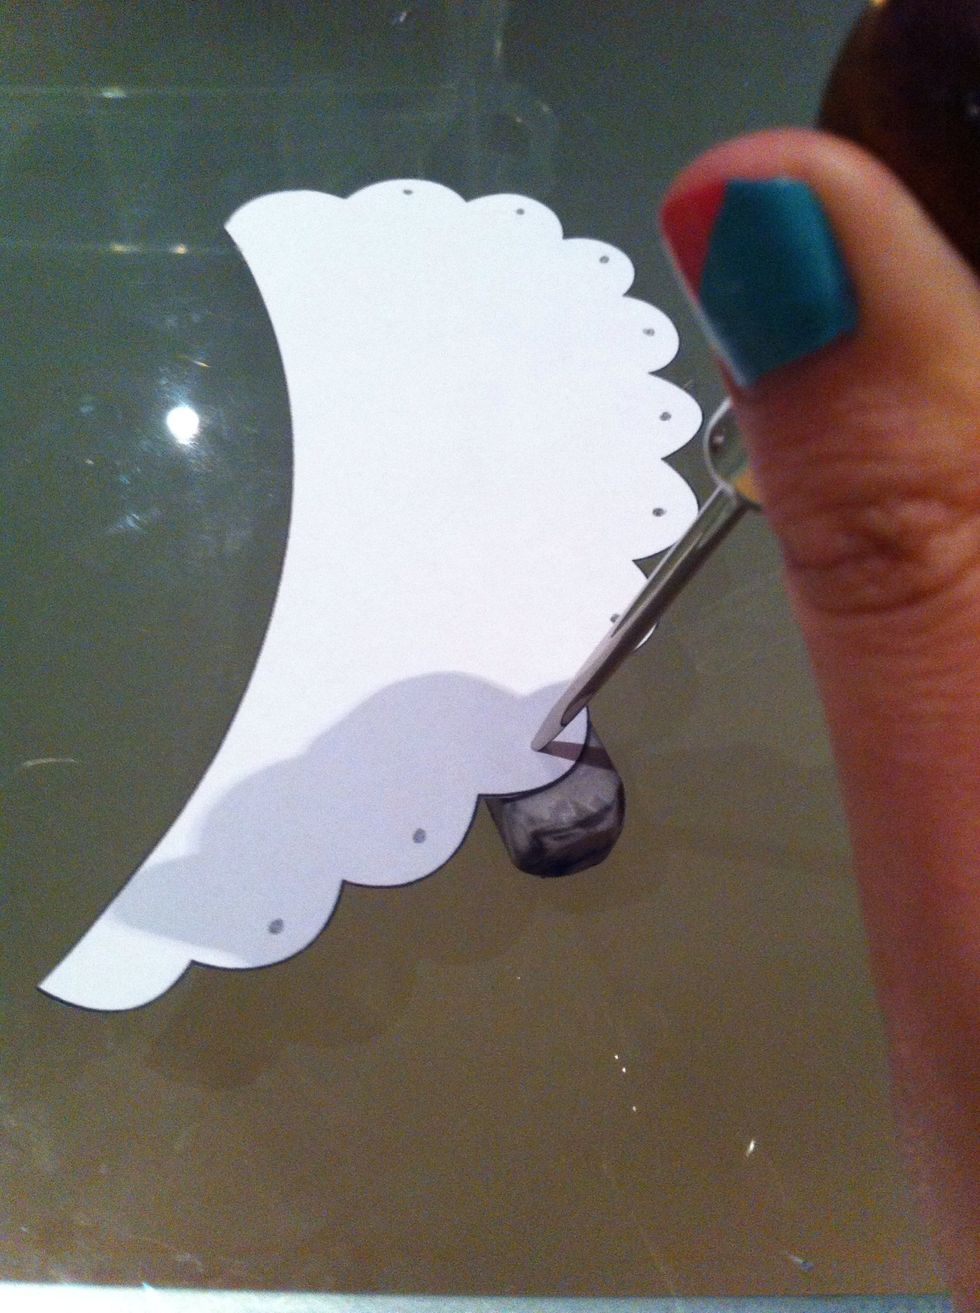
Cut out the template, I only use one side to make sure that the dots are the same on both pieces. Punch a hole through each dot.

Trace out a pair of the collar template on leather (on the wrong side) or felt and cut out

Overlap the two collars and superglue the middle together

For the middle of the collar, I used an old earring that lost its pair - I removed the back of the earring
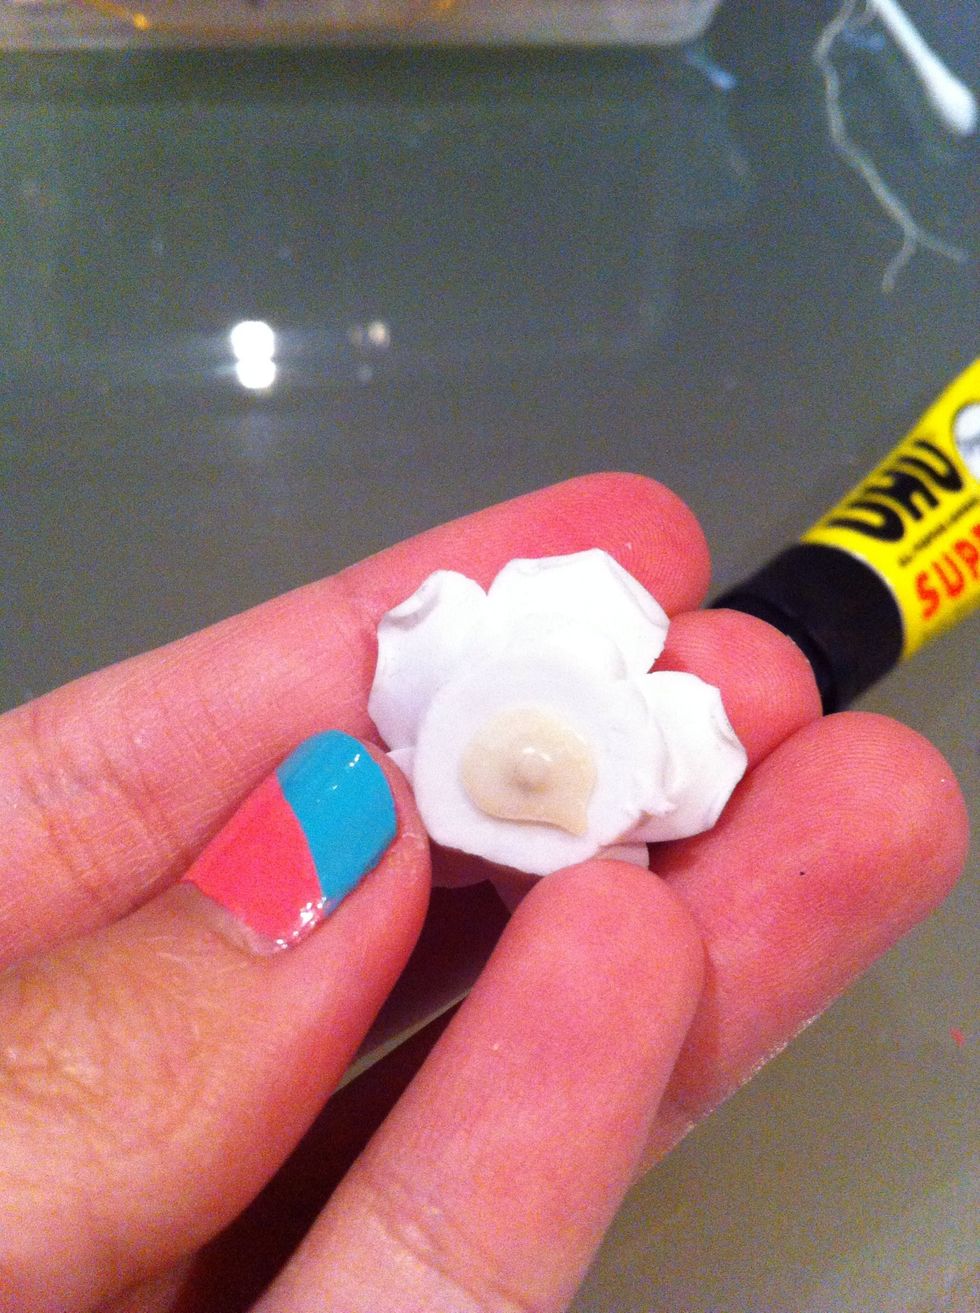
Like so!

Superglue it down! Hold it well until the glue dries

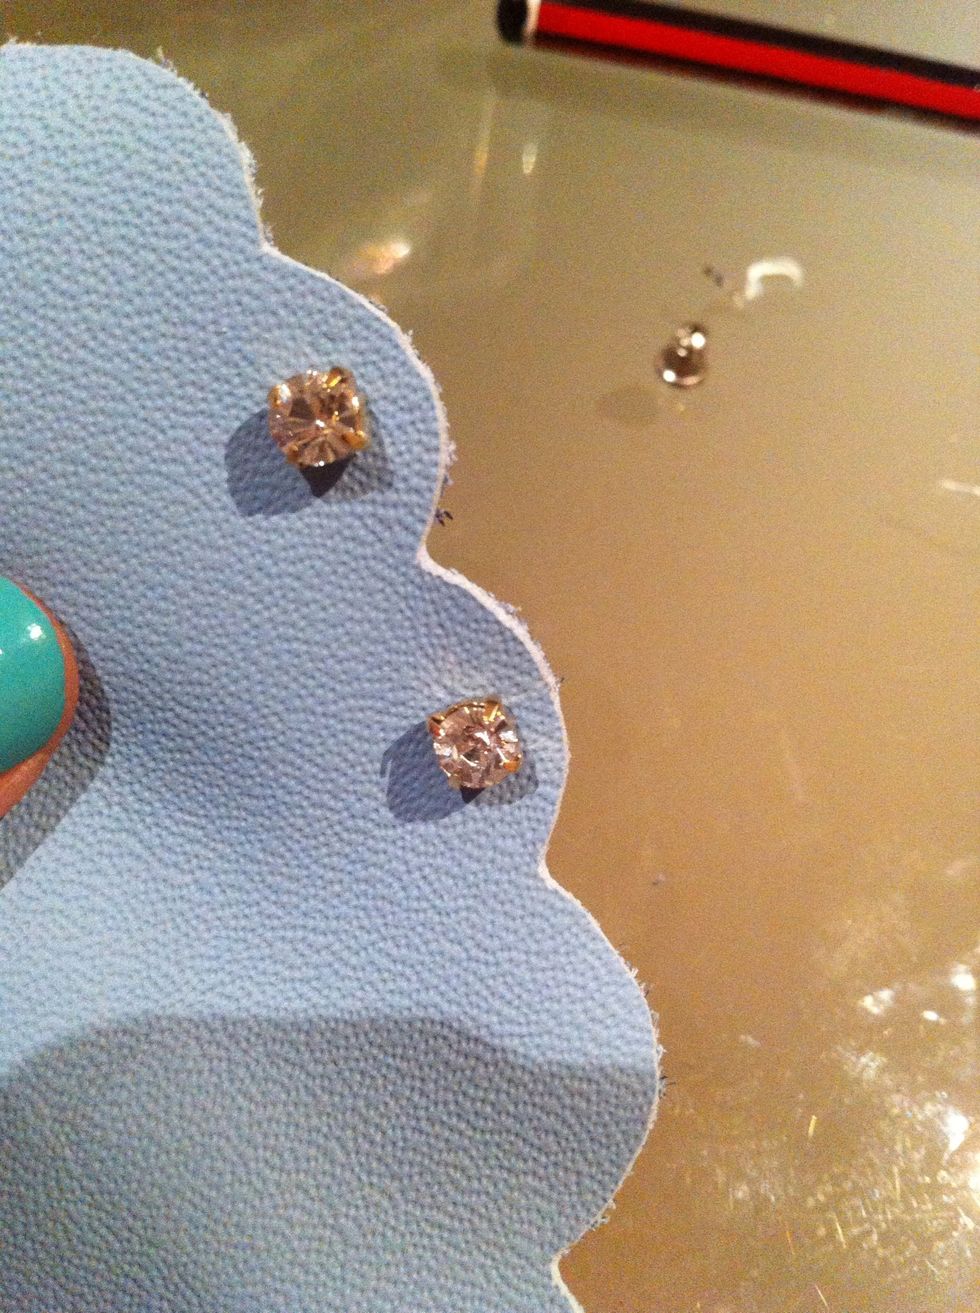
Now it's time to sew the rhinestone on! The dots from earlier was simply a guide, you want to pierce the leather next to the dot and back down on the other side next to the dot.
If you pierce straight through the dot the rhinestone will become slightly off centre as we drew the dots in the middle of the scallop
Keep sewing!
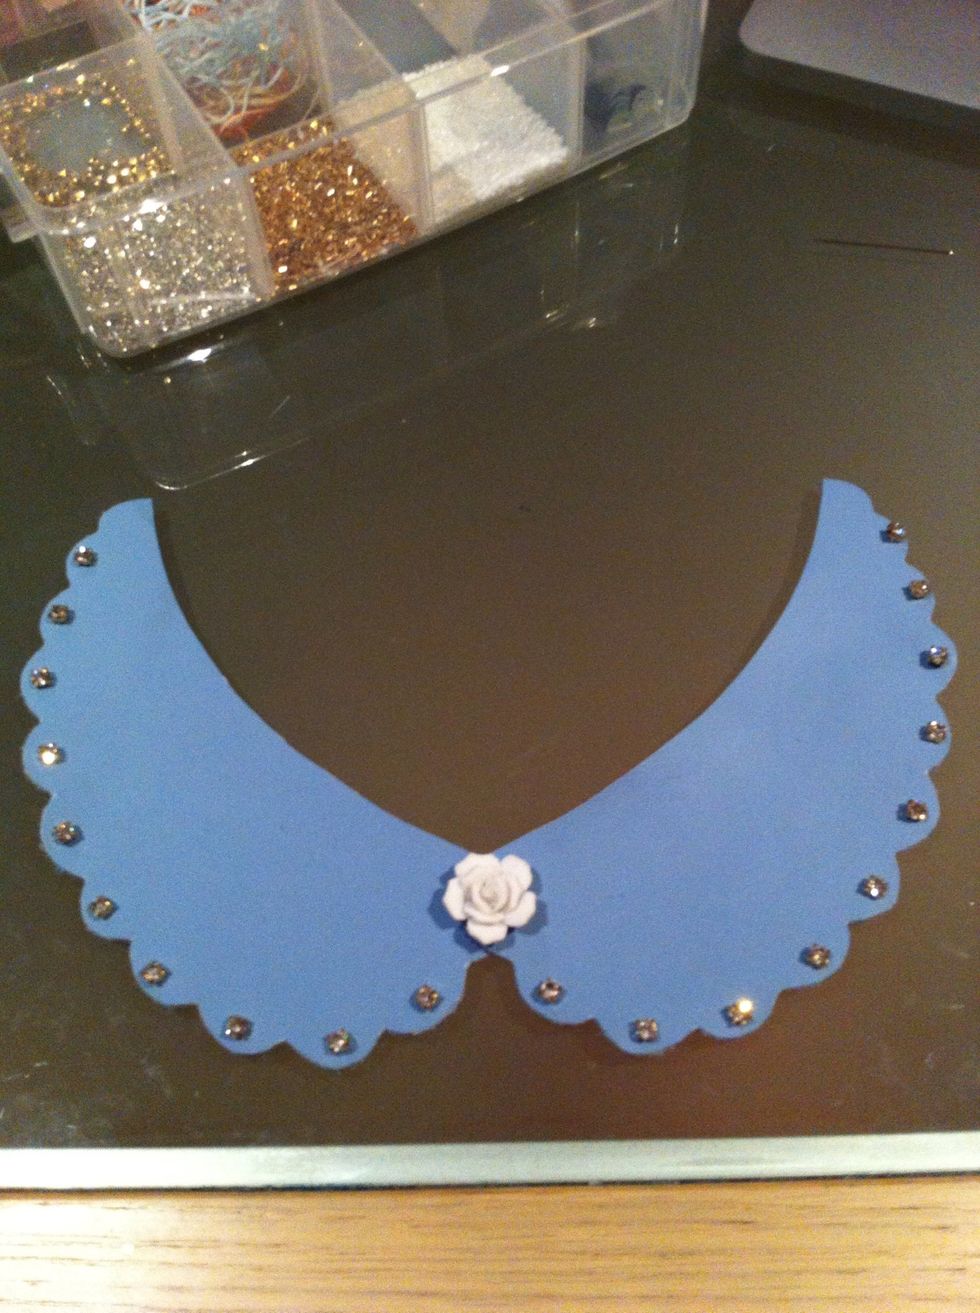
Done!

Now pierce a hole through the last small scallop of the collar
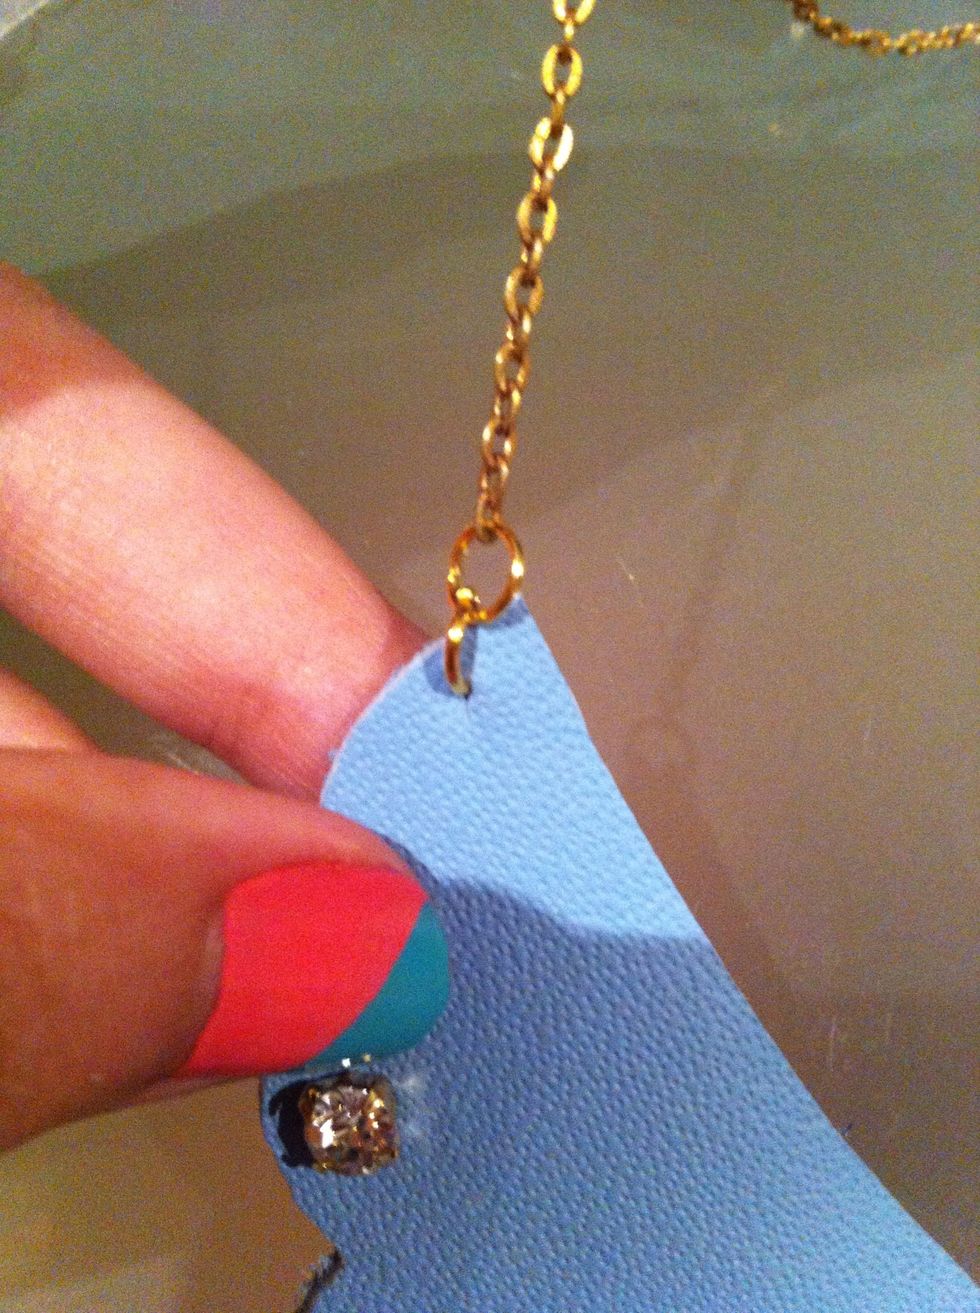
Put in 2 jump rings and your chain. Do the same for the other side.
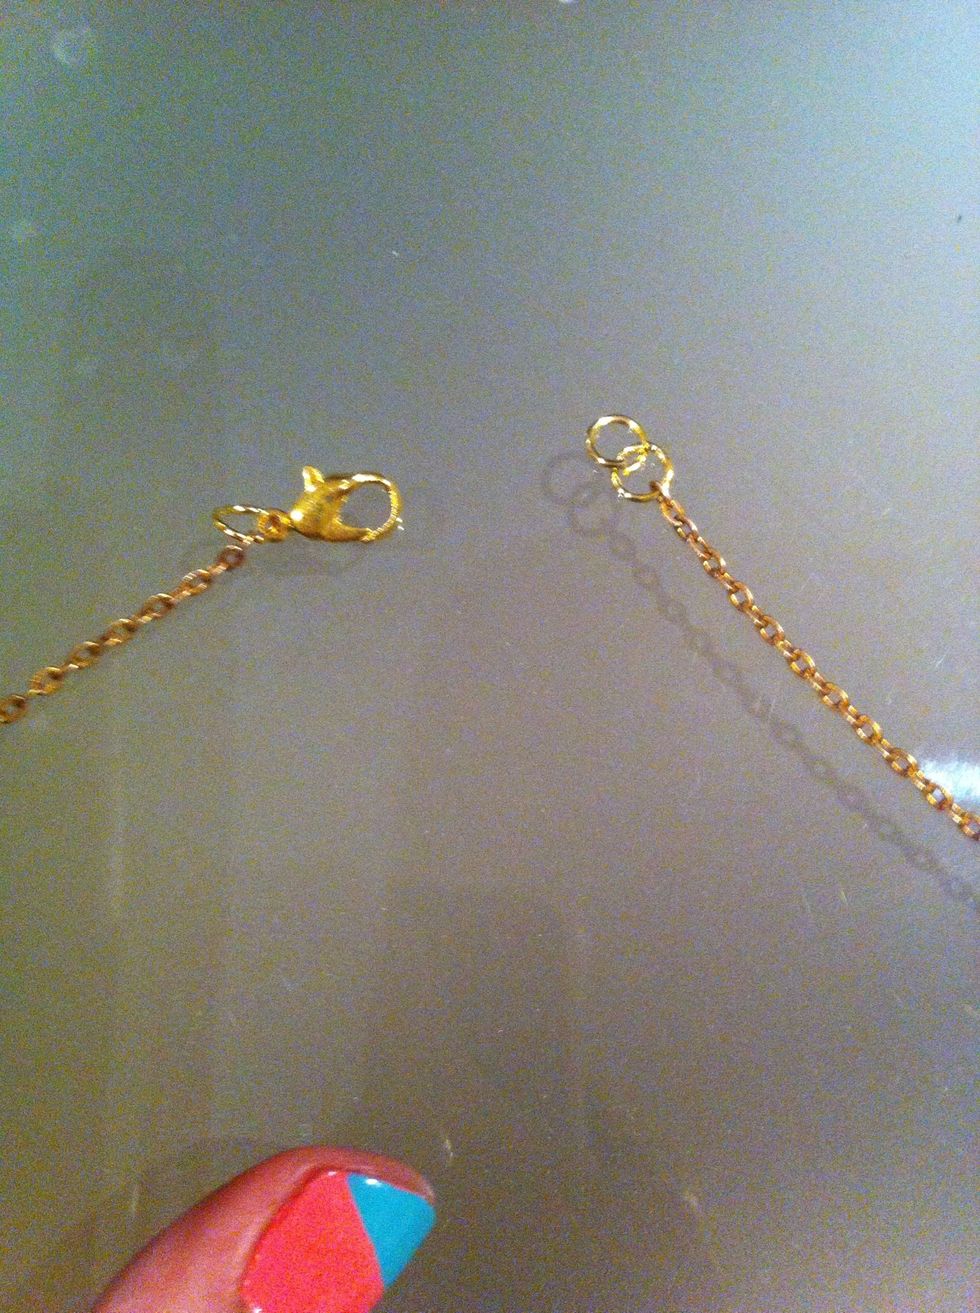
Measure the chain around your neck until the collar sits nicely, cut of excess and add jump rings and clasp
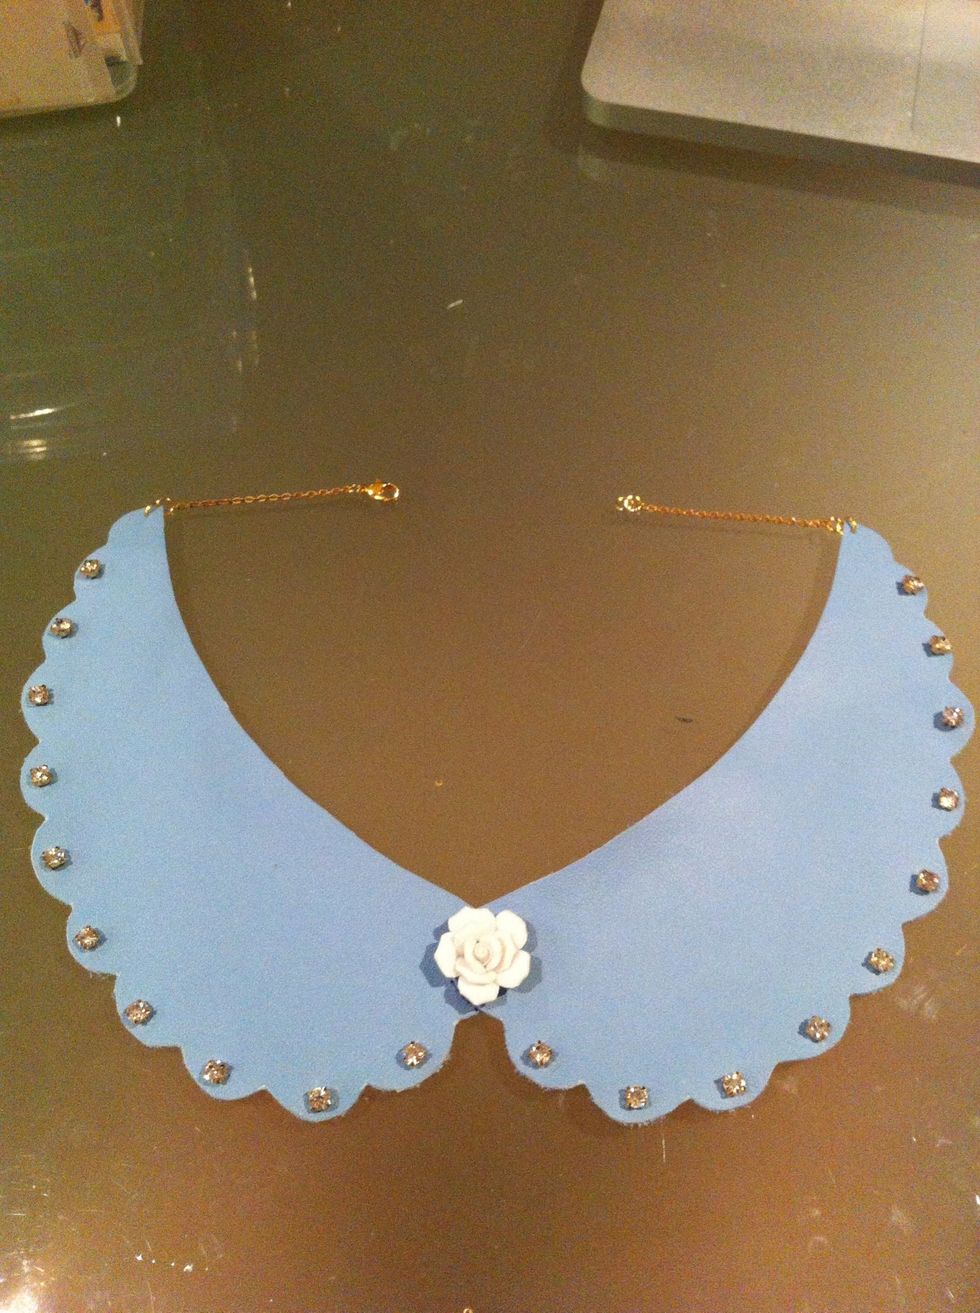
Lying flat your necklace won't do up, this is natural it's because the necklace is going around a curved neck!
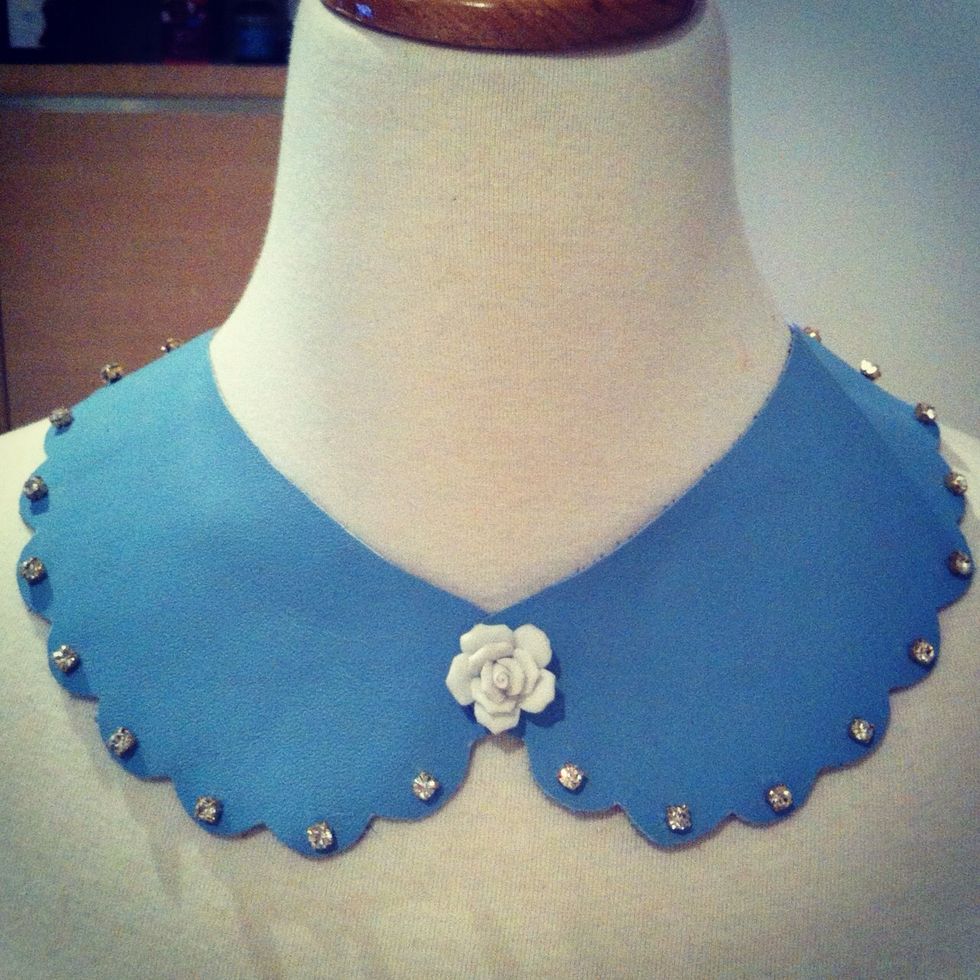
Enjoy your new collar and have fun!