The Conversation (0)
Sign Up
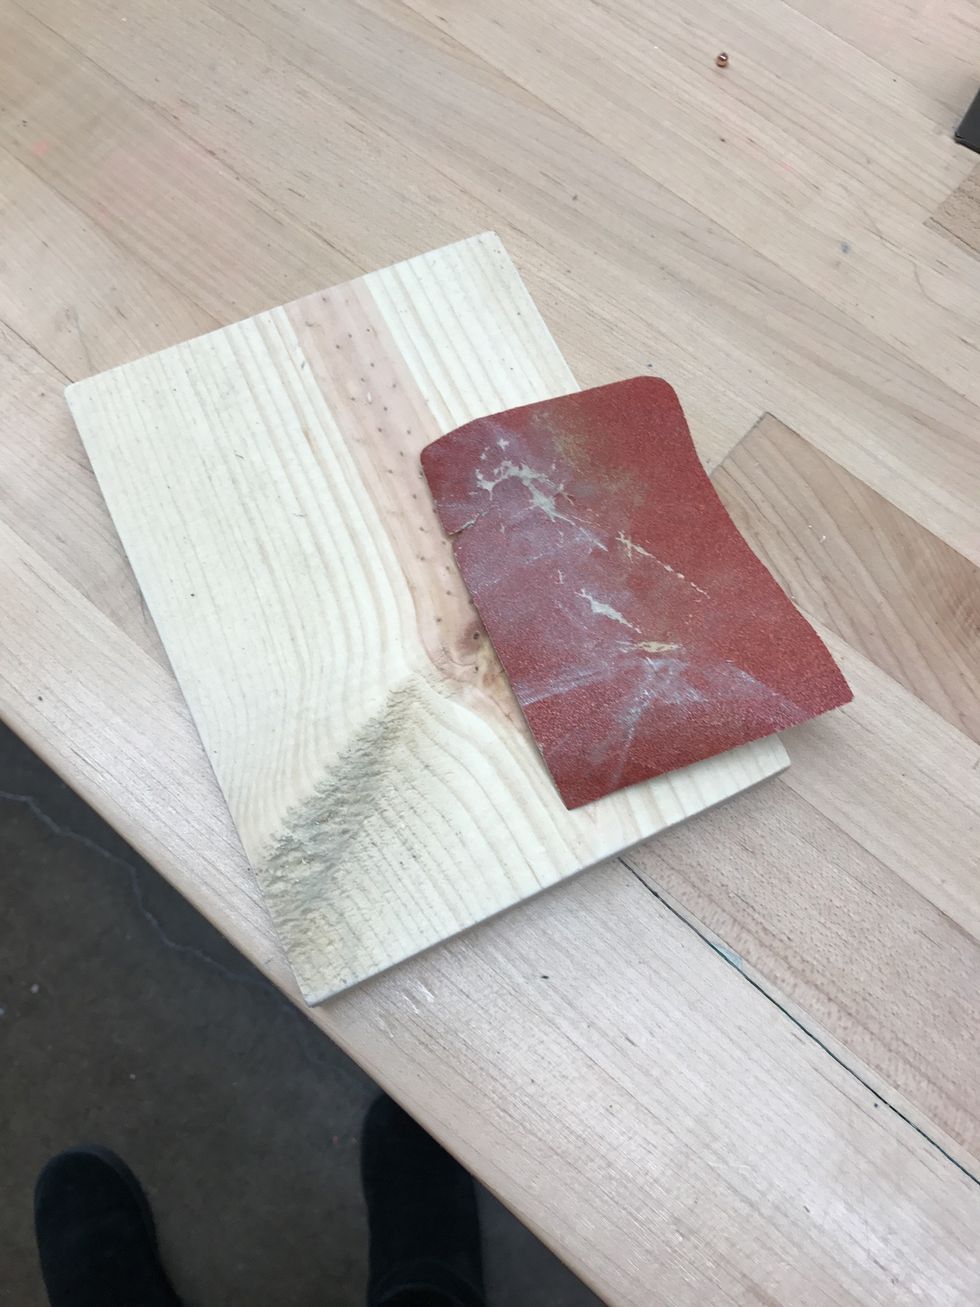
sand you board to make smooth
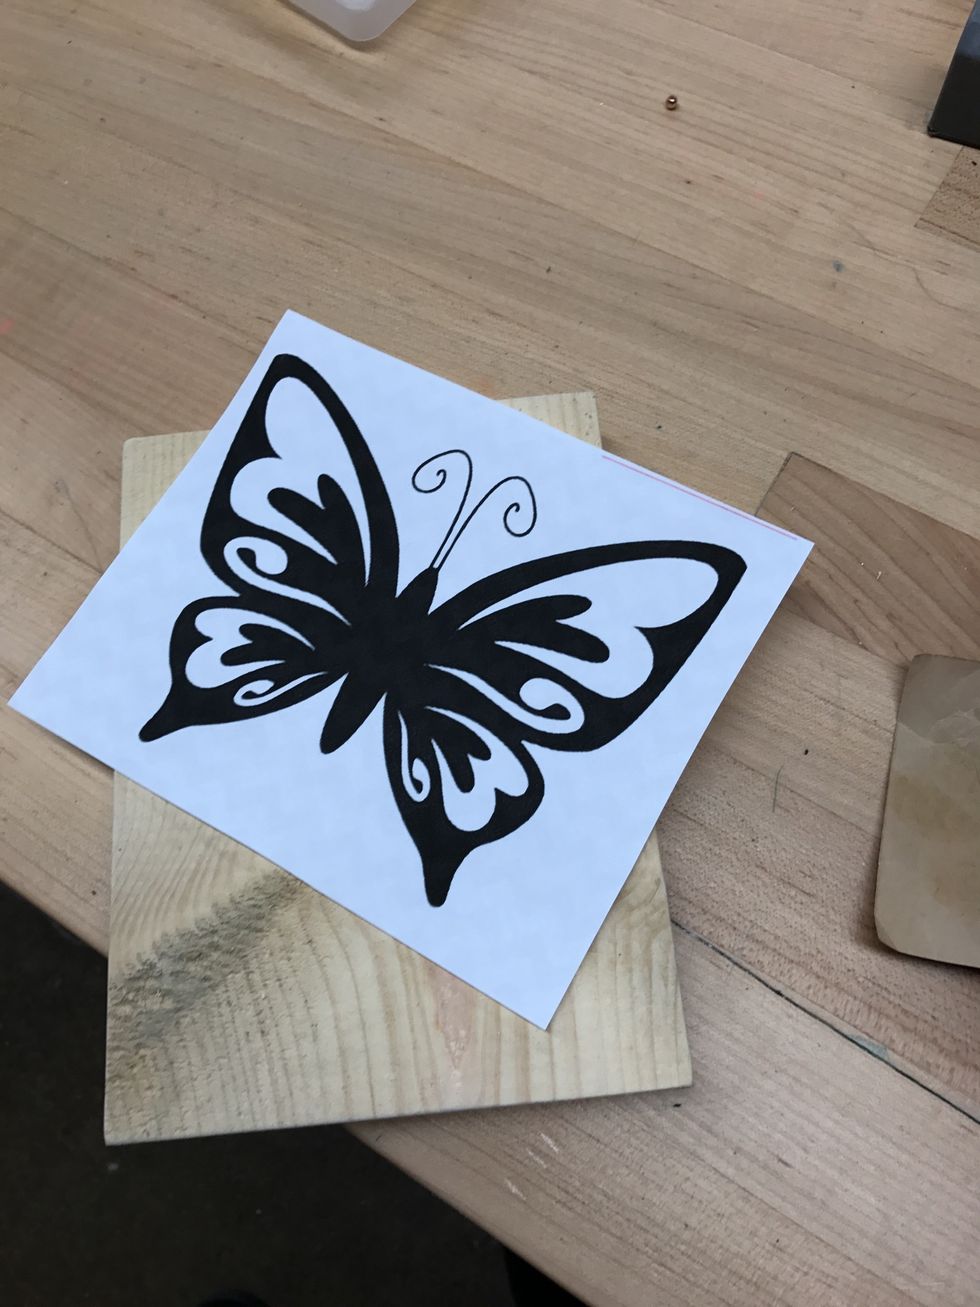
Printed picture
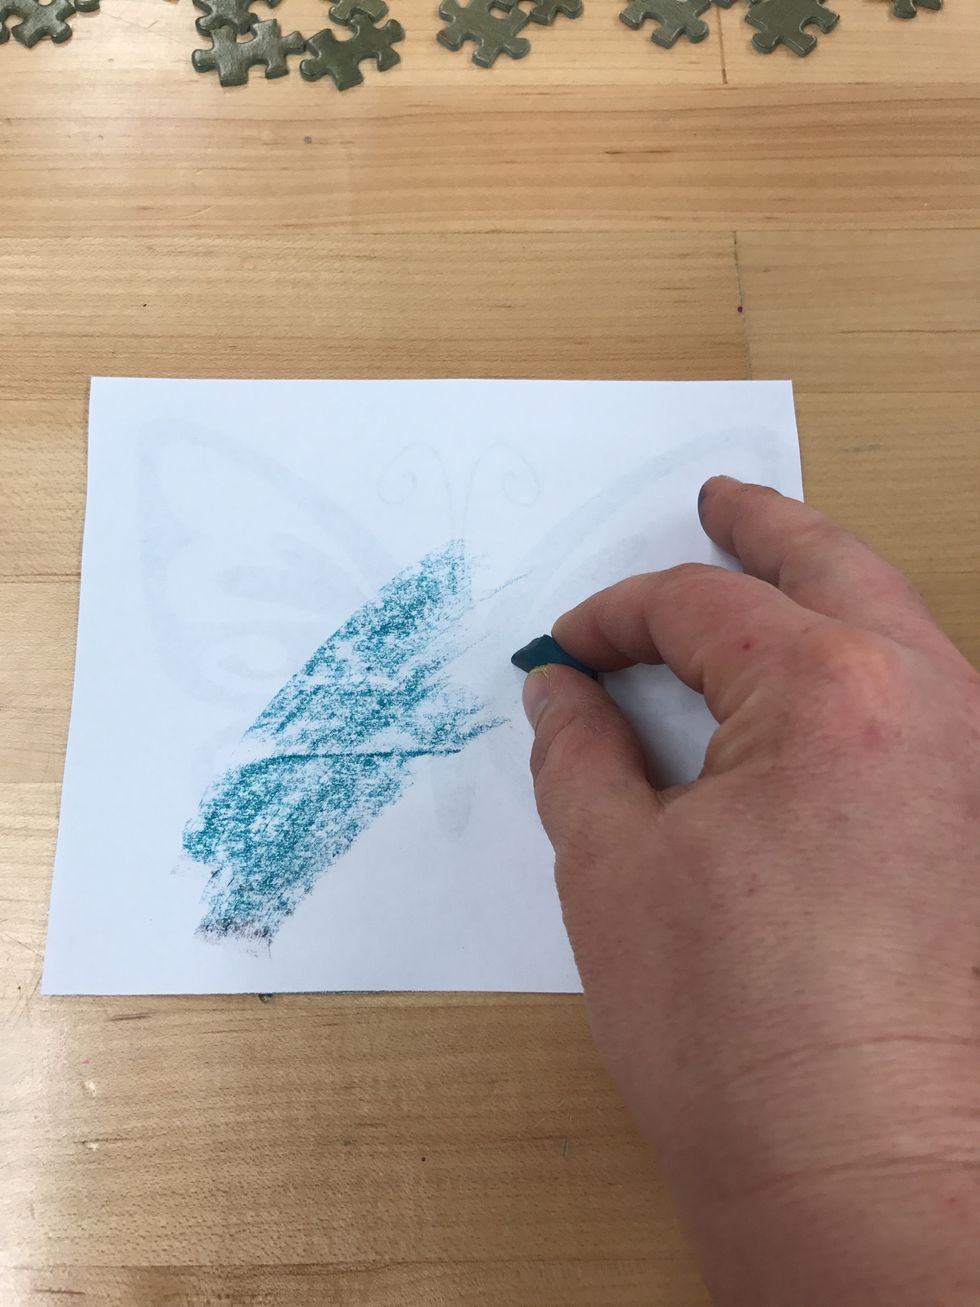
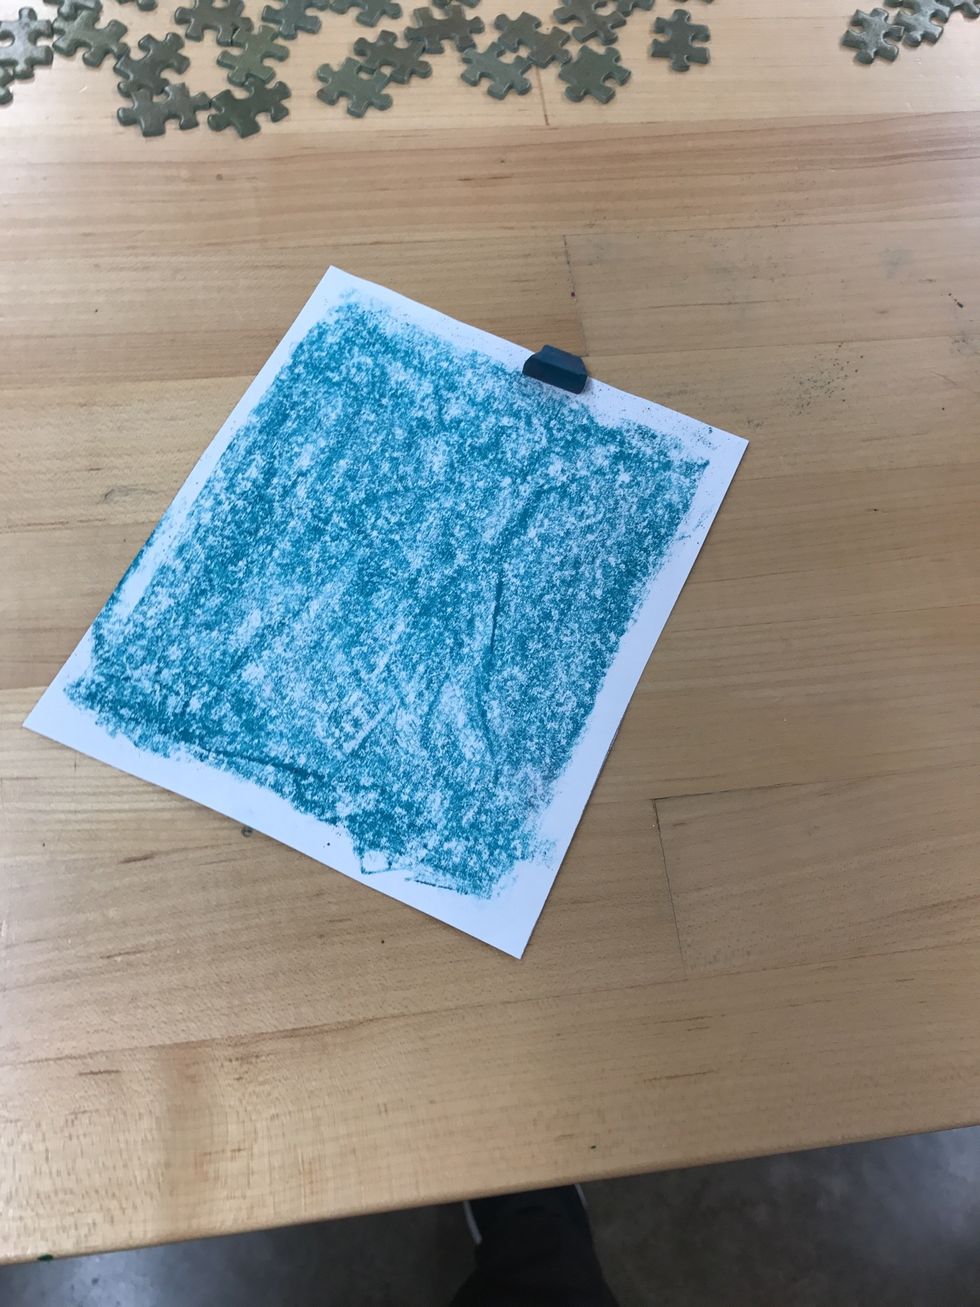
Chalk up the back to transfer the image to the wood.
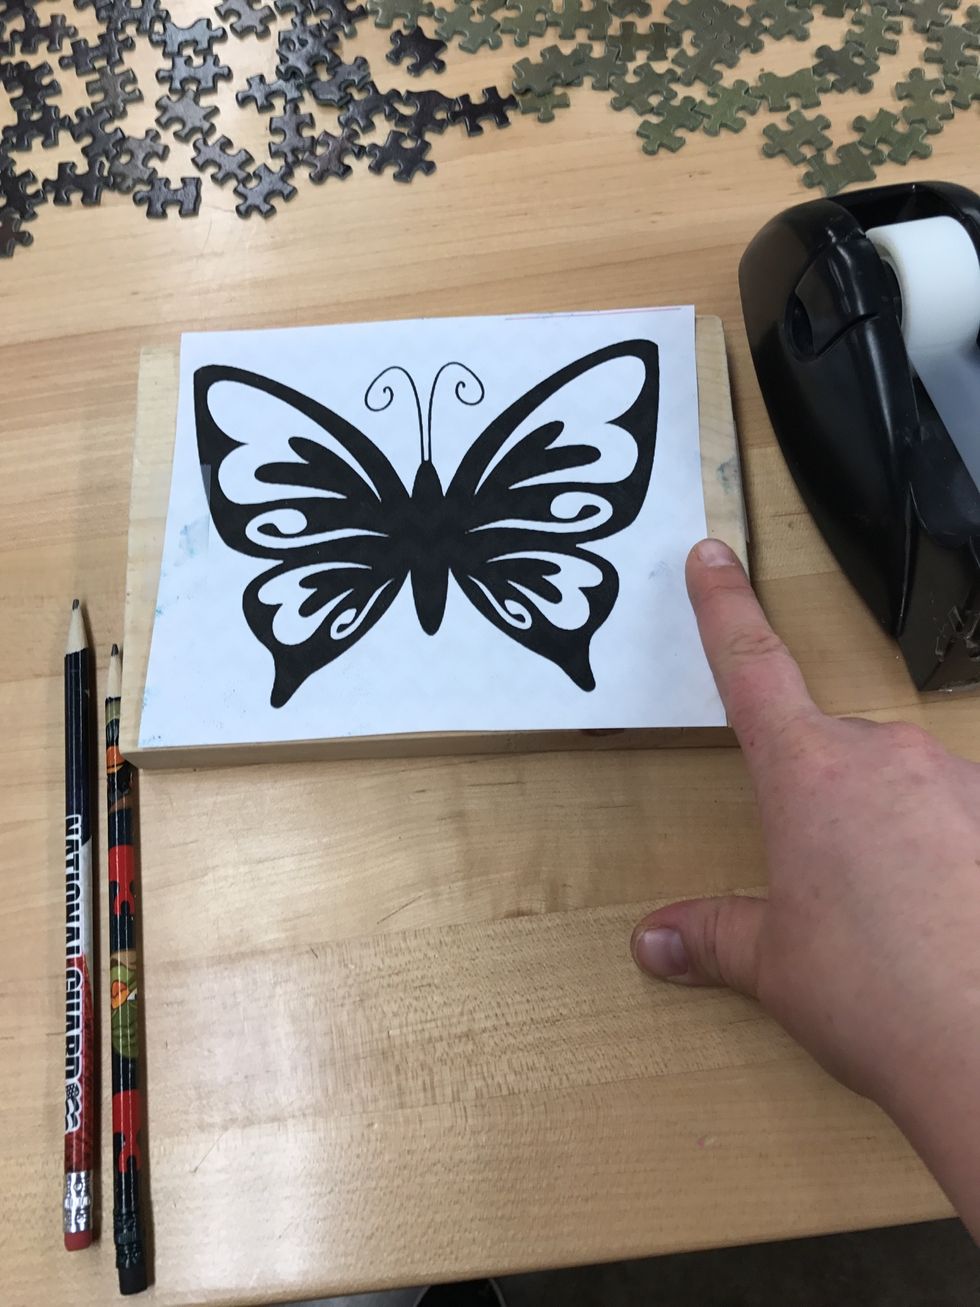
tape the image to the wood so it doesn't move.

Trace over the image to transfer it to the board.
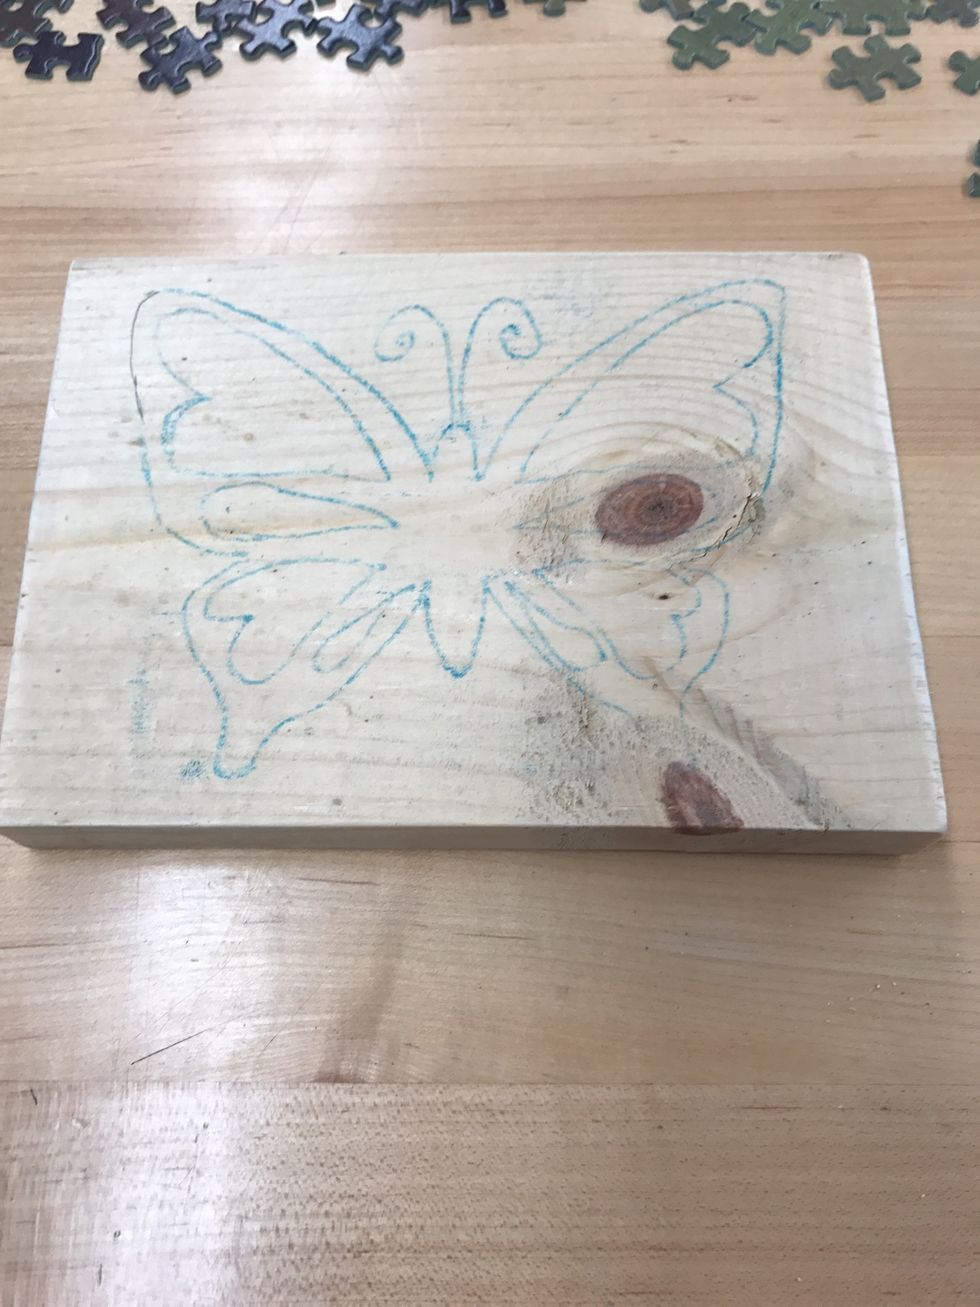
transferred image
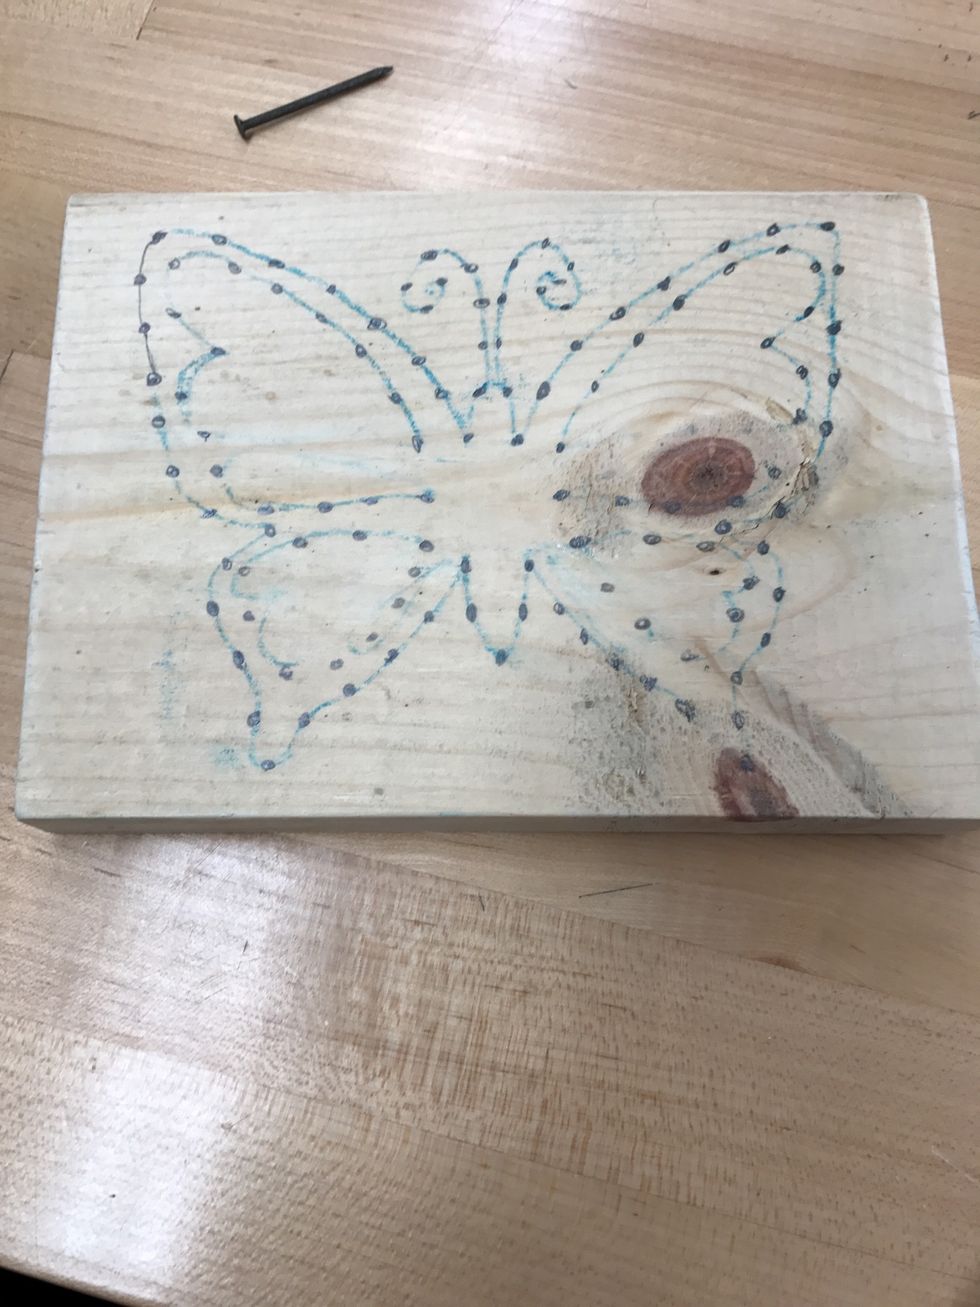
Add spots for the nails using a pencils.
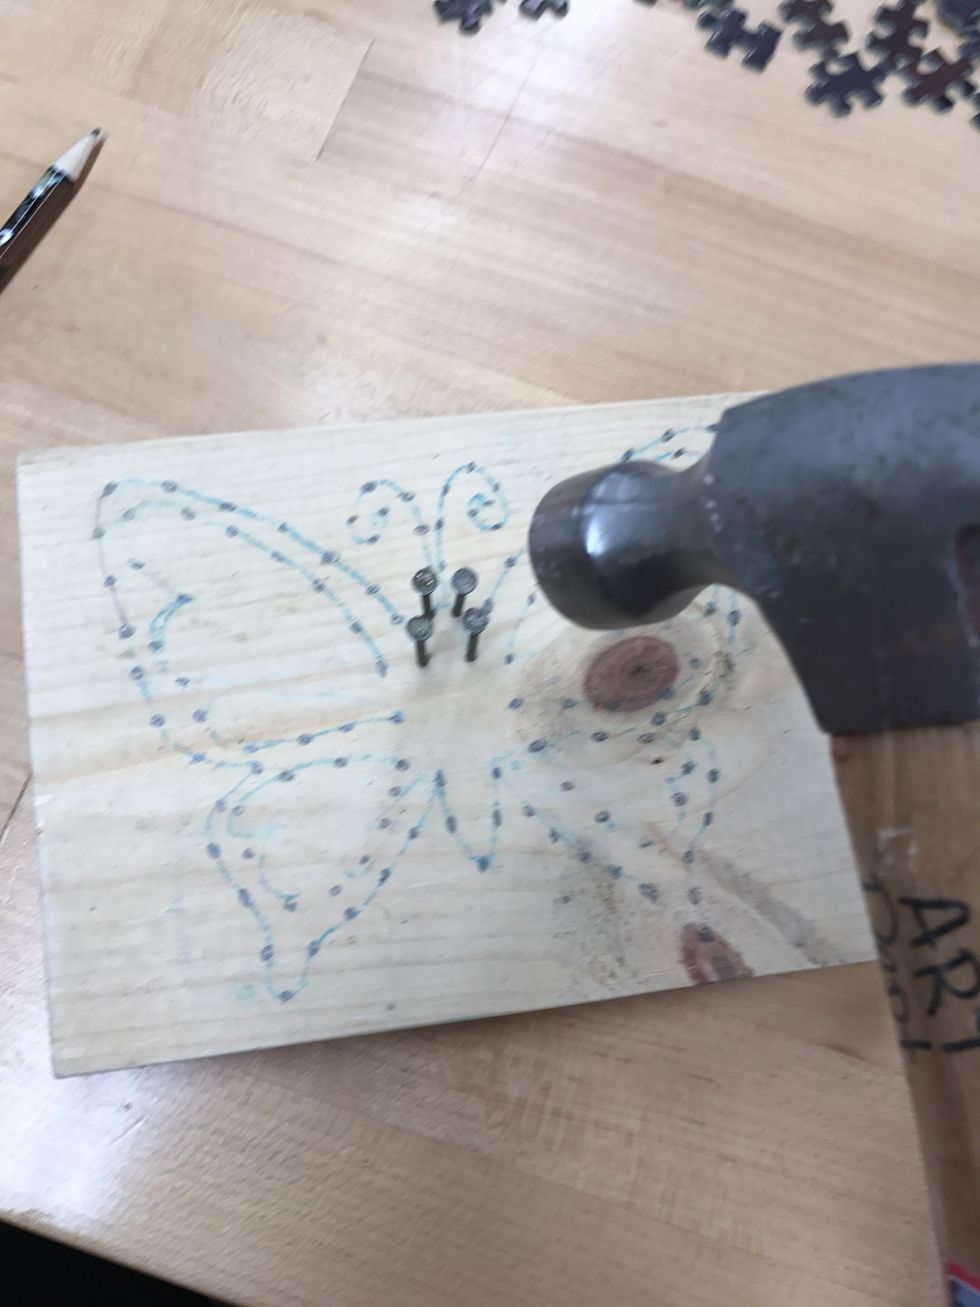
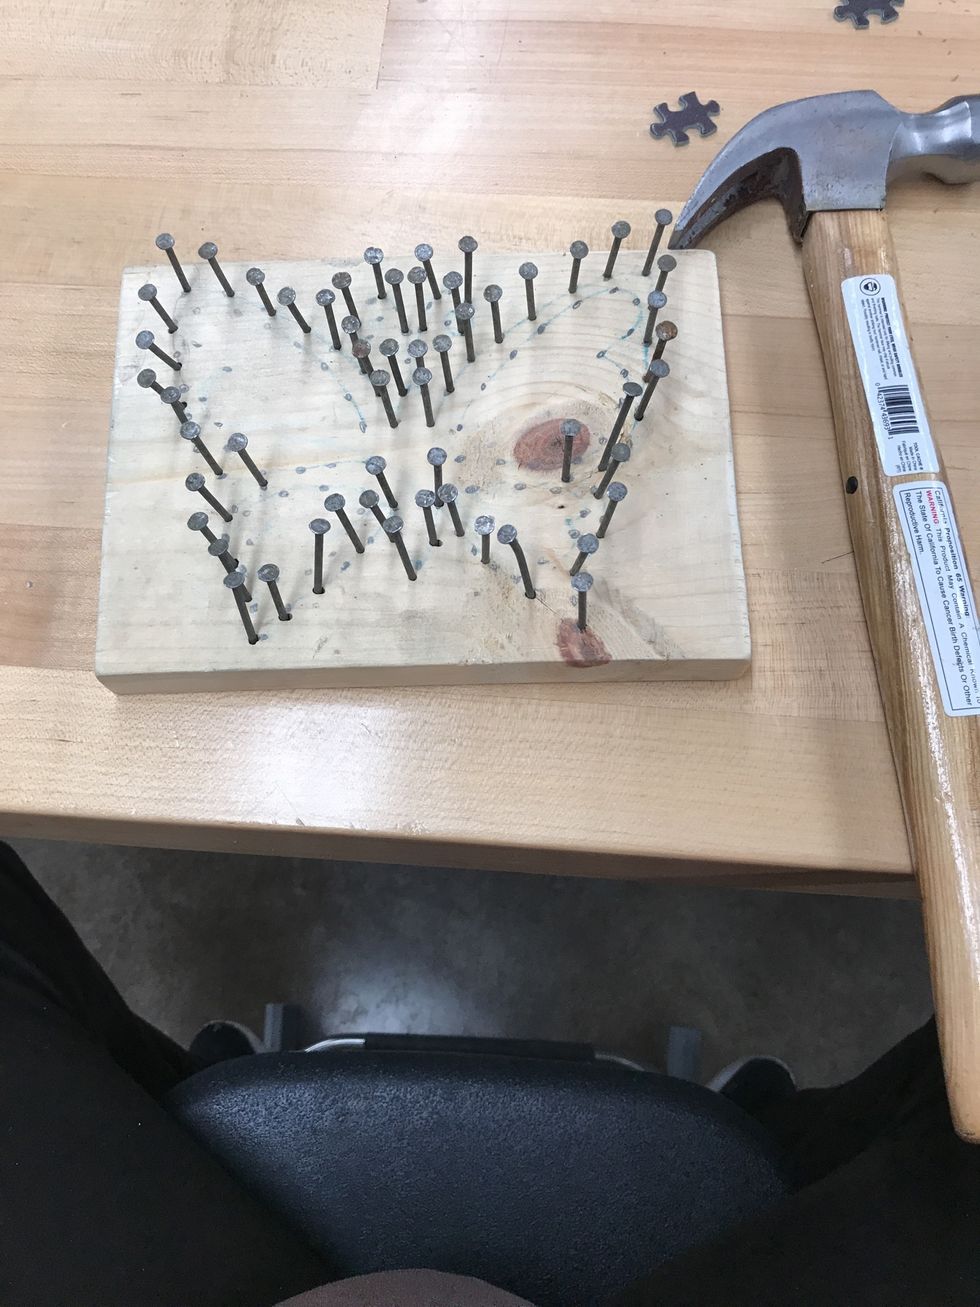
Start pounding in nails into the board about half way deep

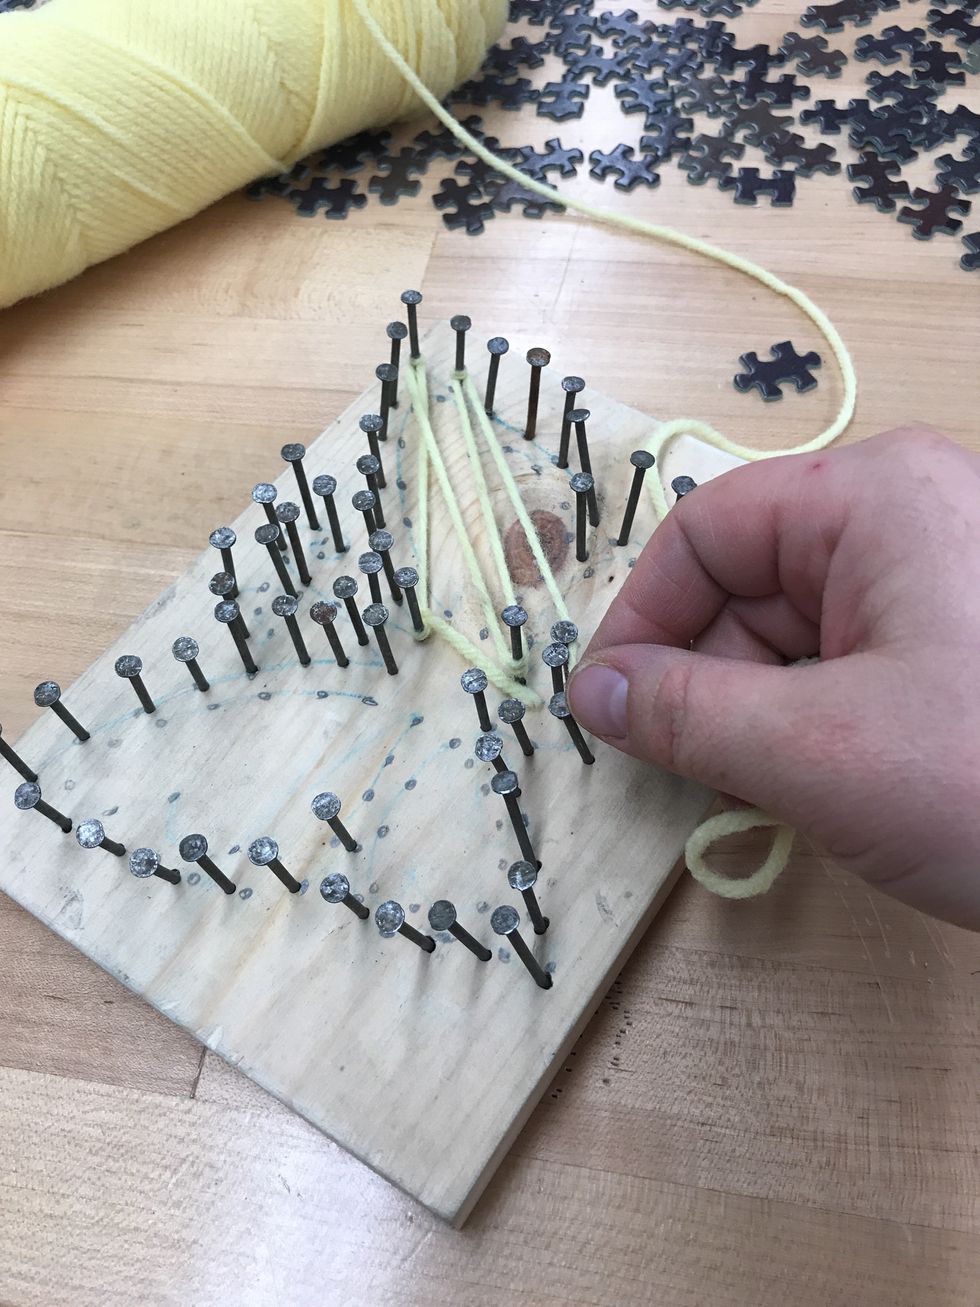
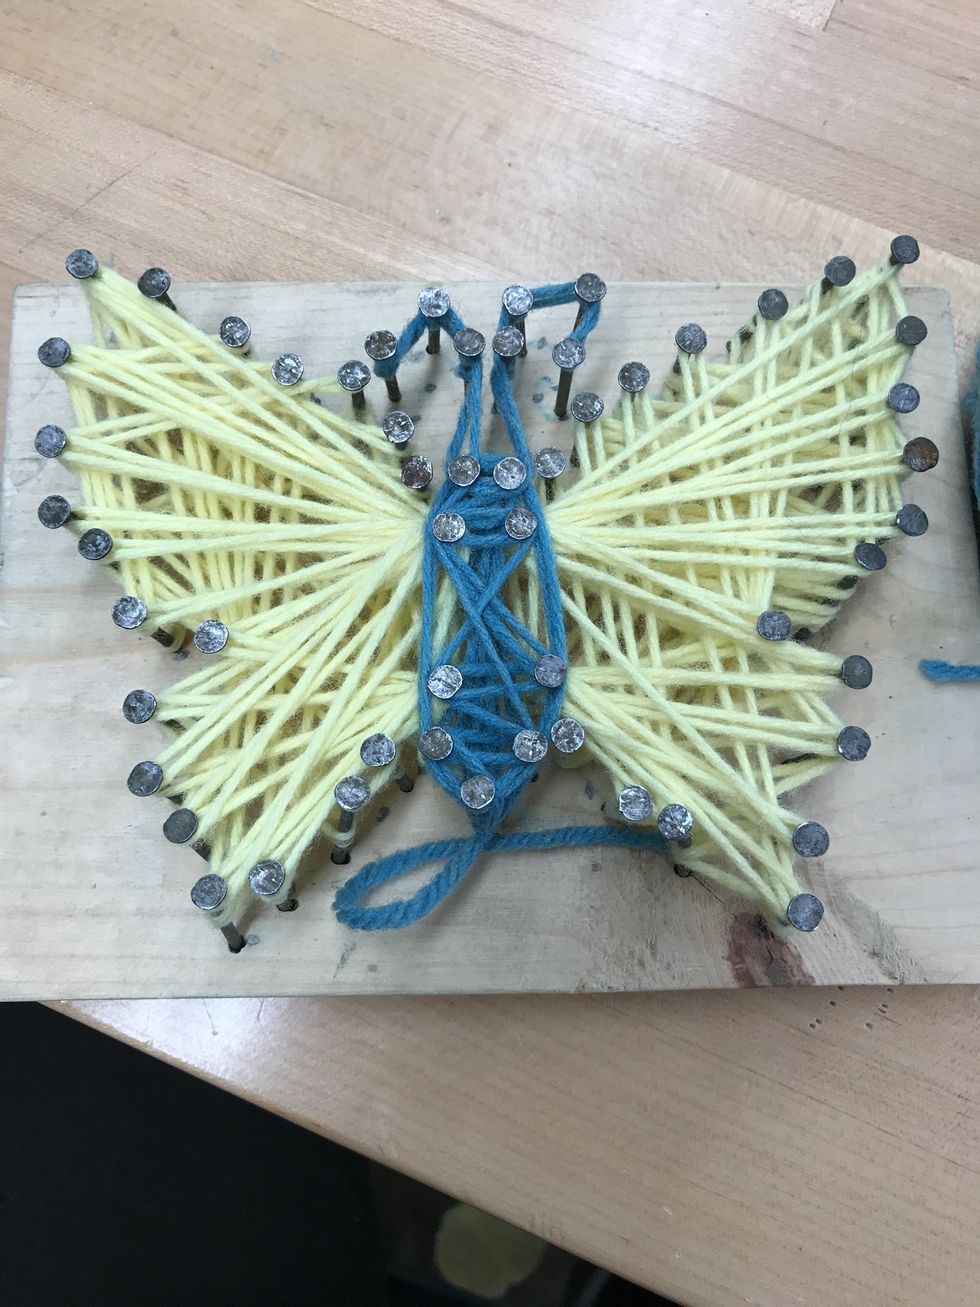
Tie the string onto one nail with a simple knot. Once complete use yarn or any string to fill in the center in a back and forth motion. Any way you want works.
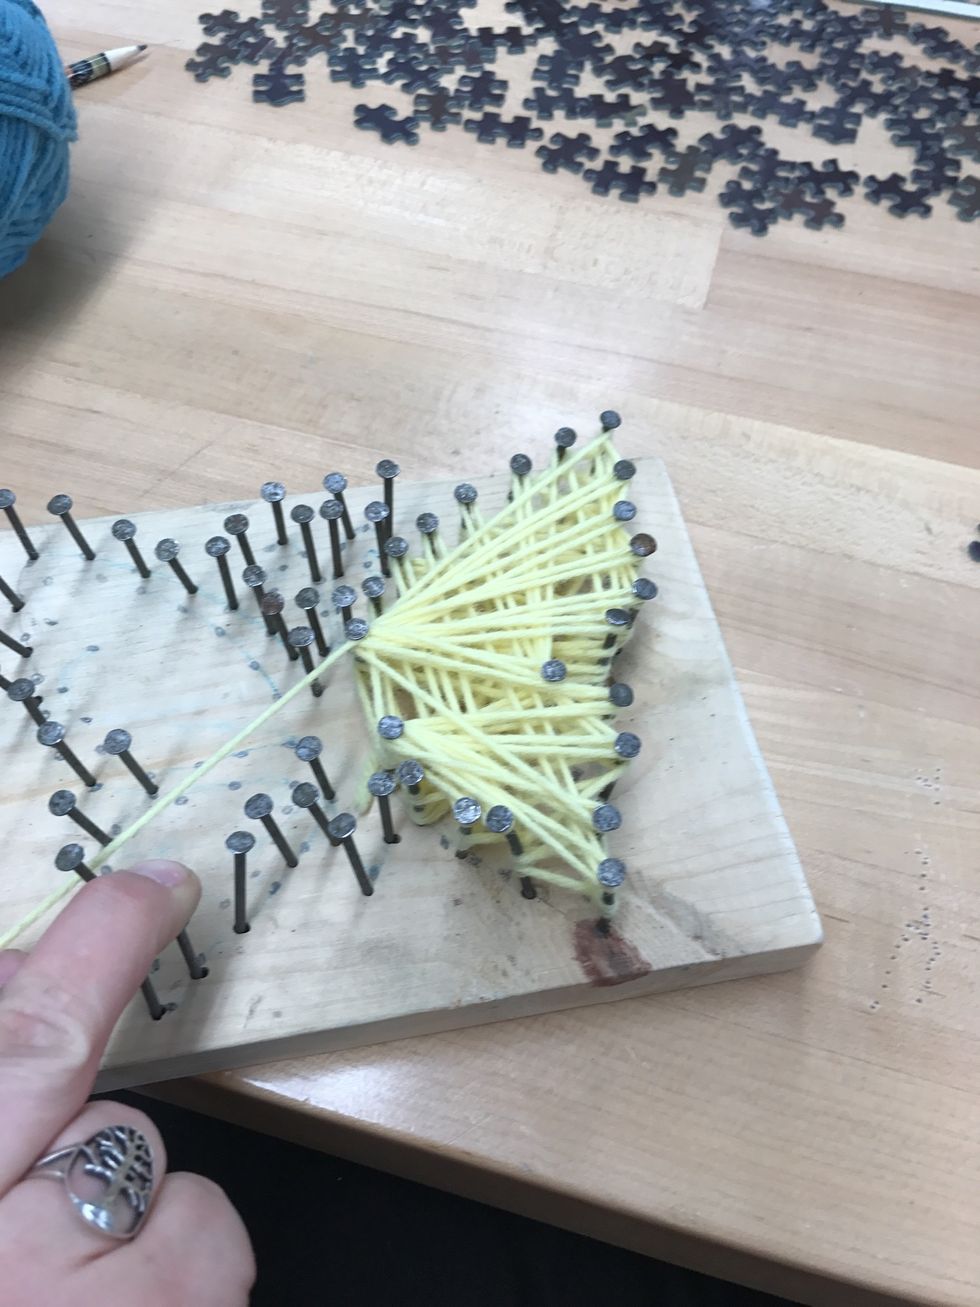
I did multiple layers
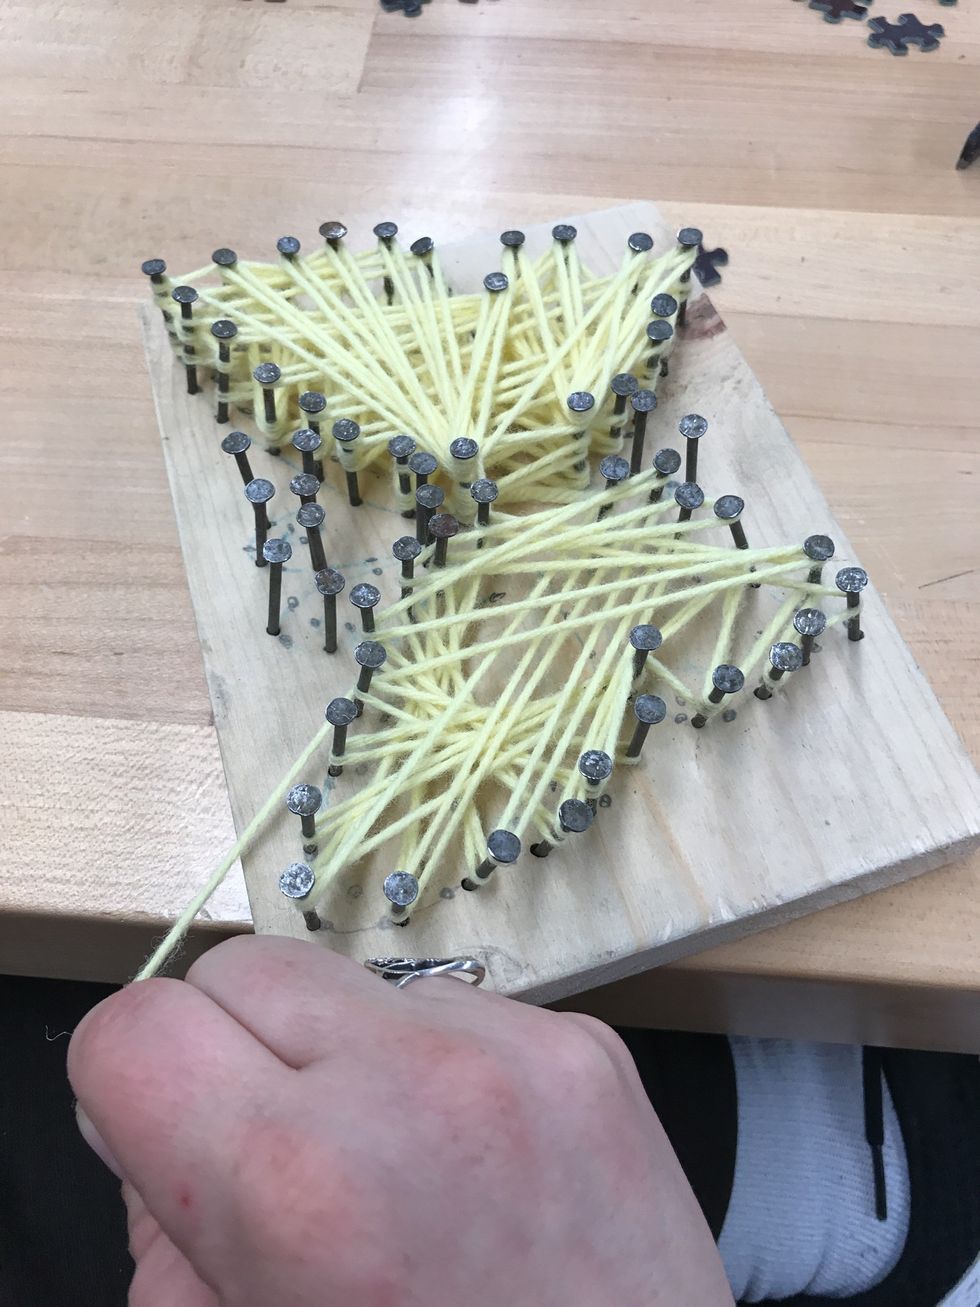
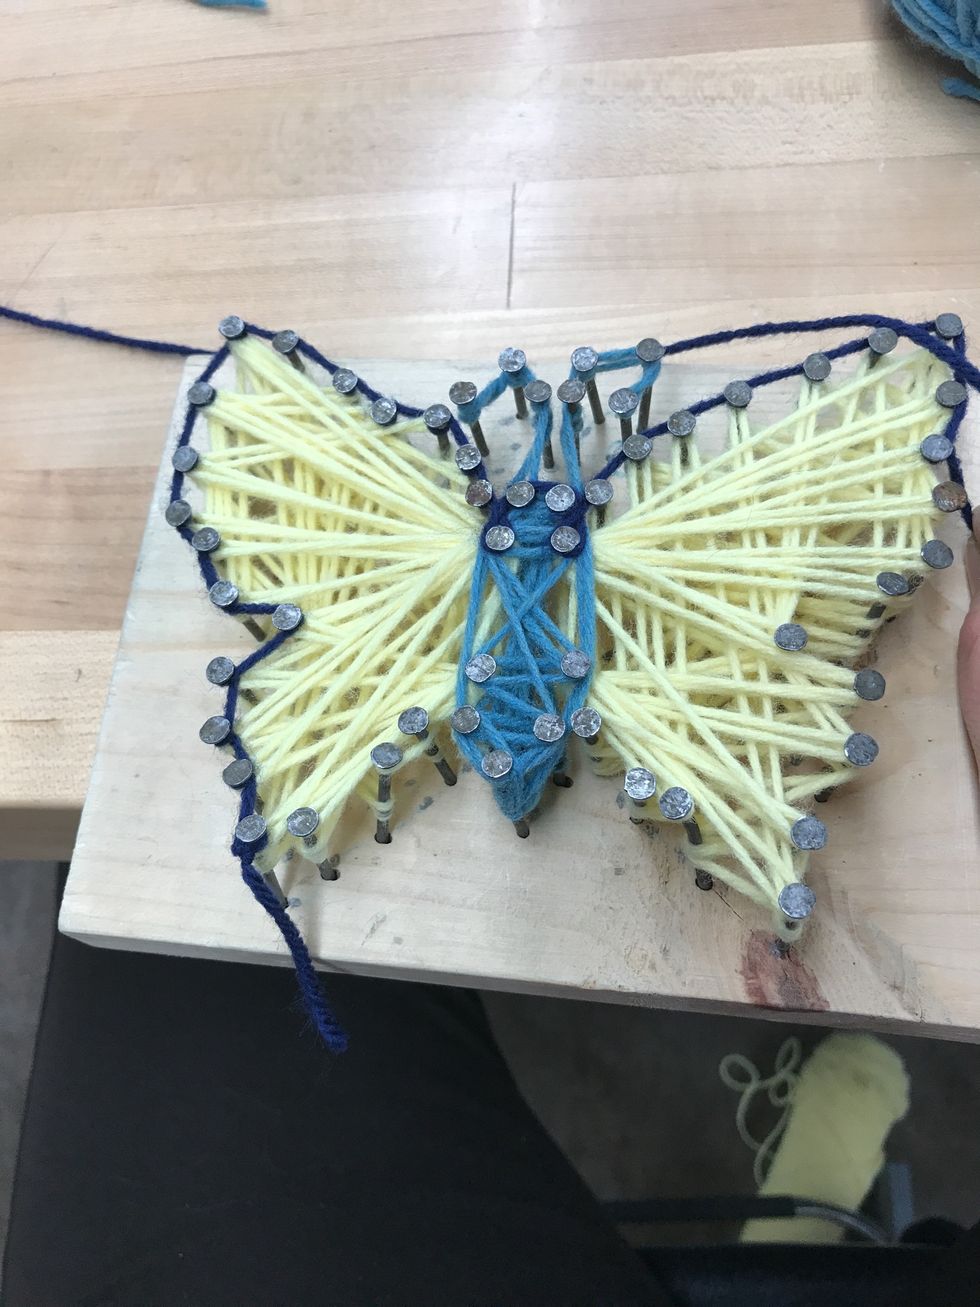
Trace around the outside of the nails with a outline color. Once you get to a nail make a loop around it then to the next.
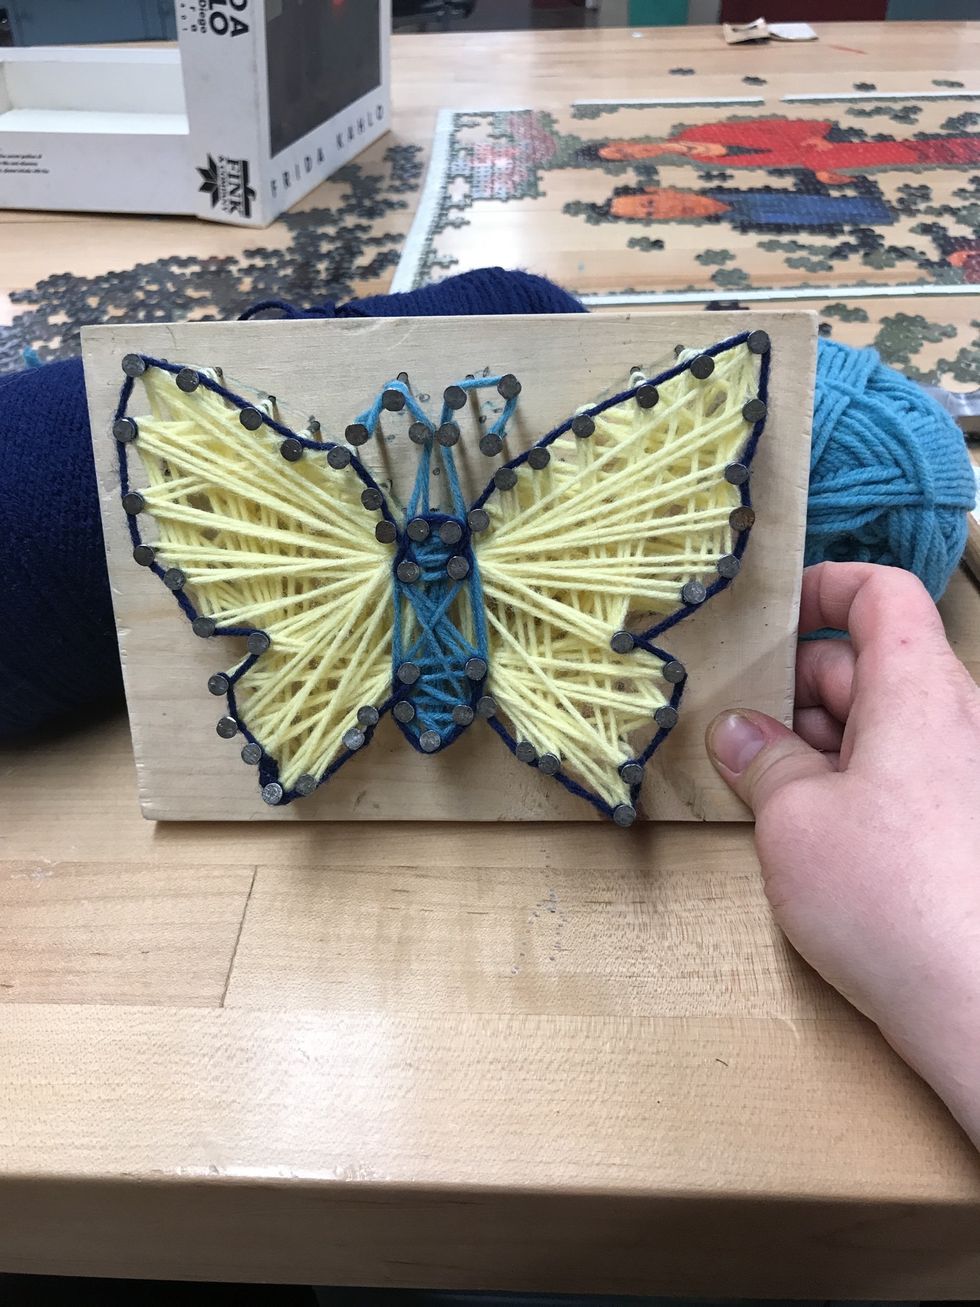
Finished