The Conversation (0)
Sign Up
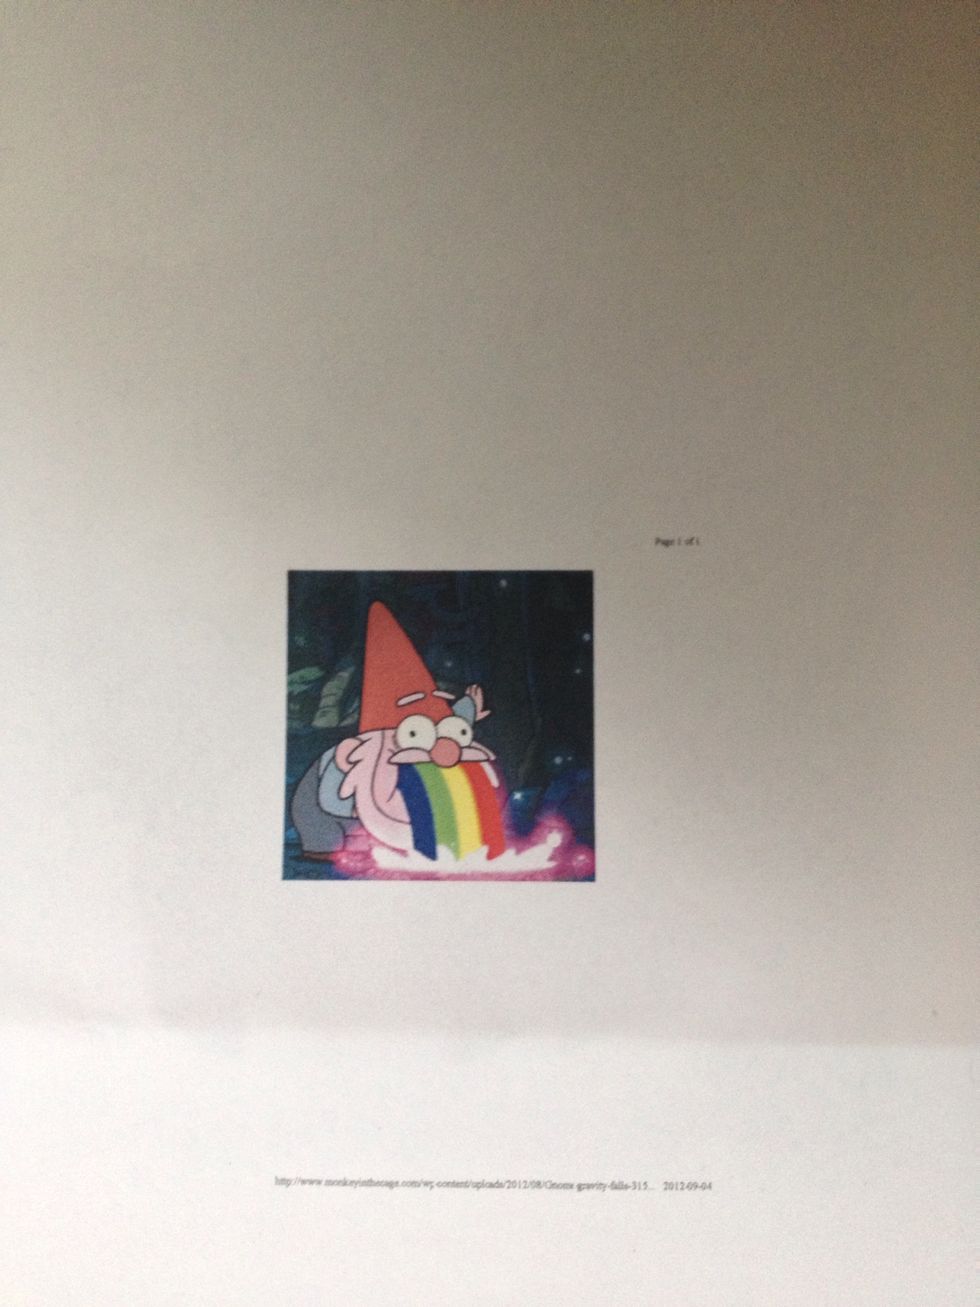
Grab a photo, one that you'd want to make into a sticker.
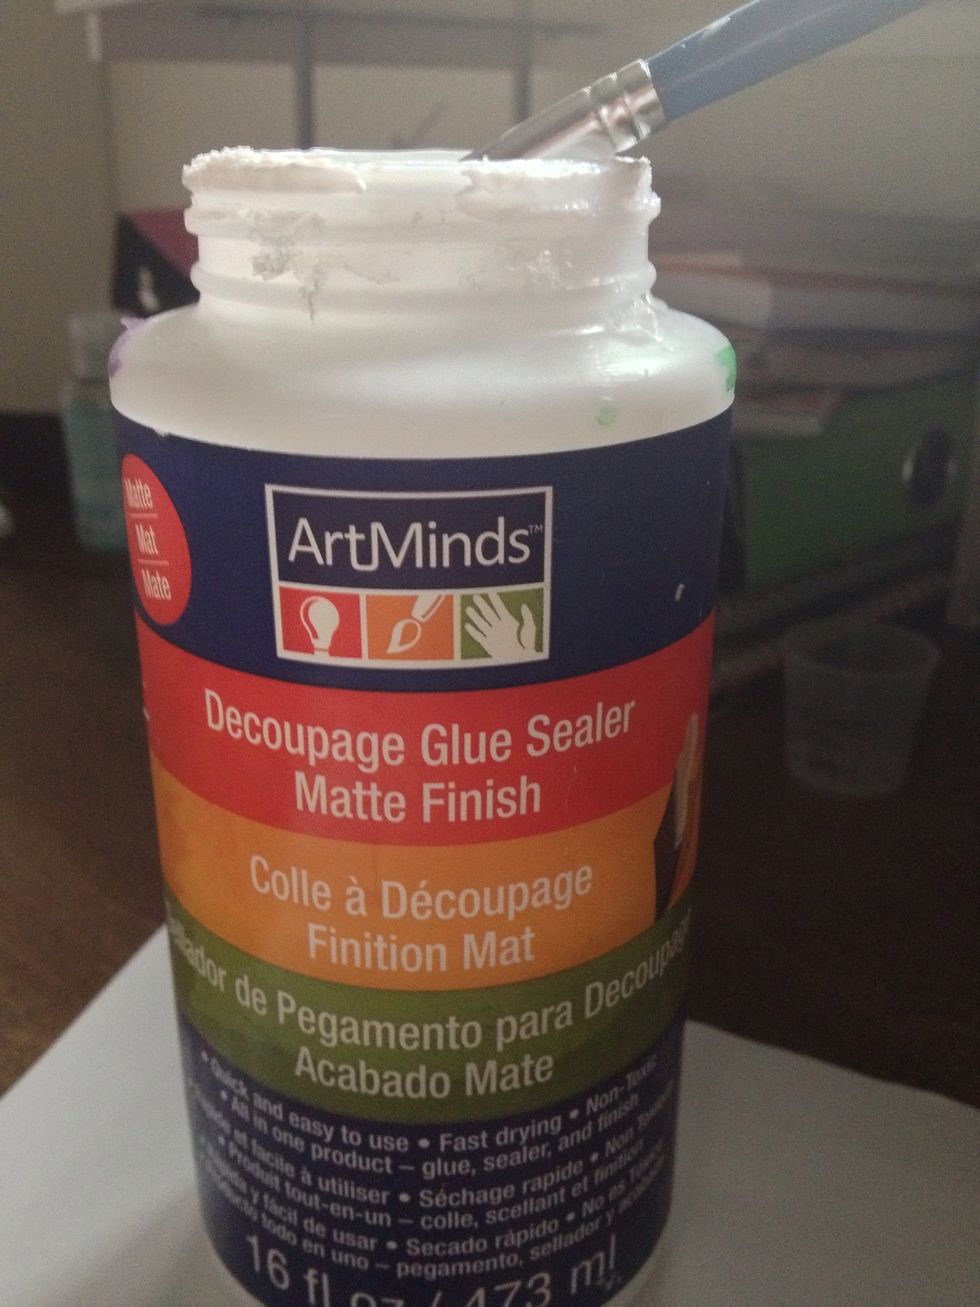
And the Mod Podge! My favourite.
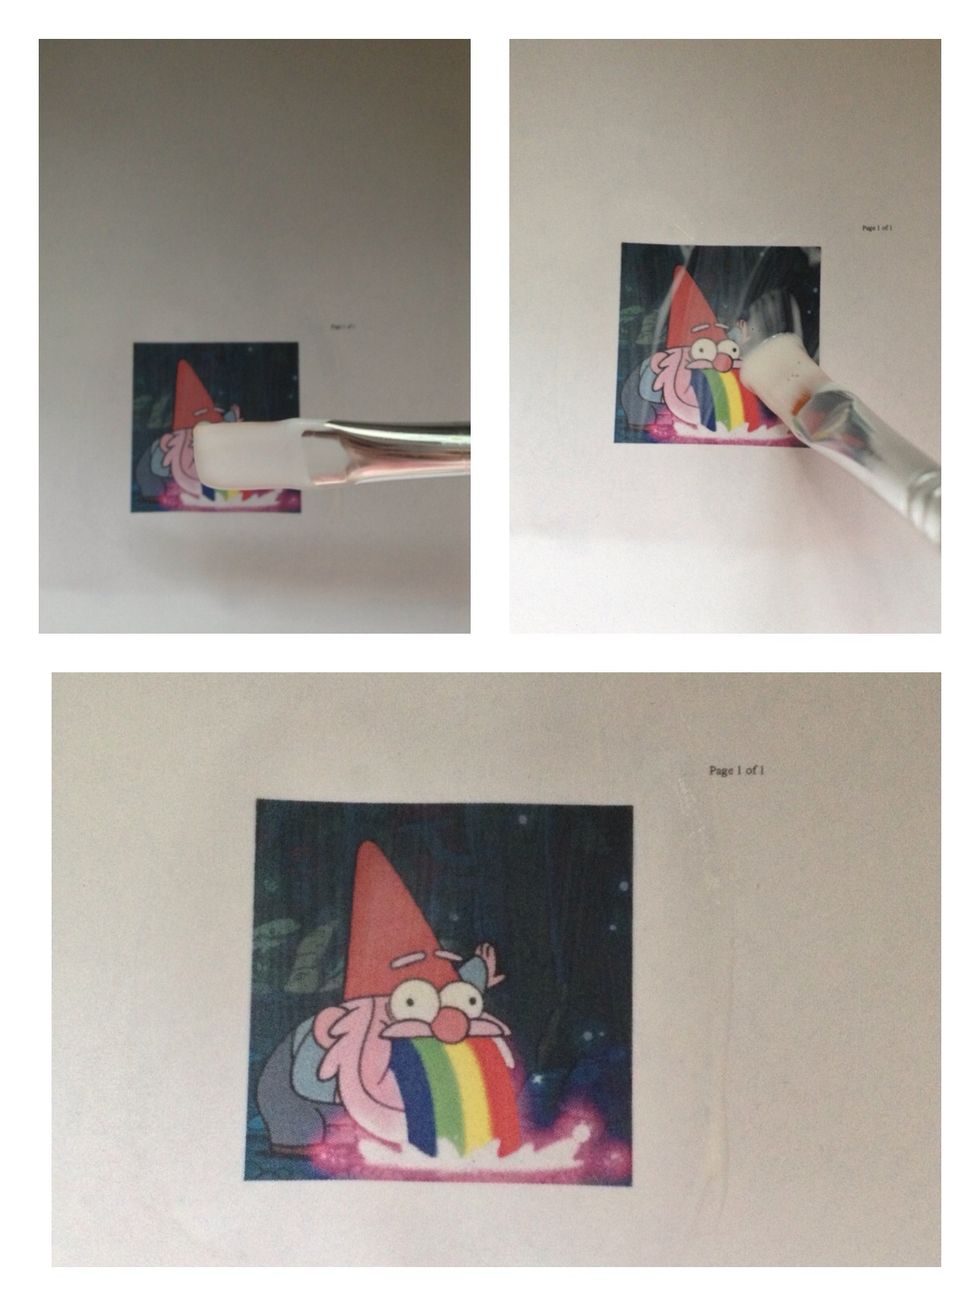
Dip your brush into the Mod Podge and paint an even layer onto the photo. See? Even.
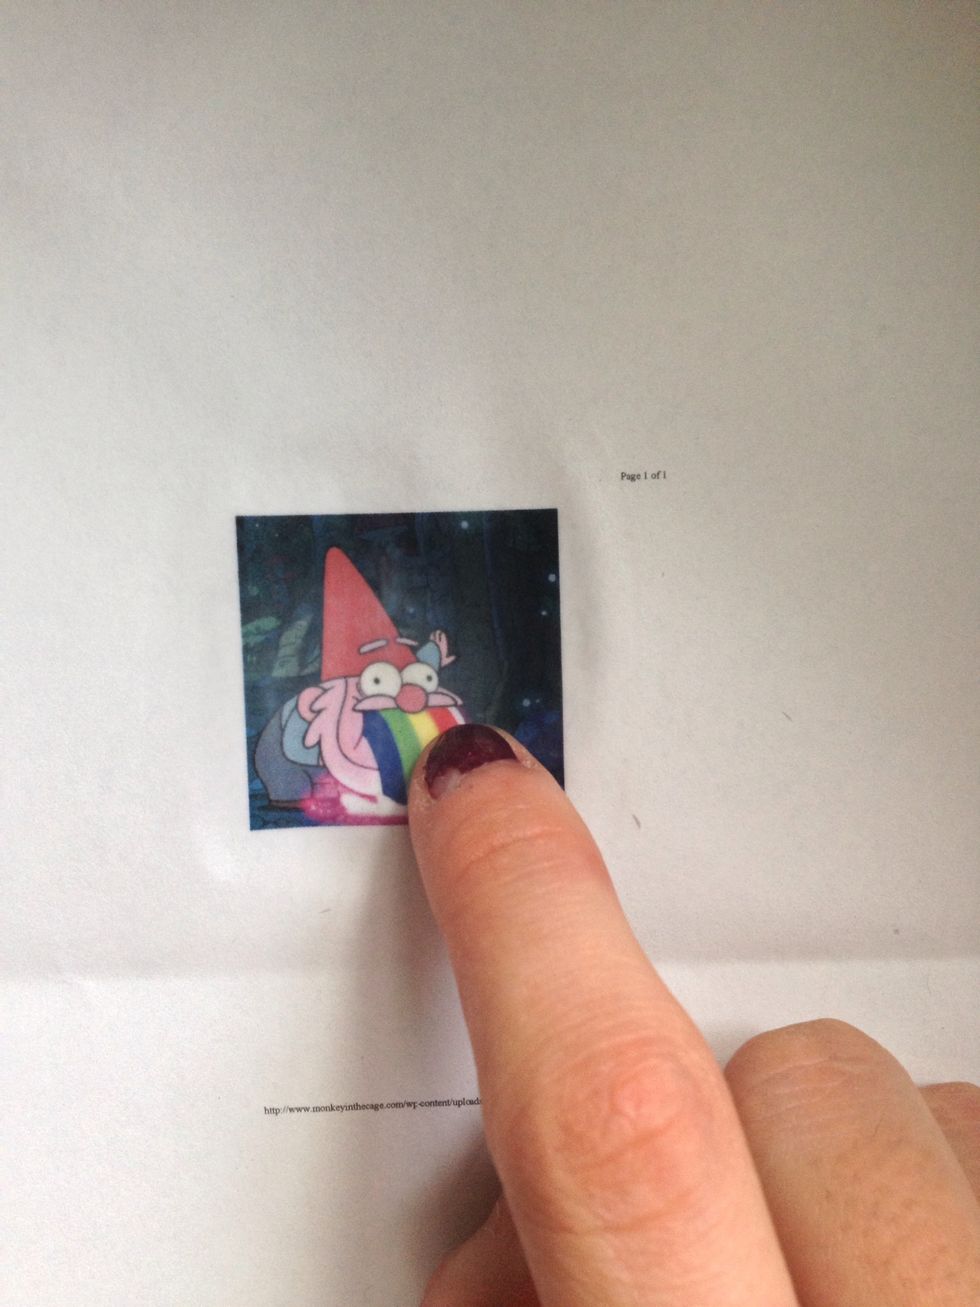
Once you've applied a couple layers of the Mod Podge, let it dry. Check when it's ready by pressing your finger softly to the photo.
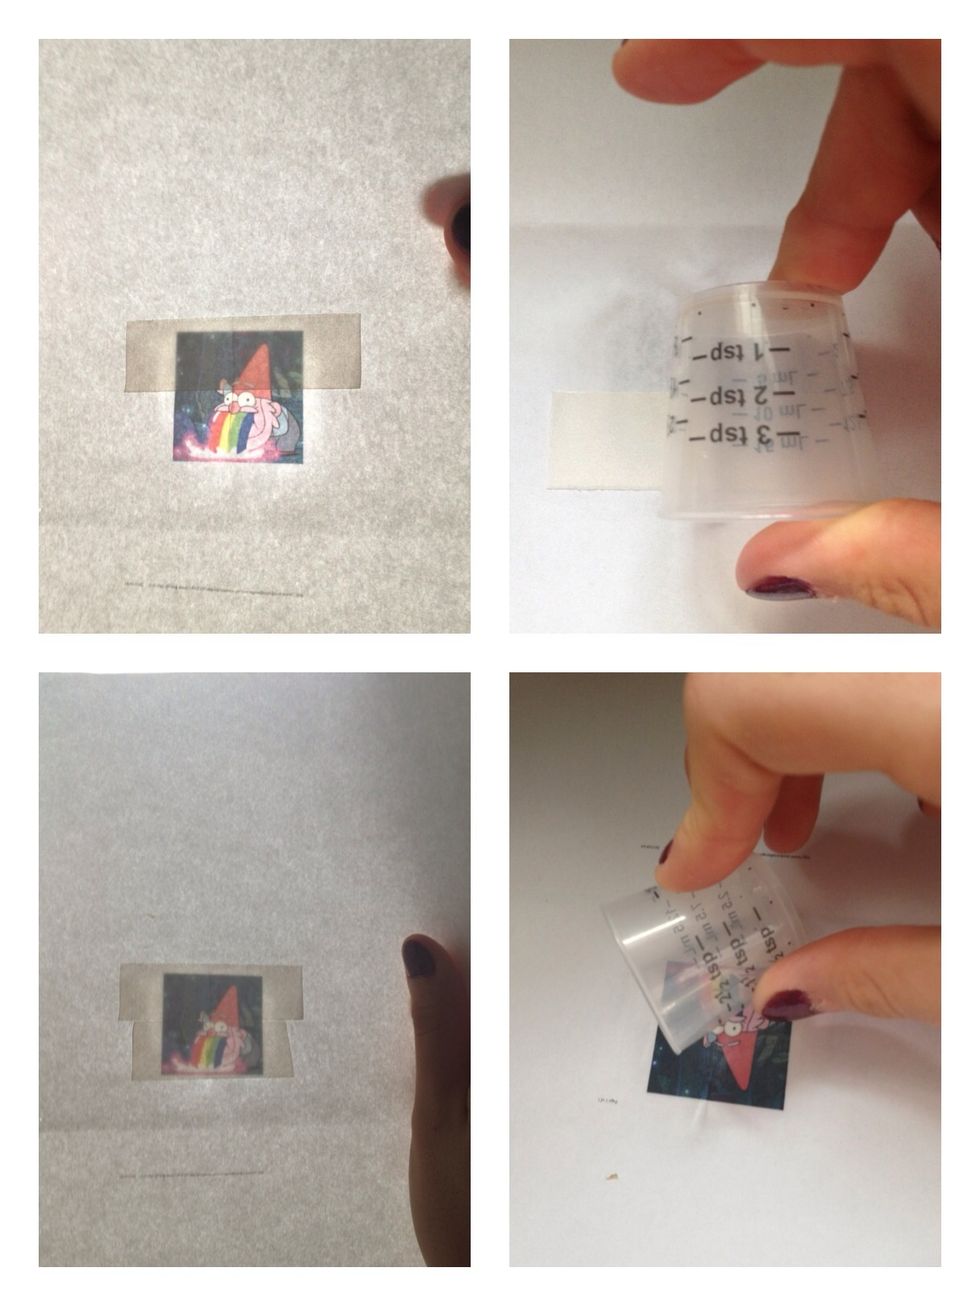
Cut strips of two sided tape and stick that onto the back of the photo. Check that it's placed correctly by holding the photo against a light. Smooth the photo with a round object.
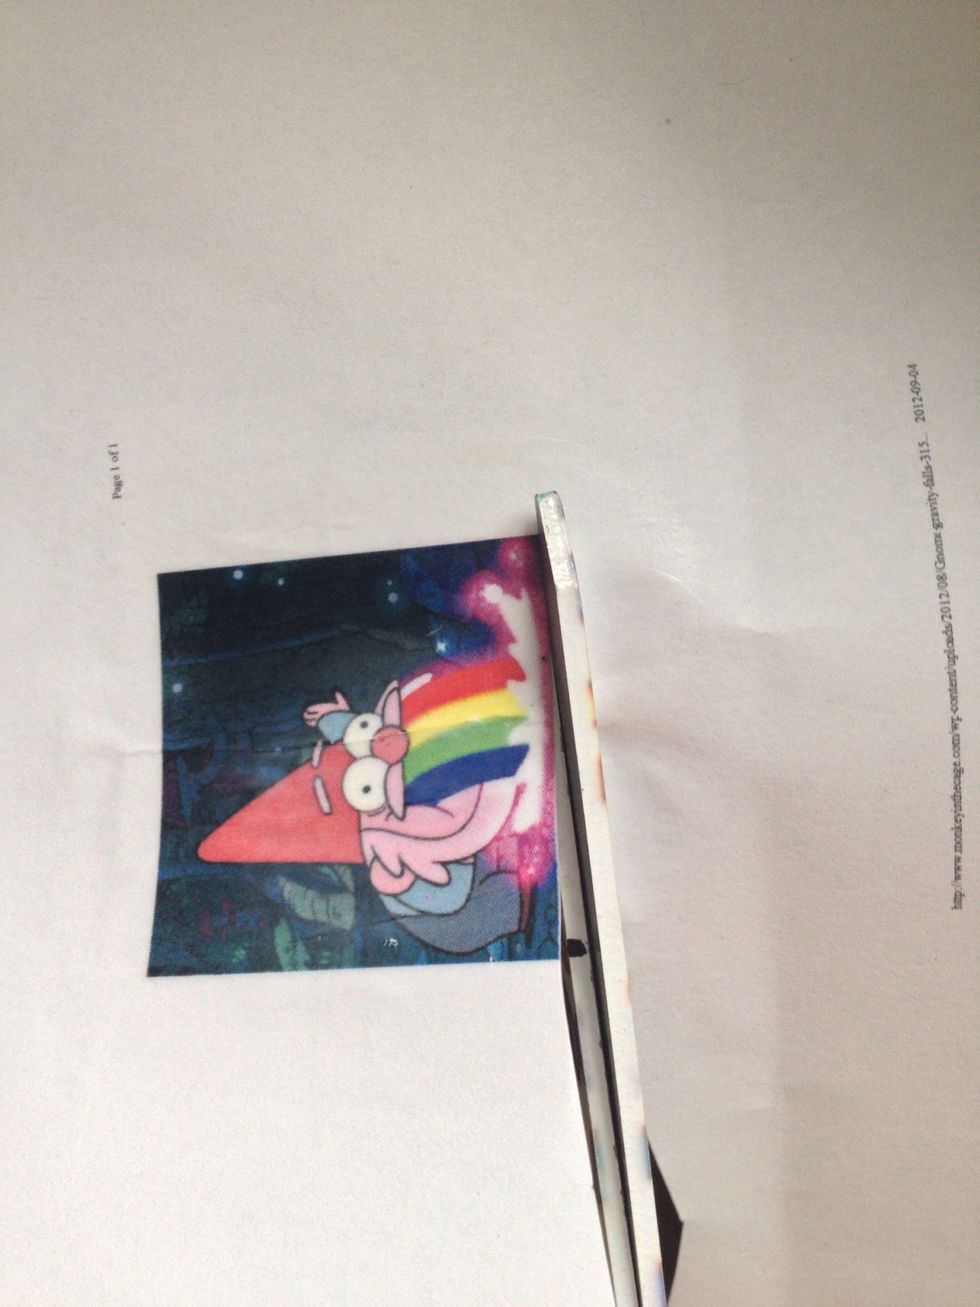
Cut out the photo...
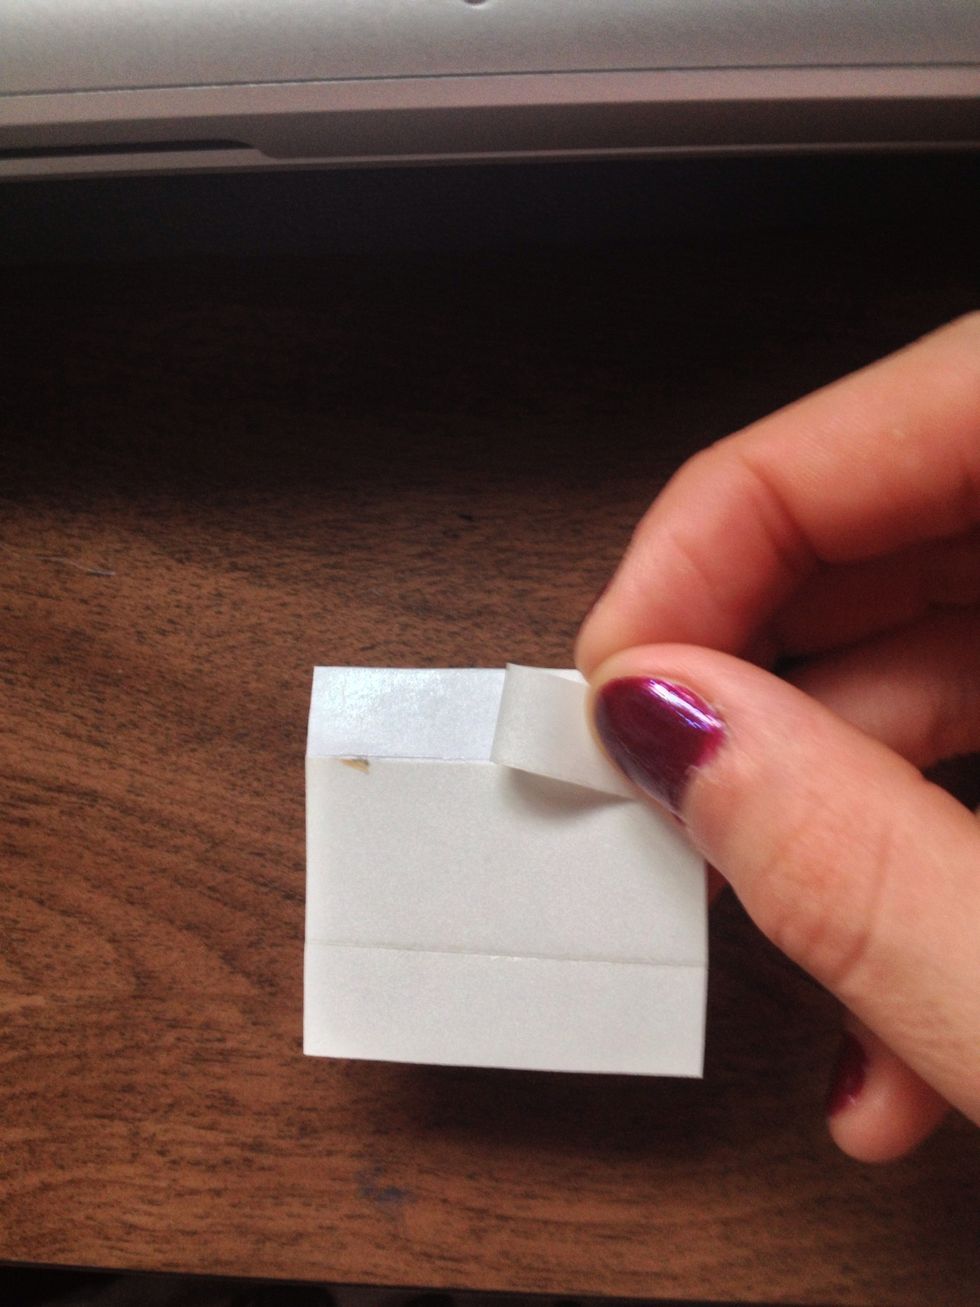
Peel the back...

...and VOILA! You just made a sticker!
-Remember that there are many different finishes on Mod Podge. - If you don't have any Mod Podge, use glue or even clear nail polish -Make sure there are no bubbles under the sticker