The Conversation (0)
Sign Up
Buy 3 yards of burlap at your local fabric store. Three yards will make approximately 6 placemats.
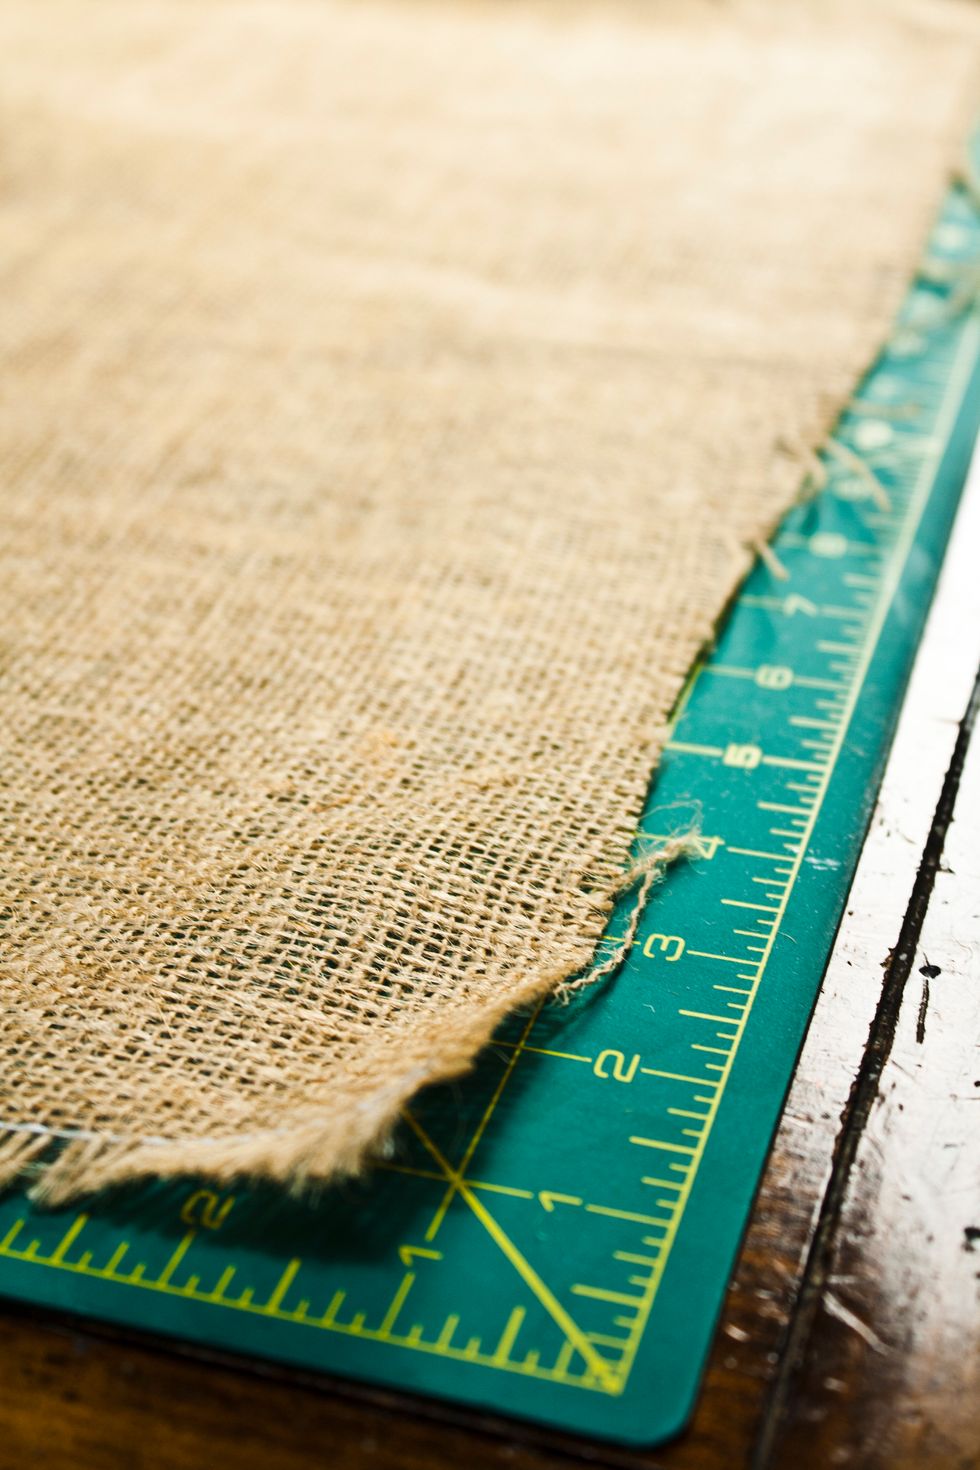
Use a tape measure or rotary board to measure a 14 x 19 rectangle (you can also use your current placemats as a template).

Measure and cut your fabric inside the white thread that comes at the edge of all burlap. It can be a headache to pull out.
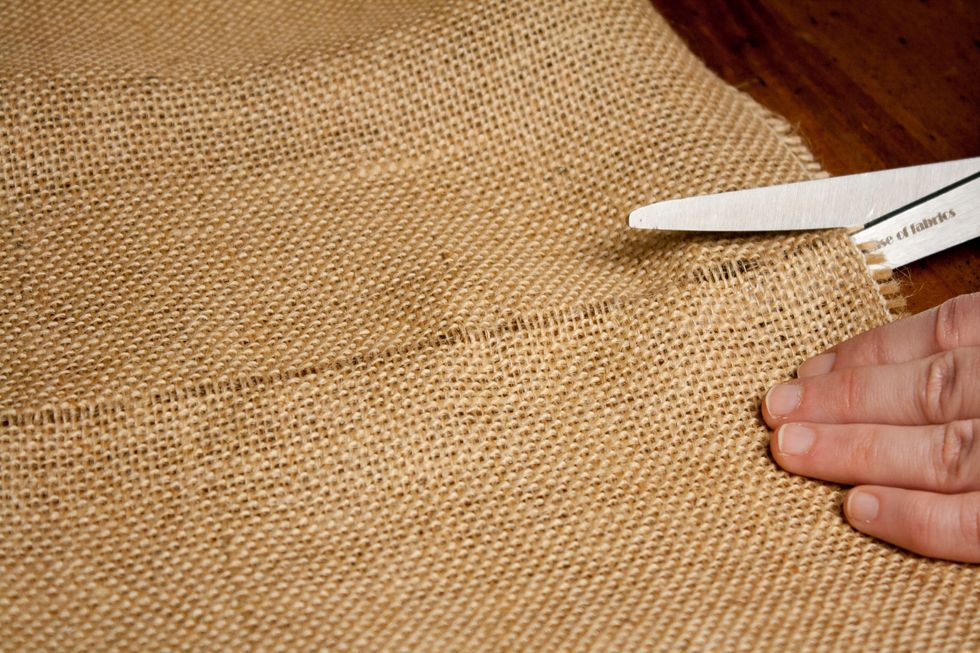
After pulling out the thread you'll be left with a nice little run that will help you cut straight. Cut all four sides of your rectangle.
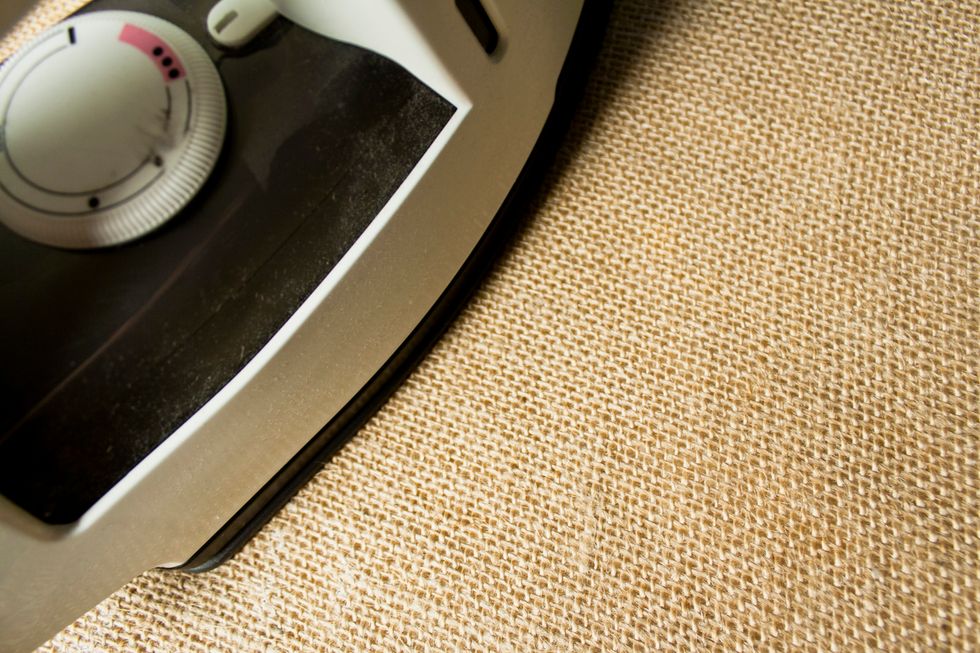
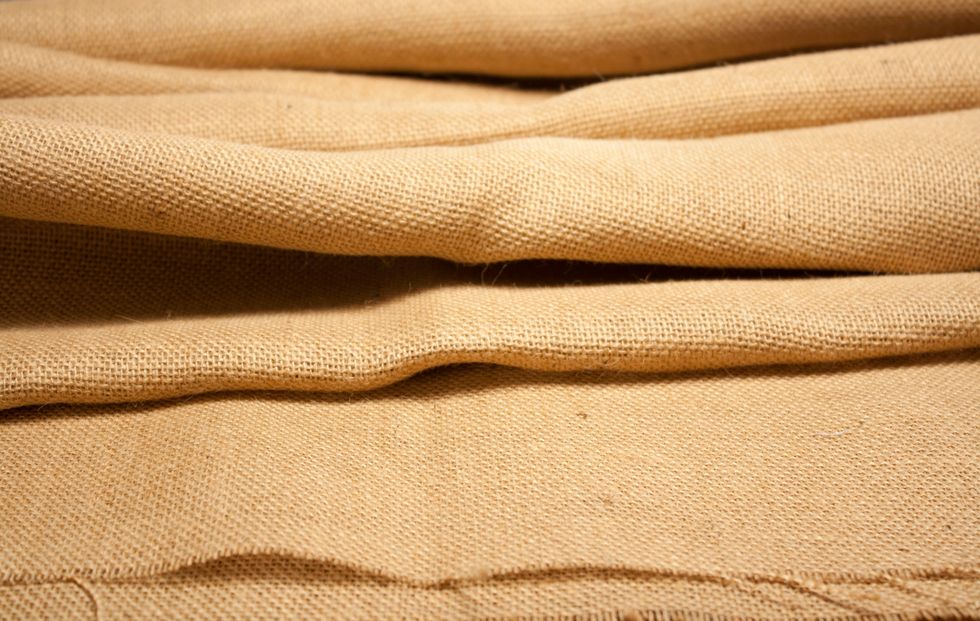
Iron the creases out of your rectangle using your iron's highest setting.
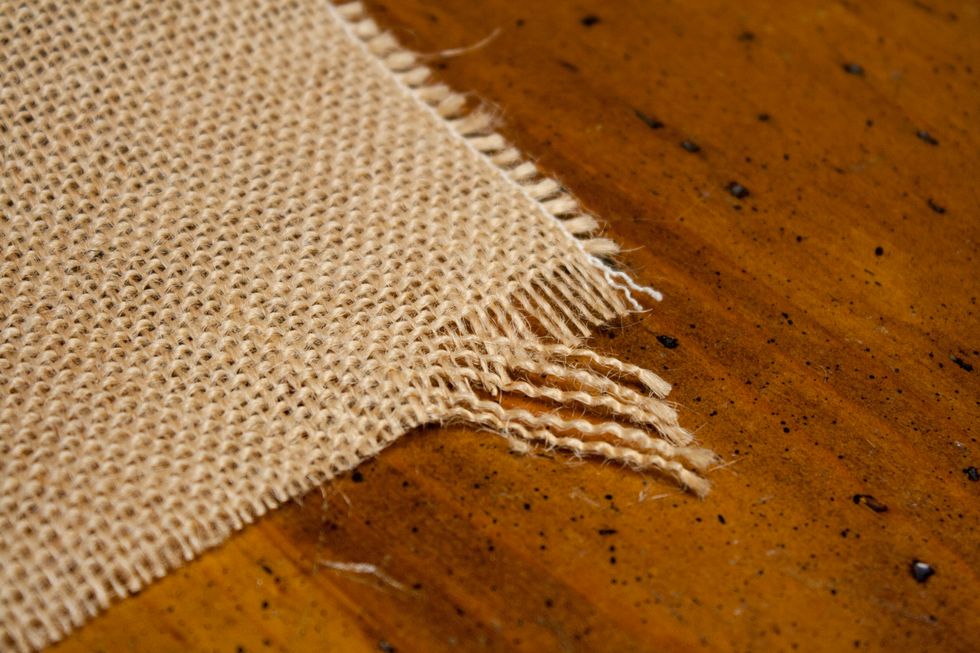
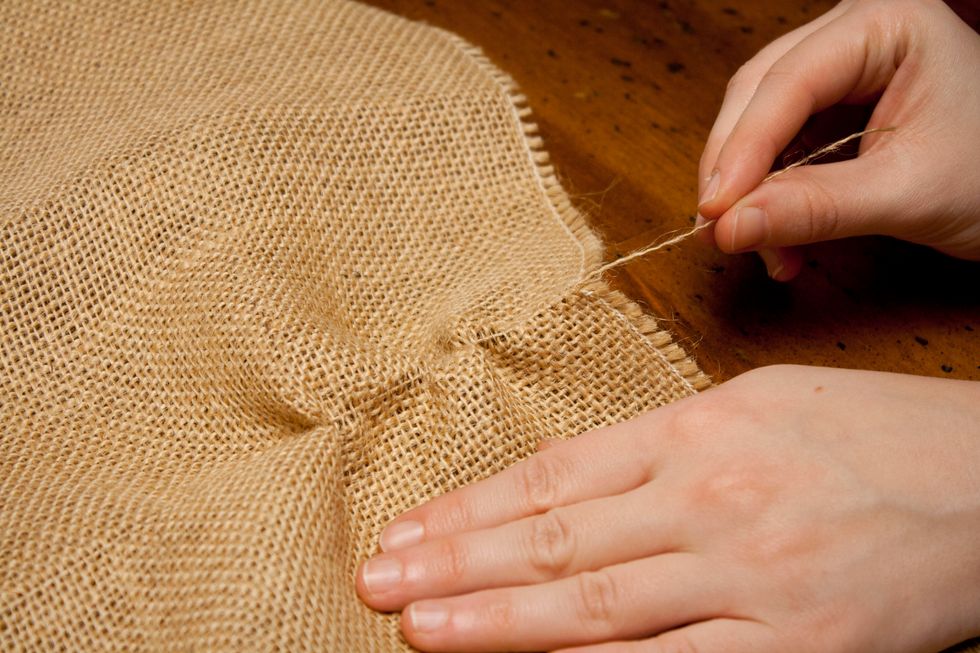
Fraying your edges adds a rustic touch. Grab five threads from each side of your rectangle and carefully pull them out. This will create approximately a 1/2" fringe.

Apply a no-fray adhesive to the back of the placemats to keep the edges from fraying any more. Use a Q-tip to thin out the glue.

As soon as your adhesive dries use a paint brush or sponge brush, acrylic paint, and stencils to personalize your placemats. Start with the last letter first. One to two coats should do it.
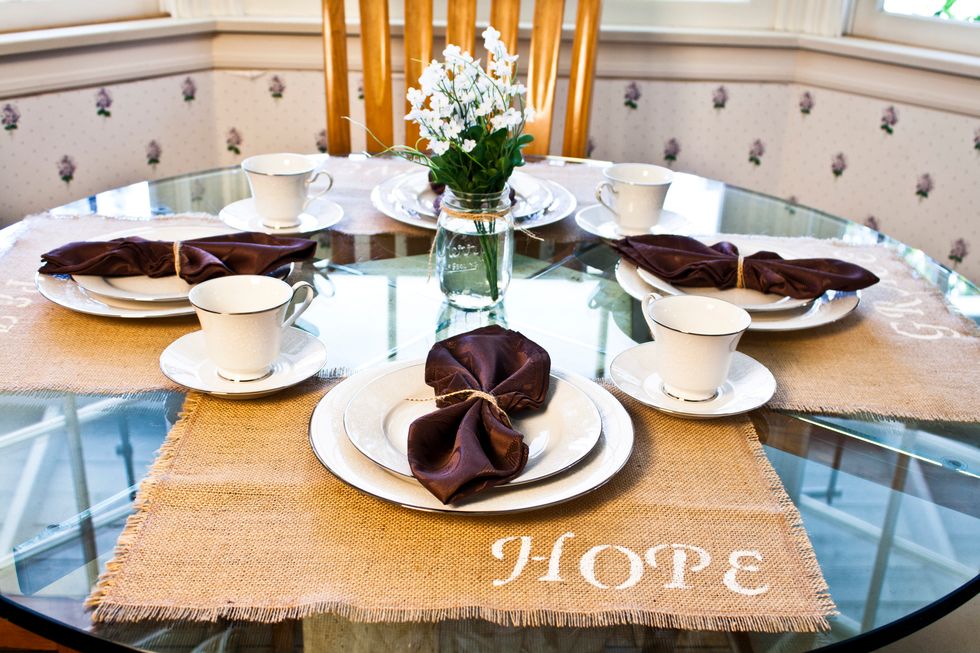
Once the paint dries, set your placemats out on your kitchen or dining room table.
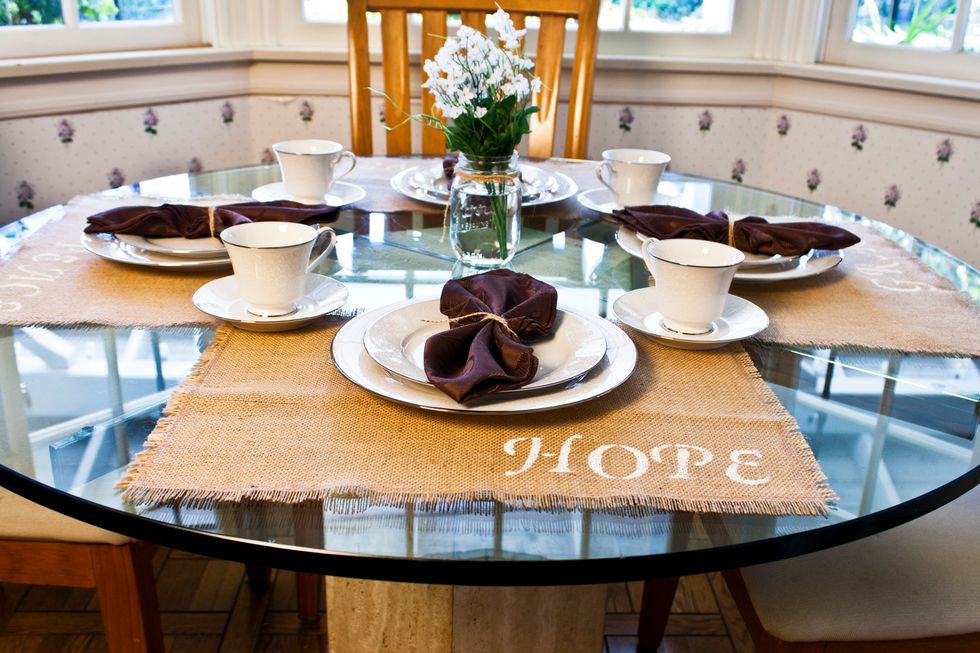
Enjoy the rustic yet personalized look. For more tutorials, recipes, and tips, visit leniandviv.com