The Conversation (0)
Sign Up
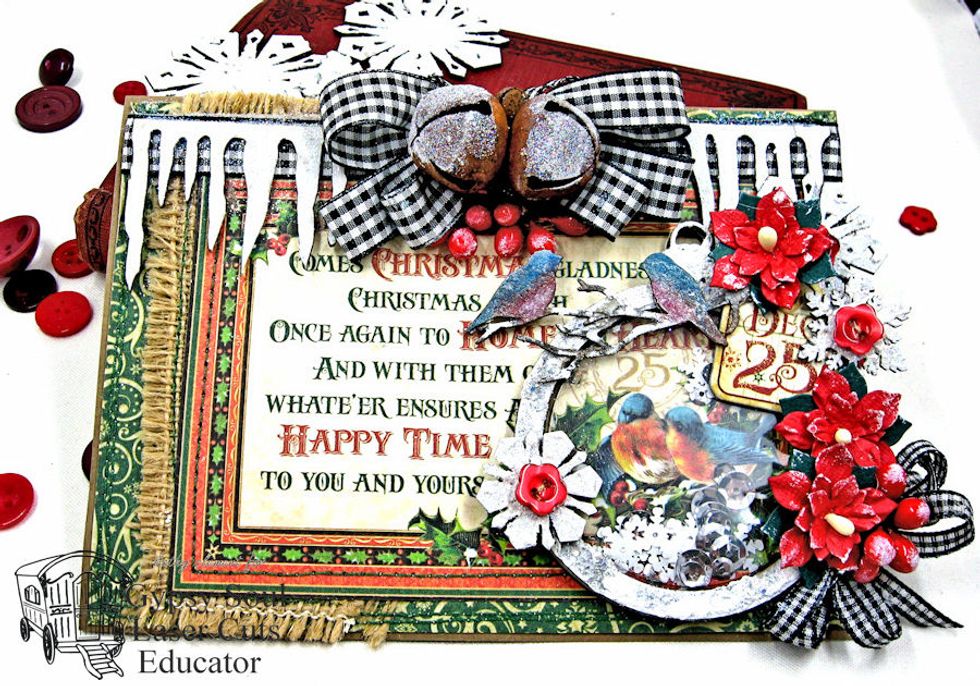
This 7" x 5" top fold card is loaded with texture and dimension. It looks complicated, but it's actually a very simple design when you break down the steps. We'll begin by prepping the chipboard.
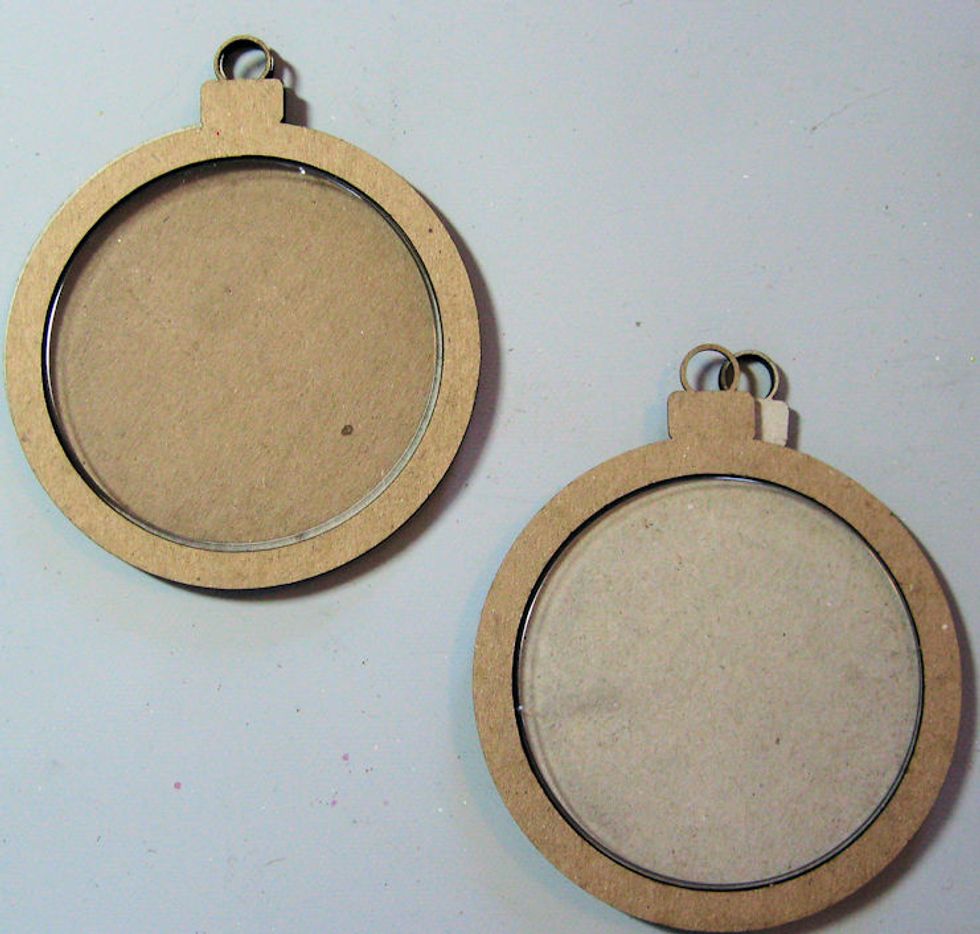
Separate the parts of the Gypsy Soul Laser Cuts Double Sided Ornament to create 2 separate ornaments., as shown here.

Set the clear dome and circle base aside. Tap the top rings with Distress Grit Paste. Use your fingers, a brush or a palette knife. We want an bumpy, uneven surface that looks like snow.
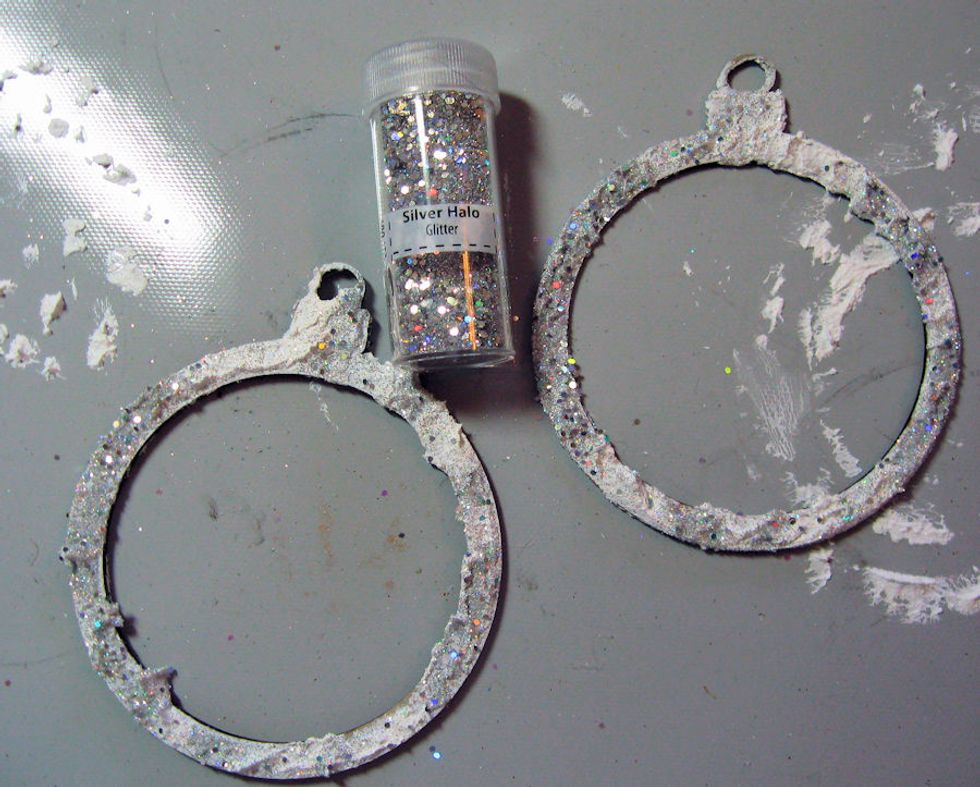
While grit paste is still wet, sprinkle with Silver Halo glitter from the Stampendous Frantage Blue Jewel Kit. Set aside to dry.
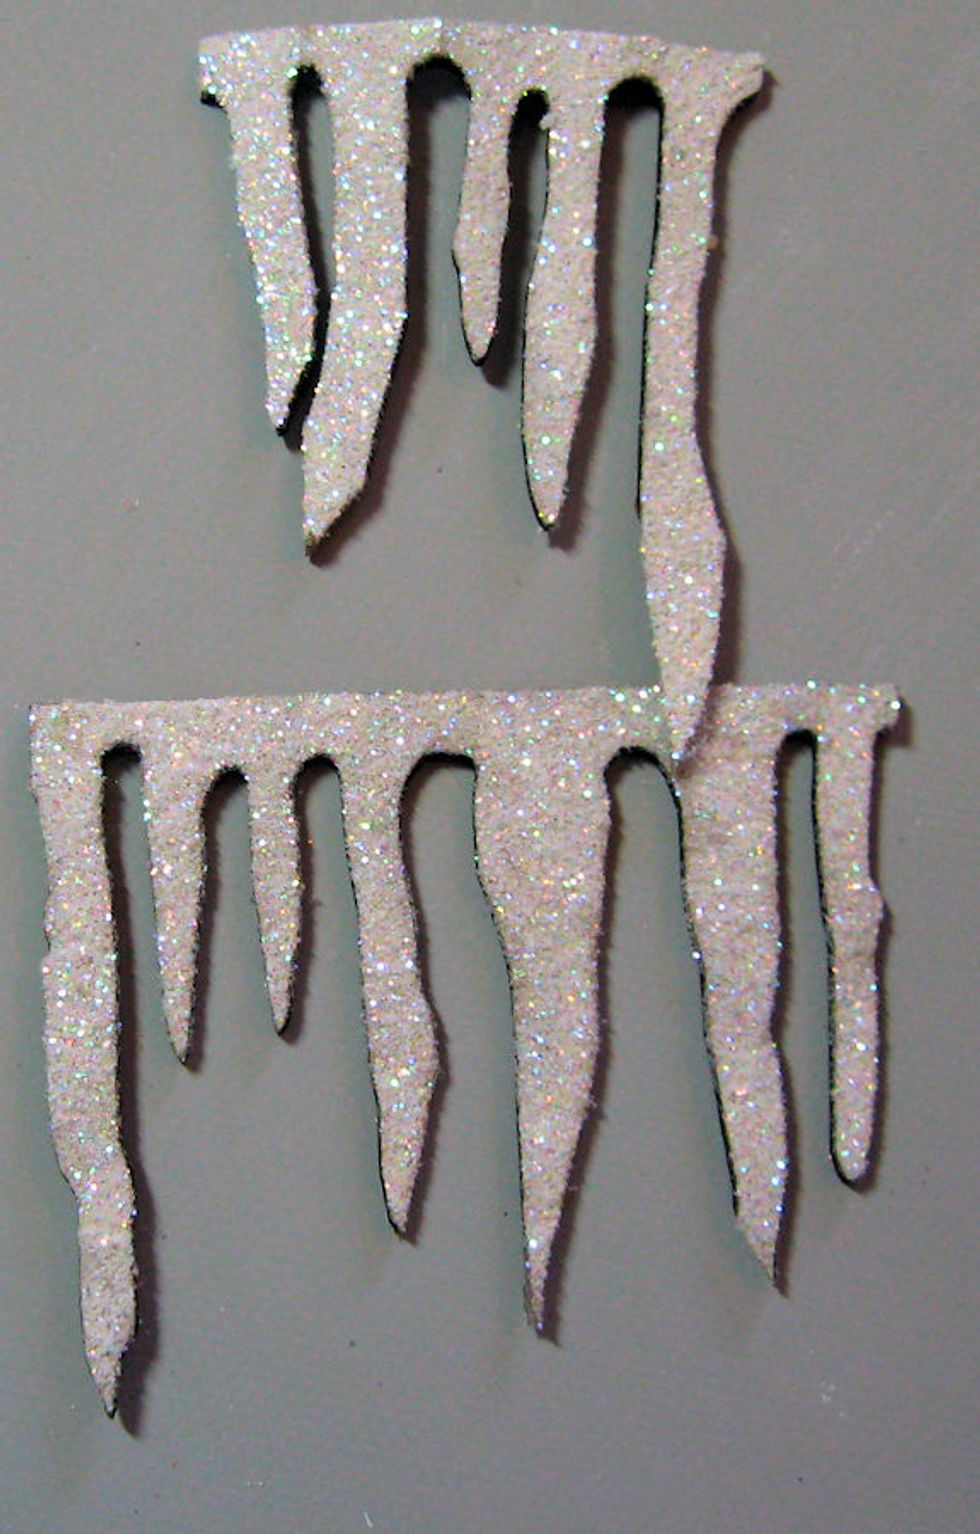

Follow the same procedure with the Snowflake set and set aside to dry. I'm only showing 3 snowflakes, but you might as well do them ALL so you have them to use on other projects.

Color the birds from Bird Scribble Frame with Distress Crayons. Then tap with grit paste to create snowy branches.
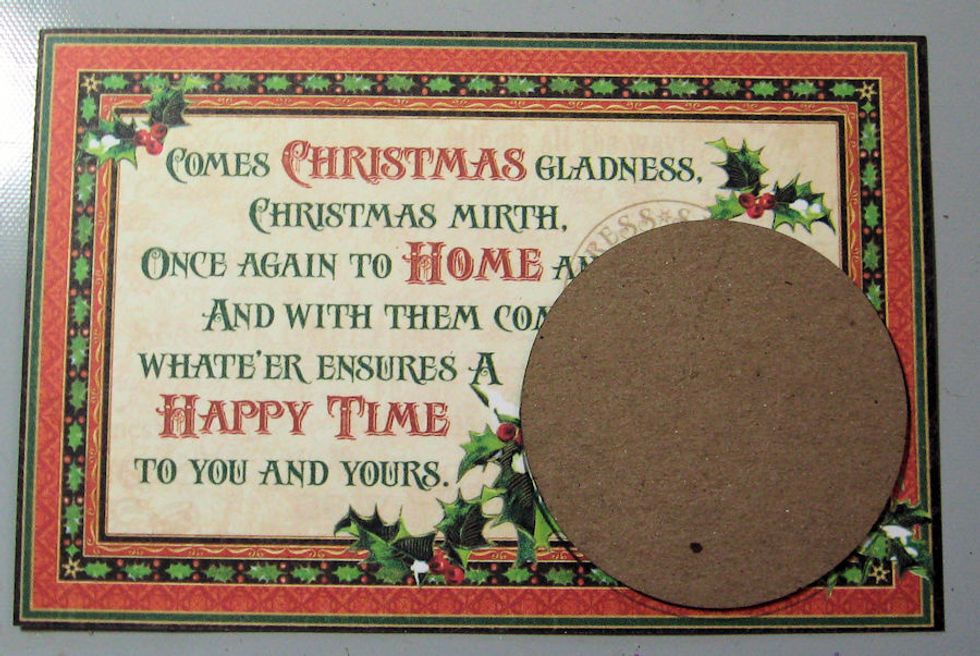
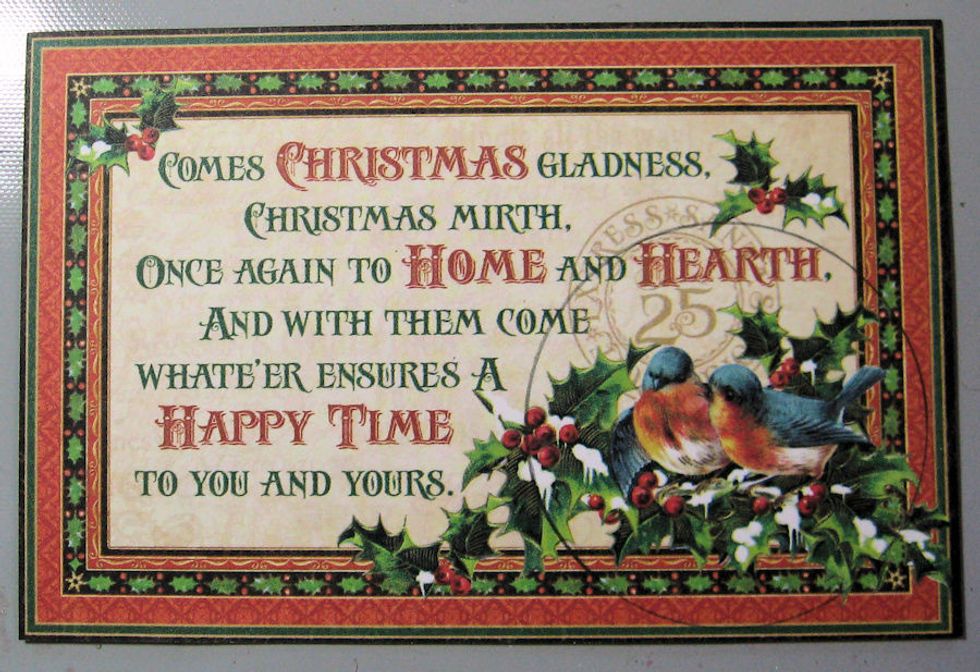
Place the base of one of the ornaments over the bird images on this 4x6 journal card from the 12x12 St. Nick paper collection. Trace around the outside edge with a pencil.
Here is my traced circle. You can die cut with a circle die if you have one that is the right size. I did not, so I used a craft knife, cutting out on a piece of glass from an old picture frame.

When you use a craft knife on glass, there is no "drag" on the blade and it cuts smoothly and easily through the paper.
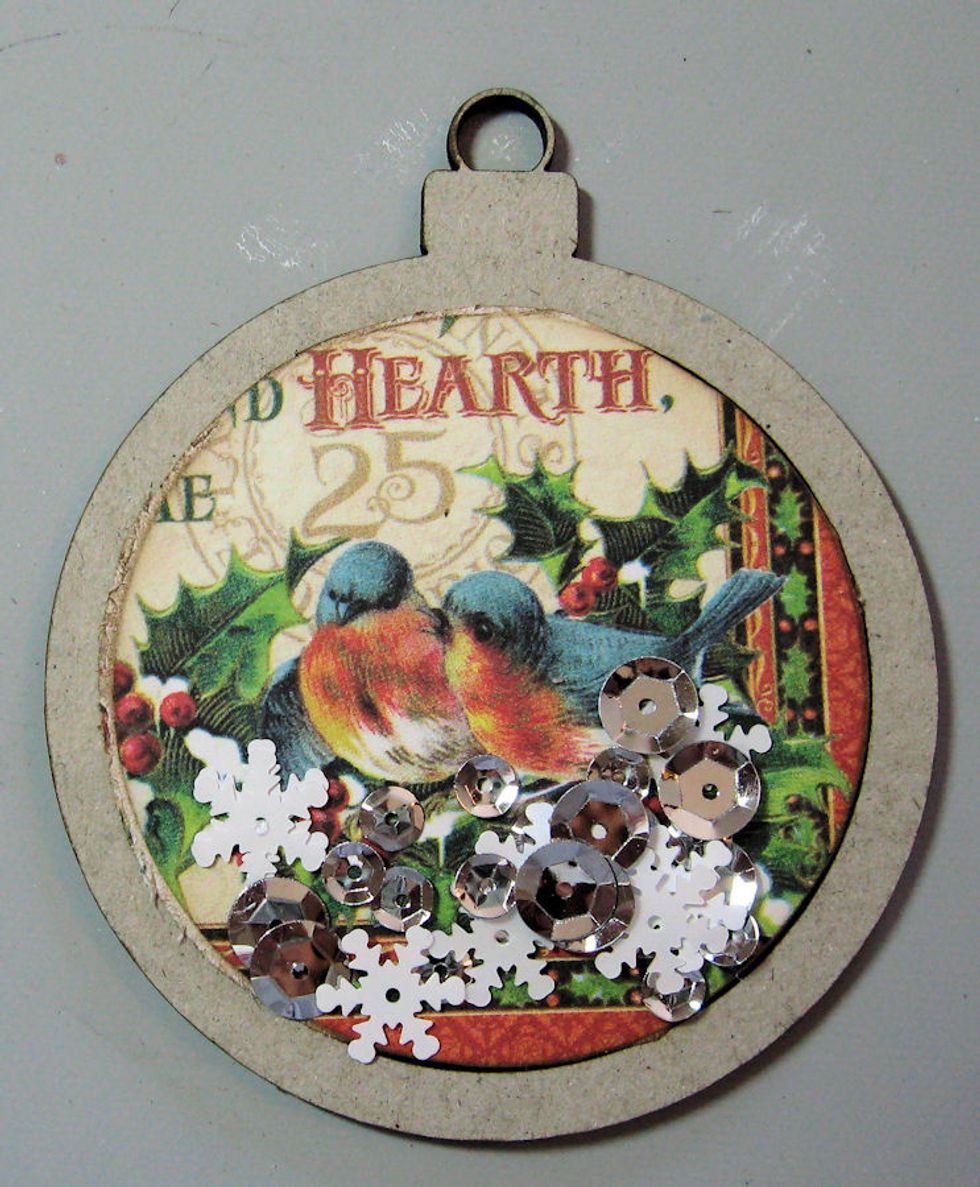
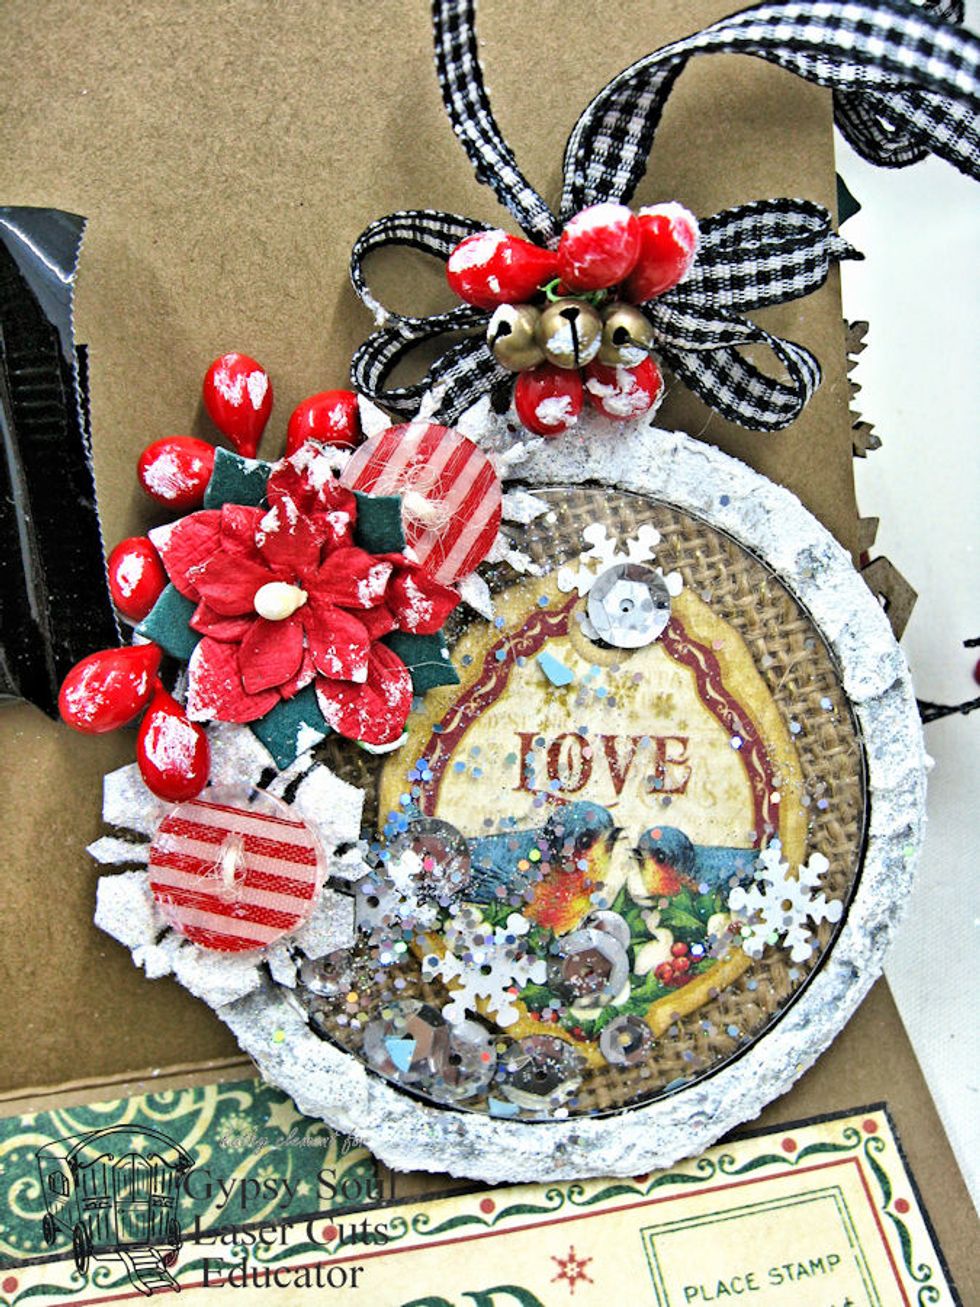
Glue the cut out image onto the circular base and set inside the open frame. Add some sequins and glitter. Push away from the edge so you can top it with the dome.
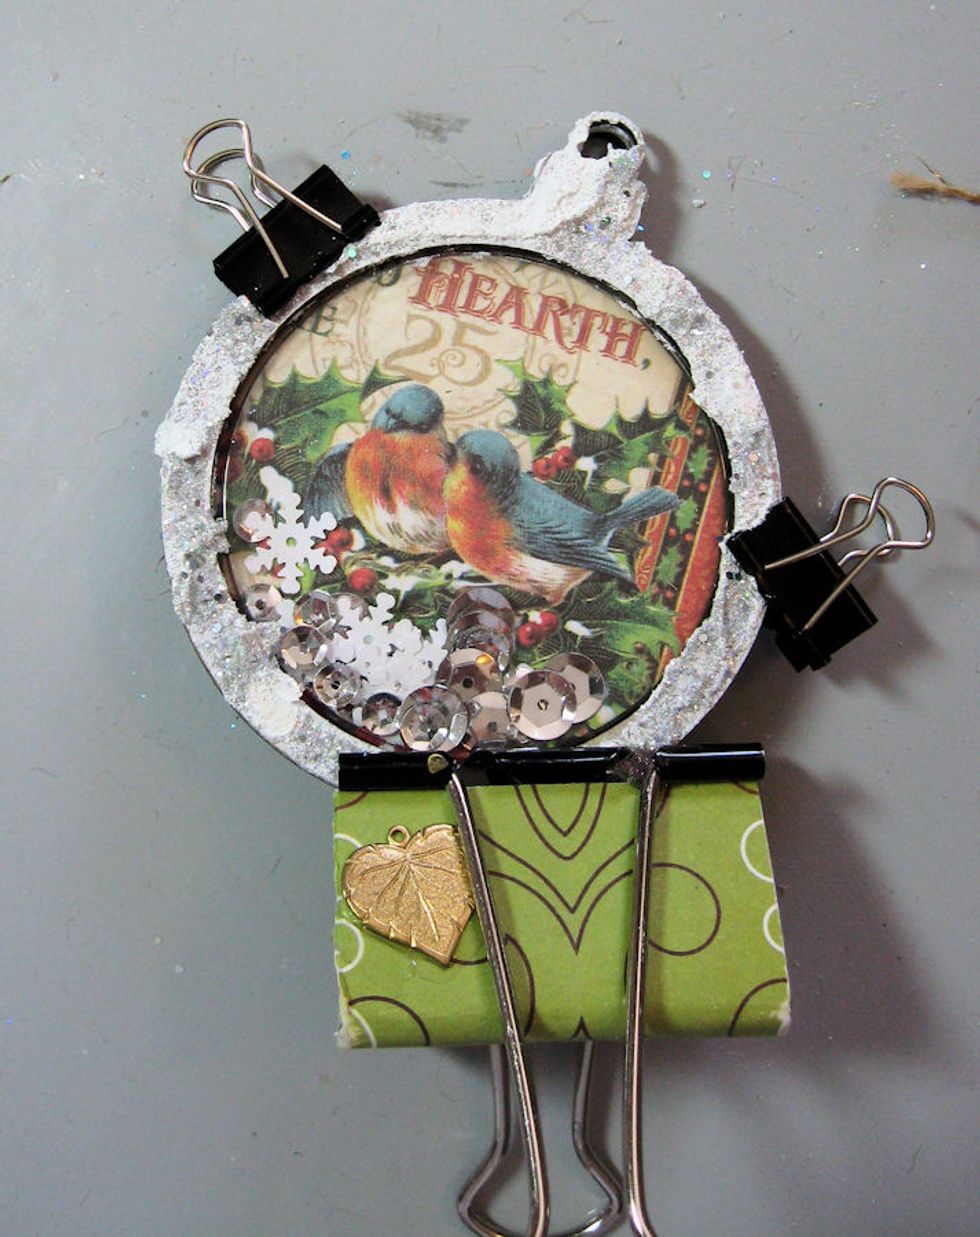
Fun a bead of glue around the outside edge of the bottom piece. Place the dome and the altered "frame" on top. Use binder clips to hold in place until the glue dries.
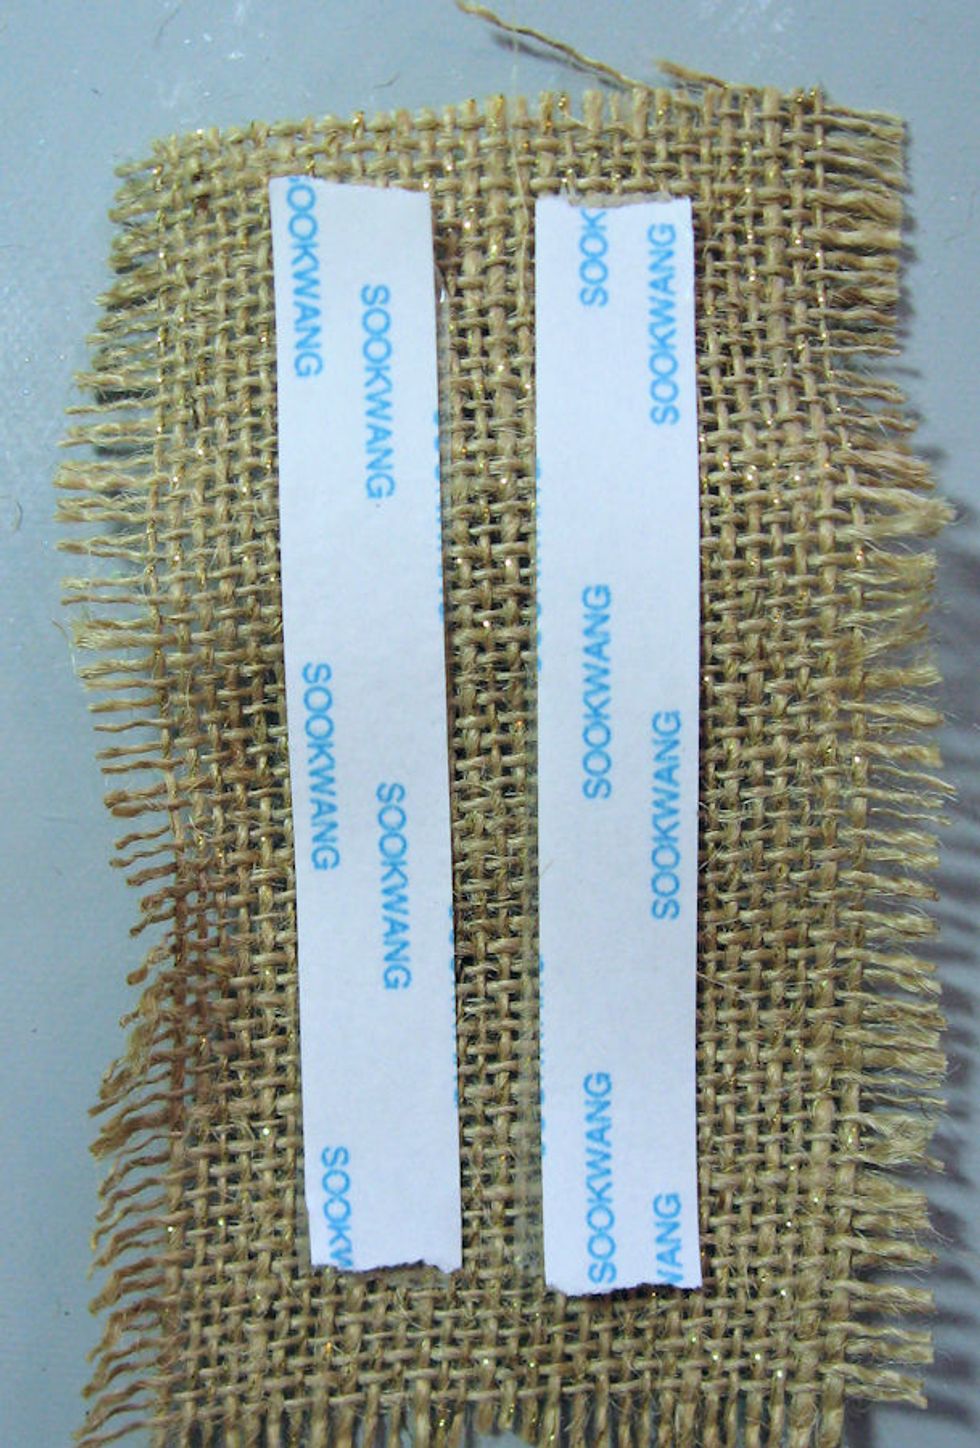
Add tape to the back side of a 2.5" wide x 5" tall piece of burlap. Fringe the edges. Glue onto the left hand side of a 7" x 5" rectangle of 12x12 prints & patterns green swirls paper.
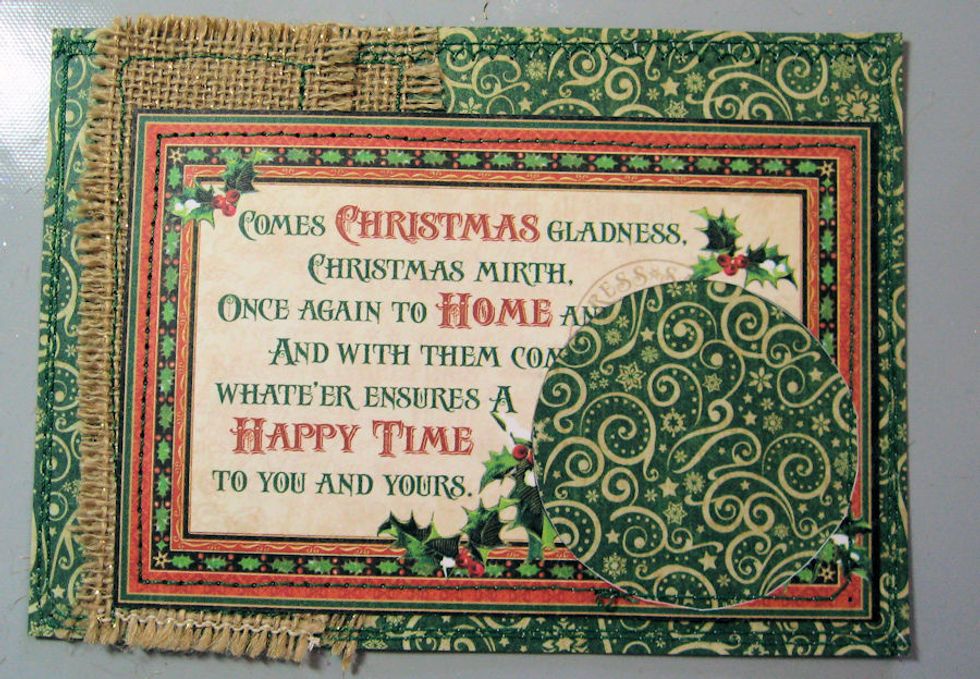
Stitch the burlap onto the green swirls paper. Then stitch the journal card on top, as seen here.

Tie bow with black plaid ribbon, leaving the tails long enough that they will run all along the top of the card. Glue icicles on either side of the bow. Add Jingle Bells & Berries. Tap w/grit paste.
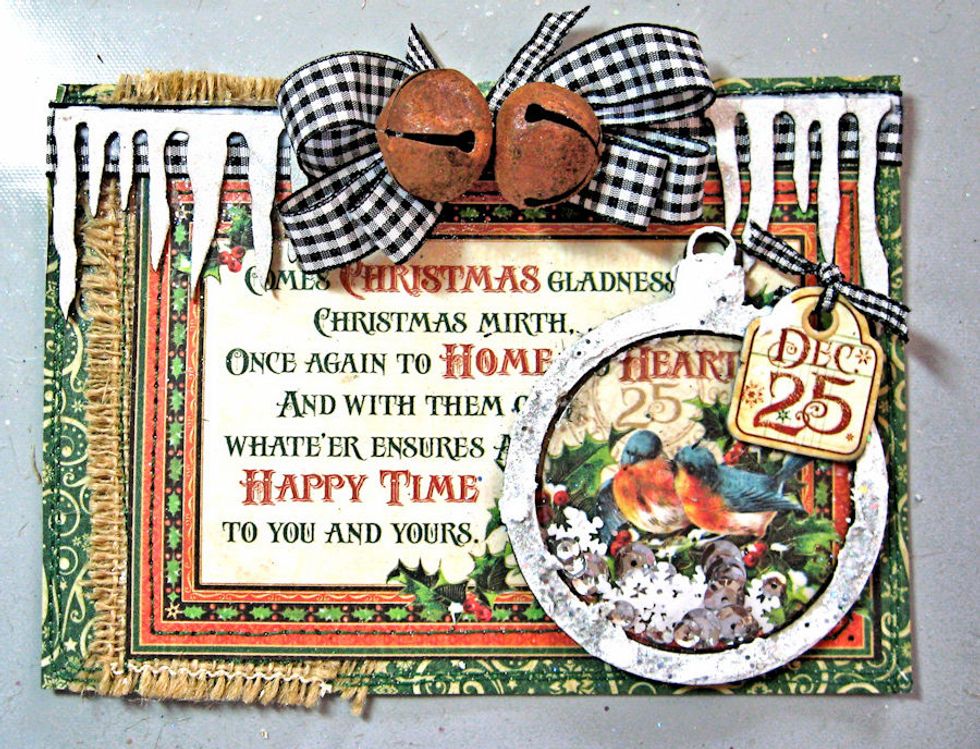
Glue the bird ornament over the cut out area. Use glue gun to add chipboard tag.
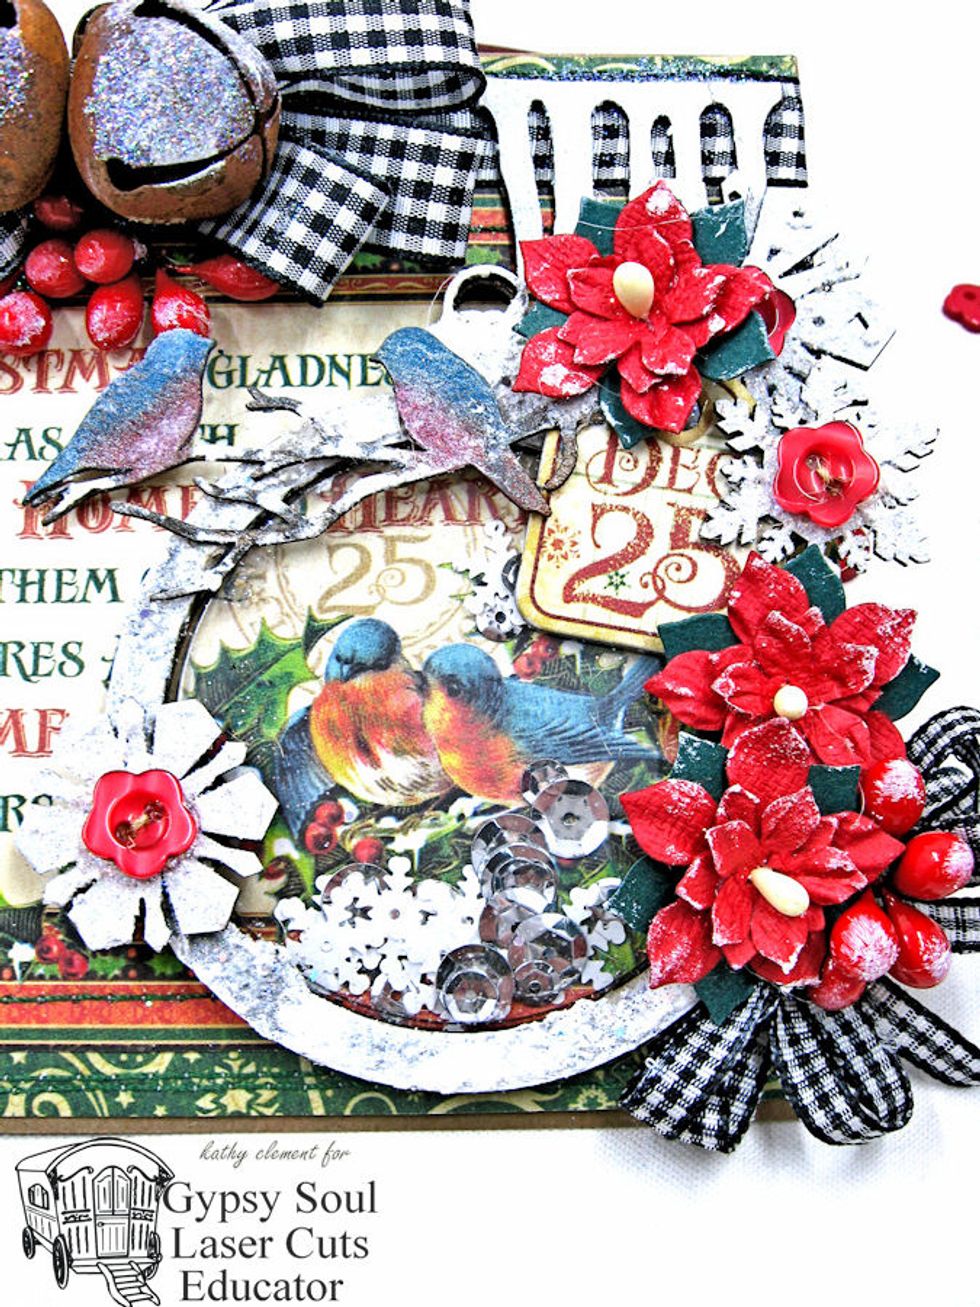
Add mini poinsettia, snowflakes, buttons and birds on branch. Tie smaller bow and tuck under the berries and flowers. Tap all with grit paste to give a snowy appearance.
Create 2nd ornament, using burlap on the back panel and a chipboard element. Thread ribbon through top loop. Decorate as before.
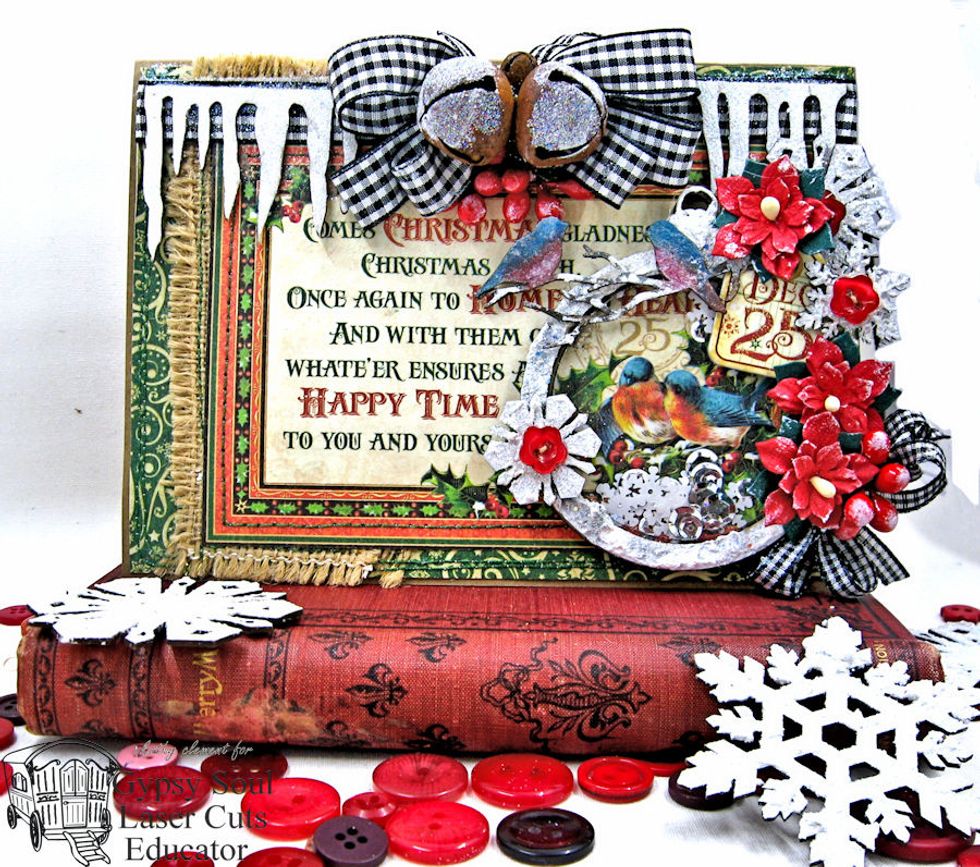
The outside of the card is now finished! I will show you how I decorated the inside.
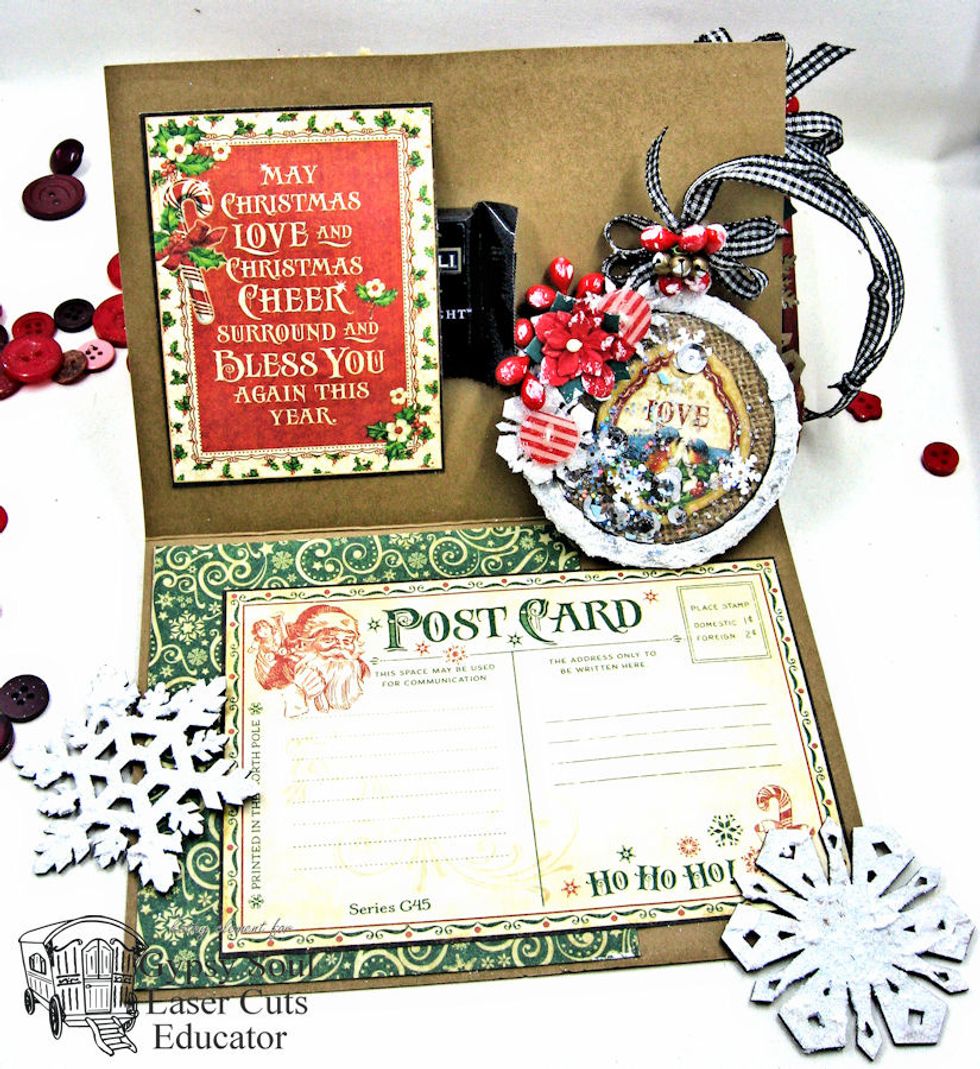
I made a small pocket by leaving one side of a sentiment tag open. A small chocolate is tucked in here. I decided I wanted a gift box to hold the card and ornament, and found one in my stash.
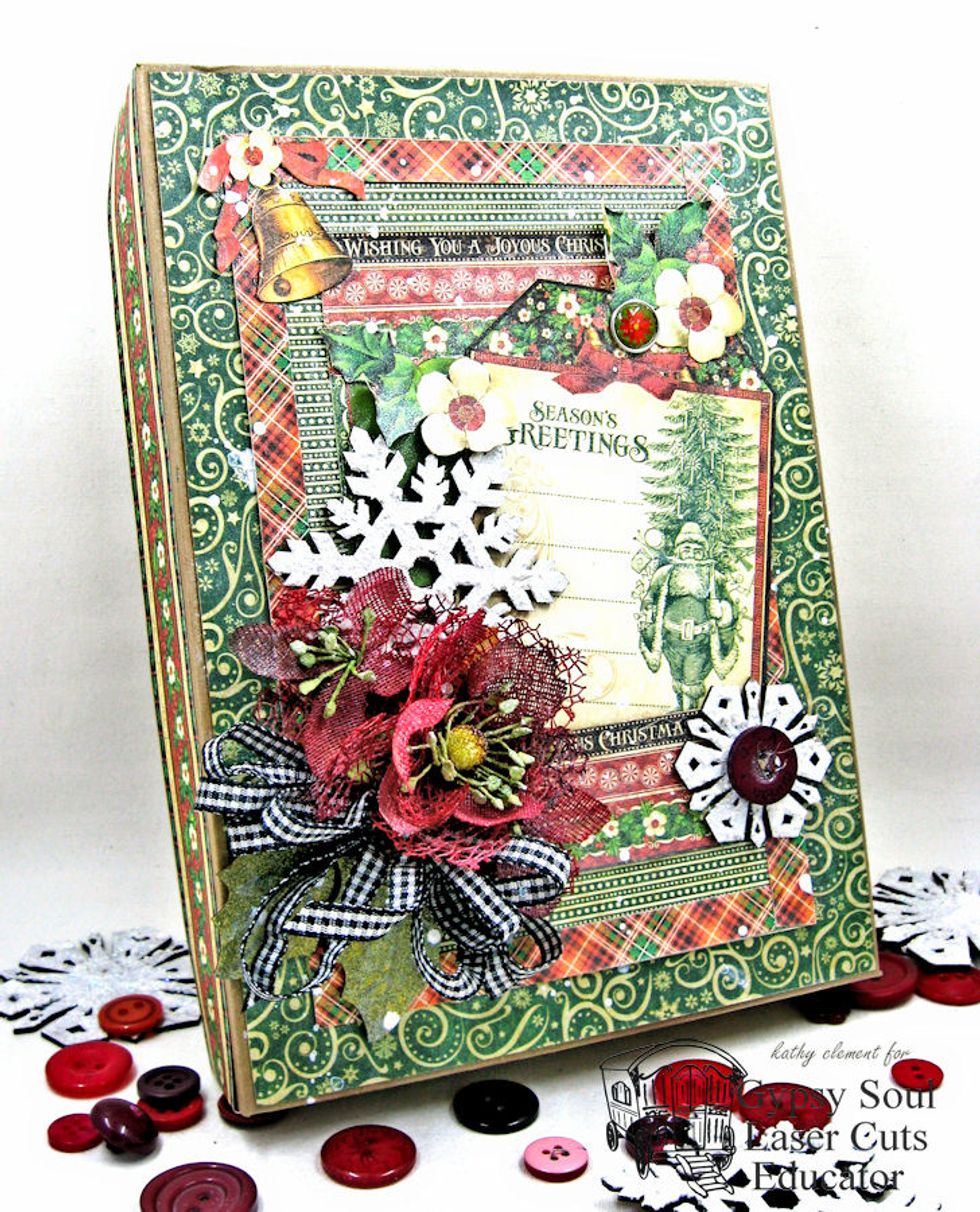
Decorate the box with papers, flowers ribbon & more pretty snowflakes. Now you have a lovely holiday gift card and matching ornament. Thanks for joining me today. I'd love to hear from you!