The Conversation (0)
Sign Up
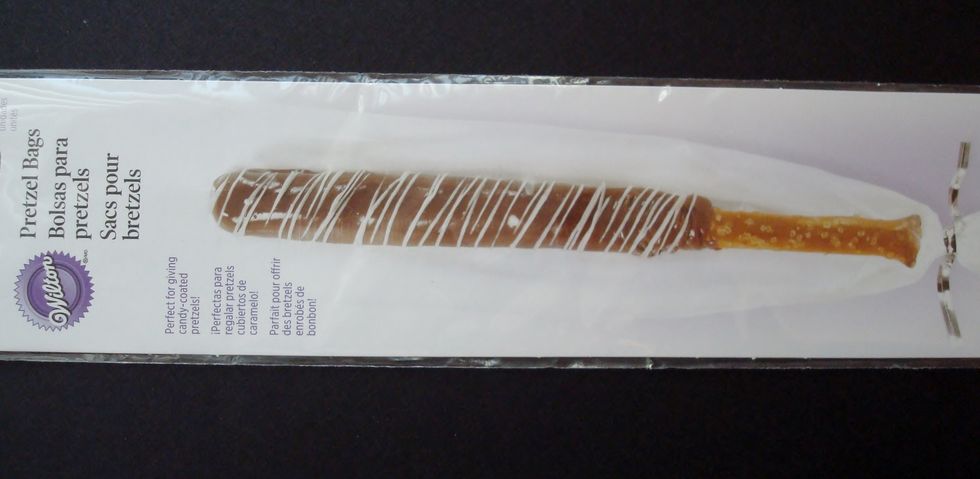
These are the bags that I used. You can find them in the Baking section at most stores.
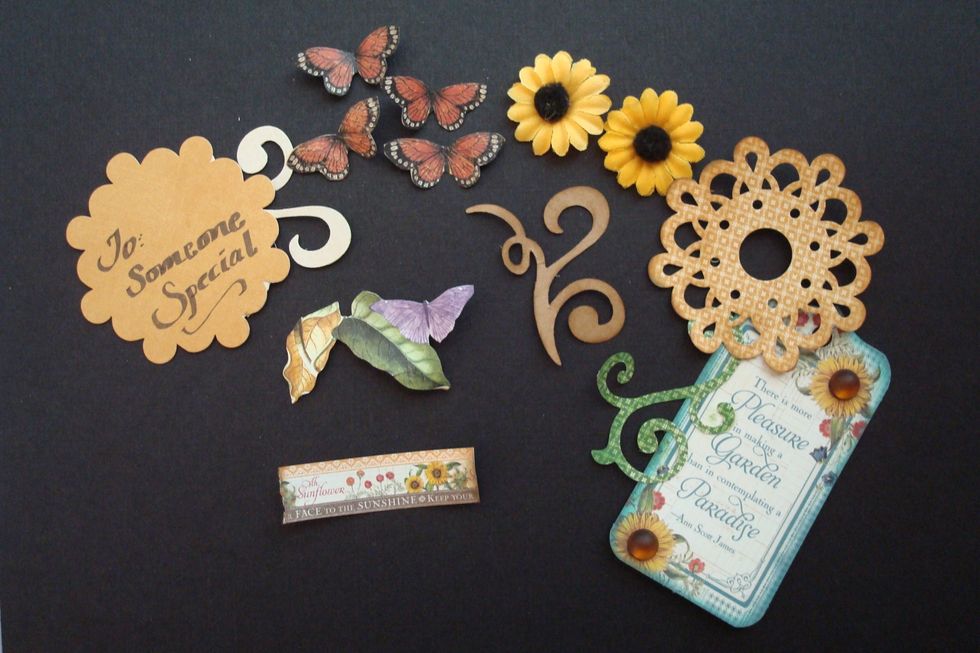
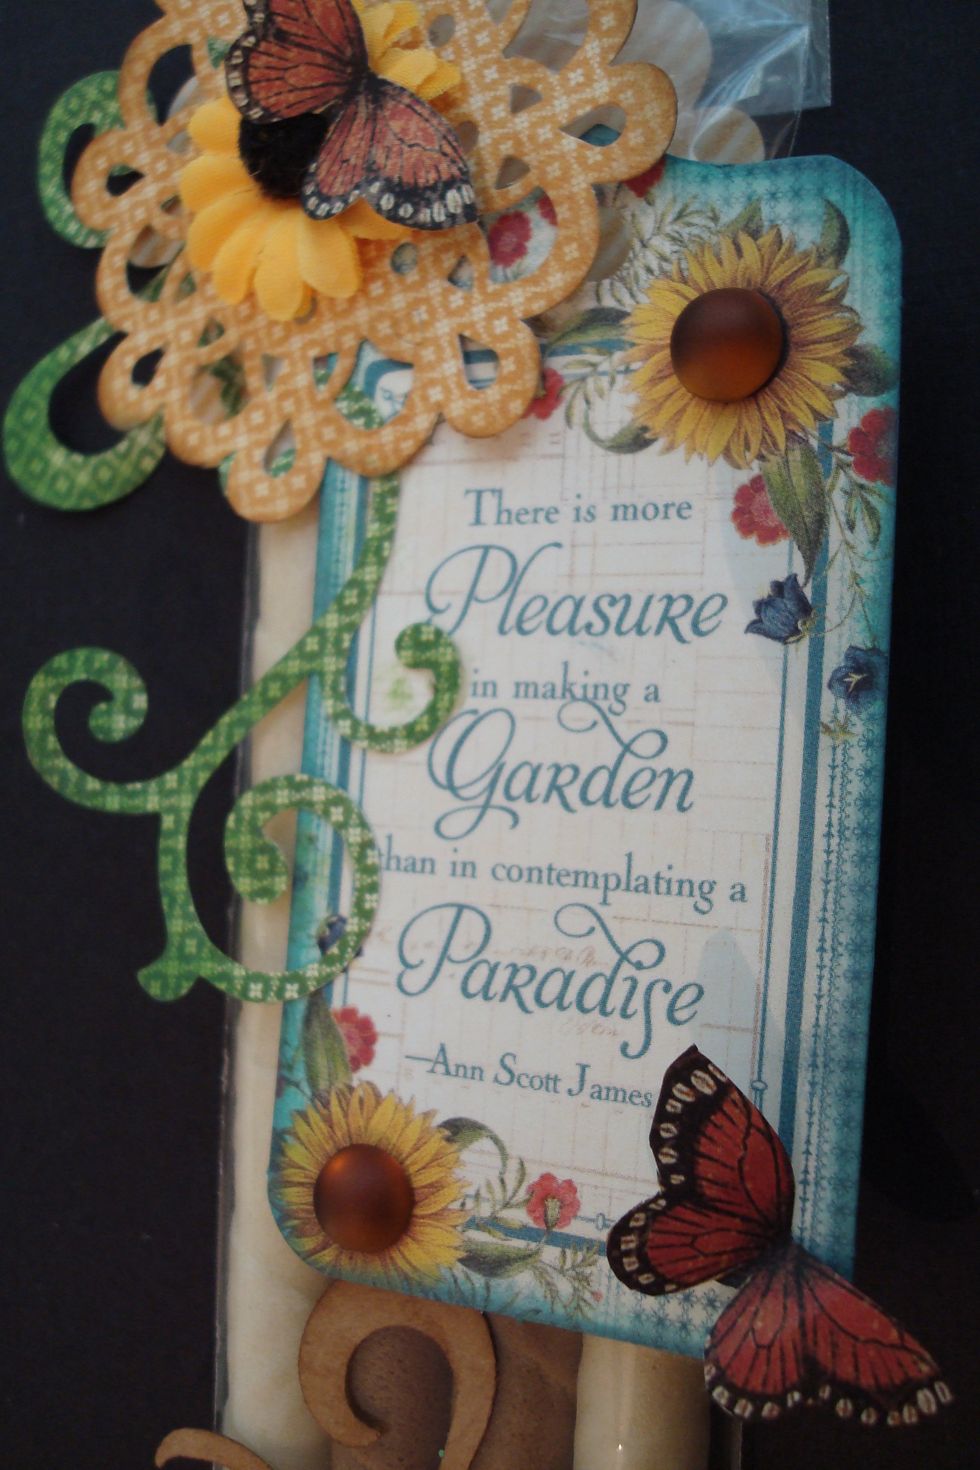
I've fussy cut some Spring elements that will be used to decorate the Pretzel bag. A couple of fabric flowers and a tag with a Spring message will also be used for decoration.

I used double sided tape to glue this banner all the way around the bottom of the bag.
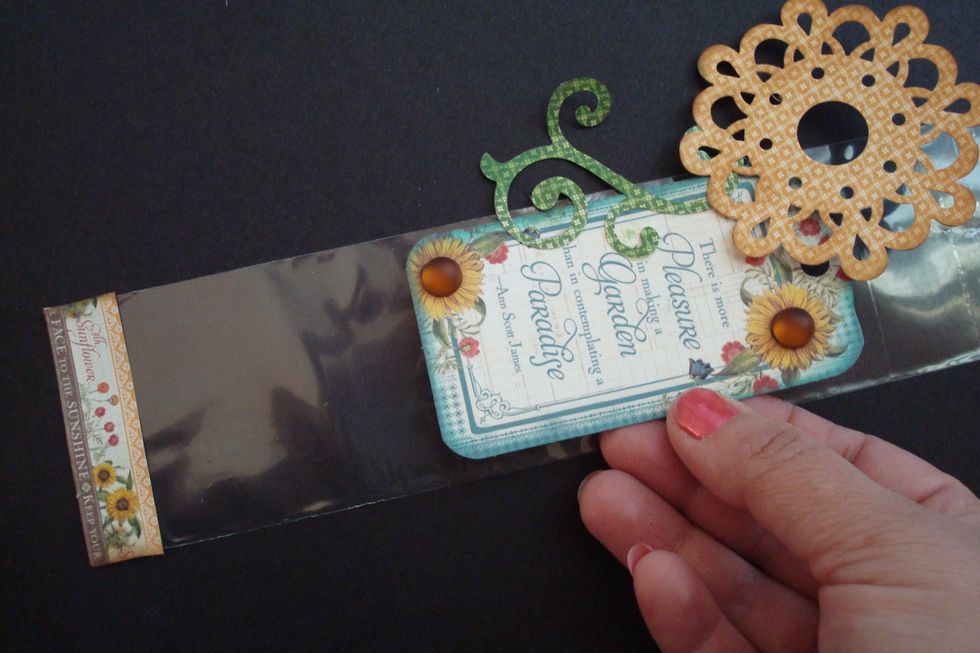
Adhere the bigger elements to the center of the bag -use glue dots or double sided tape. For more dimension, use pop up glue dots.
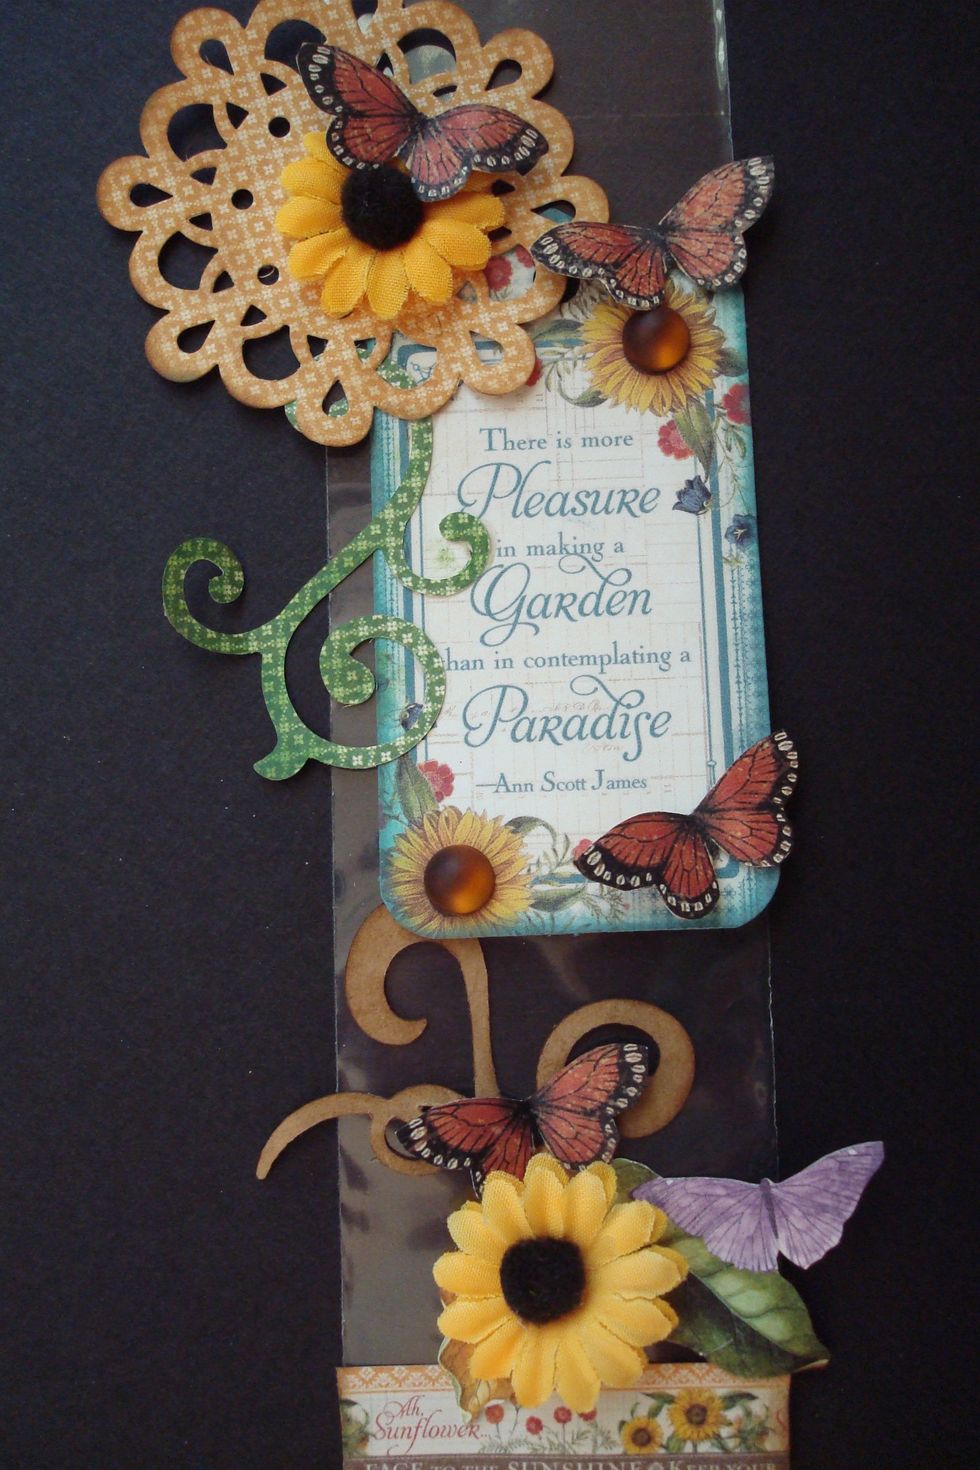
Now use the smaller elements and flowers to finish decorating the bag. I've added a couple of amber adhesive gems to give the sunflowers a little more pop.
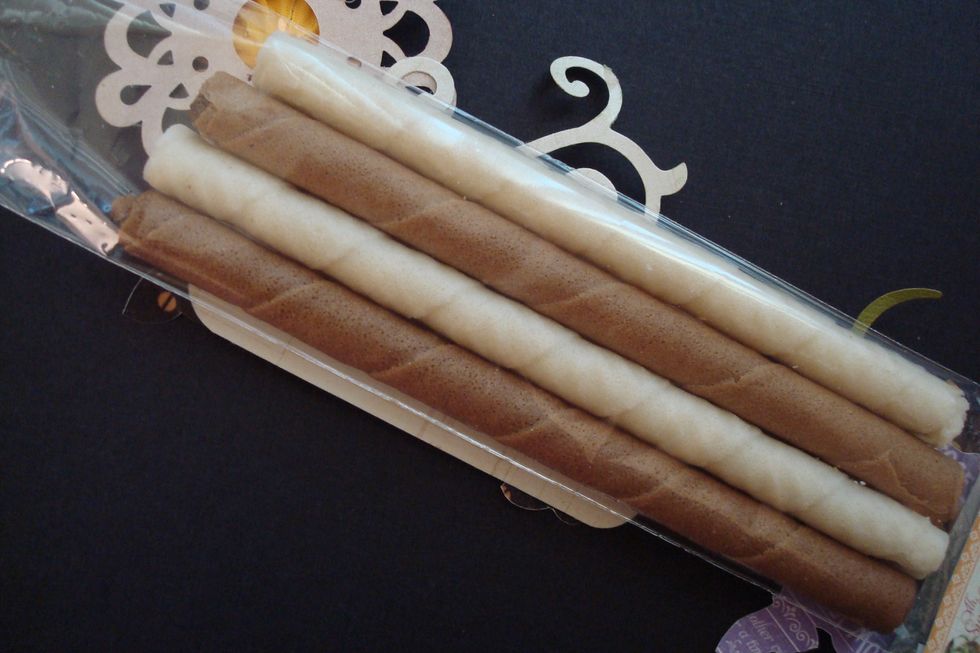
Very carefully fill in the bag with wafer rolls. Using a couple of different flavors will give it a little variation.
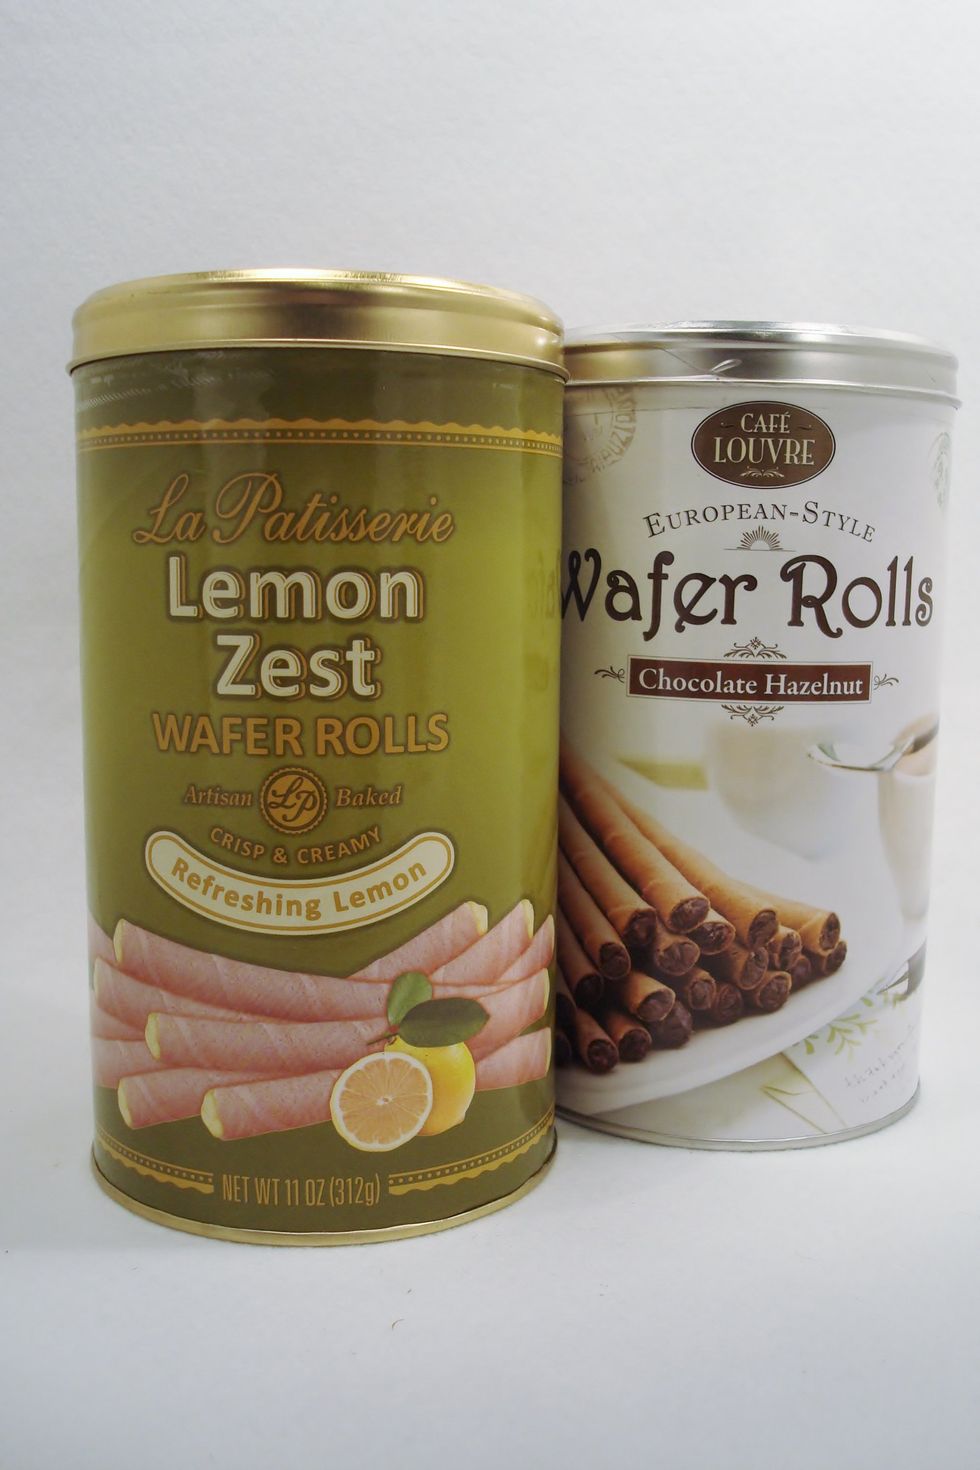
These are the two flavors that I used.
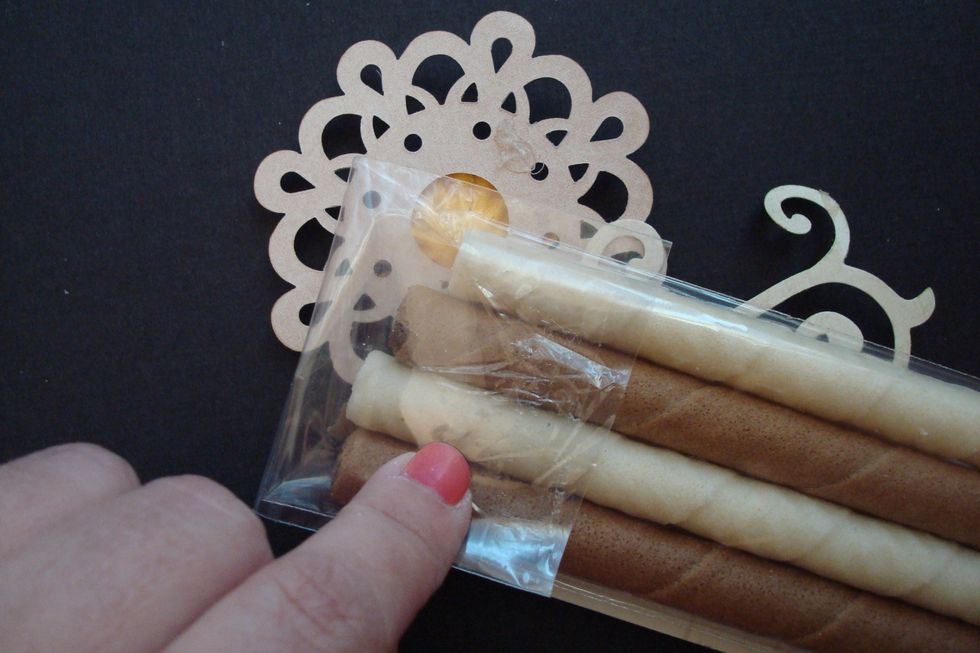
To close, fold back the bag excess and adhere it with a glue dot or double sided tape.

Cut out the outline of the doily that was used in the front and adhere it to hide the closure - it also serves as a tag where you can write a personalized message.
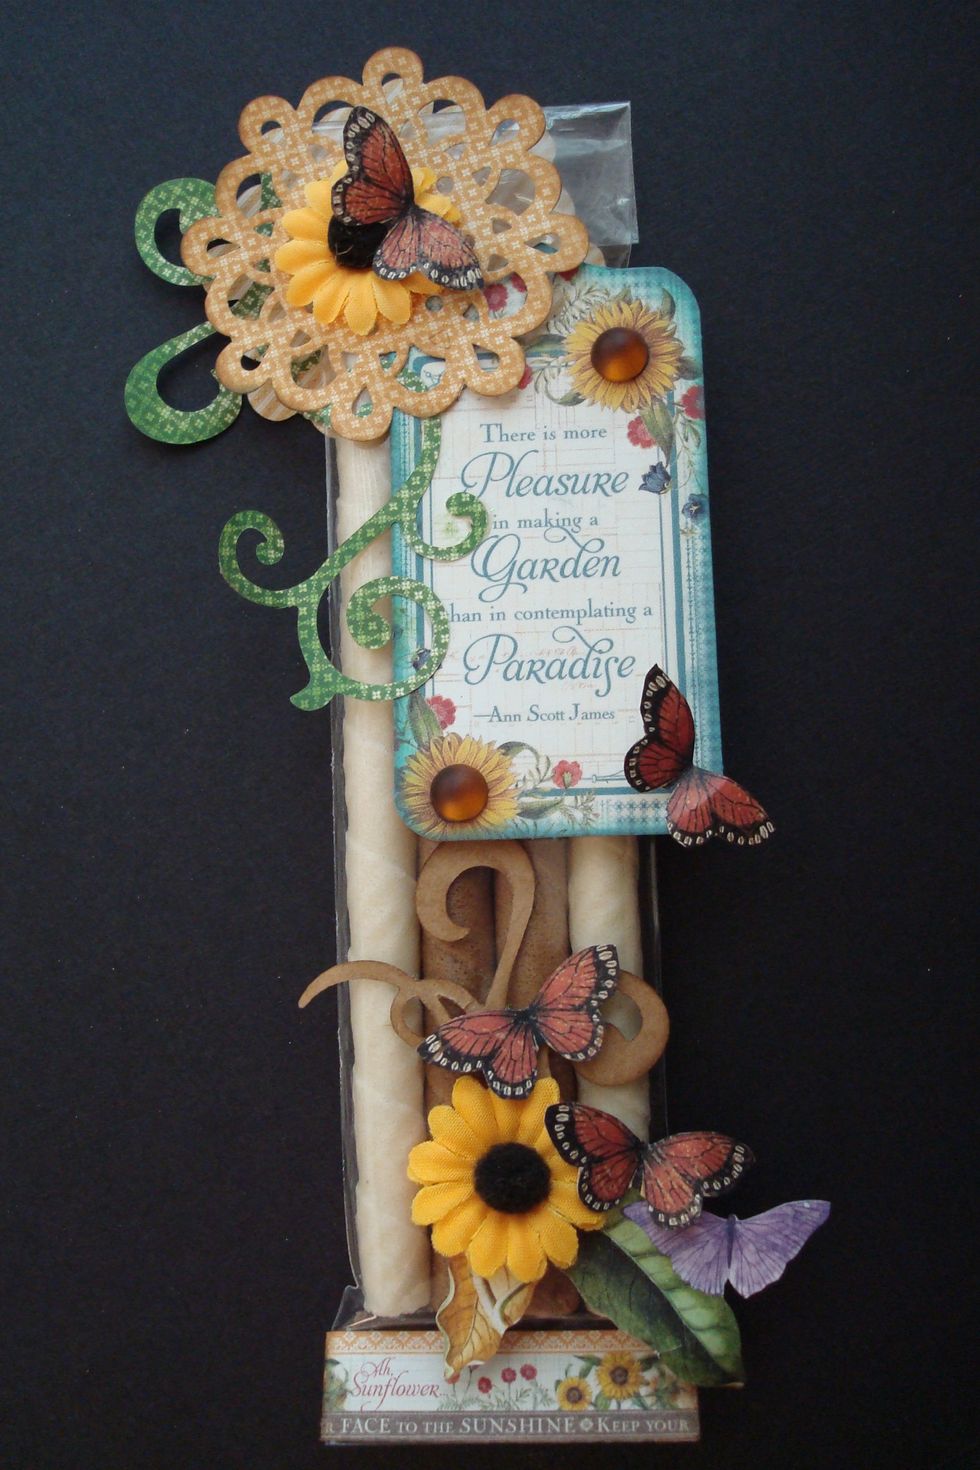
And here's the finished product.

Now just make as many as you need and arrange them in a nice basket.
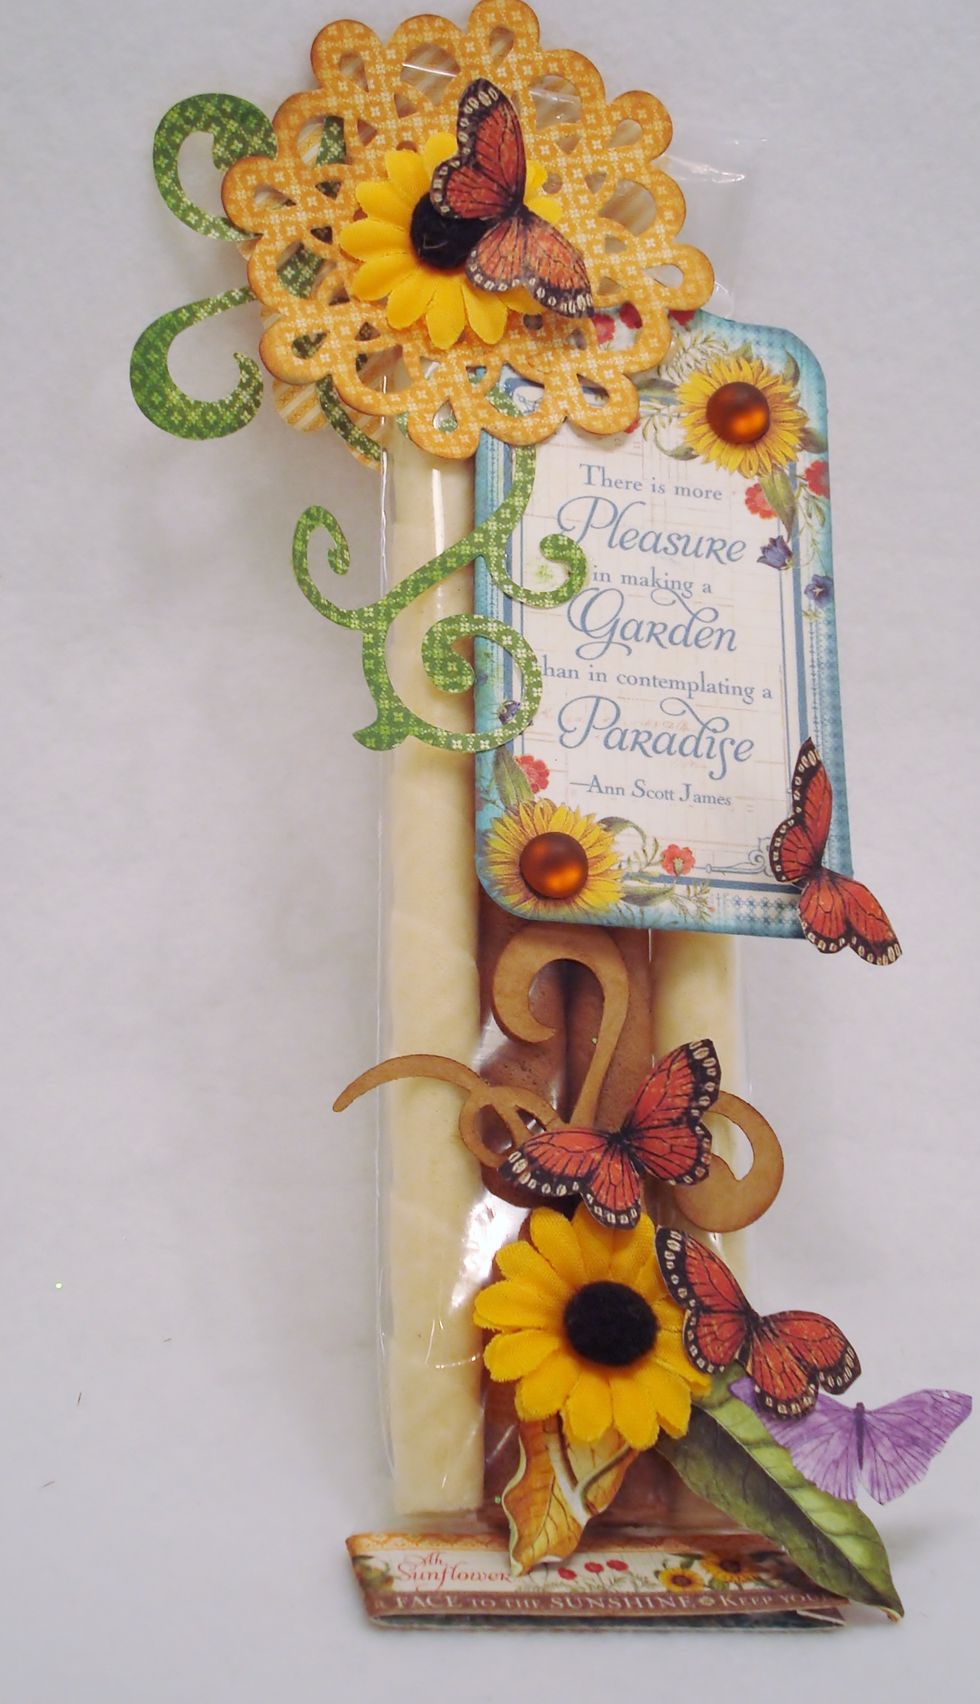
Enjoy!