The Conversation (0)
Sign Up
My new method starts around 6pm in the evening and the dough rises overnight. Temperature and the 'mood' of your starter may be factors in the end result so experiment to find what works best for you!
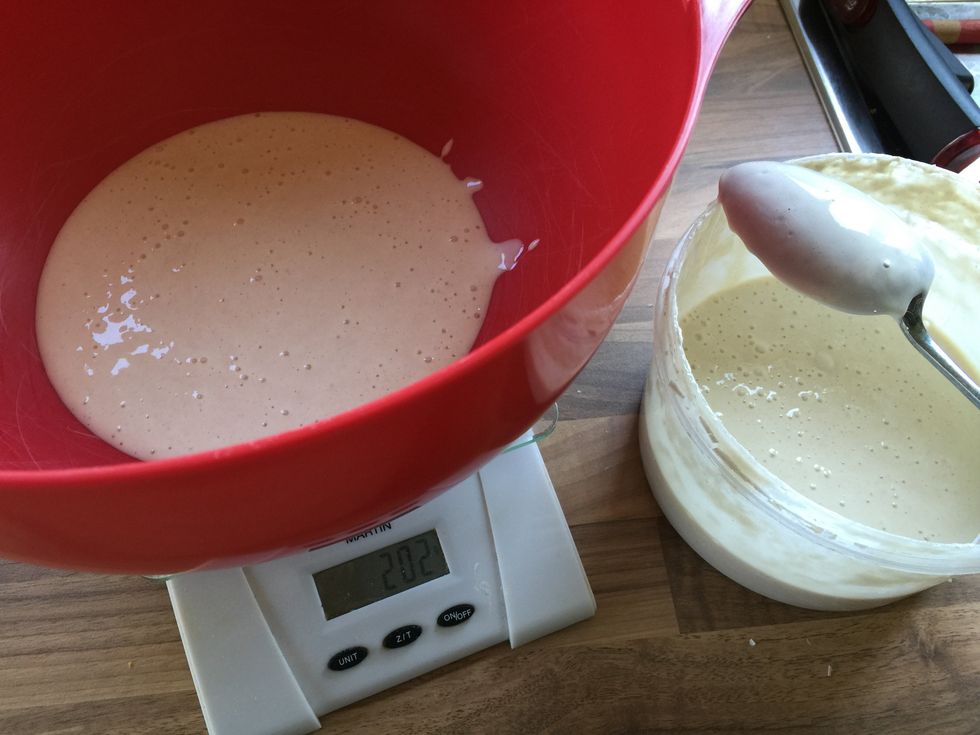
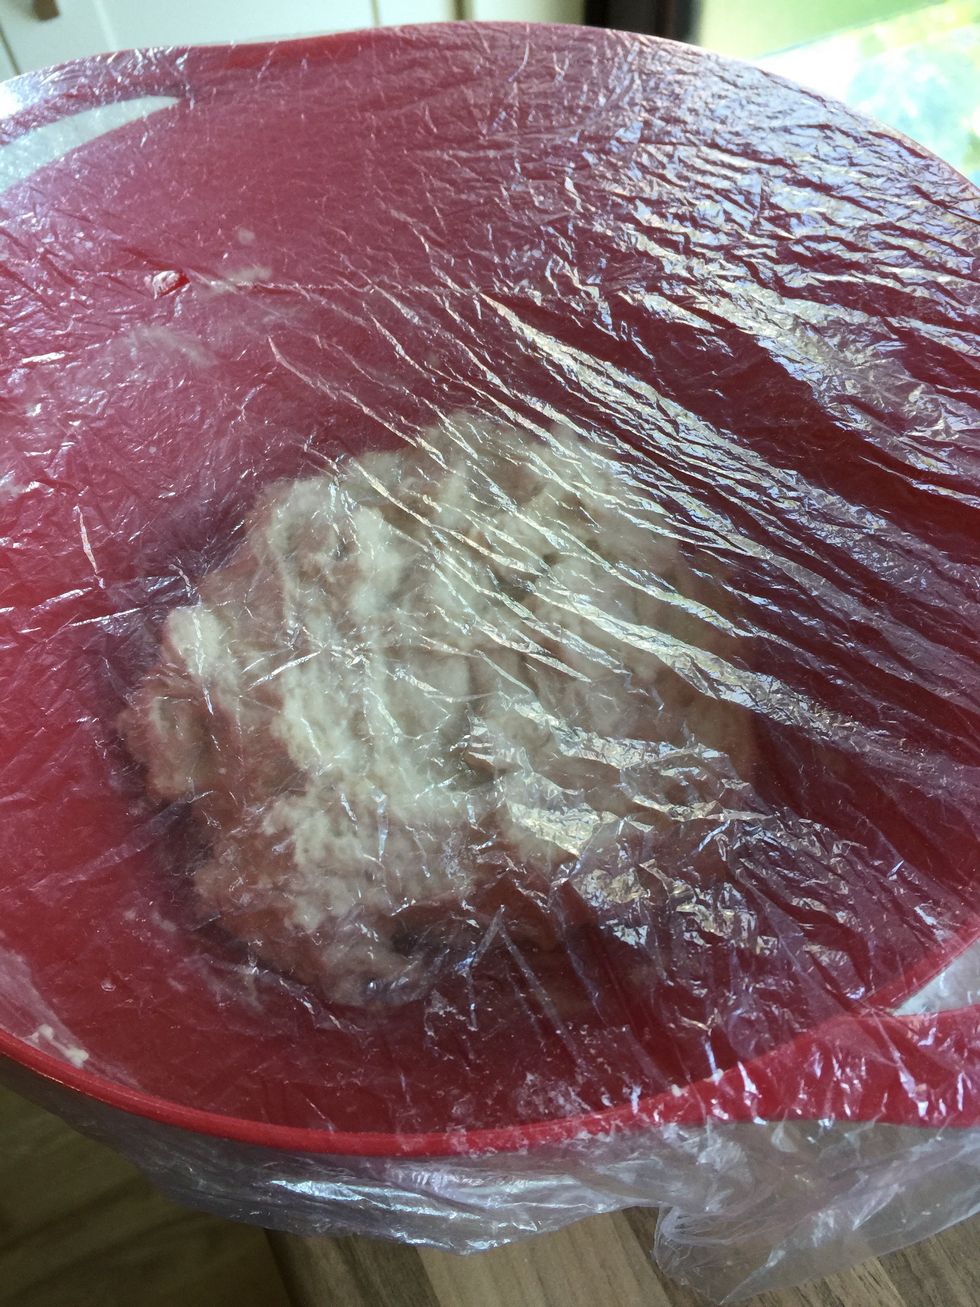
In the early evening, add 200g of Sourdough starter to a large bowl (I try to make sure the starter hasn't been fed for 24 hours beforehand).
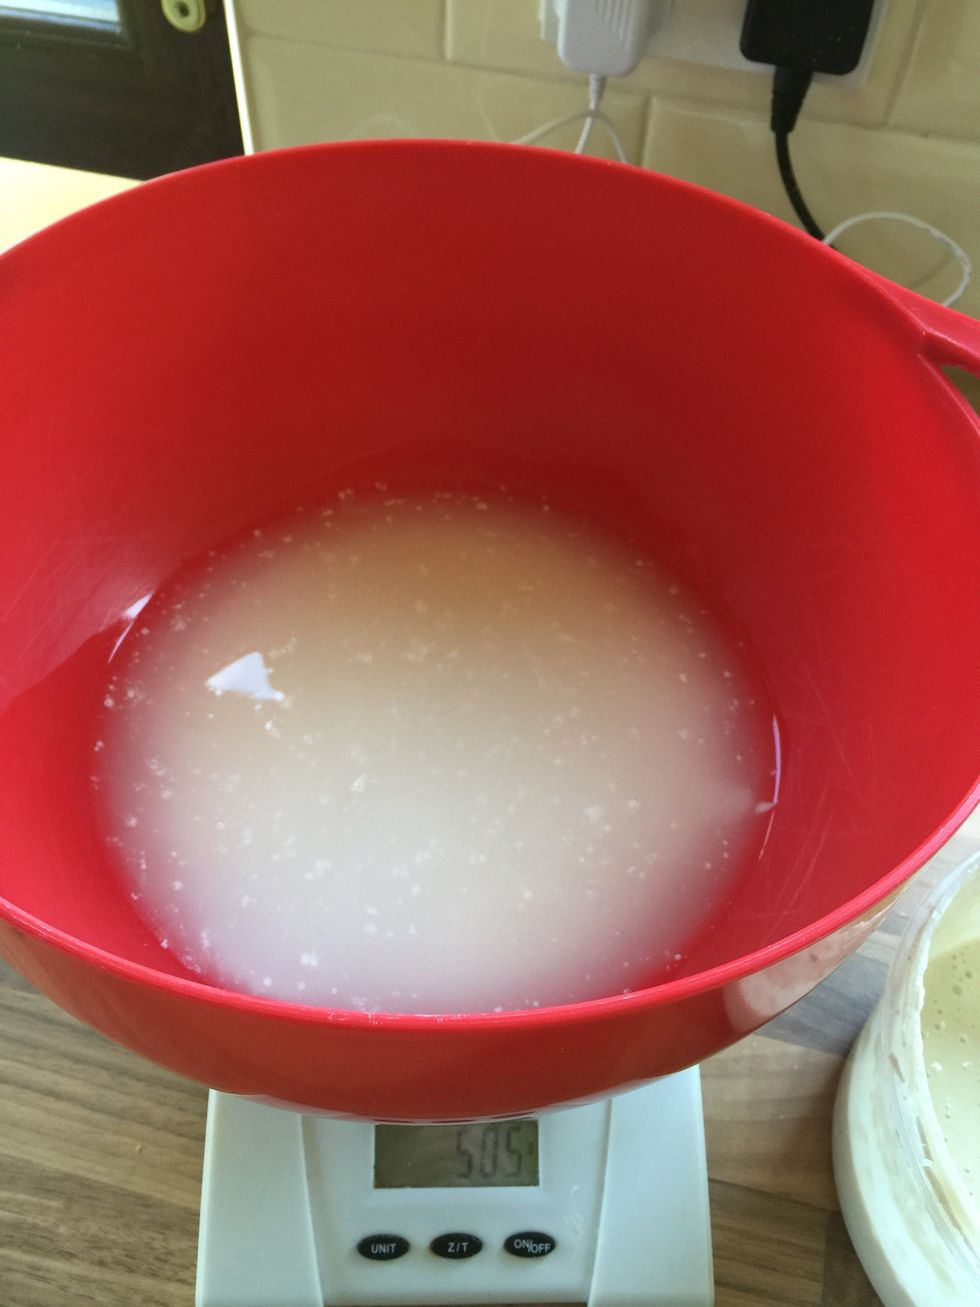
Add 500ml o cold water to the starter in the bowl.
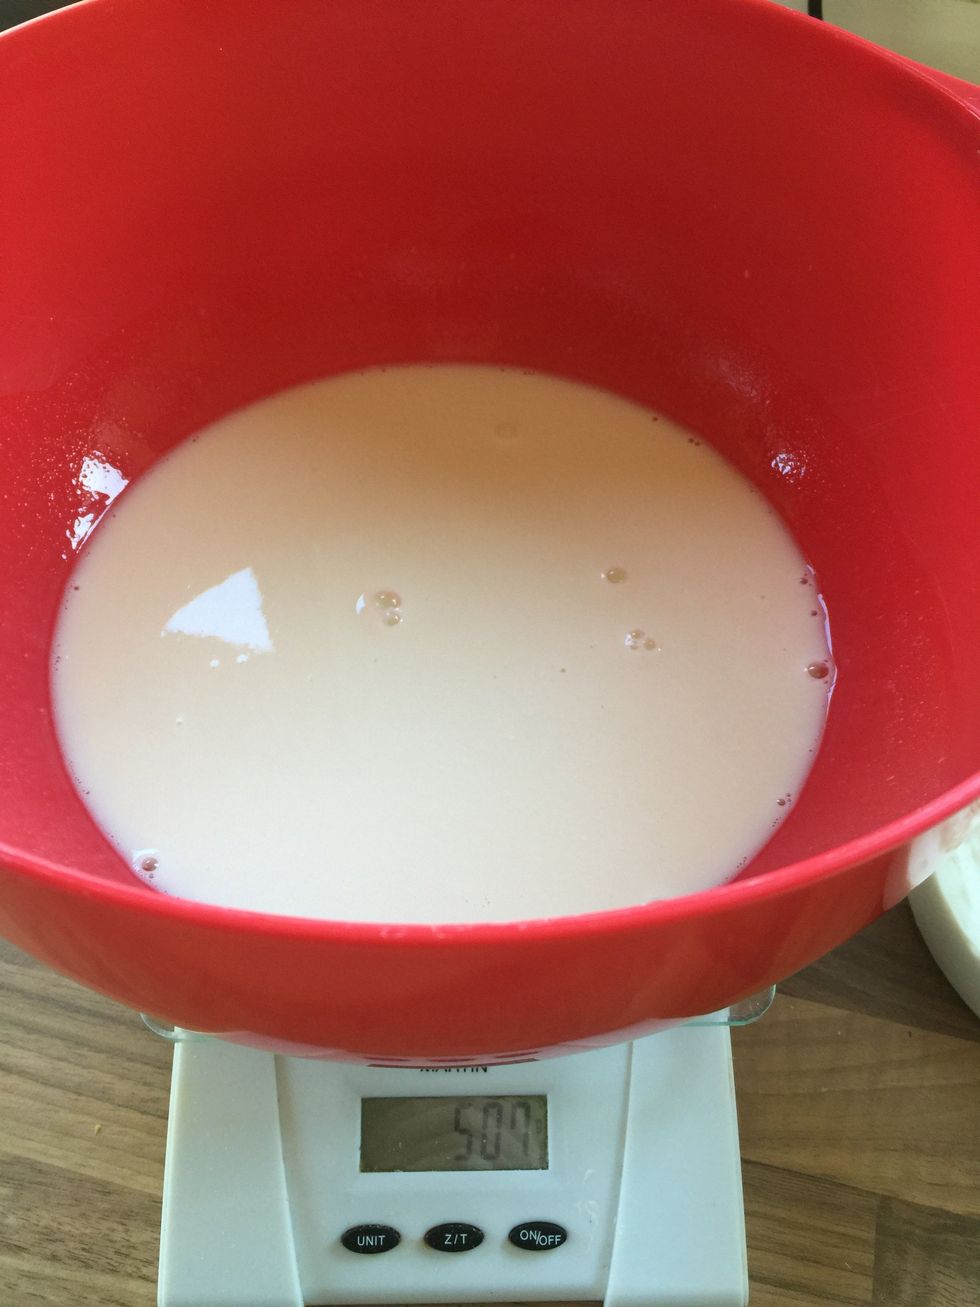
Gently mix the water and starter together in the bowl.
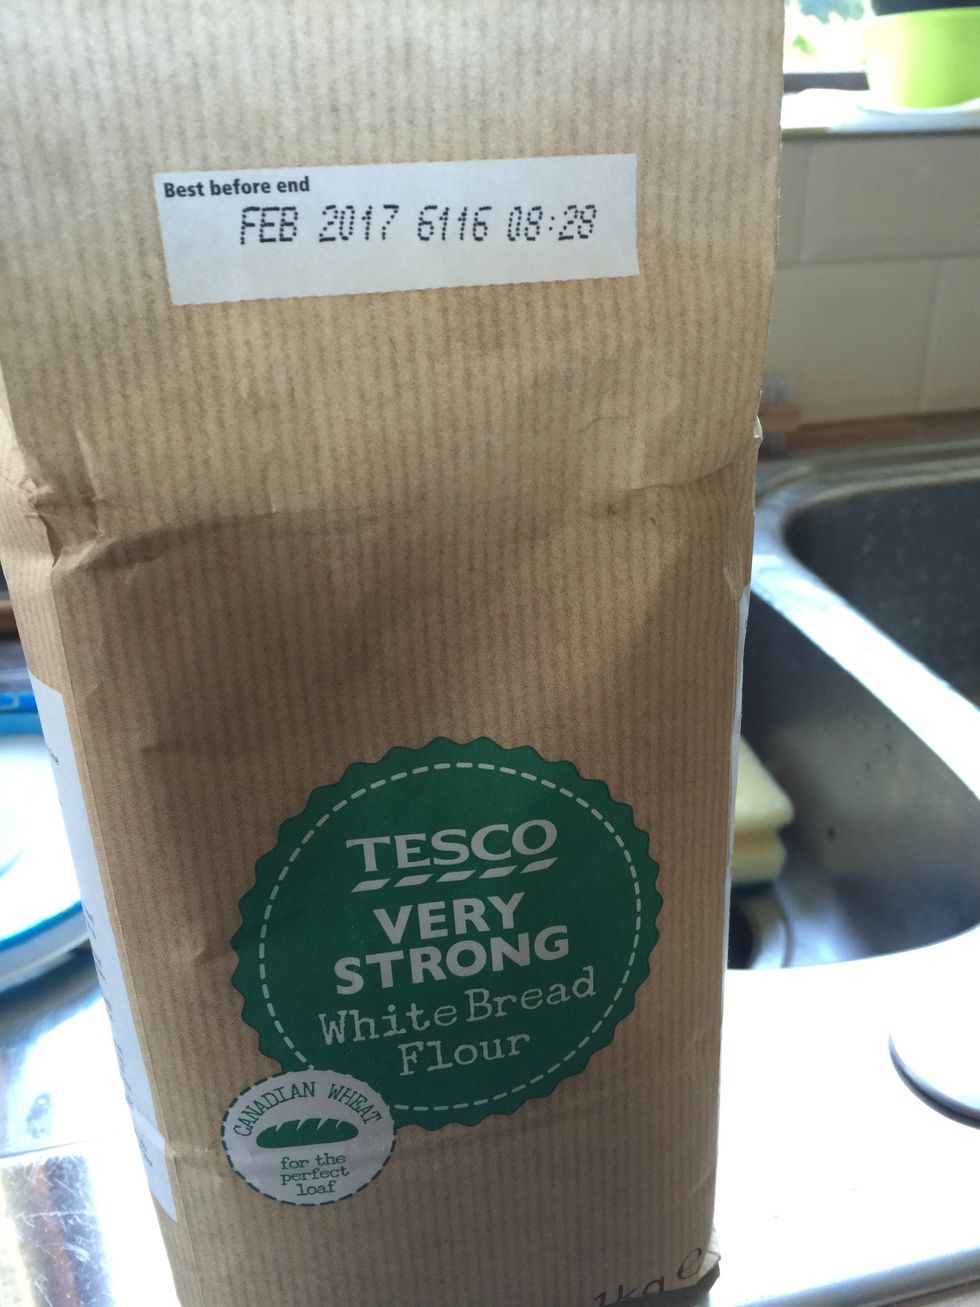
You'll need strong bread flour for the bread. I tend to use very strong when I can get it.
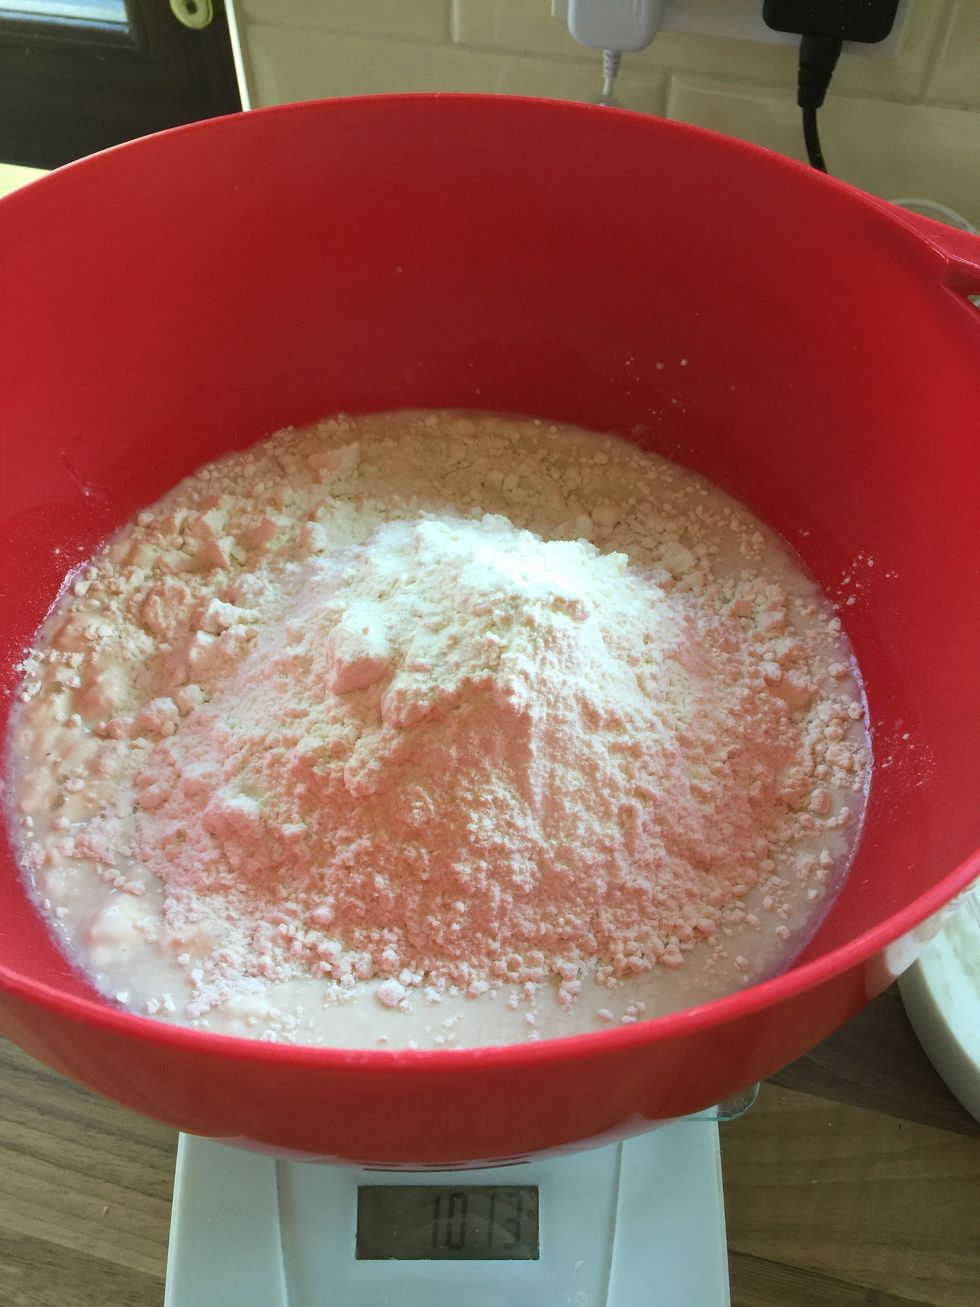
Add 500g of the (very strong) bread flour to the bowl.
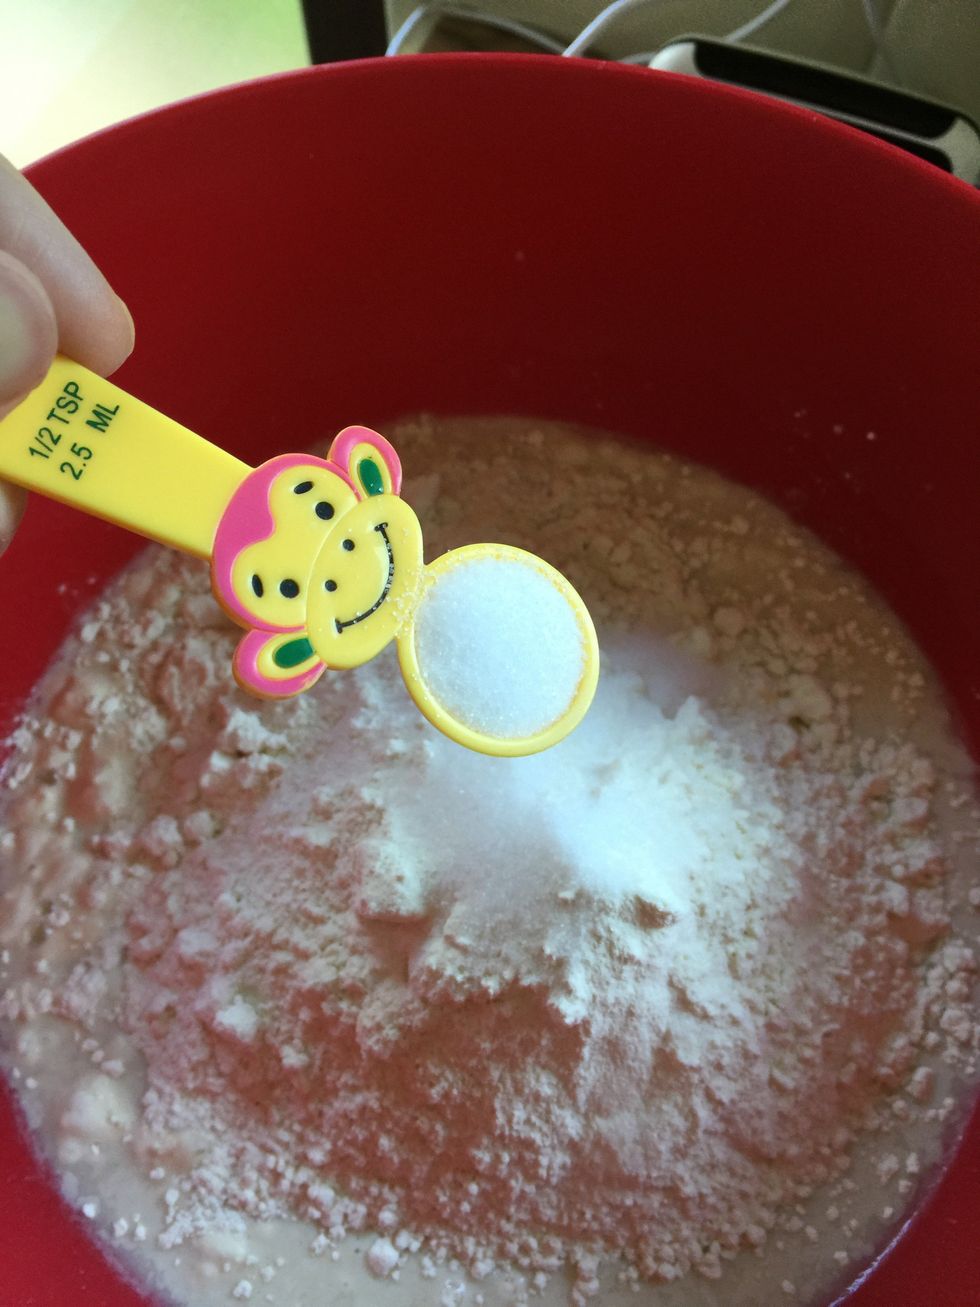
Add one and a half teaspoons of table salt to the bowl.
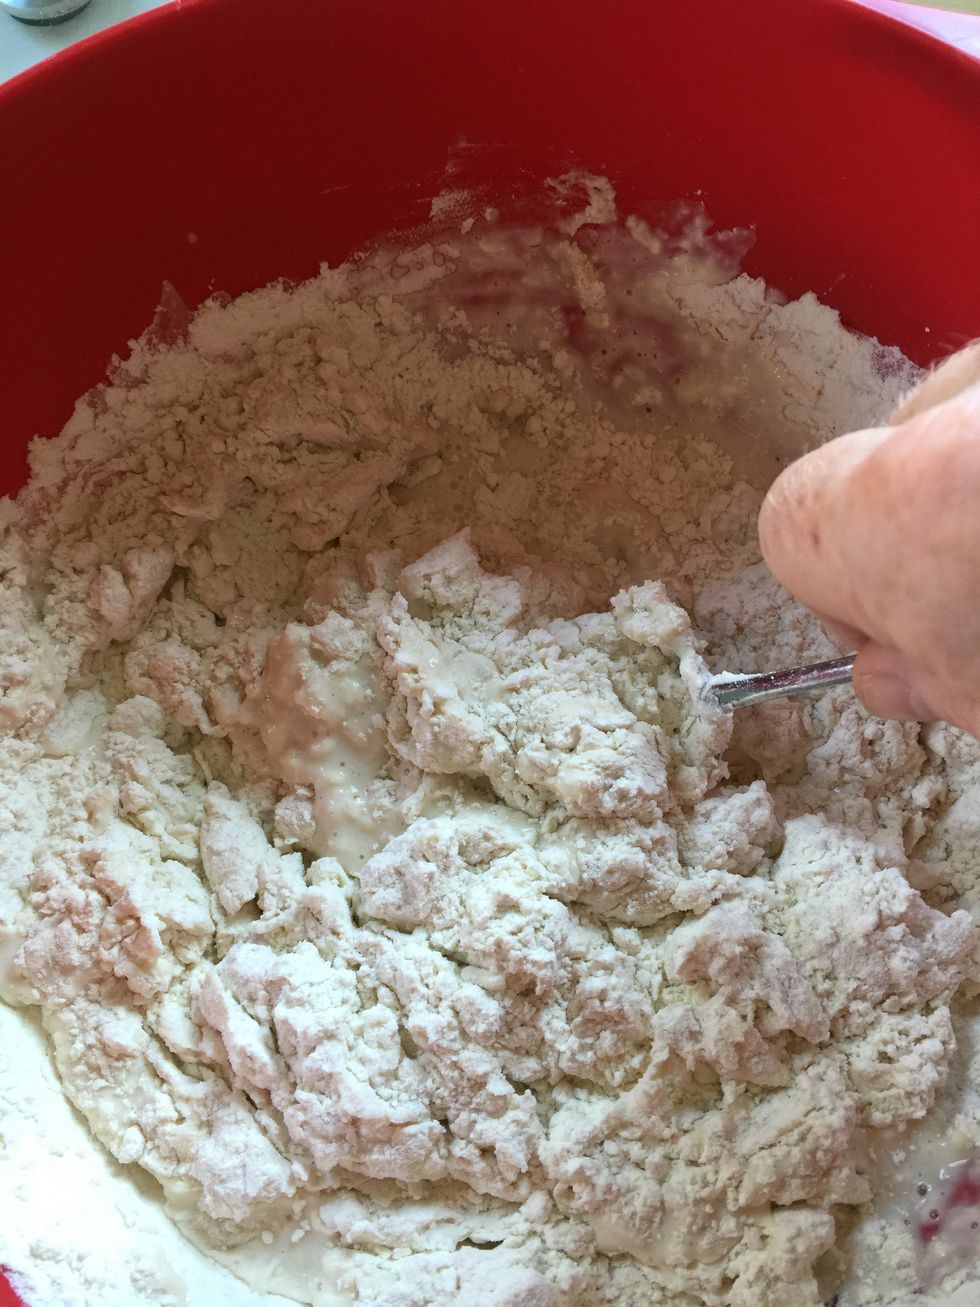
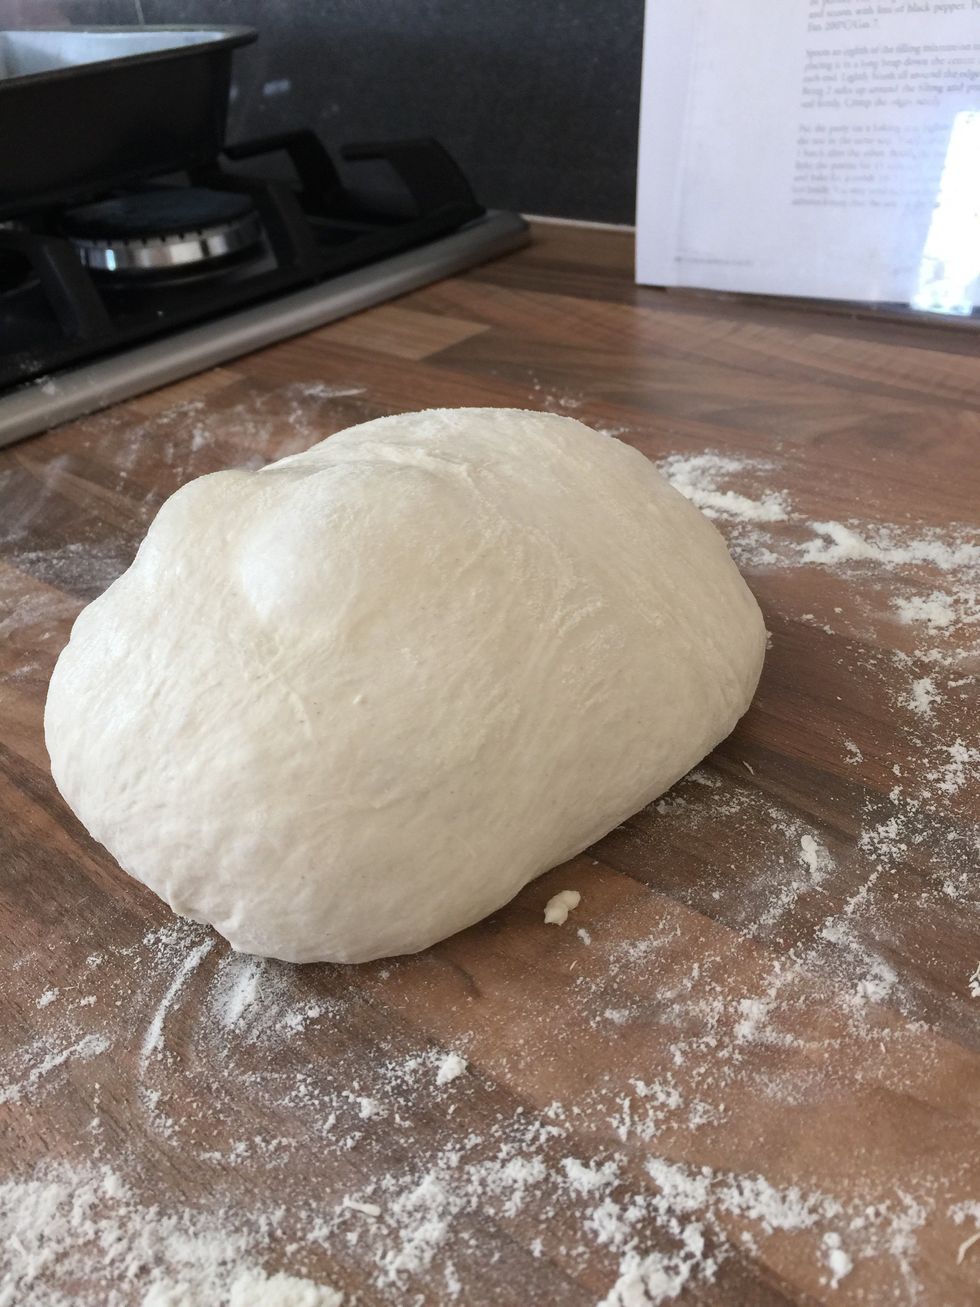
Mix the ingredients until a soft dough is formed.
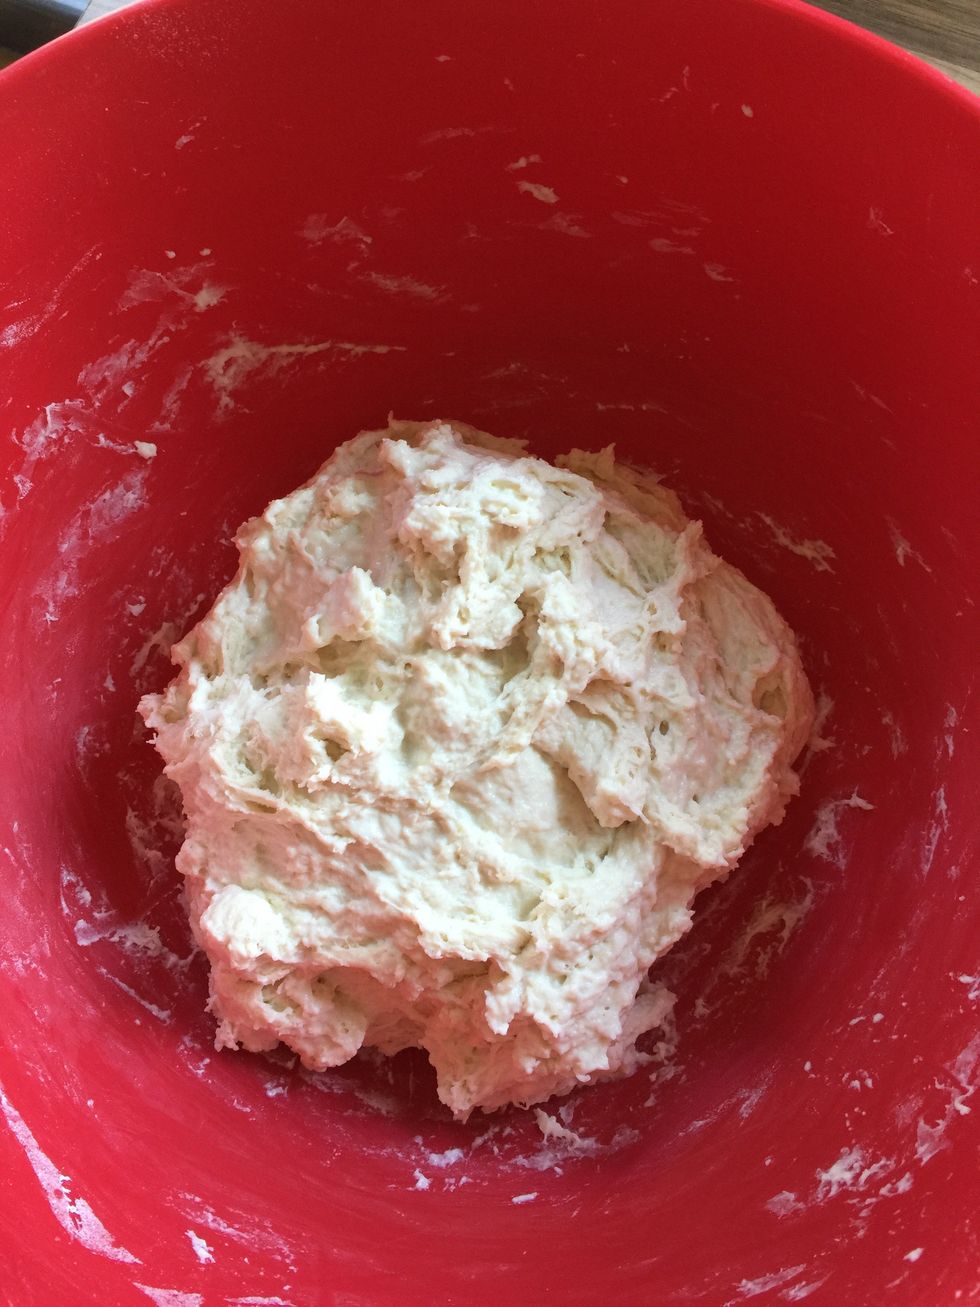
Take note of the original size of the dough as it will rise over time.
Cover the dough with a shower-cap or cling film and let it stand overnight.
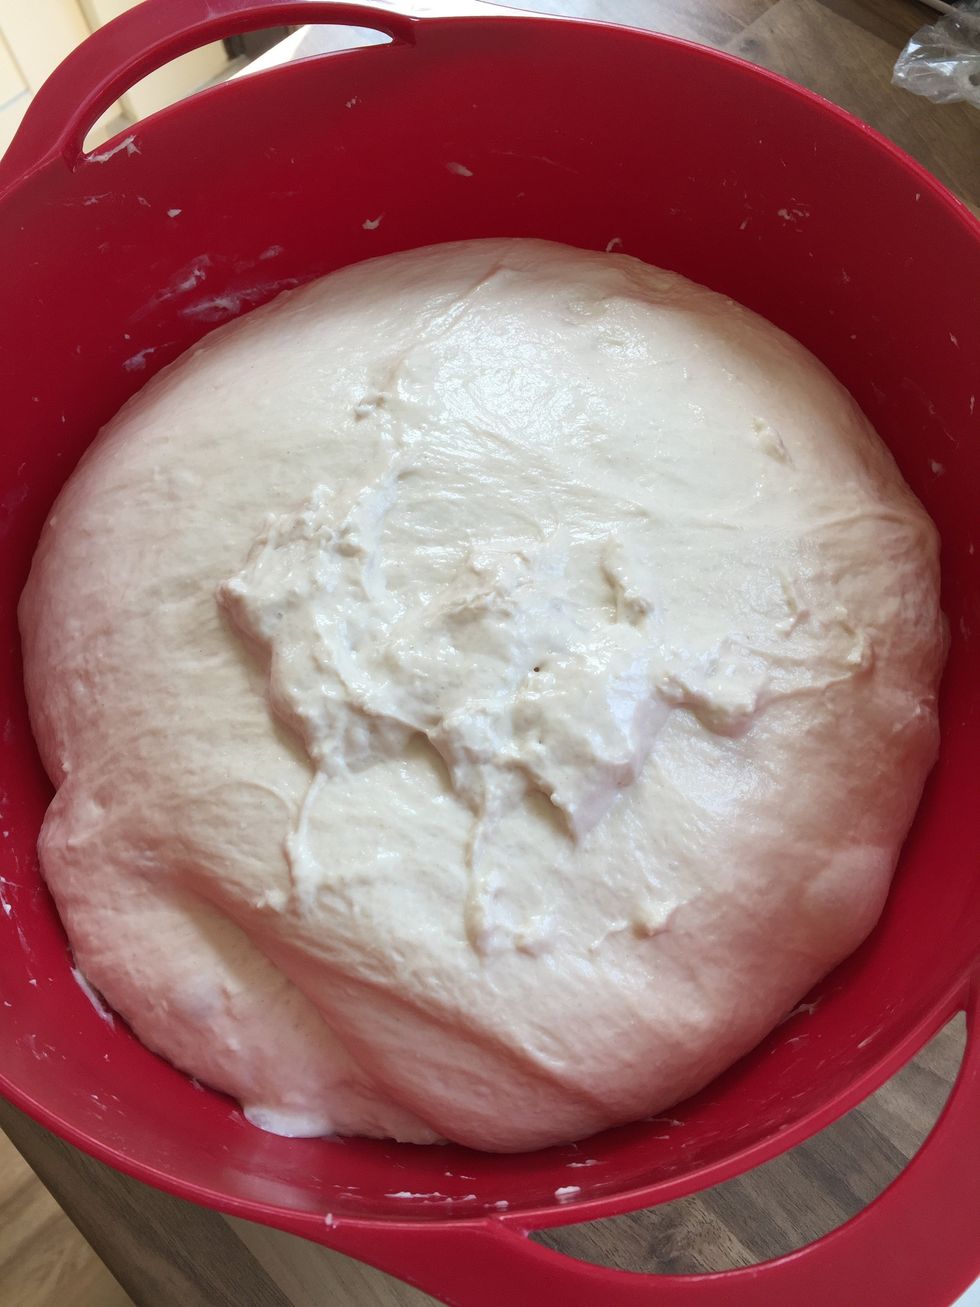
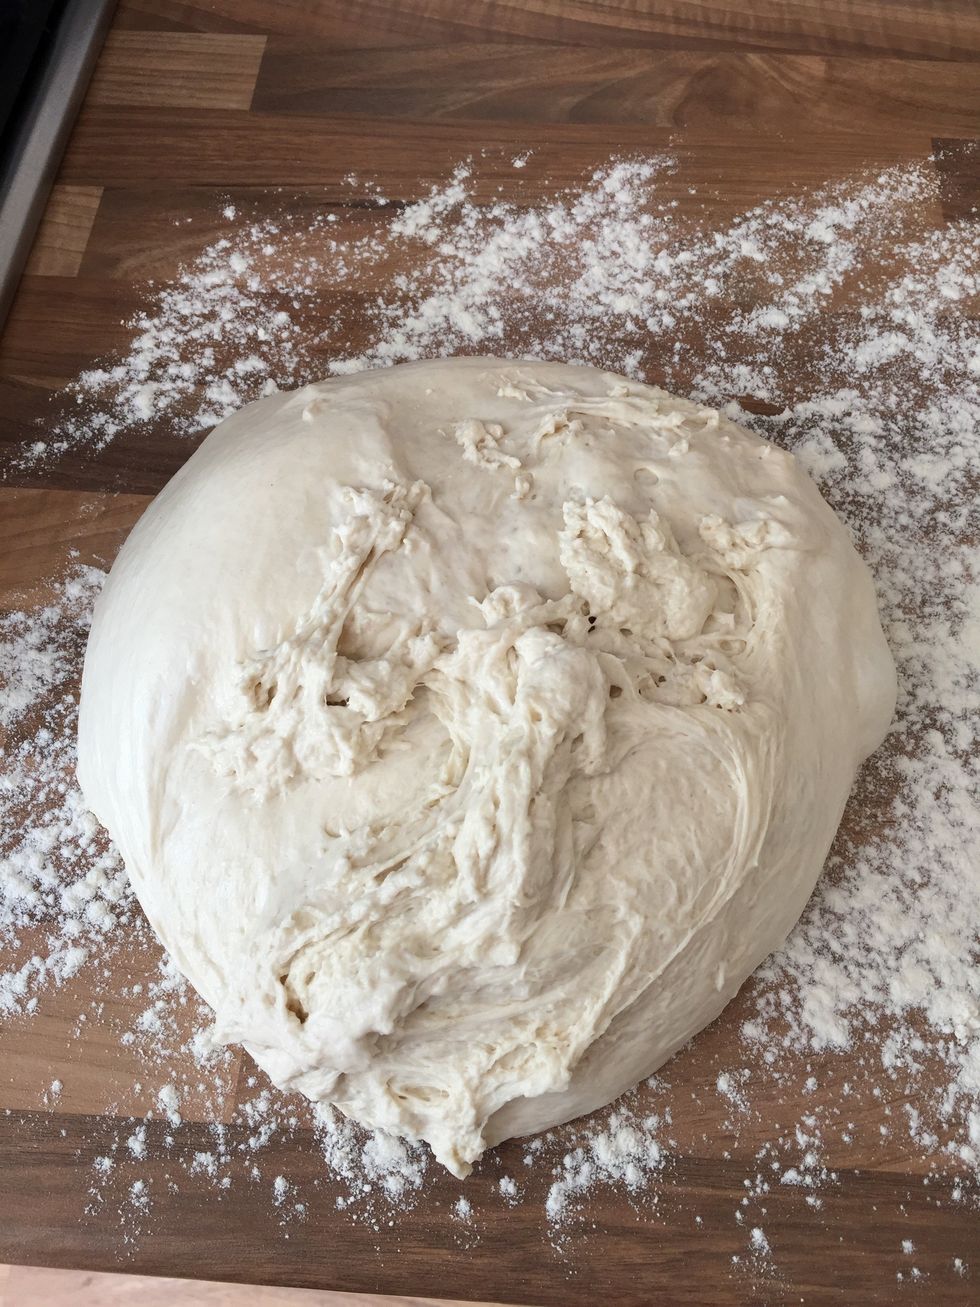
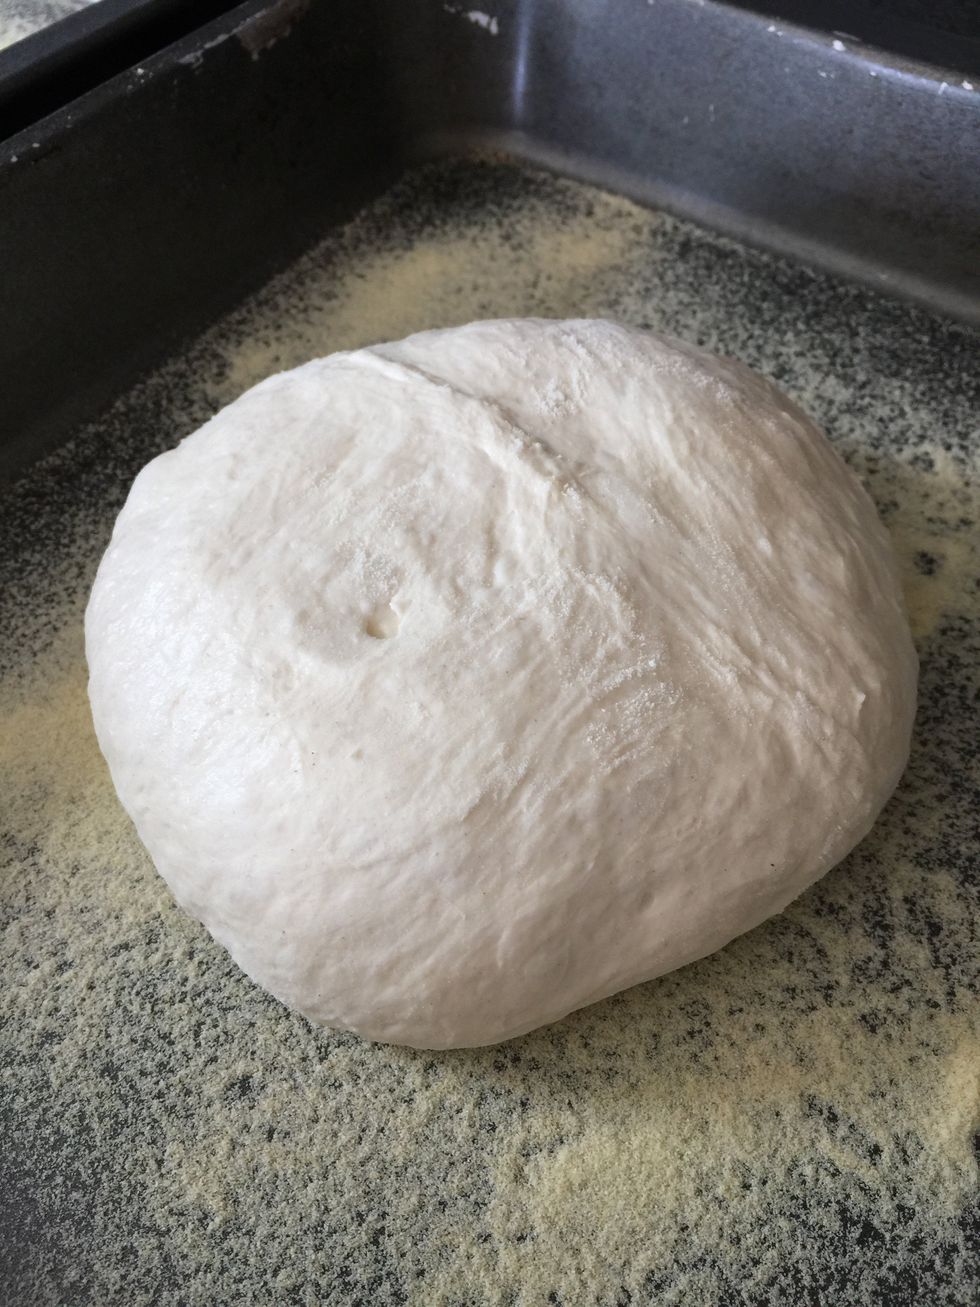
Depending on how long you leave it and how warm it's been, the dough will more than double in size overnight. 'Knock it back' by gently kneading it by hand, it may appear quite 'stringy' underneath.
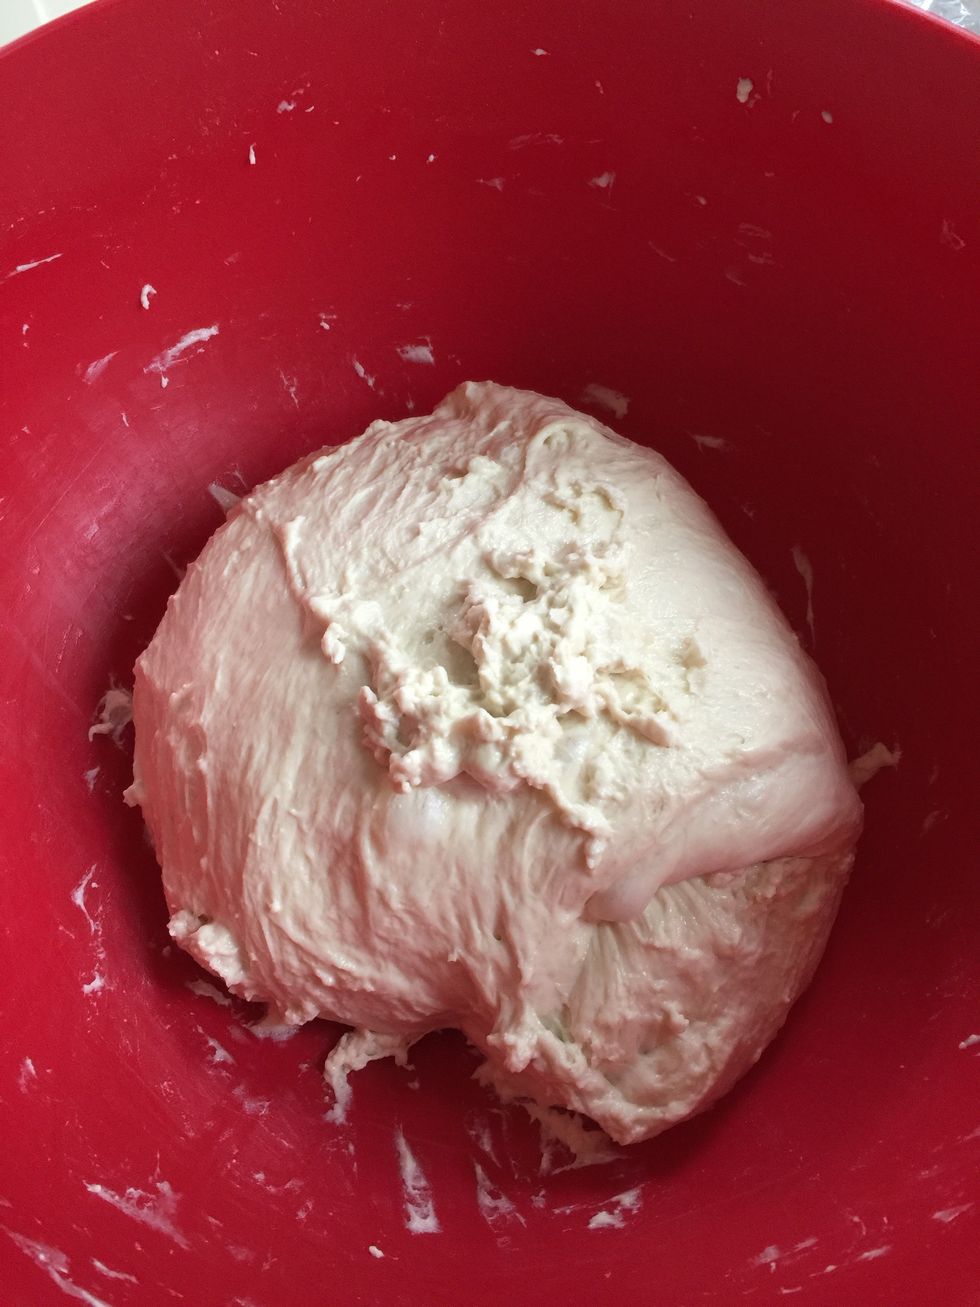
Don't over-work the dough, just get it off the sides of the bowl and leave the ball of dough to rise again. It should feel more elastic than the original mix.
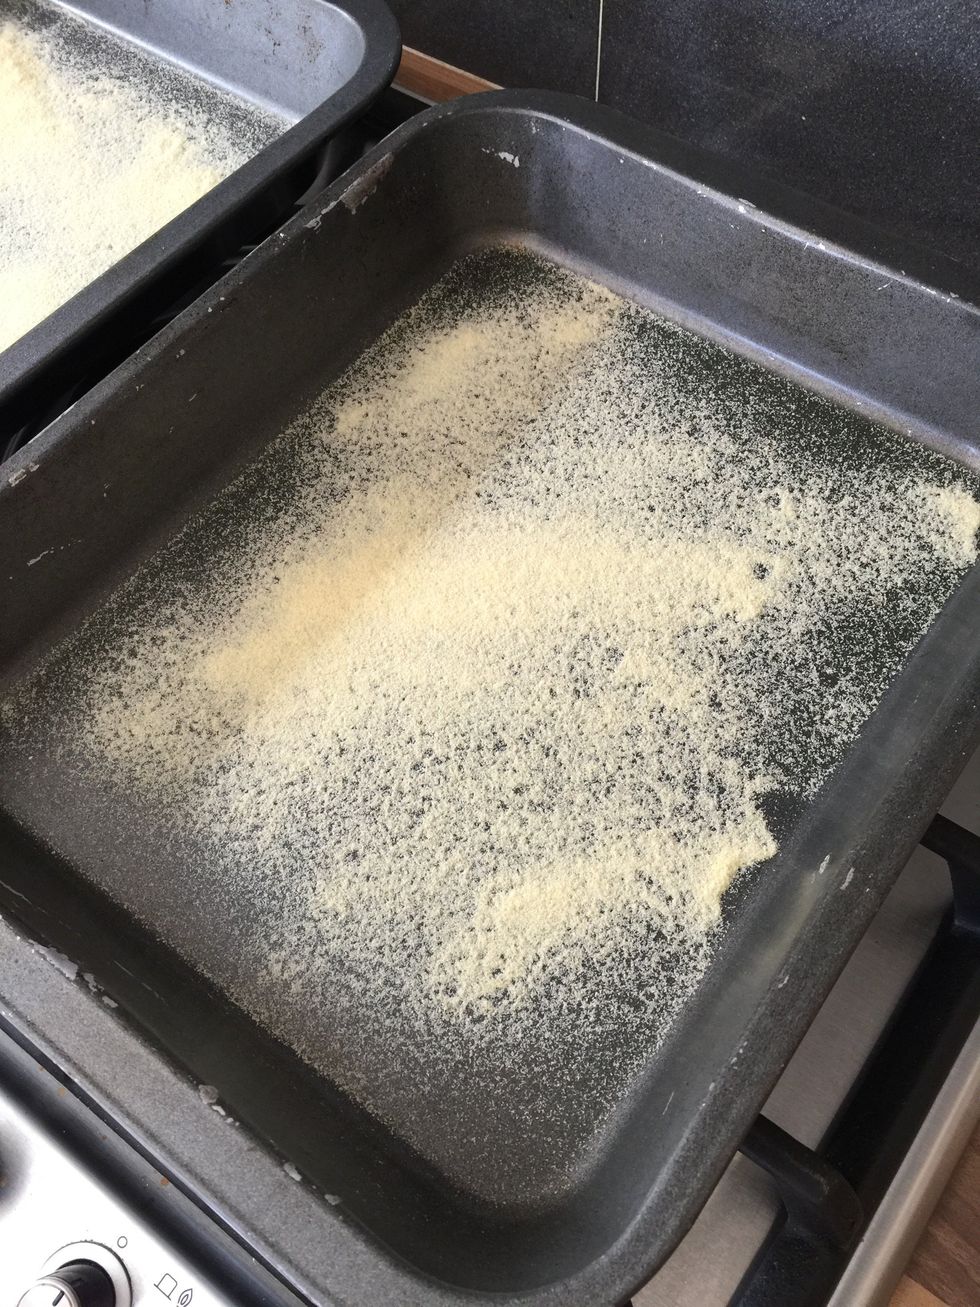
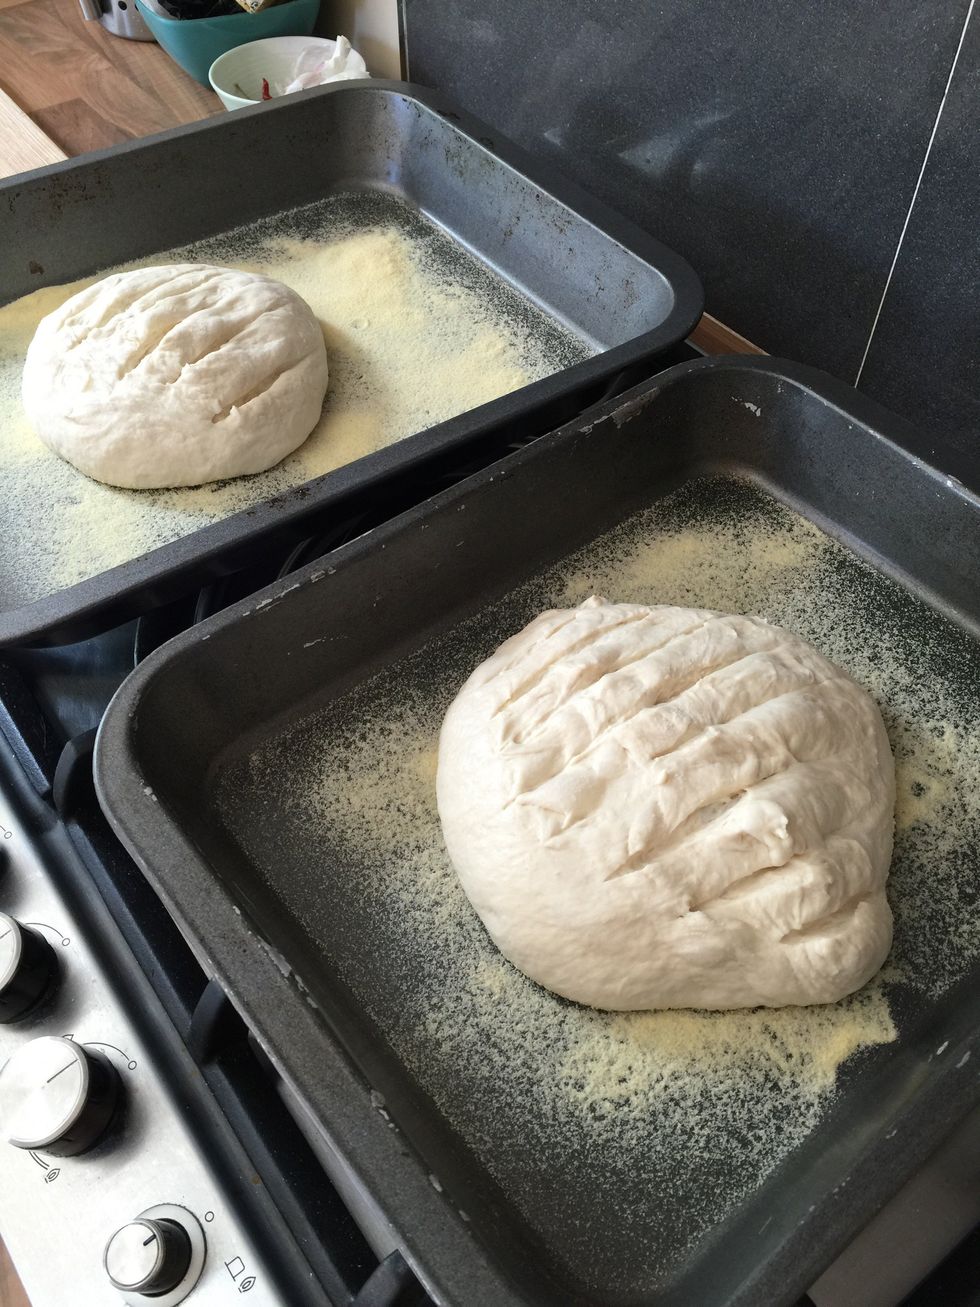
Dust a couple of baking trays with semolina. This will stop the bread sticking and give it a nice finish. You might be able to use flour here but I find semolina works well.
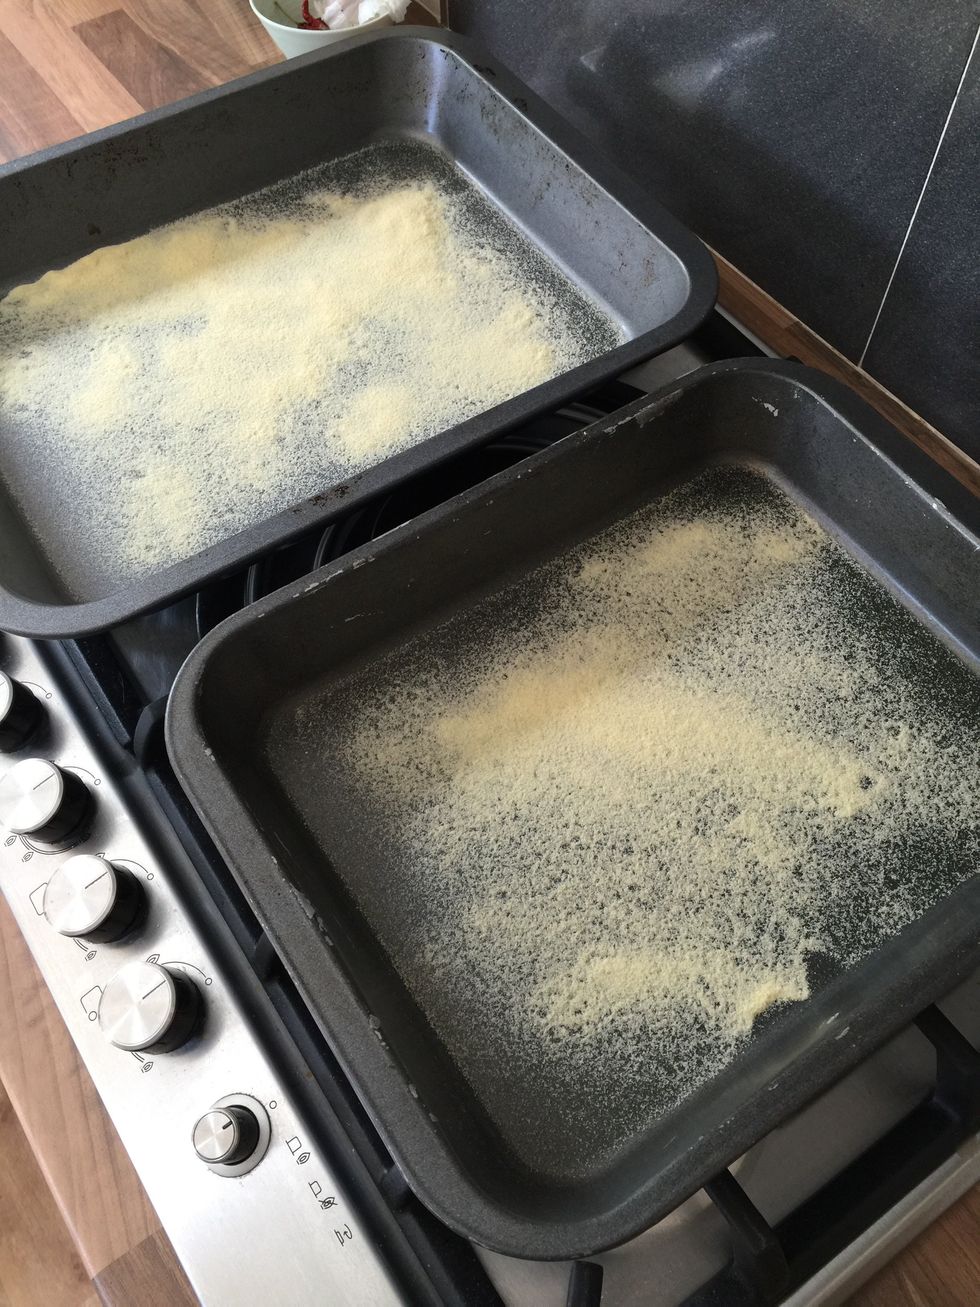
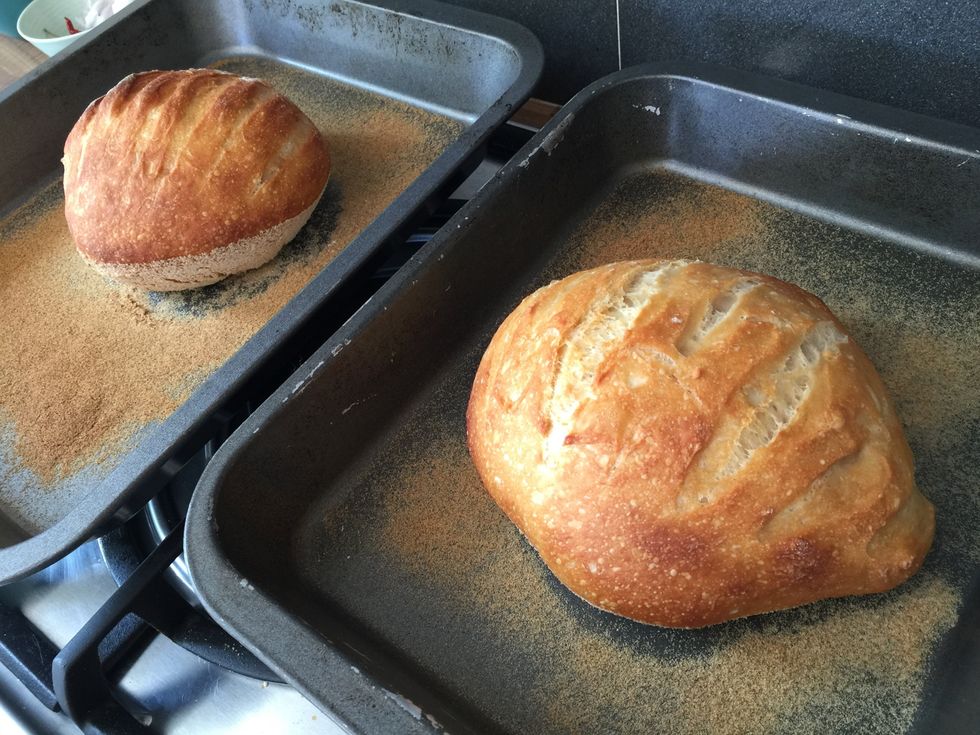
The dough will be cut in two, so two trays are needed.

Unlike my other guide, I now use bread flour instead of oil. It helps the dough not to stick and lets you form balls without having to work it very much.
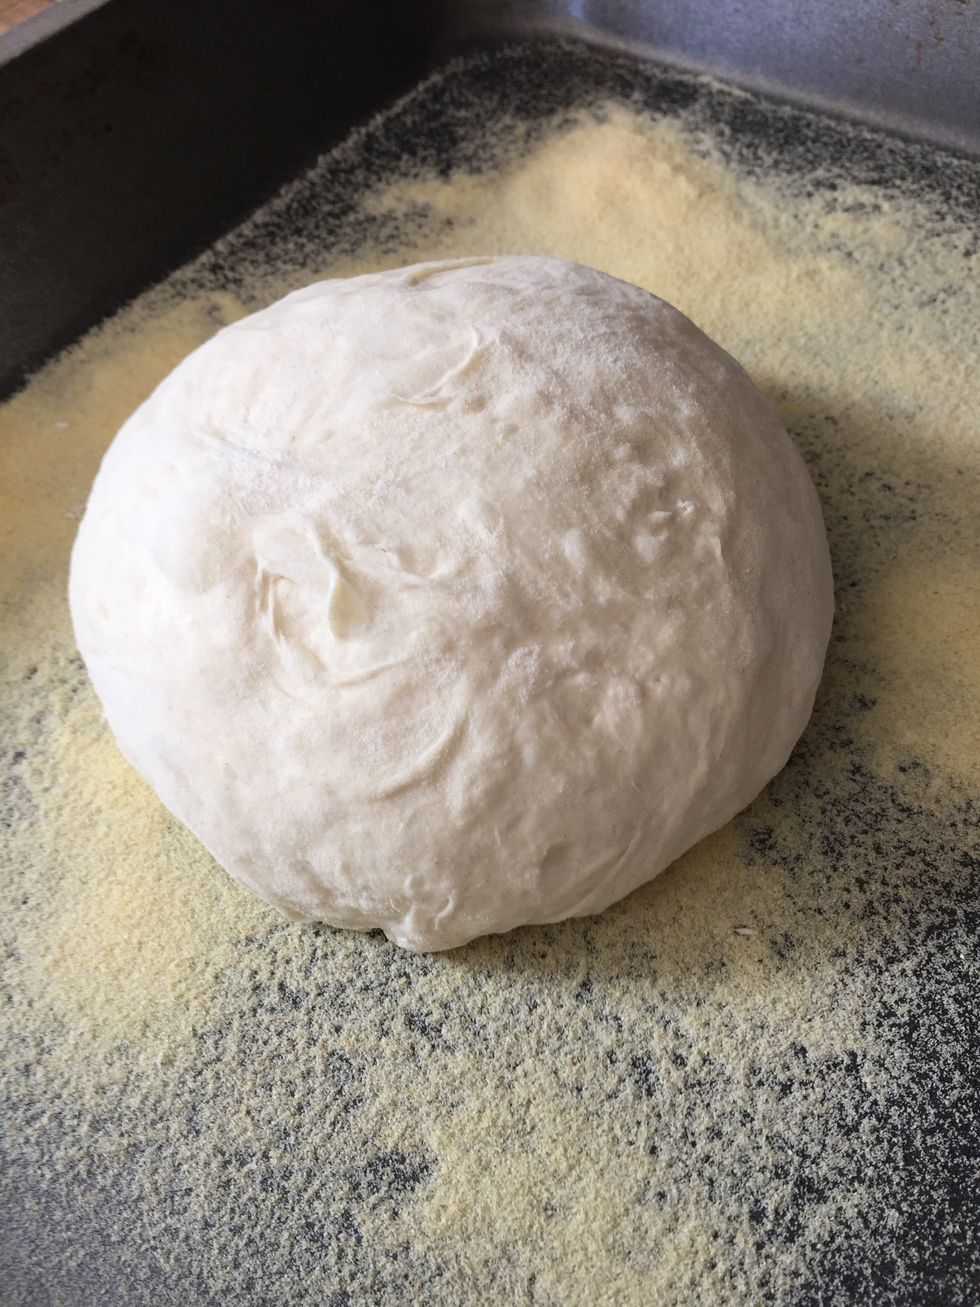
Around midday (3 or 4 hours after it was knocked back earlier in the morning), tip the dough into the floured surface.
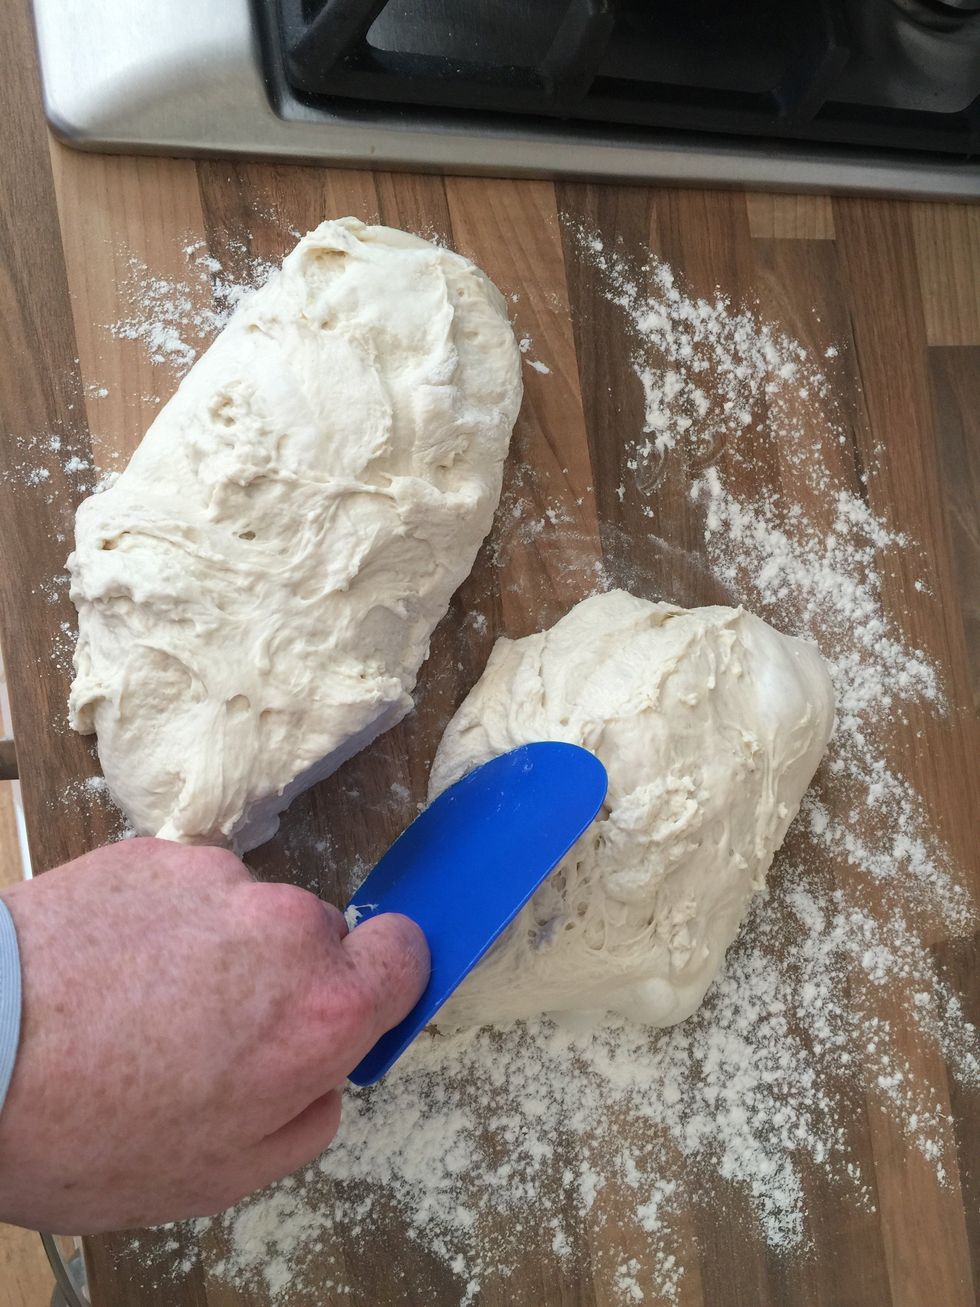
Use a dough-scraper if you have one, otherwise use a knife to half the dough.
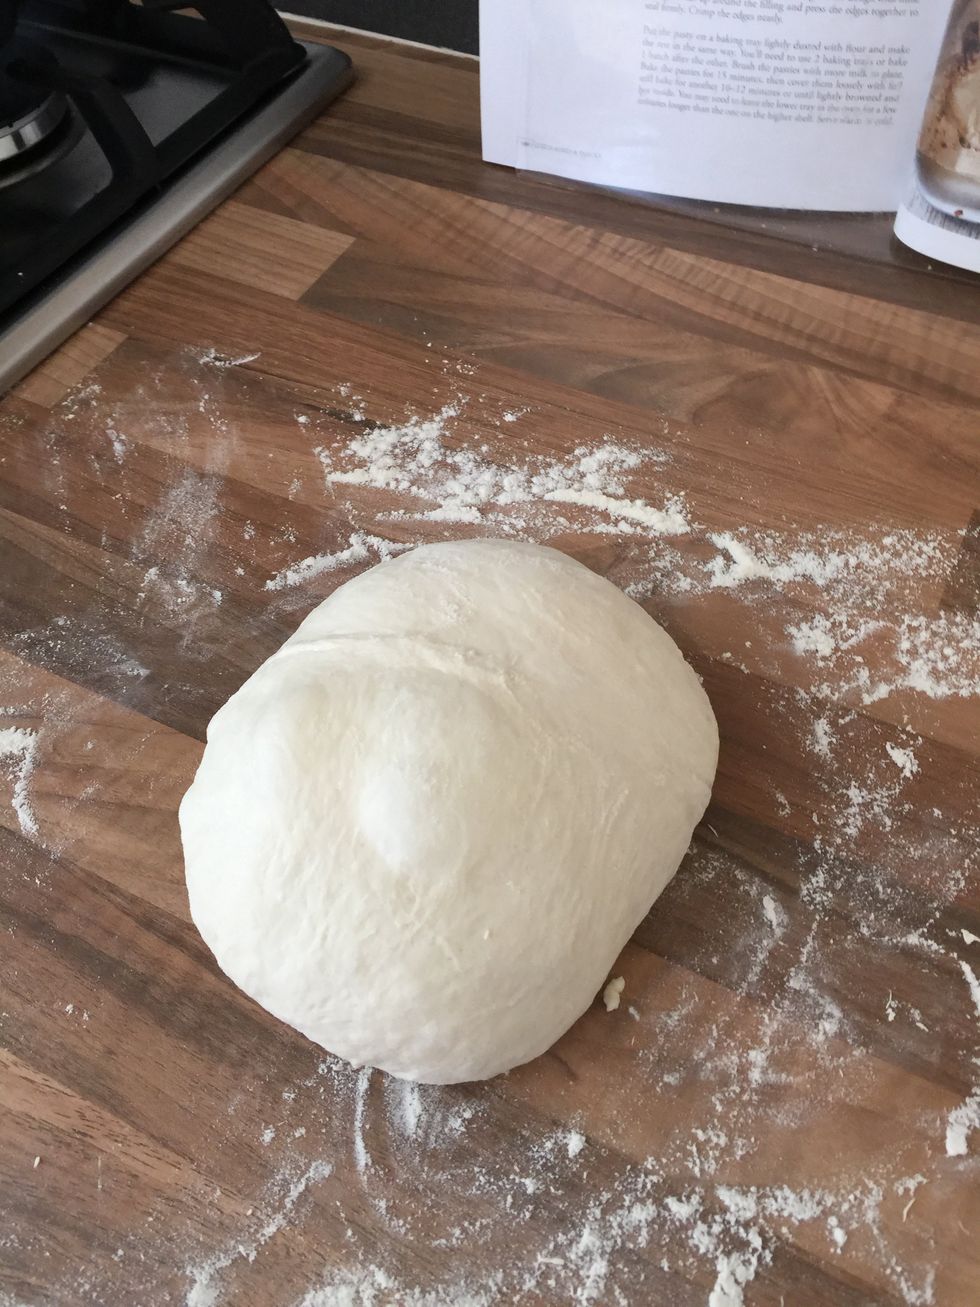
Use the flour on the surface and put some on your hands to gently cup and stretch the dough into a ball. Try not to over-work or stretch the dough as it can knock the air out of it.
You can see a rounding and tucking technique in my original guide (which used oil instead of flour).
Place the balls of dough on to the semolina-covered backing trays.
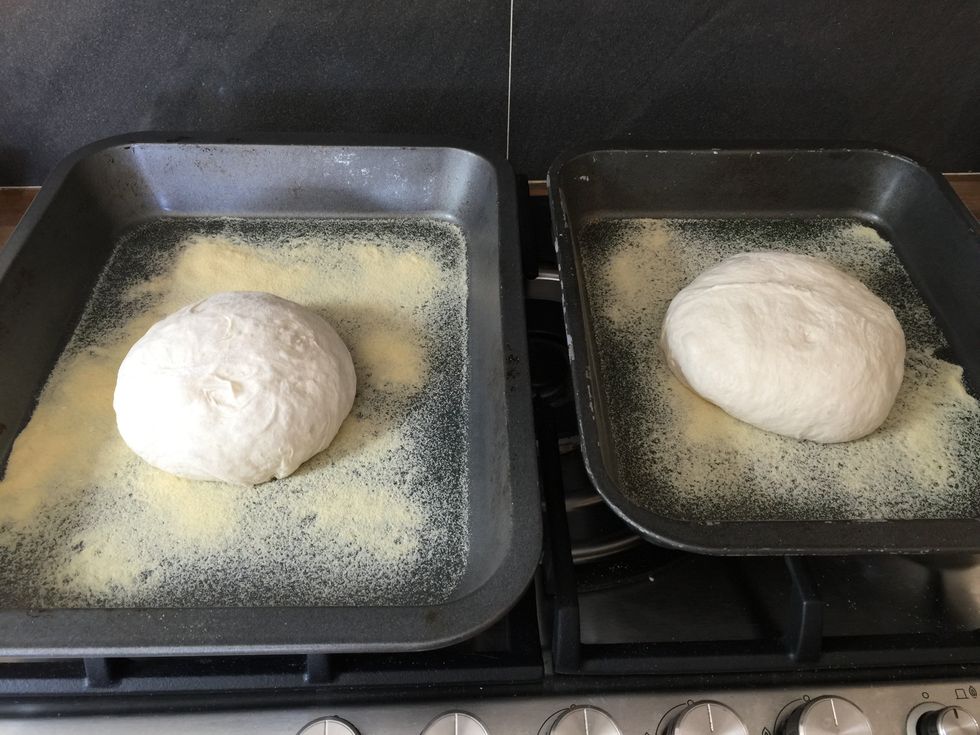
Let the loaves stand for about an hour before they go into the oven. I set a timer for 45 minutes after they go on the tray so I can prepare the next steps.
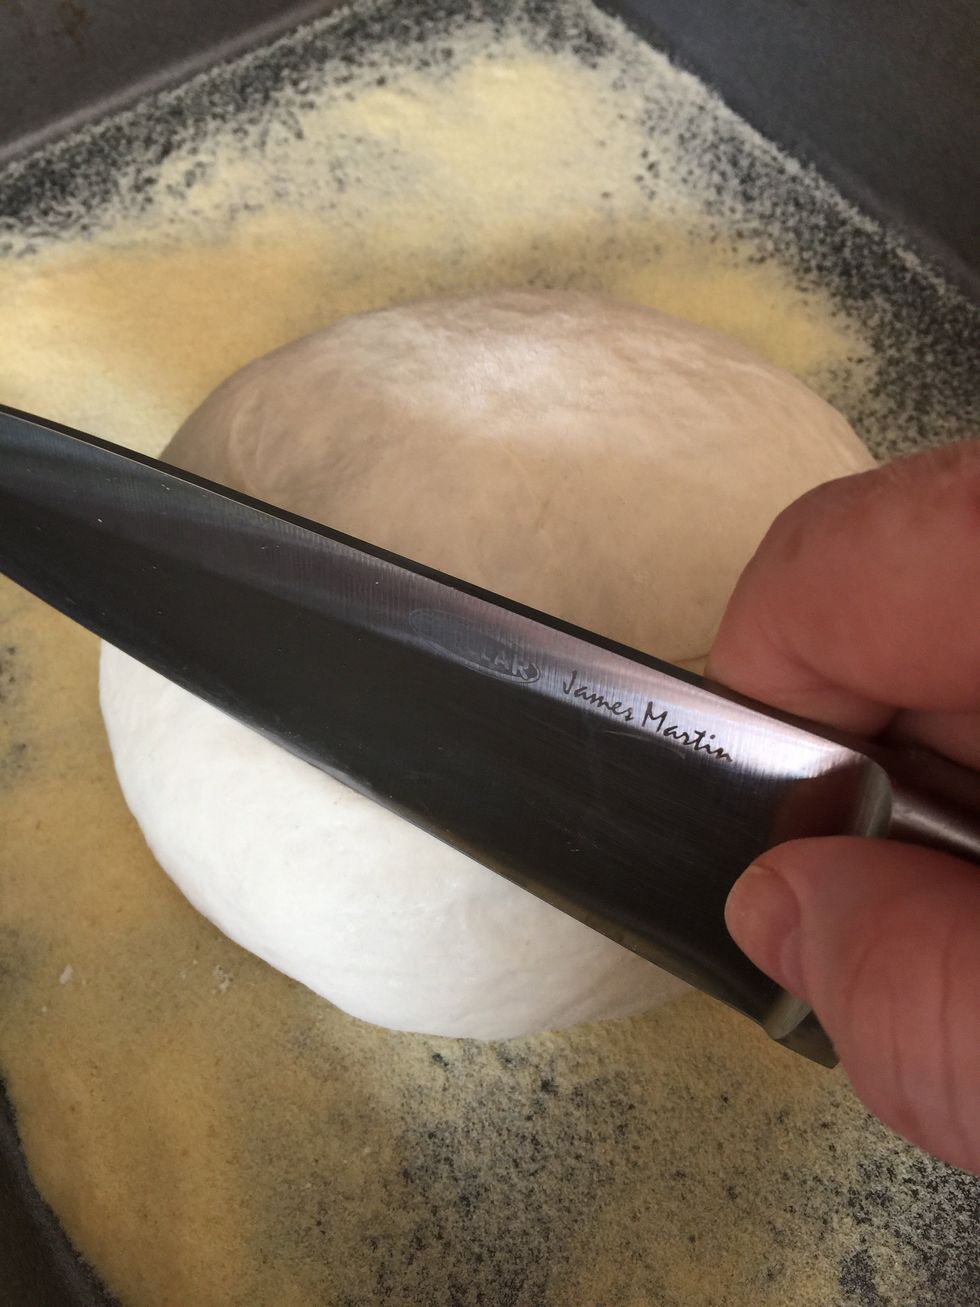
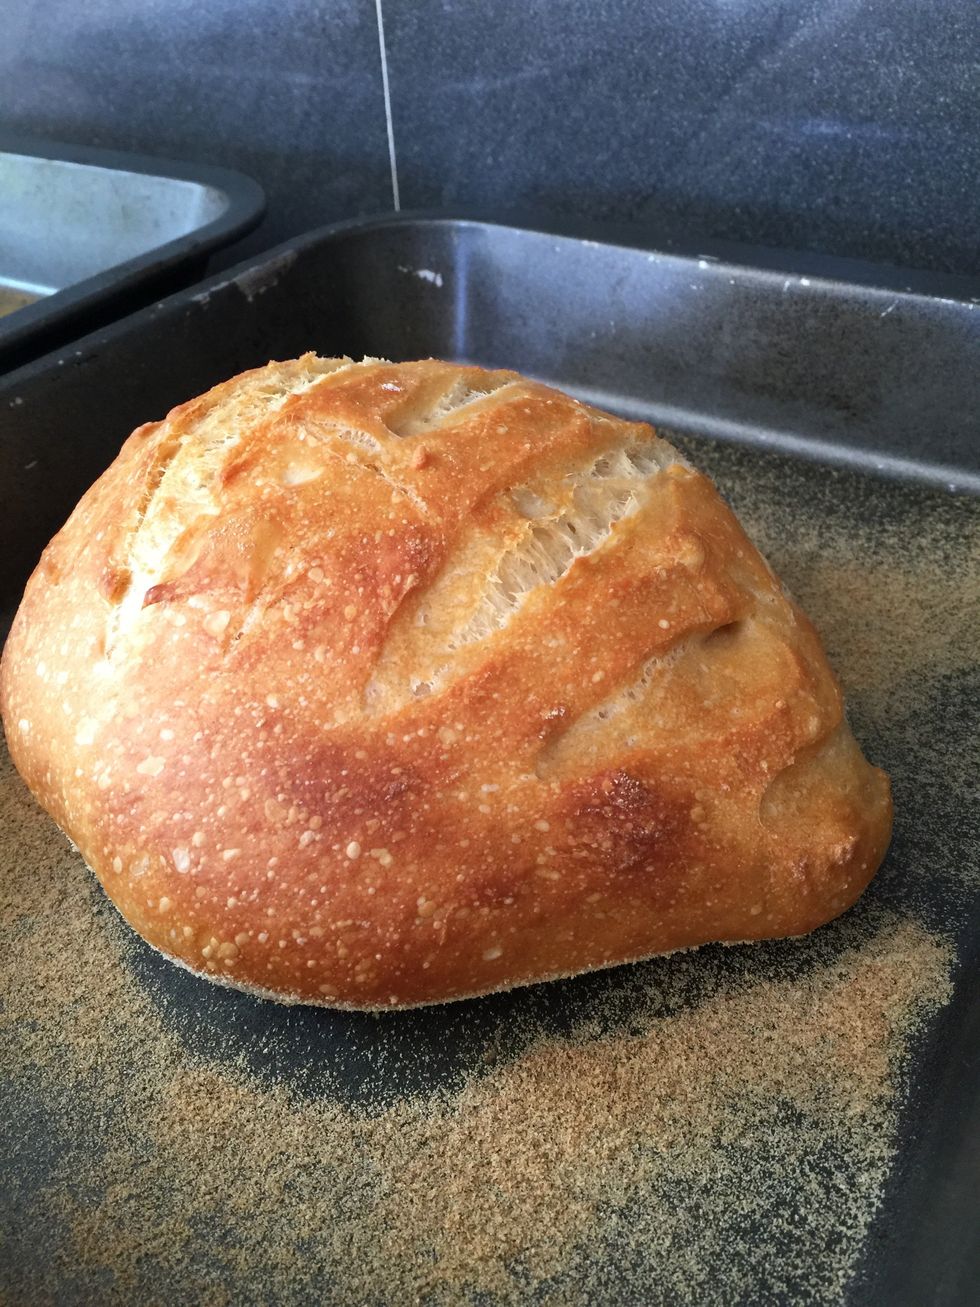
About 15 minutes before they go into the over, I score the top of the dough with a sharp knife or razor blade. I put several, parallel lines across the tops of the loaves.
Repeat for the other loaf.
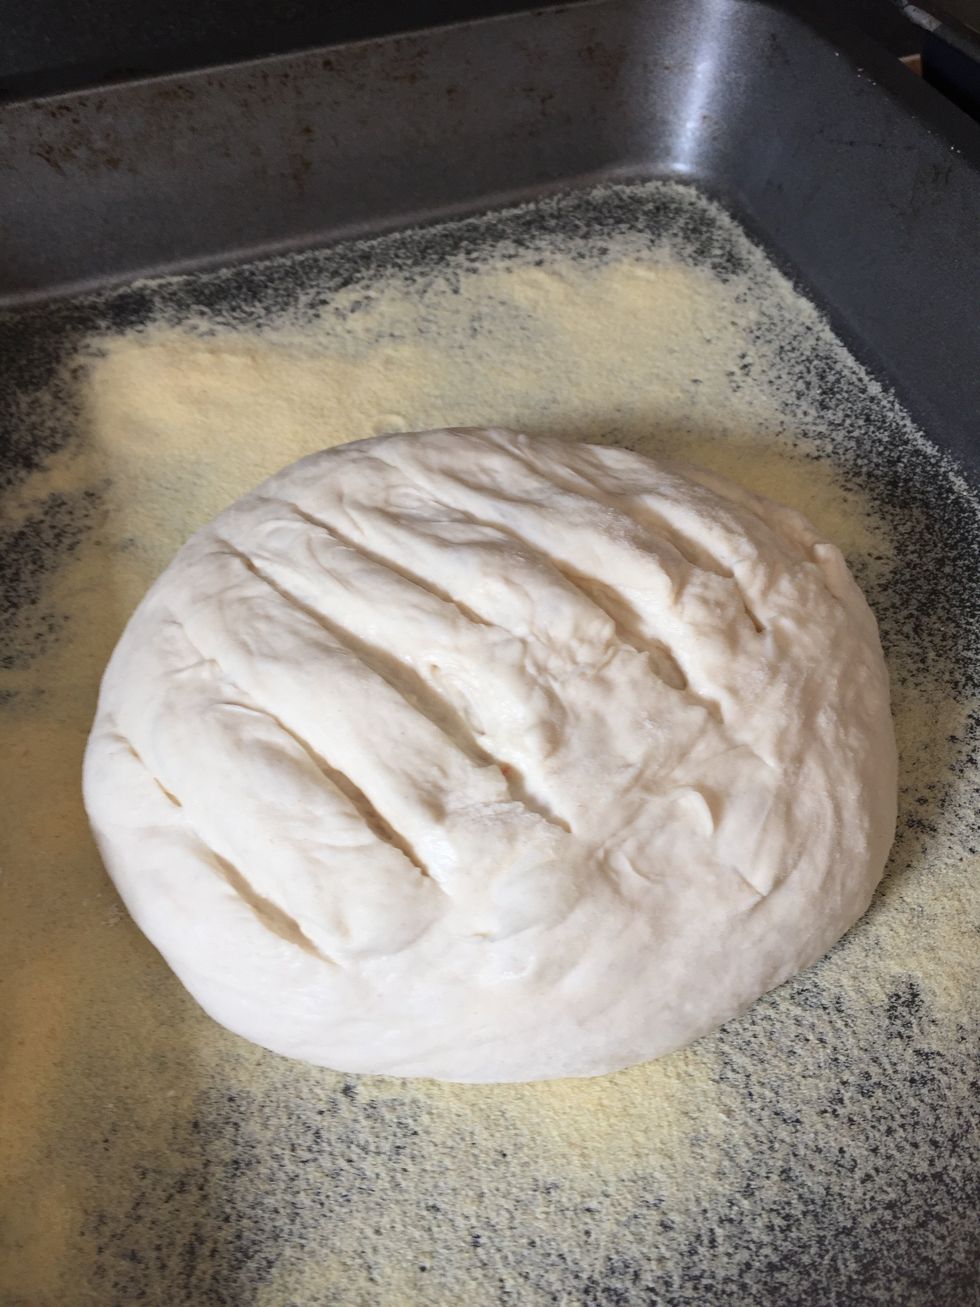
The cuts may expand and lose some definition before they go into the oven, which is fine.
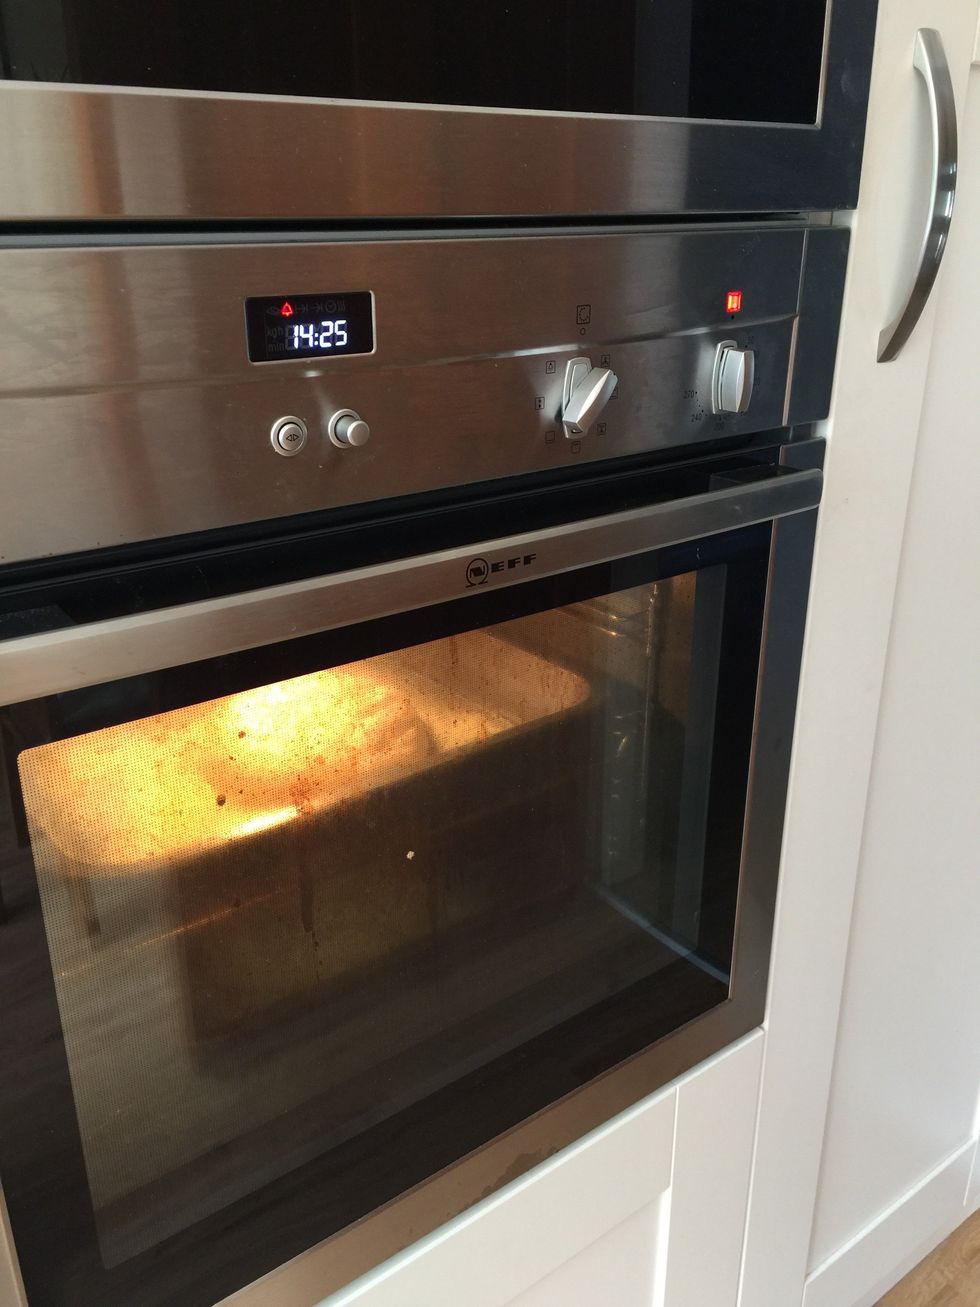
I set this electric fan oven to 200 degrees Celsius - I give it 15 minutes to get to temperature. When I start it warming, I put a tray of boiling water on the bottom of the oven to make some steam.

You know your oven. I find that 40 minutes at 200 degrees C works well. Try to hold your nerve and don't take the bread out too soon. The steam will help make a good crust.
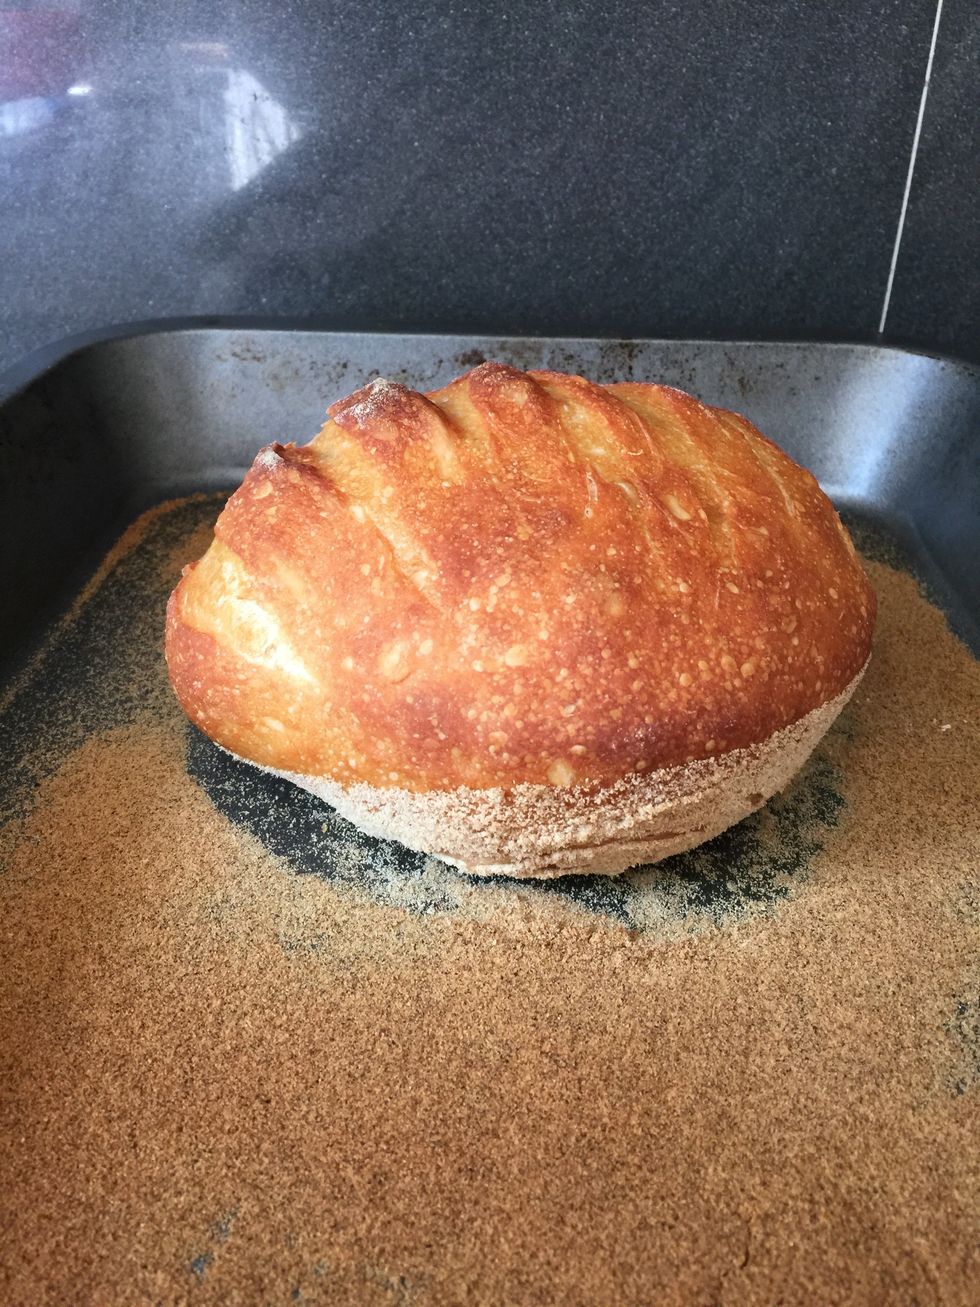
You don't want to burn the crust but you also want the bread inside to be cooked. It can get pretty brown without being burnt.
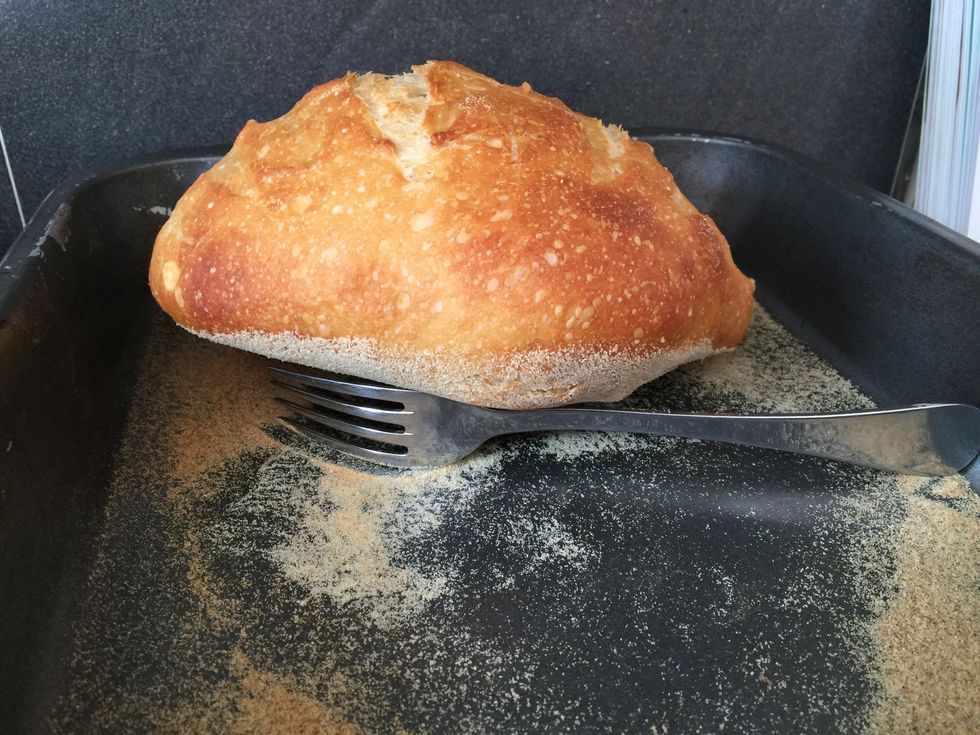
When the loaves are cooling, you'll probably hear tiny cracking sounds as the crust cools in the air.
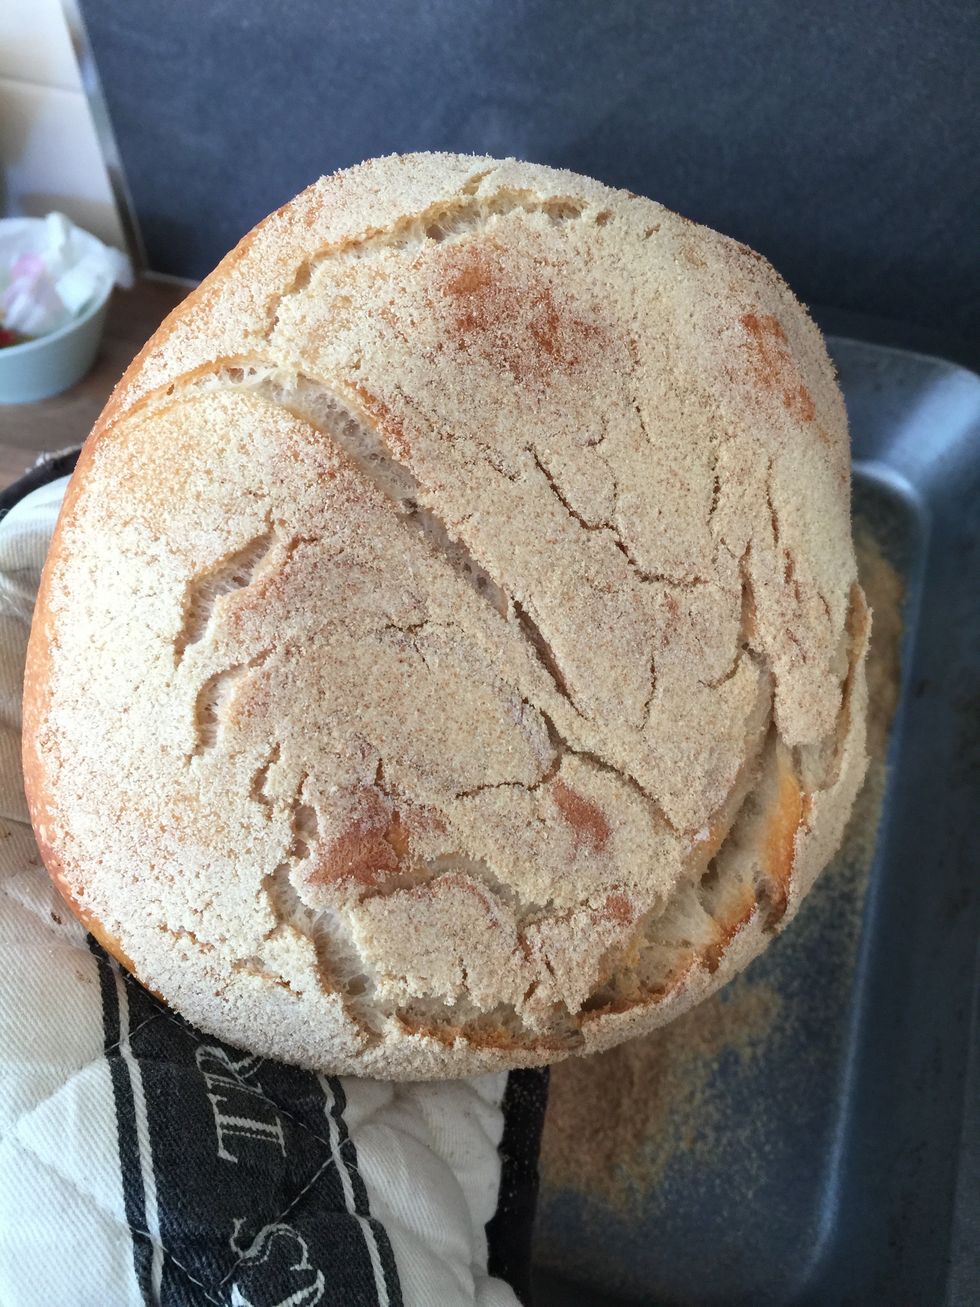
The loaves should sound hollow if you tap the underside with your knuckle - just use oven gloves and don't burn your fingers!
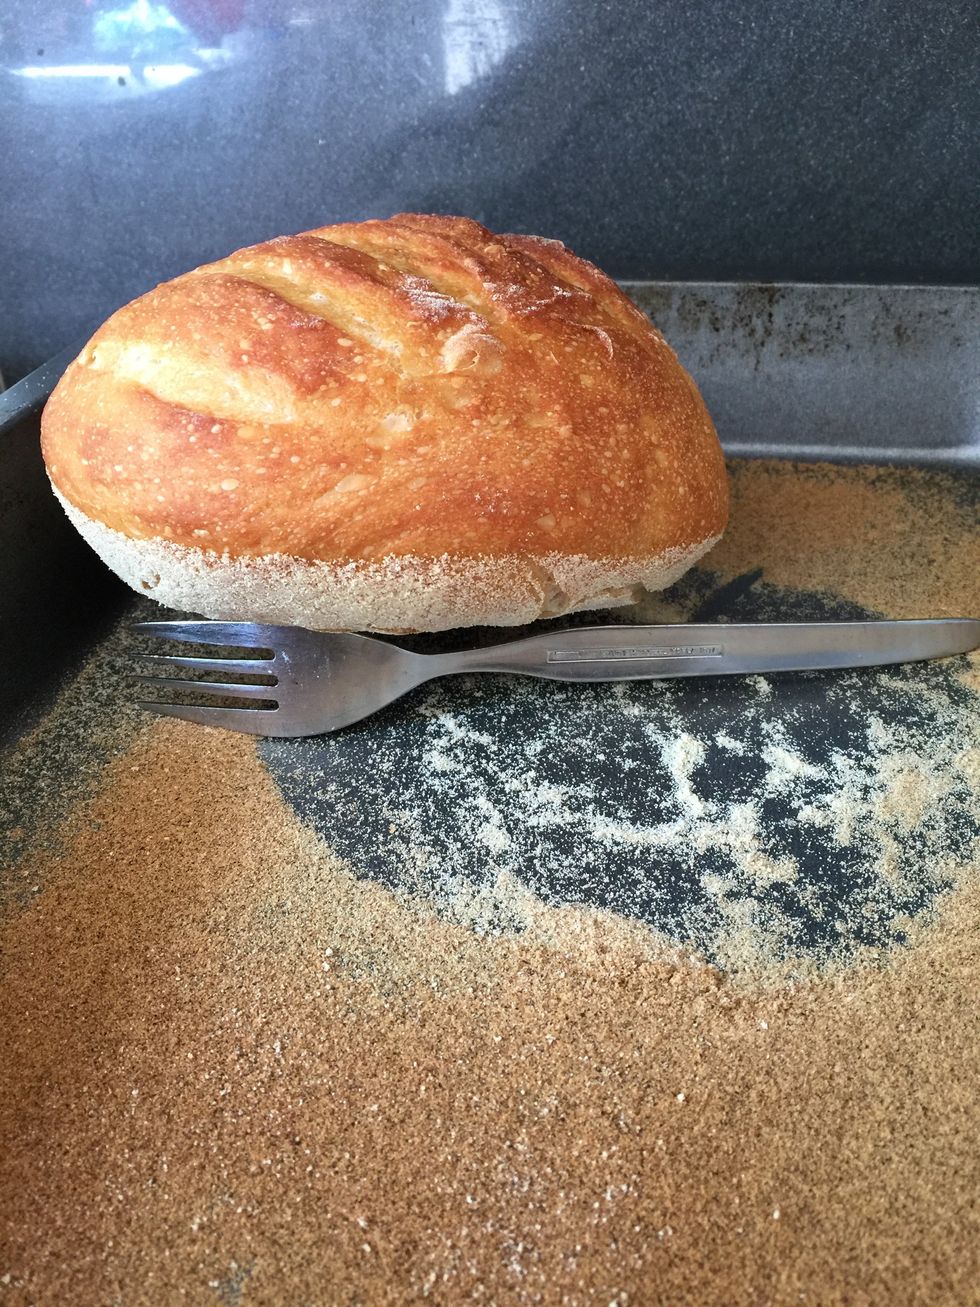
I rest the loaves on a fork, balanced on its side. This lets air circulate and stops the bottom getting soggy.
It's magnificent when it's still warm but should last a few days - if it gets a little stale then the bread is also great toasted. Happy baking!