The Conversation (0)
Sign Up
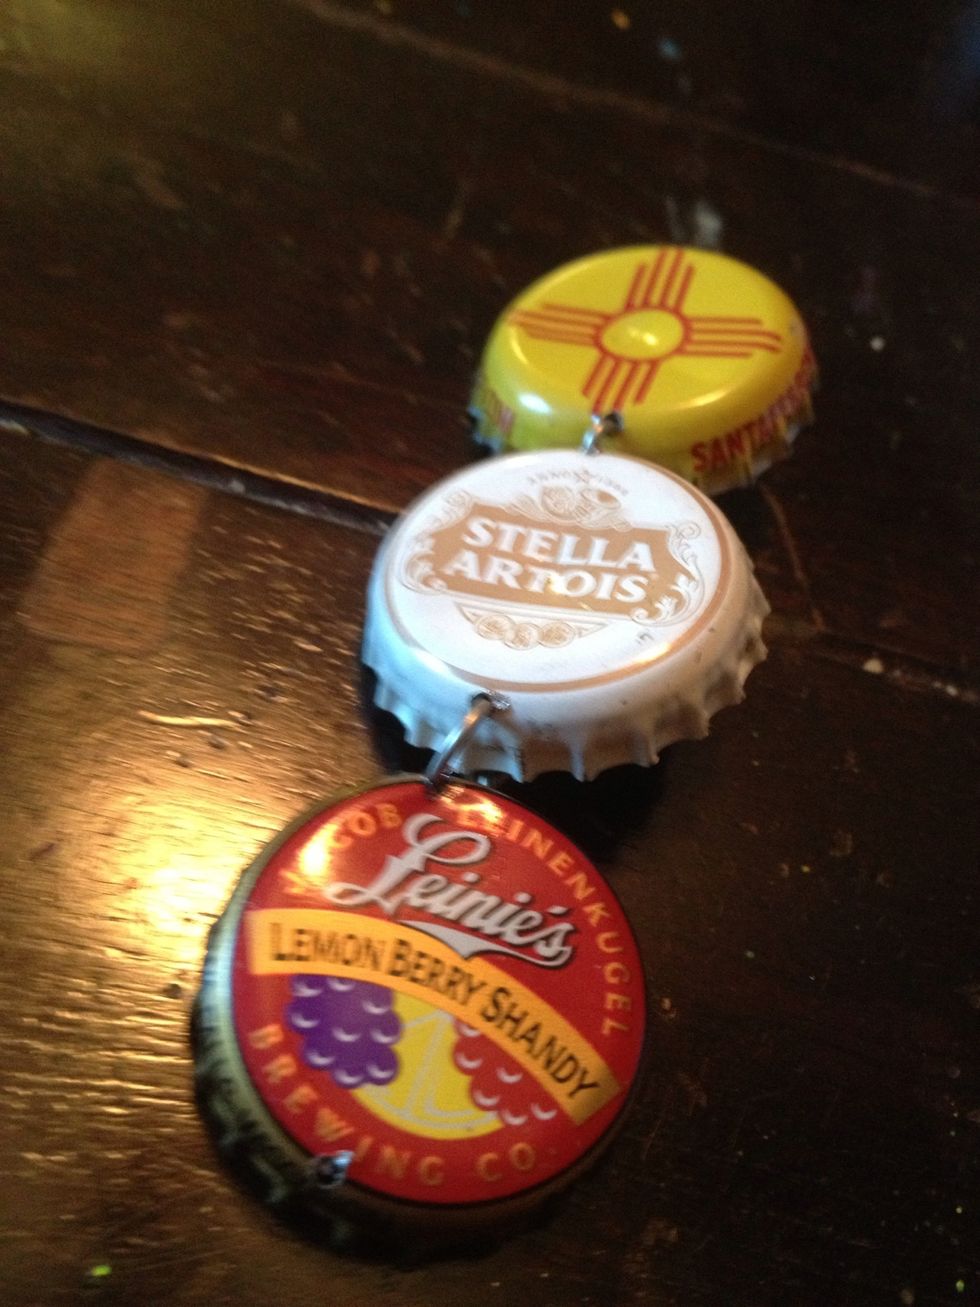
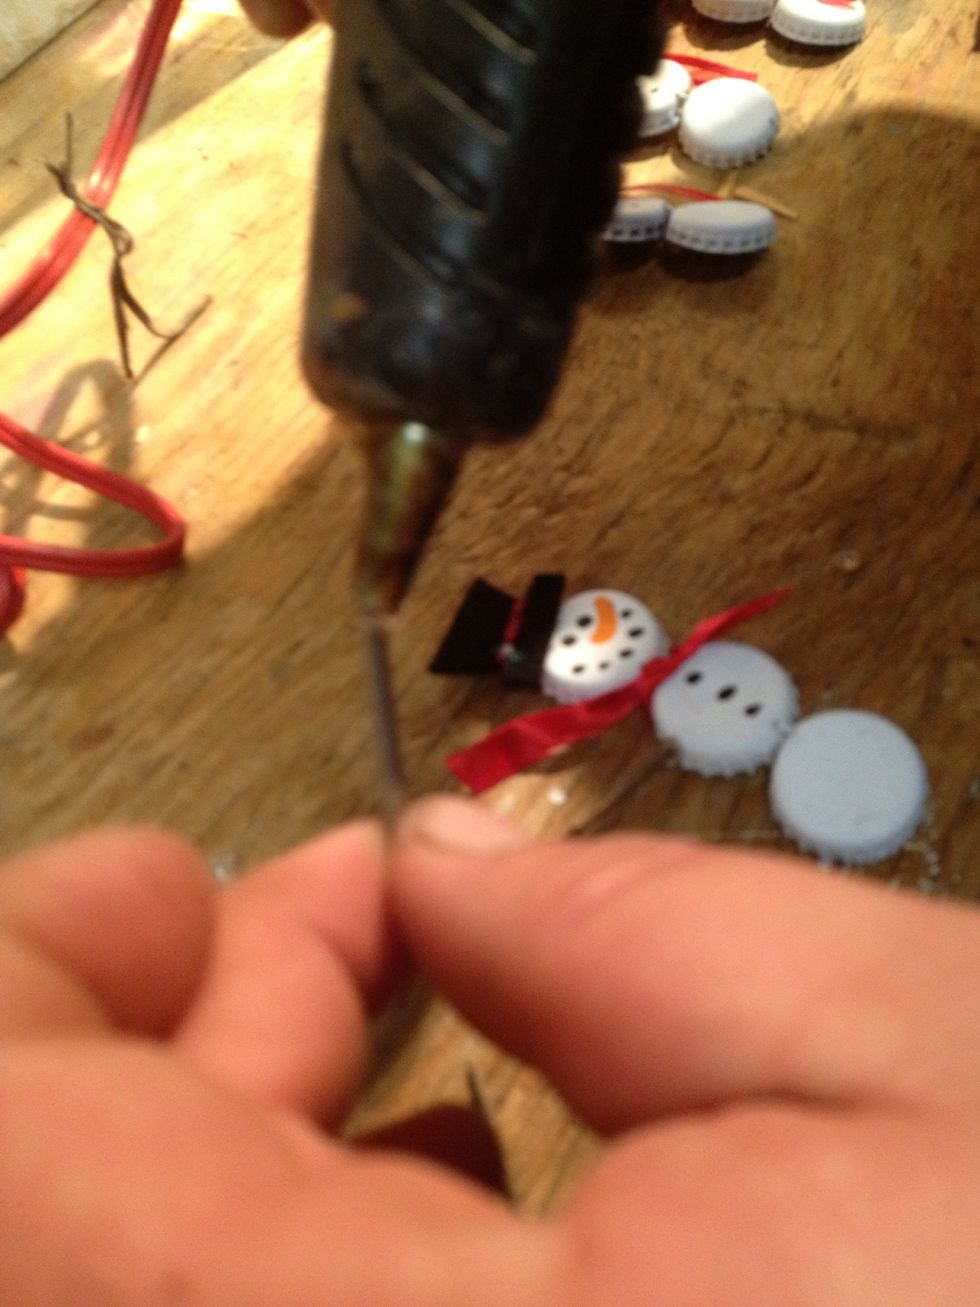
My husband took the bottle caps to work, drilled a hole in the top and bottom of each cap, and tied them together with wire ties.
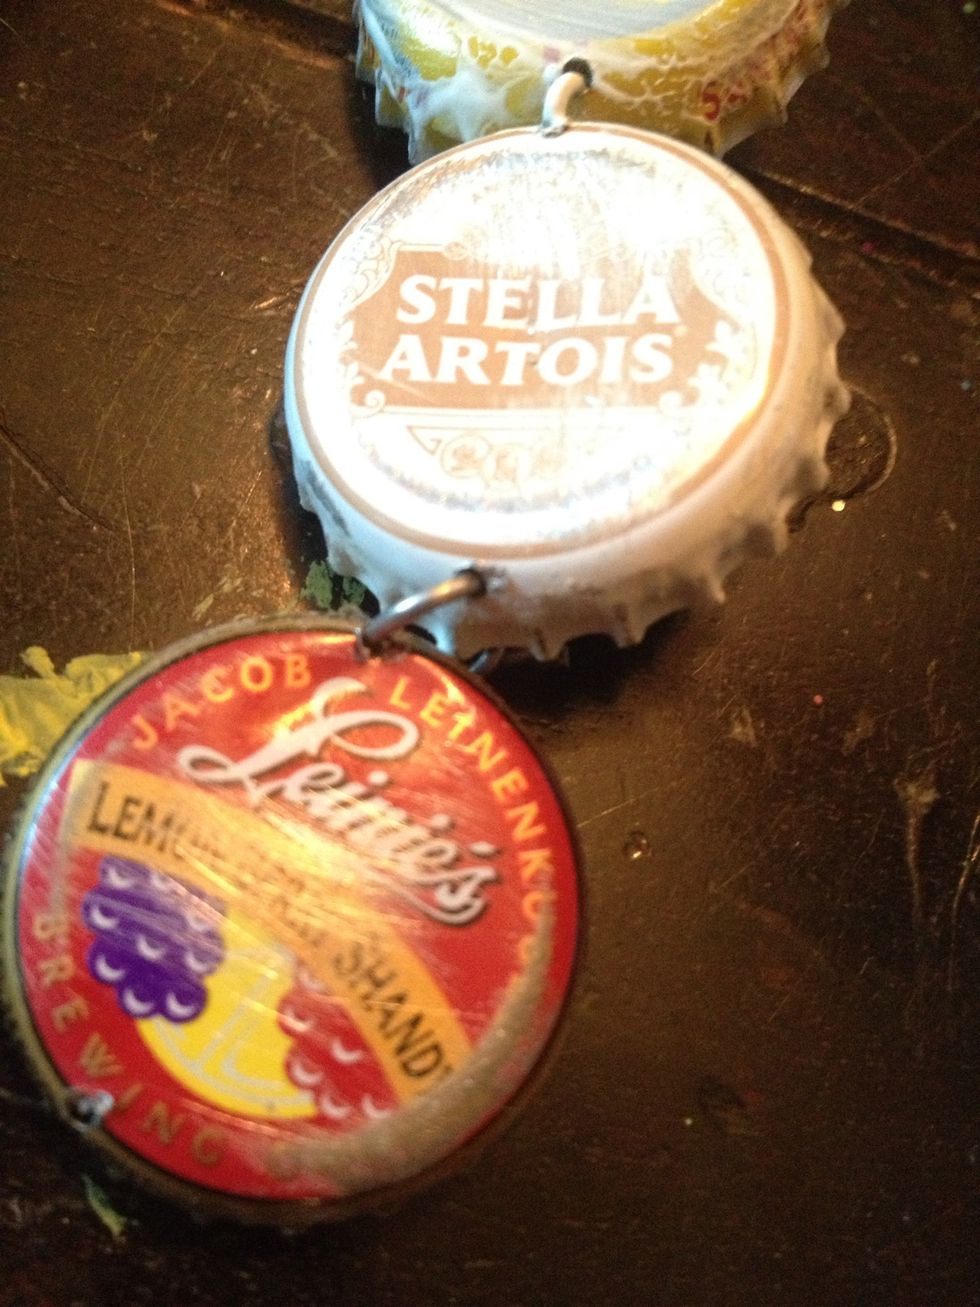
Here is a close up of the tie, make sure to trim it short so as not to poke anyone - ouch! So with my hubba-hubba doing the "hard" part, I started by lightly sanding the bottle caps.
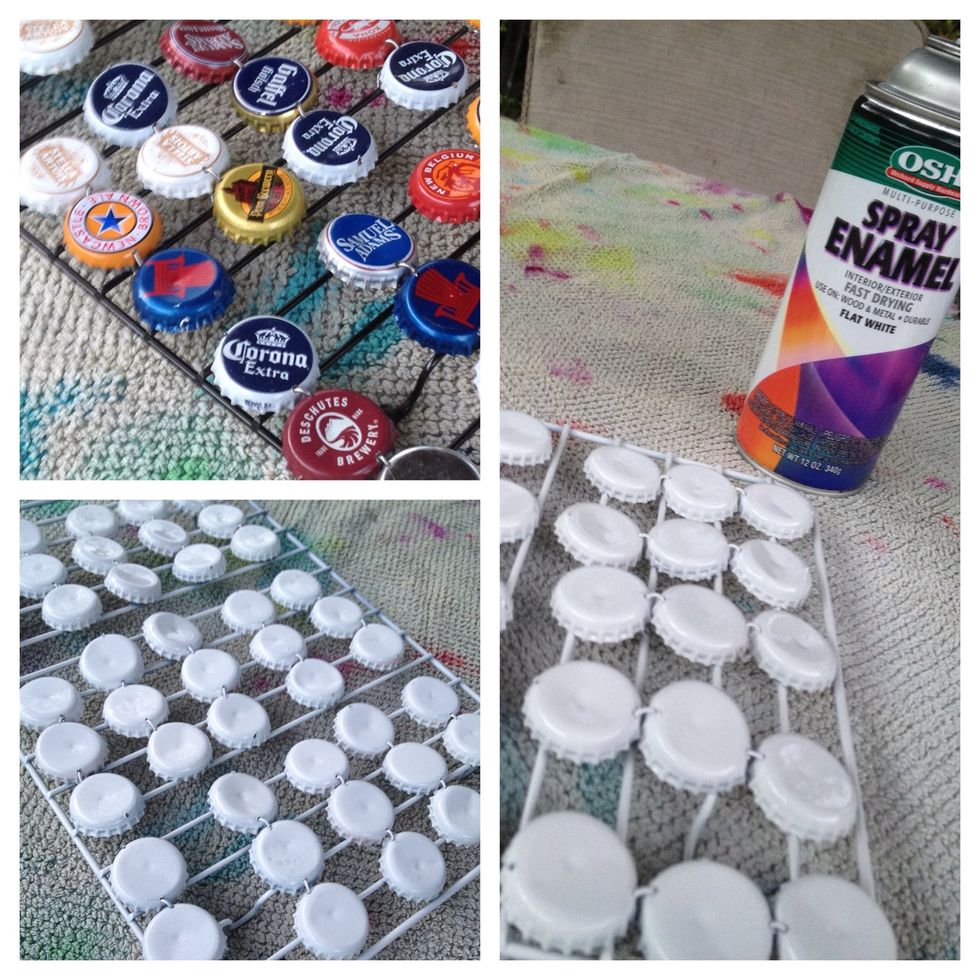
I placed all the strings of caps onto a old drying rack, over a old towel, and spray painted them white. I did two light coats to prevent dripping. Let them dry completely before the next step.
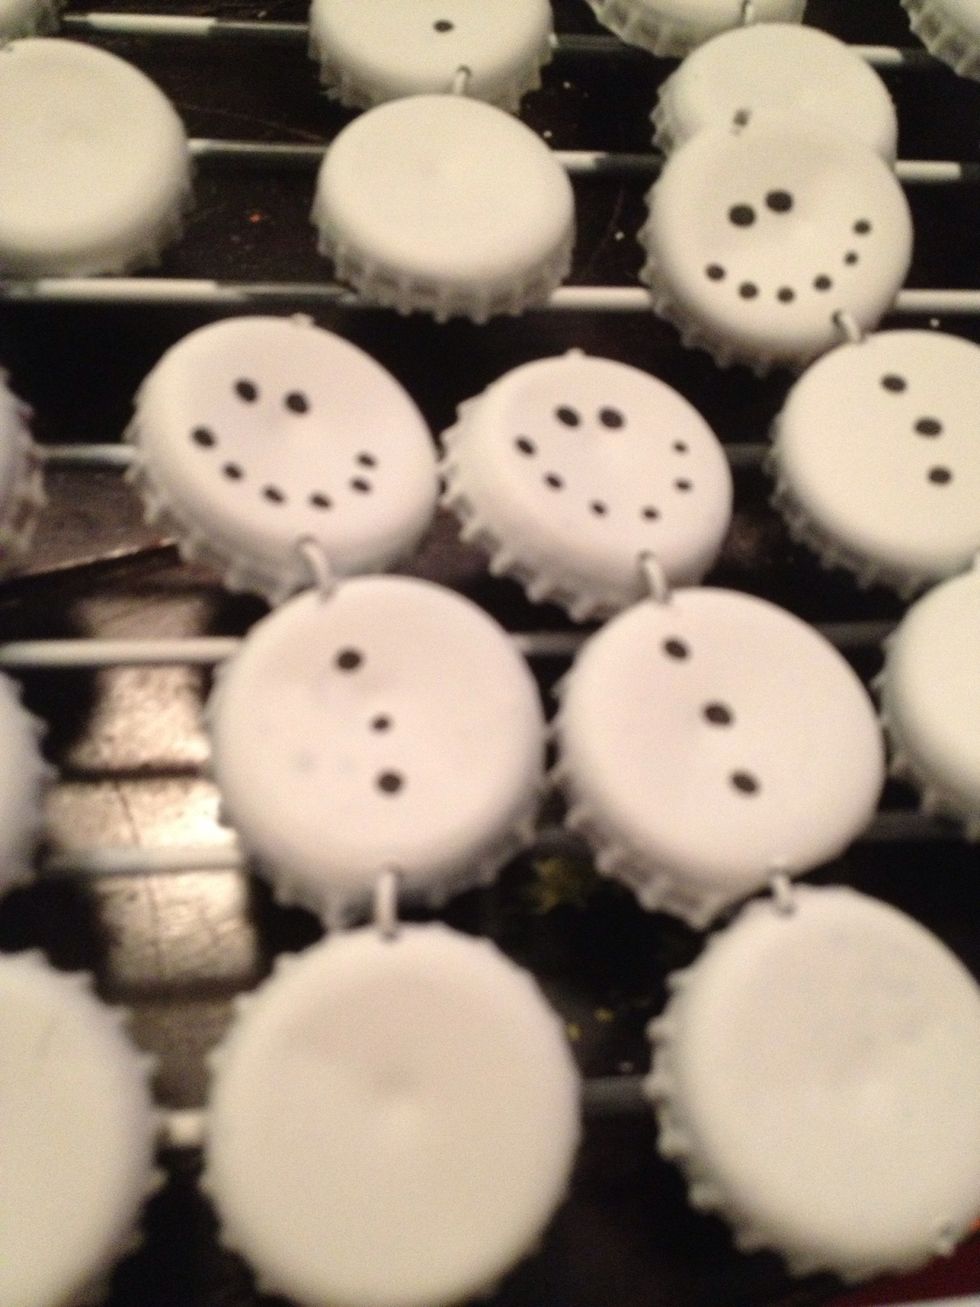
I used black paint and a thin-tipped paintbrush to dot the snowman's eyes, mouth, and buttons.
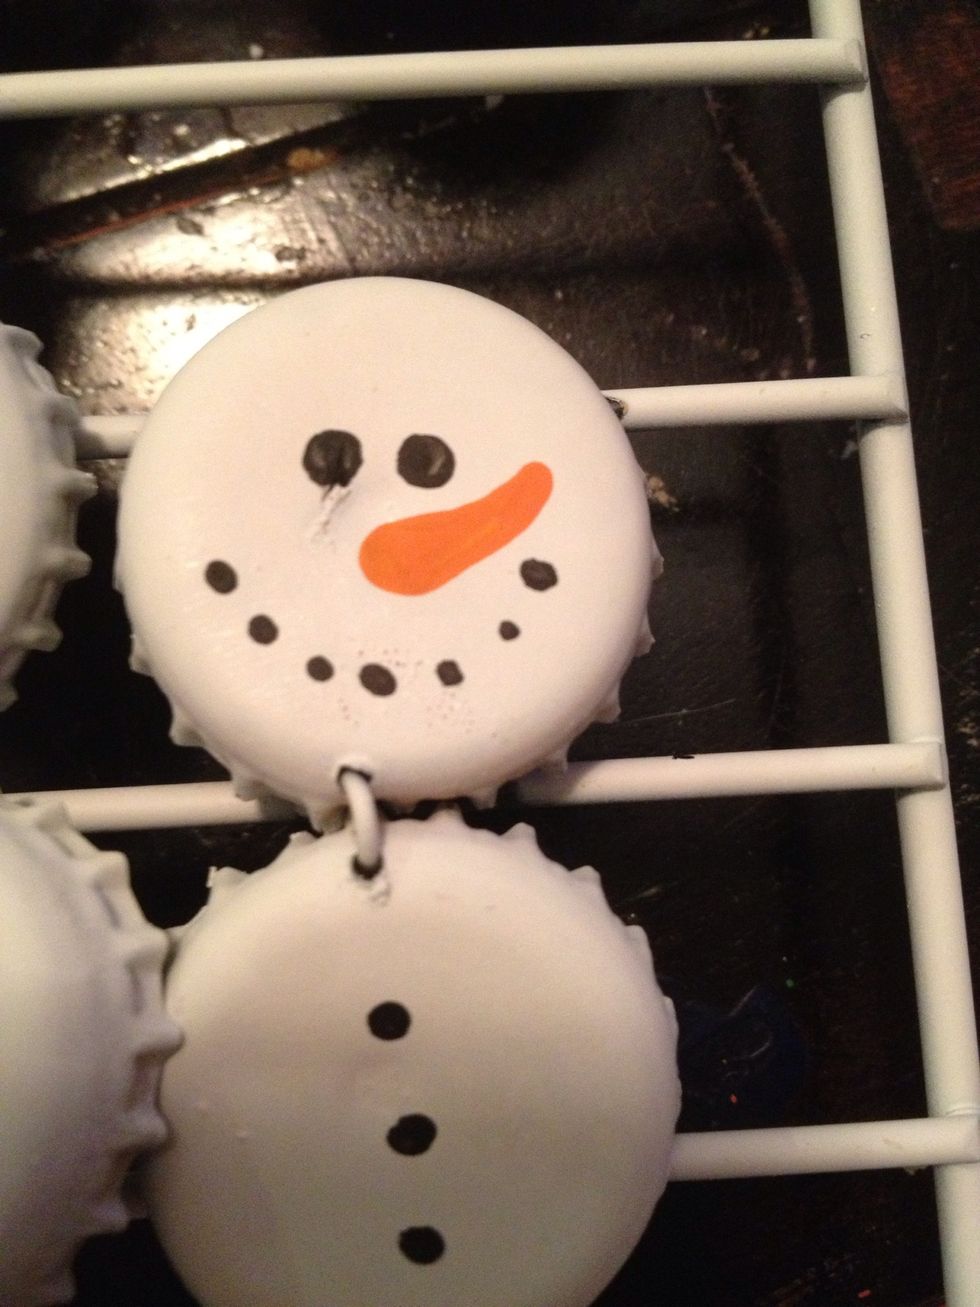
After letting the black dry a bit, so my clumsiness doesn't smear it, I used orange paint and a thin-tipped paintbrush to create the carrot nose!
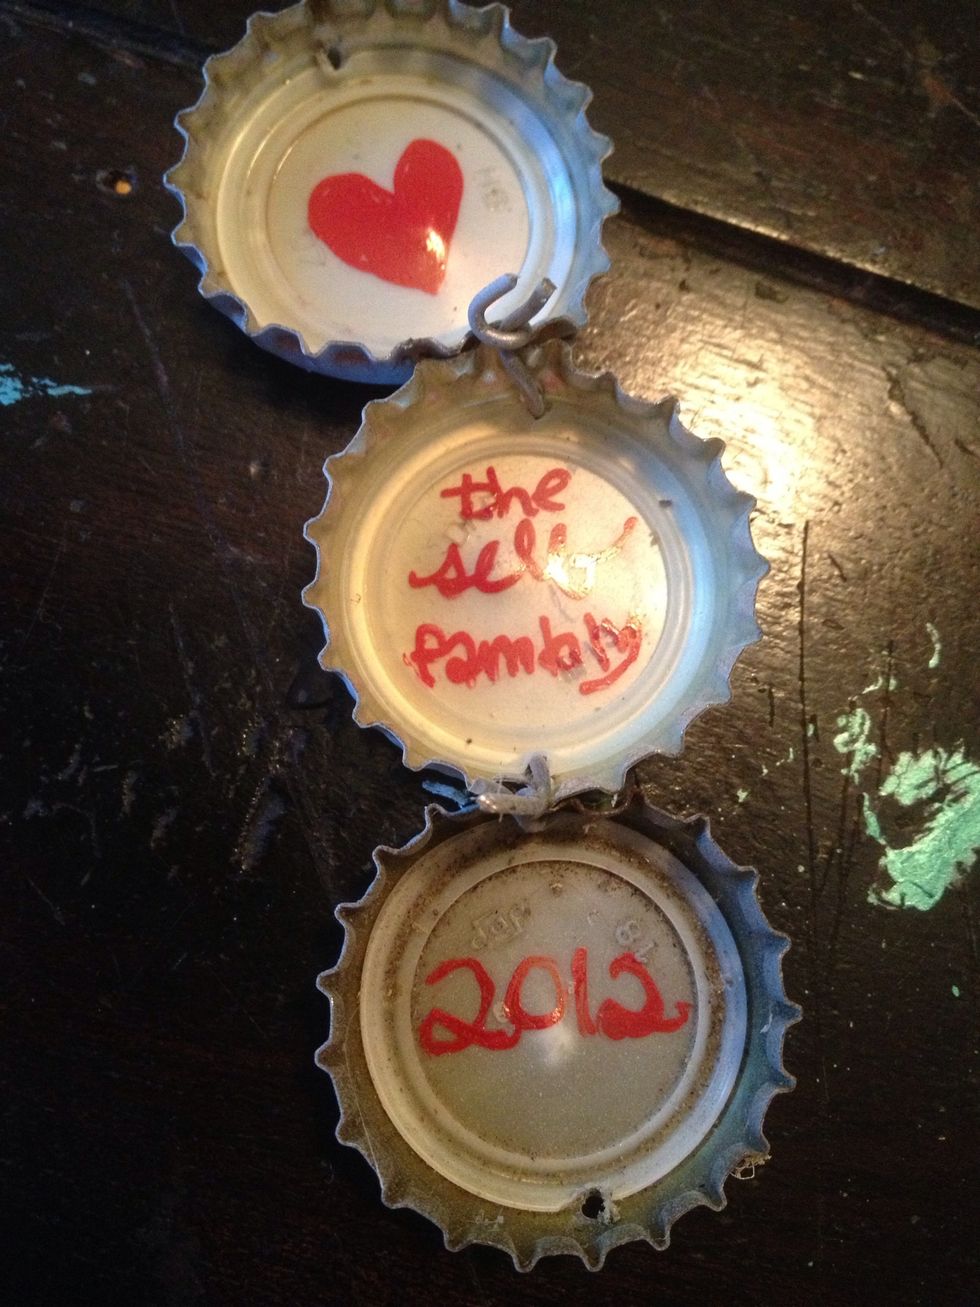
After the paint dried on the front, I took a red paint pen to the inside of the caps and wrote (❤ the Self fambly, 2012)

Using black felt and scissors, I cut little...

top hats! They look pretty boring, let's add some detail!
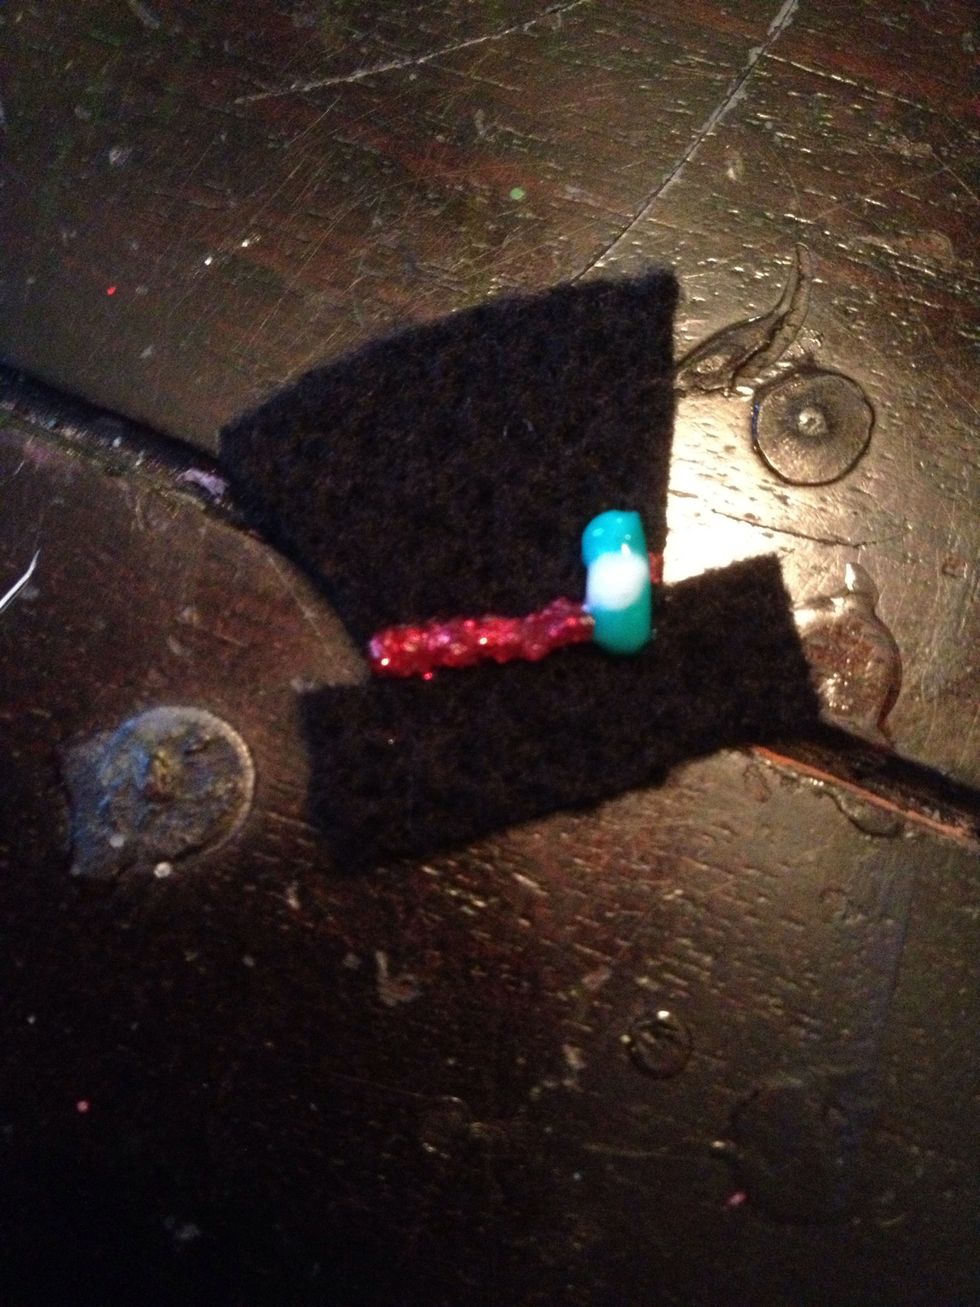
Using the red glitter glue, I laid a stripe for the top hat's ribbon. With the green and white glitter glue, I placed three dots around the ribbon to look kind of like holly.

While the glitter glue is drying on the top hats, I tied a ribbon around our snowmen's neck to keep him warm!
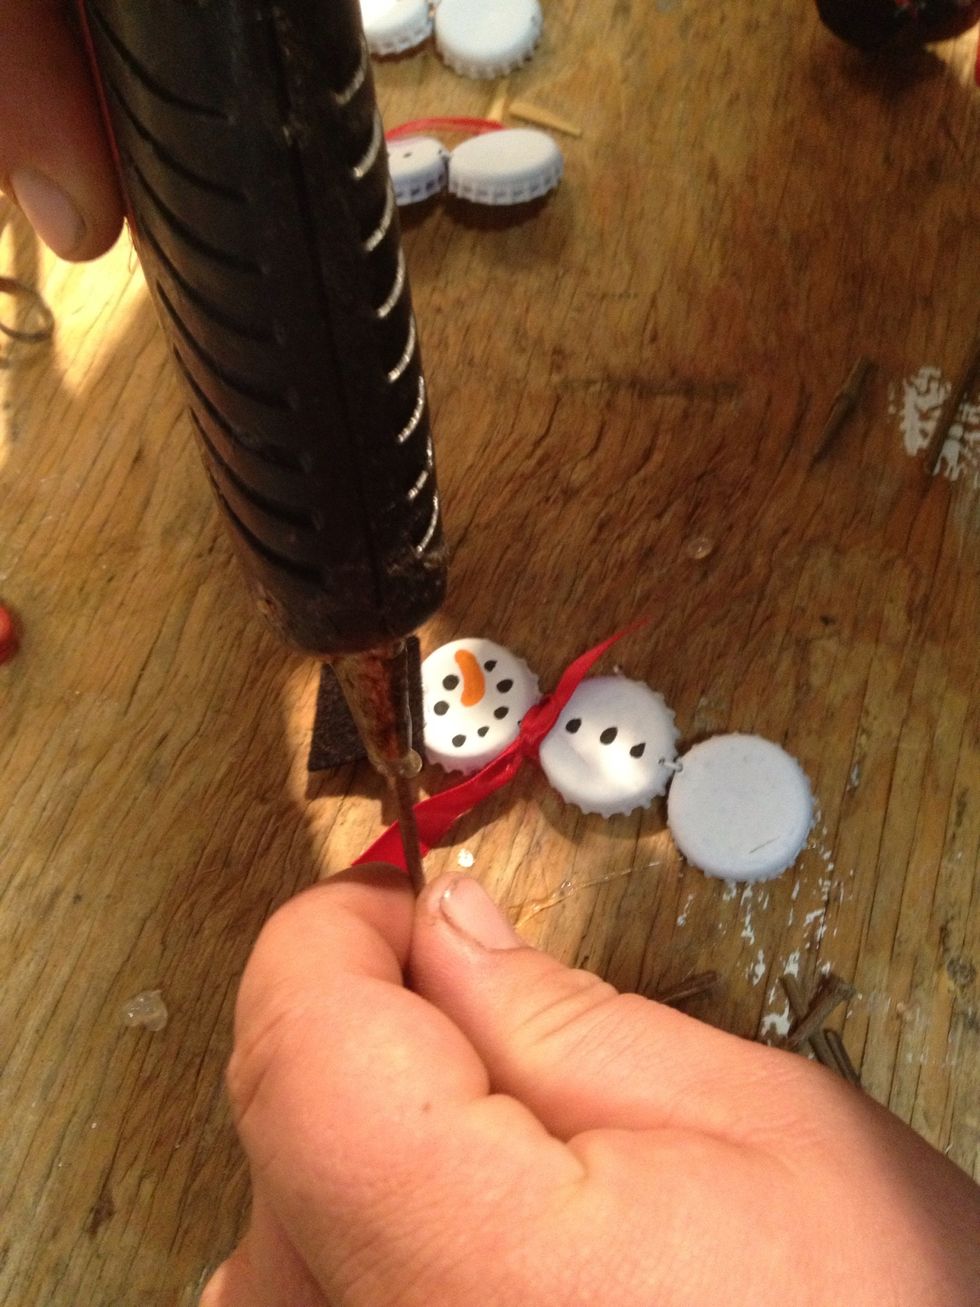
When glitter glue is dried completely, use a hot-glue gun to glue the top hat to our snowman's head. You want to make sure you don't cover the hole in the top bottle cap (for the ornament hook.)
Next, we took two small twigs and hot-glued them to the second bottle cap for arms!

Here is our final product! You can place an ornament hook through the top hole and hang him on your tree!
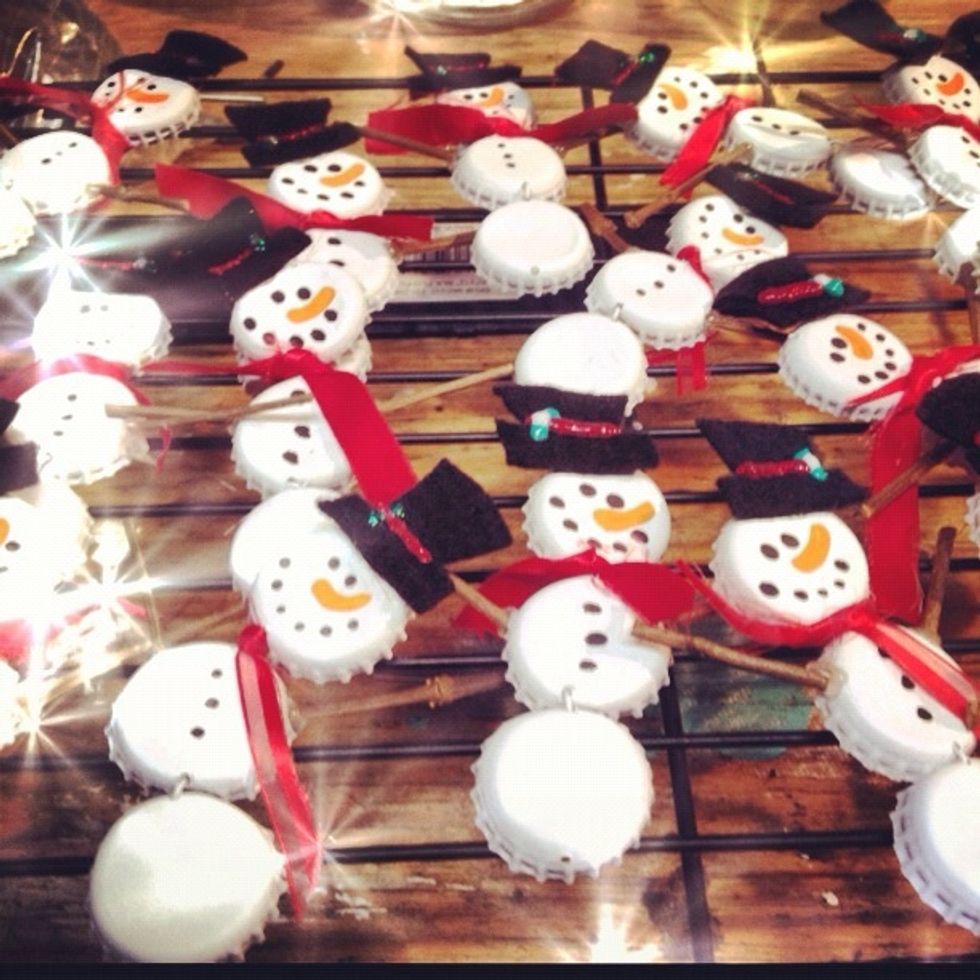
They make a wonderful homemade gift to share with friends and fambly! (other ornaments we've made for the exchange: snow globes, cinnamon sticks & holly, twig stars, and reindeer out of light bulbs.)