The Conversation (0)
Sign Up
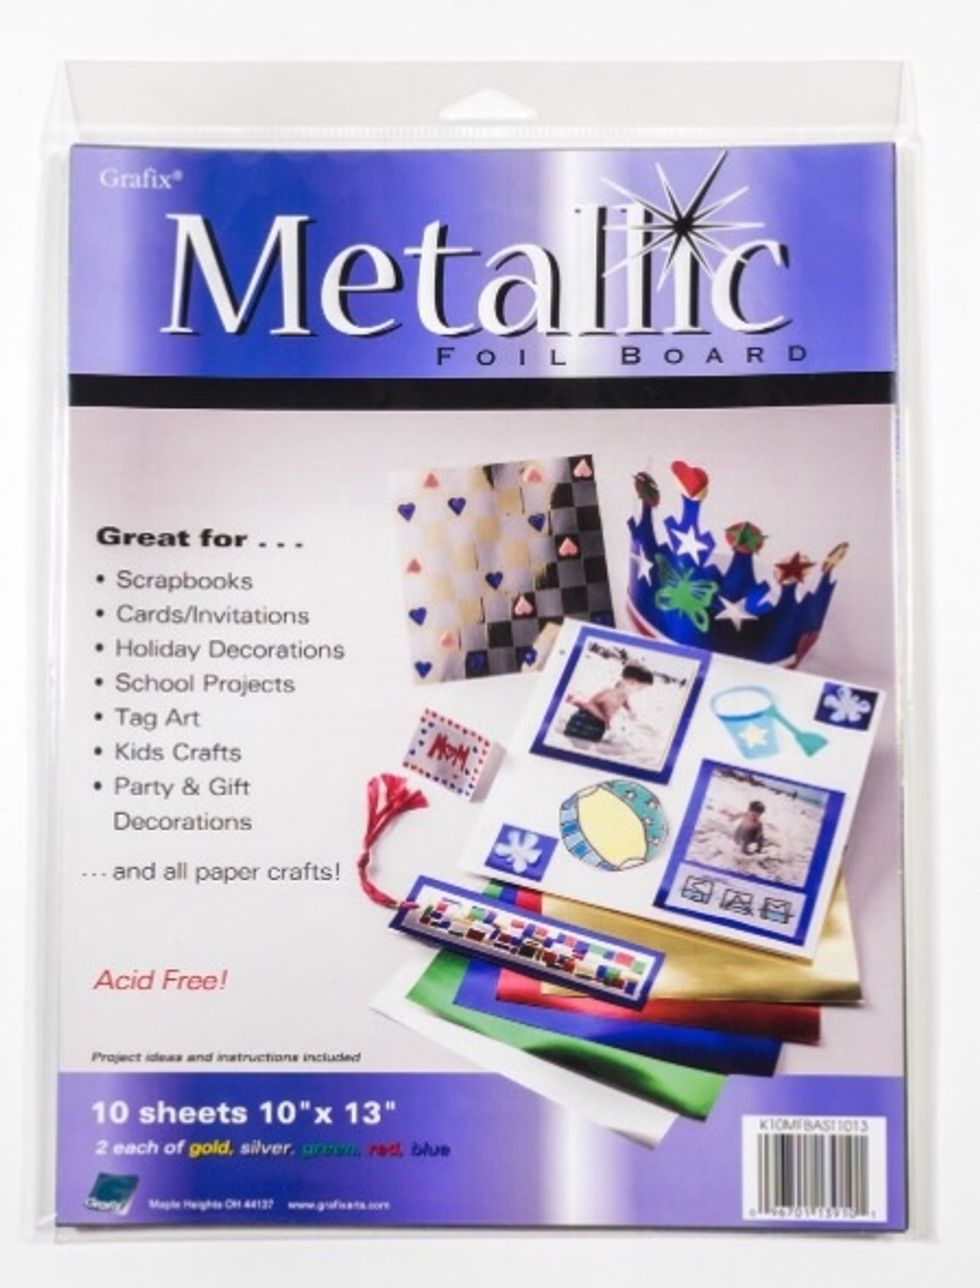
Metallic Foil Board by GRAFIX comes in a rainbow of colors and is a great way to add some bLiNg to your craft projects.
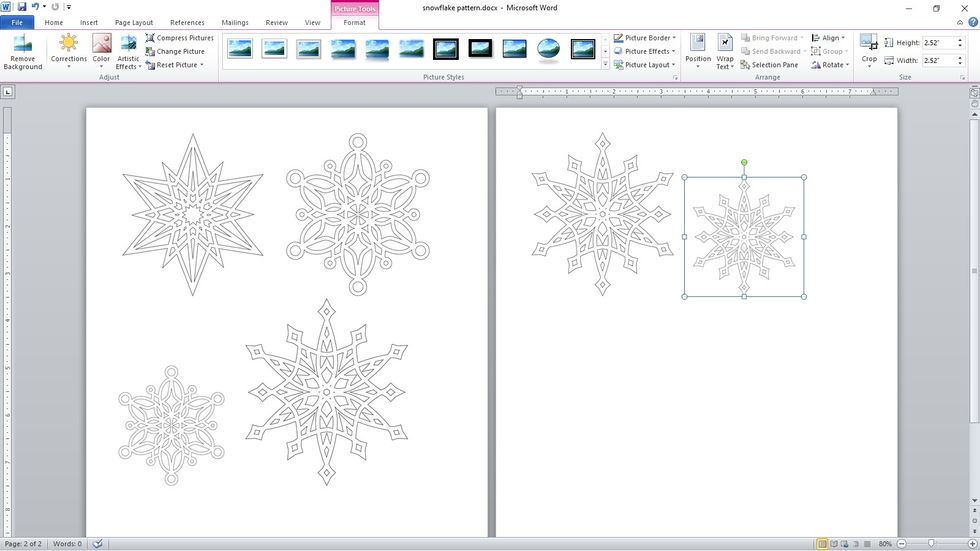
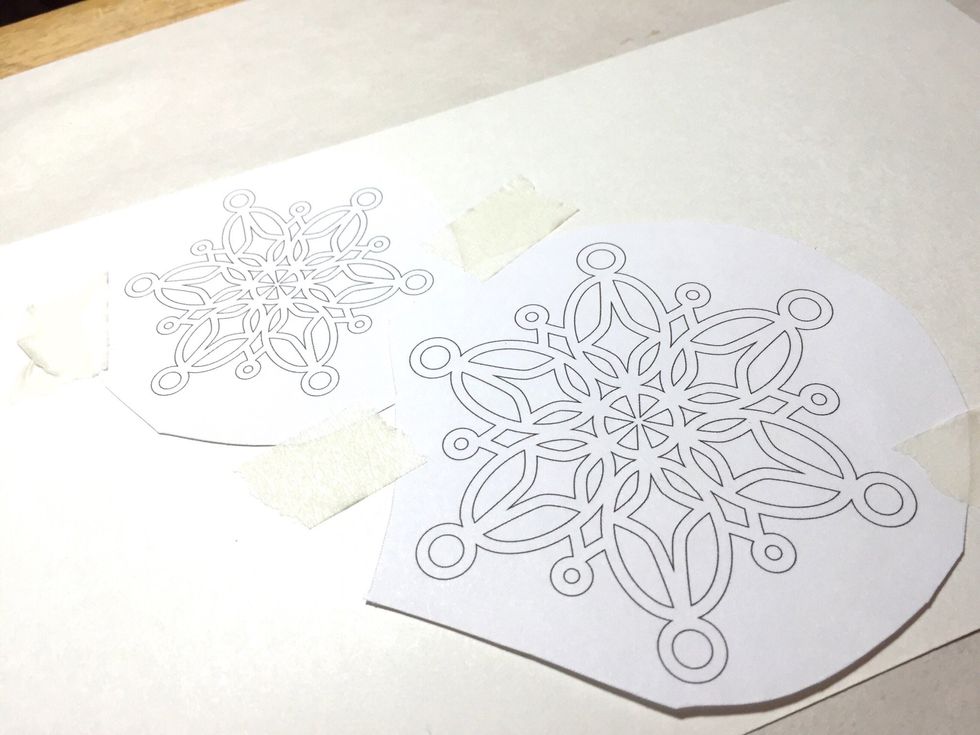
scan in designs or cut and paste patterns from the web into a word processing program. resize as needed.
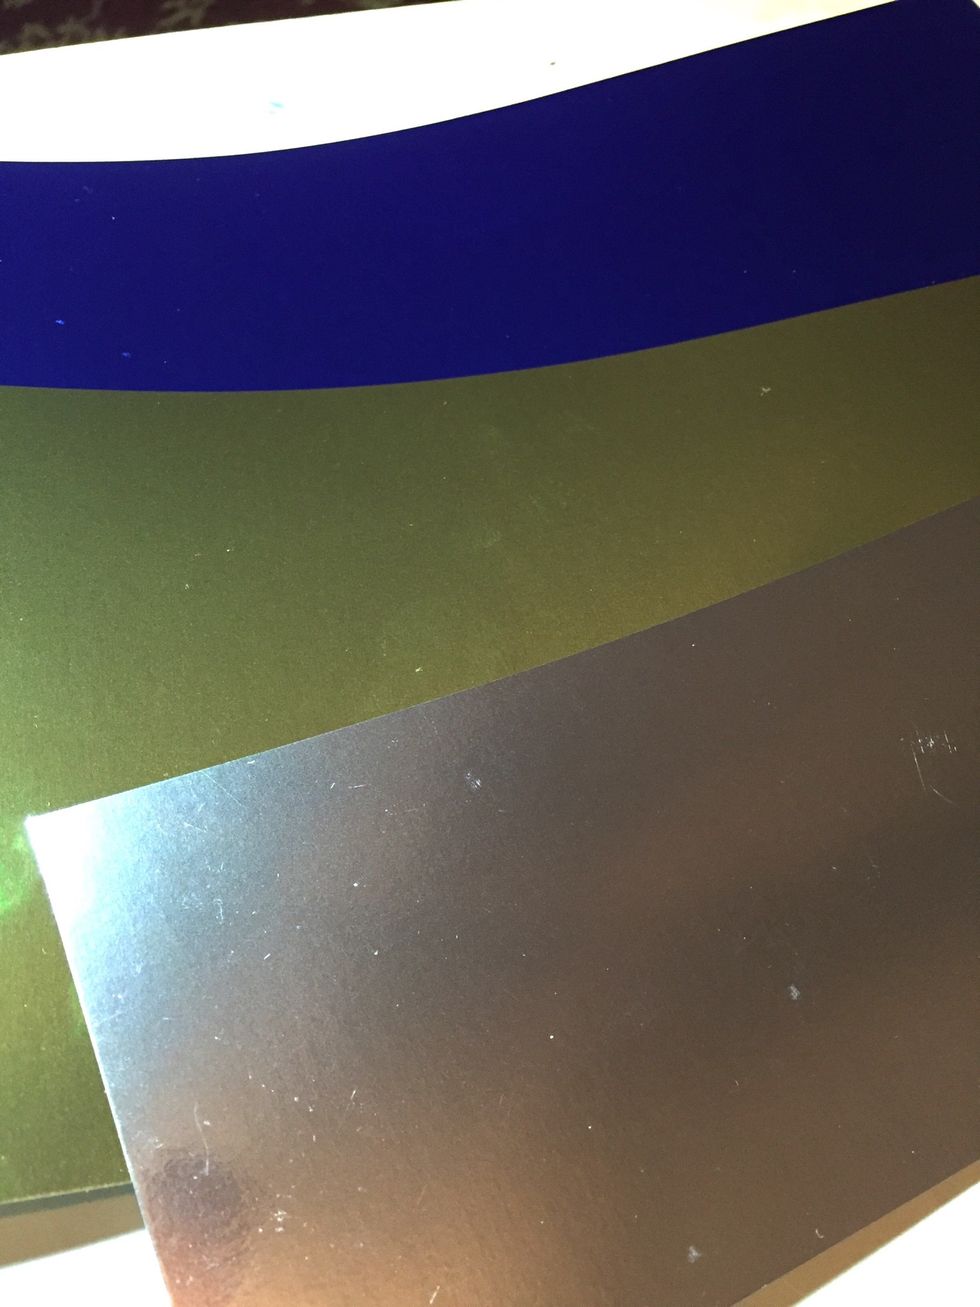
cut a 4 X 11 piece of silver foil a 6 X 11 1/2 piece of gold foil and an 8 X 12 piece of blue foil. the graduated lengths will allow your luminaries to nest for storage.
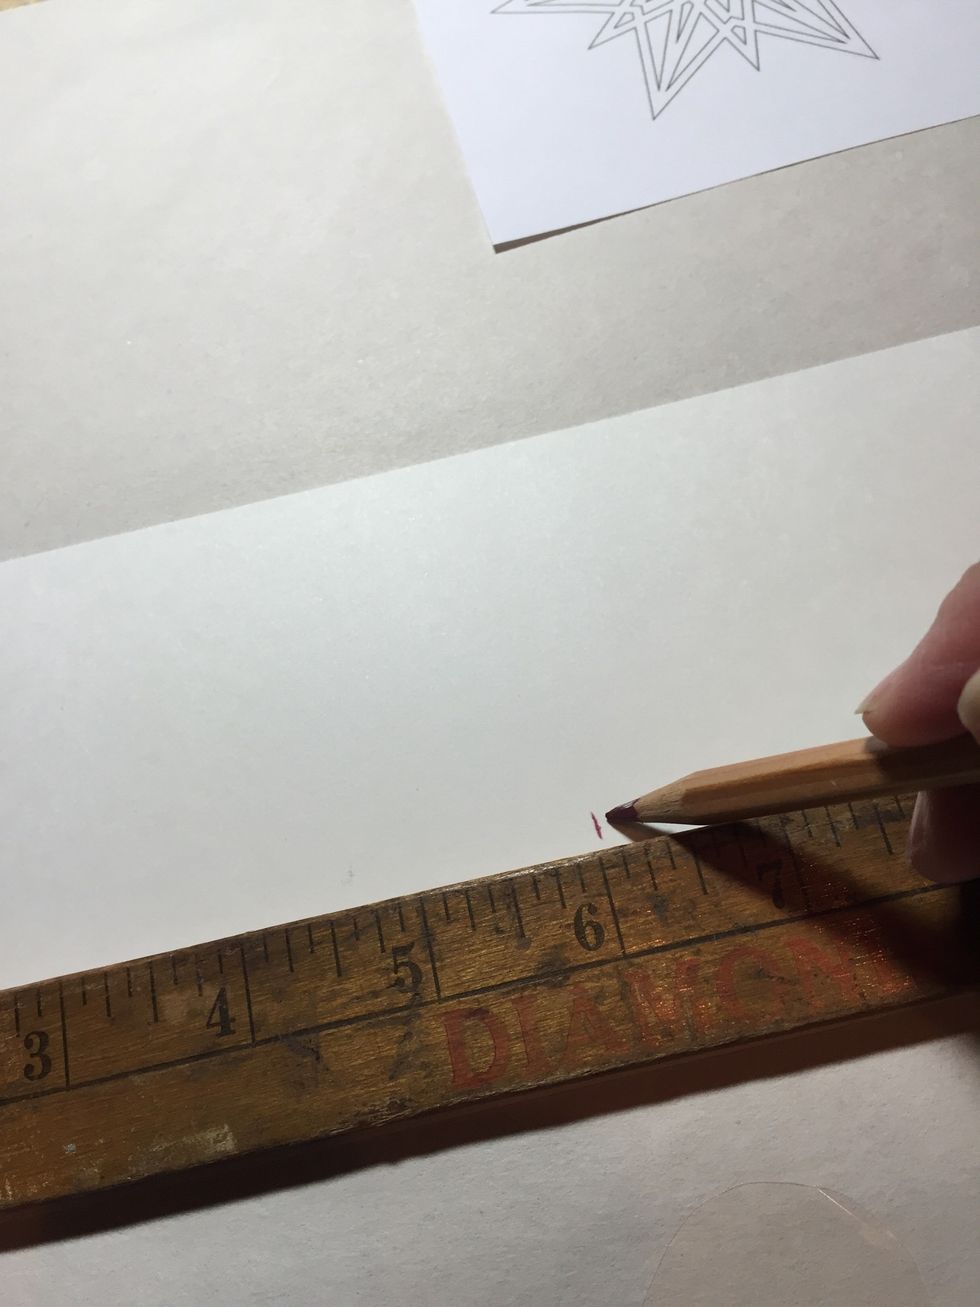
on the back, measure and mark the center of the silver foil.

arrange your snowflake pattern on the back, lining it up with the marks, and then tape down your template.

you'll need simple paper punch tools, mat, punch and hammer.

use a punch that has tips in a variety of sizes.
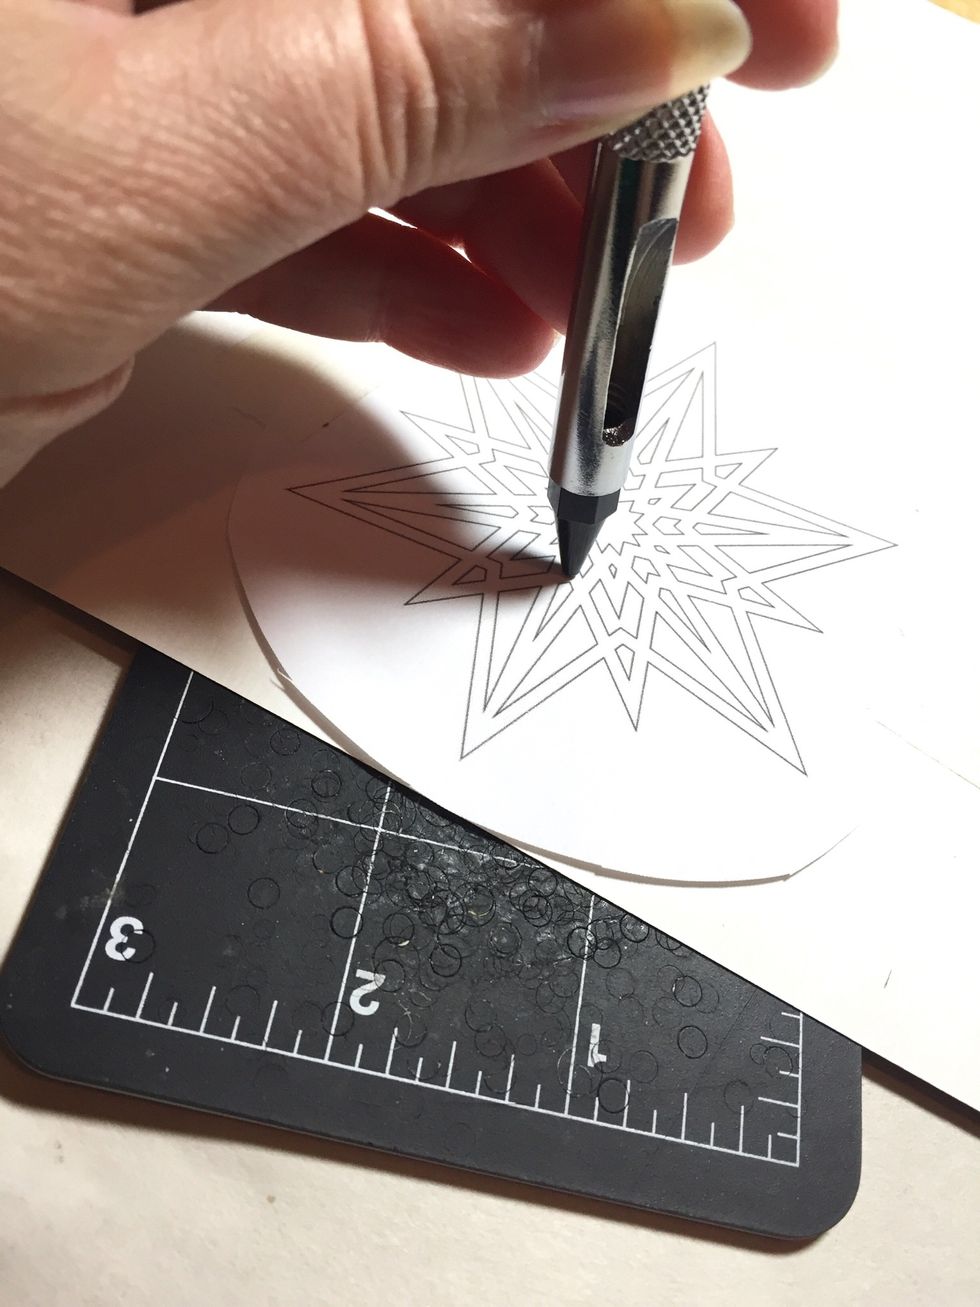
place foil, pattern side up on mat and begin punching the holes along the pattern lines.
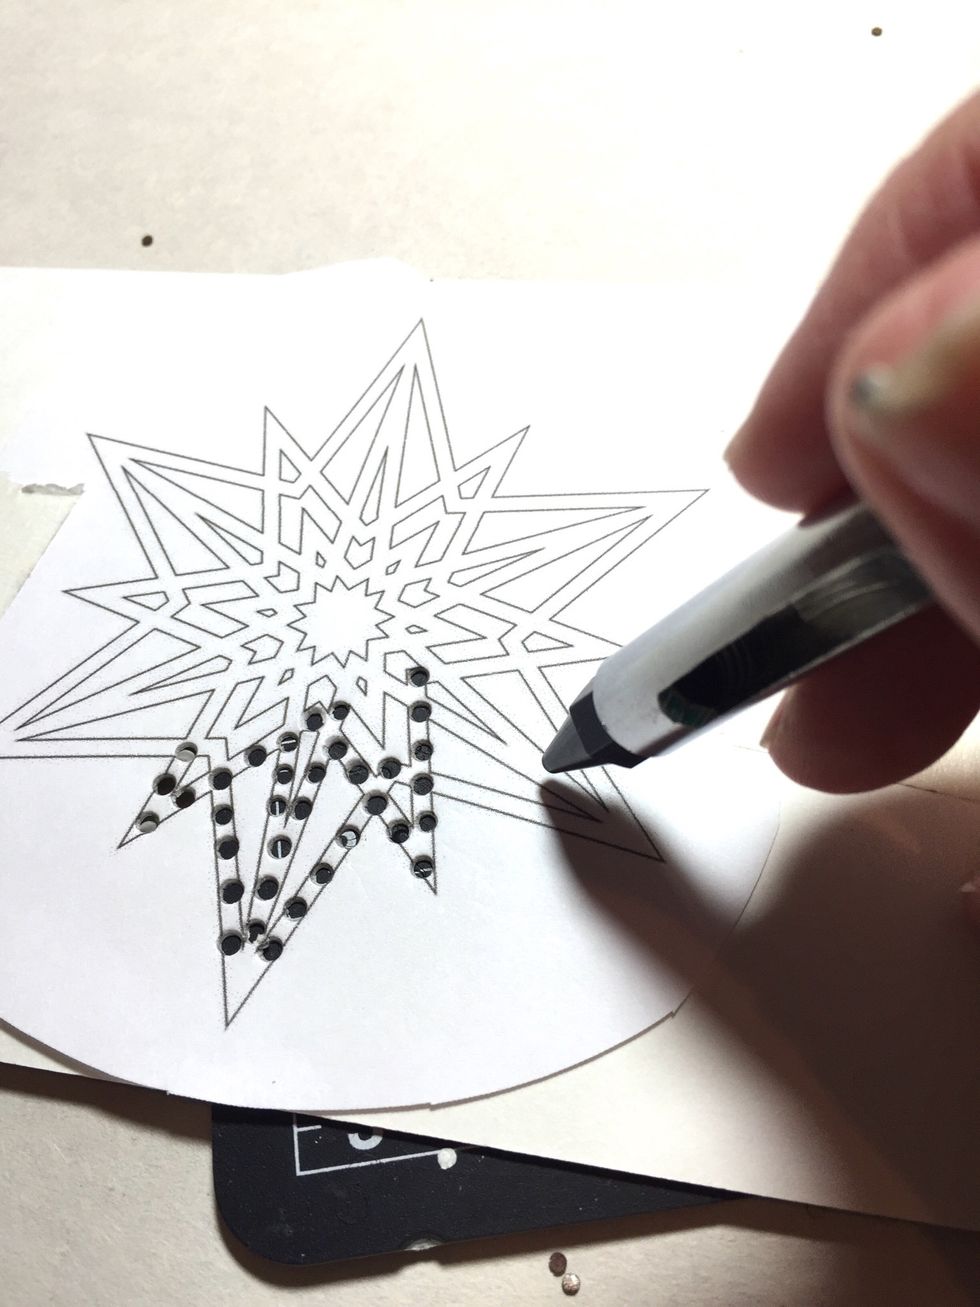
continue following pattern and punching holes in the pattern.
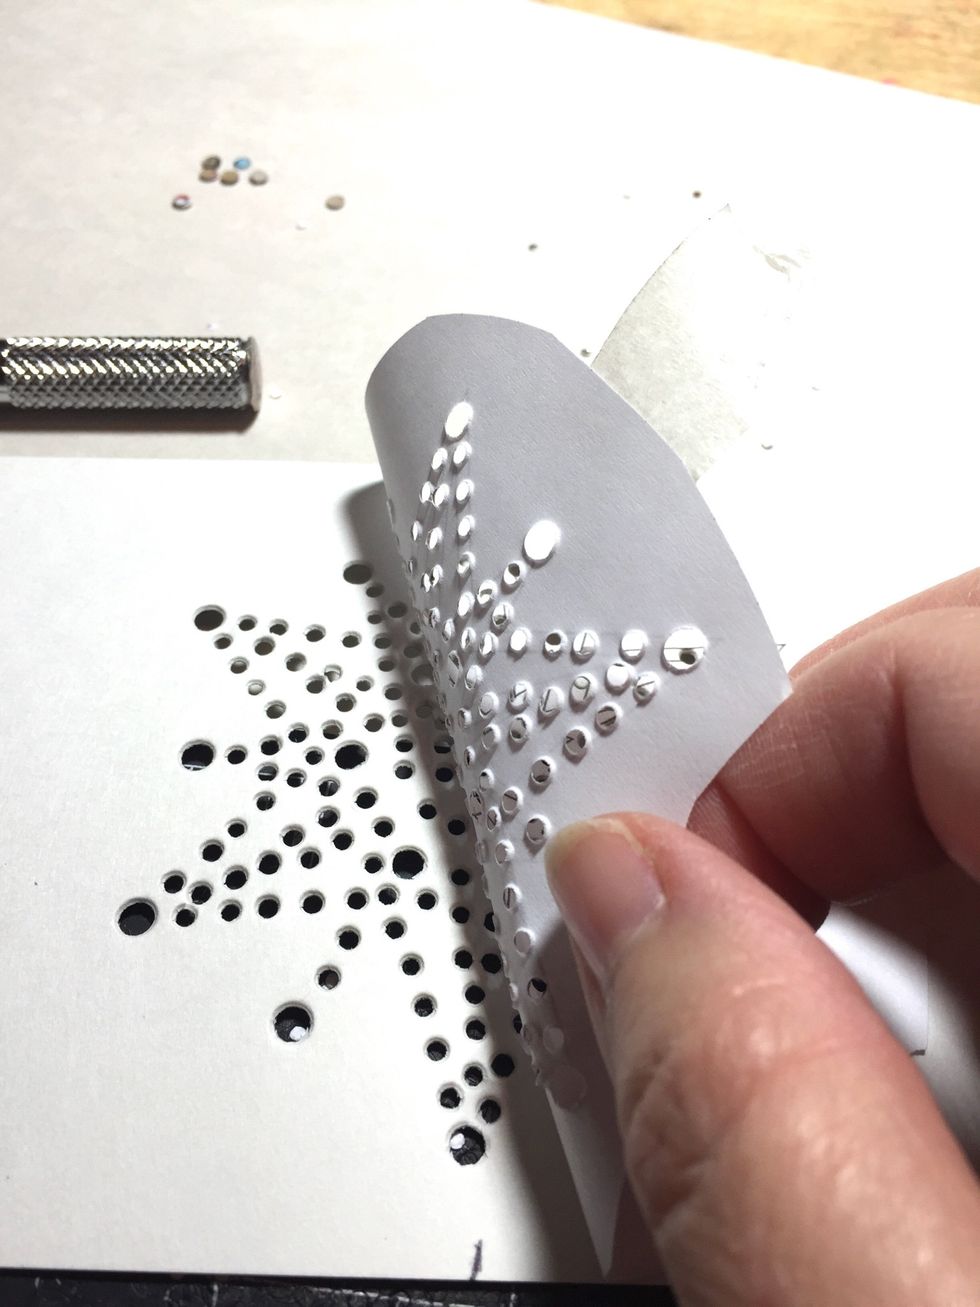
when you have punched holes in all the lines, carefully take off the pattern to see how you did.
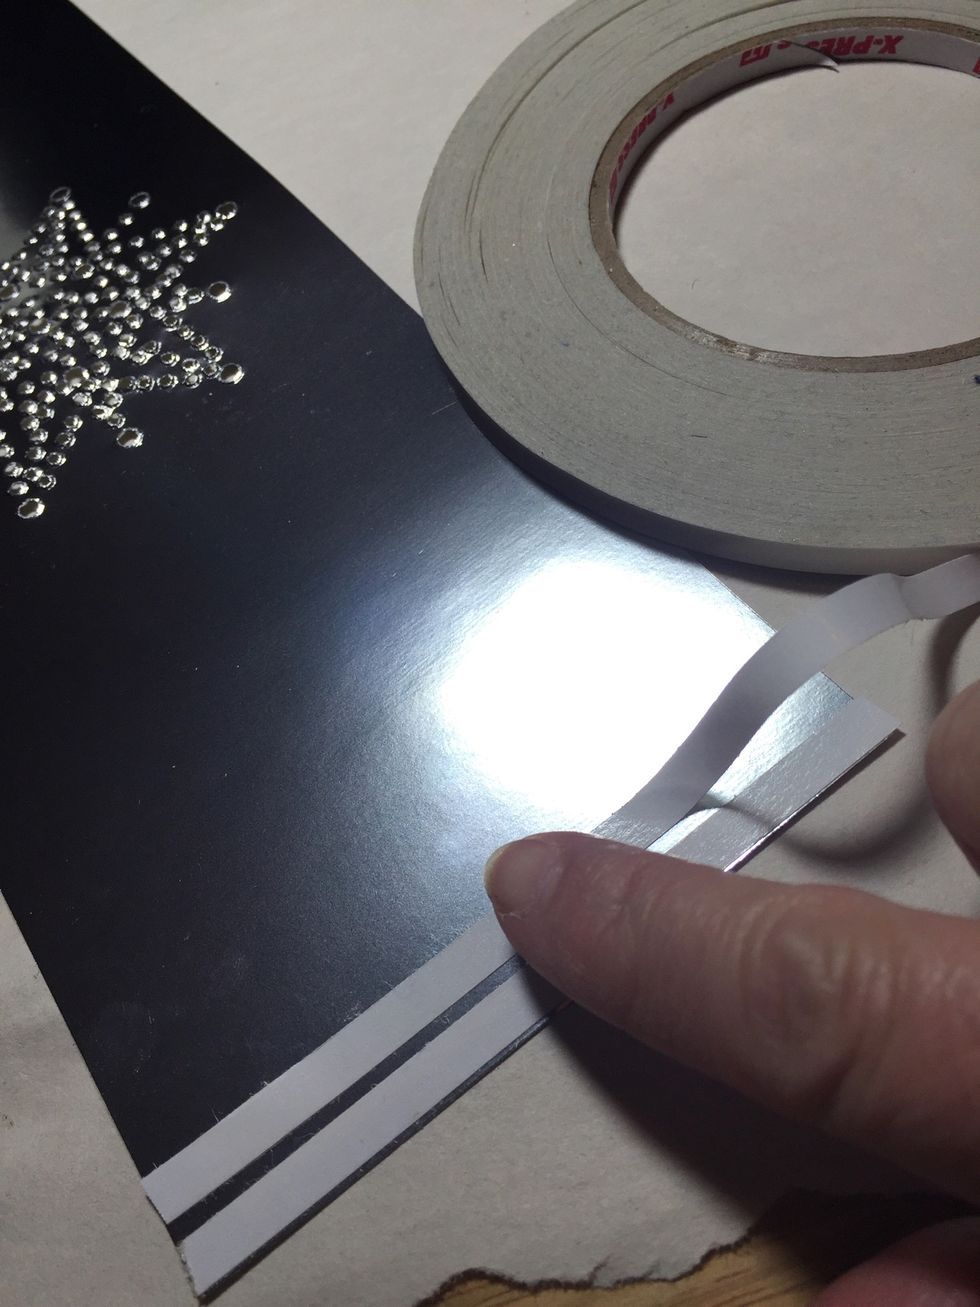
place 2 strips of double sided tape on one end of the silver foil.

wrap foil around to back, remove liners from tape and adhere.
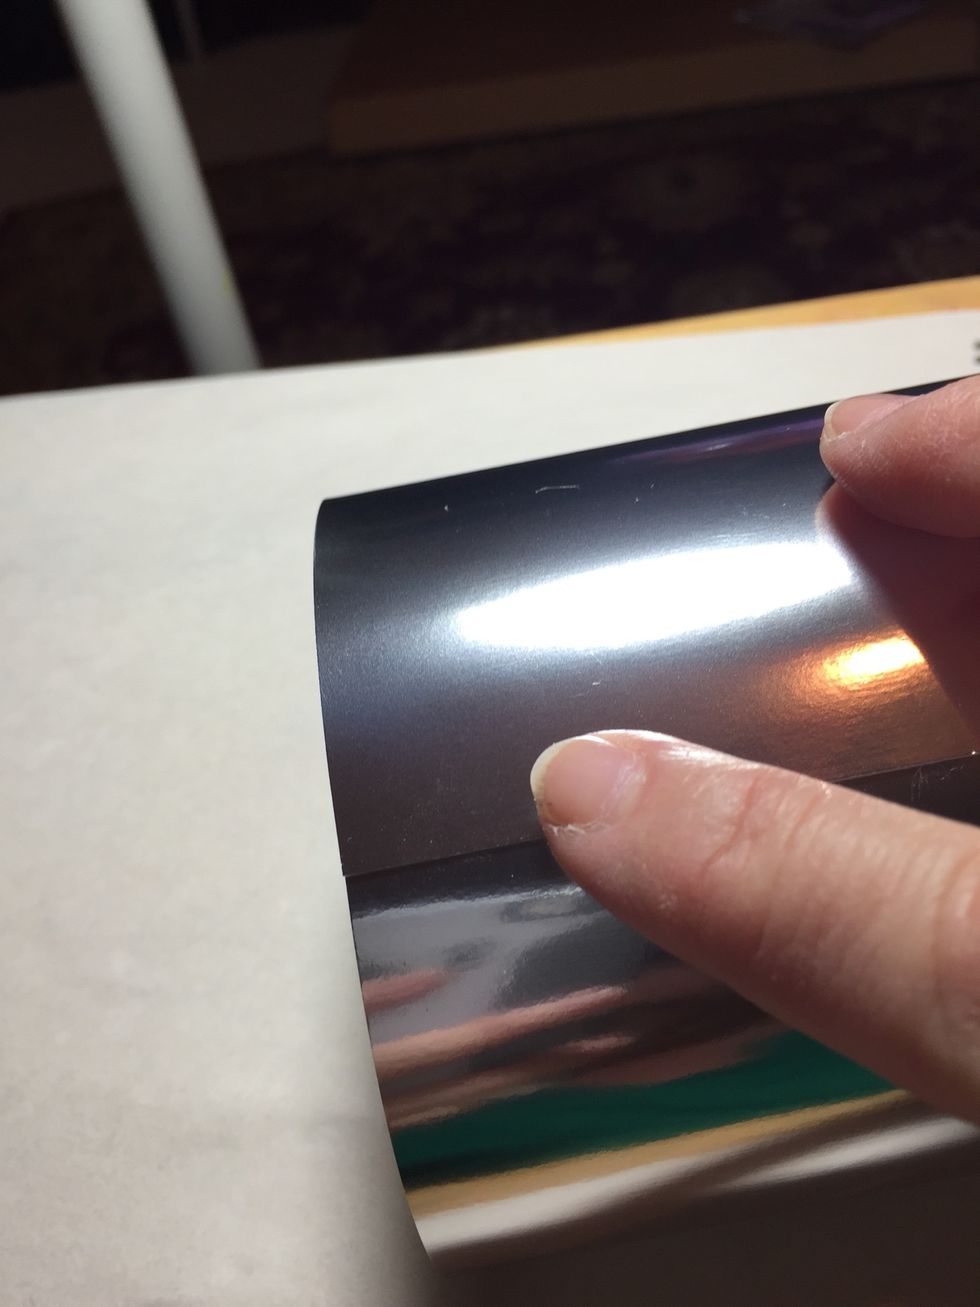
press your thumb or finger over seam to be sure it is secure.
also rub the seam from the inside of the piece.
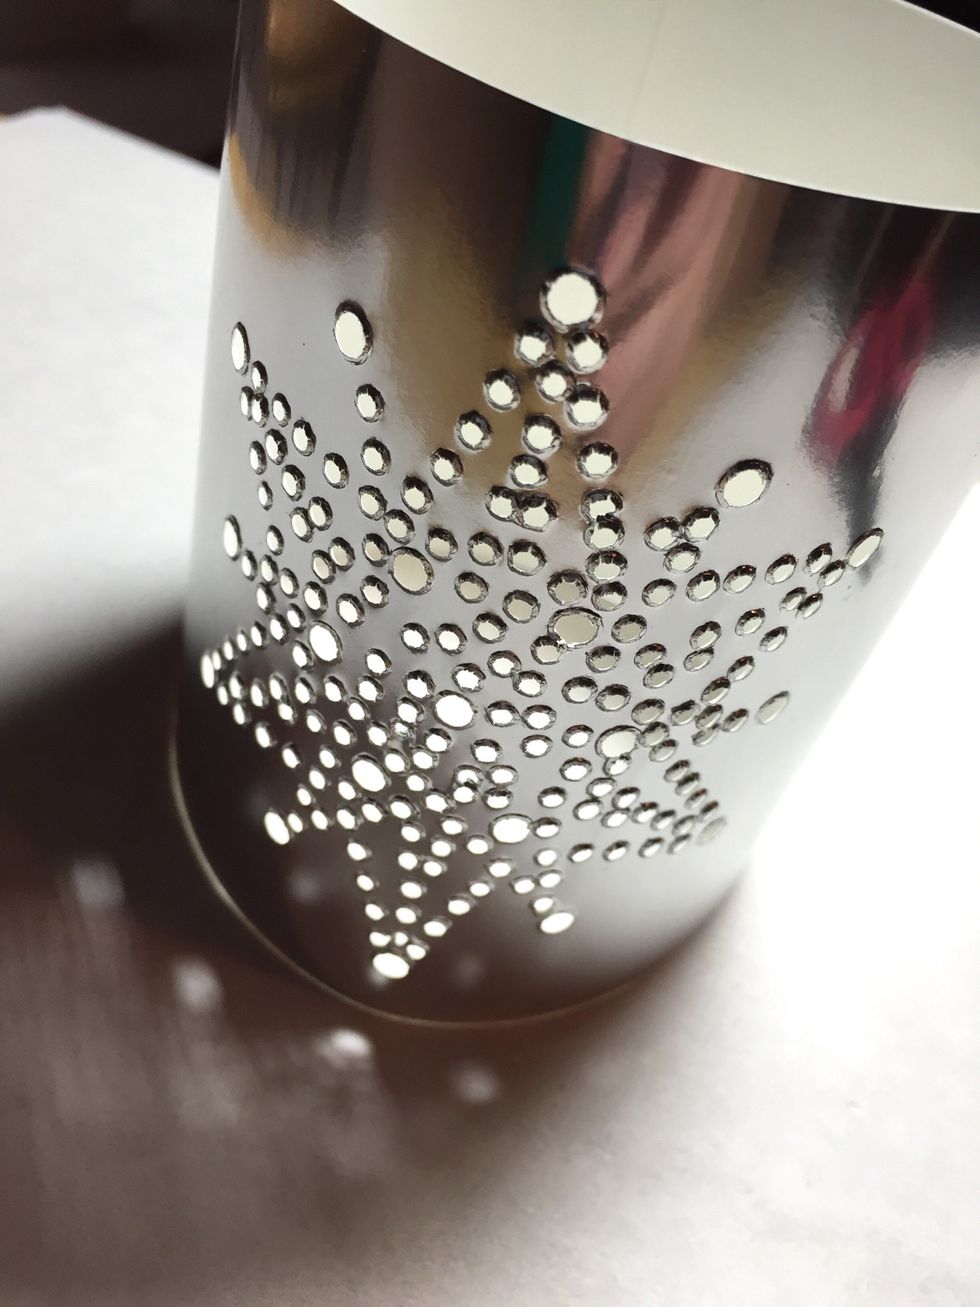
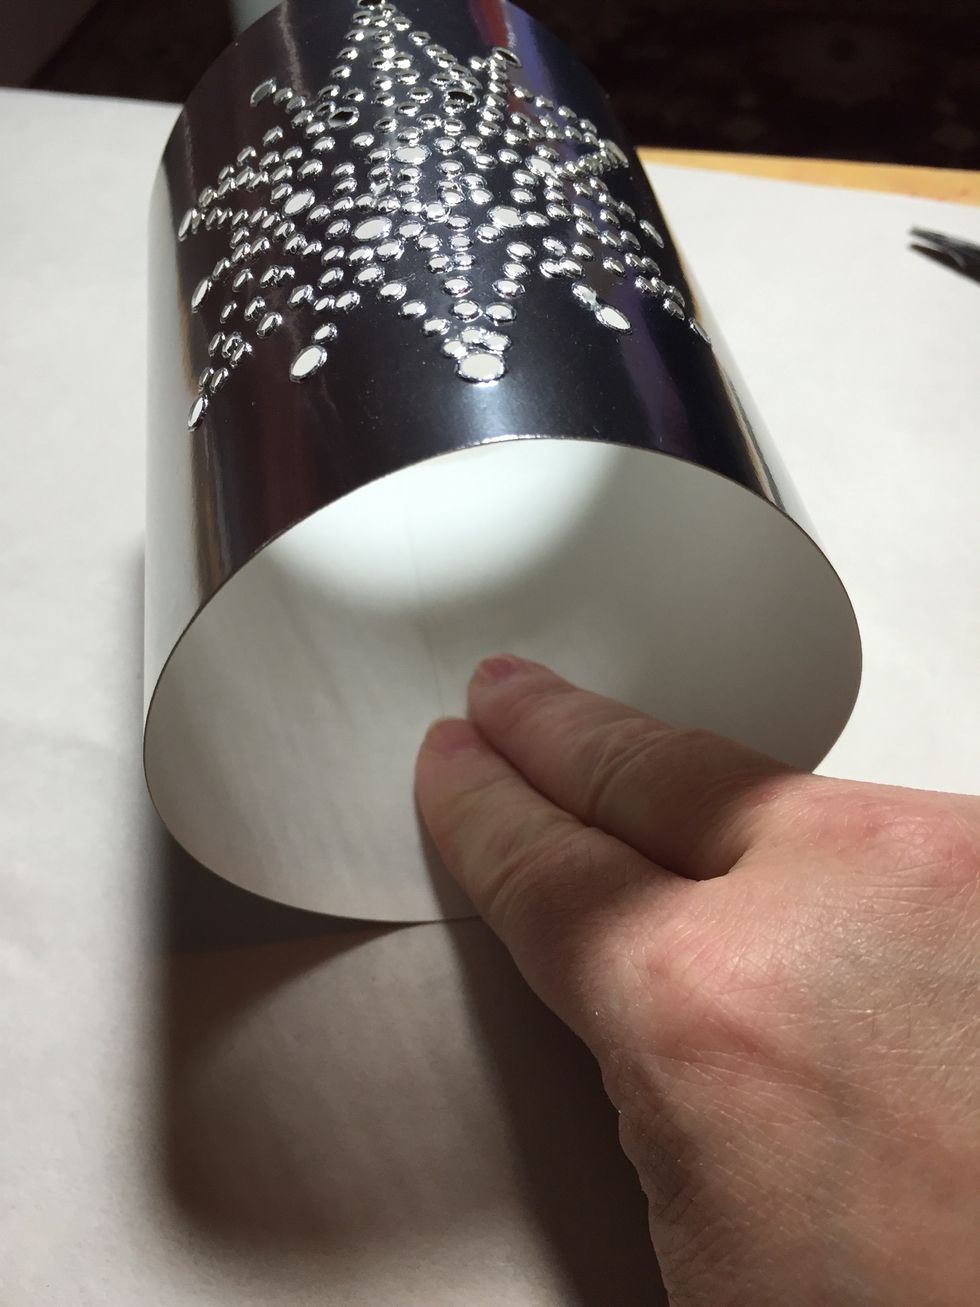
finished luminary,
repeat with gold foil and 2 more snowflakes.

if a dot gets stuck in a hole, try poking it through with a pin.

finally, repeat the process with 3 snowflakes and blue foil.
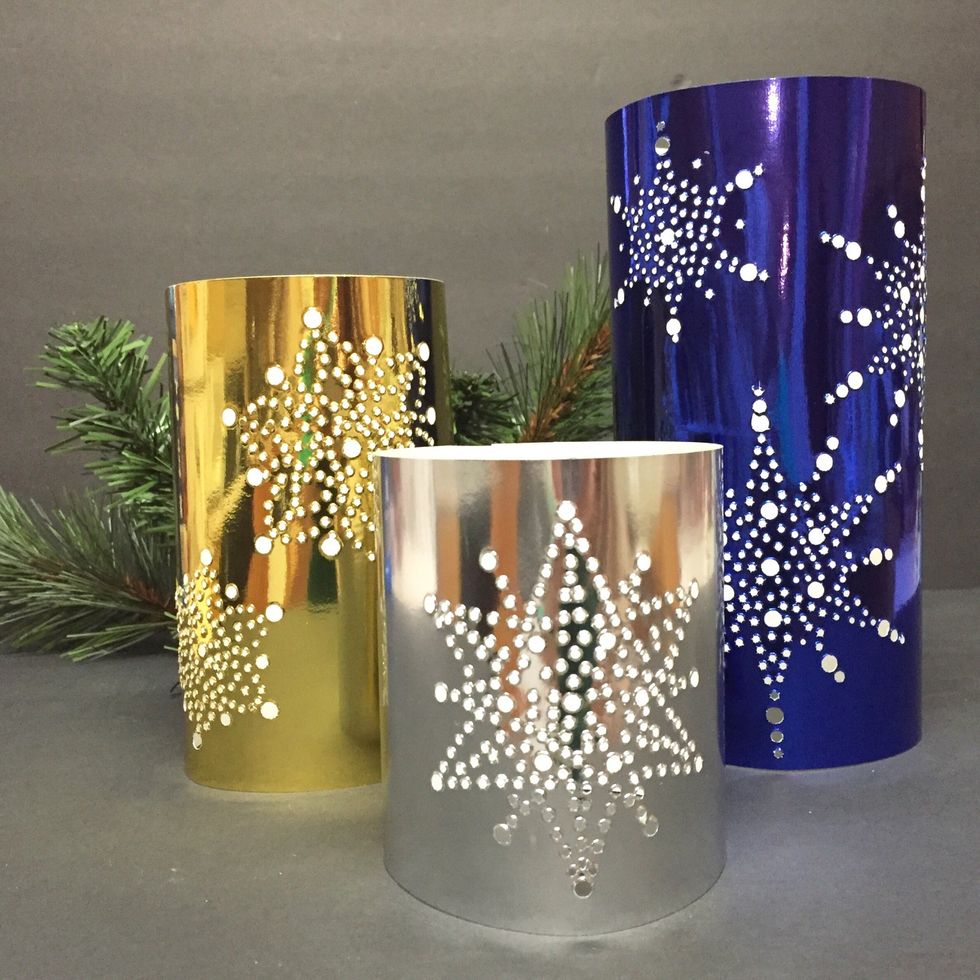
Finished luminaries.
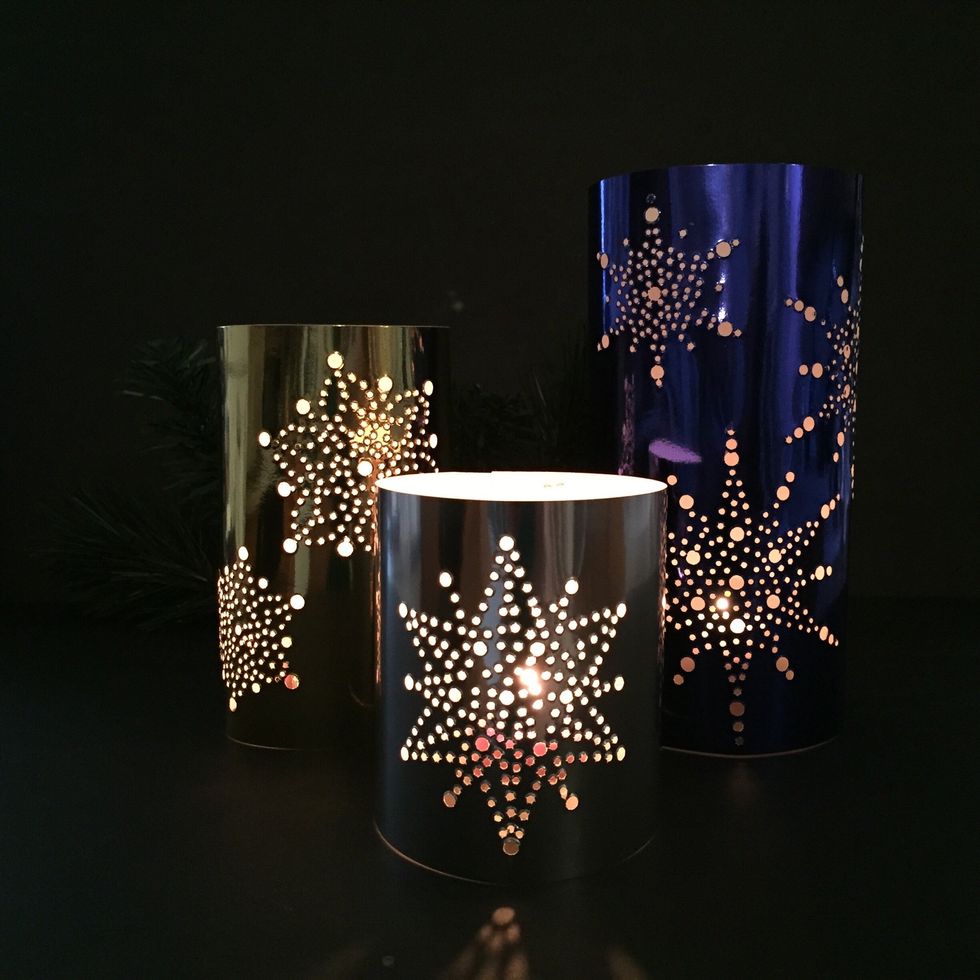
luminaries with candles in them.
i hope you enjoyed this project. you can get more great project ideas by visiting the GRAFIX website and blog www.grafixarts.com you can find me on my blog www.tamisanders.com