The Conversation (0)
Sign Up
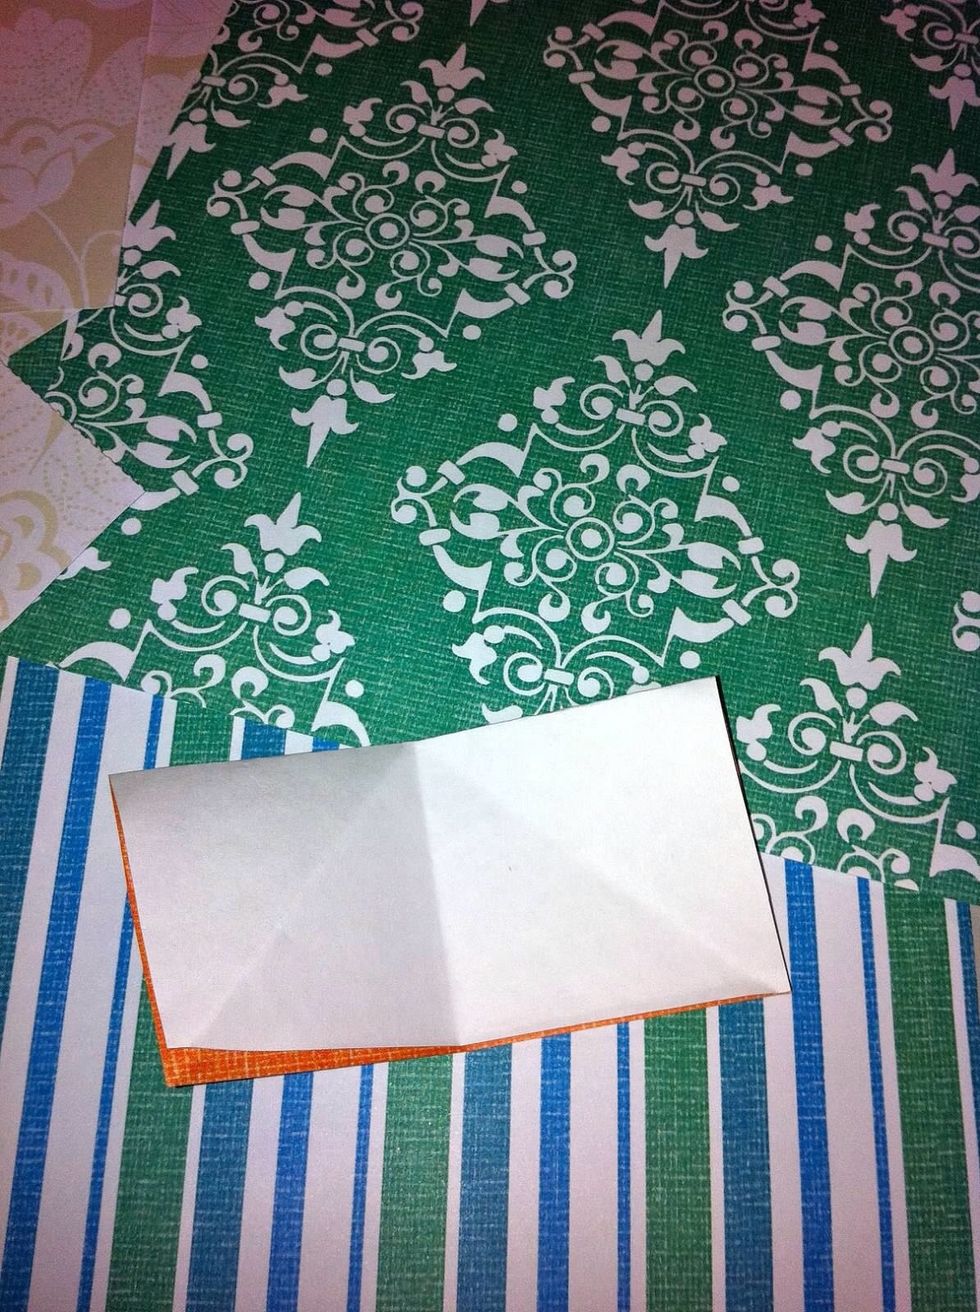
Choose 3 coordinating pieces of scrapbook paper and cut them into squares. You will need a small, a medium, and a large square.

Don't worry about making the squares perfect - we'll clean them up in the next few steps.
Fold your small square in half with the printed side in.
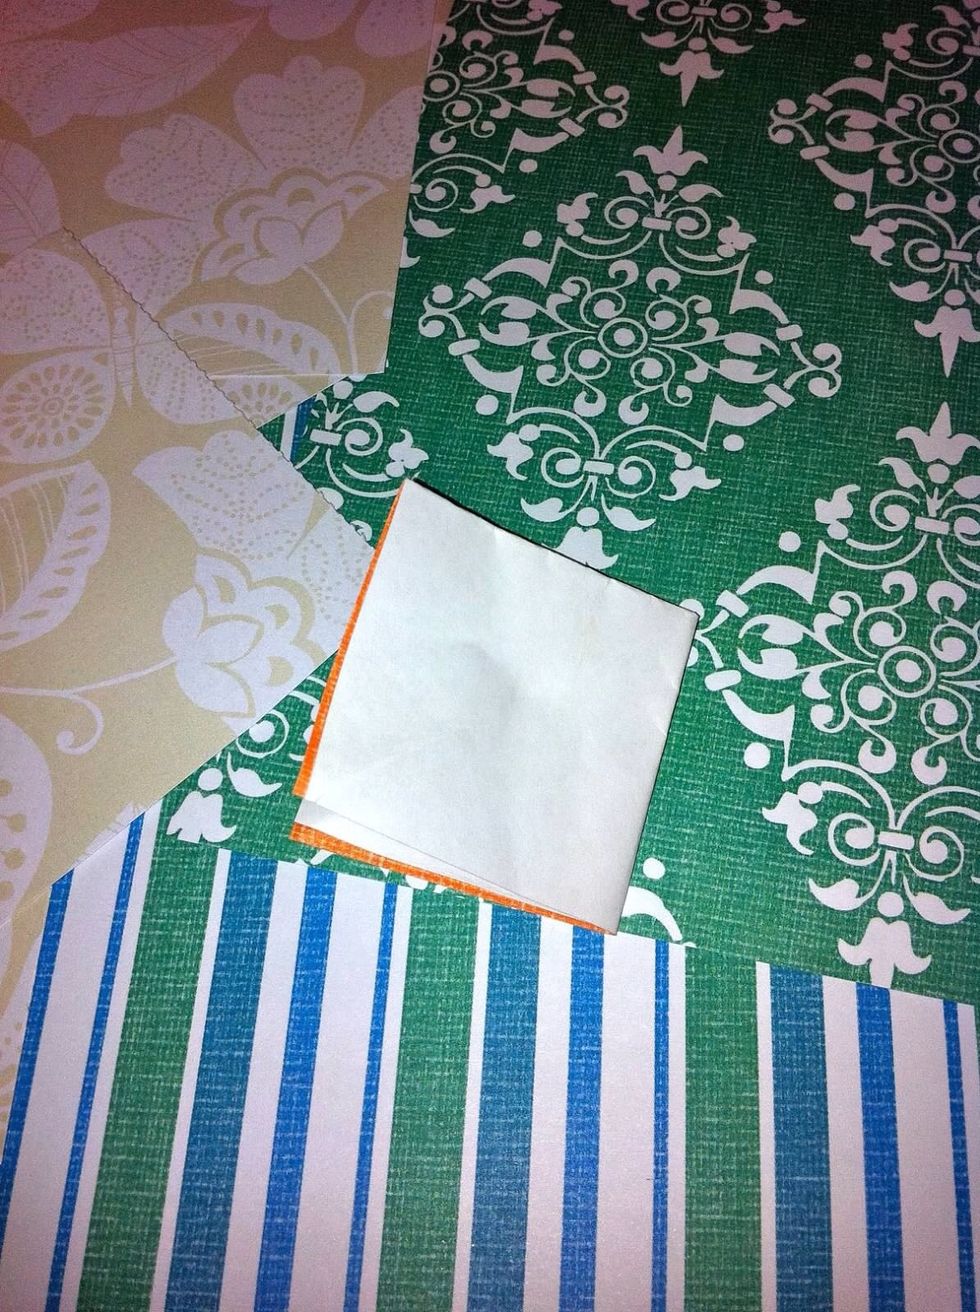
Then fold in half again lengthwise so you have another square. Don't worry about matching up the edges perfectly, just get close-ish.
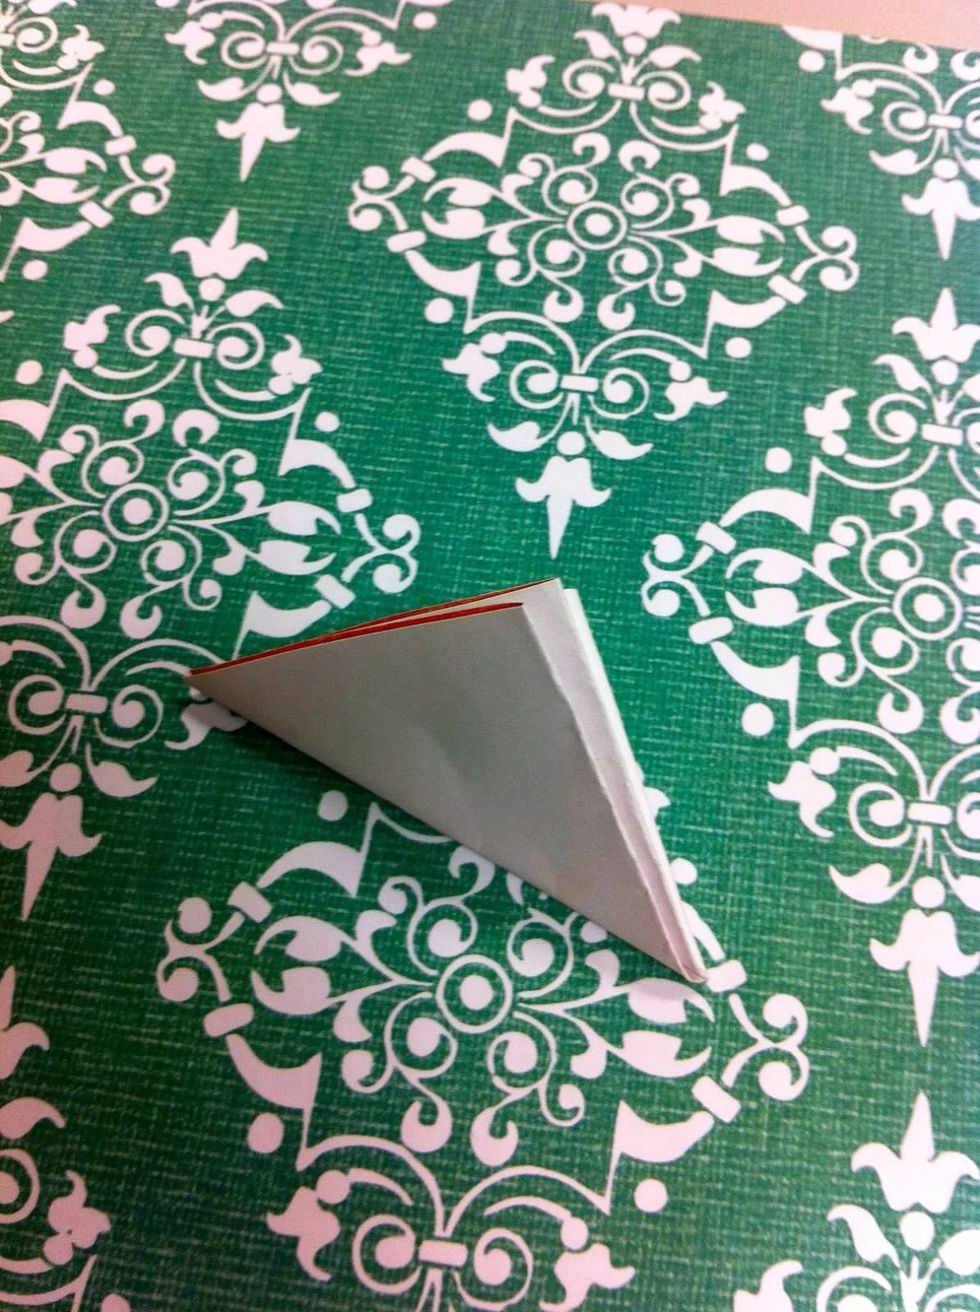
Fold the new square in half diagonally. Now you have a right triangle with two 45 degree angles. The one closest to the bottom right corner in this pic is the one you will hold while cutting.
Time to cut! Hold your triangle by the small corner made of all folds - this will be the center of the flower. Cutting in a U-shape, trim the other two corners off the triangle.
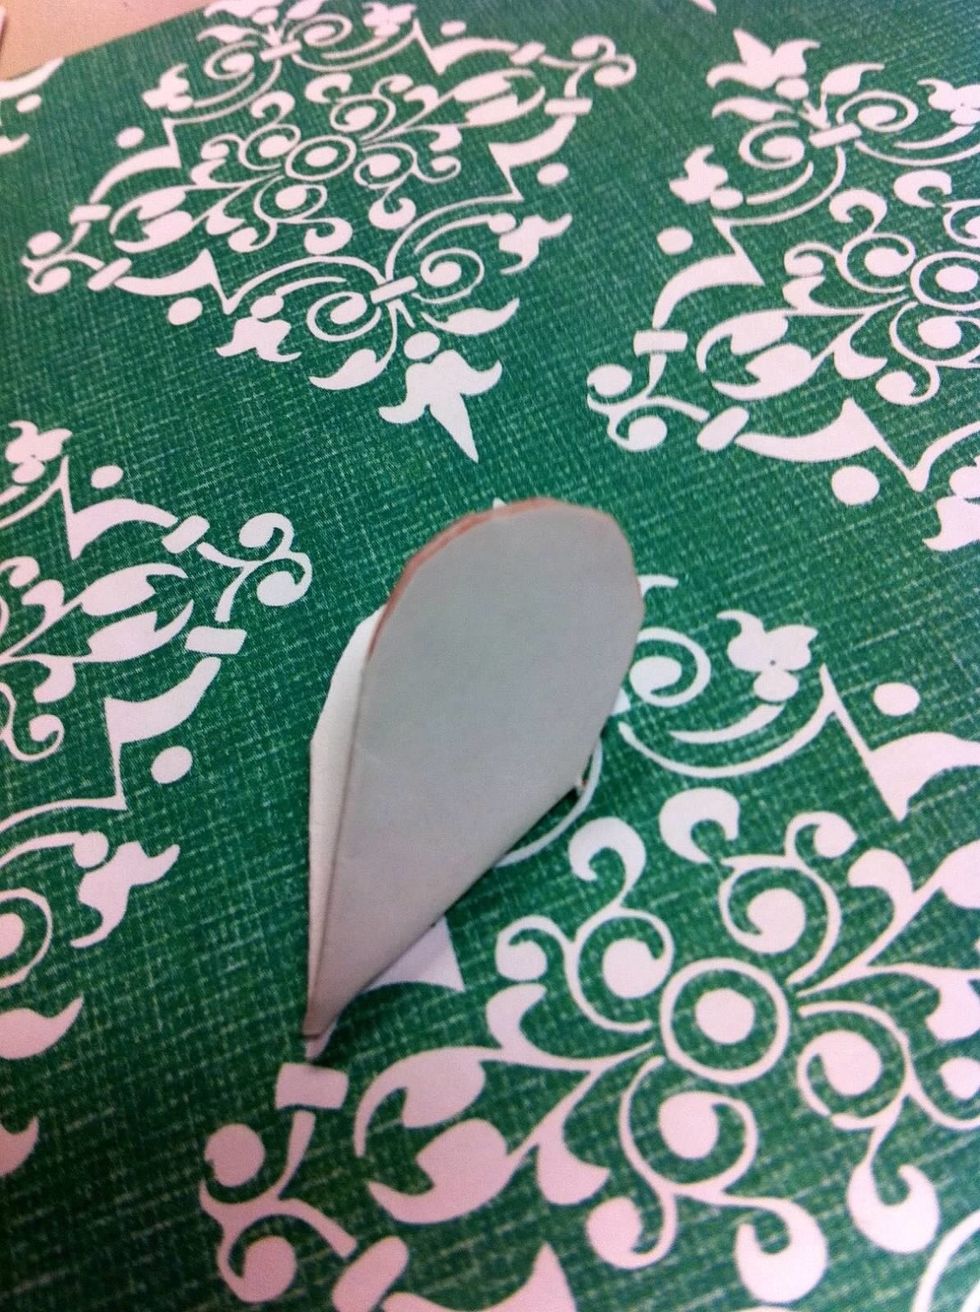
You can cut the petals into any shape you like. Here I used a U-shaped cut, which makes the triangle become tear-shaped and results in a traditional-looking petal shape on the flower.
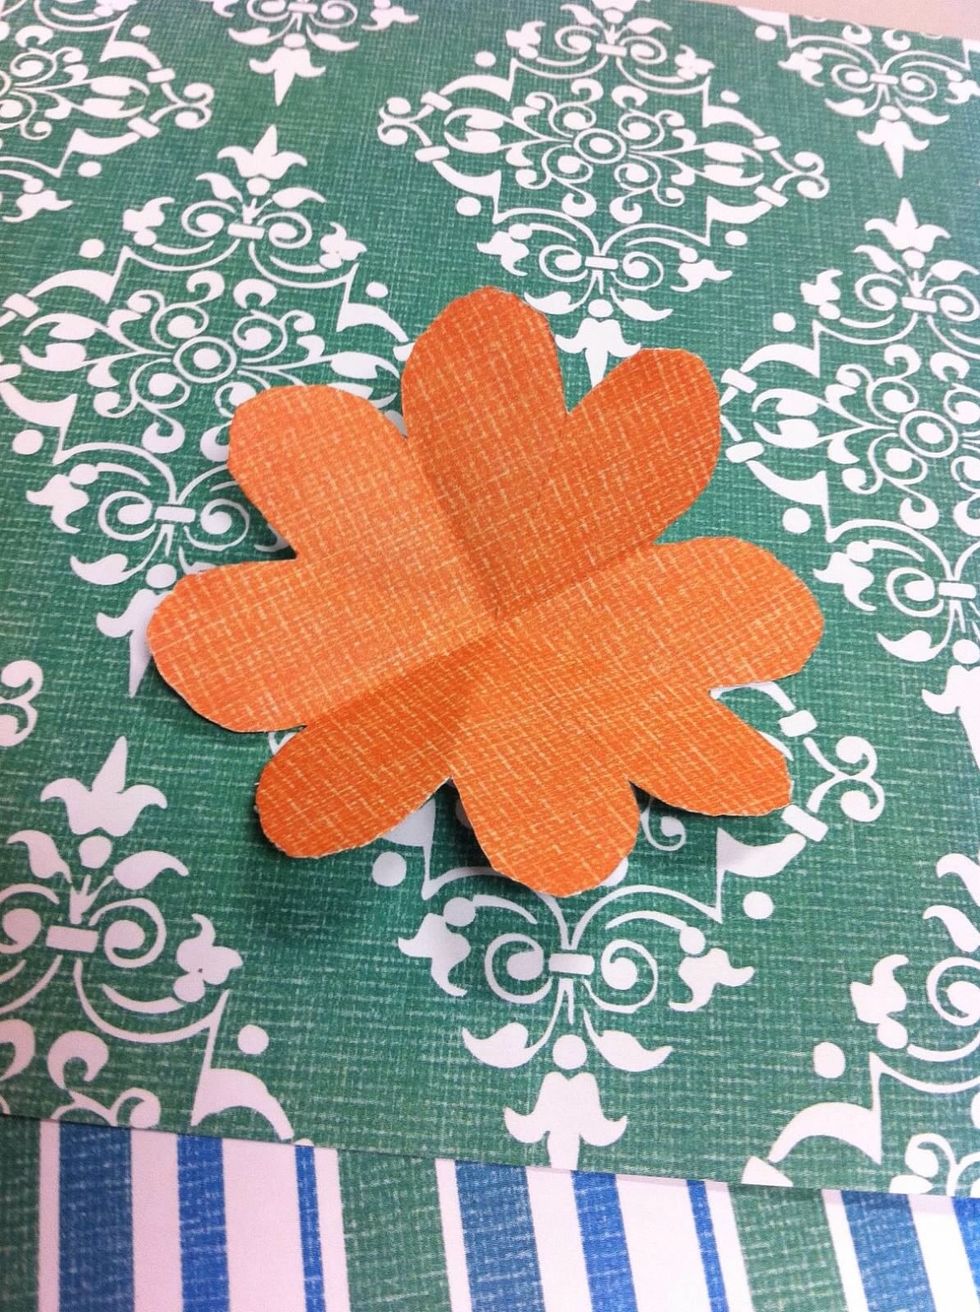
Unfold your flower and admire!
Follow the same steps for your other two squares of paper. Get creative with your cutting to see what kind of funky flower you can make.
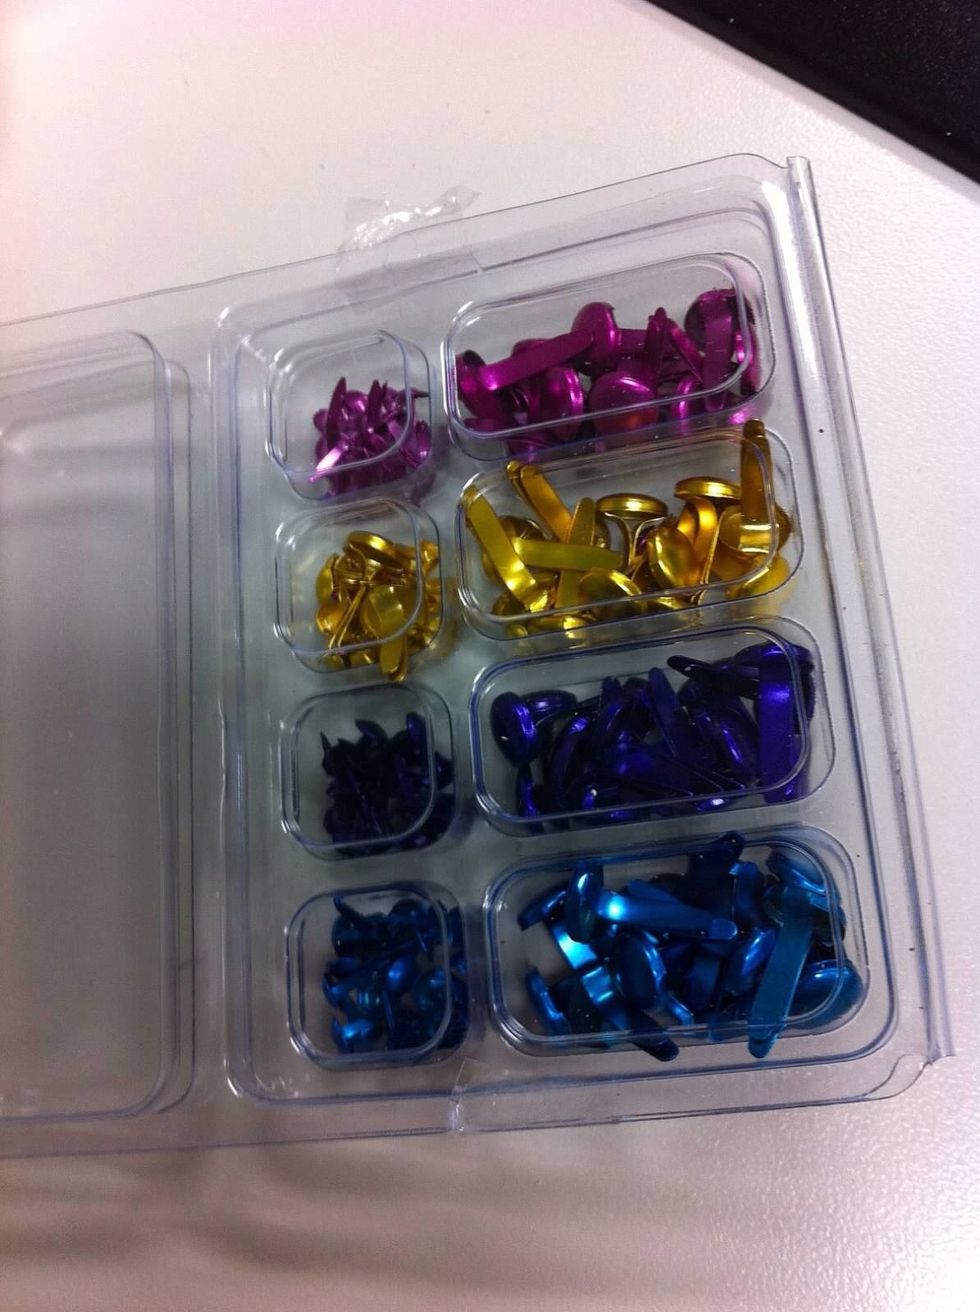
Now it's time to assemble your flower. You can used glue or these colored brads I found at Target.

Stack your flower petals large, medium, then small, and push the brad through the center (or glue them together). Voila!
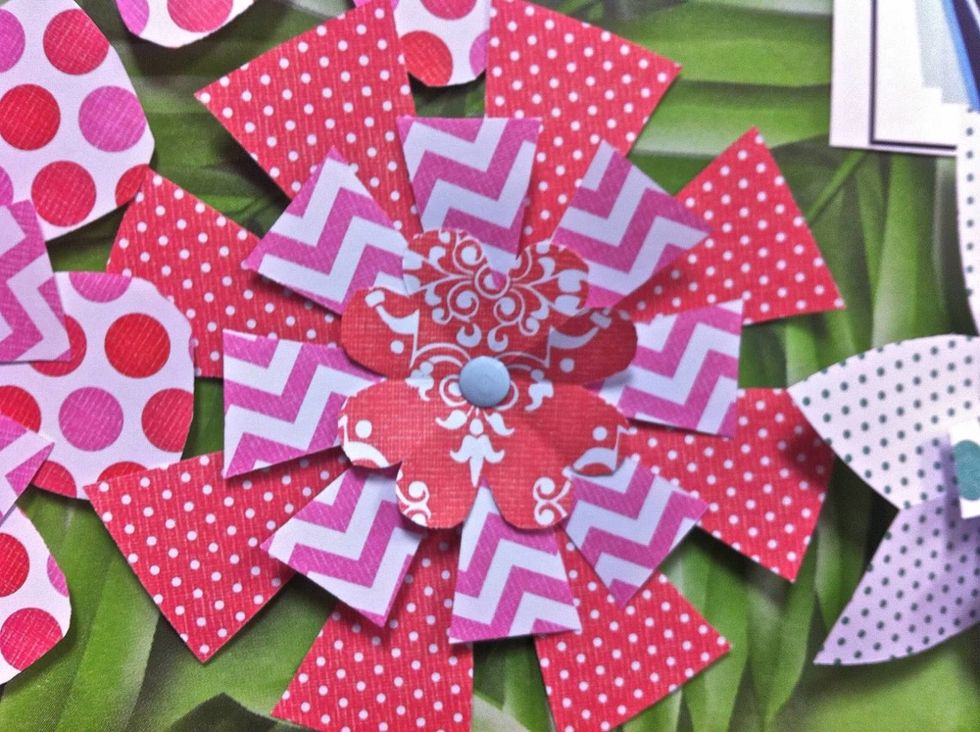
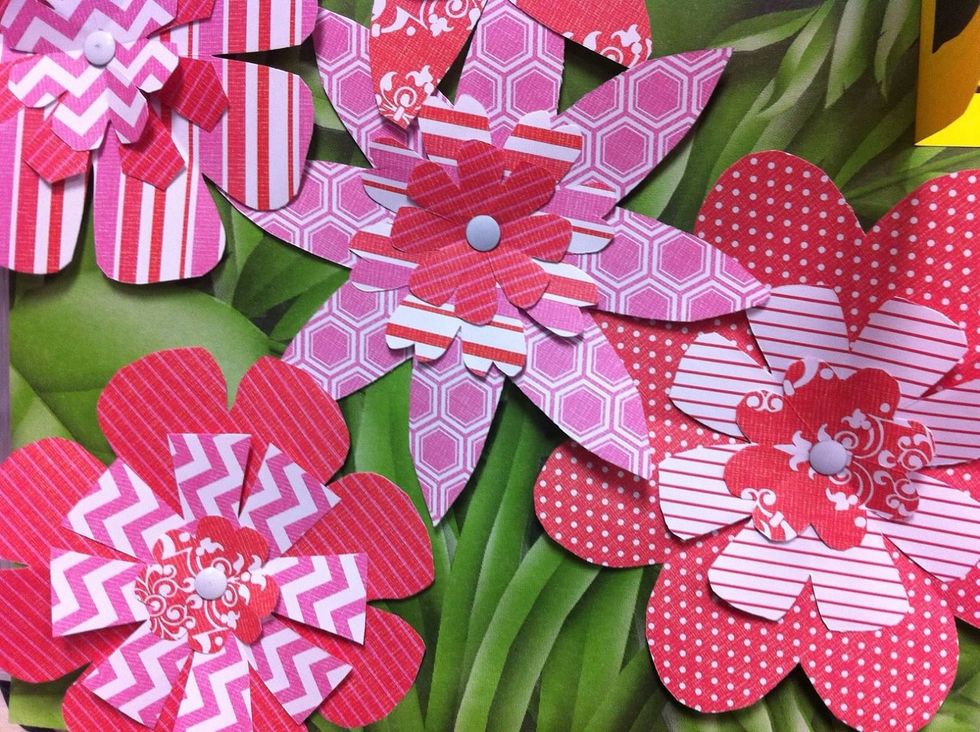
The following are some pictures of different flowers I've made to give an idea of all the possibilities.
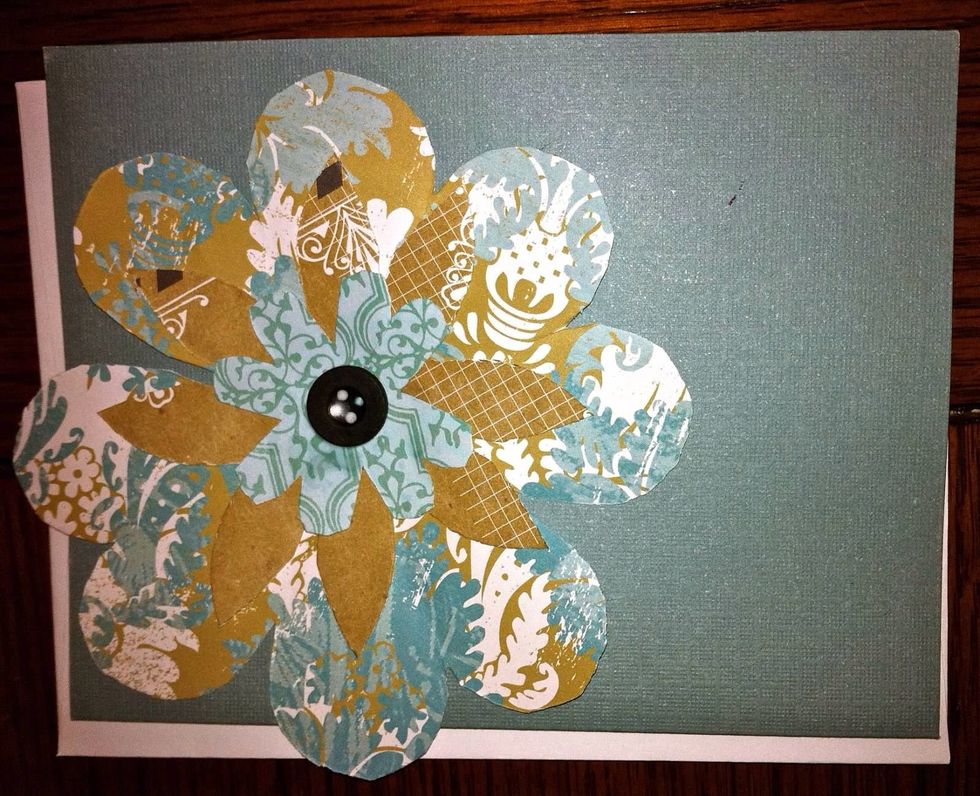
Here is another one I used to make a birthday card, with a button for the center.
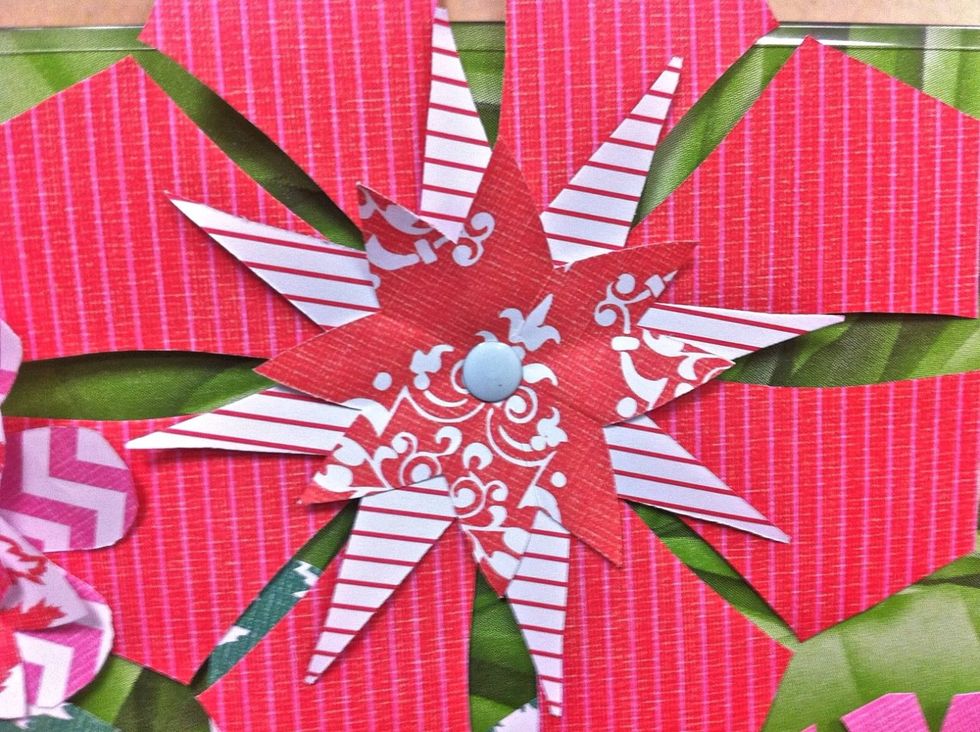
For this one I cut skinny V-shapes for petals.

For the blue sheet I used rounded V-shaped petals. For the polkadots, I squared the edge of the petal and cut some "fringe".
The two outer layers were cut using a squared edge.
Bulletin board.

Be Like the Flower, Turn Your Face to the Sun.