The Conversation (0)
Sign Up
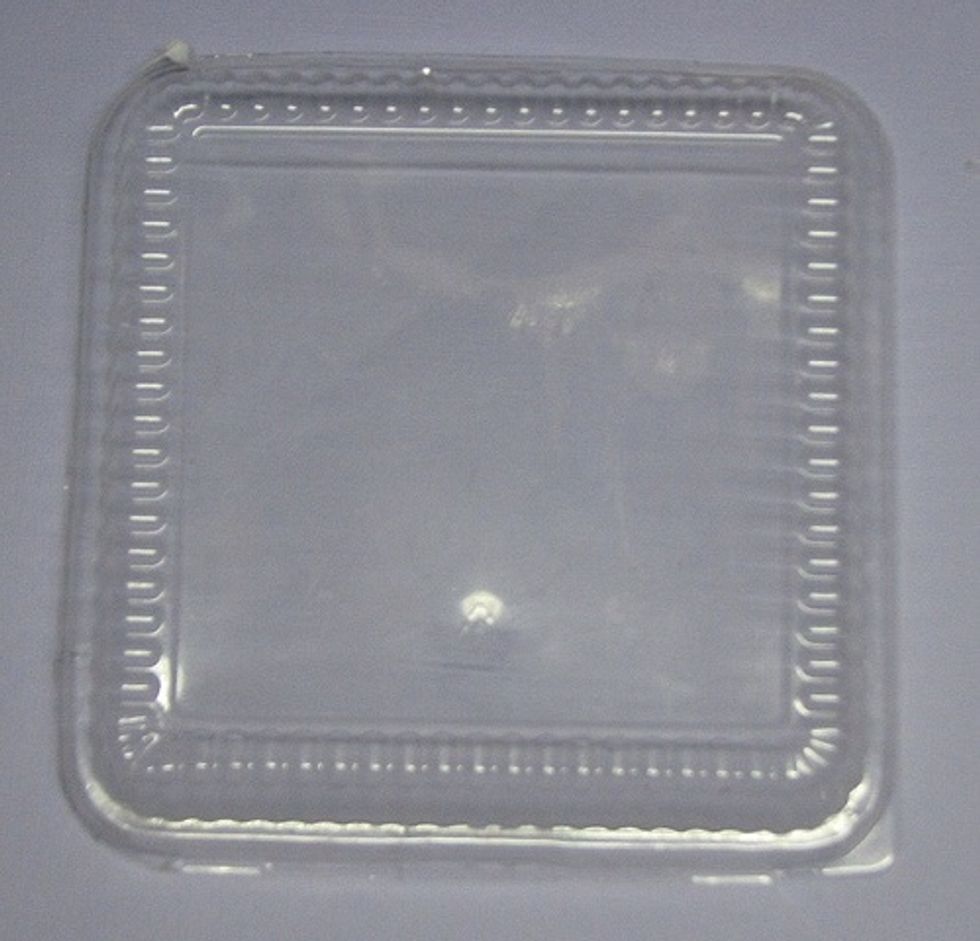
Check your recycling bin for some plastic containers. This one was from some doughnuts I bought at the supermarket.
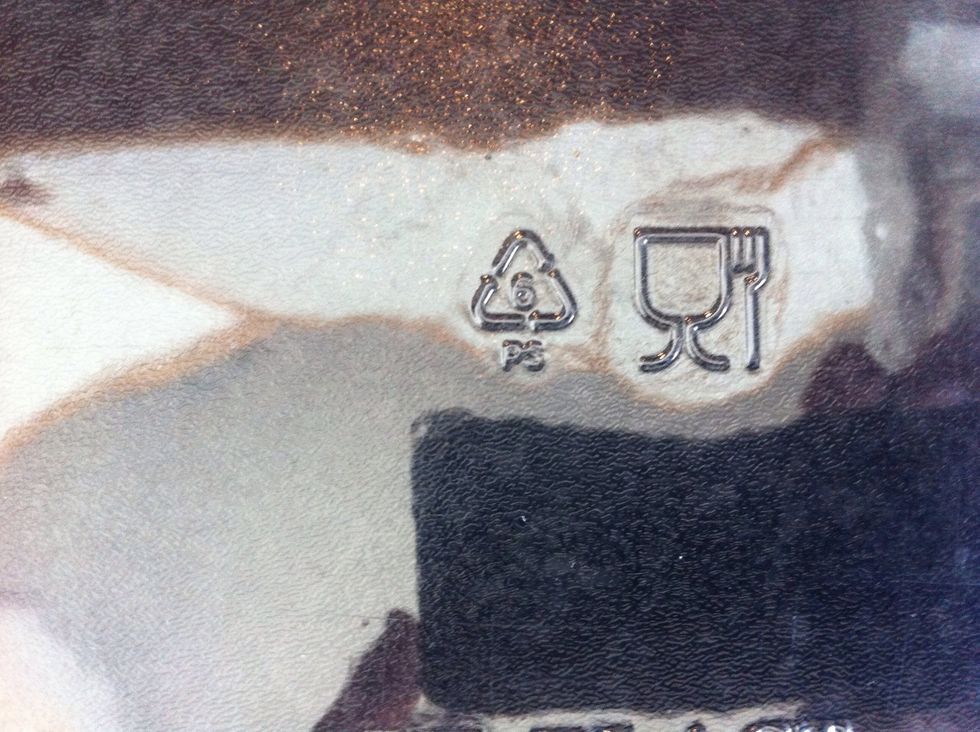
You can identify the type of plastic by looking for the symbol in the picture, arrows forming a triangle with the number 6 inside.
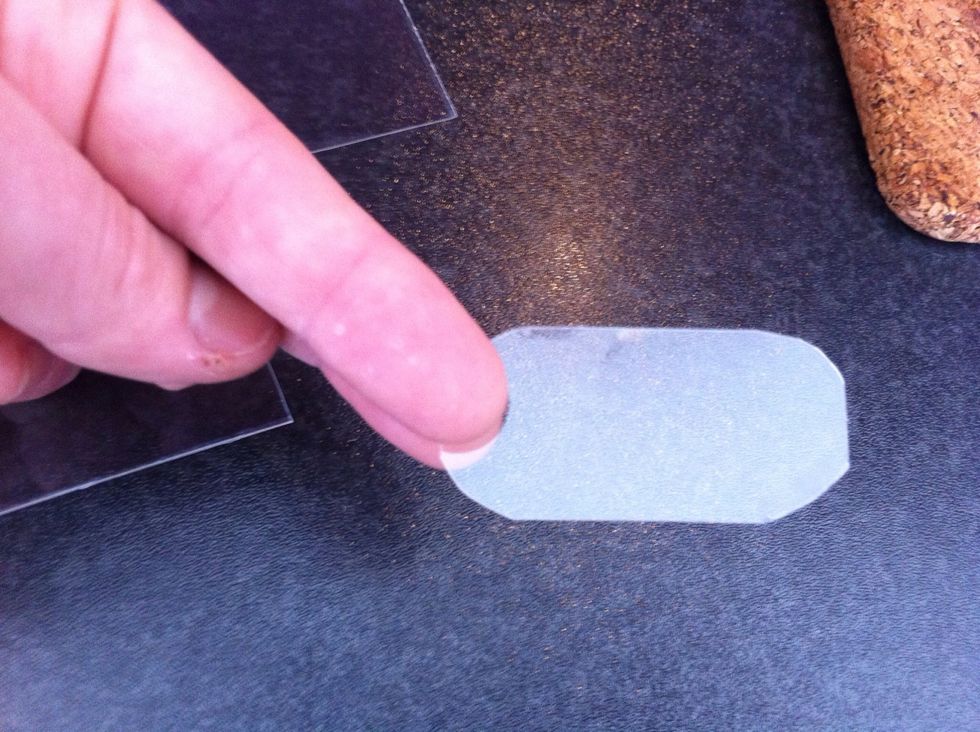
Start cutting your container into the shapes you want. Remember the plastic is going to shrink to roughly a third of the original size.

I used a hole puncher to makes my holes since I'm making a bracelet.
If you don't have a hole puncher don't worry, you can use what ever you have at hand, just remember to make the hole big enough, when the plastic shrinks it will become much smaller. 😉
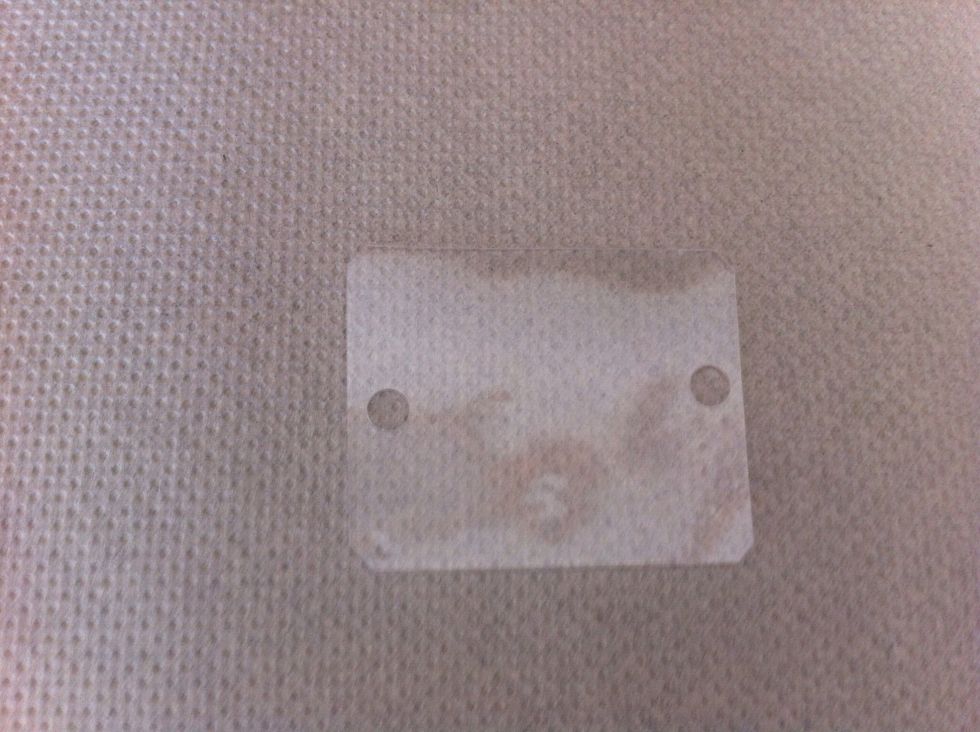
I punched both sides so I can link them later.

If you cut yours in geometric forms remember to cut the corners off, mostly I do this so I don't get scratches on my wrists 😃
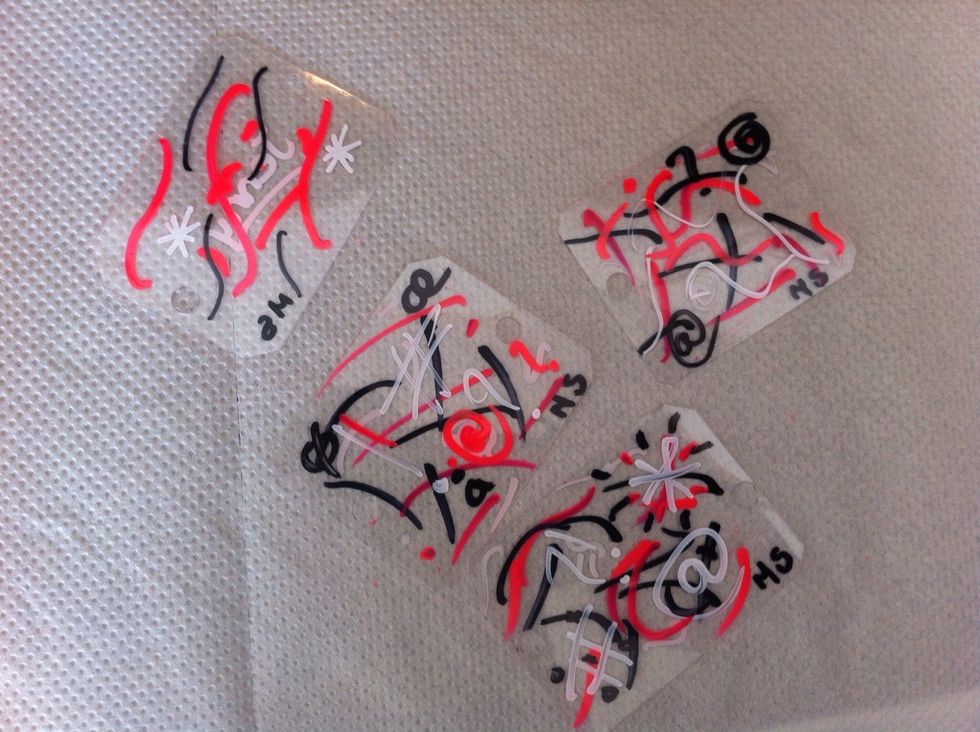
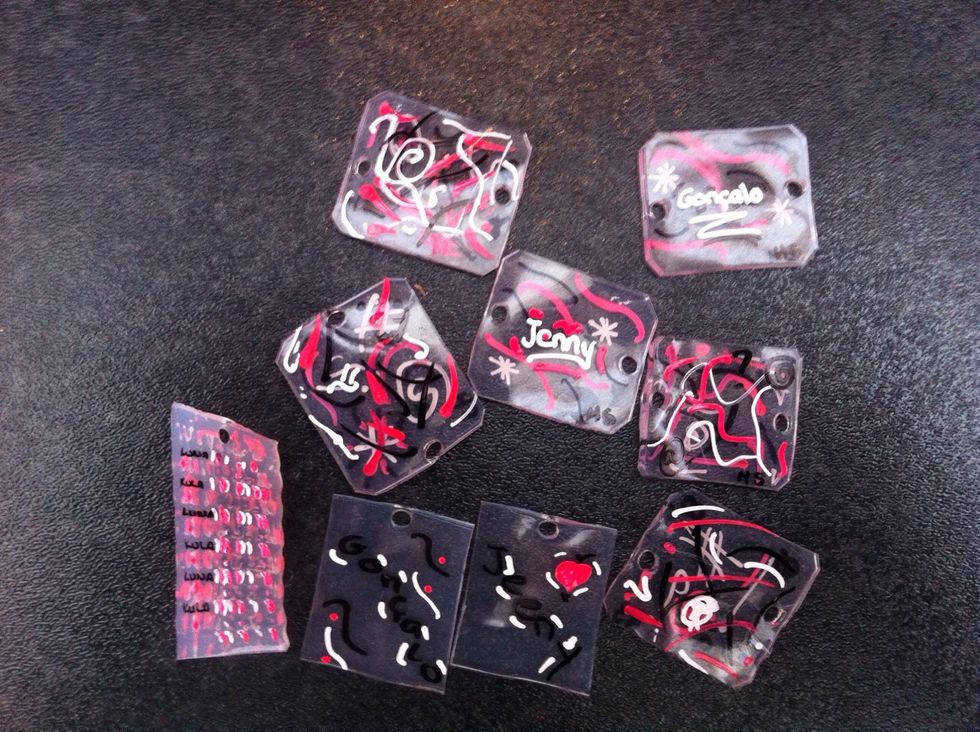
Decoration time! Have fun with, it I used 3 permanent markers, and since I'm not the most "artsy" person in the world I went for abstract😁
You can decorate both sides of the plastic, it's up to you. I did a few with some abstract others with my nice and nephew's names.
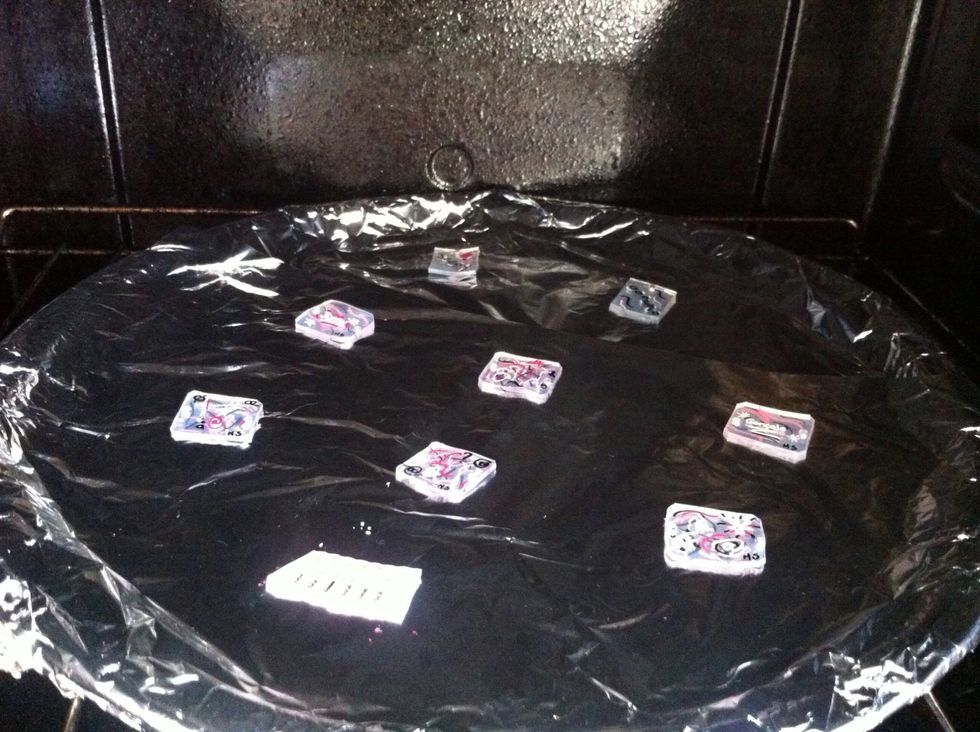
Now cover your baking tray with the aluminium foil (shinny side up) and pre-heat your oven to 350° Fahrenheit or 150° Centigrade.
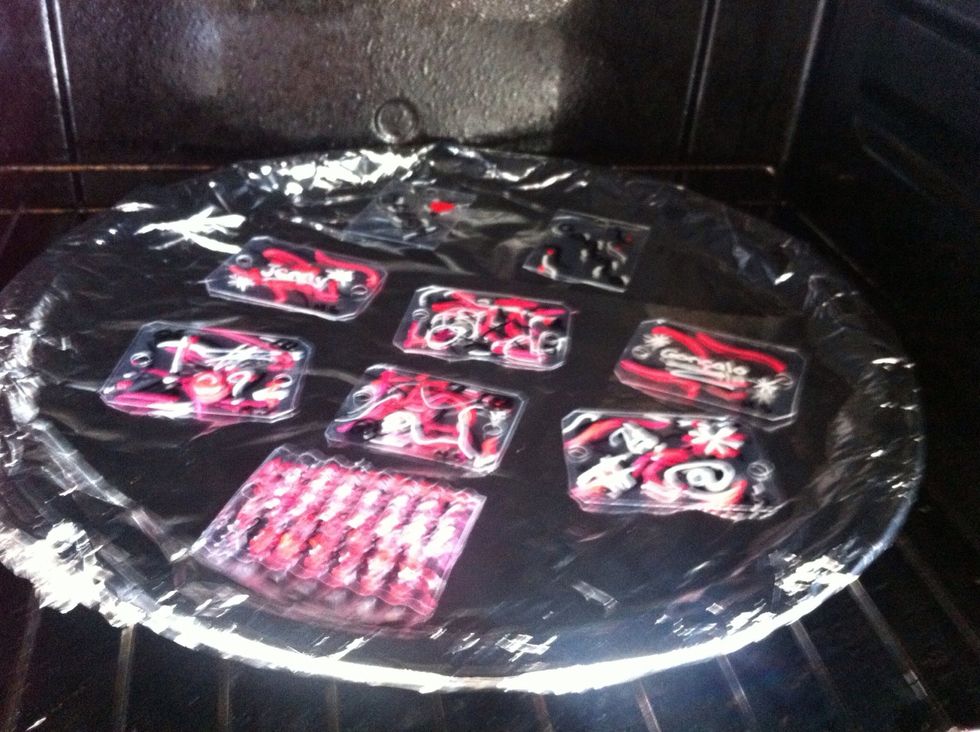
Place your creations on your tray and get ready for the fun part. 😄
By now you oven should be pre-heated so go a head and place your tray inside and close the door. This will take only a few minutes ⏰
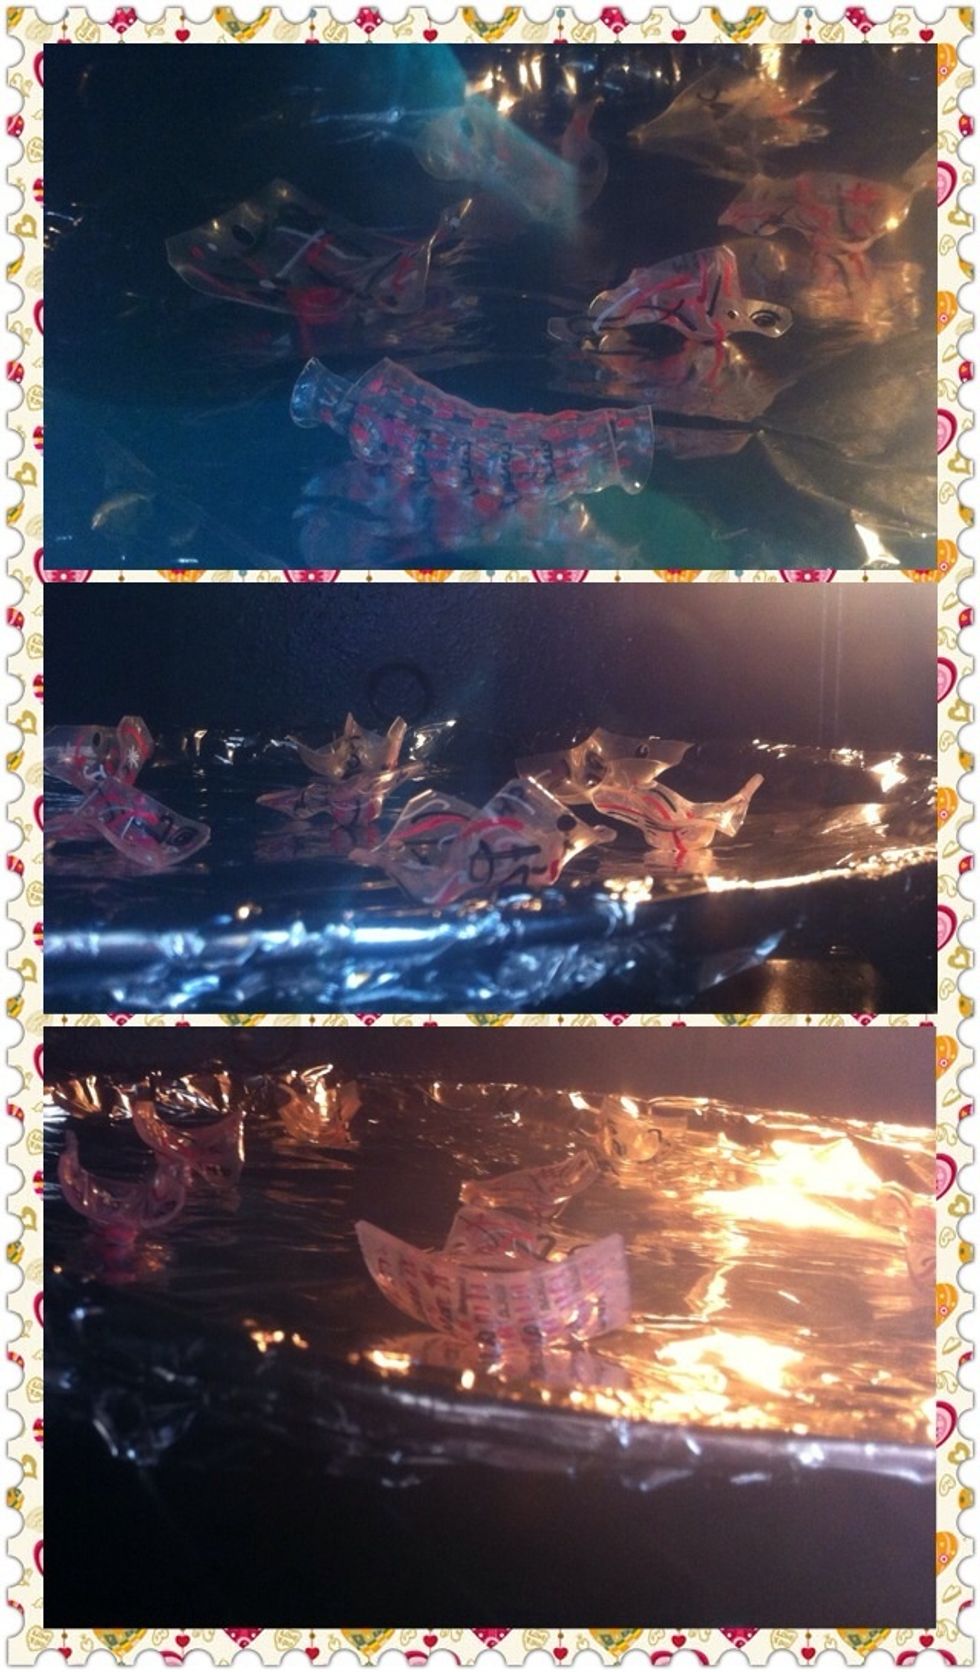
Watch them twist, curl and crumple up, then....➡
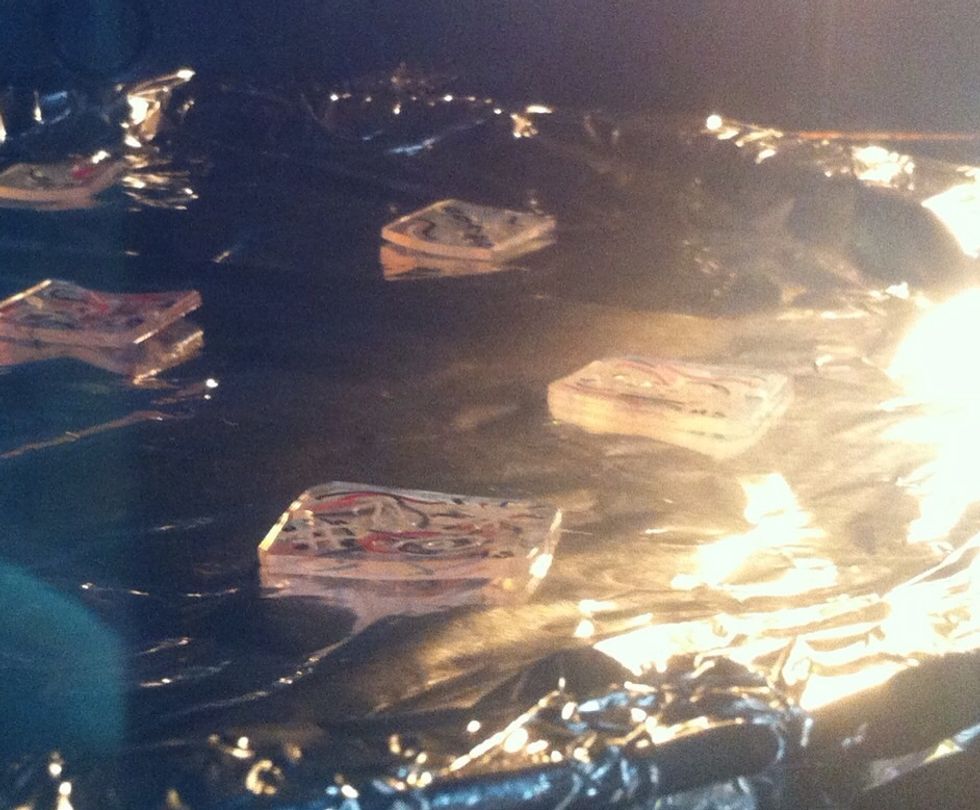
Then watch them flatten back down!
After they have flattened back down completely take them out of the oven. And your done....sorts of :)
When u take them out they are very hot so don't burn your self. If you find that some have not flattened out all the way, while they are hot place them on a flat surface and apply pressure.
Et voilà!
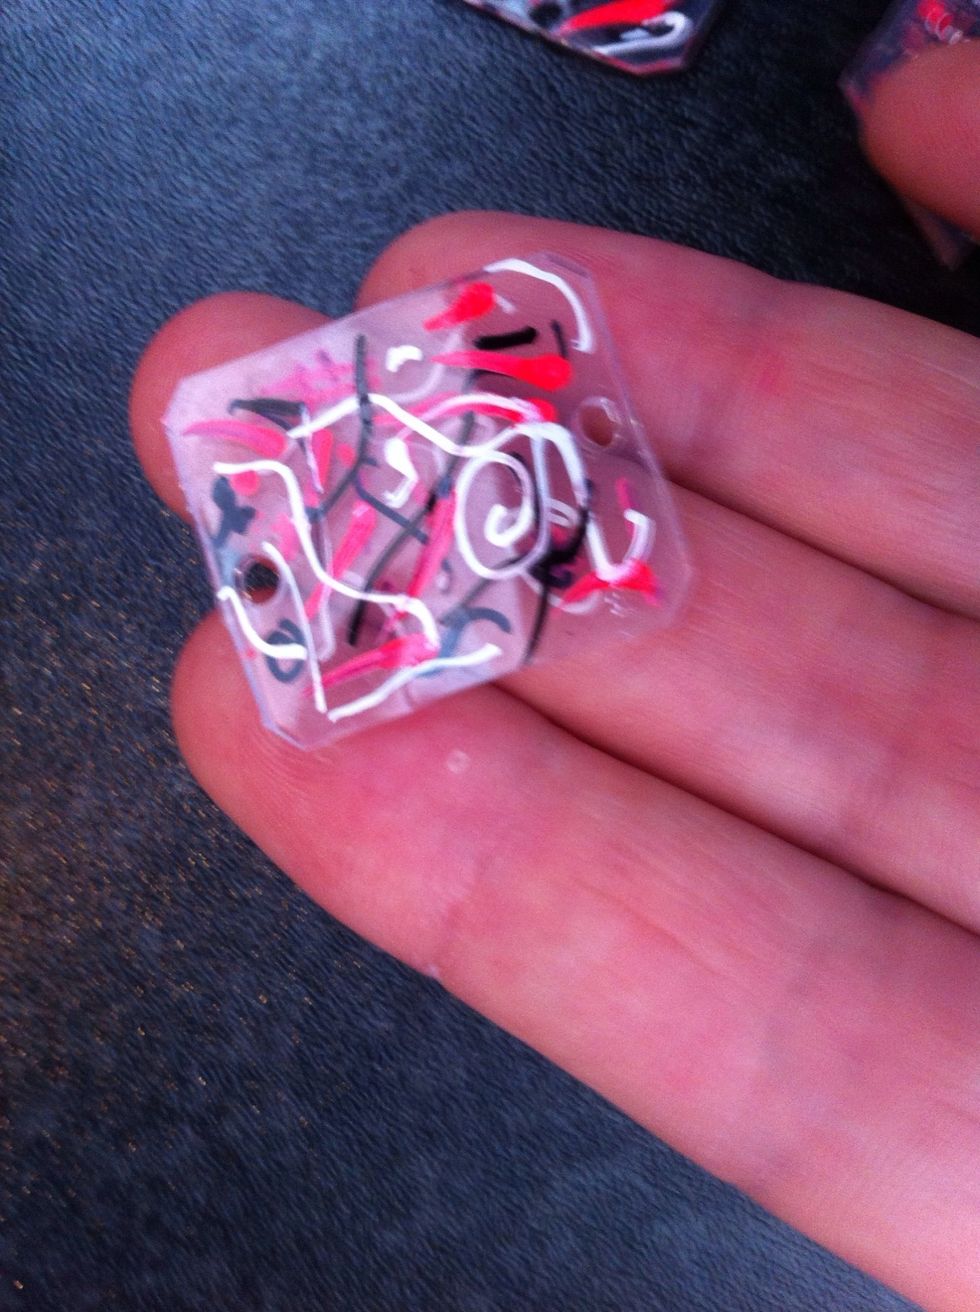
They shrunk a lot 😊
Just one more thing, safety comes first so make sure you have good ventilation. Open a window and if you have an extractor fan put it on. Better safe then sorry 😃 Have fun!