The Conversation (0)
Sign Up
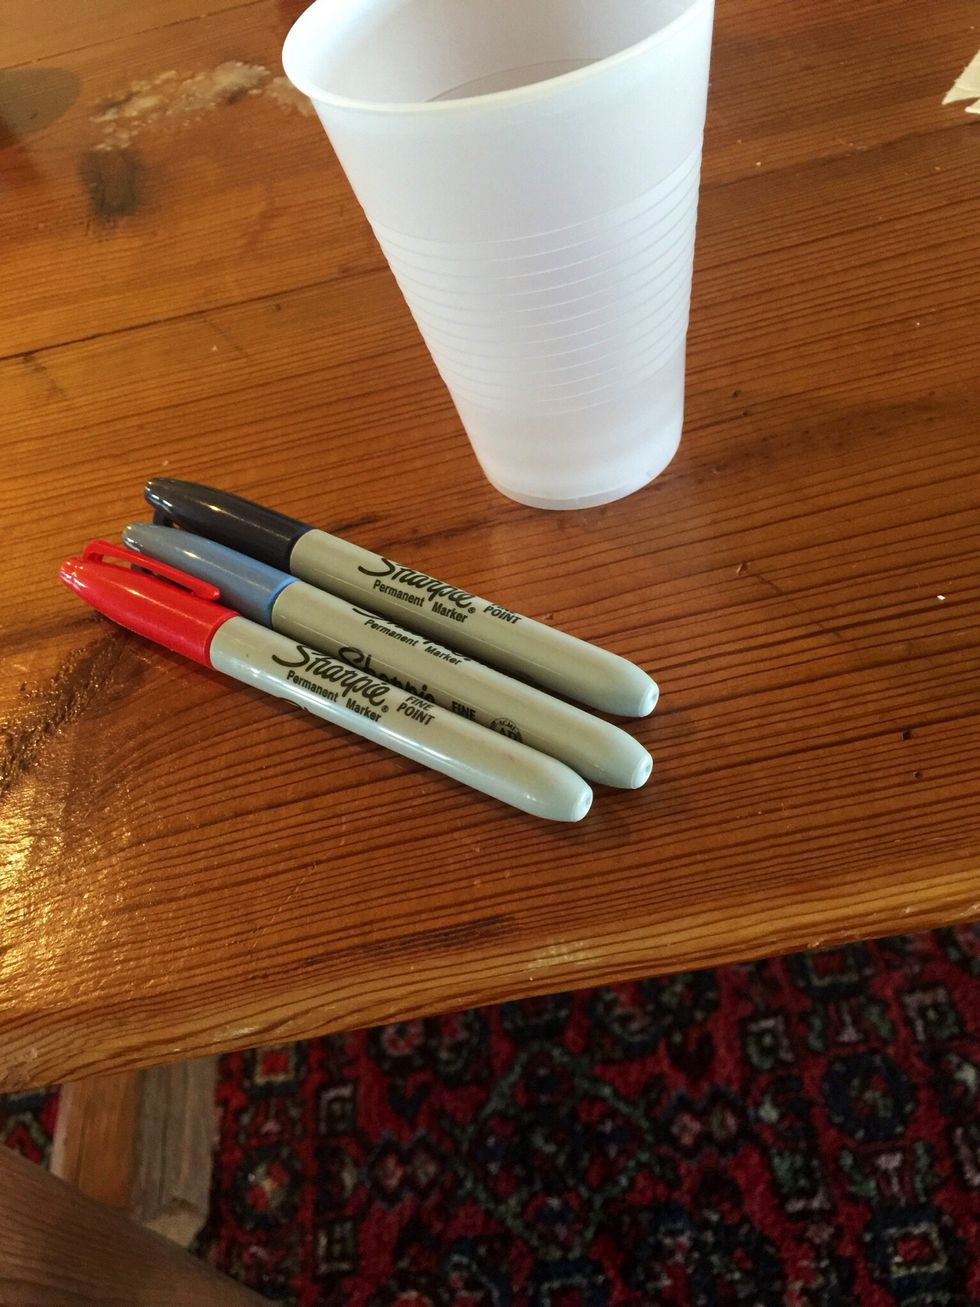
Choose your color scheme or random colors.
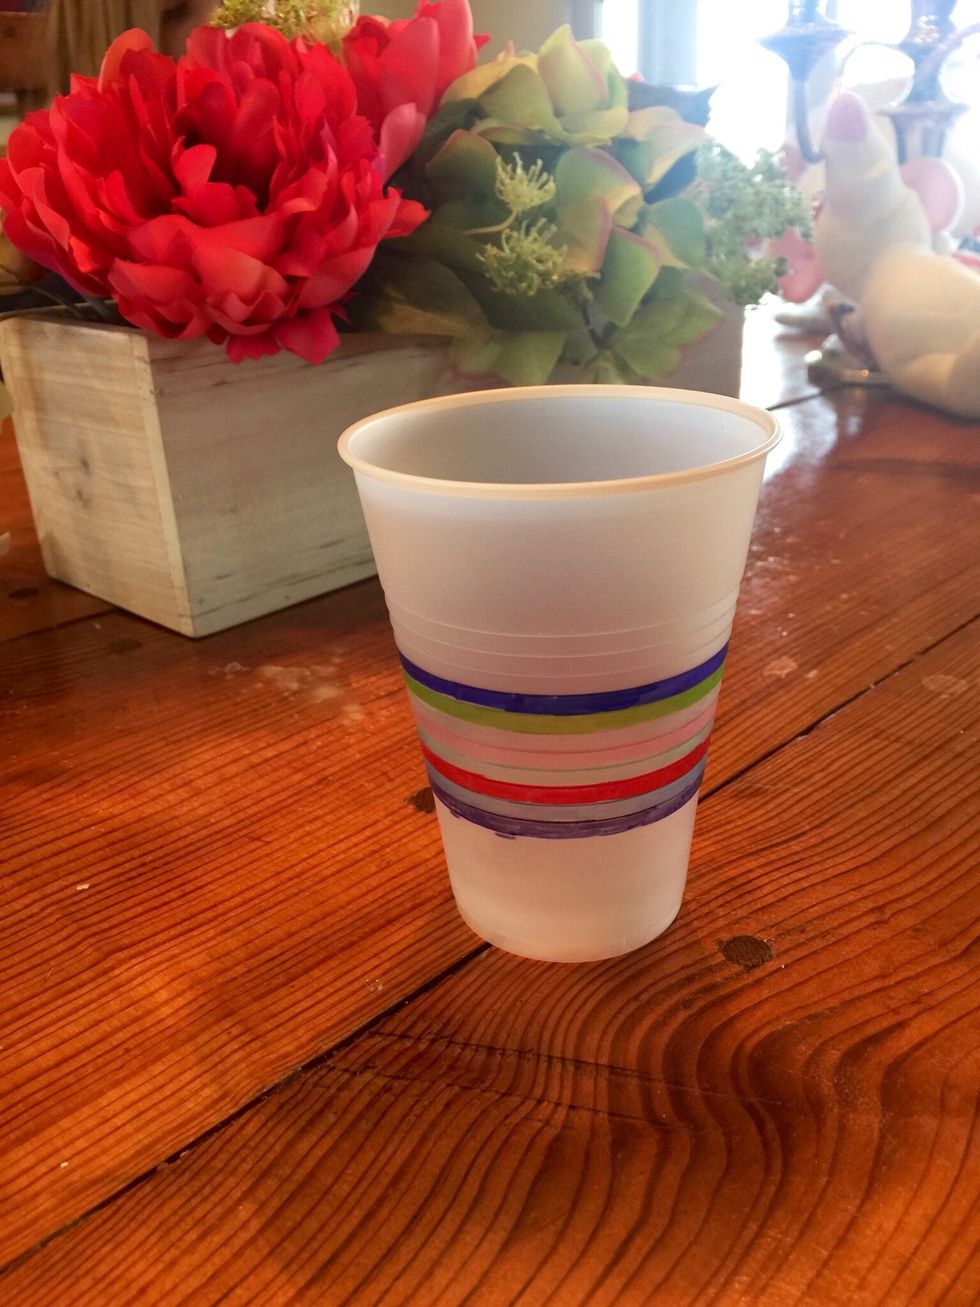
Begin to color. Designs won't work as well, so I recommend coloring in the lines.
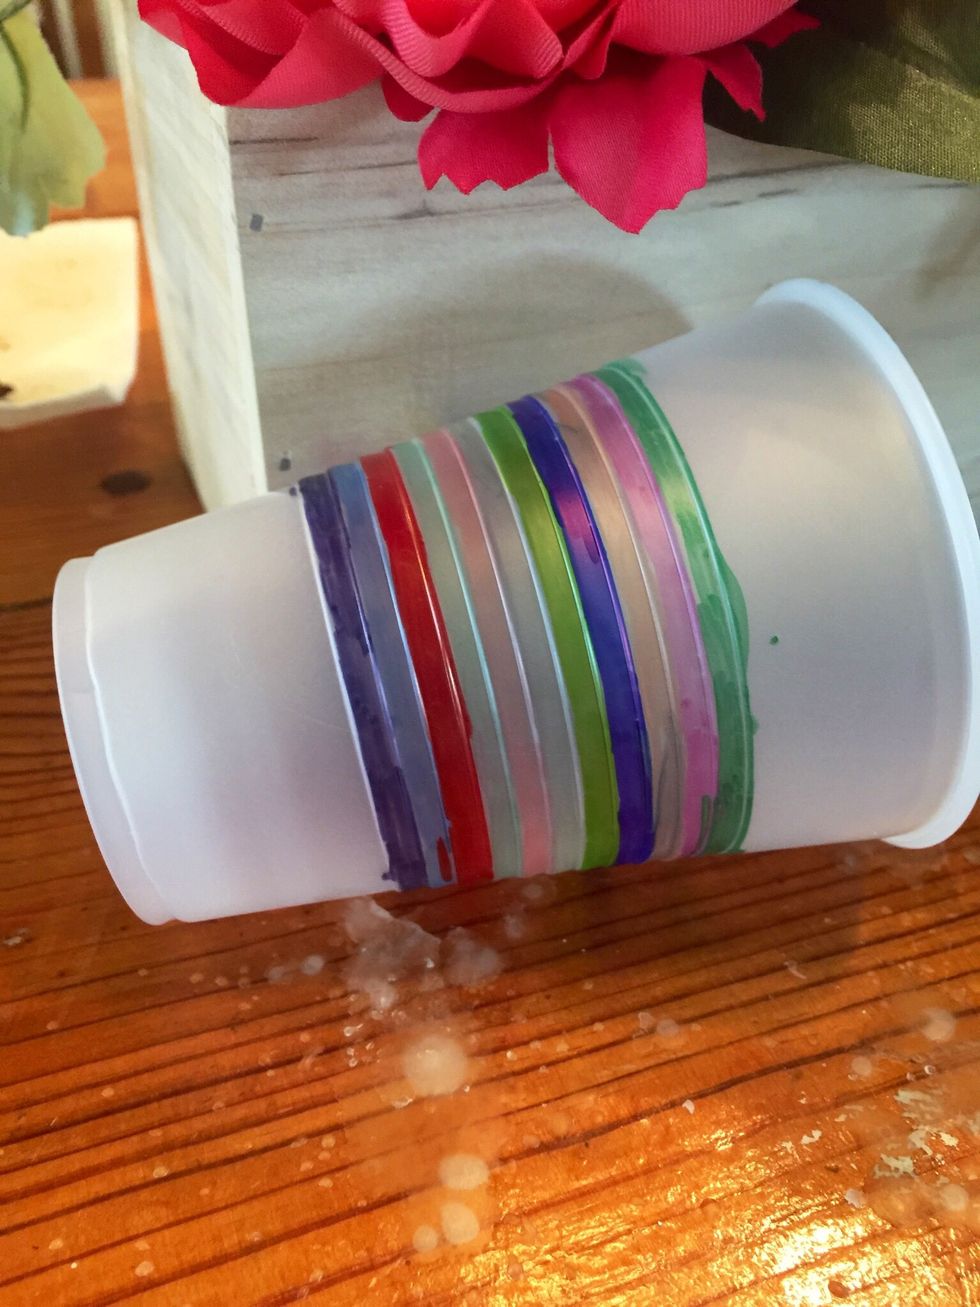
Don't worry about the lighter colors, when you bake the cups they will show up. Additionally, everything will appear neater when baked.
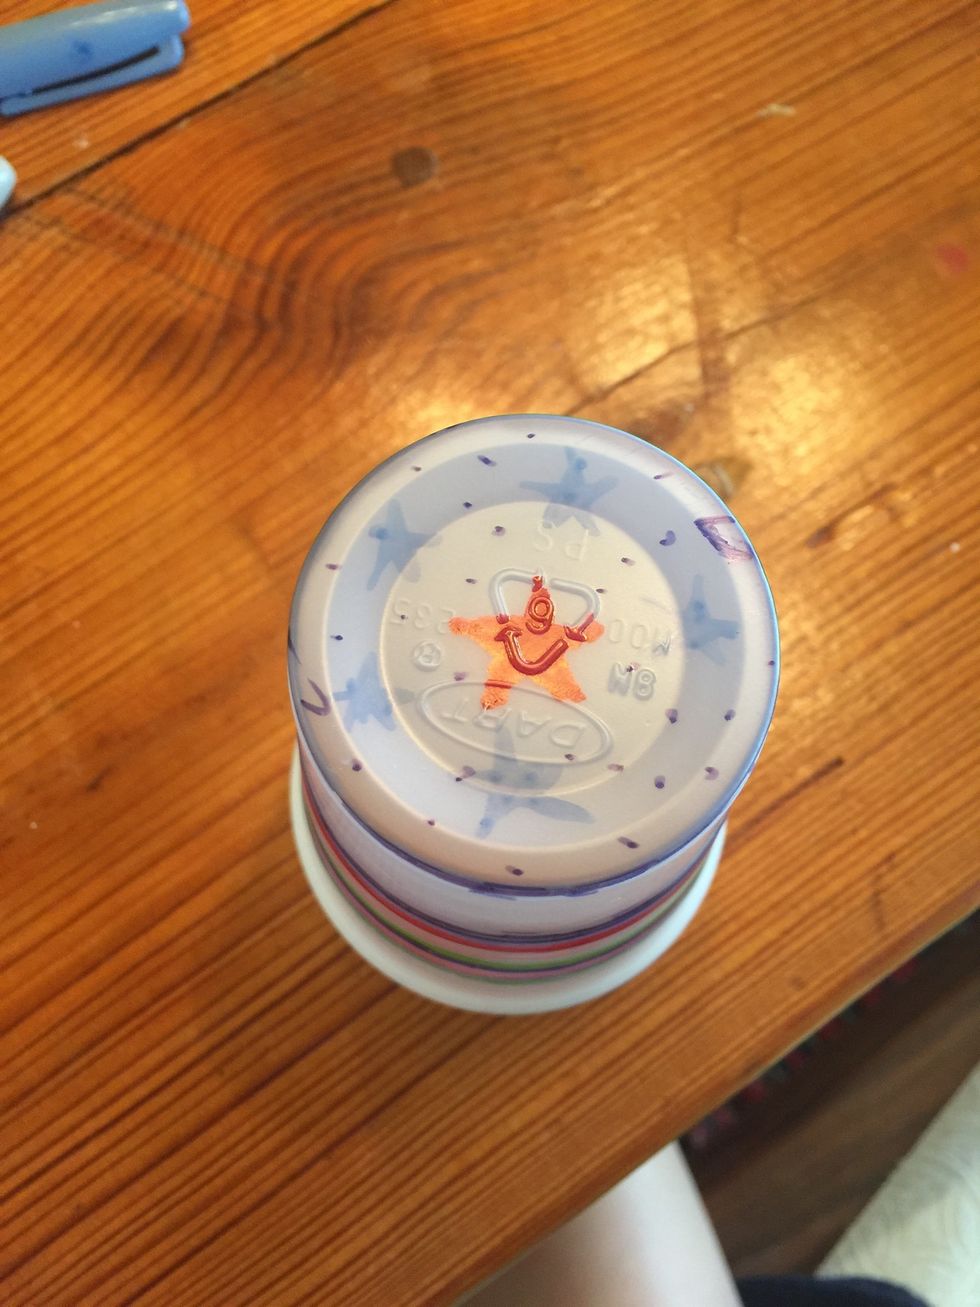
Focus on the bottom. It will be the center of your piece once the cups have melted.
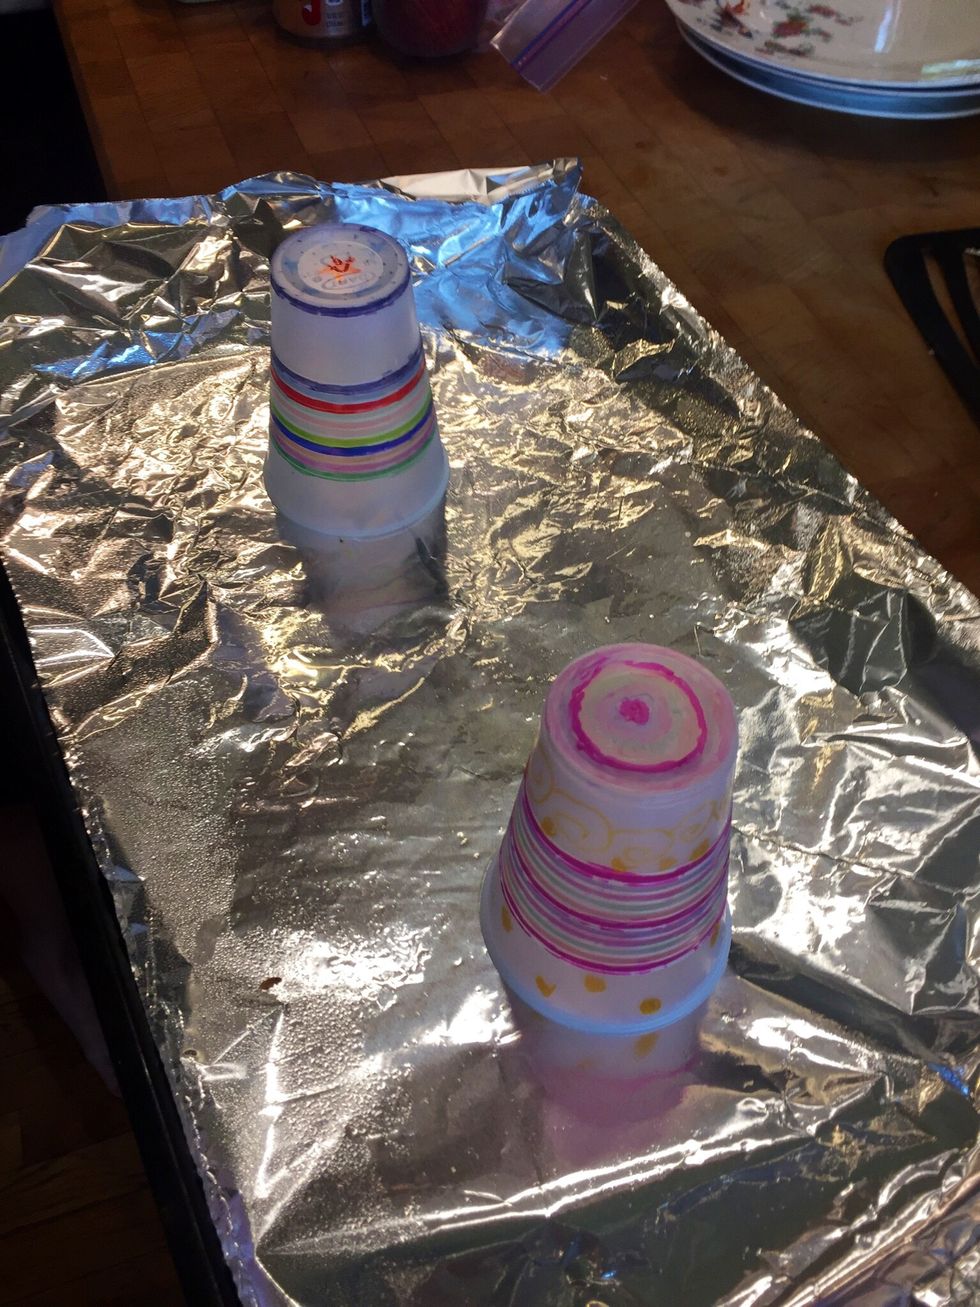
Place your cups on a foil lined cookie sheet sprayed with Pam. Put in the oven at 350 degrees F and take them out once they are flat.
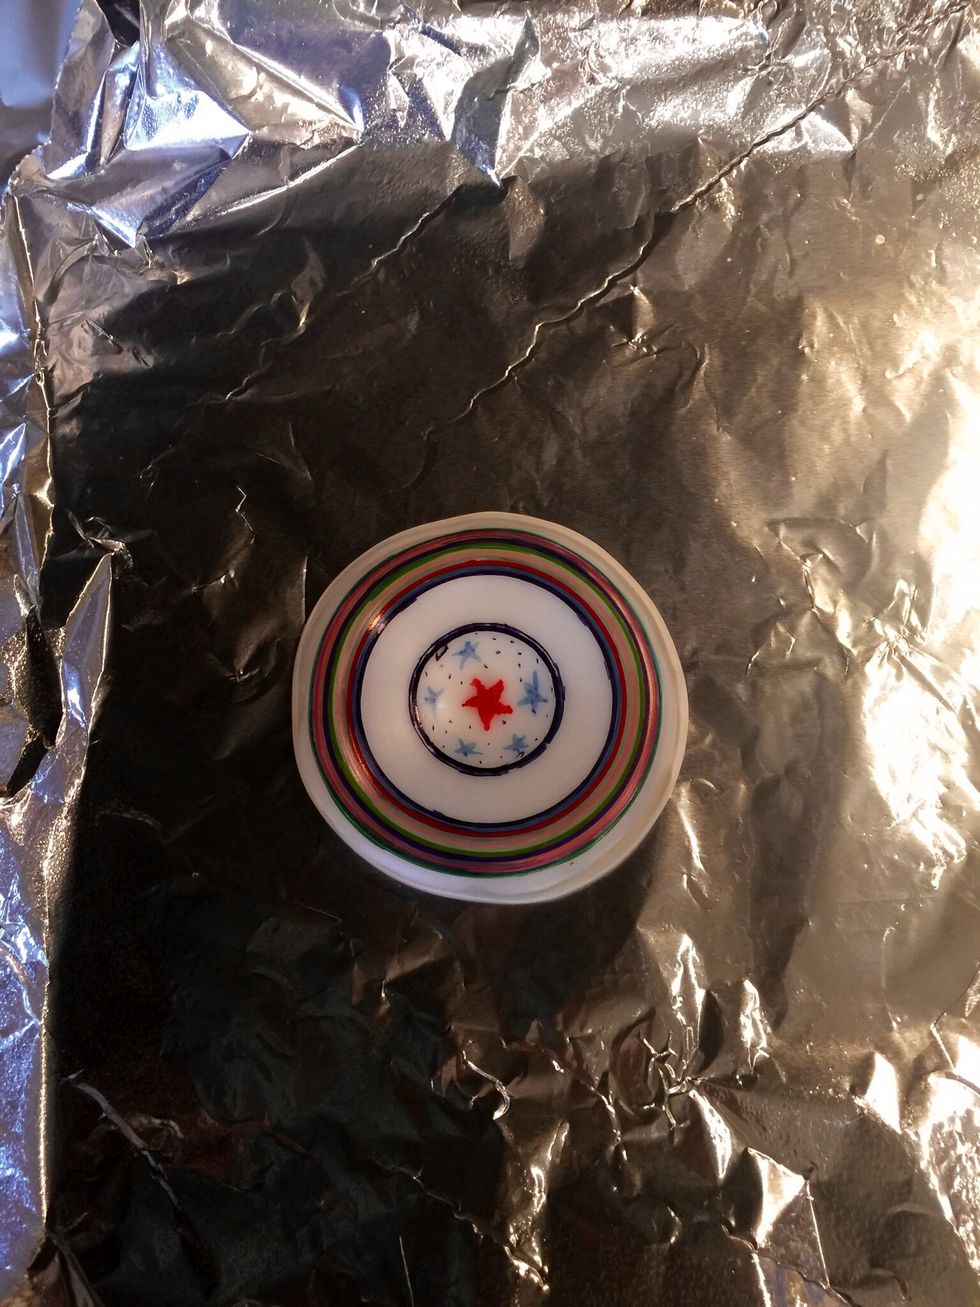
They should look like this.
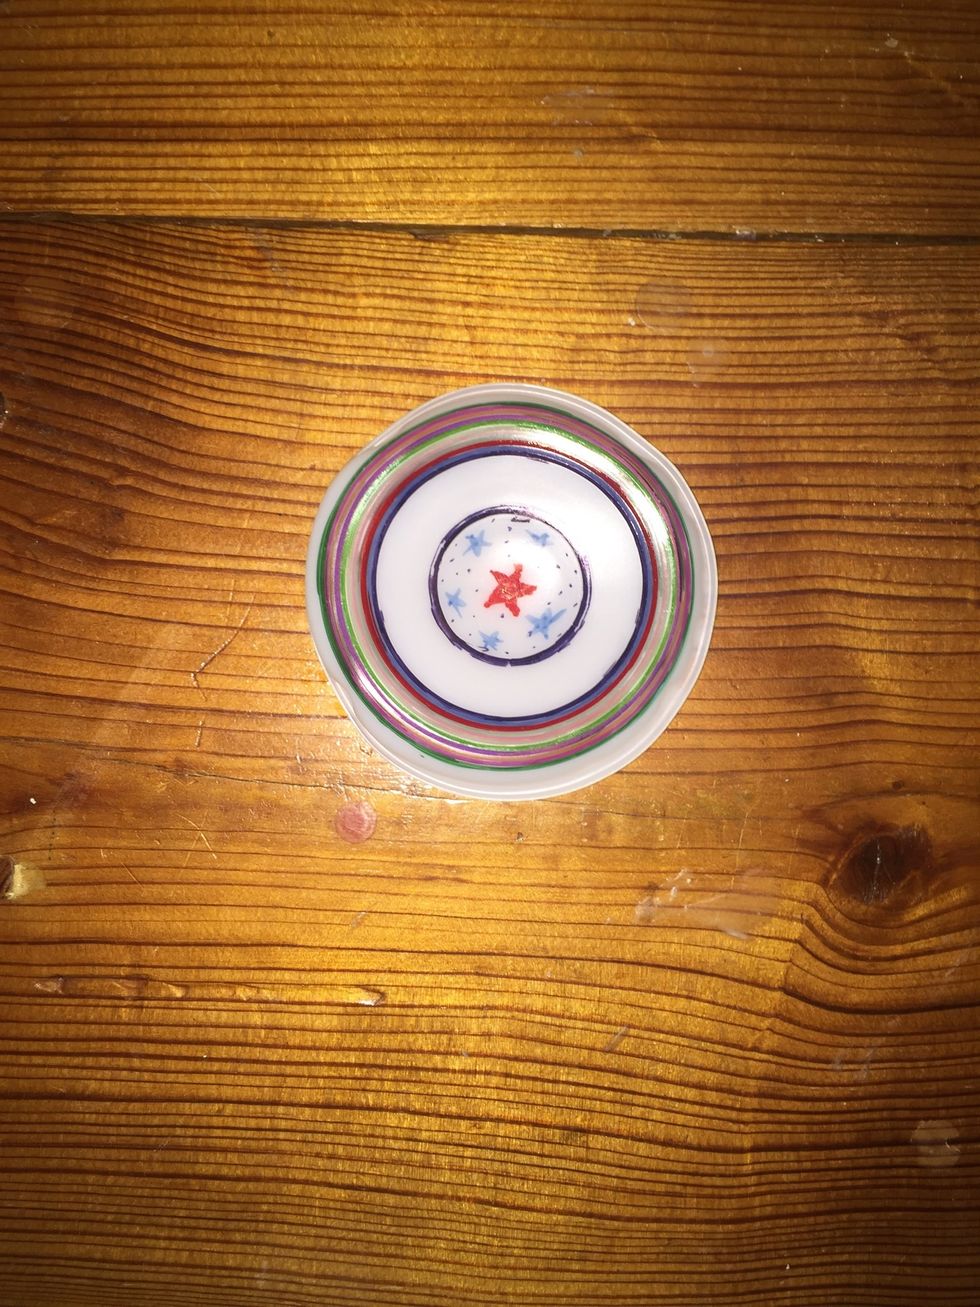
Ta-da! You've made Sharpie stained glass. If you like, you can poke a hole in them to hang them up in a window.