The Conversation (0)
Sign Up
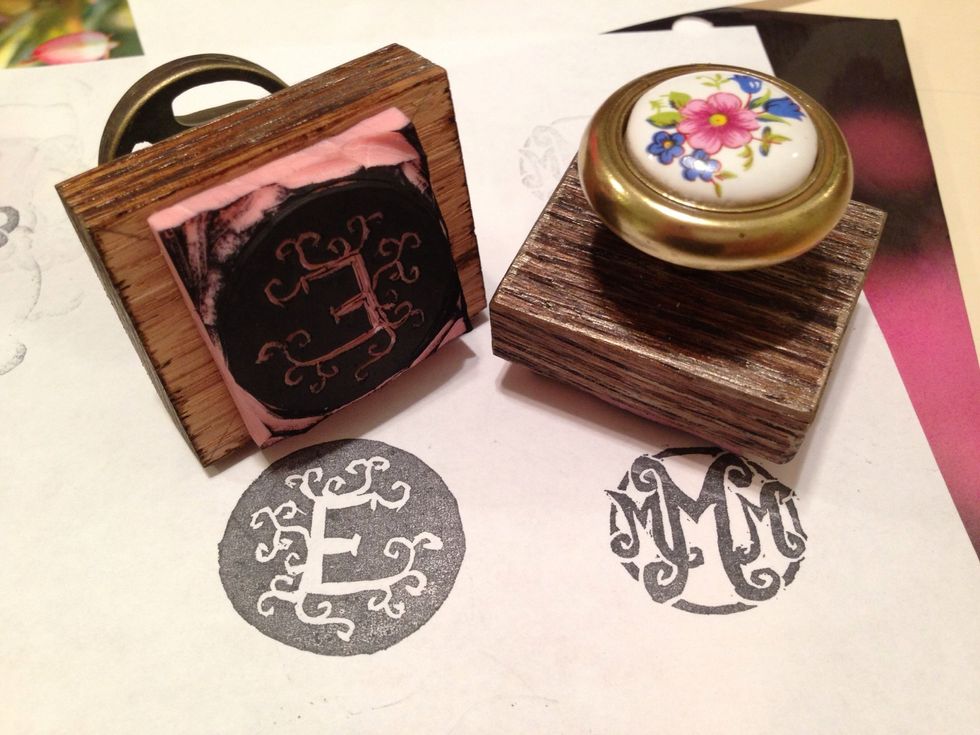
THESE MAKE THE BEST PRESENTS EVER. EVARR.
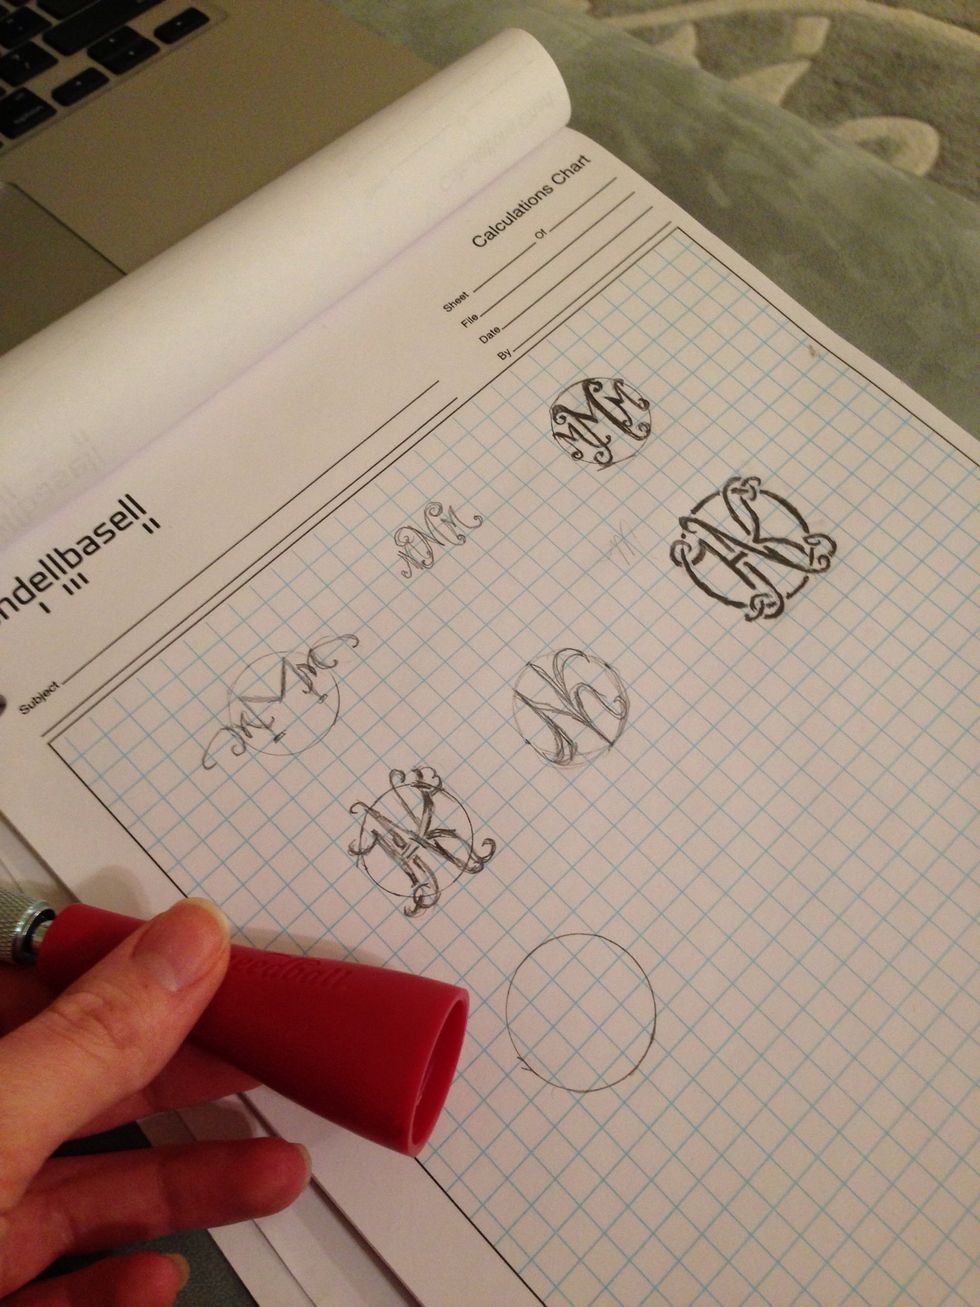
First, sketch a few different designs. I used the end of the speedball cutter to get a good circle.
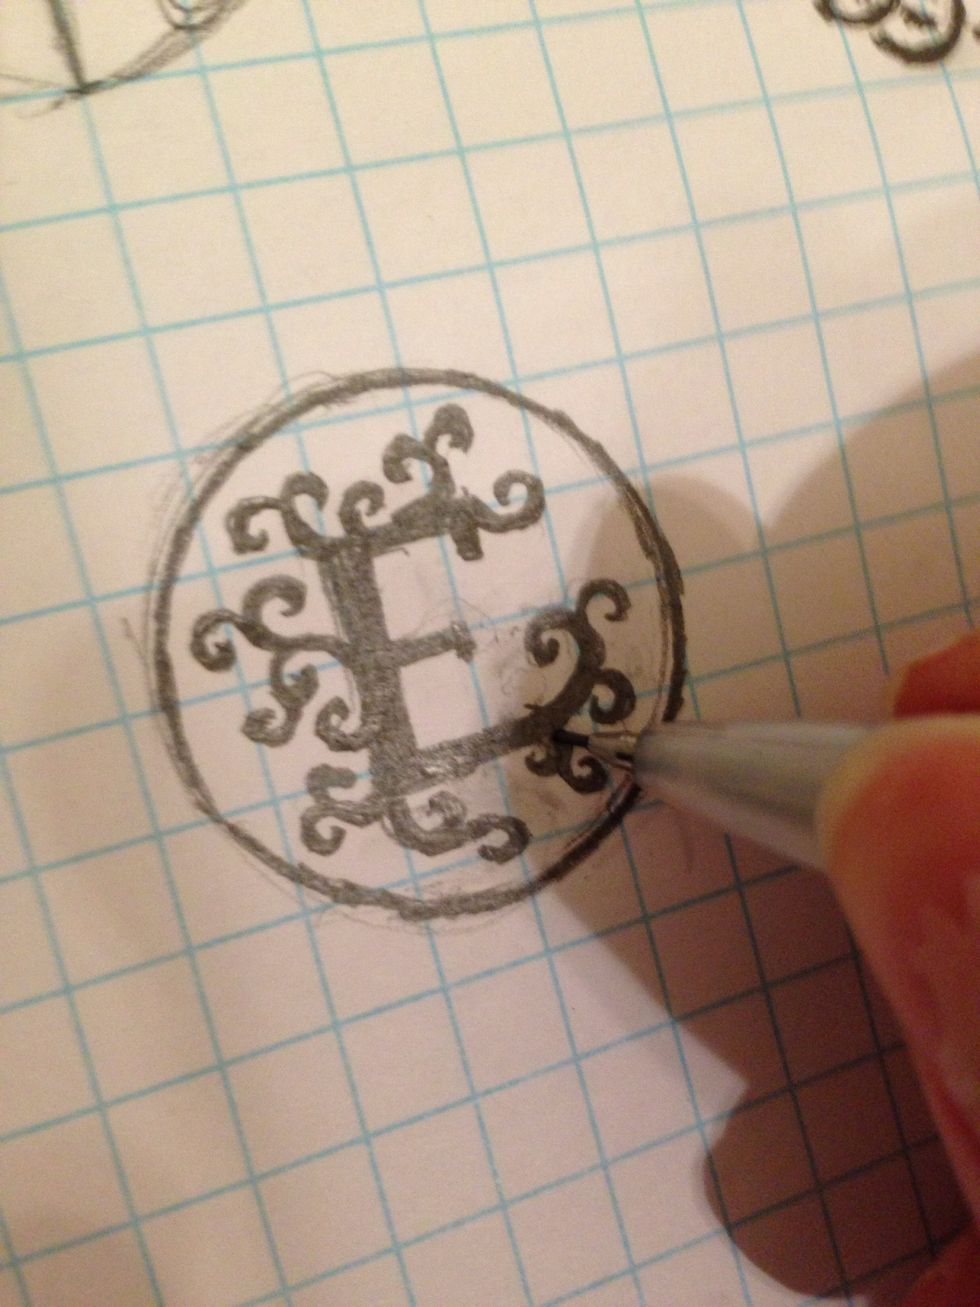
Draw over the design so that the lines are thick-- thin lines do not transfer well.

Place the rubber on the design and press. Some people use tracing paper to transfer the design, but they're just silly. You don't need it. (The real reason may be that I'm cheap, but hey, this works.)
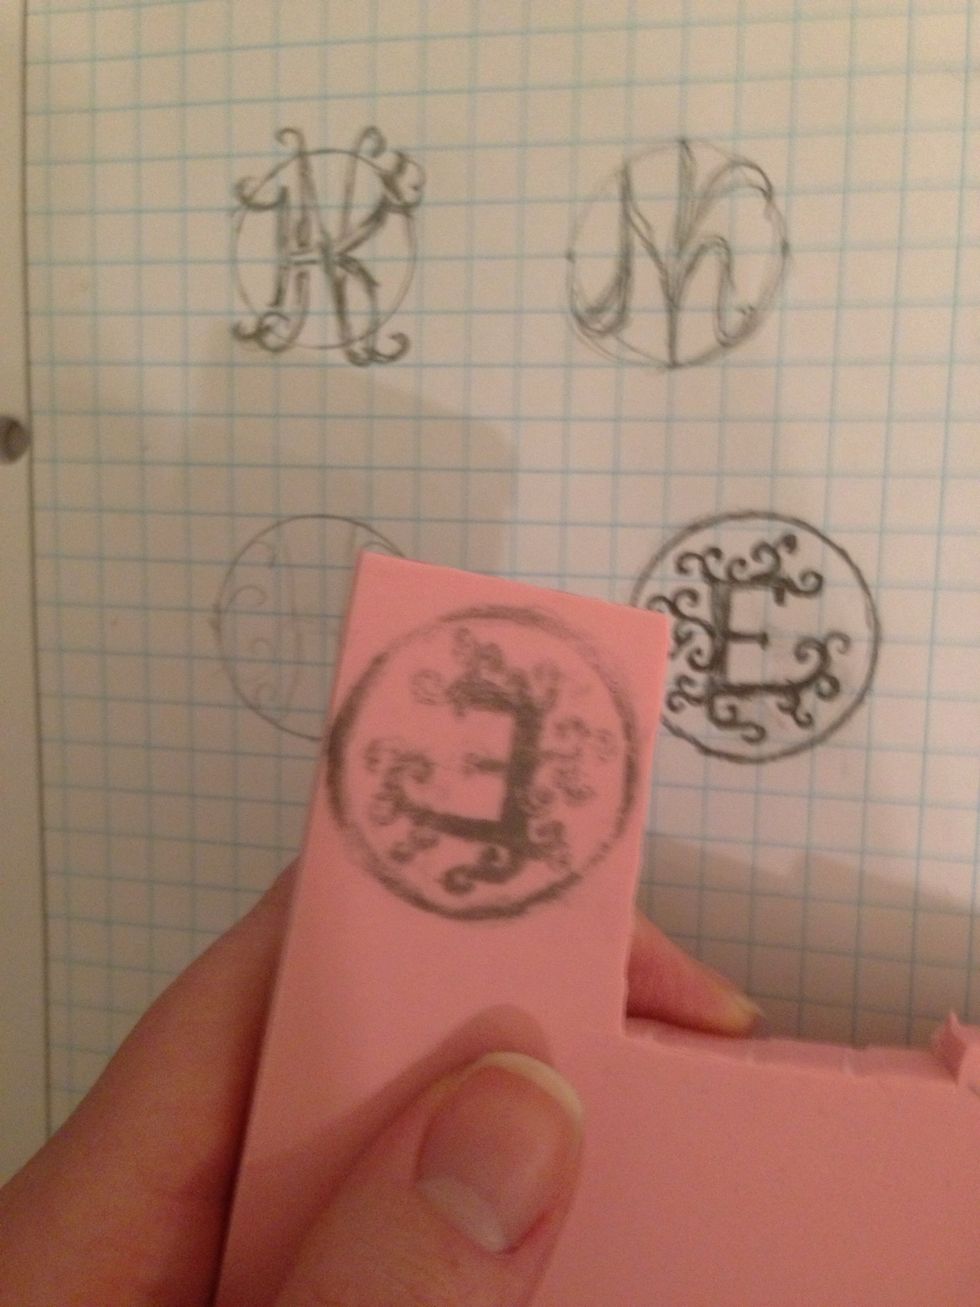
So maybe this isn't the best way to transfer..

..but whatevs, just draw over it! Some people use permanent marker or pen so that the image is easier to see. But, again, they're just silly. Stick with me, kid.
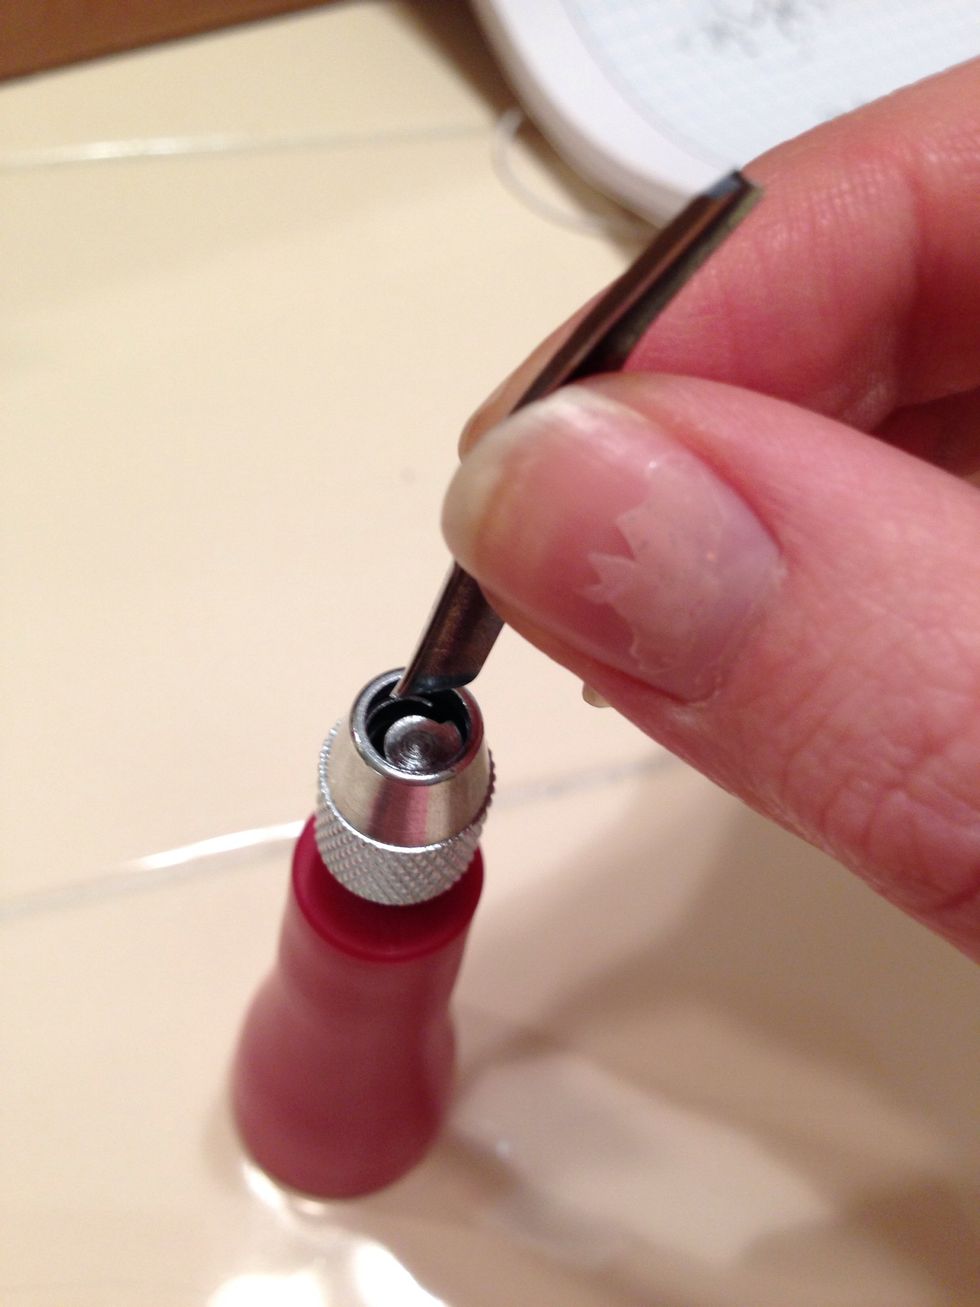
I found this cutter on amazon, it came with 5 different cutting shapes. You can quickly change out blades and store them inside the cutter.
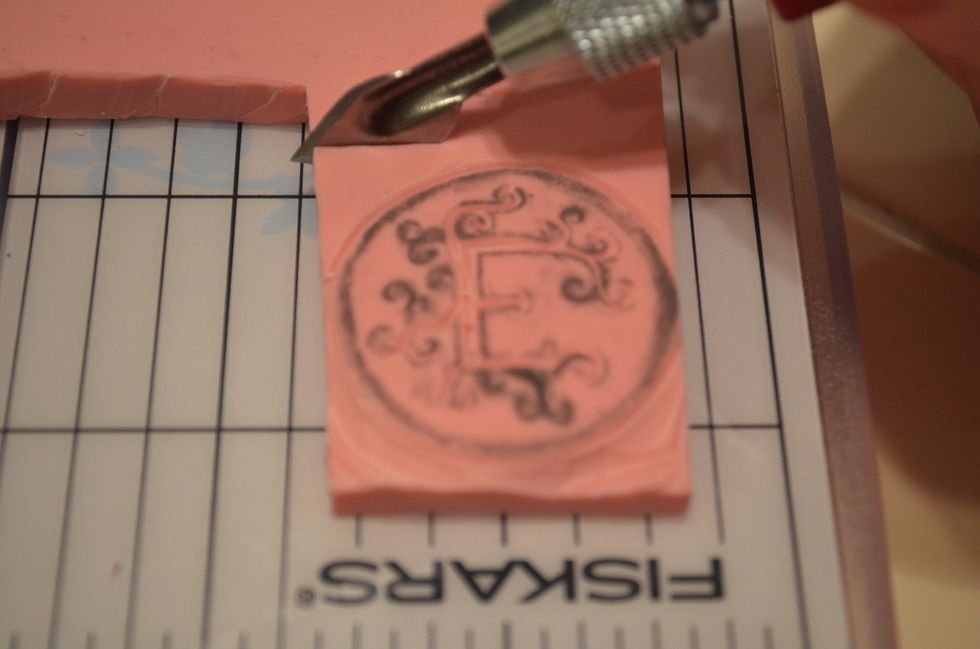
Start with the smallest blade. Anything you cut away will not pick up ink. Cut away the sides of any big sections.

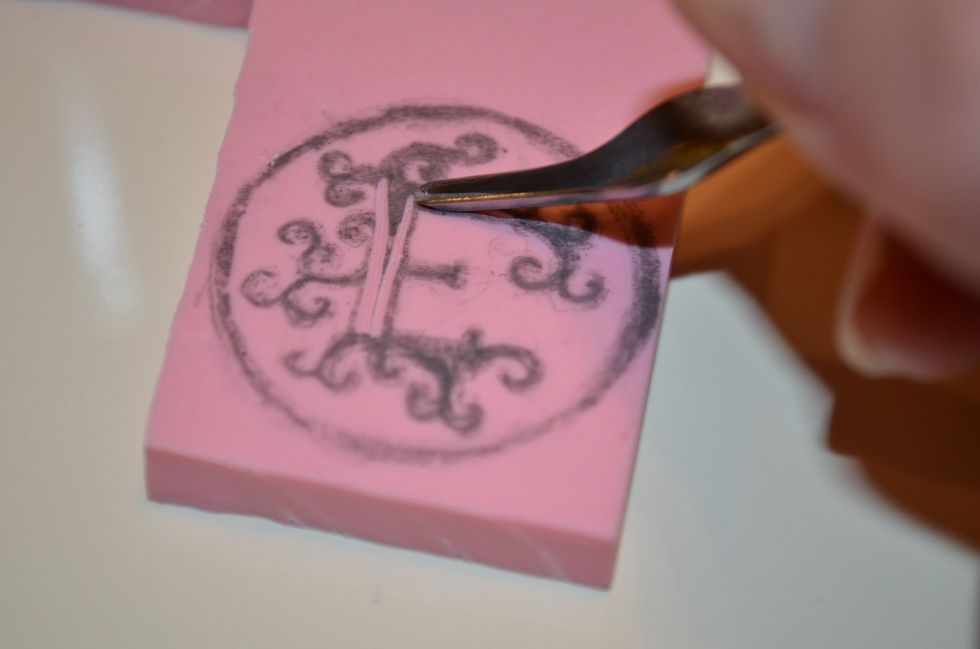
Next, cut away the middle section. You can change to a bigger blade depending on how big the section is.
When cutting the edge outline, switch to a deeper cutter (number 2 or 3). Try to not stop when you are making a cut to make it look clean.
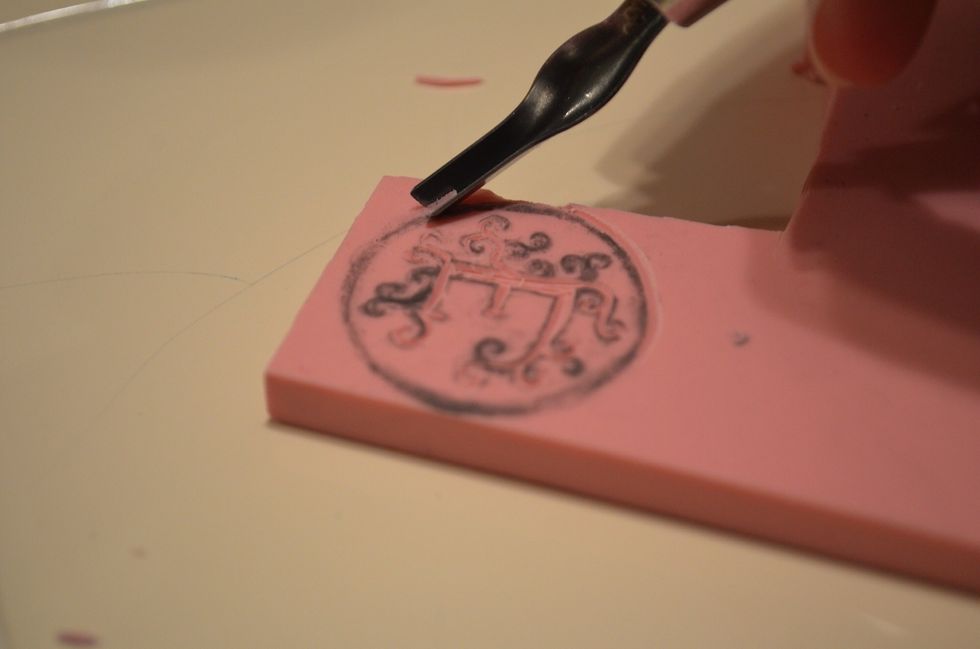
Switch to a scooper blade when you need to cut out huge sections. Yes, scooper blade. It looks like a scooper. Don't make fun of me.
Cut that baby off! You could do it on your lap, or use a hard surface. I'll let your common sense decide.
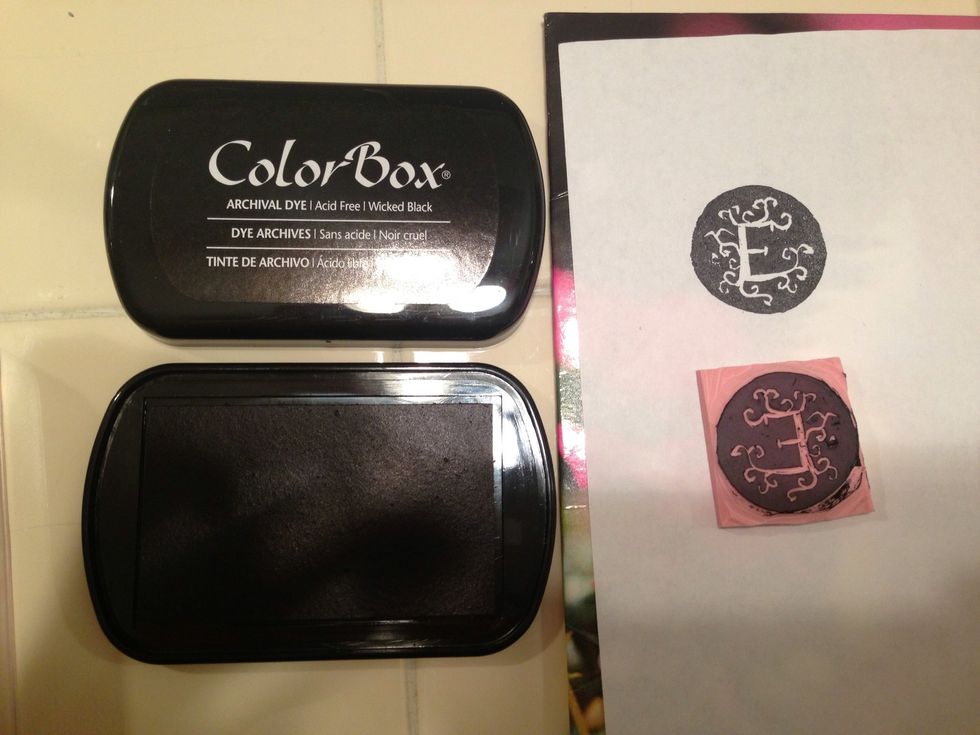
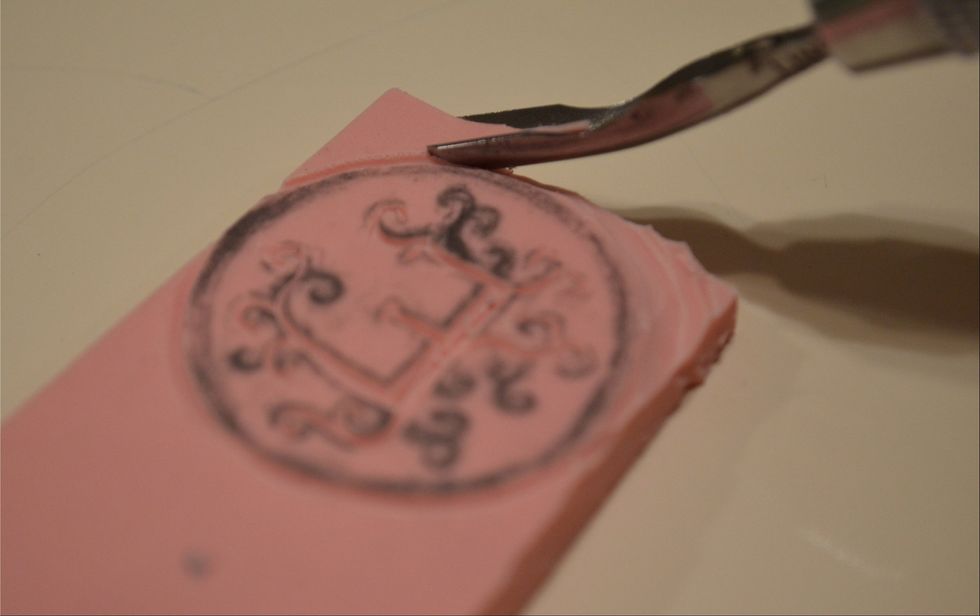
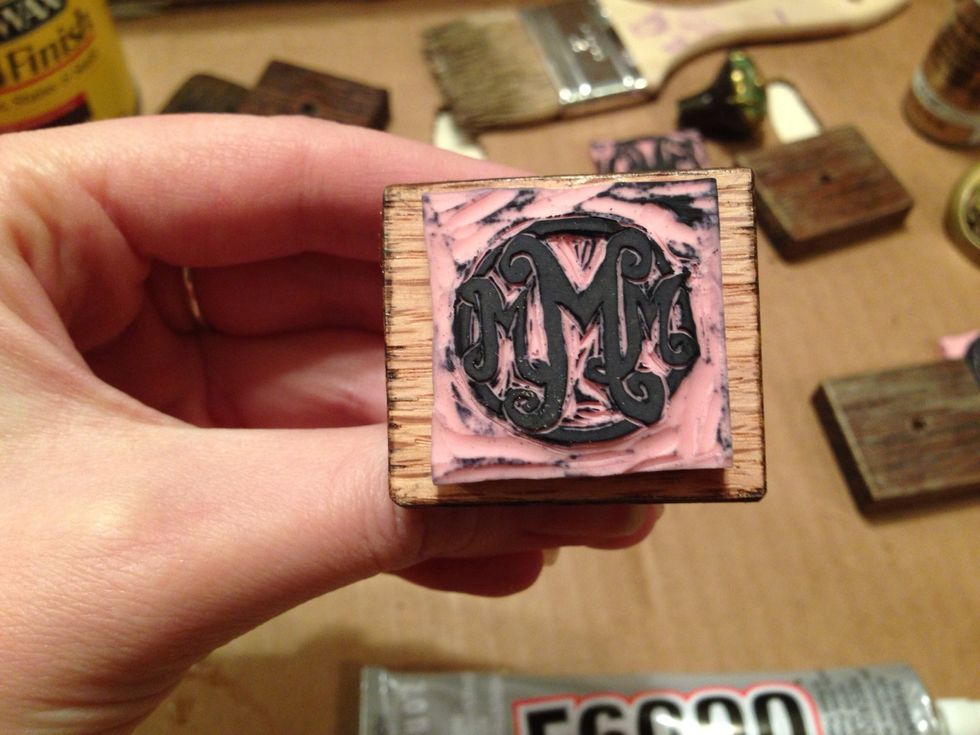
When you're ready to test it, stamp it on an ink pad and try it out. You can cut away any extra marks you don't want.
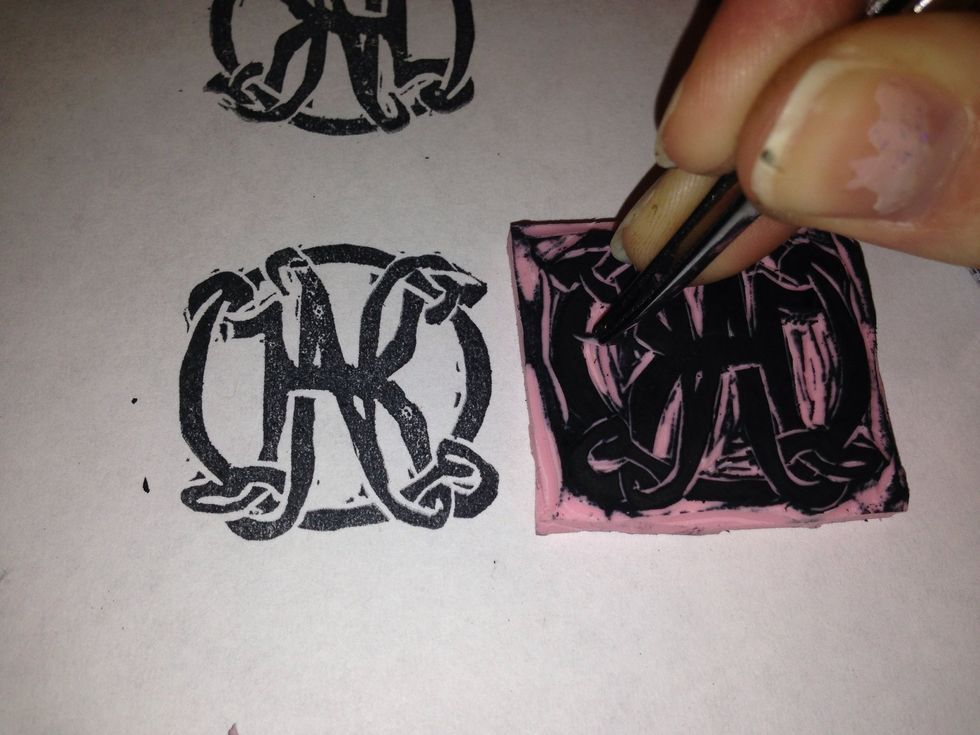
Continue stamping and removing any unwanted marks. You can use tweezers to remove small pieces, like you can see oh so clearly in this pic. Nice work iPhone.
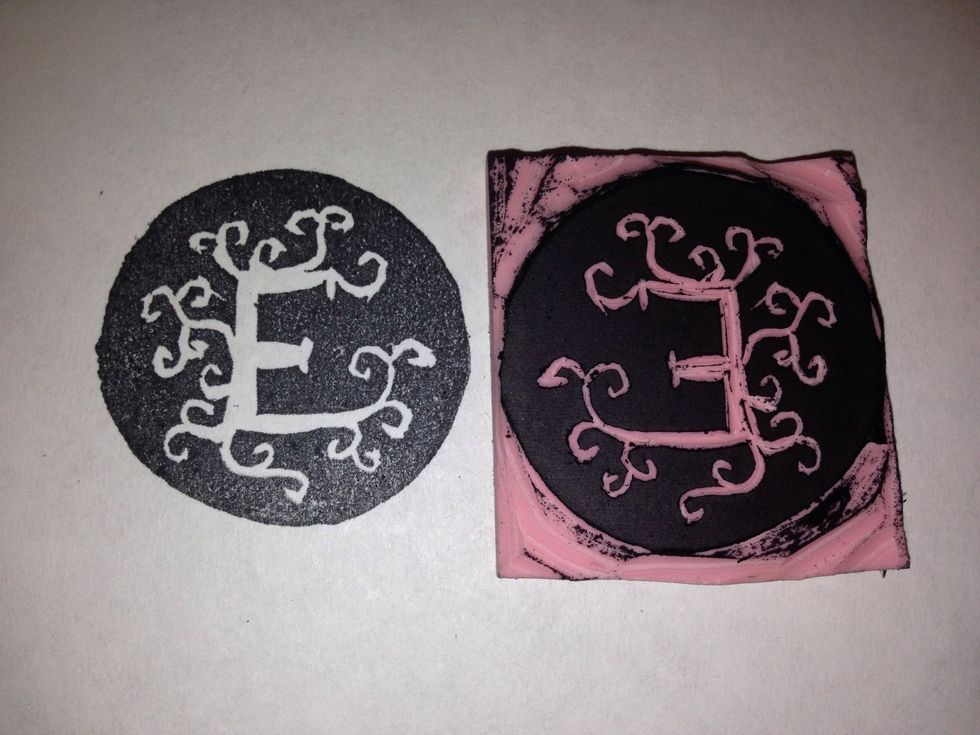
Try not to cut more than necessary. The smallest cut can make you super frustrated with the result.
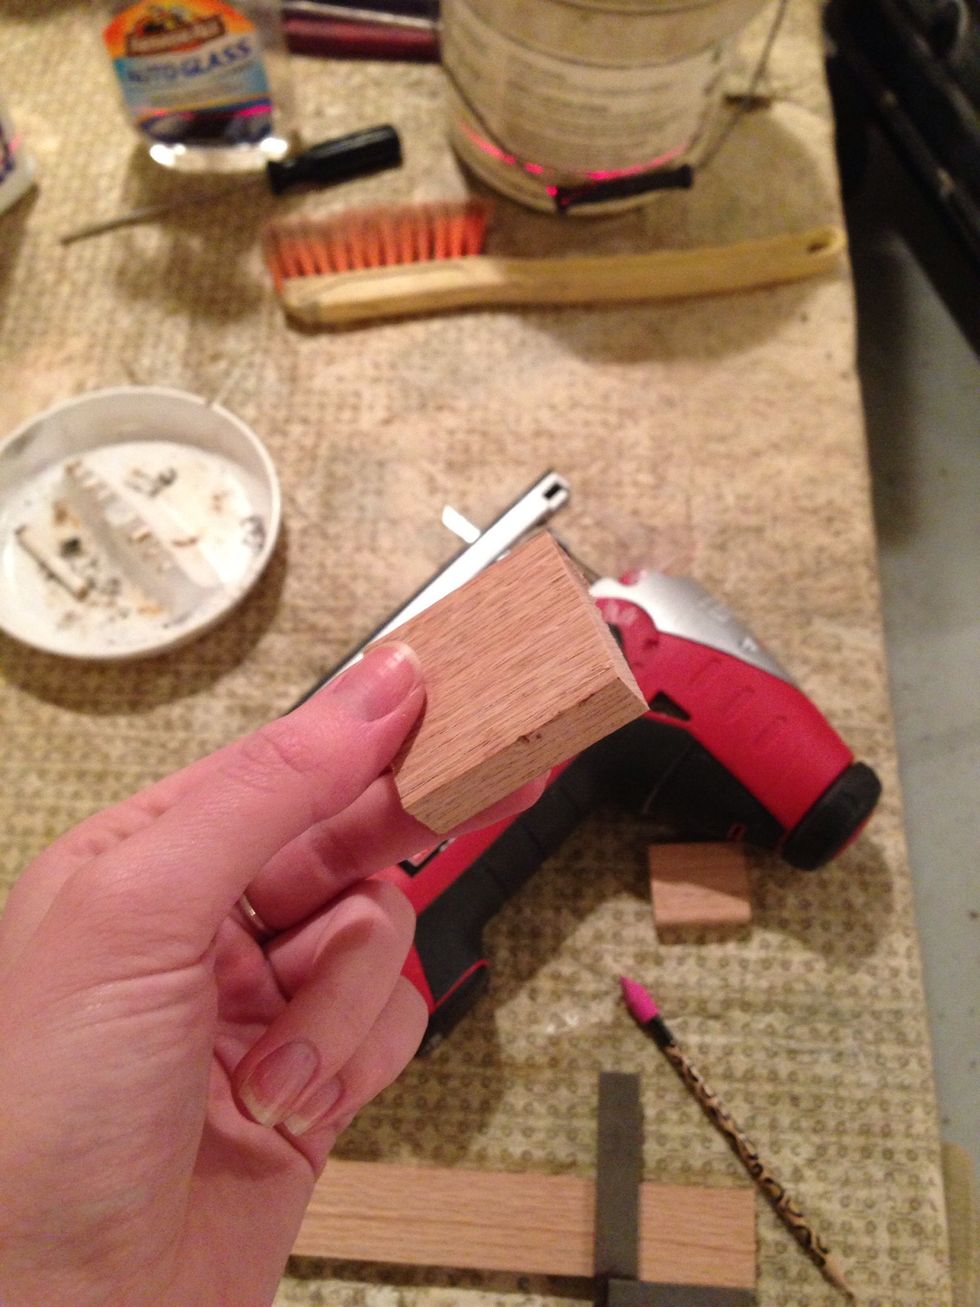
Next, make a wood backing. You want it to be wood since it will distribute the pressure to the whole stamp without wearing down or cracking. Use a jigsaw and a cheetah print pencil to cut the blocks.
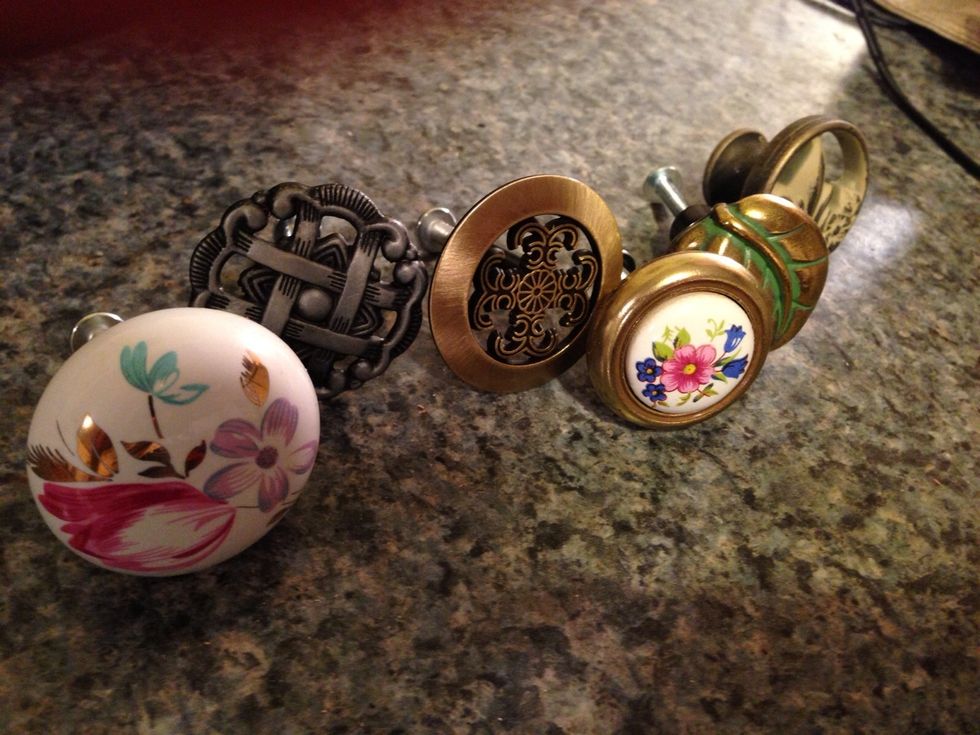
This part is optional, but I think they look cute with the stamp. I found these at Menards, but you can find pretty cute ones at Joann's or Anthropologie.
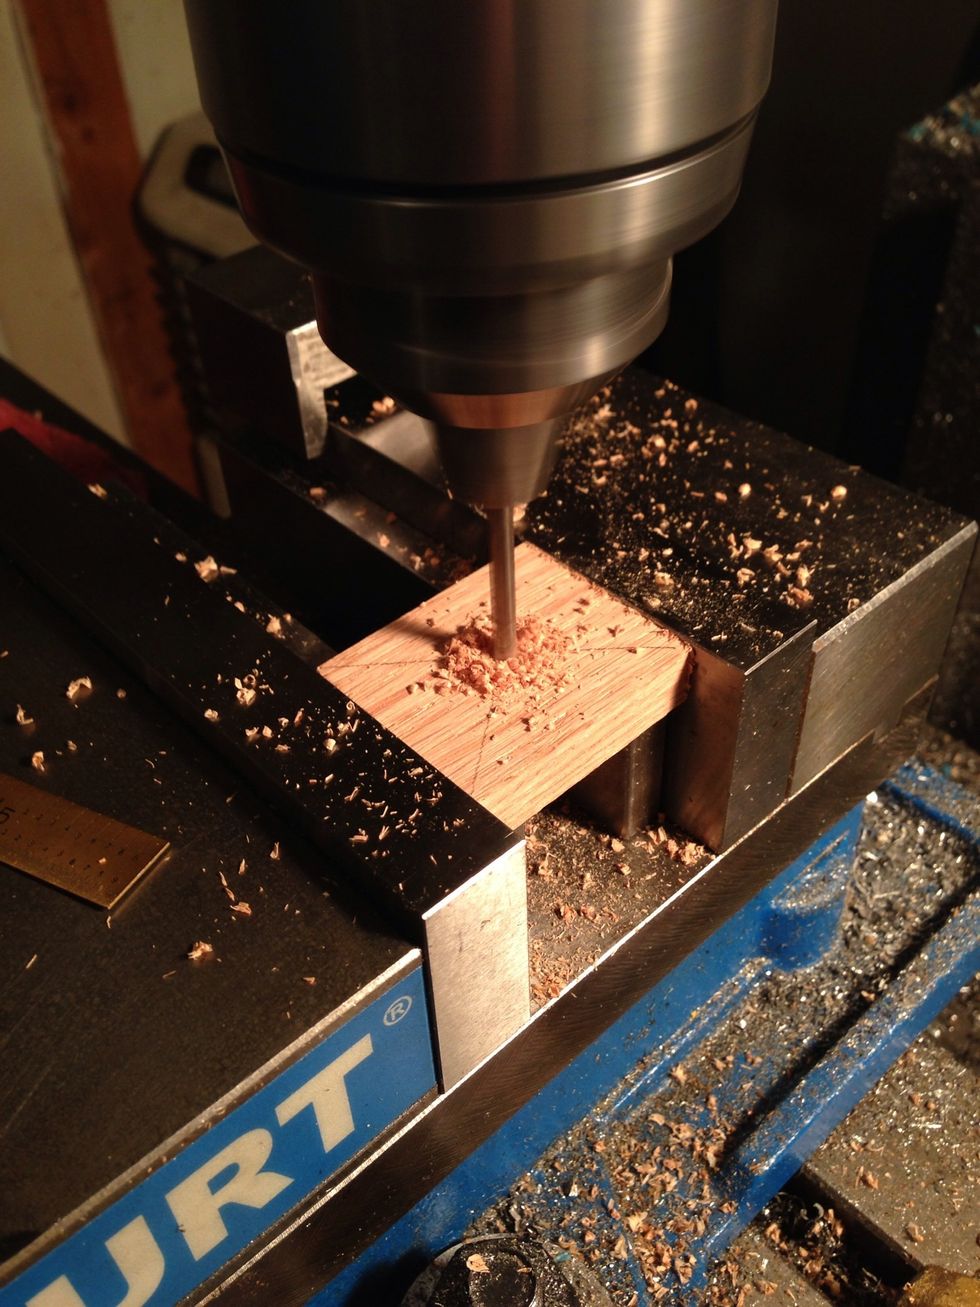
Drill a hole through the center of the block to fit the the treads of the screw. You don't need a mill to do this. Don't ask me how or why I have access to one.
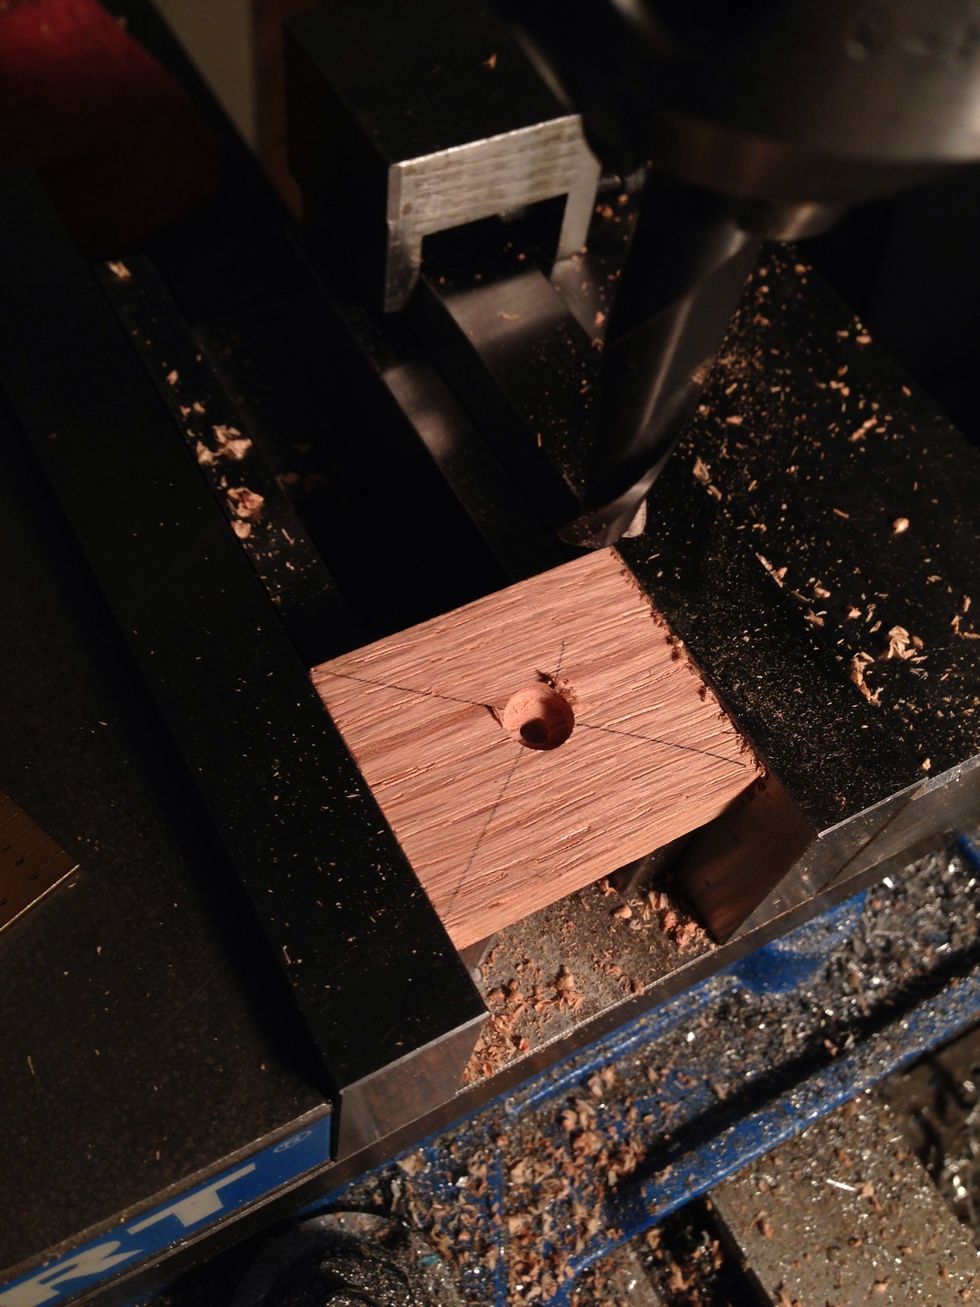
Make a counter sink that will fit the screw's head. This side will have the stamp, so the screw's head can't be in the way.
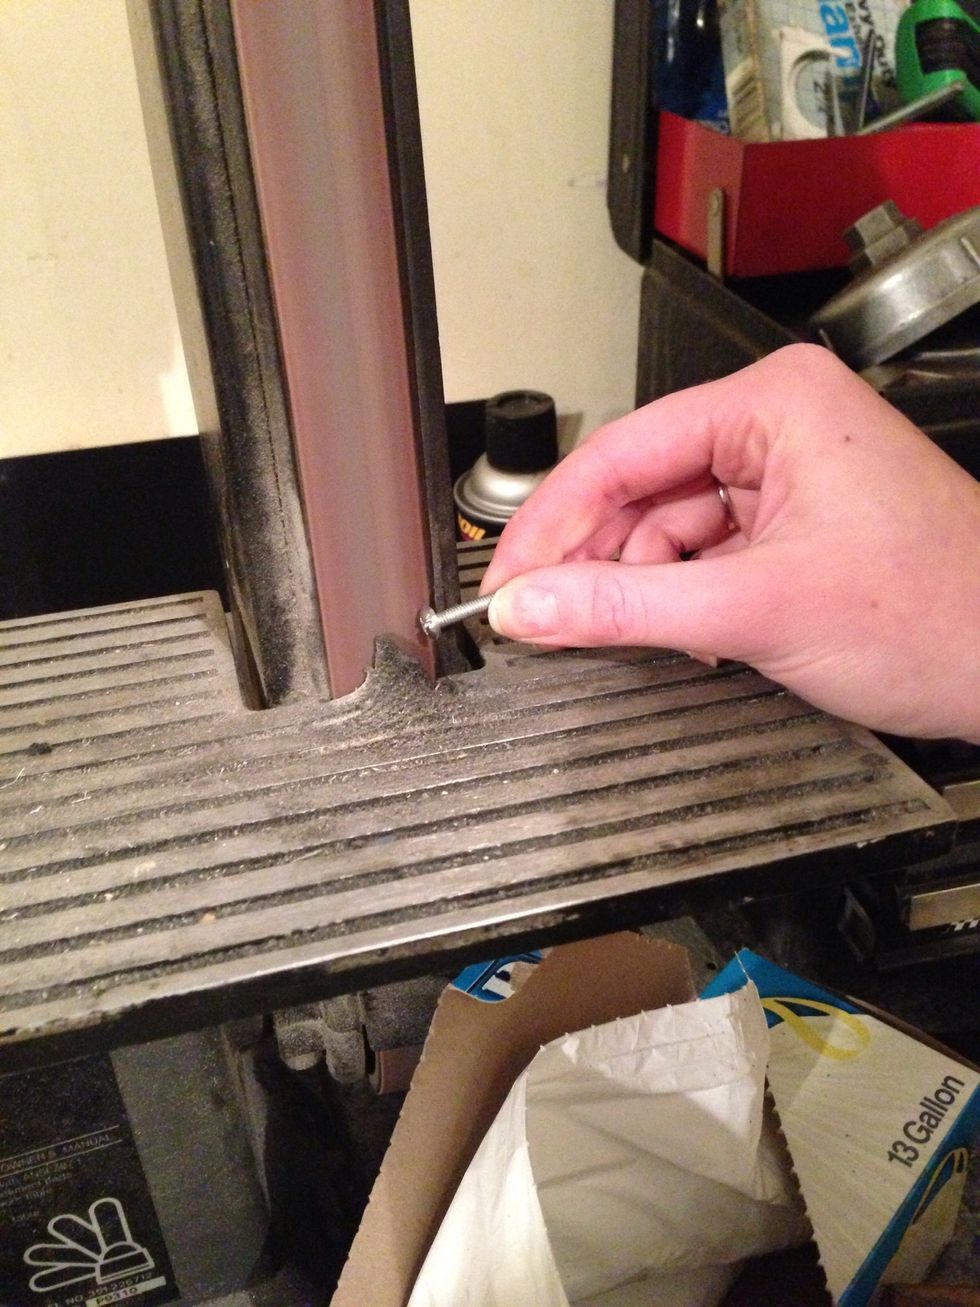
You may need to take some material off of the screw's head if it doesn't fit well. And don't wear jewelry when you work with tools...this picture is deceiving you...
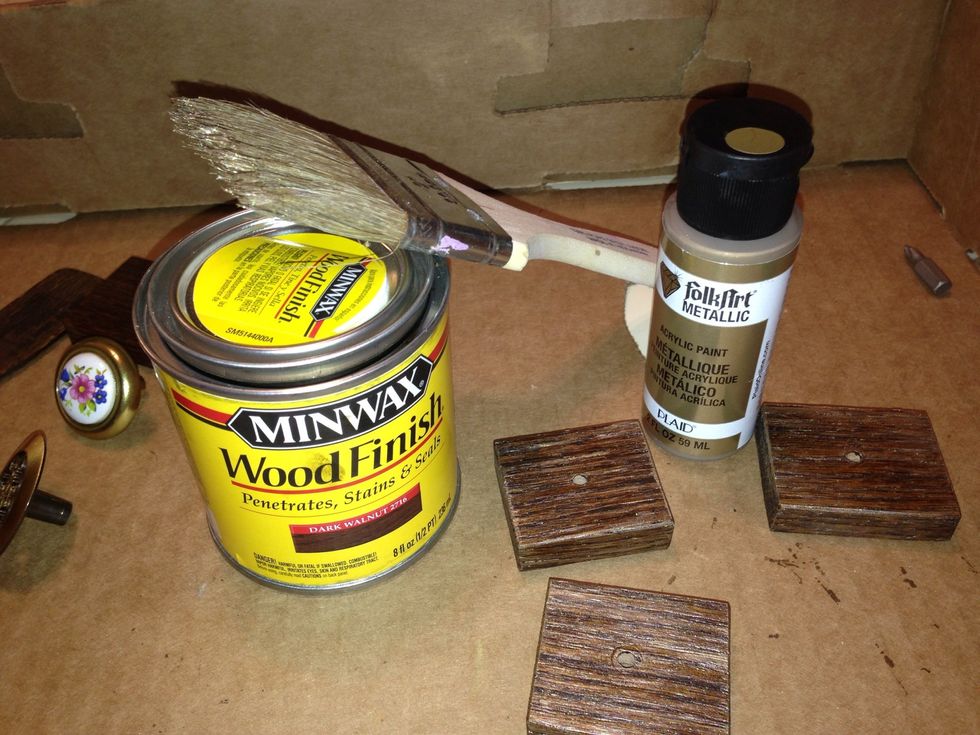
I stained the blocks and then dry brushed with prettyshinymetallicsparkly gold. The best part of typing that was that my iPhone autocorrected gold to hold. Eh?
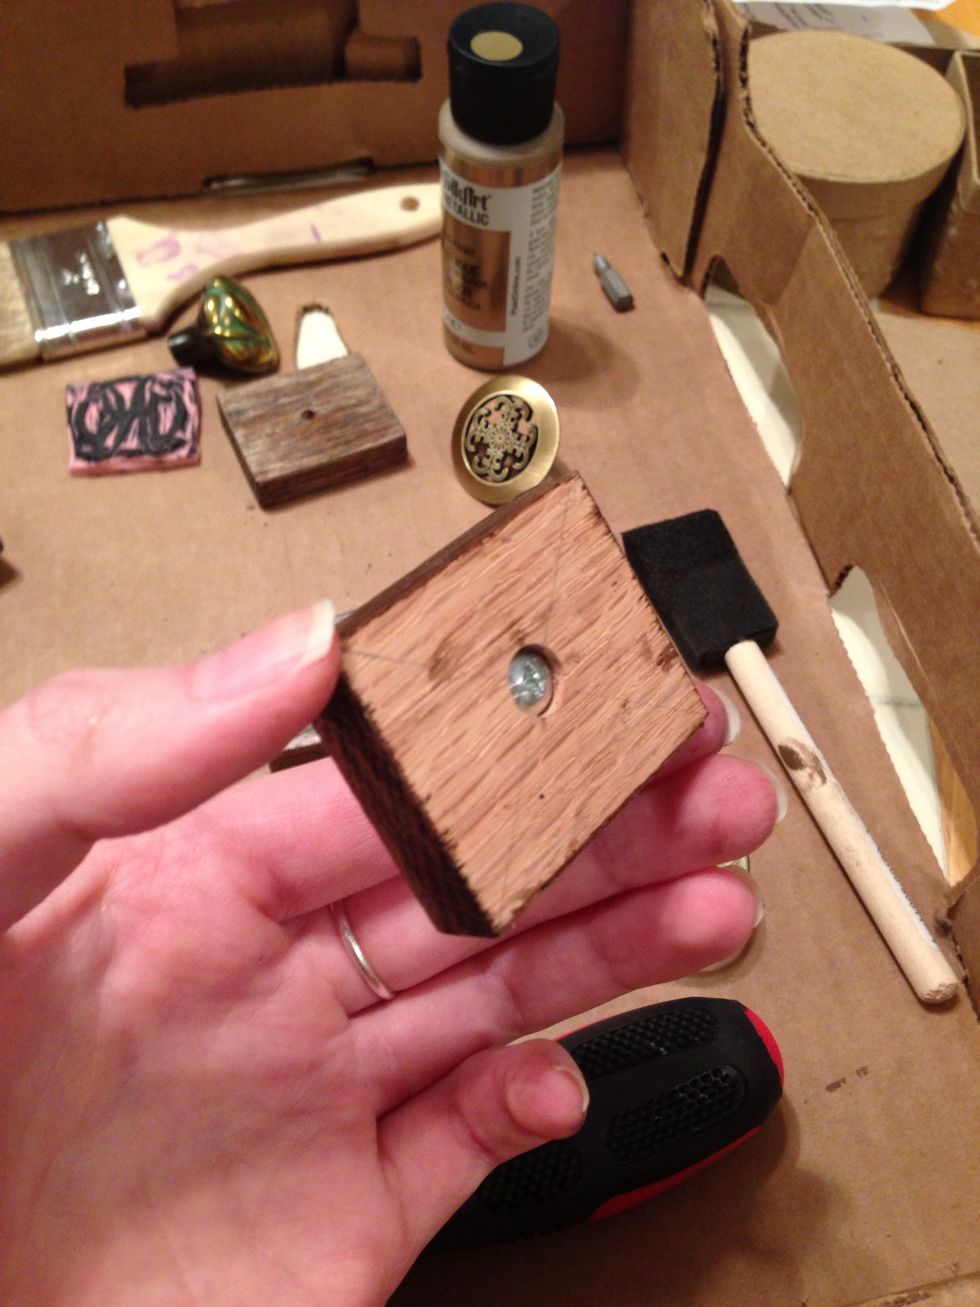
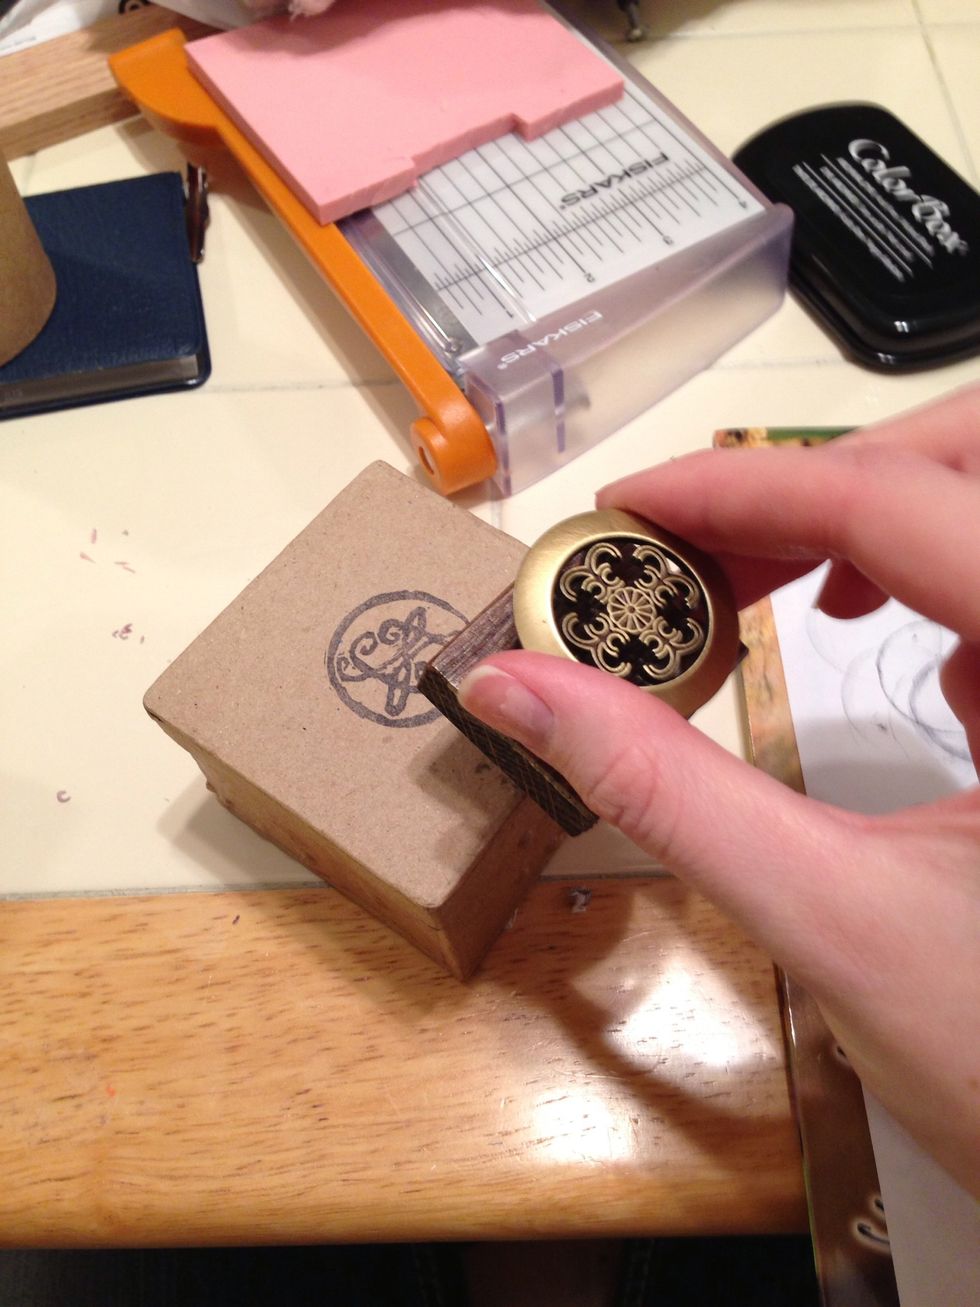
Insert the screw and twist the handle on the other end. Don't screw it up. Heh heh. Heh.
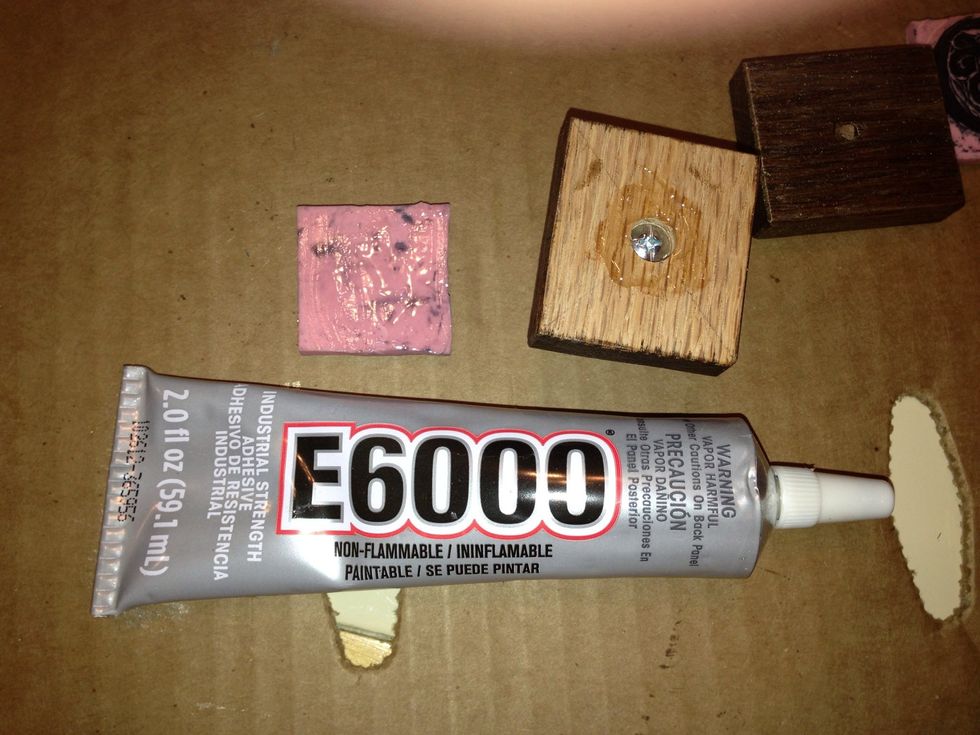
Apply a small layer of glue on both the rubber and the block. You could other kinds, but this one will really make it last. Quick, find all the pics in this guide with my finger on the top.
Center the stamp on the block and press firmly.
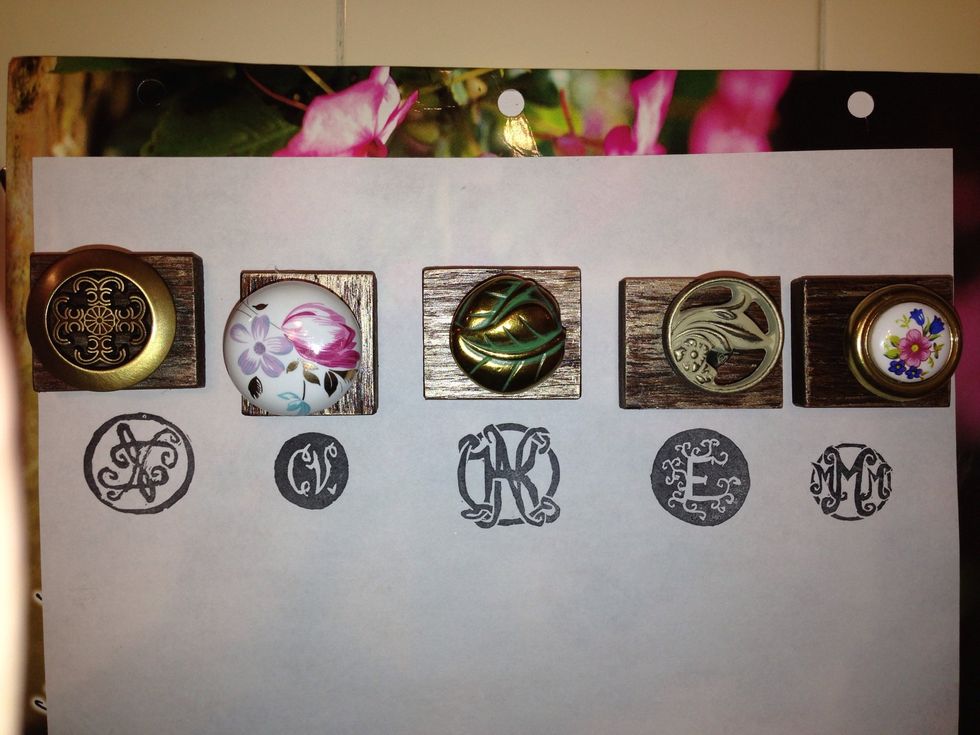
Here are all the ones I made!
For these, I found small boxes at Joann's for a dollar each and stamped the monogram on top. Put a little tissue paper in it and...

Voila!