The Conversation (0)
Sign Up
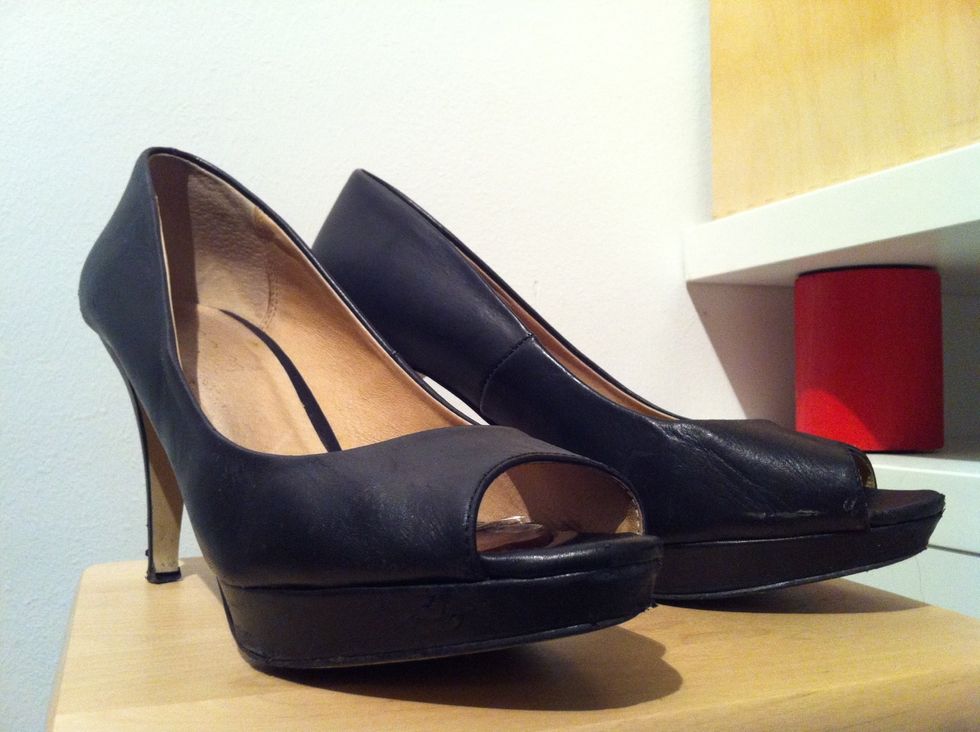
Here are my favourite pair of heels that I want to wear with a green clutch so I took some green ribbon.
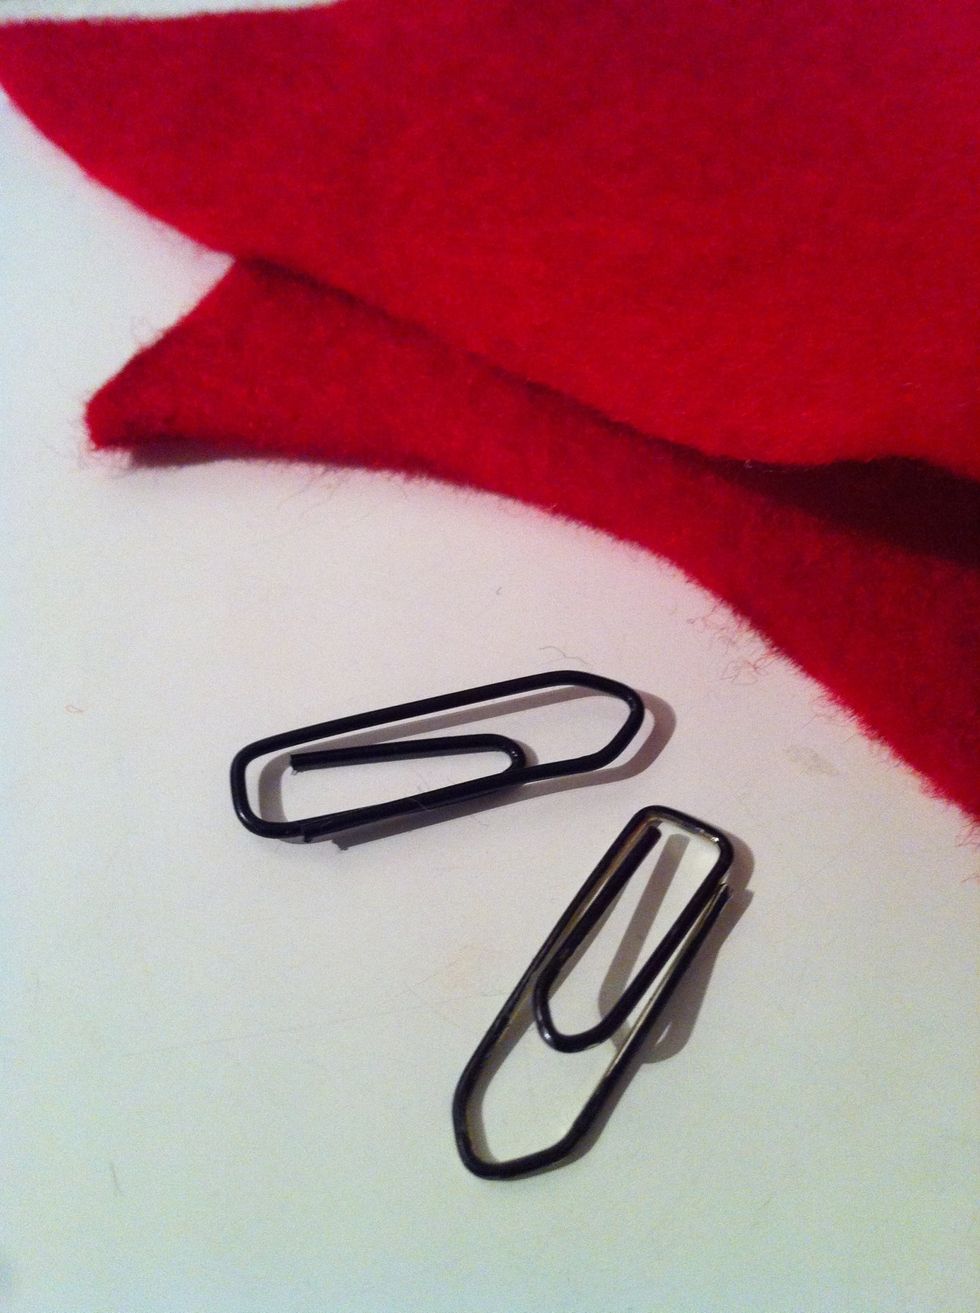
The paperclips should preferrably be the same colour as the shoes. It's much better if you find bigger clips than the regular size but I used the normal ones.

Cut a similar size piece of fabric as in the picture and glue the longer side of the paperclip to the fabric. Bend the clip a bit so only one of the loops will get glued. Let dry.
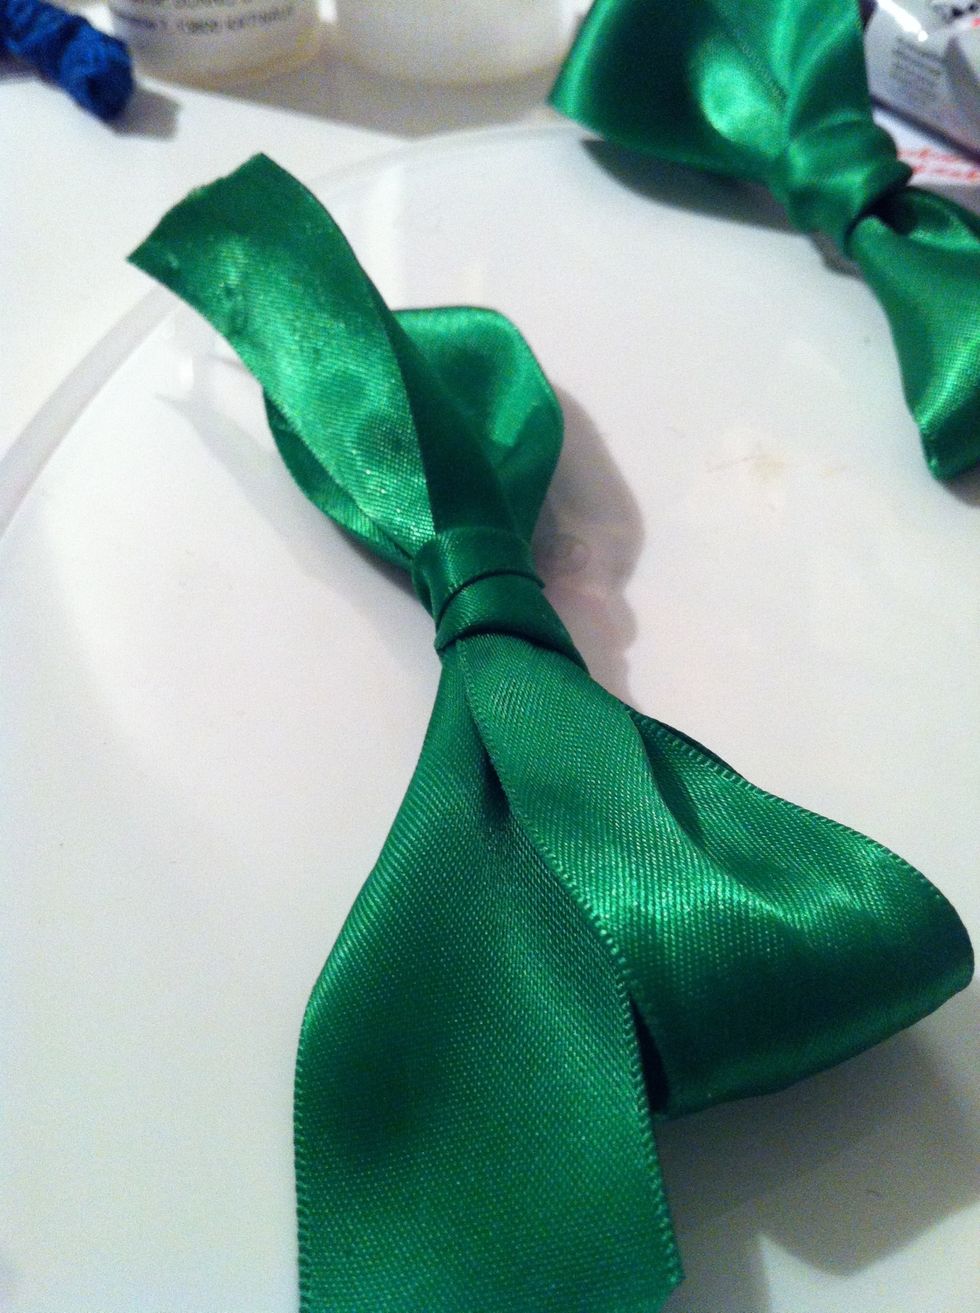
Make 2 same-size bows from the ribbon. Adjust well and trim the ends.
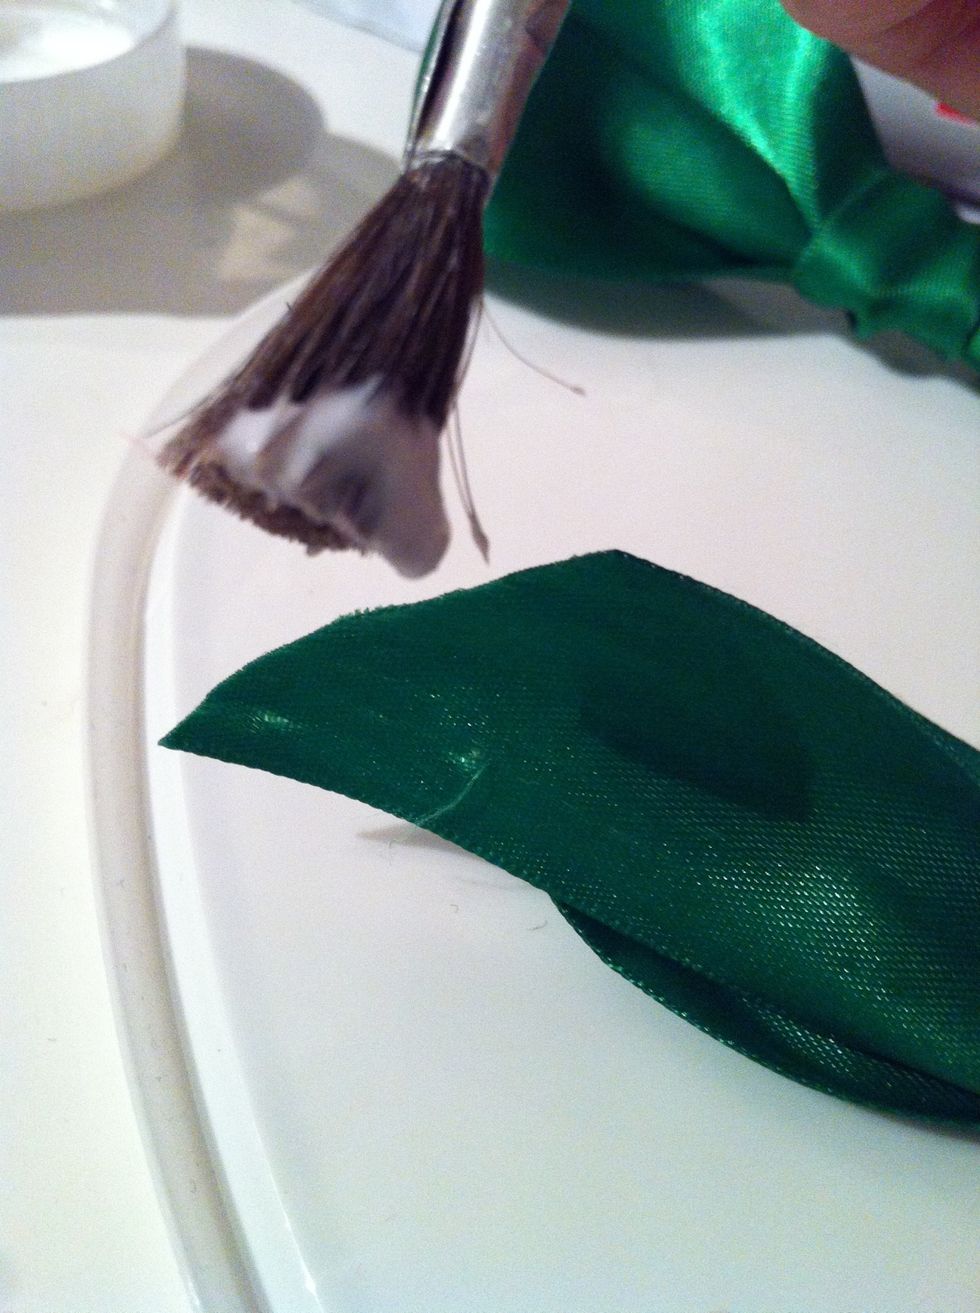
Apply clear glue or laquer to the ends to avoid fringing. I used decoupage laquer that's clear when it dries.
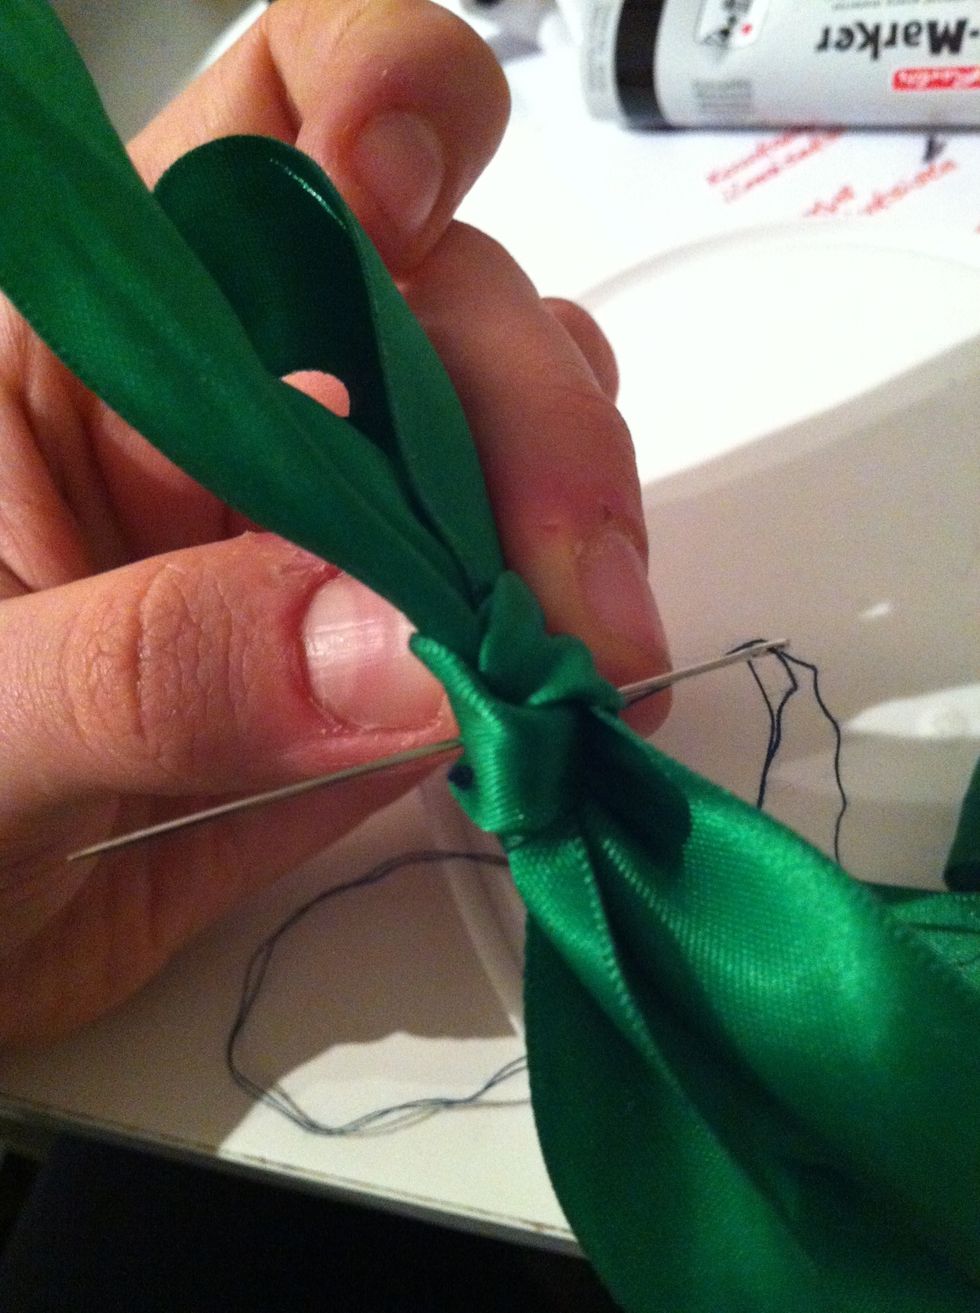
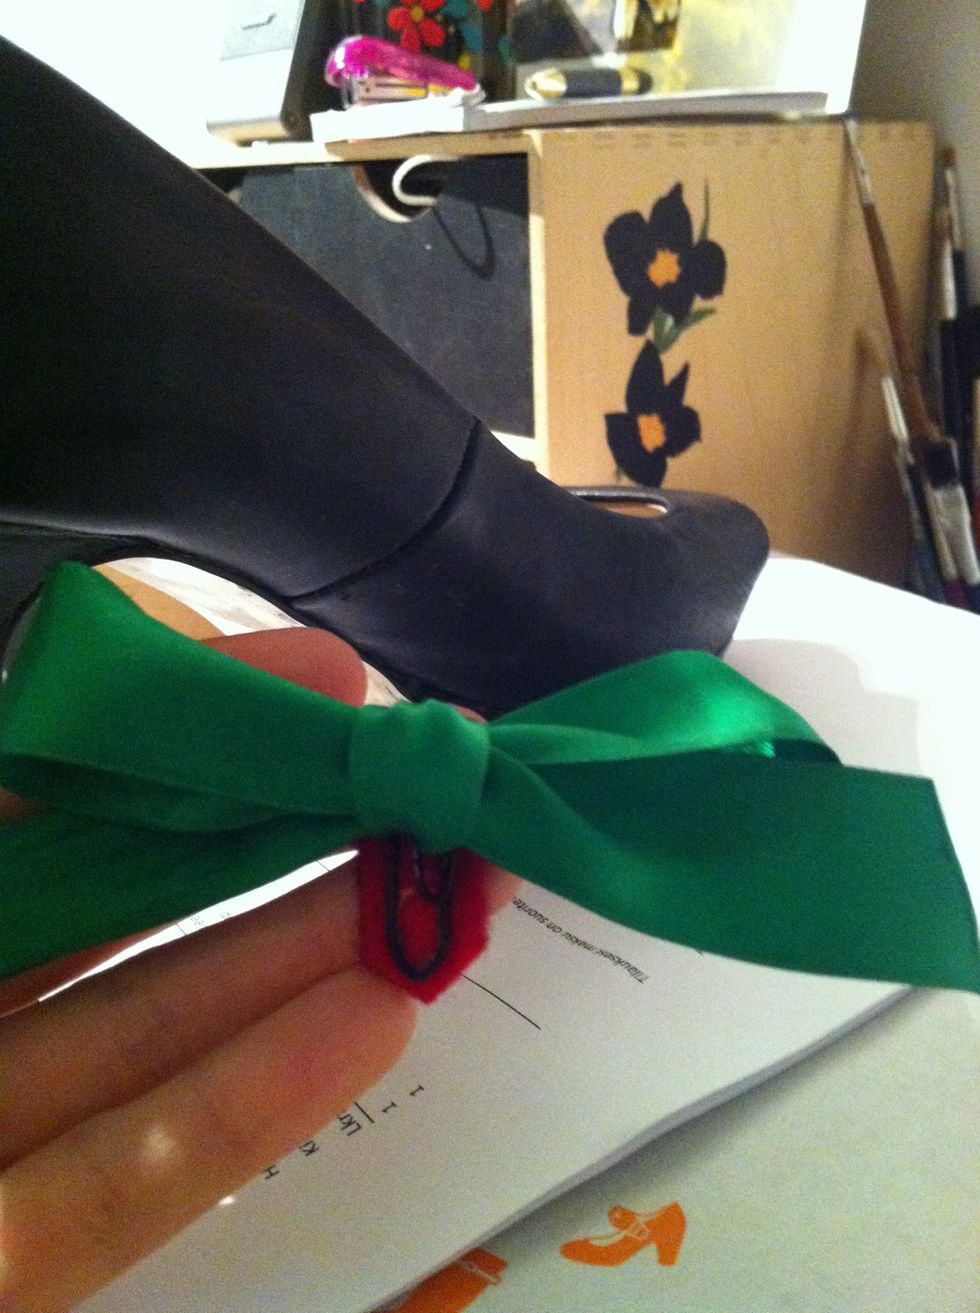
Sew a thread through the centre of the bow a couple of times exept for the top layer that will be "on show". This will keep the bow in place. Make sure the bow looks good before tying the thread.
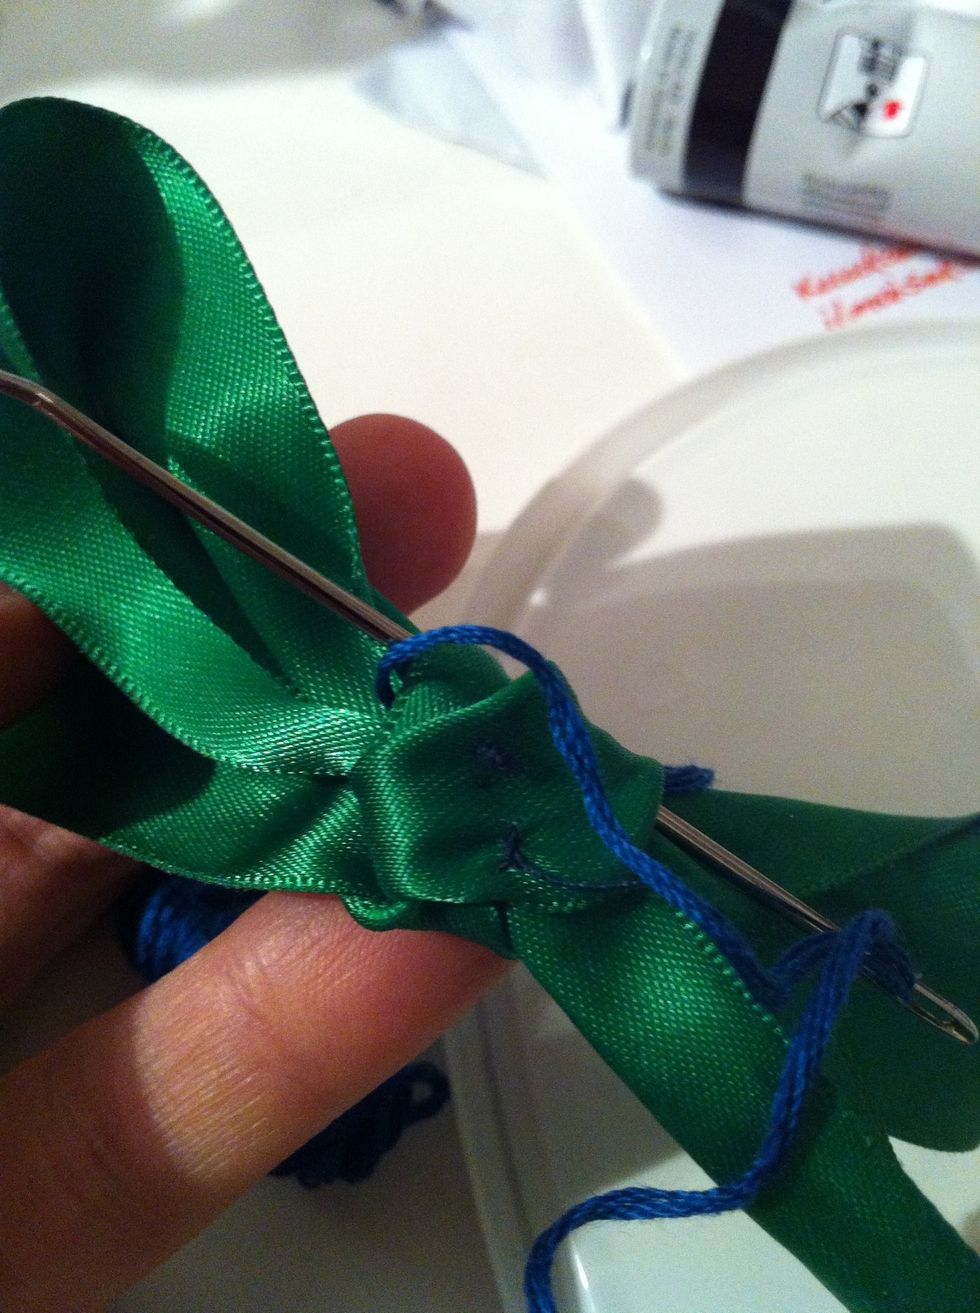
Pull the thicker thread twice through the back of the bow to create the band with which it'll be attached to the paperclip.
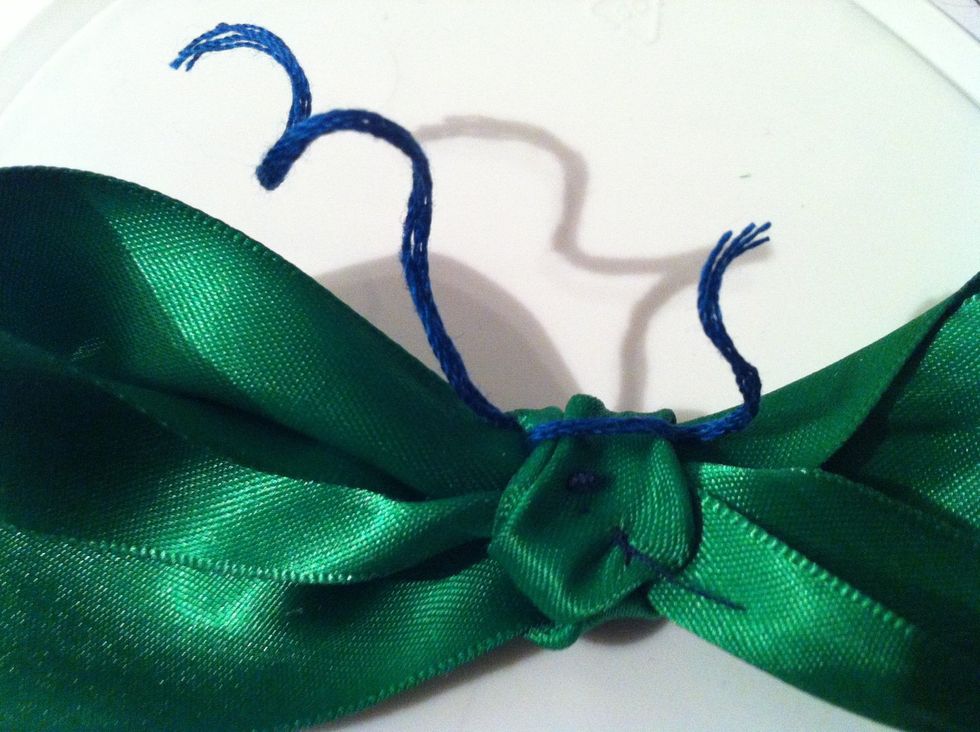
So after it should look like this. Tie a tight knot with the ends. Cut the excess away and turn the created band so that the knot goes to hide underneath the ribbon. Use fingers or a needle.

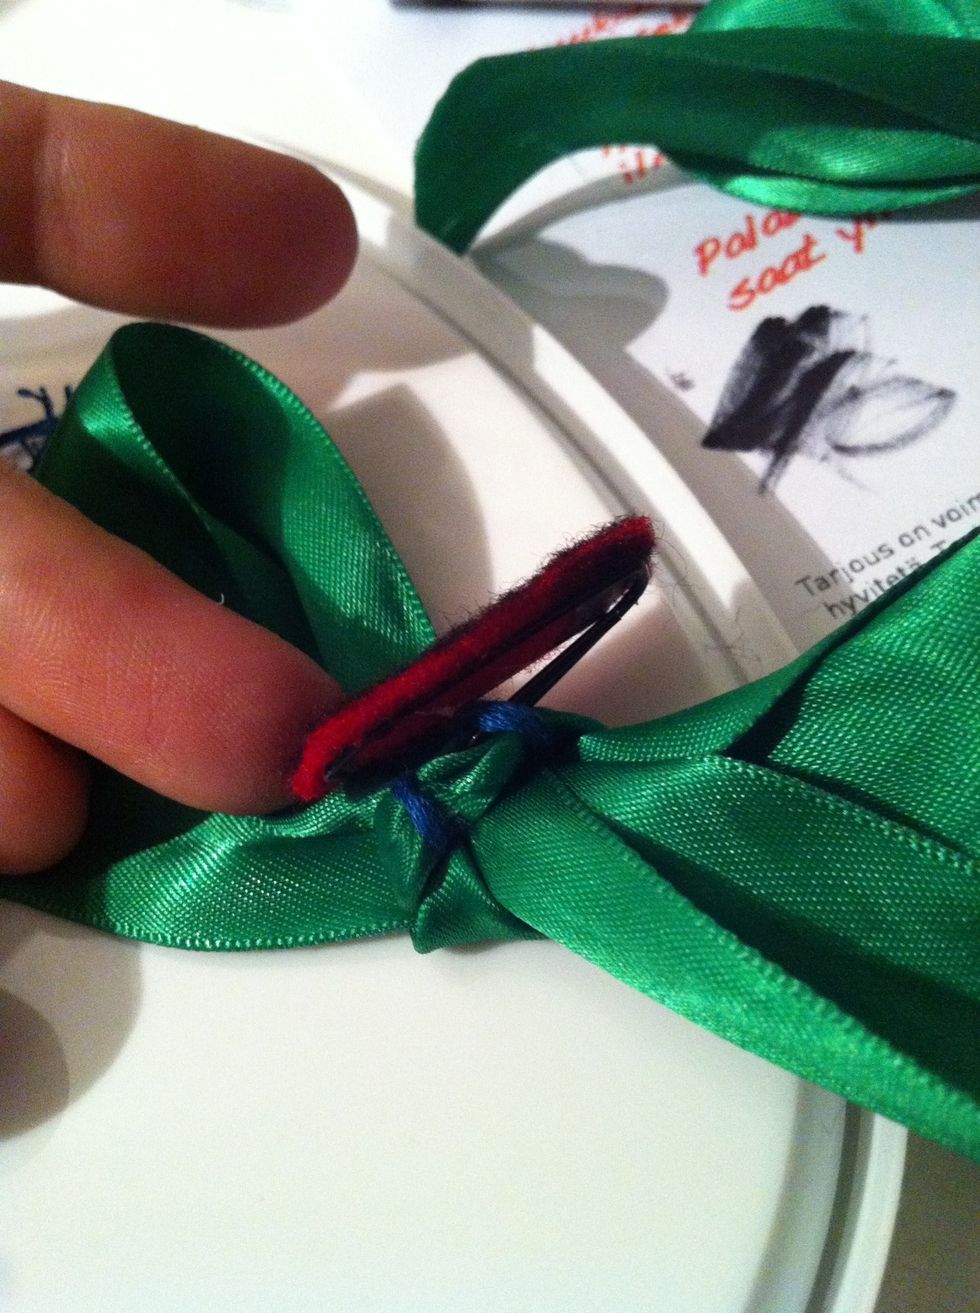
Do another but lower to make it sturdy. This is what it should look like after you have tied the two loops and turned the knots under the ribbon.
Then insert the smaller paperclip loop through both of these bands. So now you have the bow on the other side of the clip and the fabric on the other.
This is what it looks like from the front :)
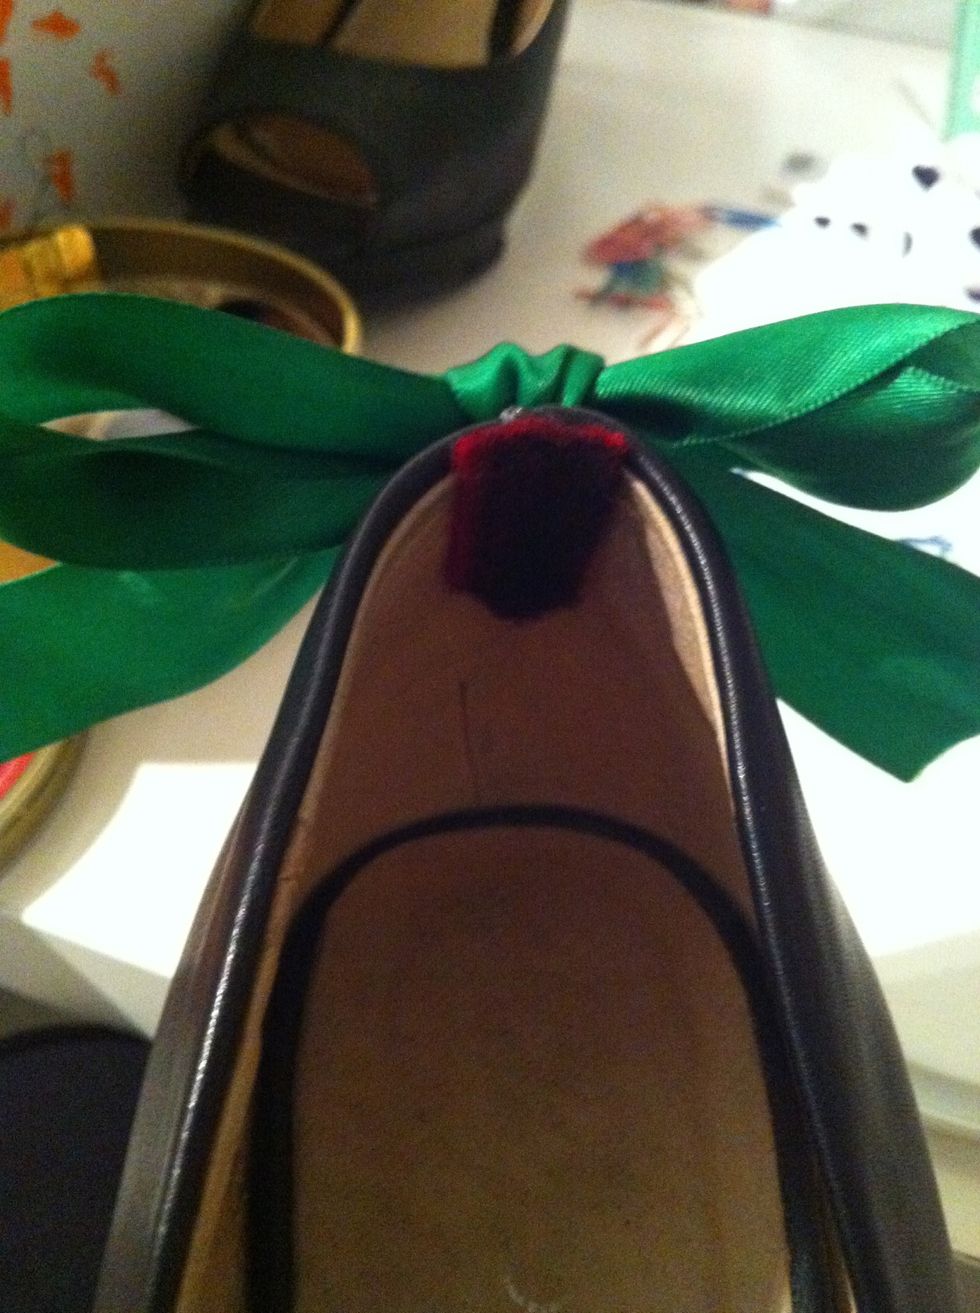
Then place the paper clip to the back of your shoe. The fabric inside will protect your foot and only the bow shows in the back.

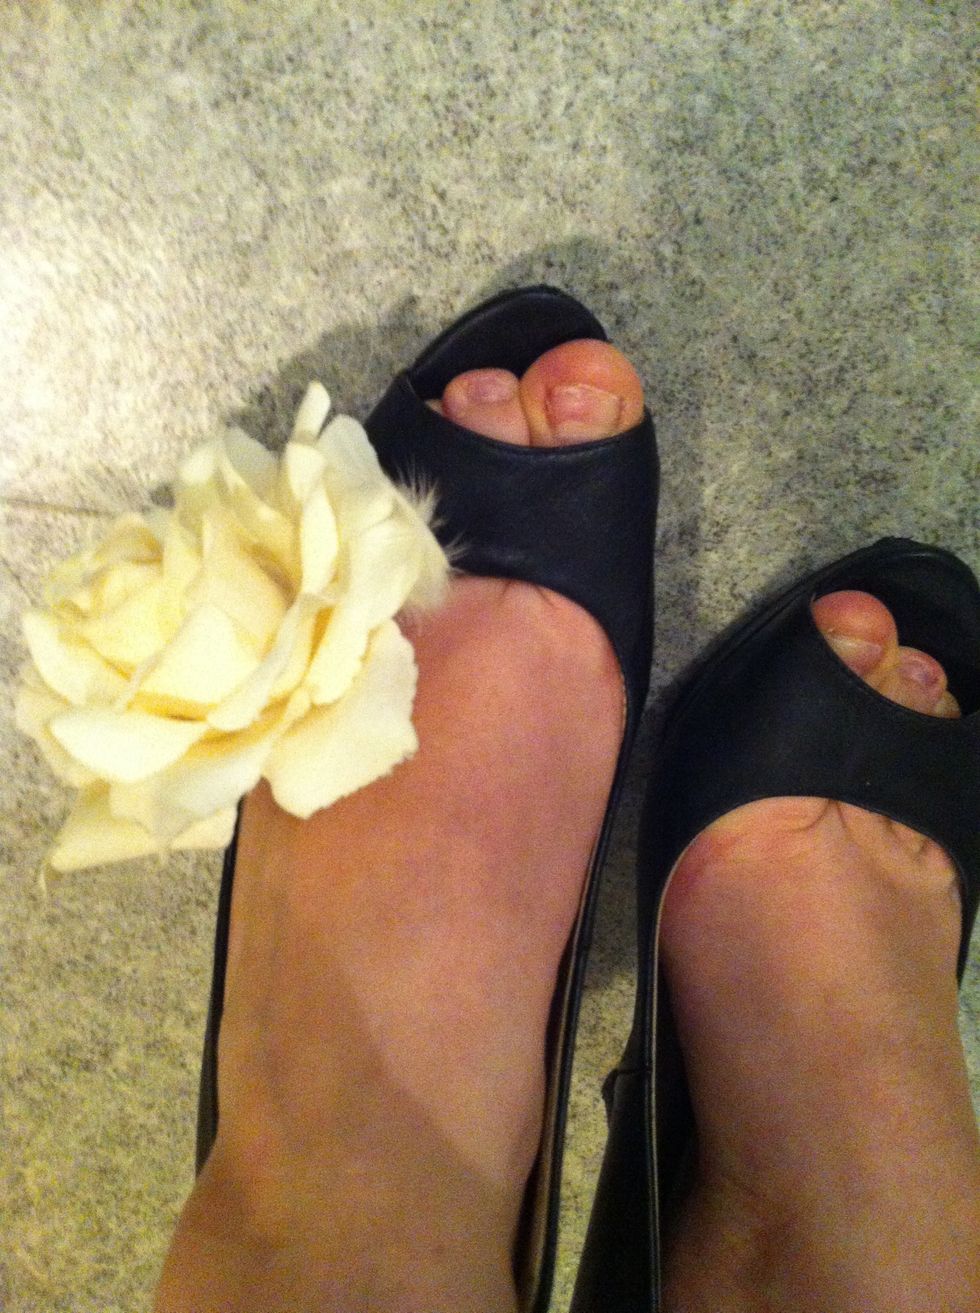
And here you have the removable decorations in use :) make these with different color ribbons to suit every bag and clutch! (Sorry about the horrible leggings in the picture :D)
Later I thought about making these for example from hair piece flowers with a similar technique! This hair piece is too big though..