The Conversation (0)
Sign Up

Use the center from either a roll of tissue or paper towels. Cut rings 1.25" wide. You can flatten the rings a bit to make them easy to cut out. Since they are covered w/paper, you can reshape.
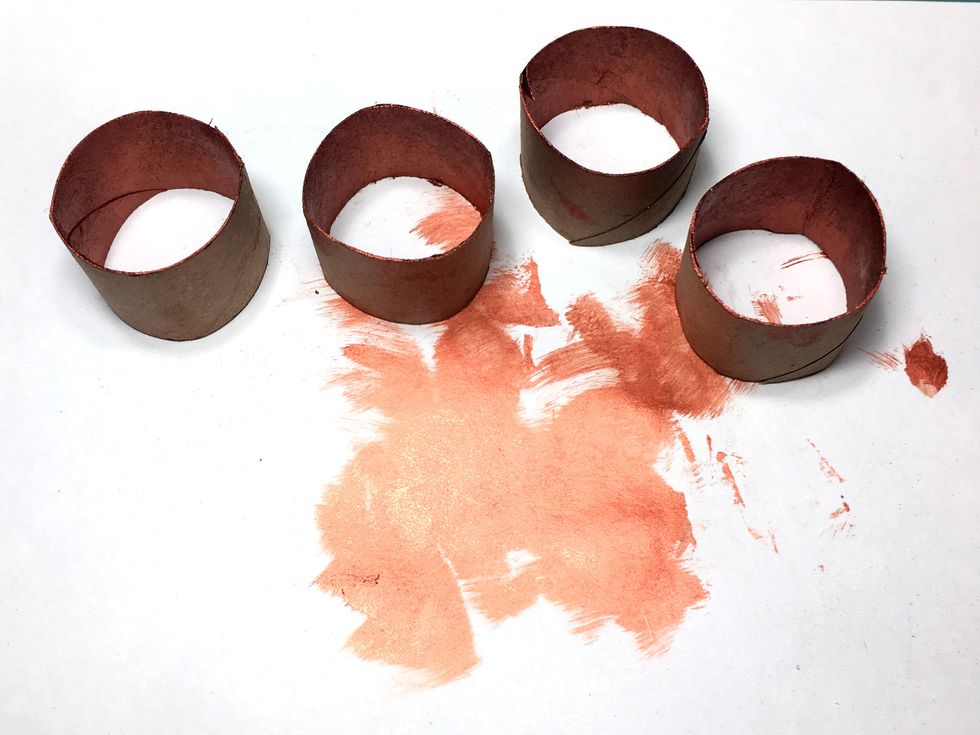
Paint the inside of the rings with any acrylic paint. Alternatively, you could cover the inside of the rings with design paper.

Cut 6" x 1 3/8" strips of design paper. Then cut decorative borders from the October Collective paper. Cut these in half & glue to the design paper.Don't worry about the part that isn't covered.
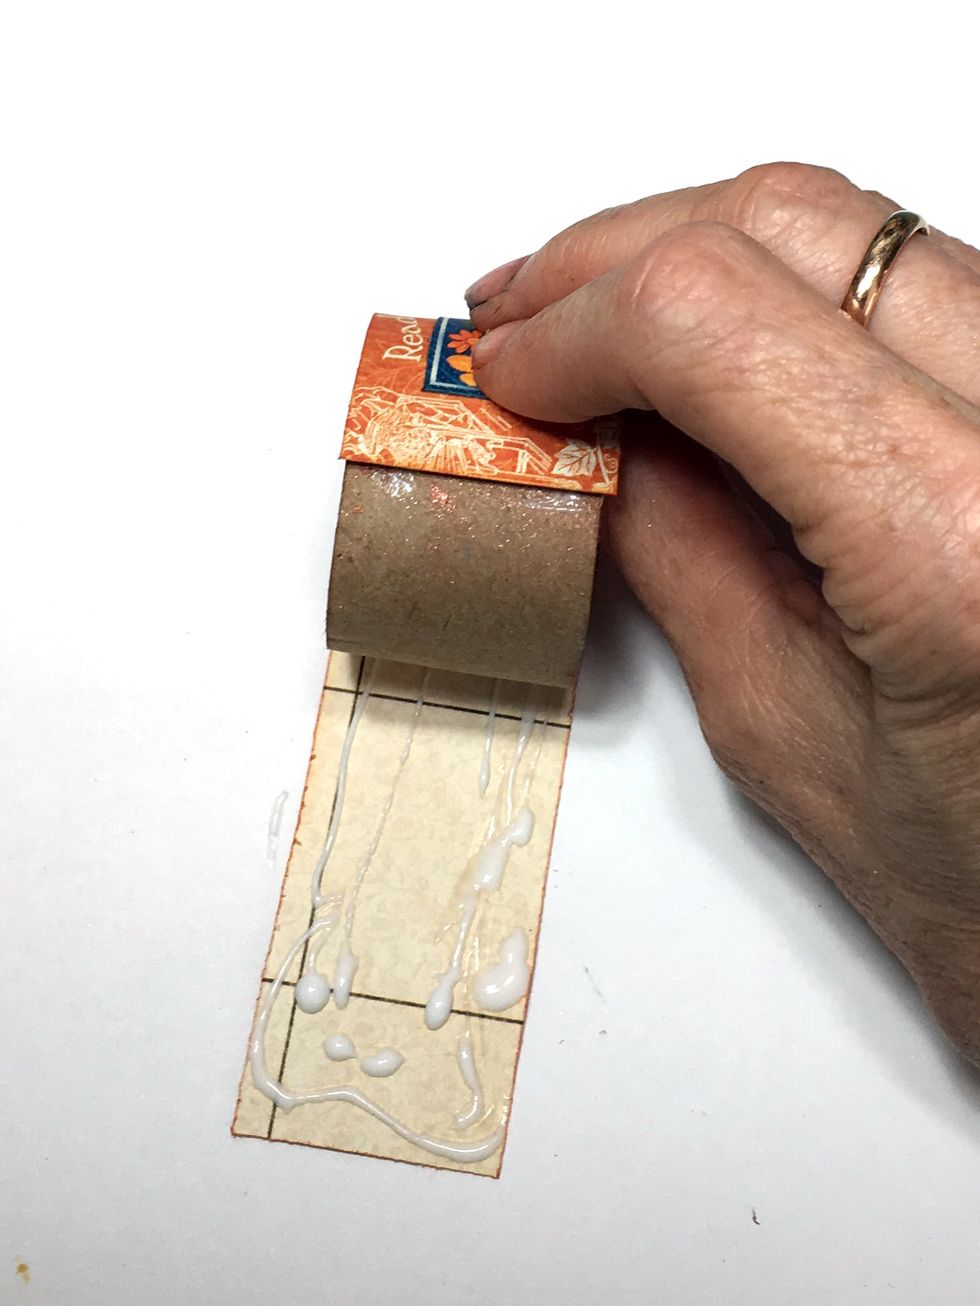
Glue the strips to the rings starting with the end that is not fully covered.
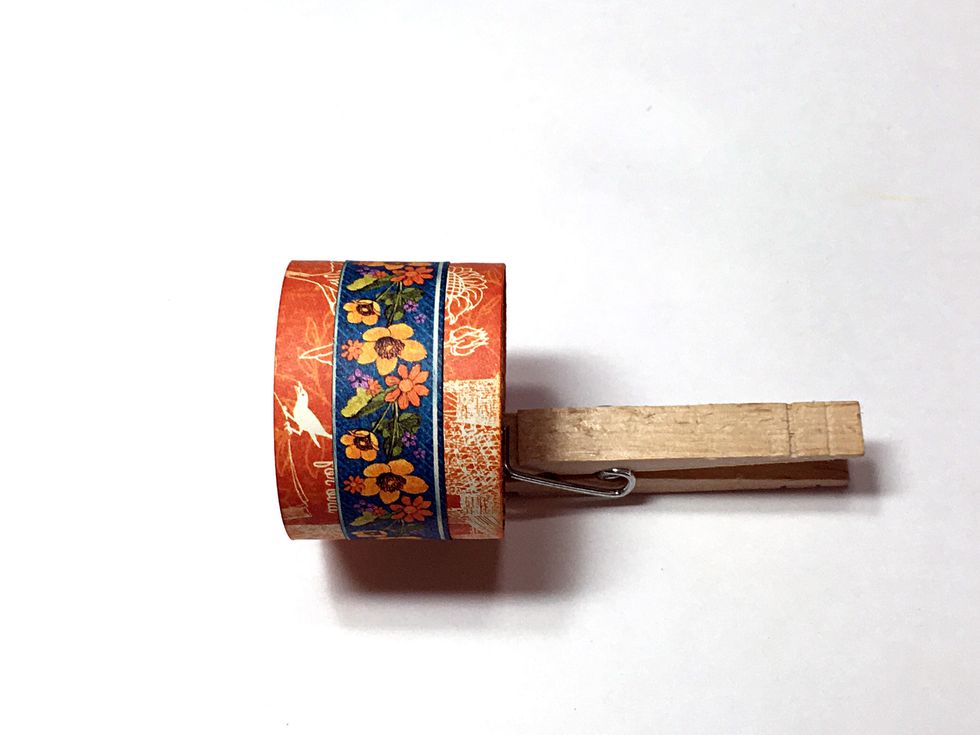
Wrap all the way around the ring and glue securely. A clothespin works great to hold the paper in place while the glue dries.

There is just a tiny bit that is not covered by the border strip. We'll cover that with flowers and it'll look great!

Glue on on some flowers and that's all there is to it!

Cut rectangles 2.5" x 3" from the November Montage design paper.
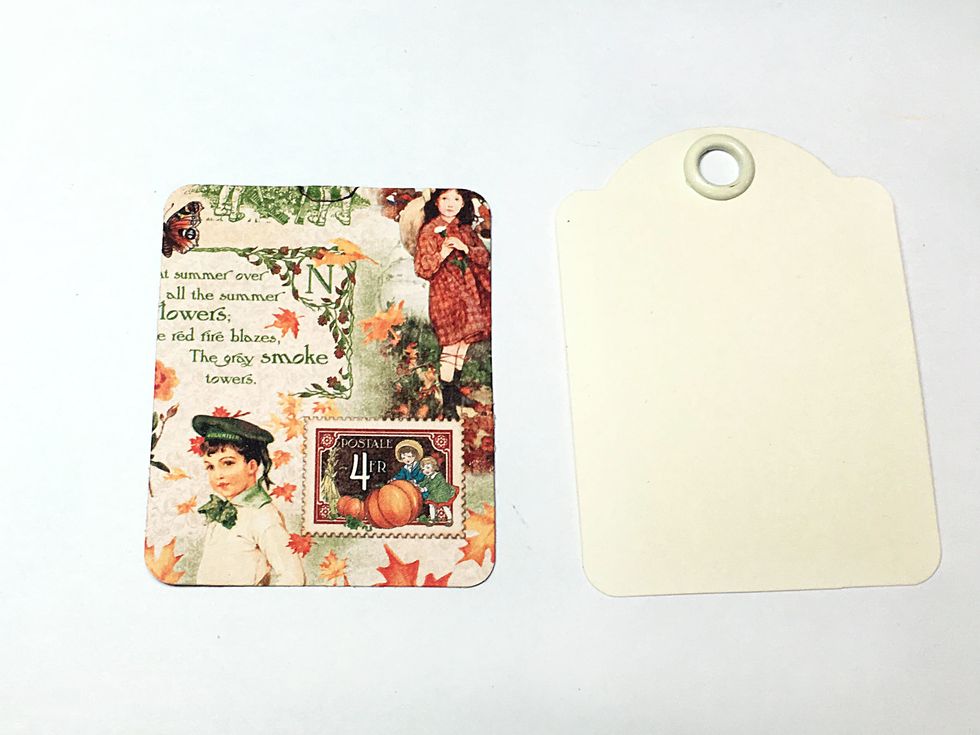
Round the corners. Next we're going to adhere to the ATC tags so mark where the grommet will overlap the design paper.
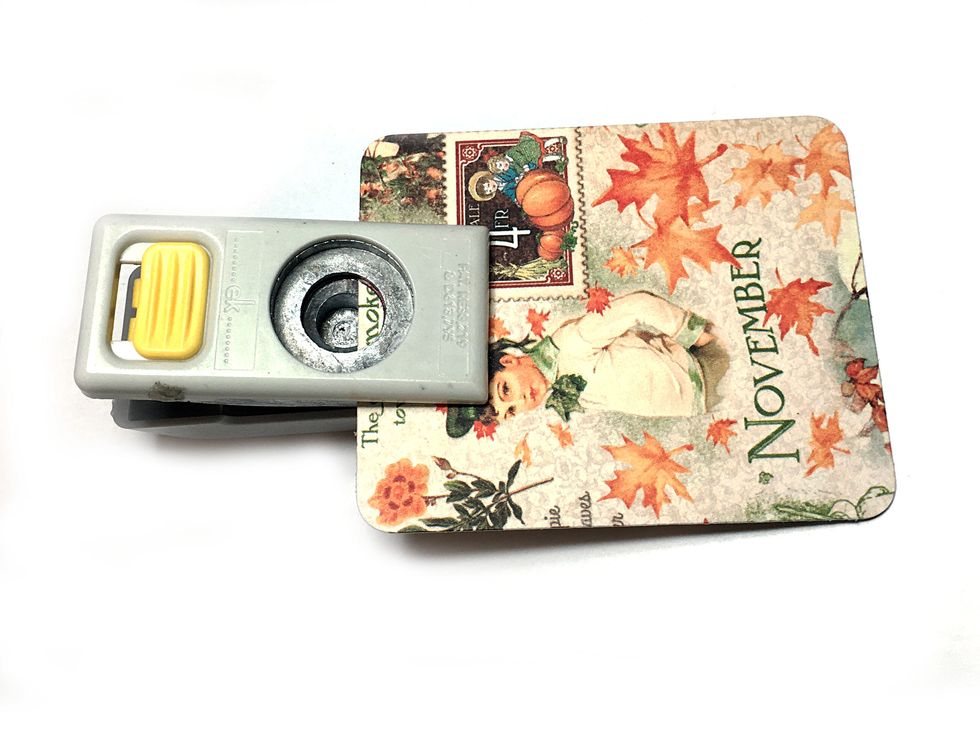
If you have a 1/2" circle punch, that works great for cutting out where the grommet overlaps. Otherwise just trim with scissors.
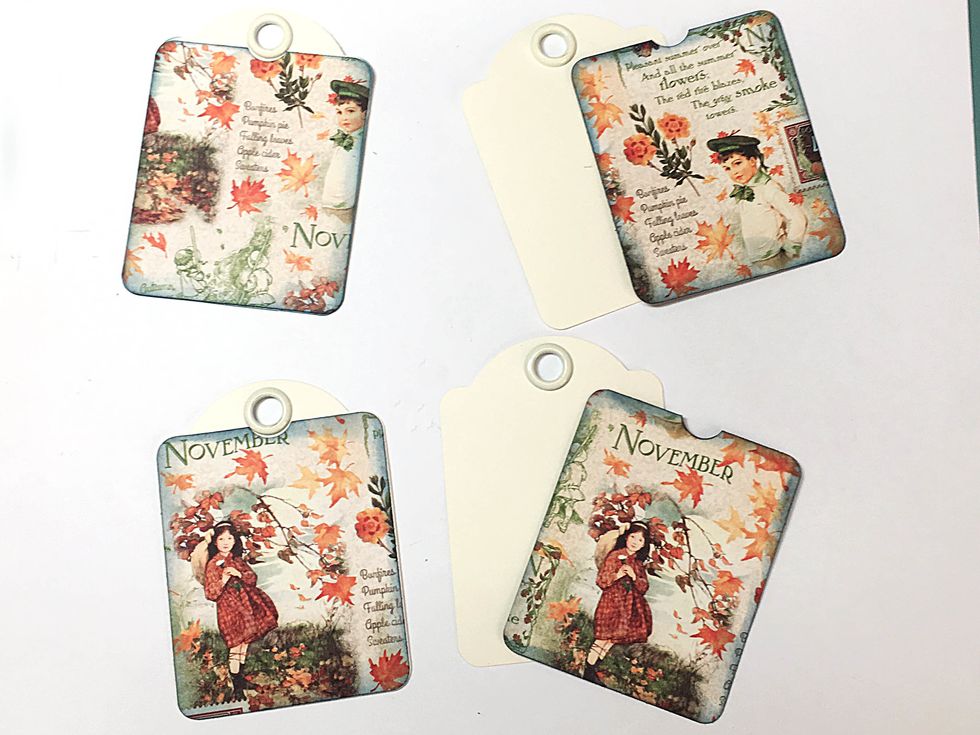
Ink and glue the design paper to the ATC tags.

Turn the tags into placecards by adding names to them. Take a scrap of paper slightly narrower than your letters and adhere the letters to the scrap. I find this is an easy way to line up letters.
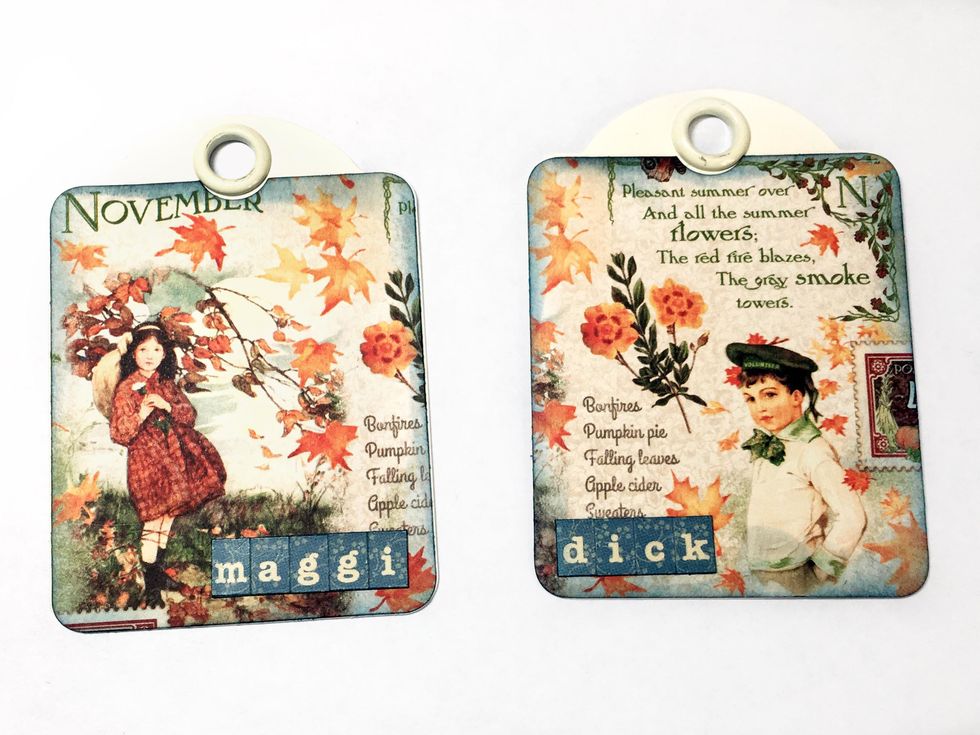
Adhere the names to the ATC tags.

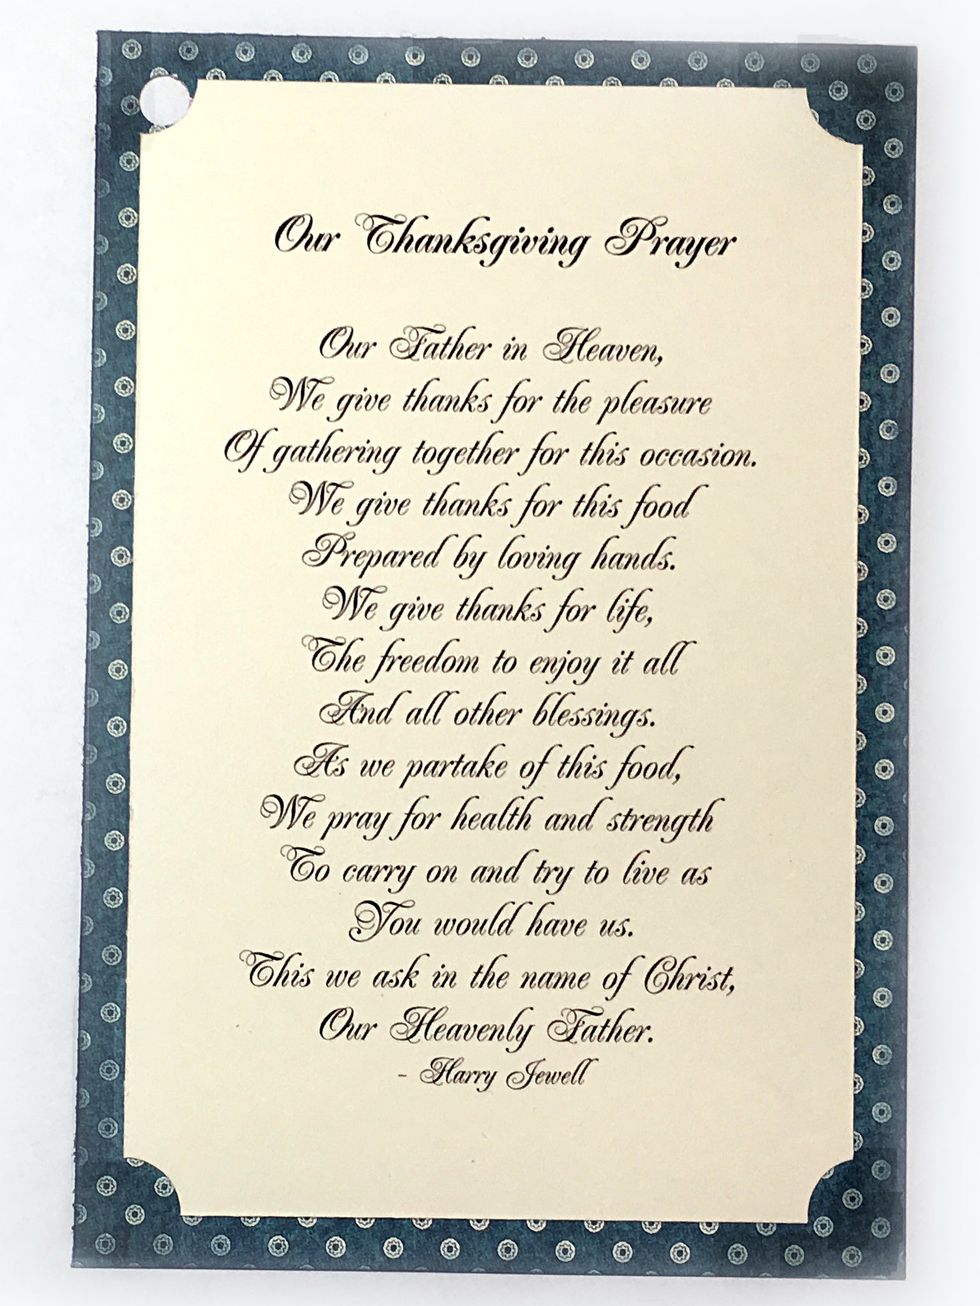
Now lets make a card to go with the name tags. You could print your menu on these cards. I have chosen to add a Thanksgiving prayer to my cards. Cut paper to sizes shown in the photo.

Clip the corners of the menu/prayer card if you wish and then adhere to the design paper.
Punch a hole in the upper left corner.
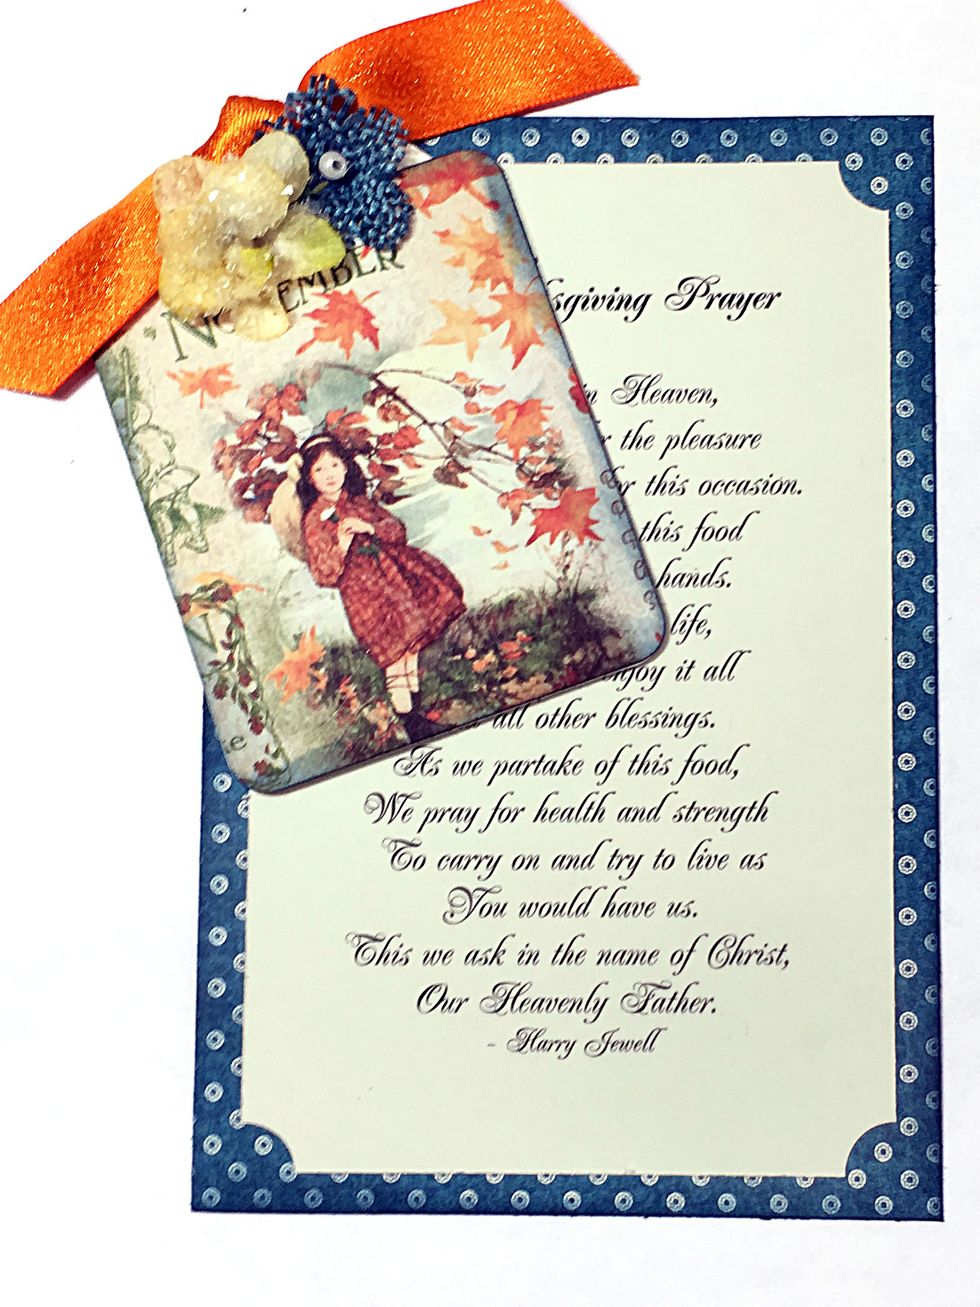
Thread a ribbon through the ATC tag and card and tie them together. Add a couple flowers to make it even prettier!
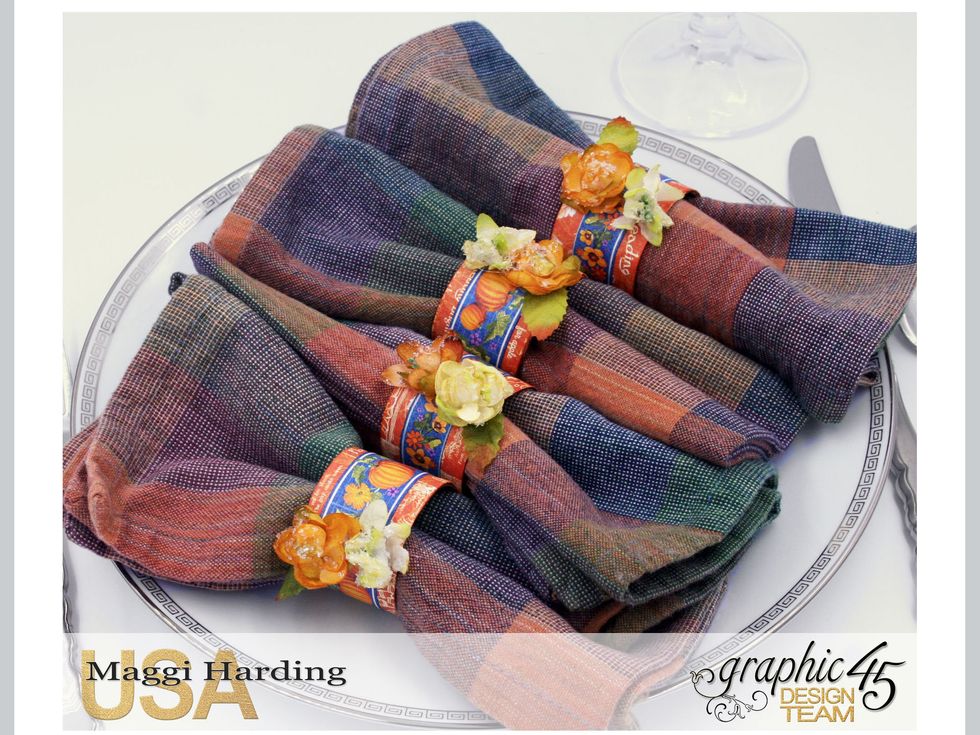
Finished napkin rings.
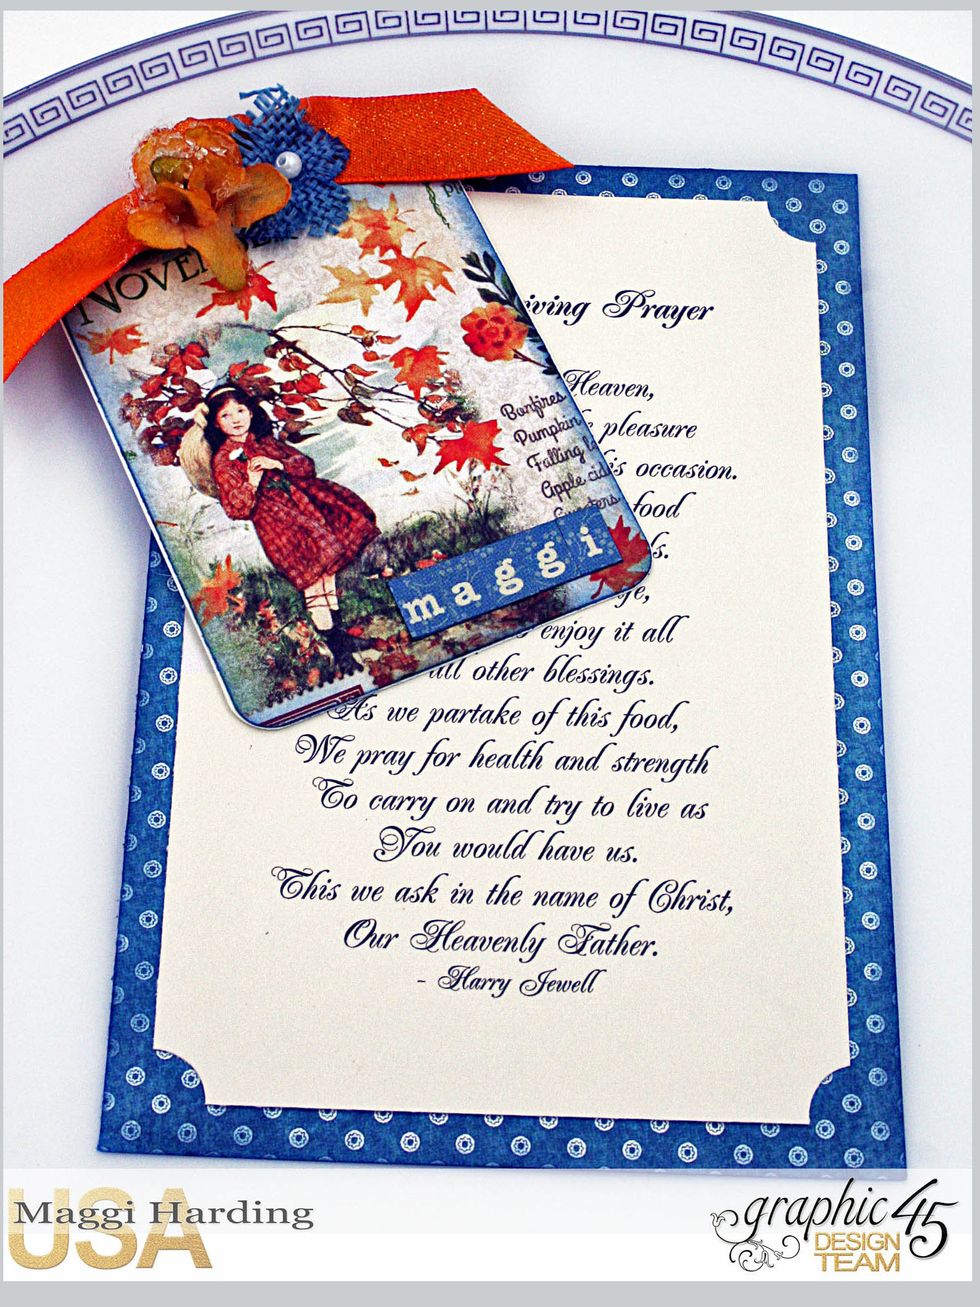
Finished place cards.

I currently design for Graphic 45, Creative Embellishments, Petaloo Flowers, & Cheery Lynn Designs. Tutorials on my blog:bit.ly/1Sem2J0. Follow me on Pinterest:bit.ly/1HhWvOx Thanks so much!