The Conversation (0)
Sign Up
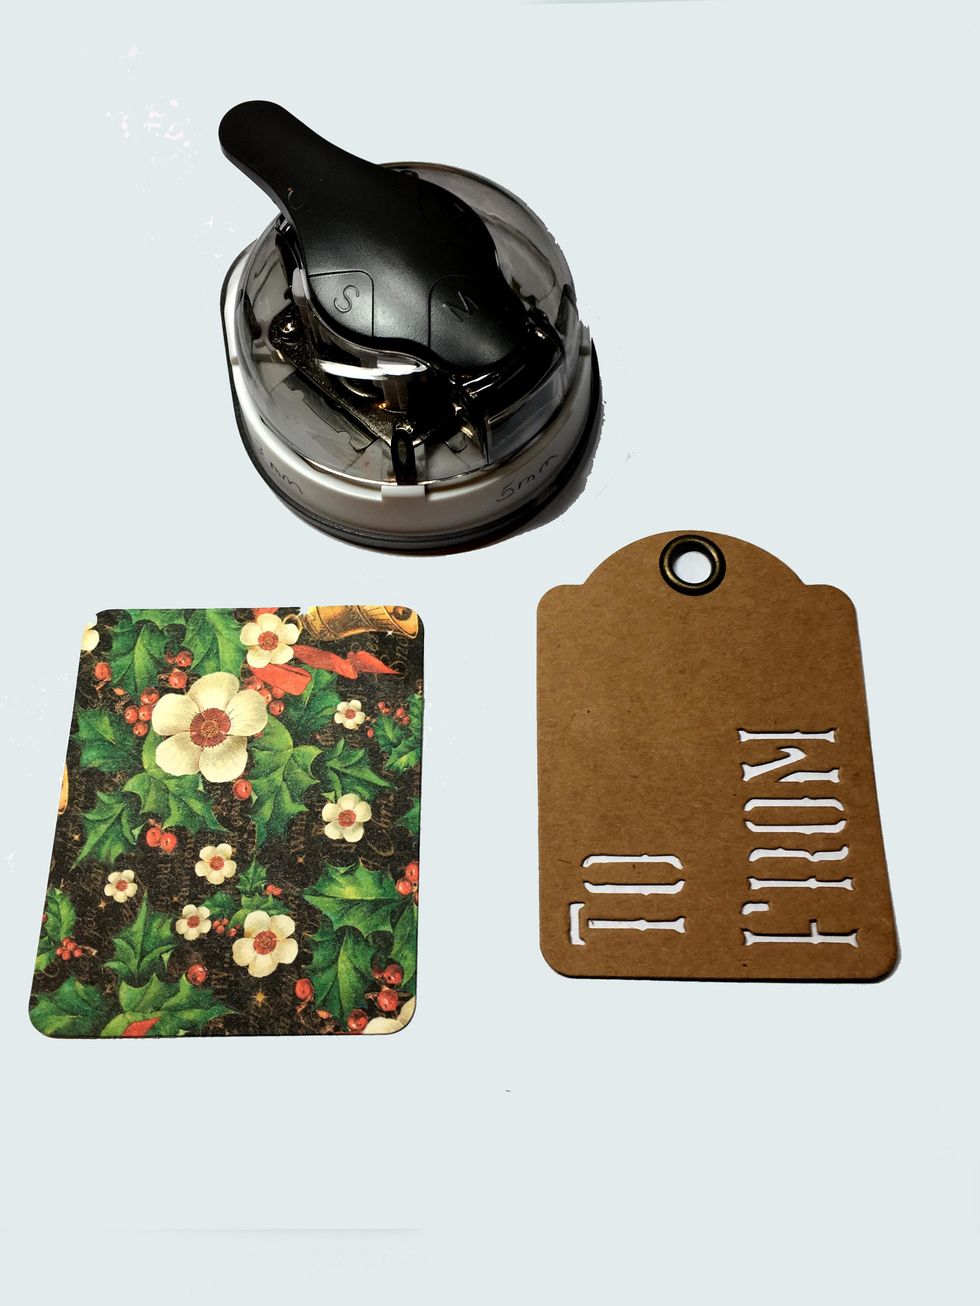
Cut a rectangle 2 3/4" x 3 1/4". Use a 5mm corner rounder, if you have one, to round the corners. Otherwise just give a quick snip to the corners or leave them as is.
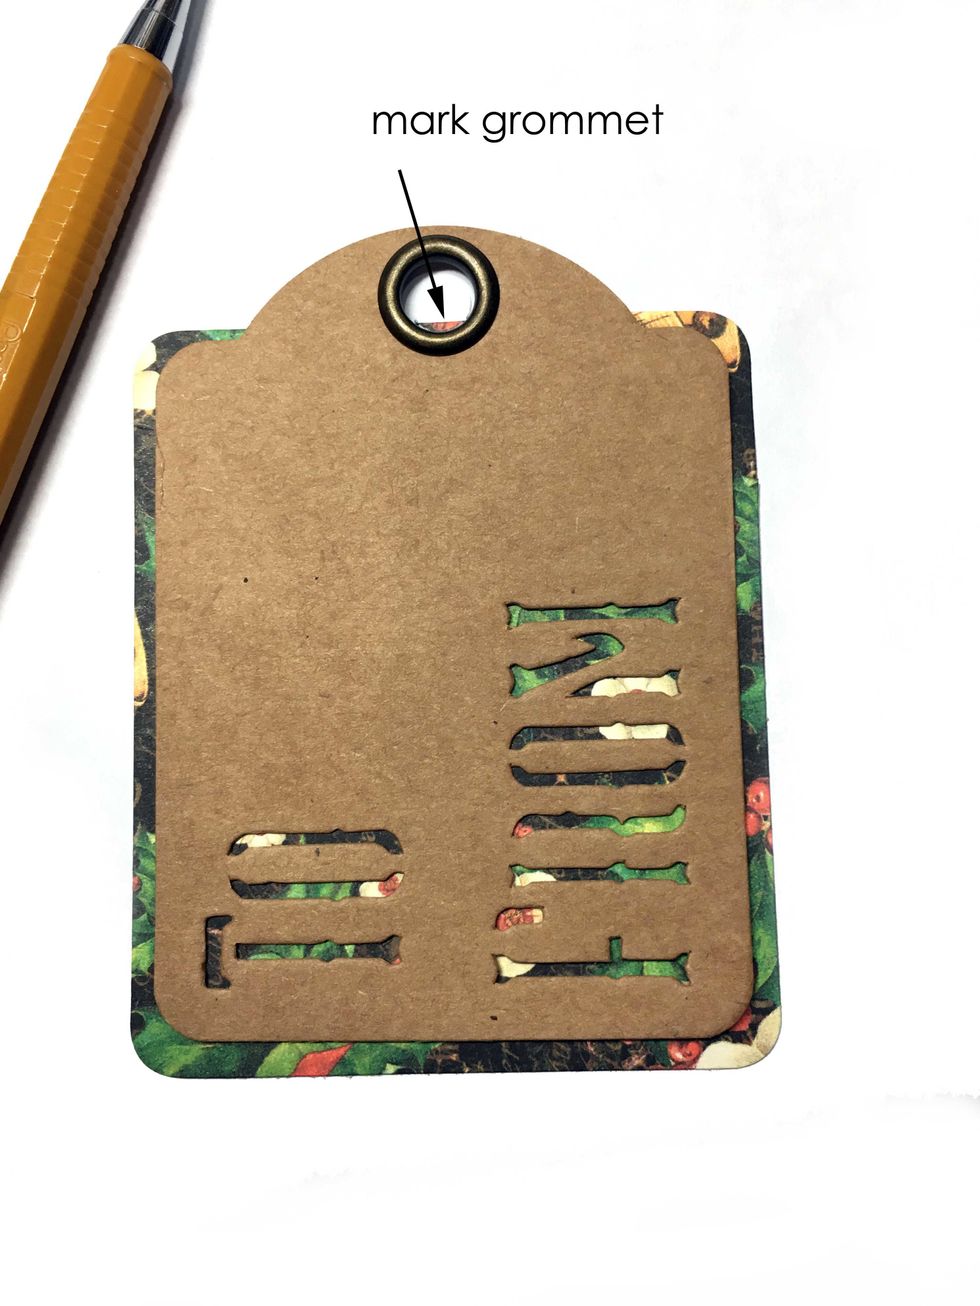
Take a Graphic 45 Staples ATC tag and mark where the grommet is on the design paper rectangle with a pencil.
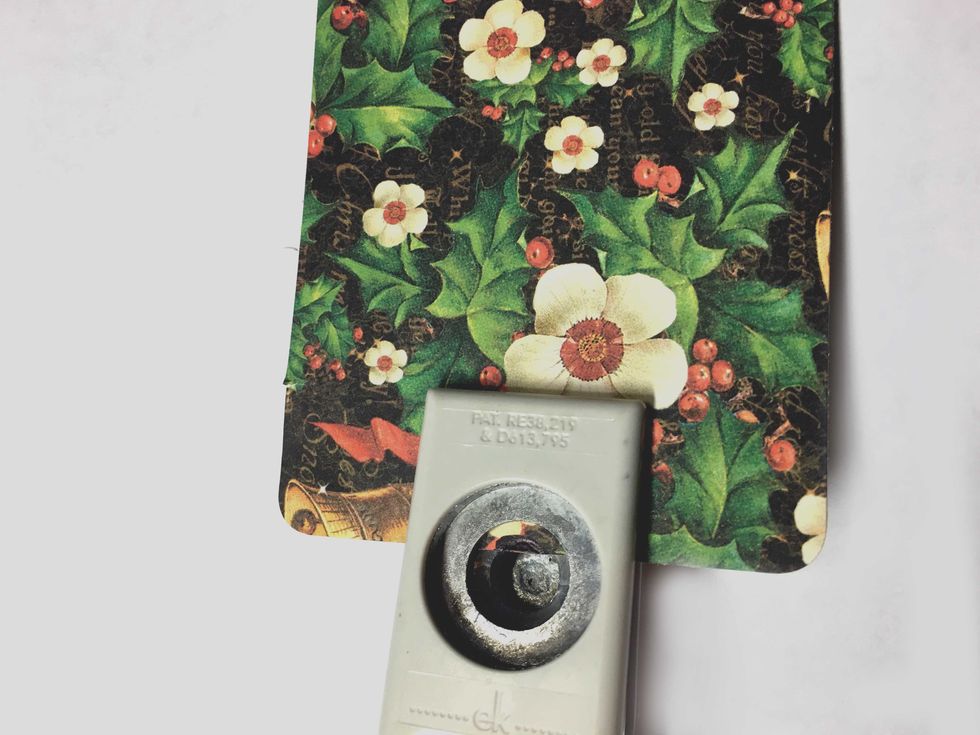
Use a 1/2" circle punch and punch just beyonond your pencil marking so that the paper will fit around the grommet.
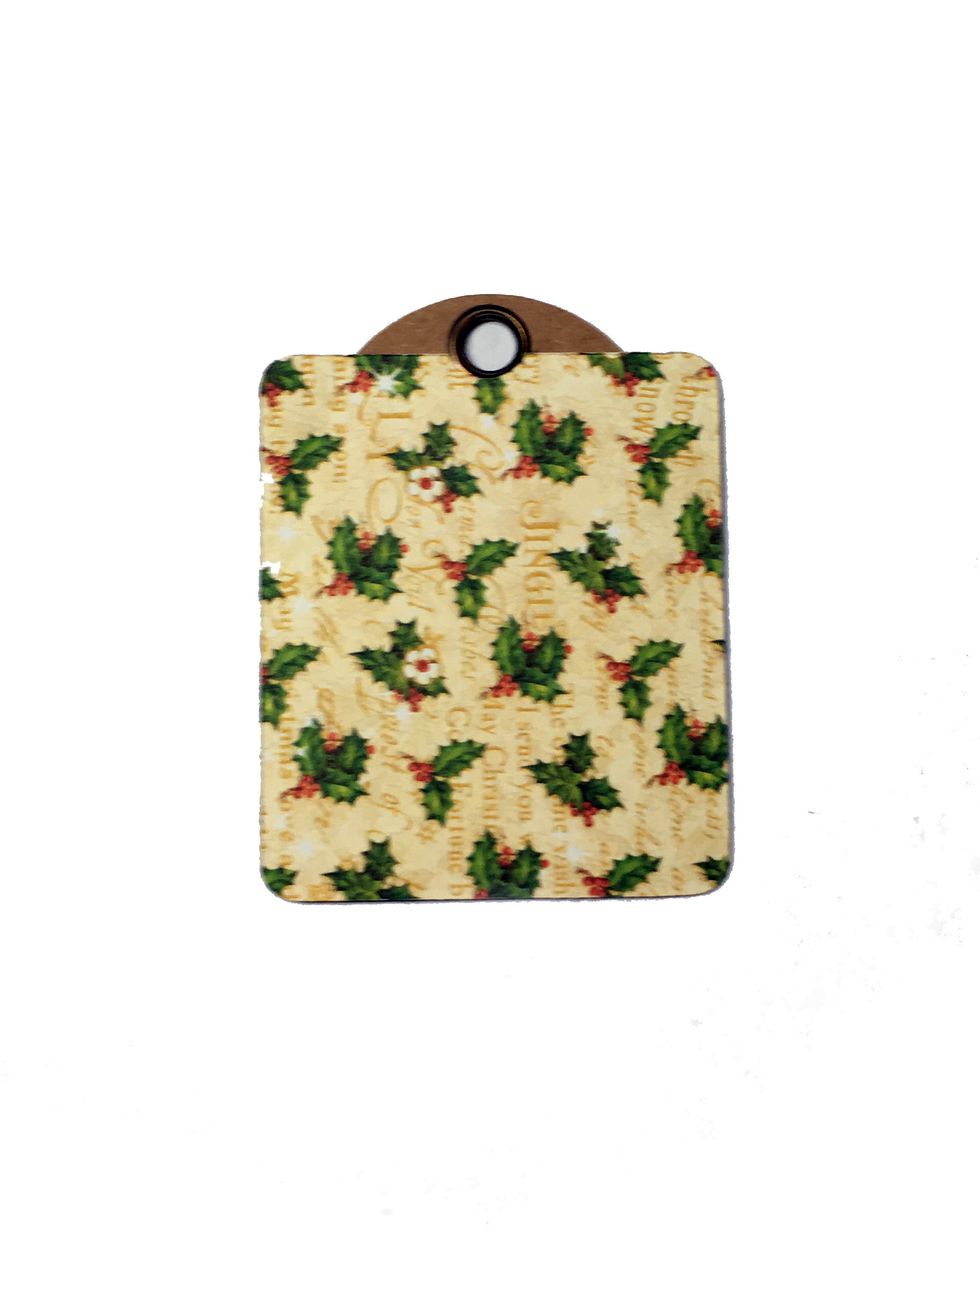
Here you can see how the paper fits around the grommet.
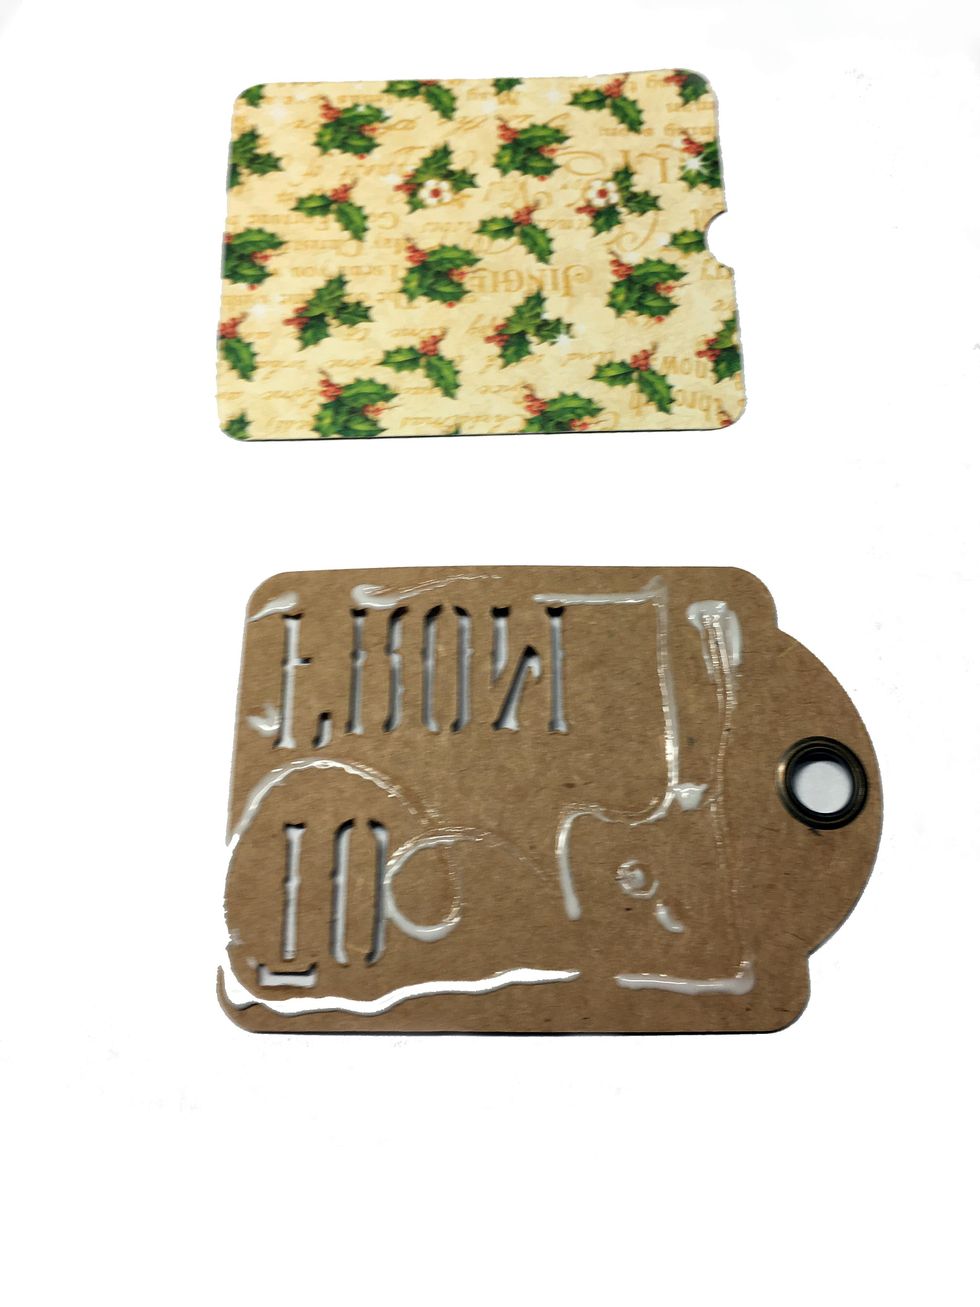
Apply glue to the backside of the tag.
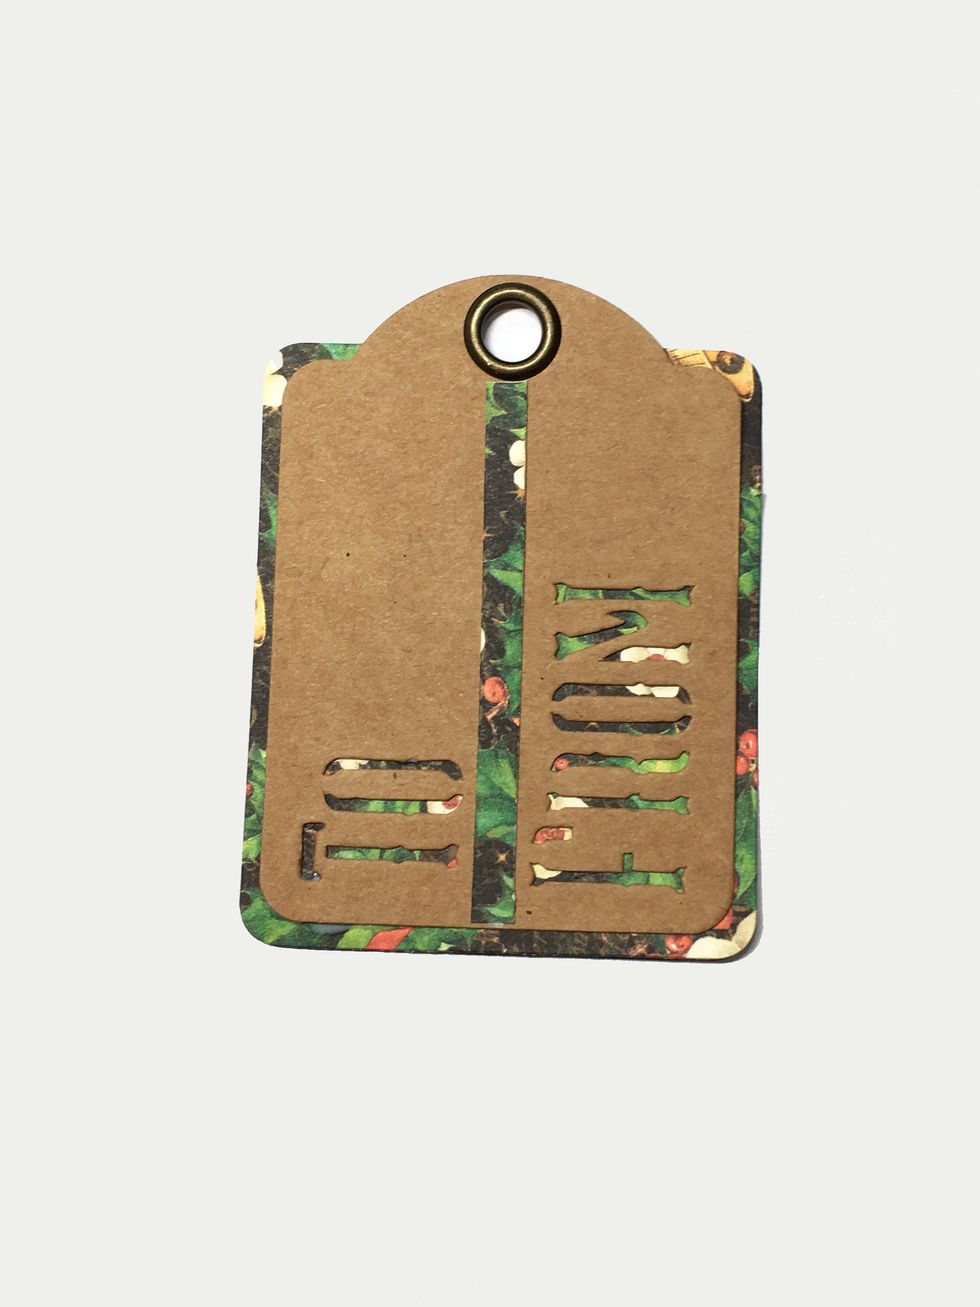
Adhere the tag to the paper and flip to the right side. Now glue a 1/4" x 3" strip of paper between the To and From words.
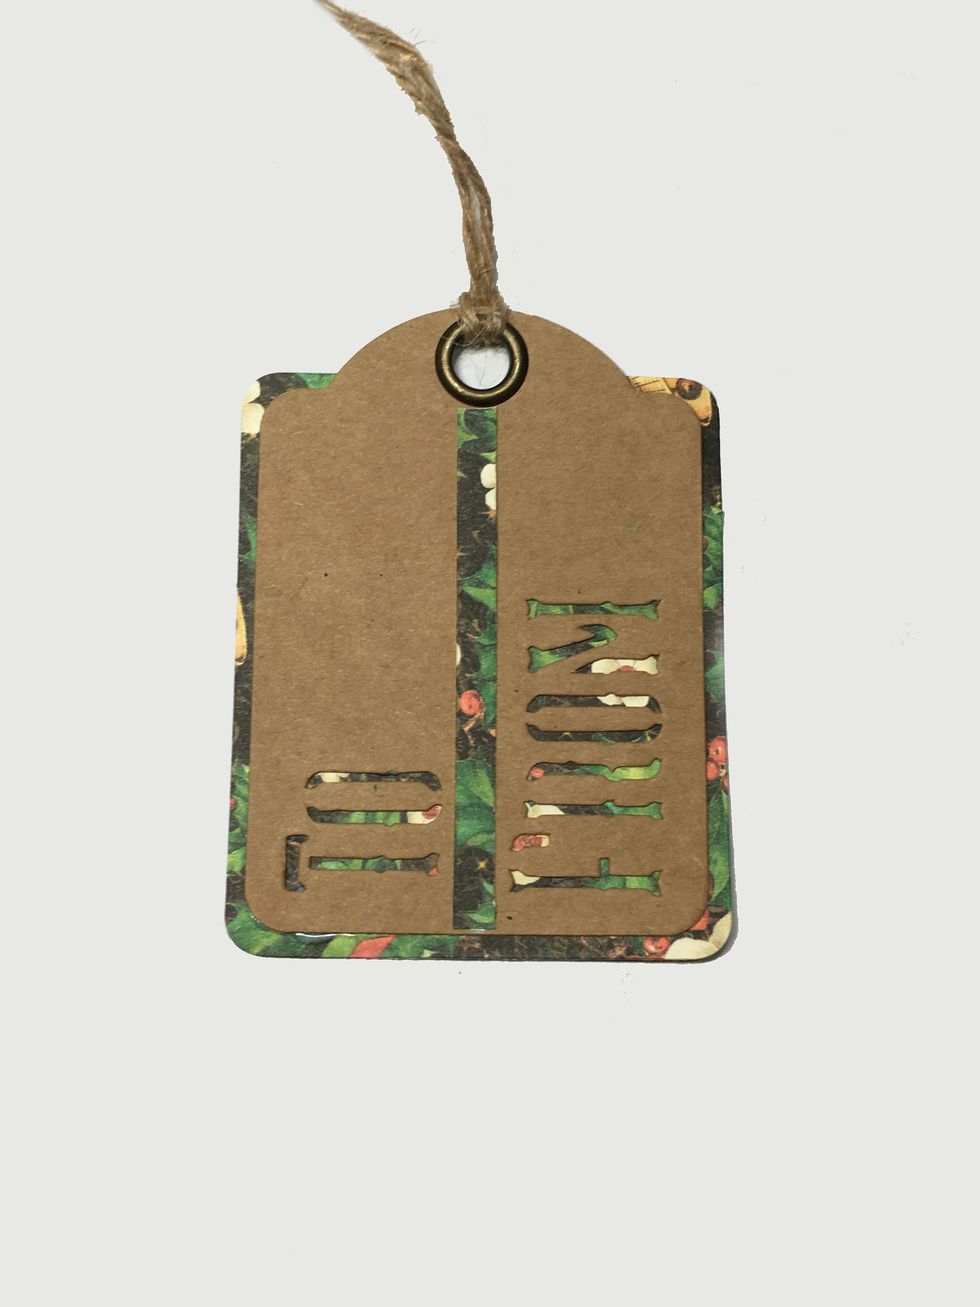
Cut a piece of twine about 9" long and attach to the tag.

Tie a ribbon on the tag. I just make a single loop like the beginning of tieing a square knot. Run the ribbon through the grommet and bring the front ribbon over the back ribbon making a loop.
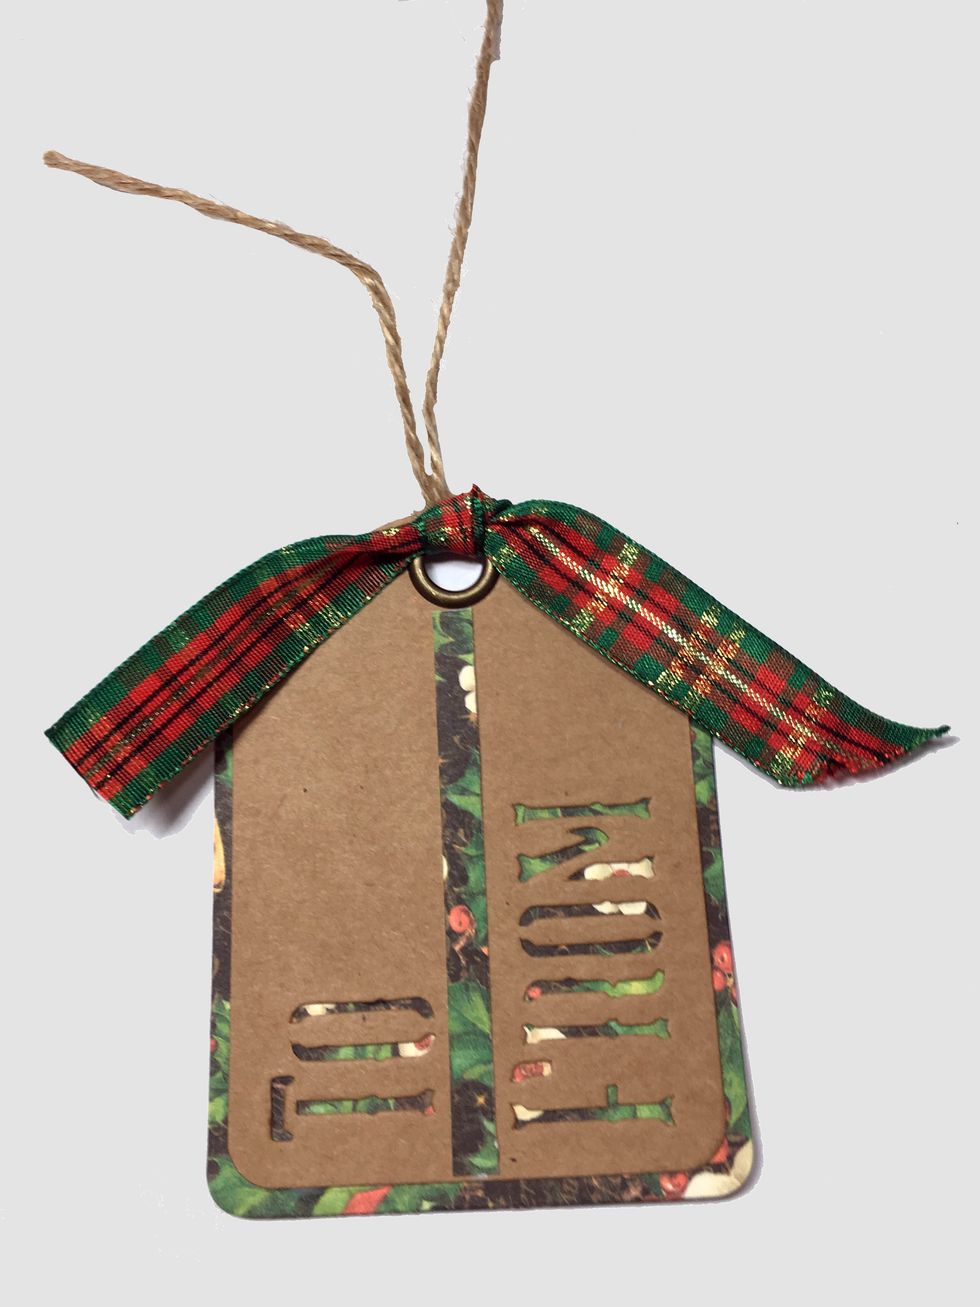
Tighten the knot and it should look something like this. Don't fret over this too much. We're going to put a flower over it so the knot won't show. Trim the tails of the ribbon.
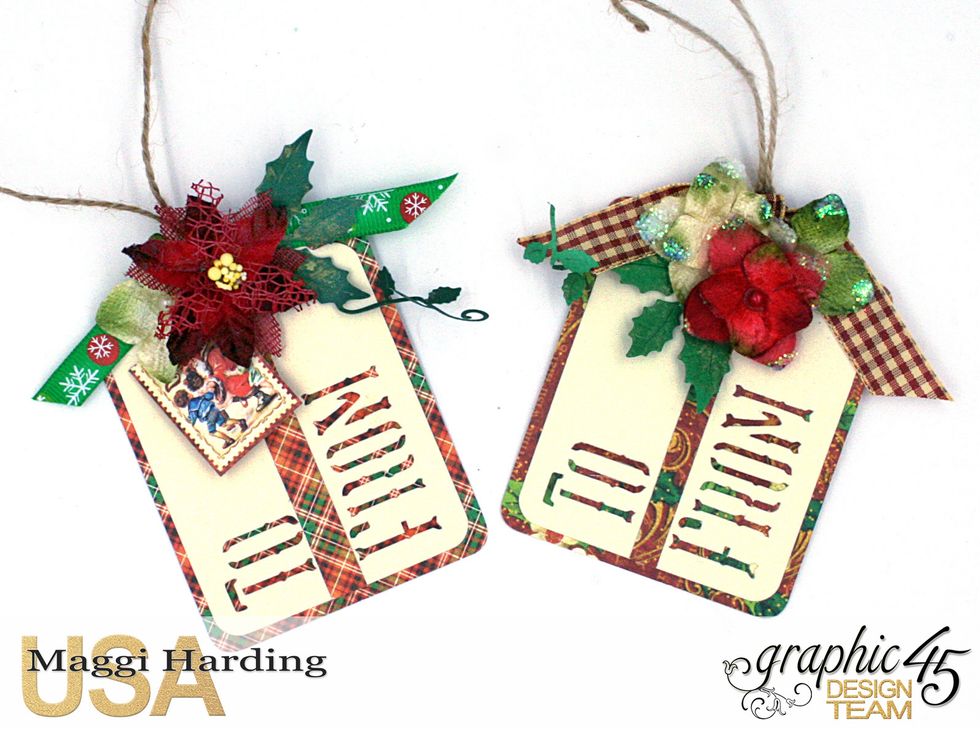
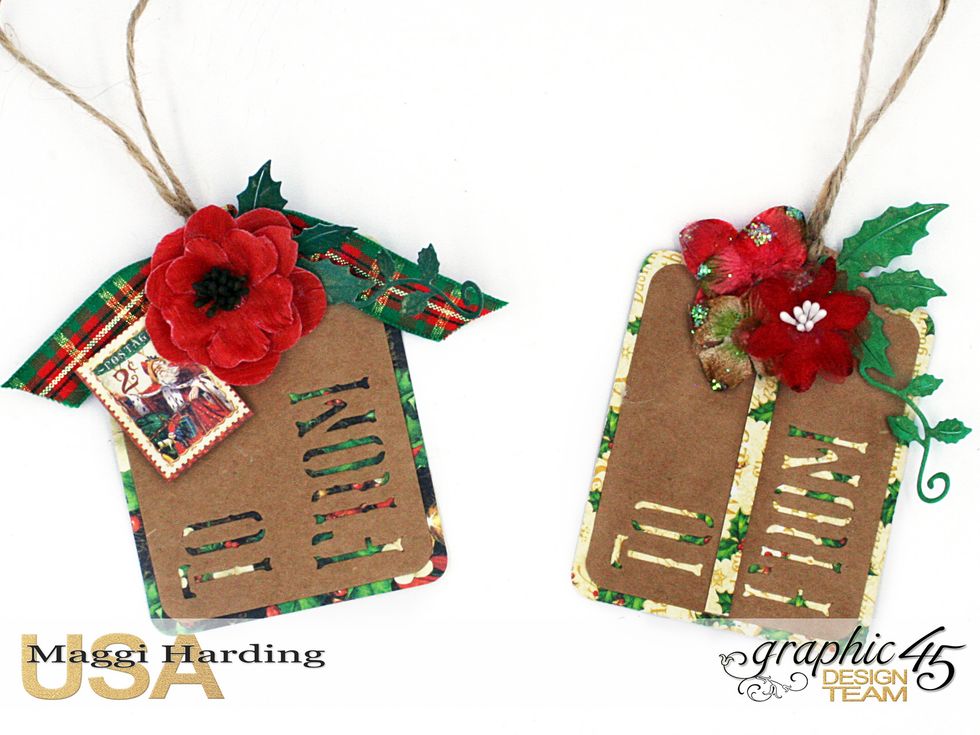
Now embellish your tags as you please. I used flowers, postage stamp cut-aparts, and diecut holly leaves to embellish my tags.
More examples.
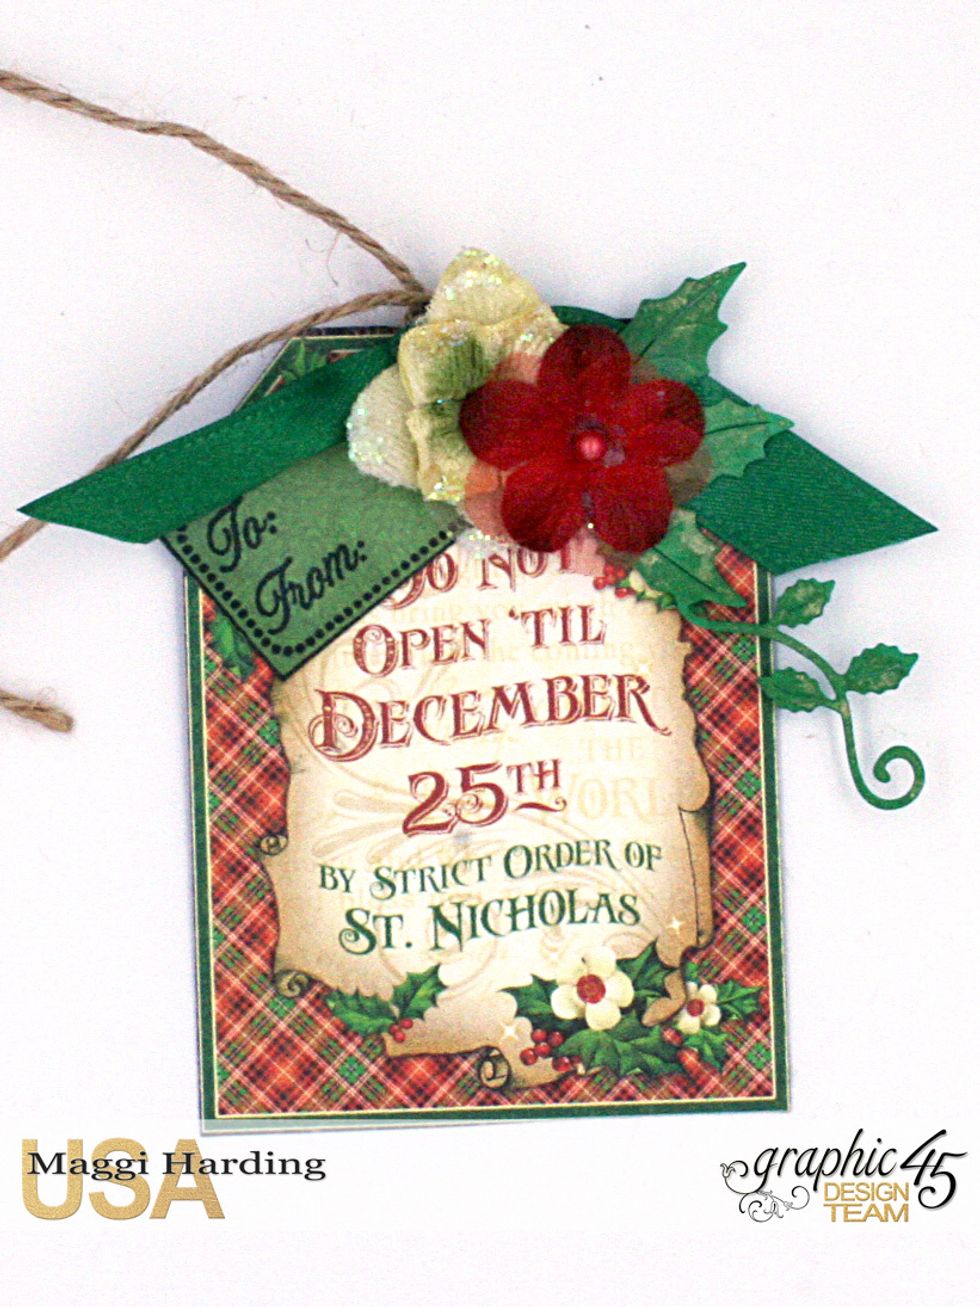
This one was really quick! I cut out a tag cut-apart from the St Nicholas collection & embellished it. I used a to/from stamp to add to my tag. You could easily write the to/from on the tag back.
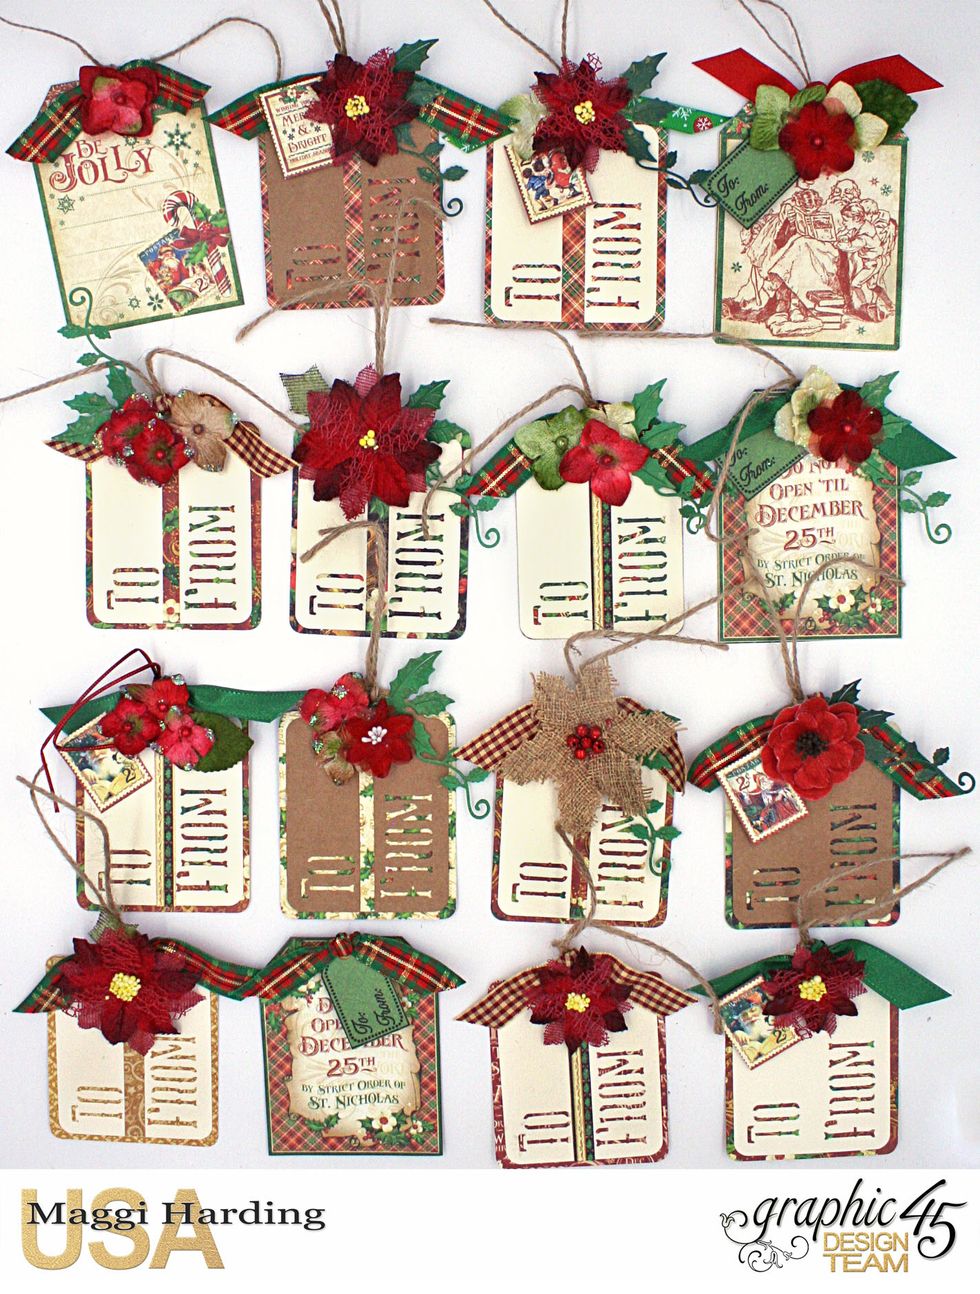
I made lots of tags all similarly embellished. I made 18 in about an hour. Now that's my kind of quick and easy!

I currently design for Graphic 45, Creative Embellishments, Petaloo, & Cheery Lynn Designs. Tutorials on my blog:bit.ly/1Sem2J0. Follow me on Pinterest:bit.ly/1HhWvOx Thanks so much!