The Conversation (0)
Sign Up
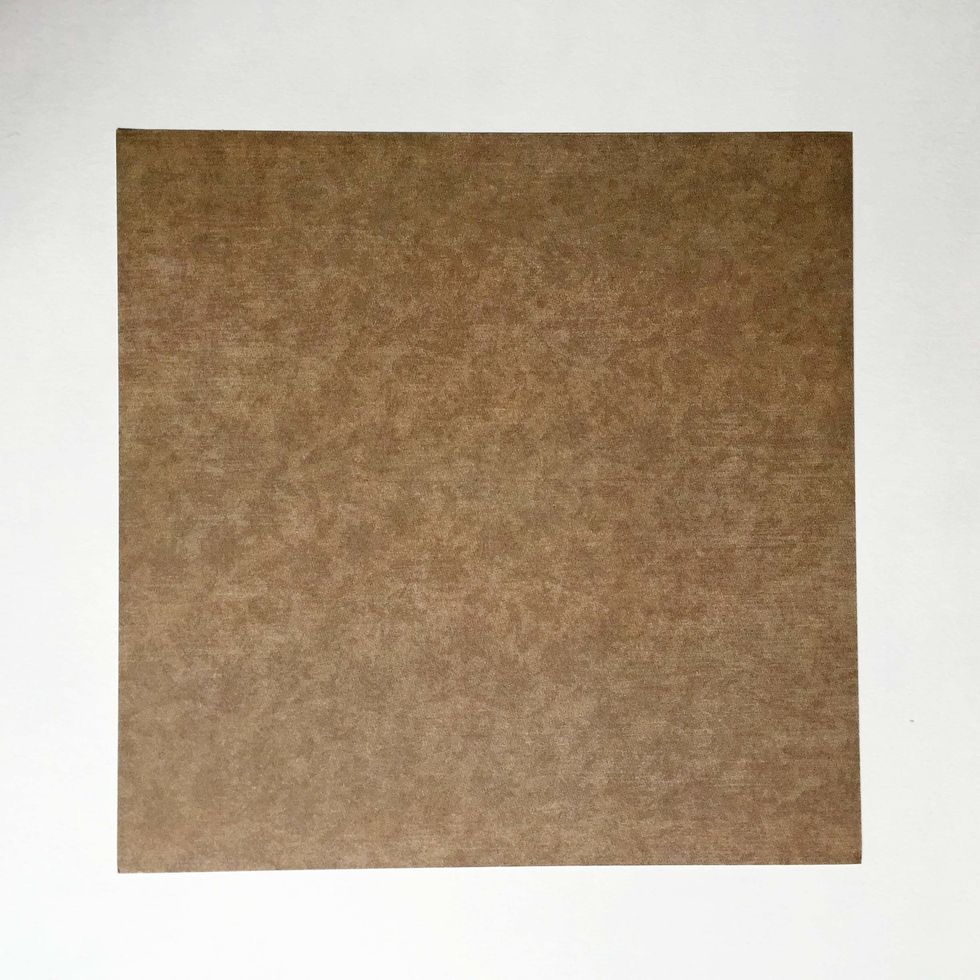
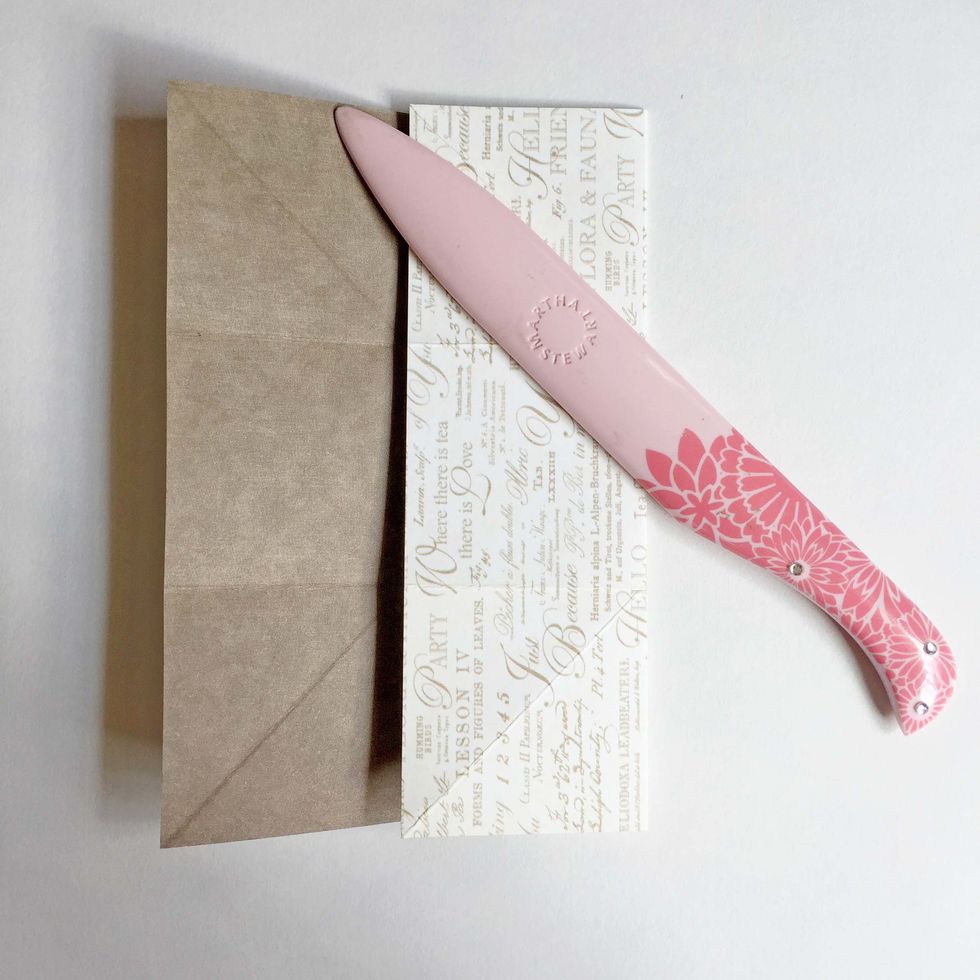
Using a square double-sided pattern paper, start with the side you want the message to be hidden inside...
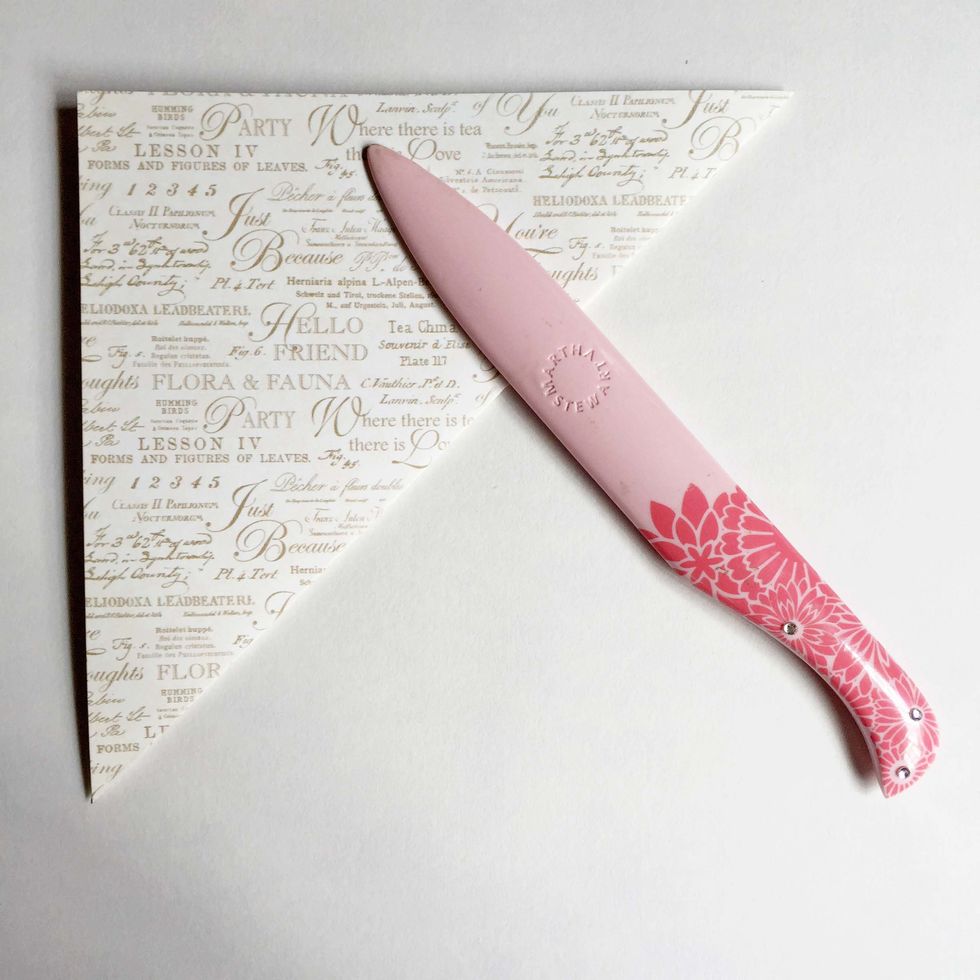
Fold the paper diagonally and give it a good burnish using a bone folder...
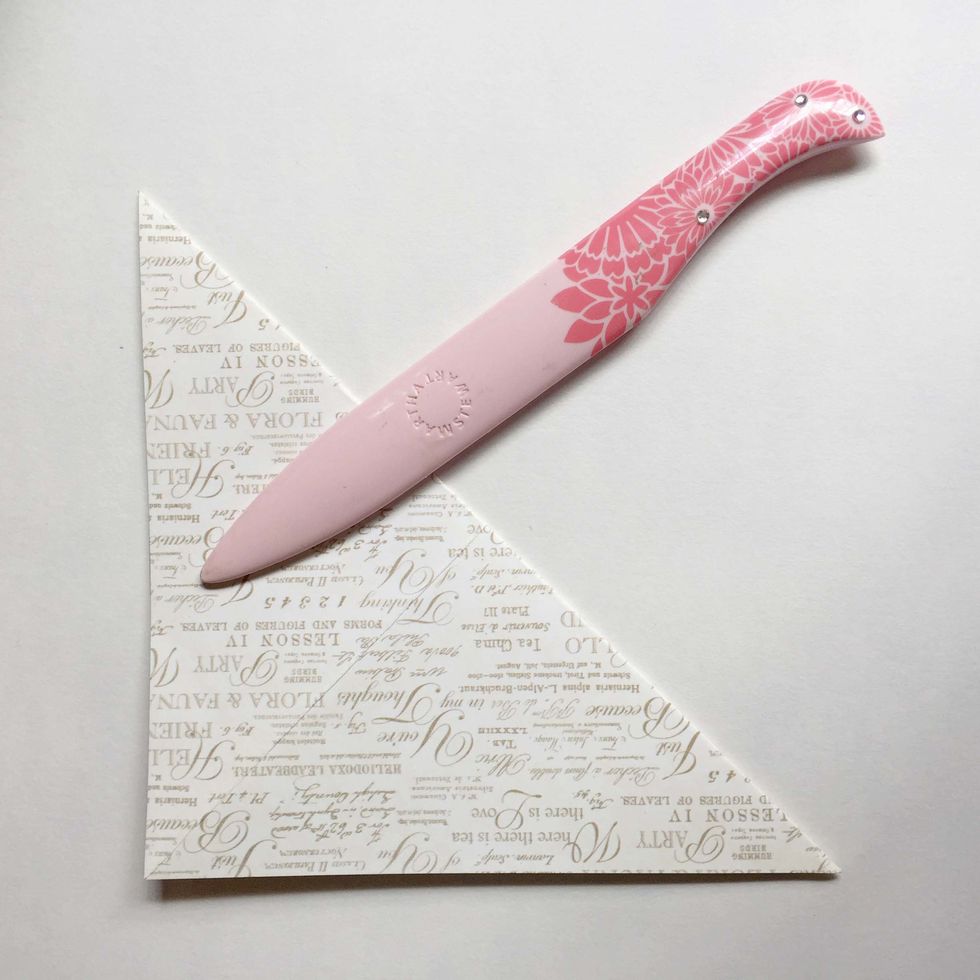
Unfold the paper and fold the other end diagonally... Give it a good burnish...
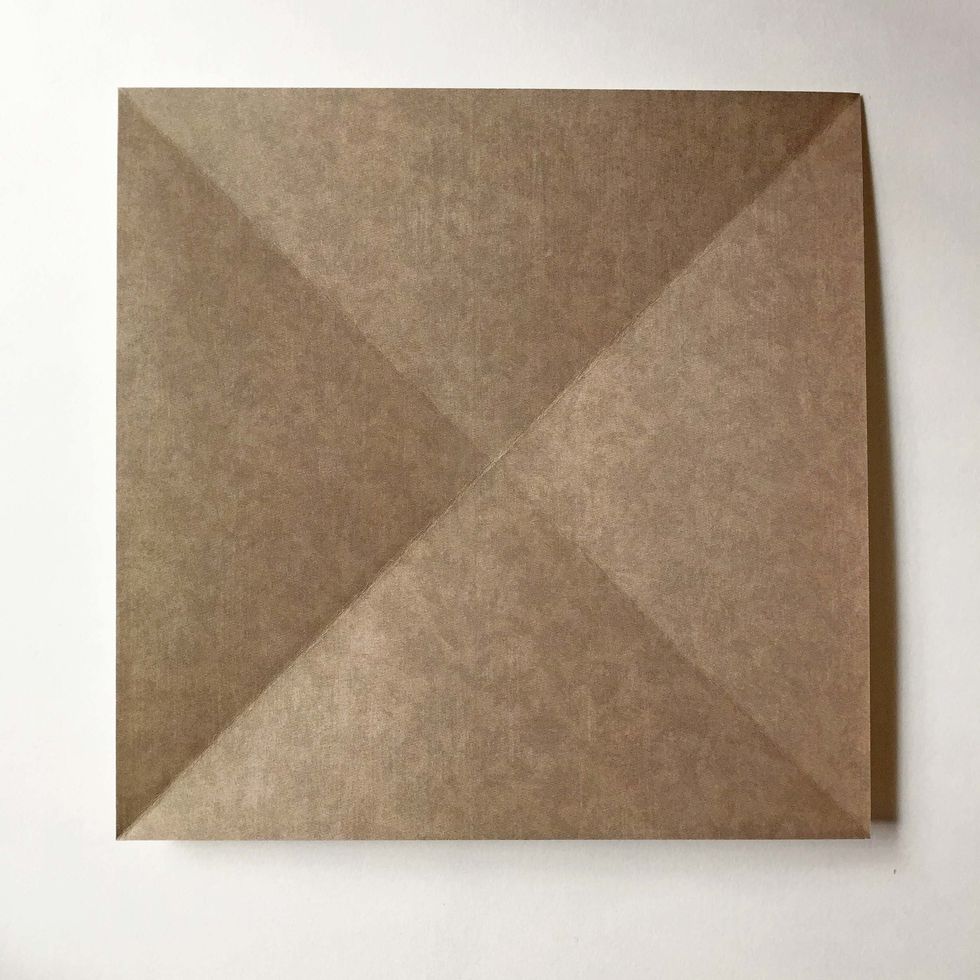
As you unfold the paper, you will get to see this big cross across the paper...
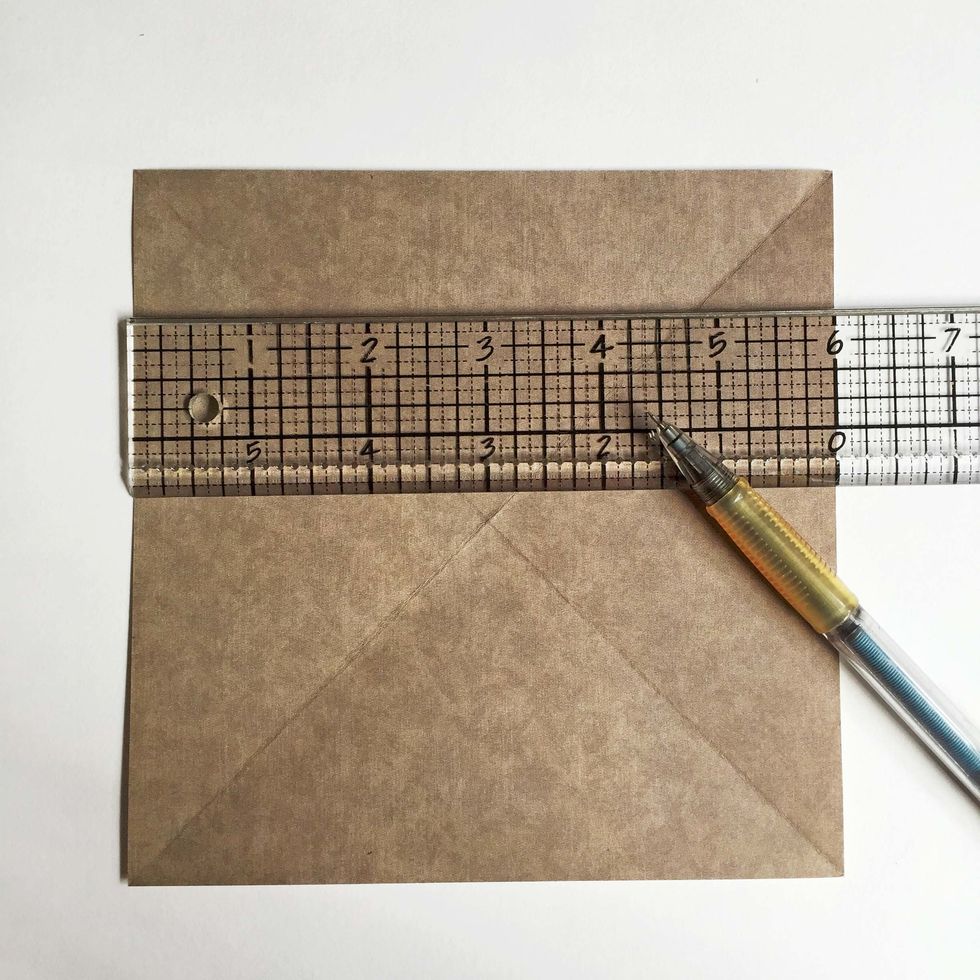
Divide the paper into 3 equal columns... You may want to use a ruler to measure them equally... For this tutorial, I'm using a 6" x 6" paper, so it will be 2" per column...
You can fold them equally via estimation... If you want accuracy, divide the length of the paper by 3... An 8" x 8" paper will give you ~2.625" per column & a 12" x 12" paper will be 4" per column...
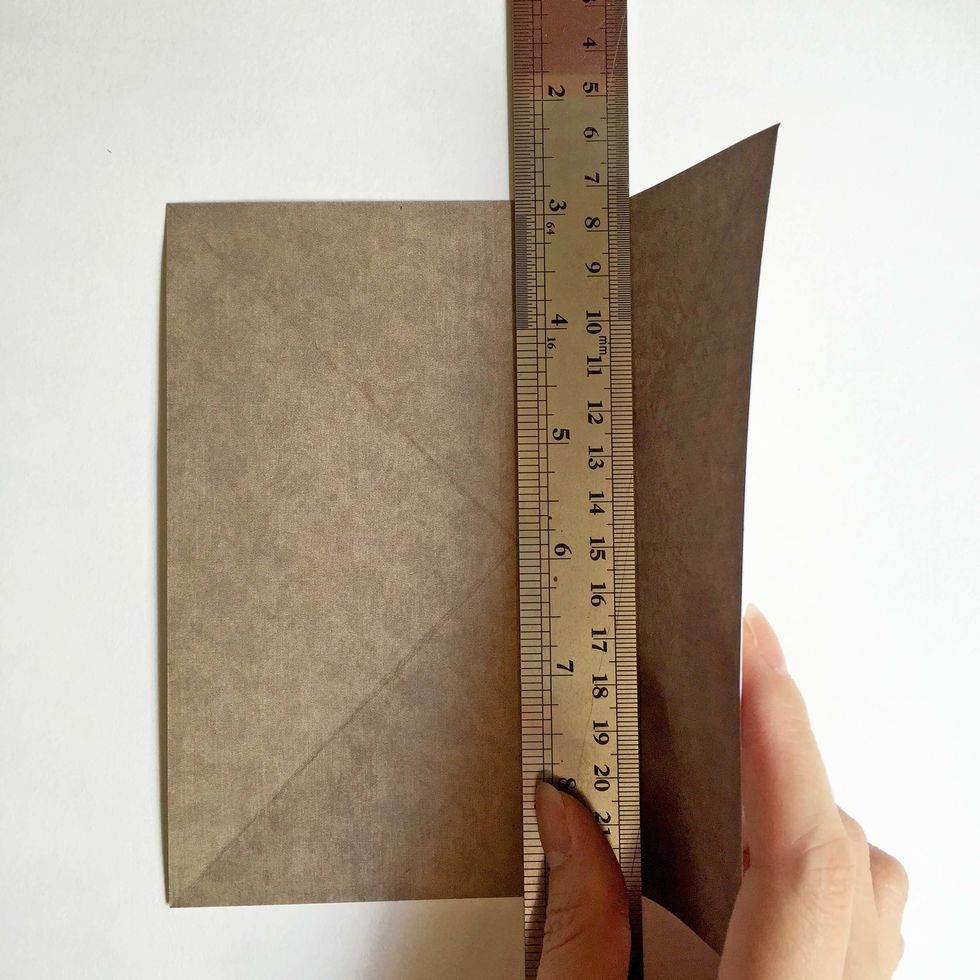
Using a metal ruler as a guide, fold the papers accordingly... You should have 2 folded lines with 3 columns...
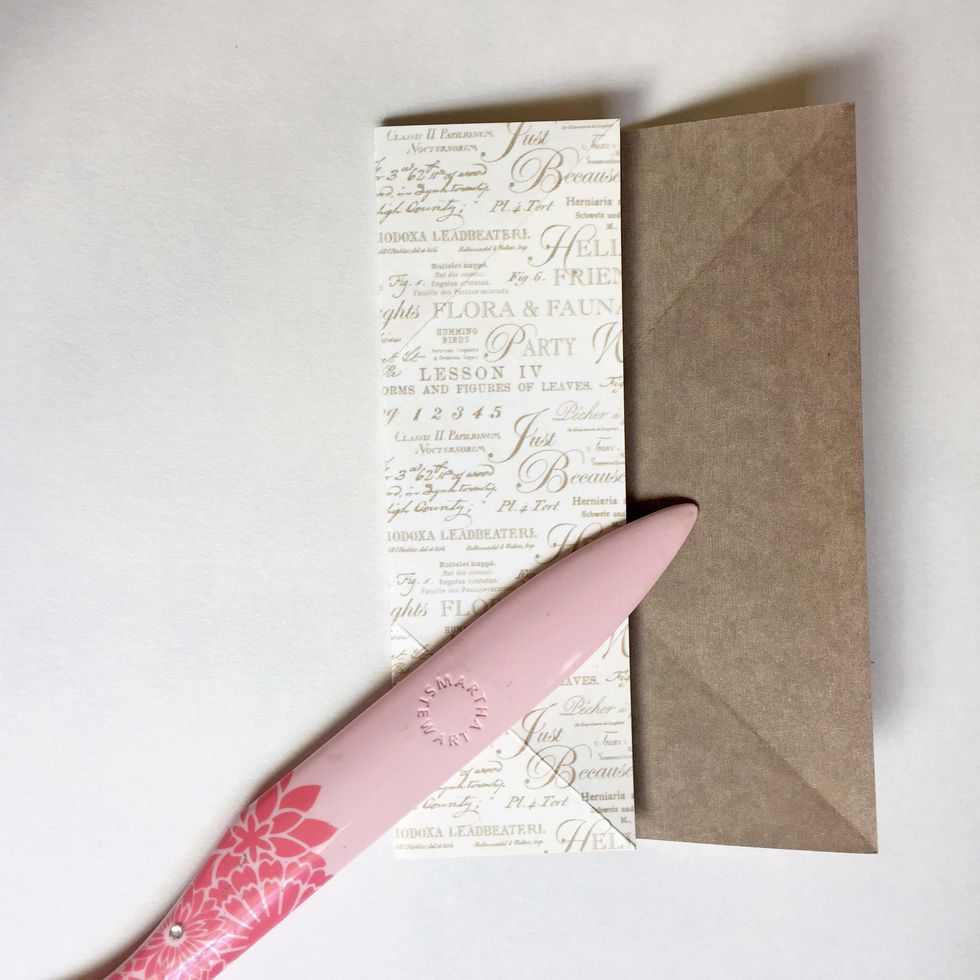
And give them a good burnish after folding...
Turn the paper at 90 degrees and repeat from Step 5, creating another 3 columns...
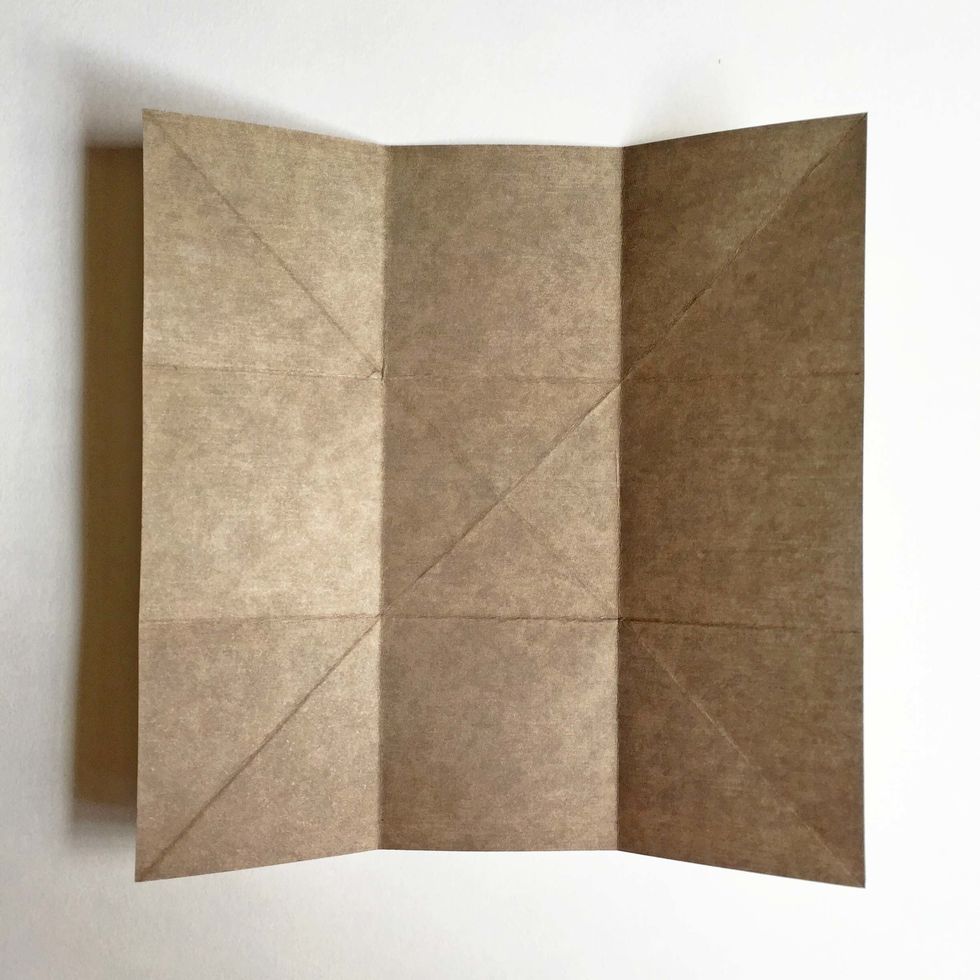
When the paper unfolds, this is how it should look like with all the folded lines... You should have 9 squares with a big cross at the center...
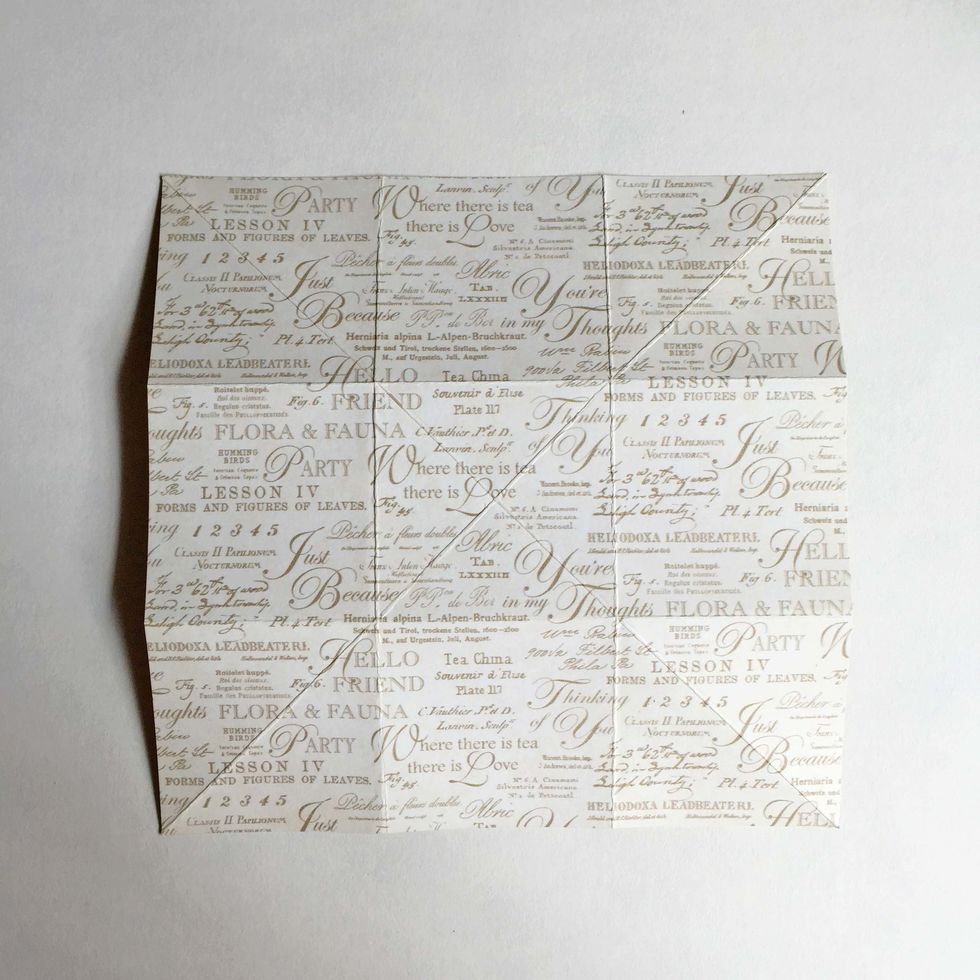
Flip the paper to the other side of the pattern paper...
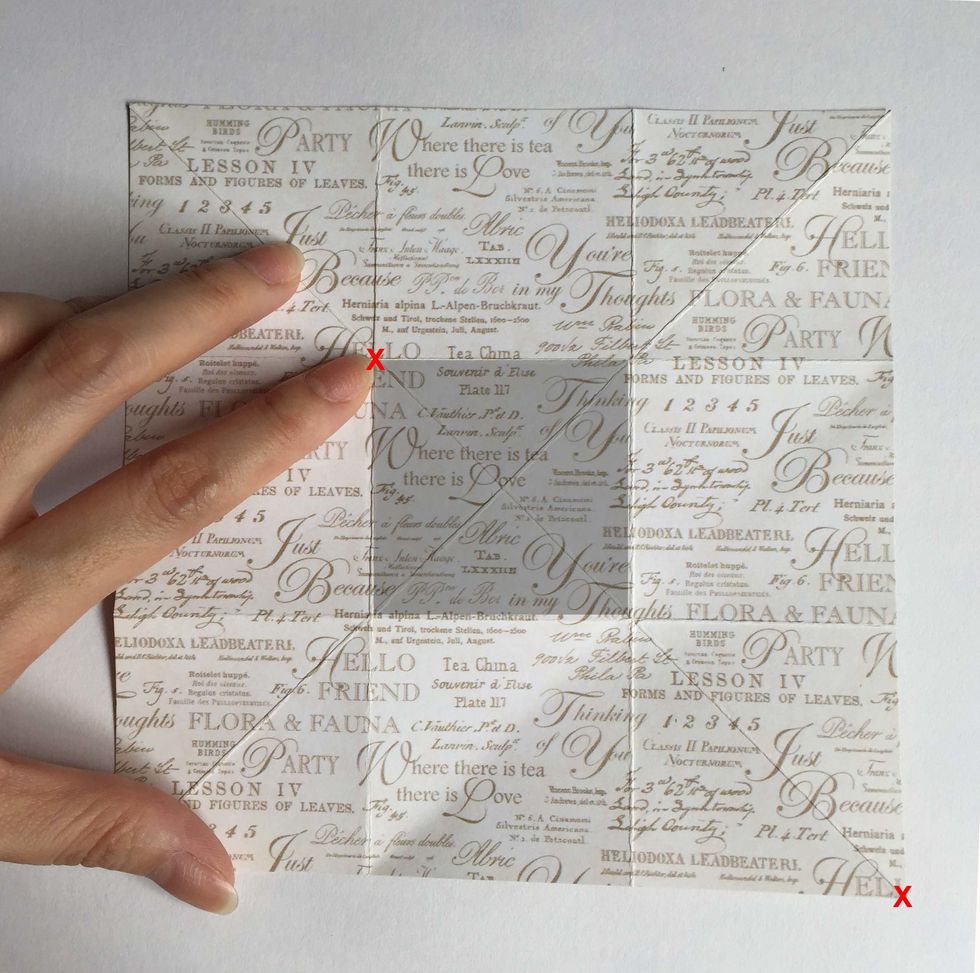
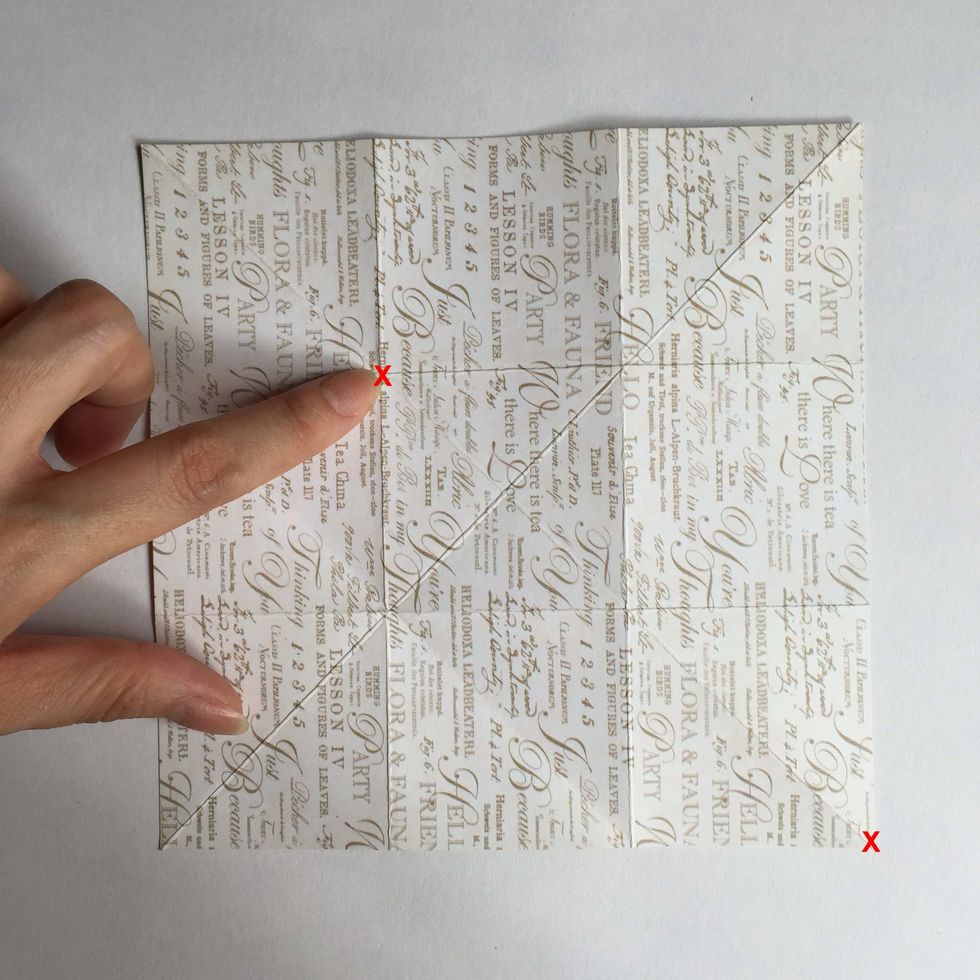
Fold diagonally across from the bottom right hand corner of the paper (red x) towards where my index finger (red x) is pointing at the top left hand corner of the gray shaded box...
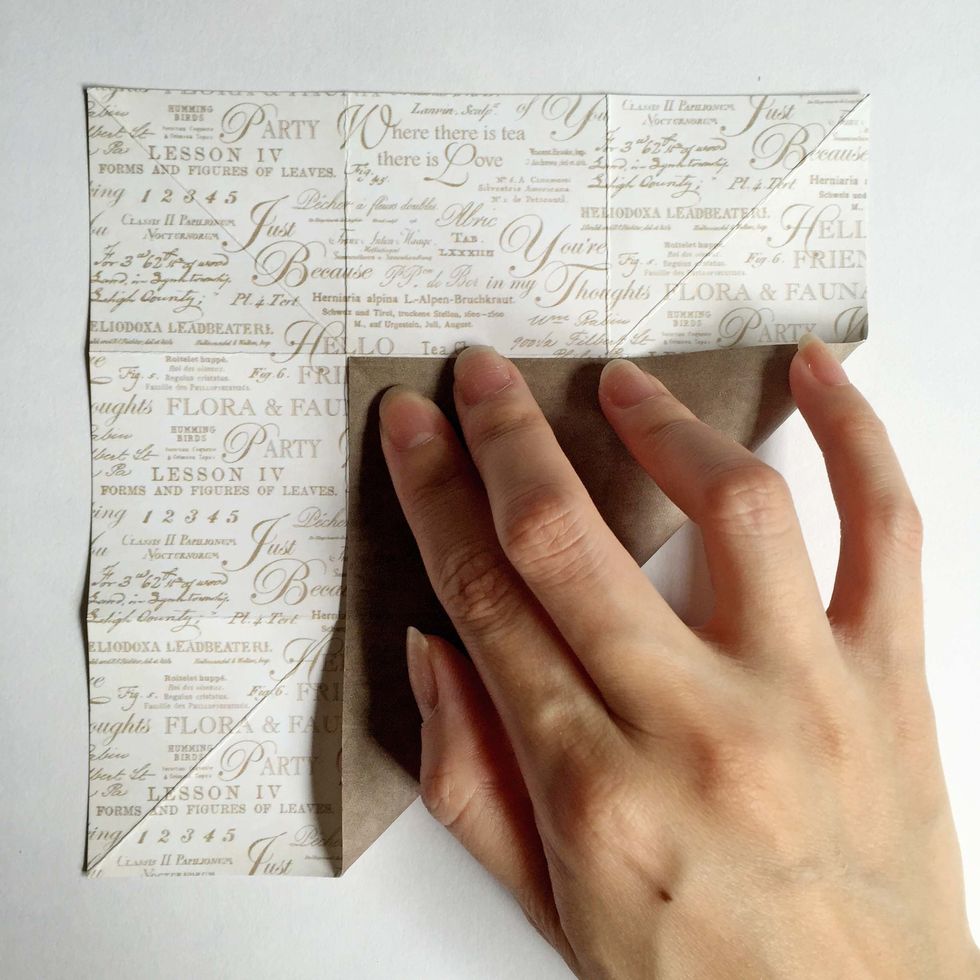
As you fold when the 2 corners touch, this is how it should look like...
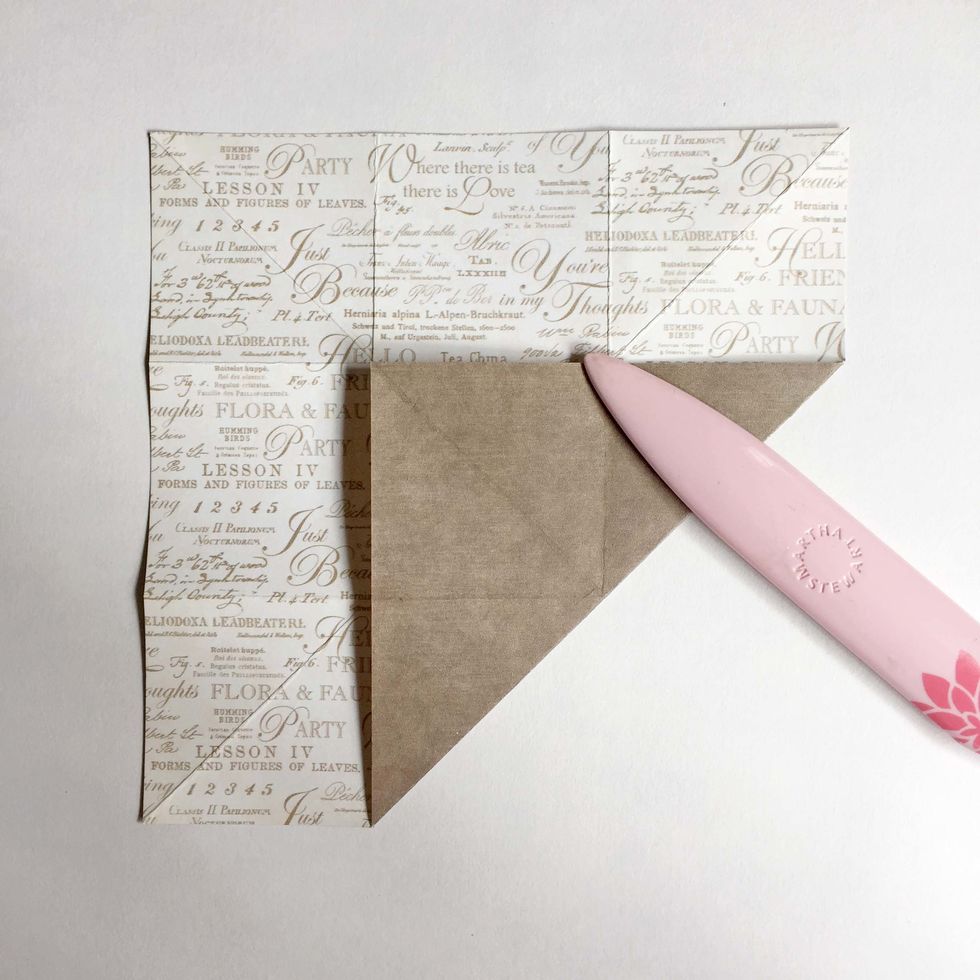
Fold and give a good burnish...
As you unfold, you will notice a diagonal line across the 2 adjacent squares as shown...
Turn the paper 90 degree and repeat from Step 12 onwards for another 3 times...
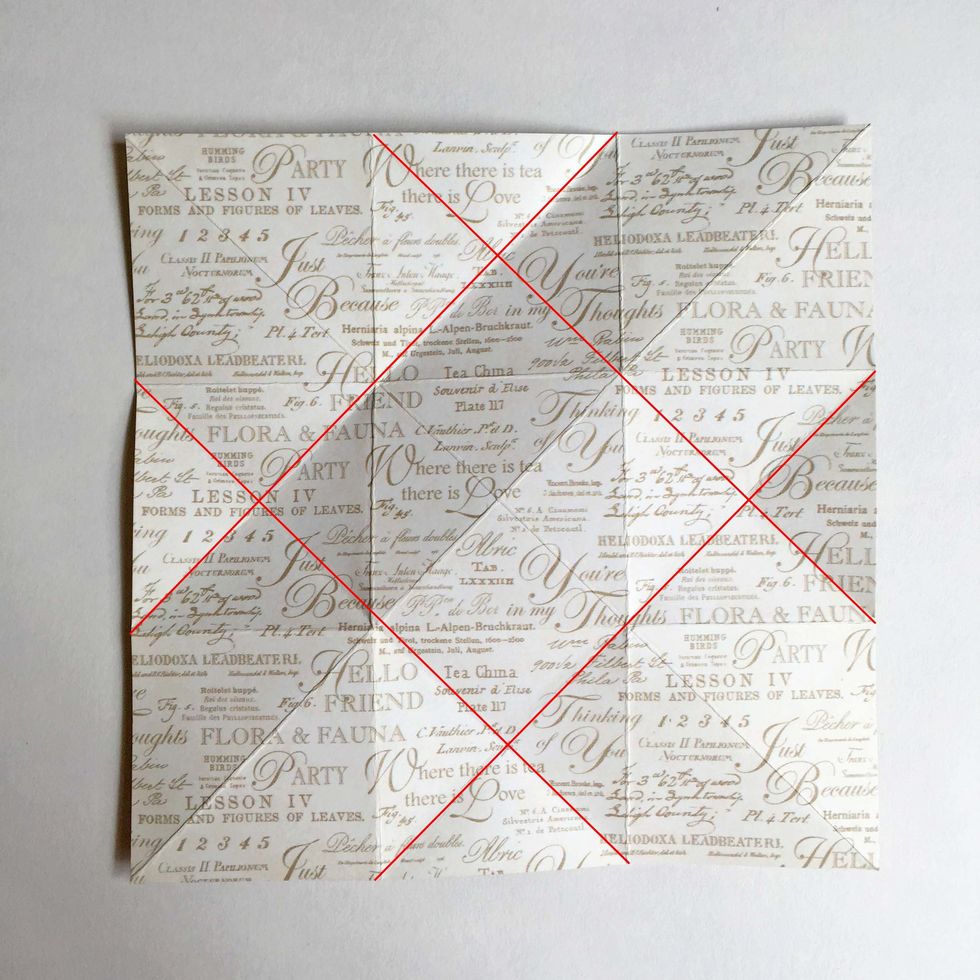
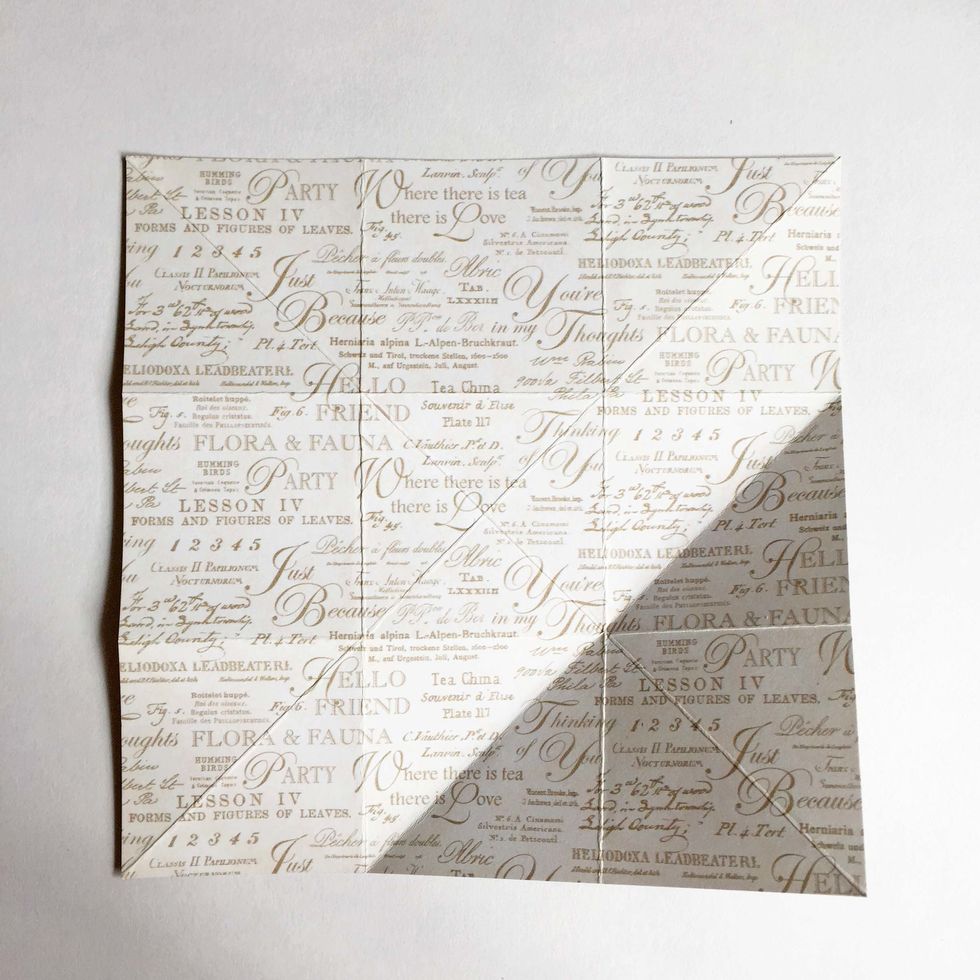
As you unfold the paper, you will get 4 diagonal folds across the paper as indicated by the red lines here...
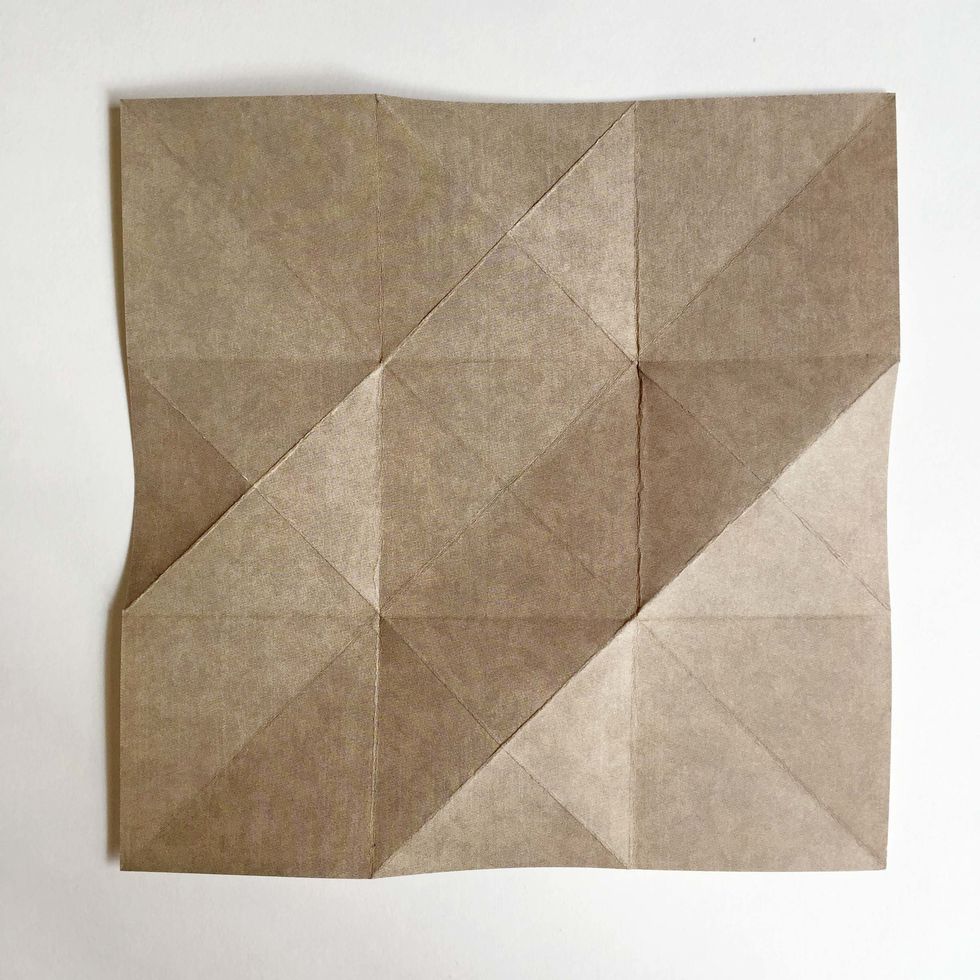
Flip the paper over showing the other side of the pattern paper...
Valley fold the 4 corners of the the paper as shown... As you do this, the 4 sides will raise up away from the central square...
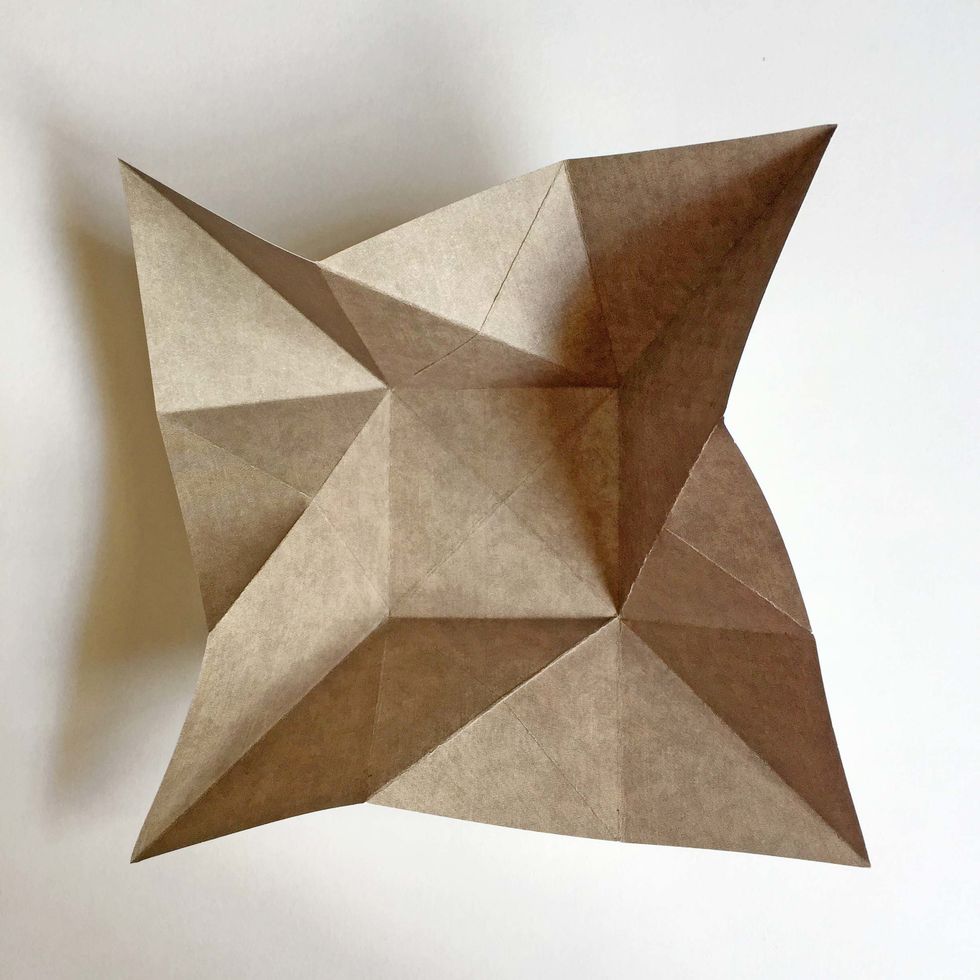
Hold 2 adjacent ends, start to twist the paper...
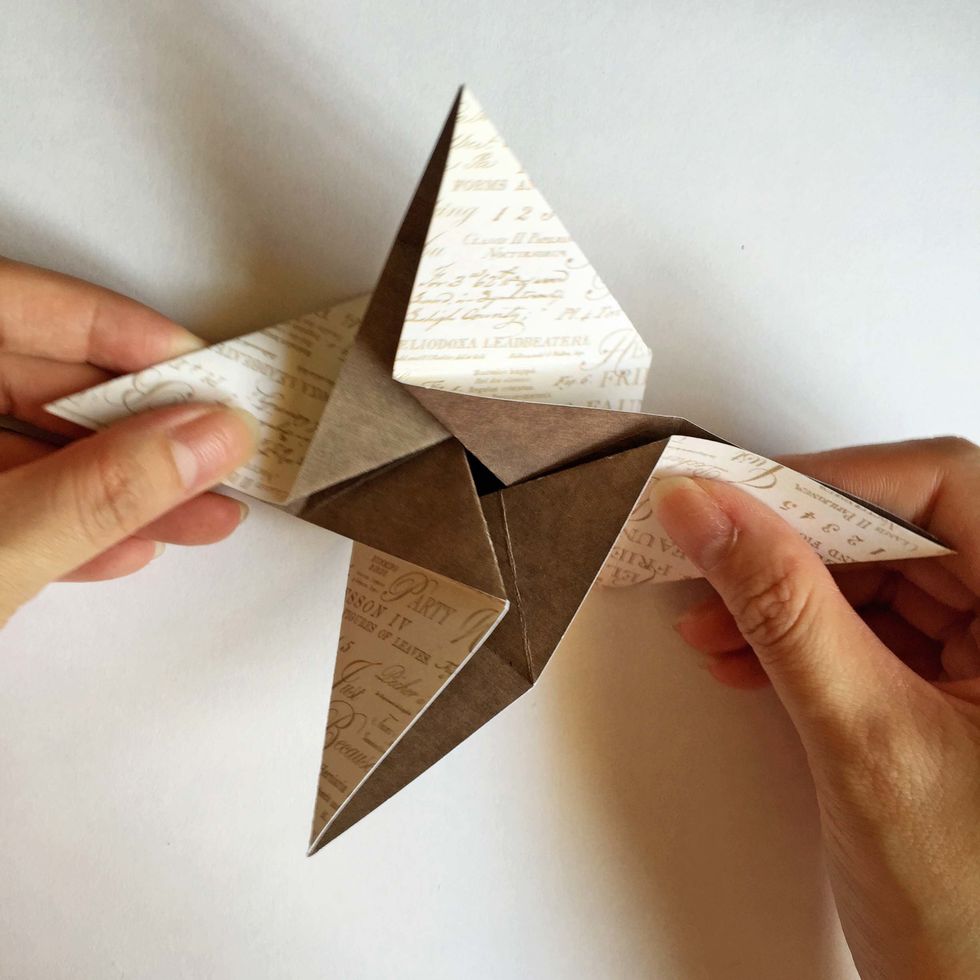
As you twist further, you will get to see a pinwheel starting to form...
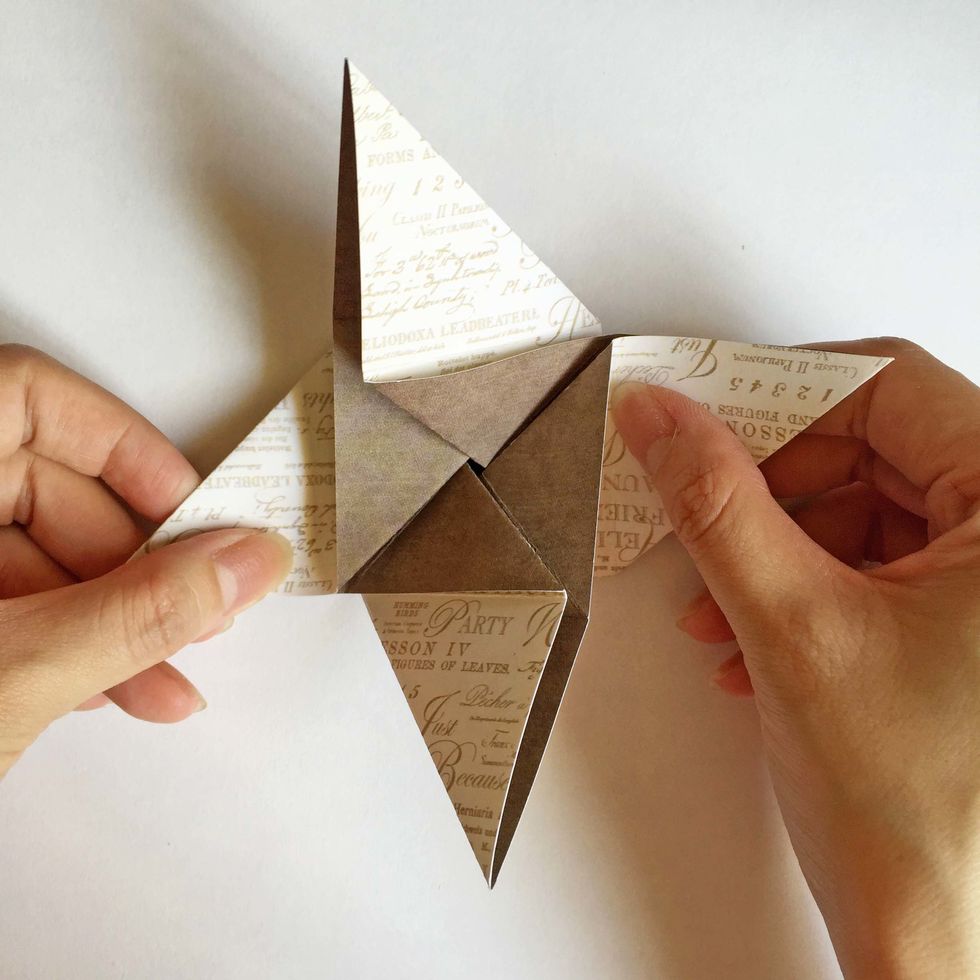
Twist the sides till the center intersect...
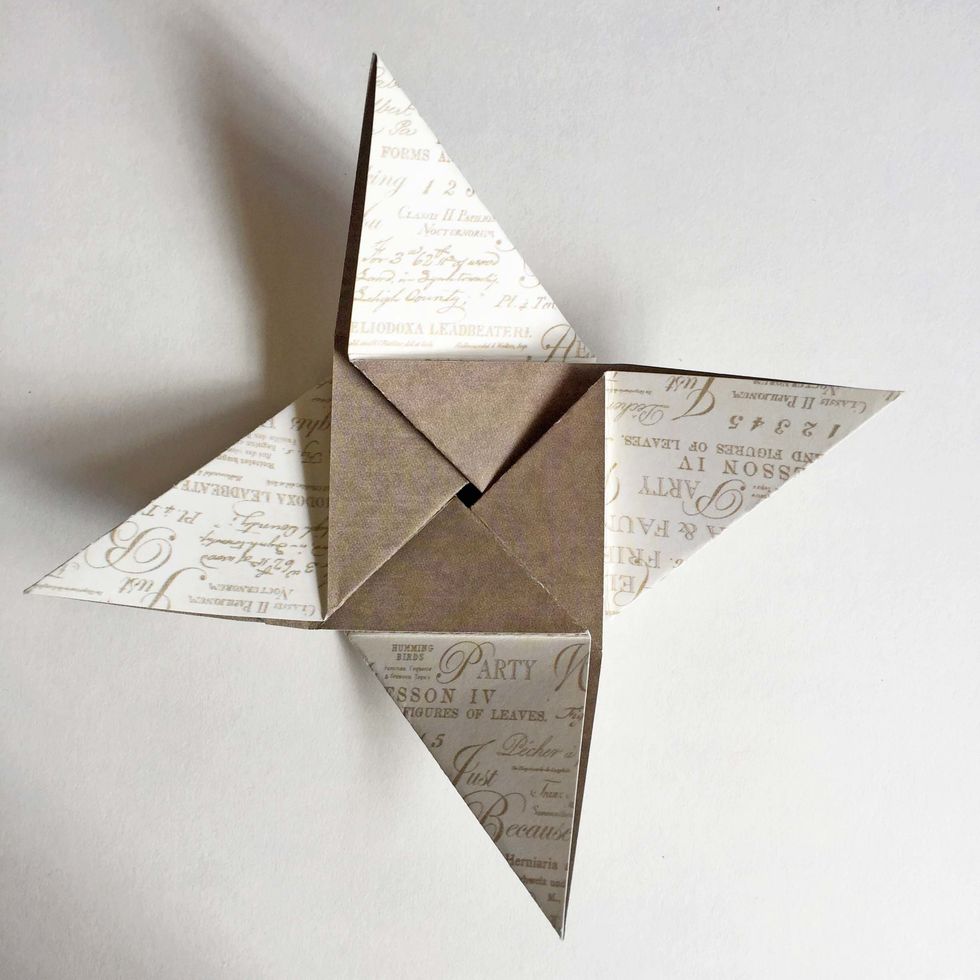
This is eventually what you will get which looks like a pinwheel or 4-arm star...
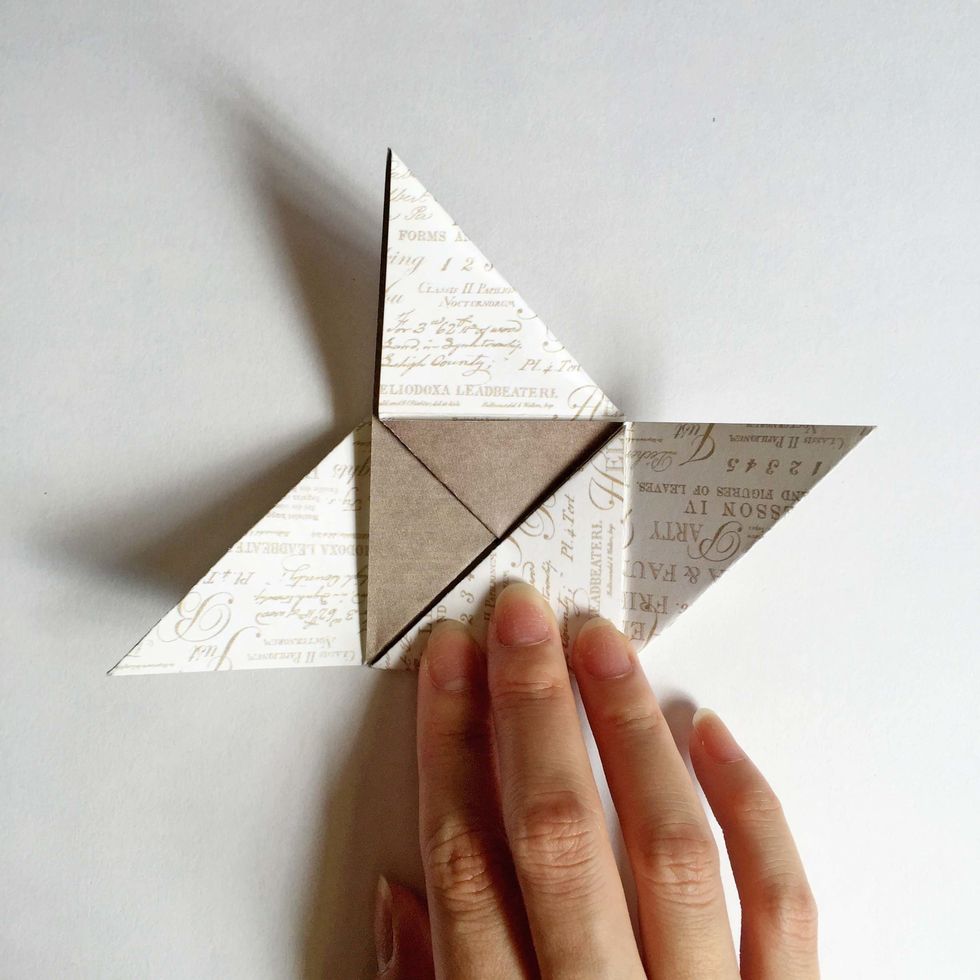
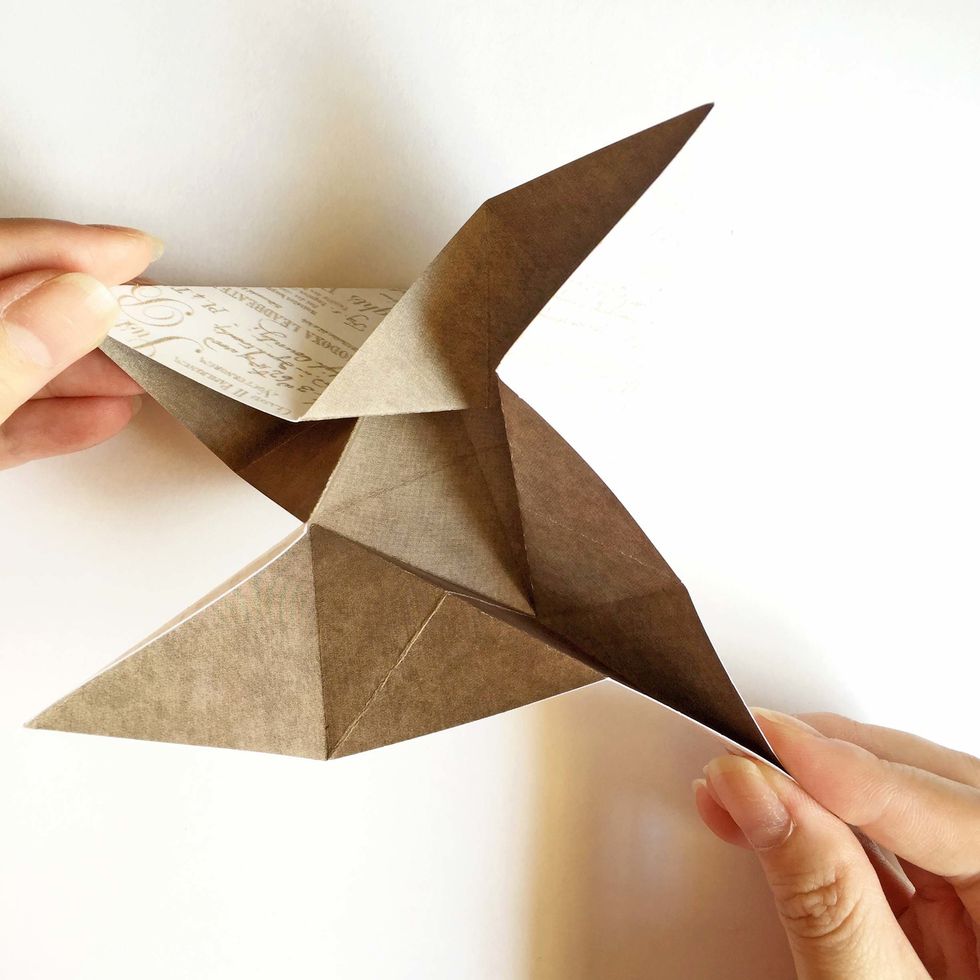
Start to close the purse by folding up the bottom arm up...
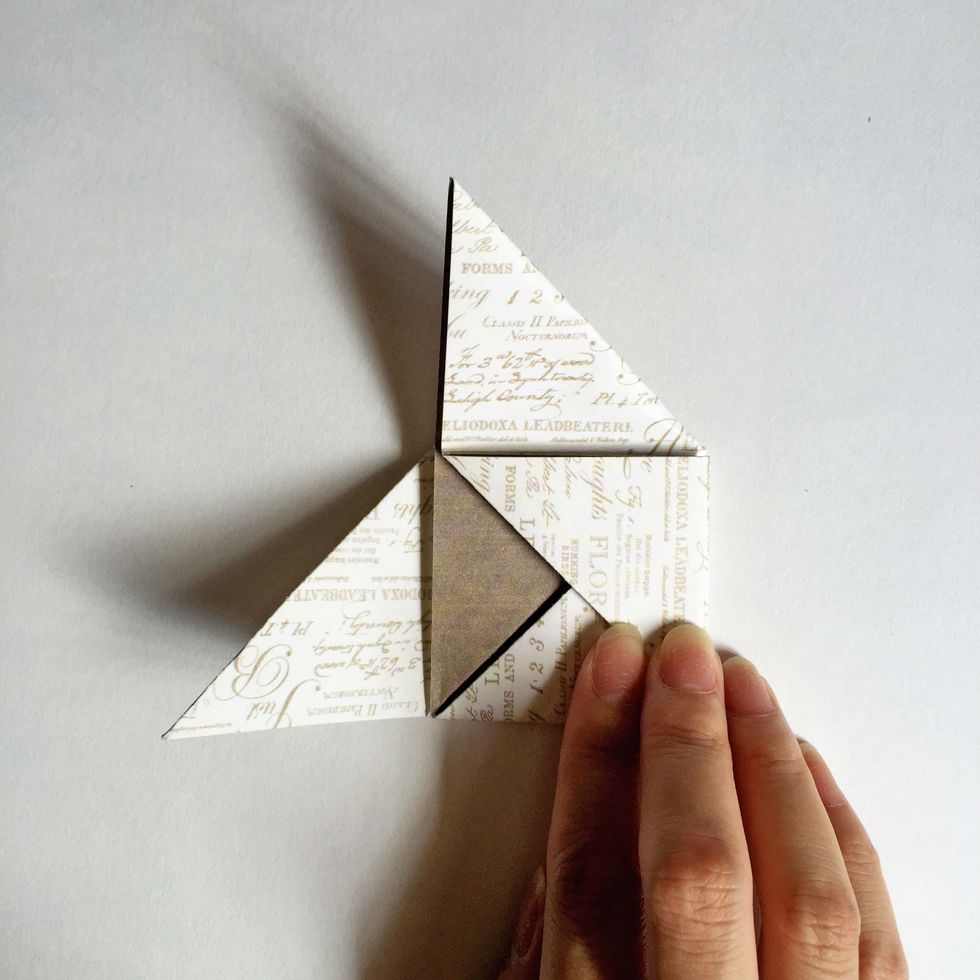
Then fold the right arm over...
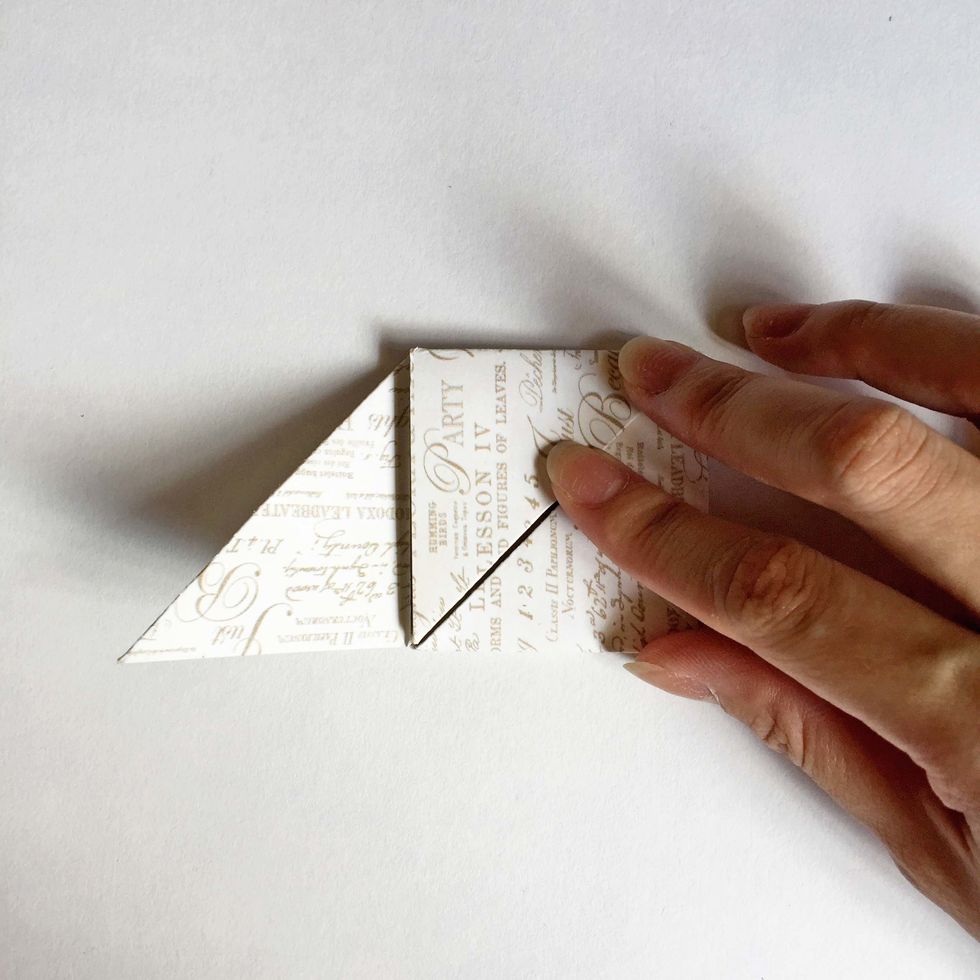
Fold down the top arm...
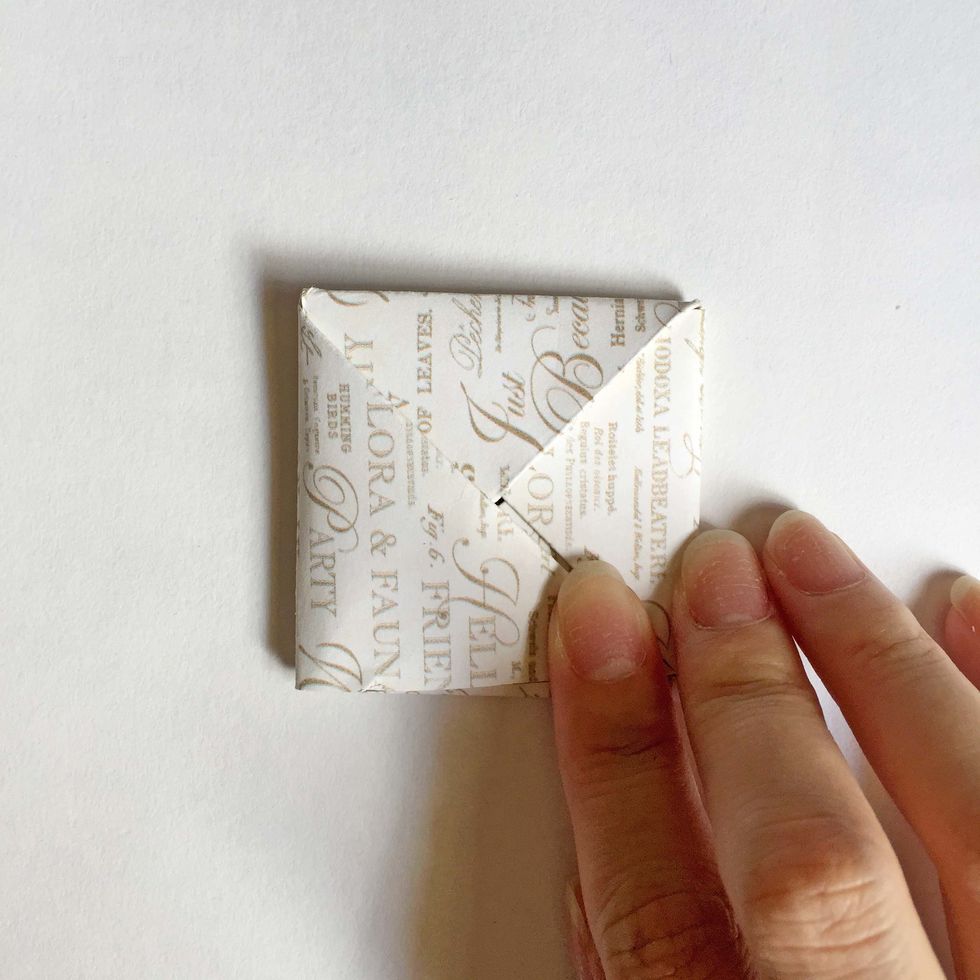
Lastly, fold the left arm over...
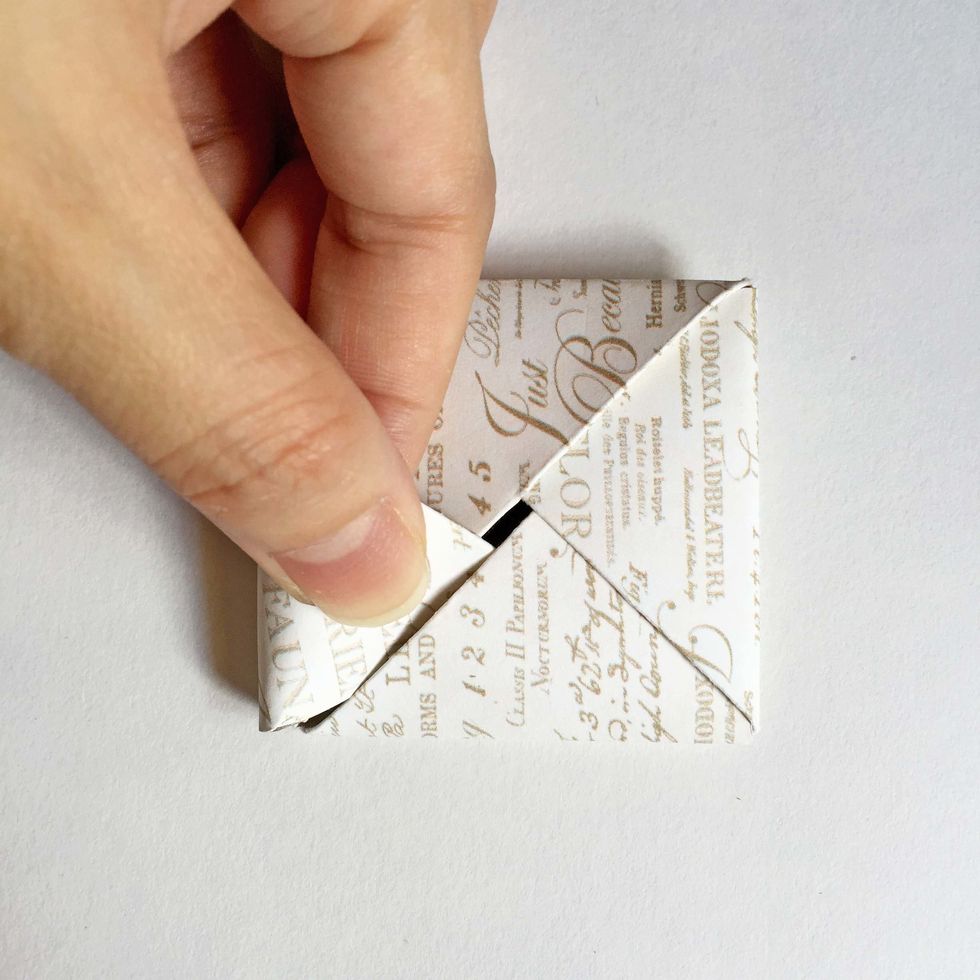
Insert the left arm into bottom arm as shown...
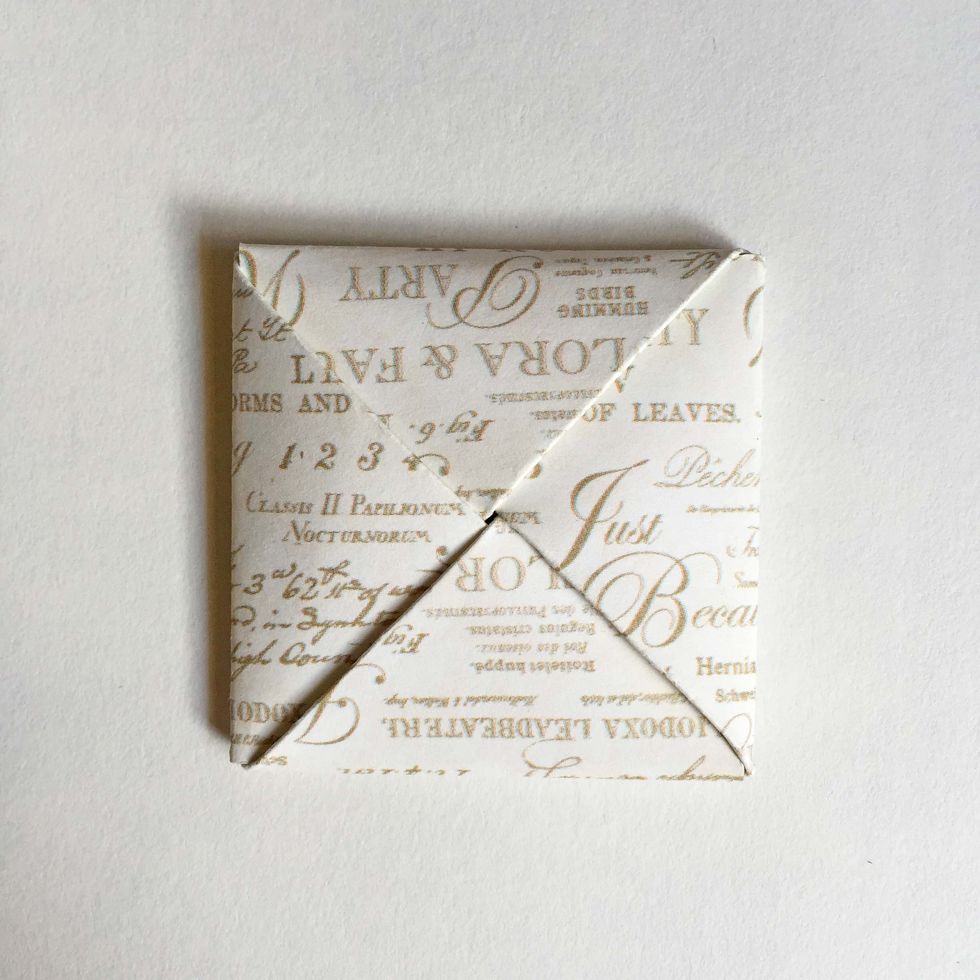
And here is your puzzle purse!!!
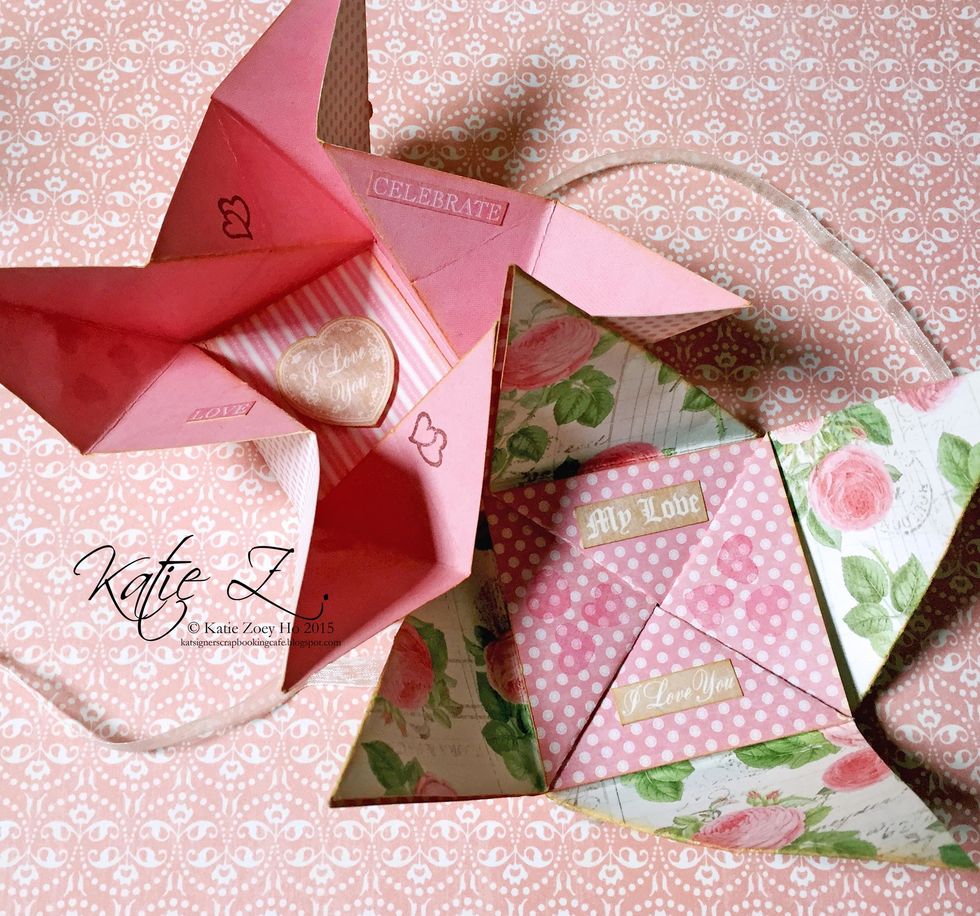
Here are 2 of the puzzle purses I've made with messages within the central square... You may write some messages on the arms as well which I didn't...
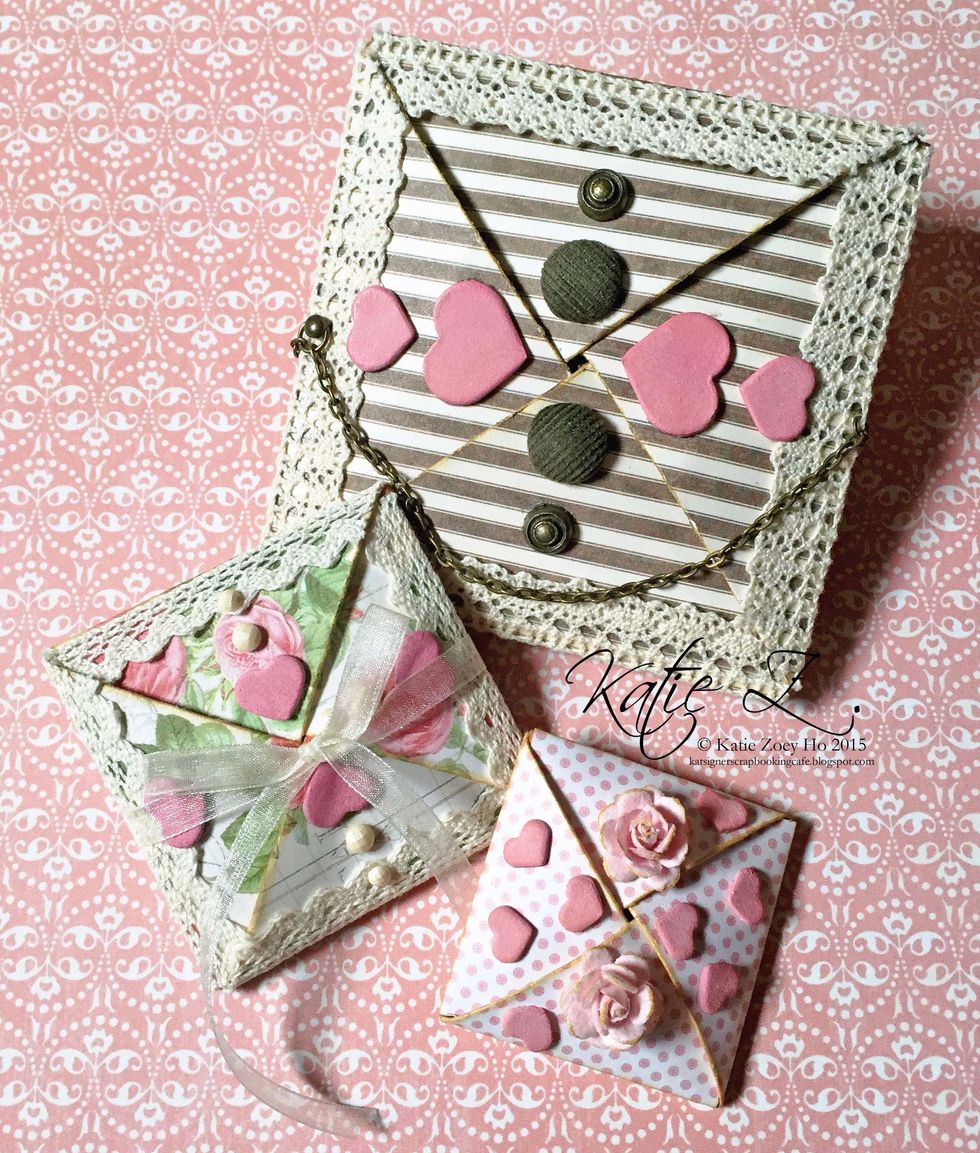
I've made 3 puzzle purses of various sizes here... A video tour in how these purses work is shown on my YouTube channel, http://youtu.be/MpU-nMDh6_g