The Conversation (0)
Sign Up

Tester pot paintbrushes are really cheap and can be disposed of, avoiding chemical cleaning products. Use an old jar to mix colour. I used acrylic paint as it was the cheapest and low odour.
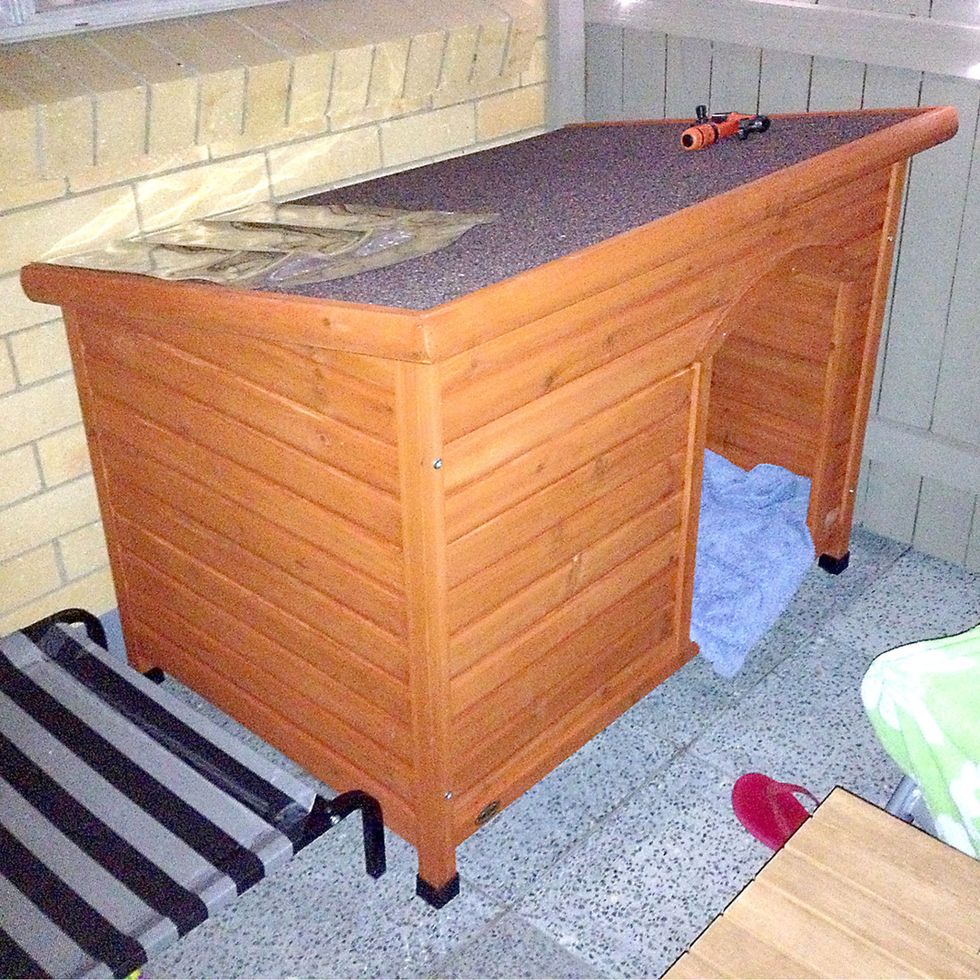
Here's the original kennel - a bit too orange and doesn't fit in with the new courtyard decor plan. Time for a makeover...

First step, undercoat the whole thing in white (including the roof edges). This stuff dries quickly so you can start the second coat after a coffee break! 3 coats gives a nice even base.

Once thoroughly dry, start coating with your colour. I used 3 coats again. I chose a pale green to add a little 'garden' to my courtyard. Leave the inside white to make it a bit brighter in there.

For the roof, sweep off any loose gravel-like stuff. Start glooping paint on generously to get into the rough surface. As the acrylic dries it should bind the loose stuff - nice and tidy!

To seal everything and make it weather-proof, use a good brand clear exterior varnish, with UV protection to keep your colour from fading. Don't forget to do the roof too. I used 3 coats to be sure!
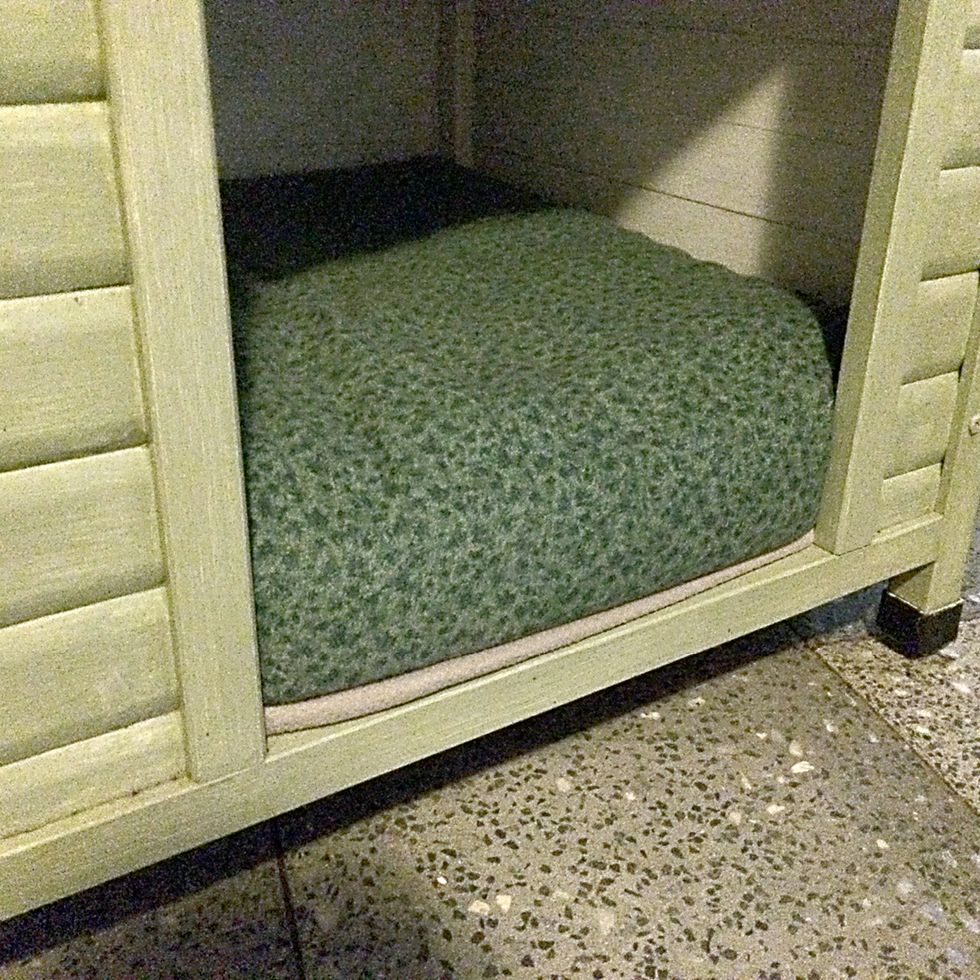
Add a nice deep cushion pad with a removable cover so you can keep things washed and fresh... That's another snap guide ;)
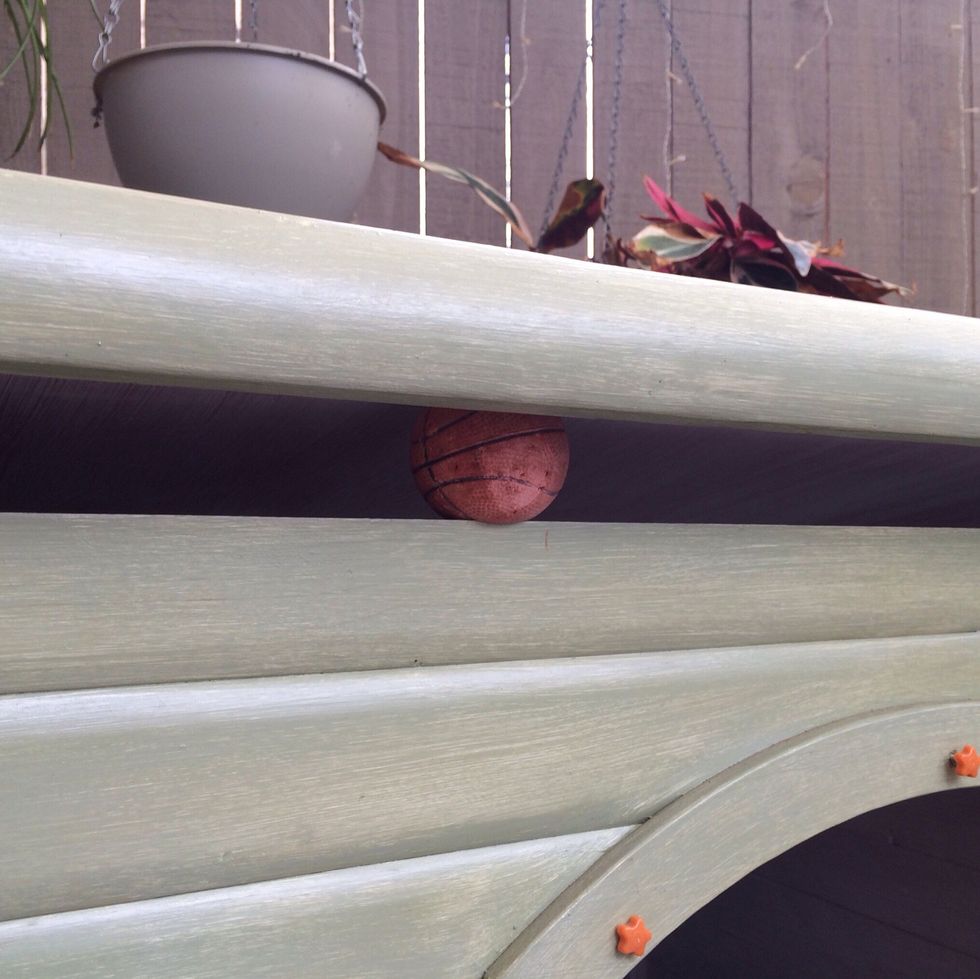
Stop the little house becoming stuffy by placing an old toy or ball under the edge of the roof, creating a ventilation gap.
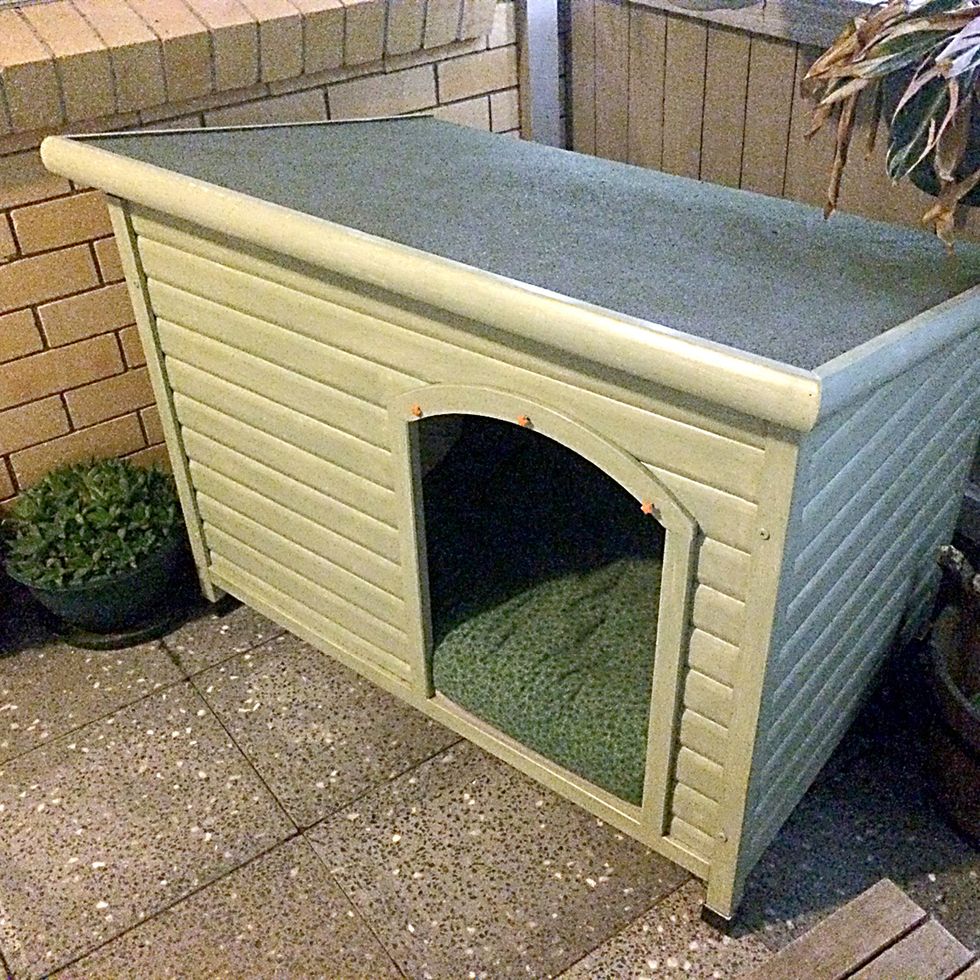
There, much better. Blending the kennel with the surroundings stopped it dominating this small courtyard and made things much more homely.
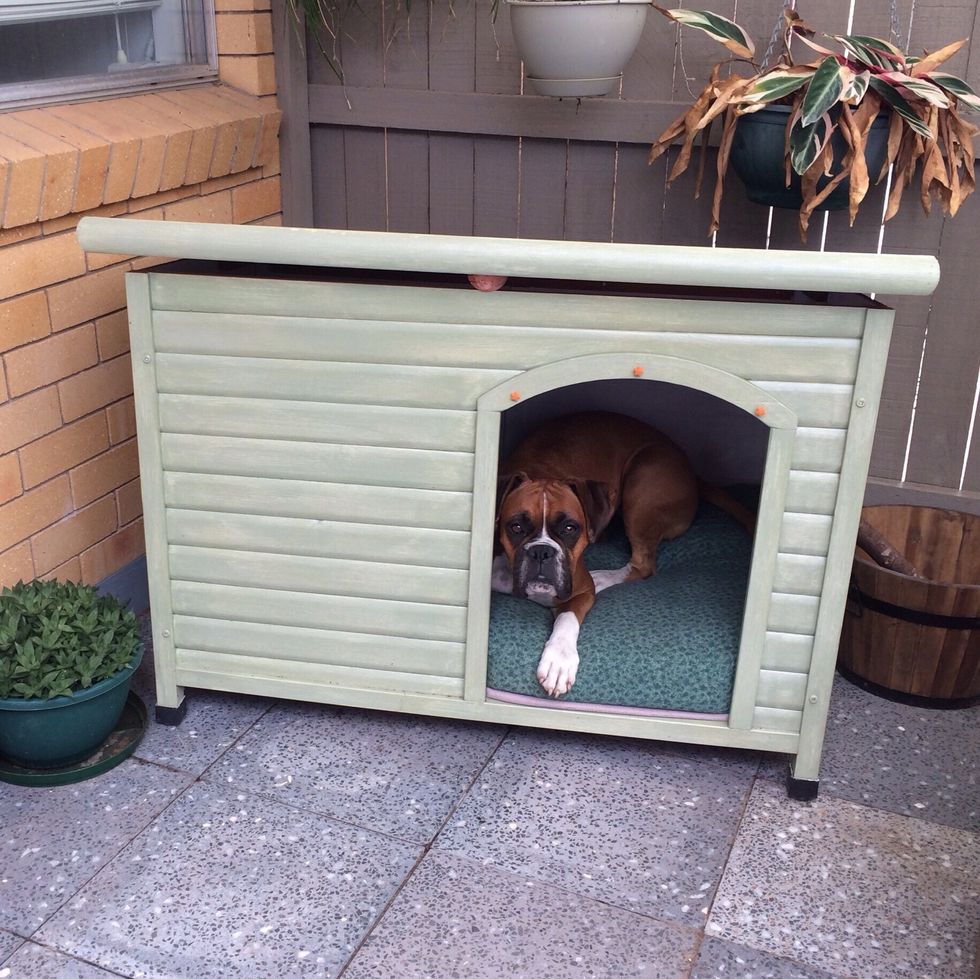
Happy puppy :)