The Conversation (0)
Sign Up
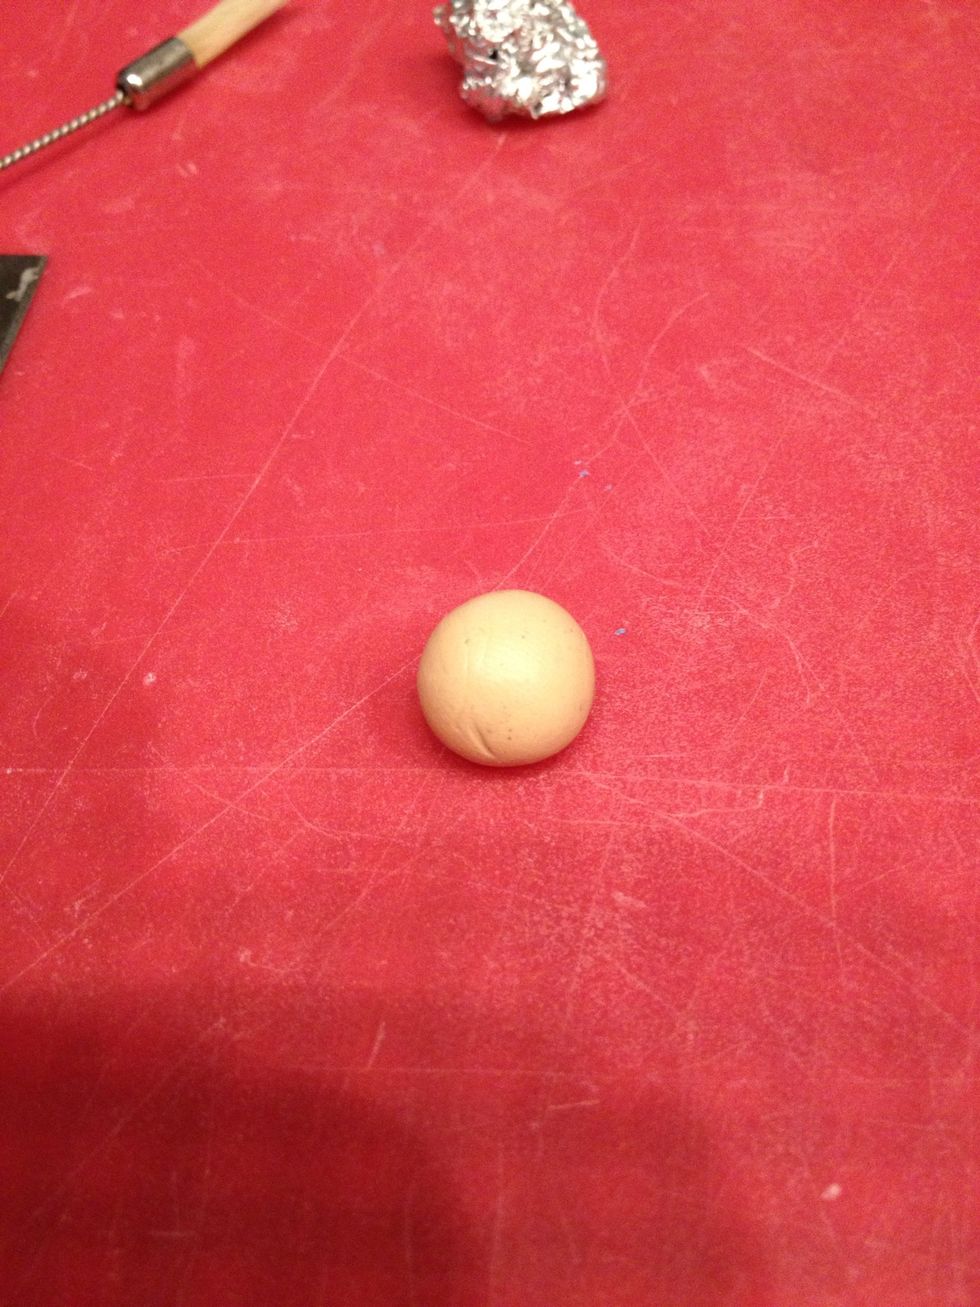
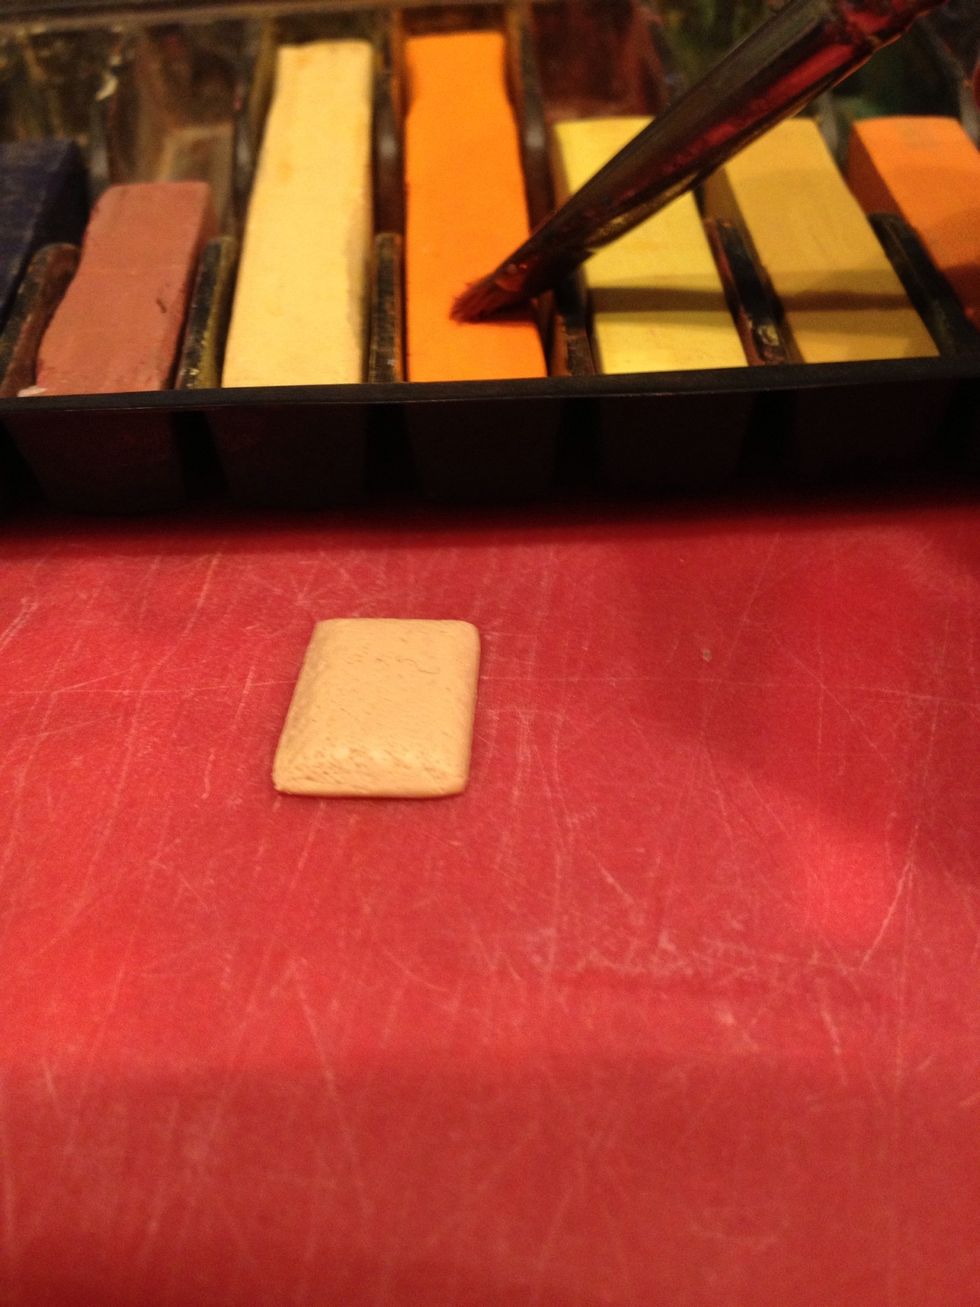
Start with a ball of tan/ecru polymer clay
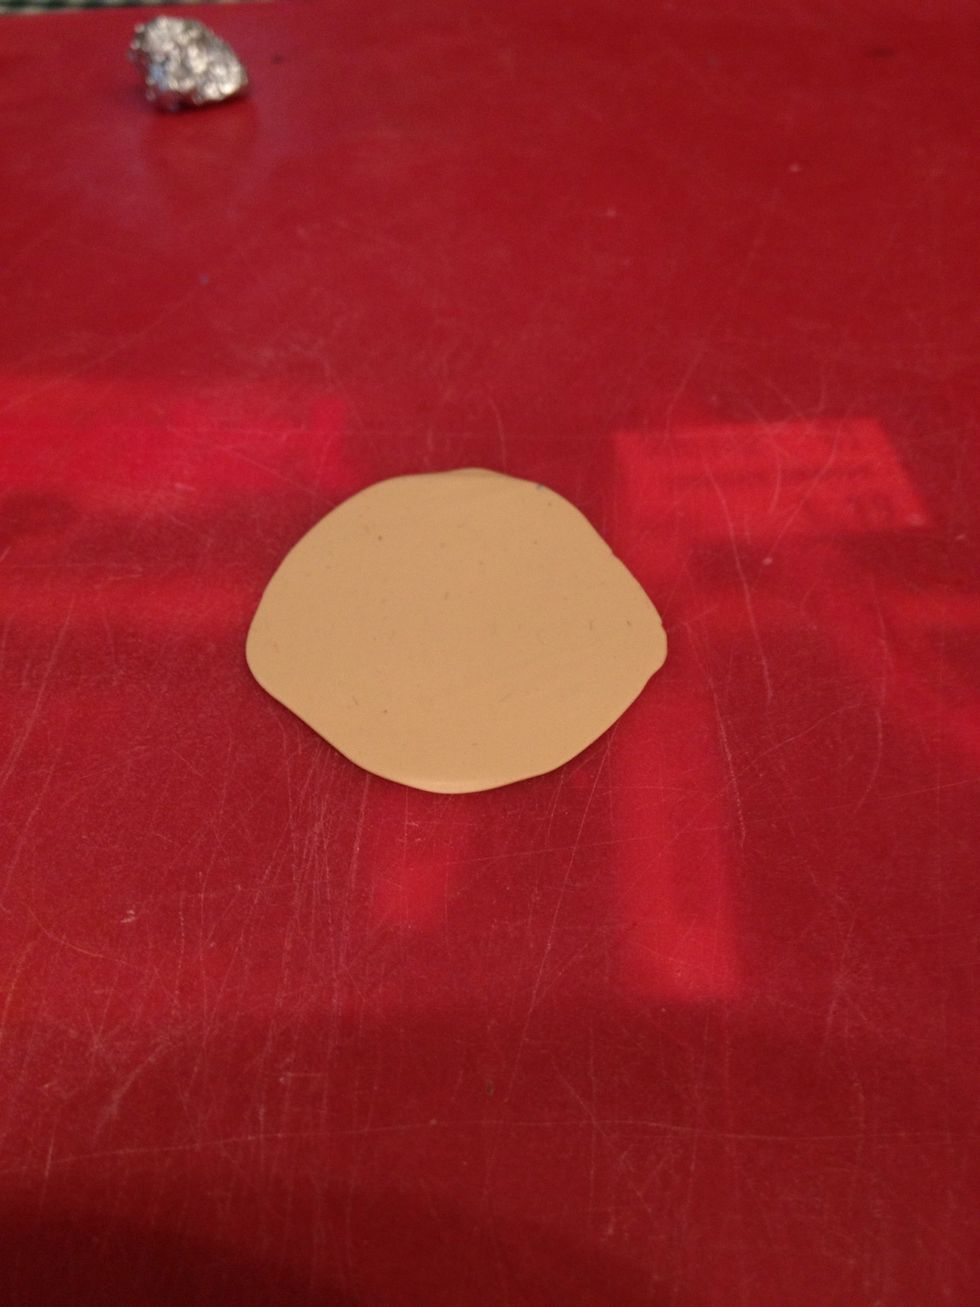
Roll it out as thin as possible
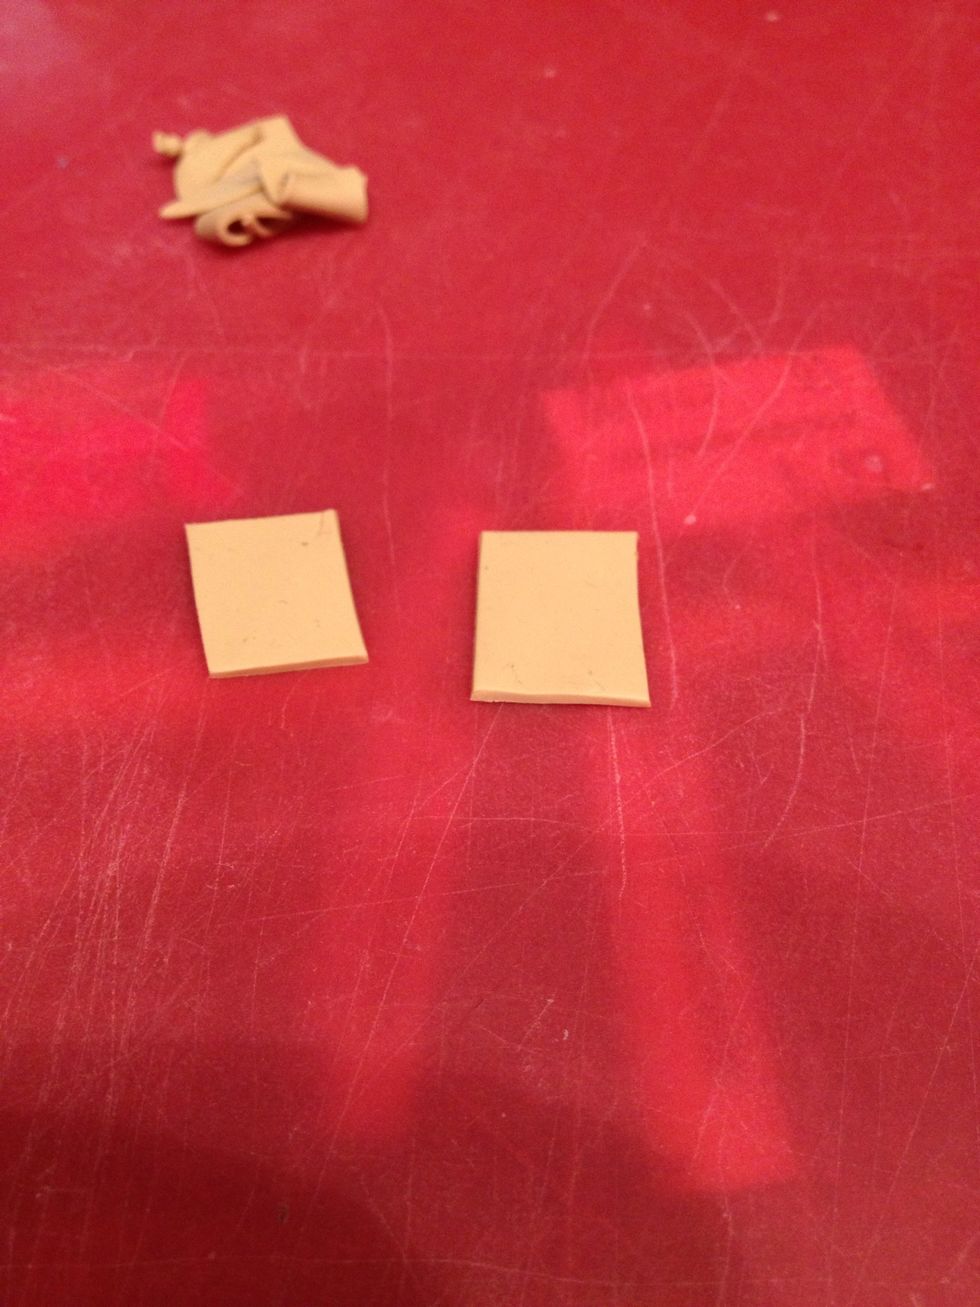
Cut 2 matching rectangles
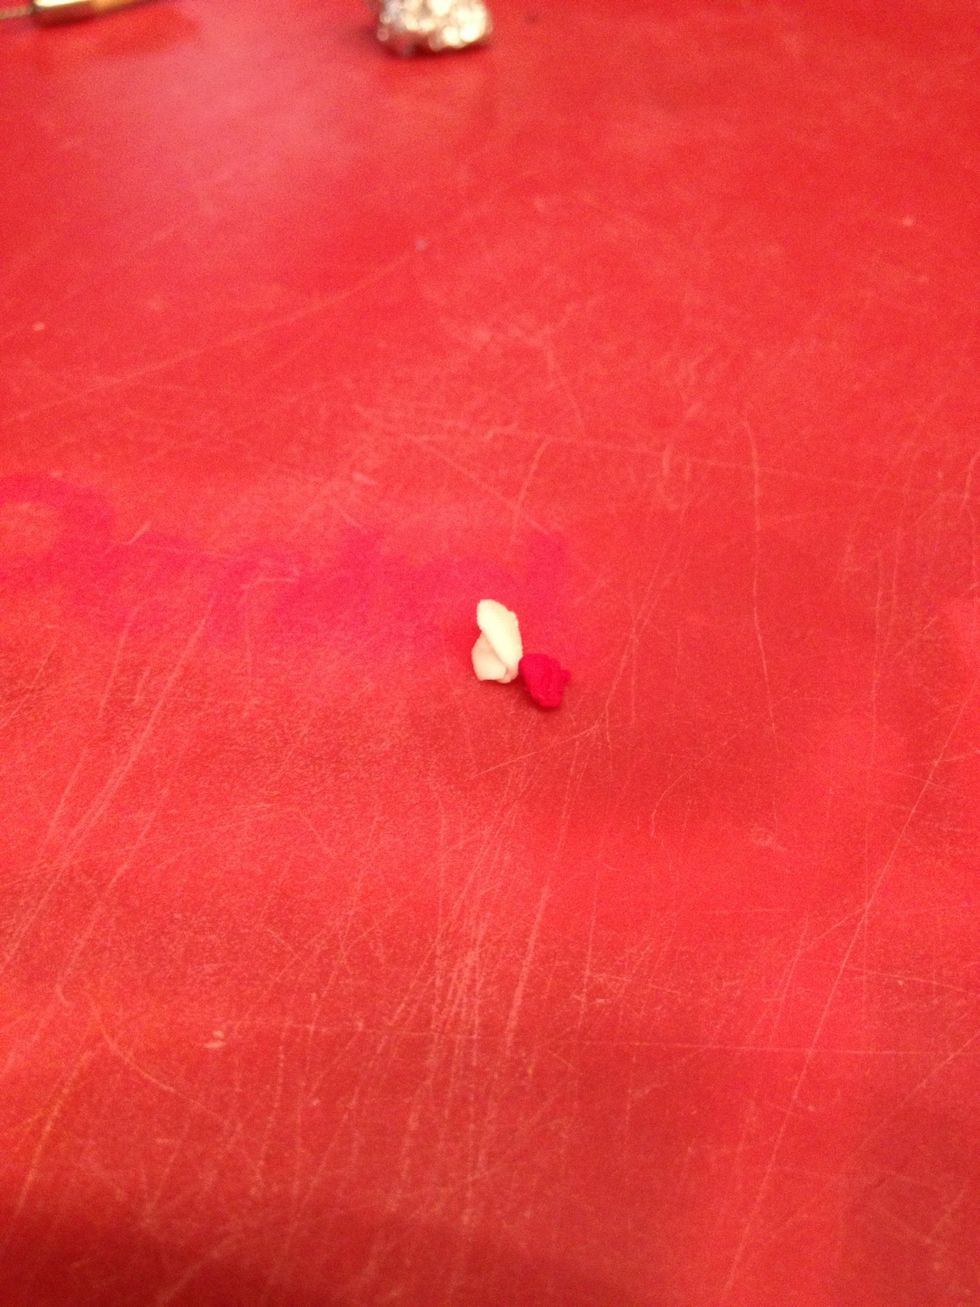
Mix translucent and red clay
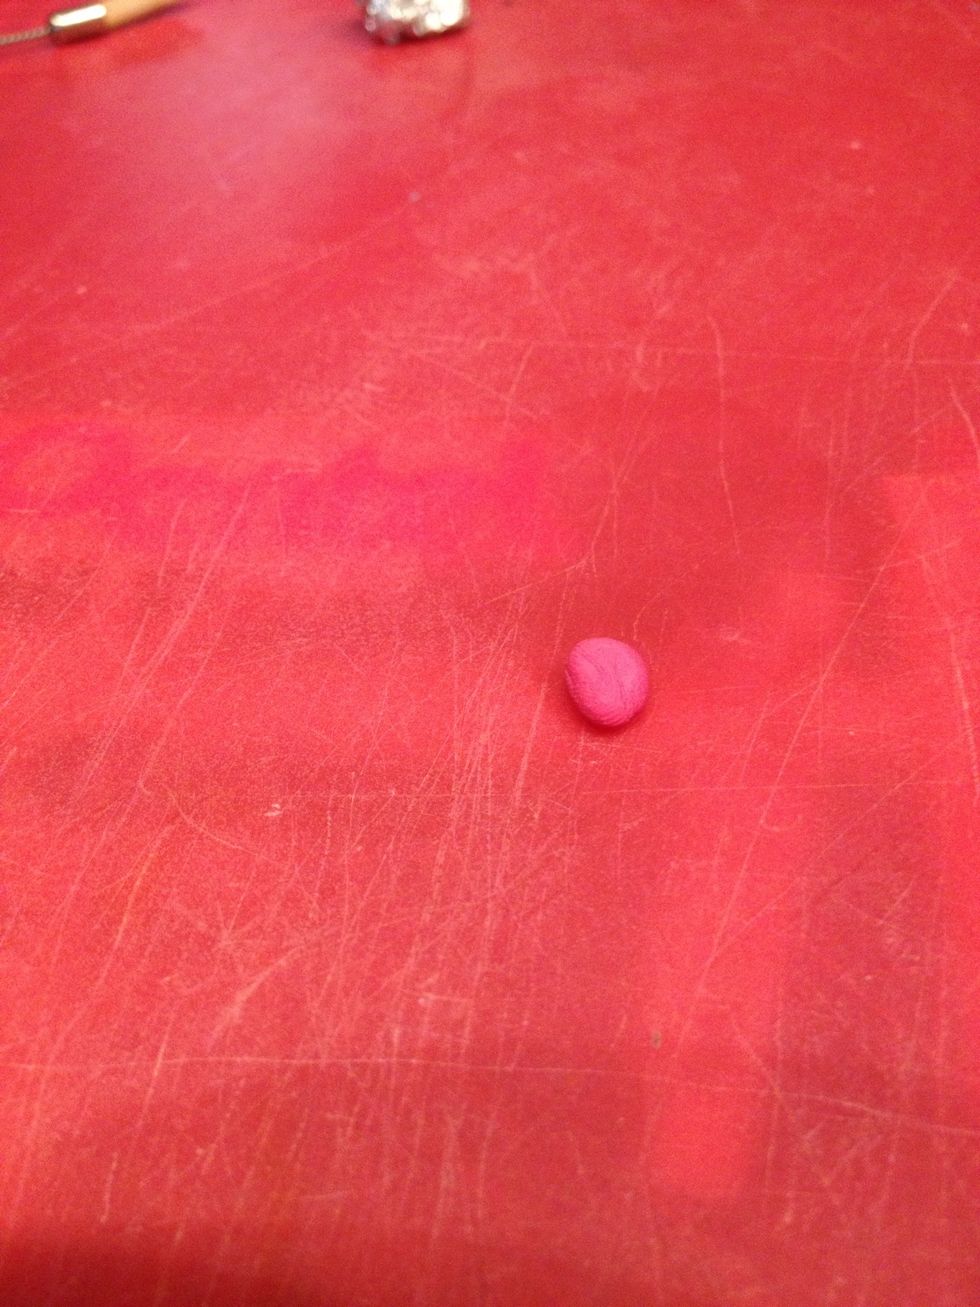
Pink :)
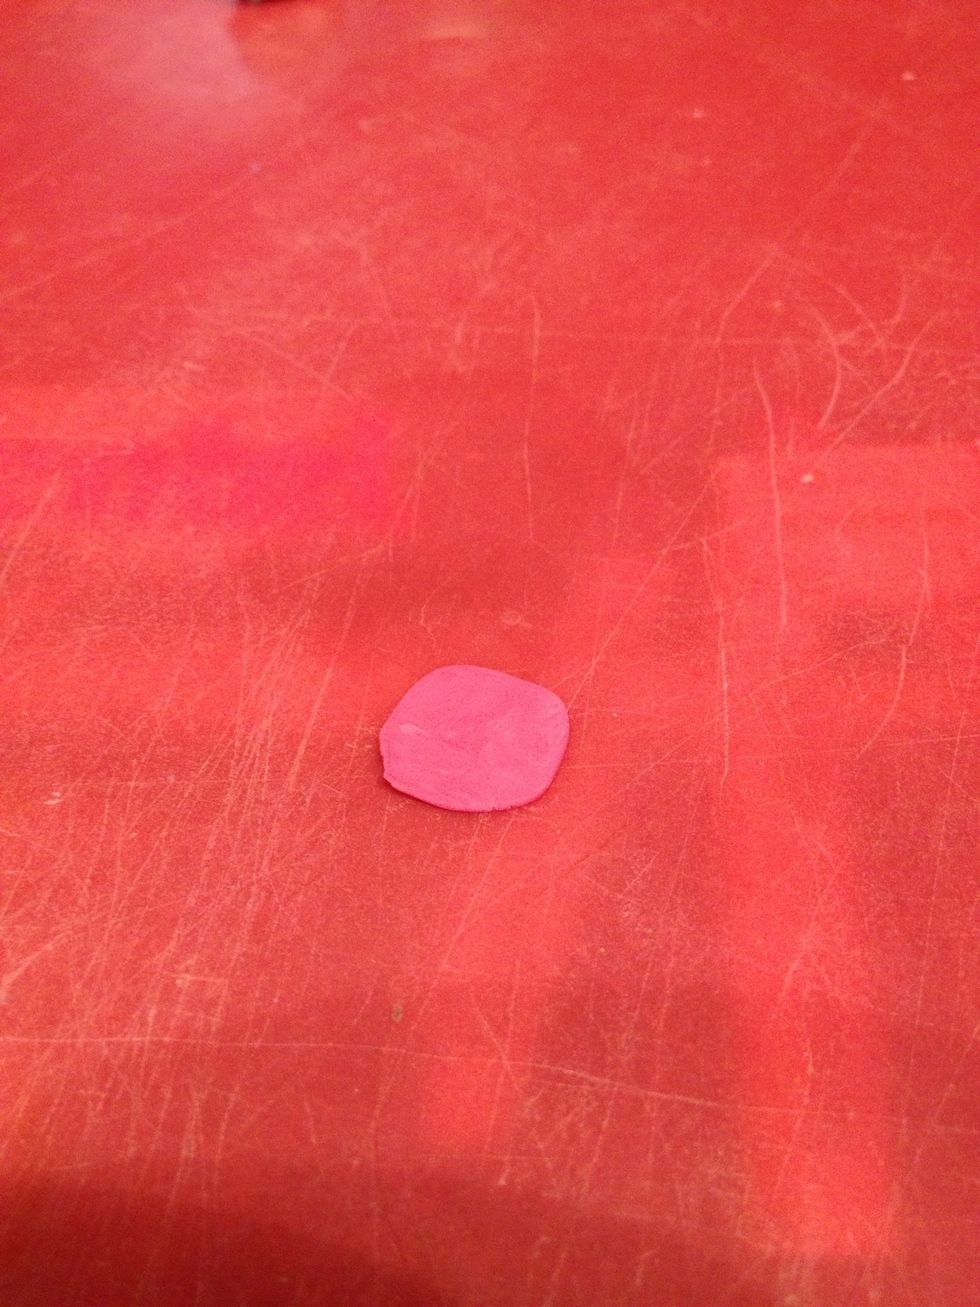
Roll it out very thinly
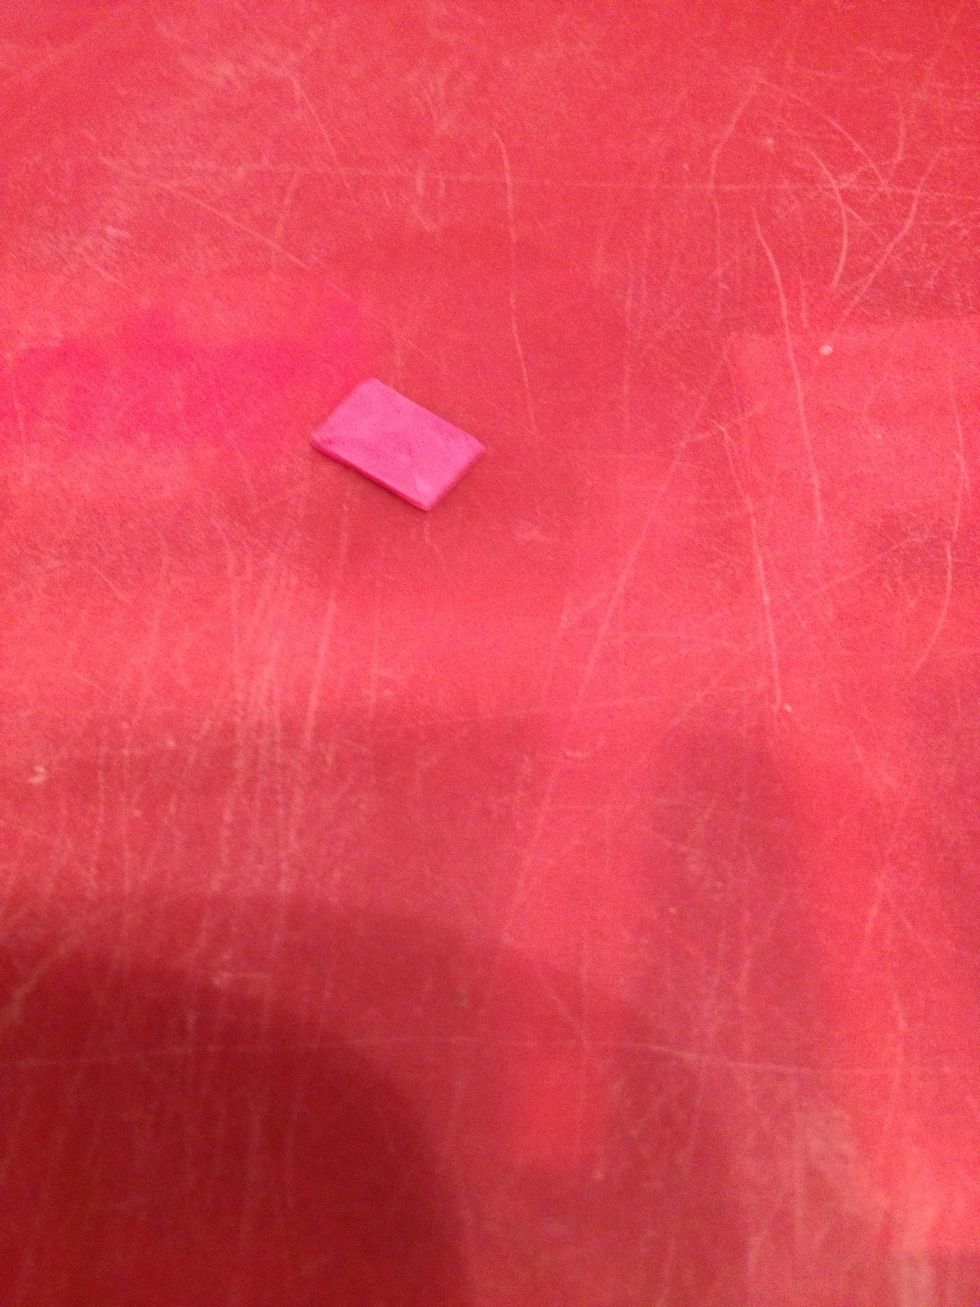
Cut into a smaller rectangle than the tan
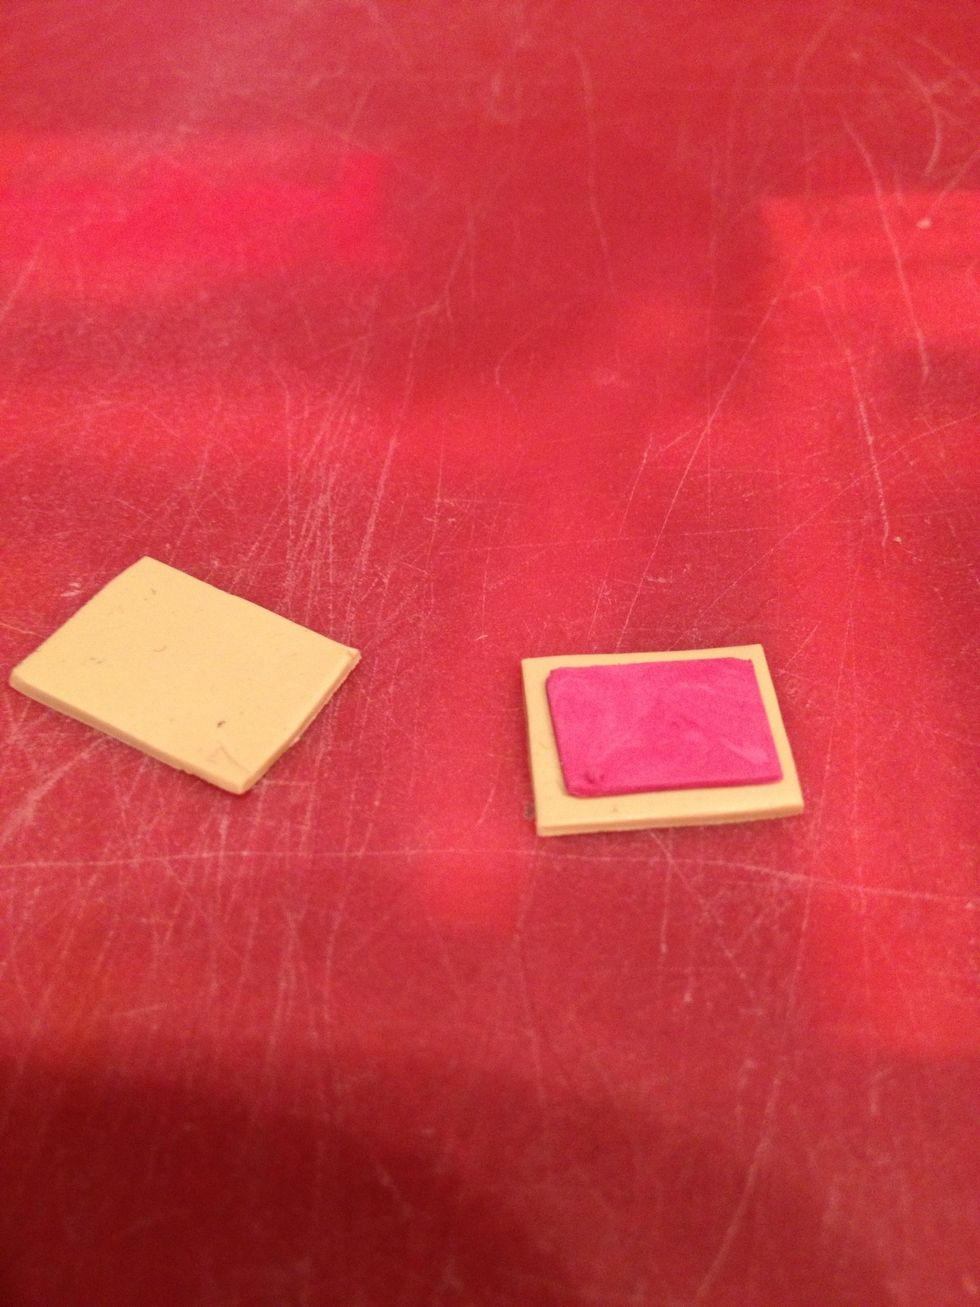
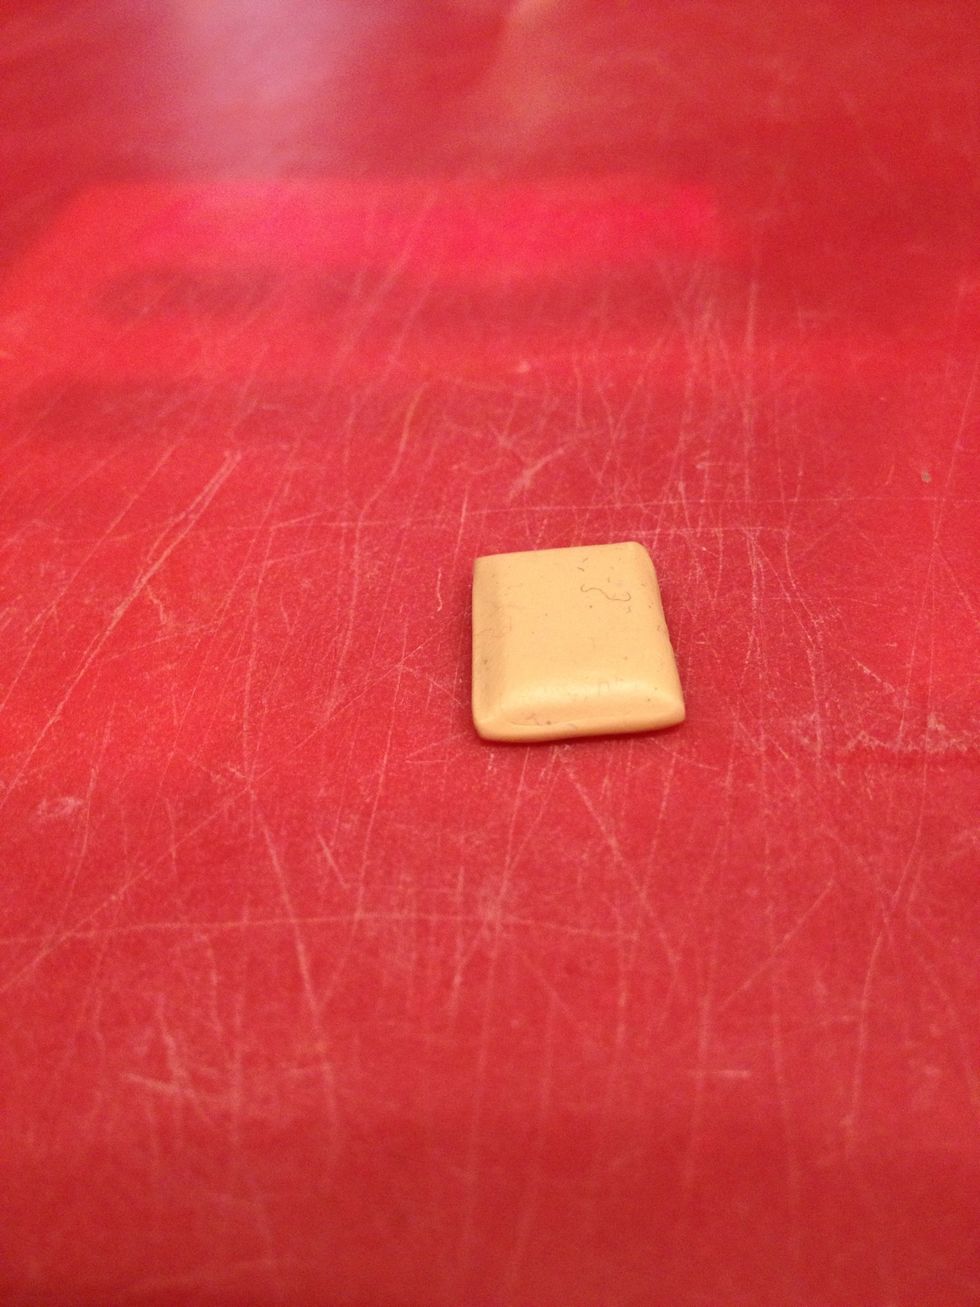
Make a clay sandwich
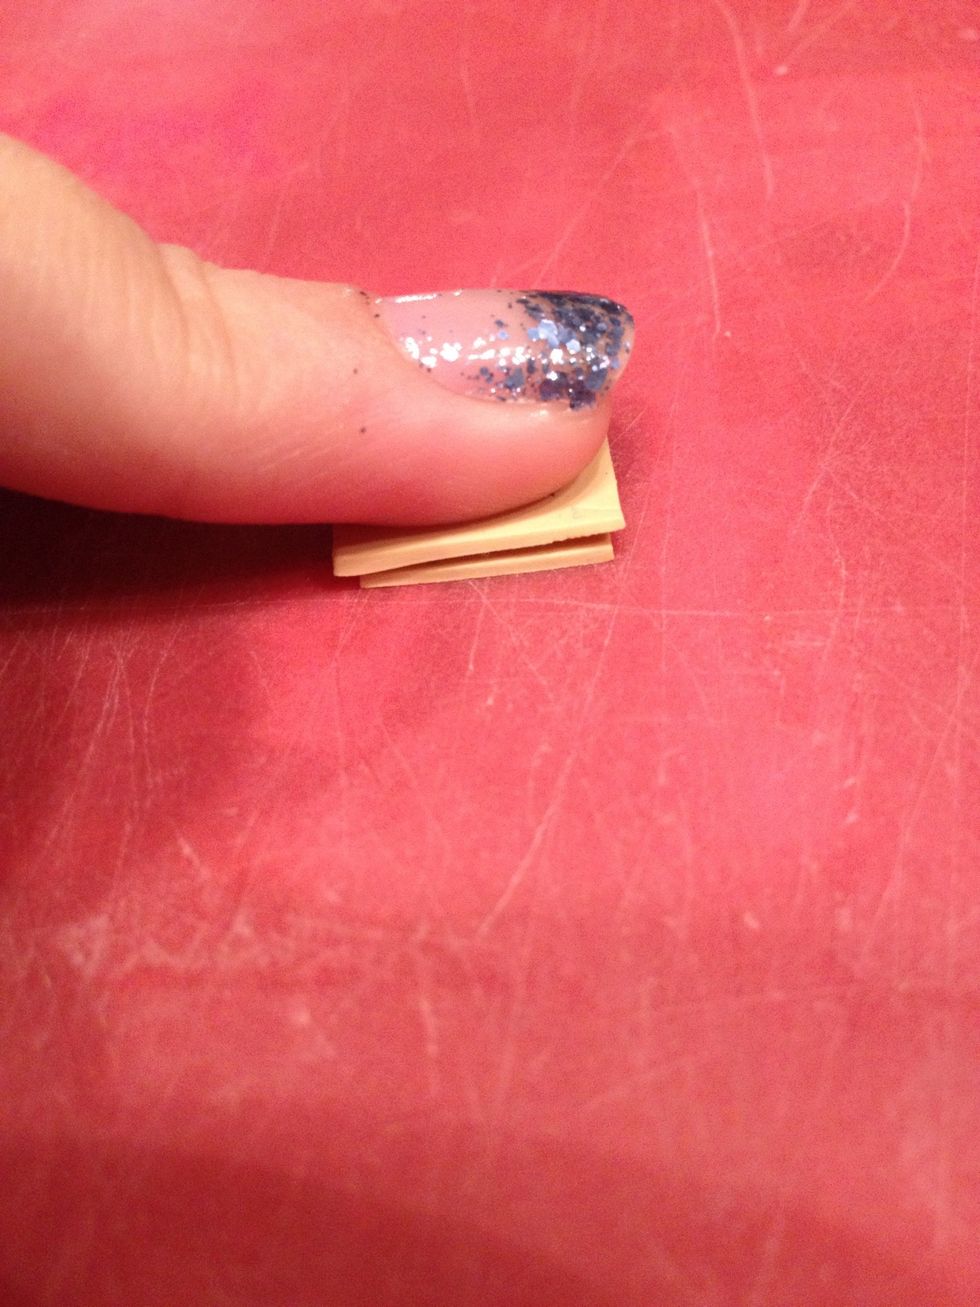
Press down
Smooth the edges together
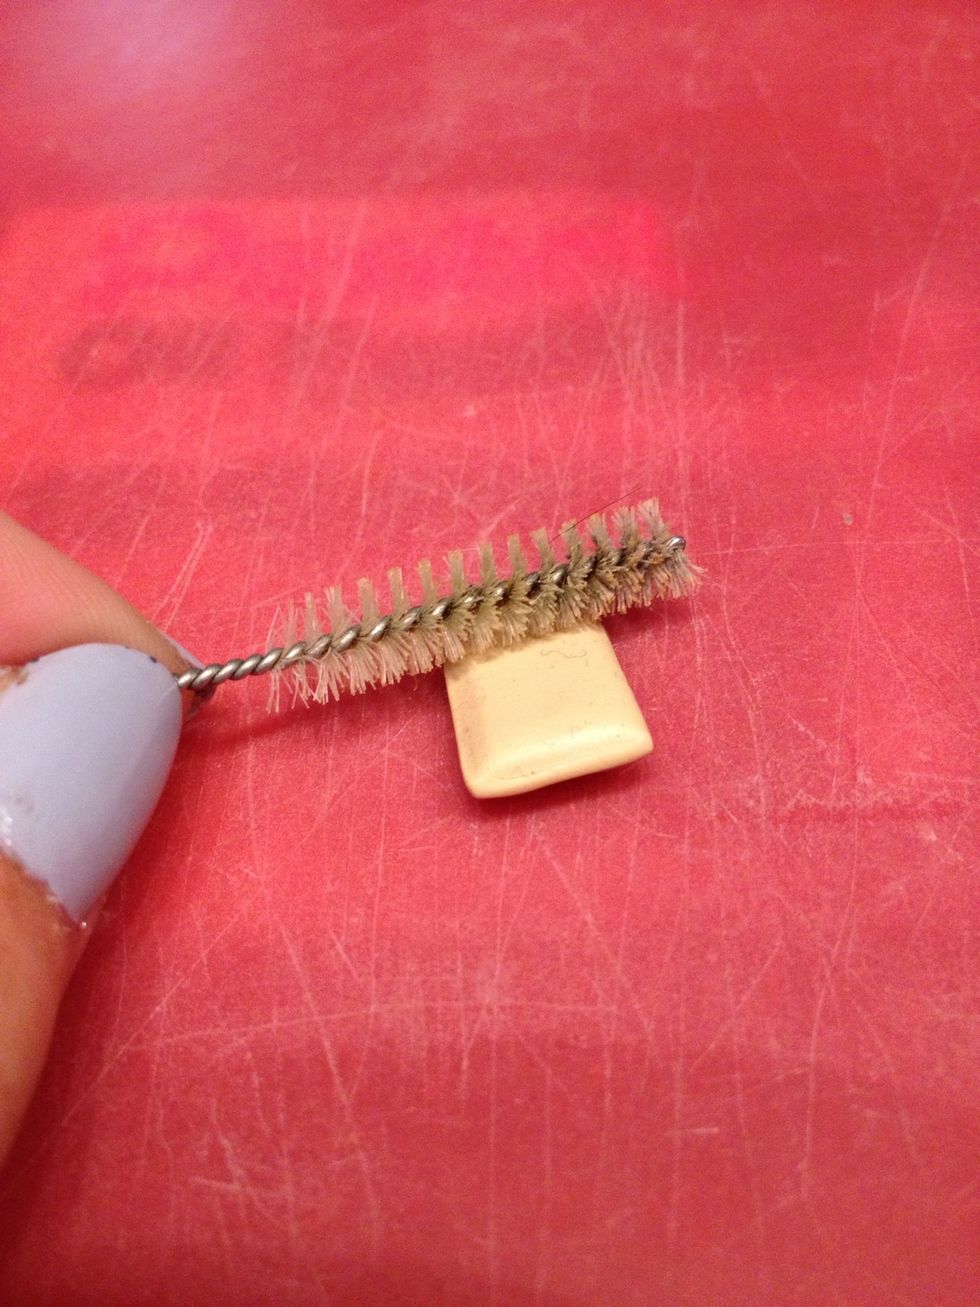
Texture with a brush, aluminum foil etc
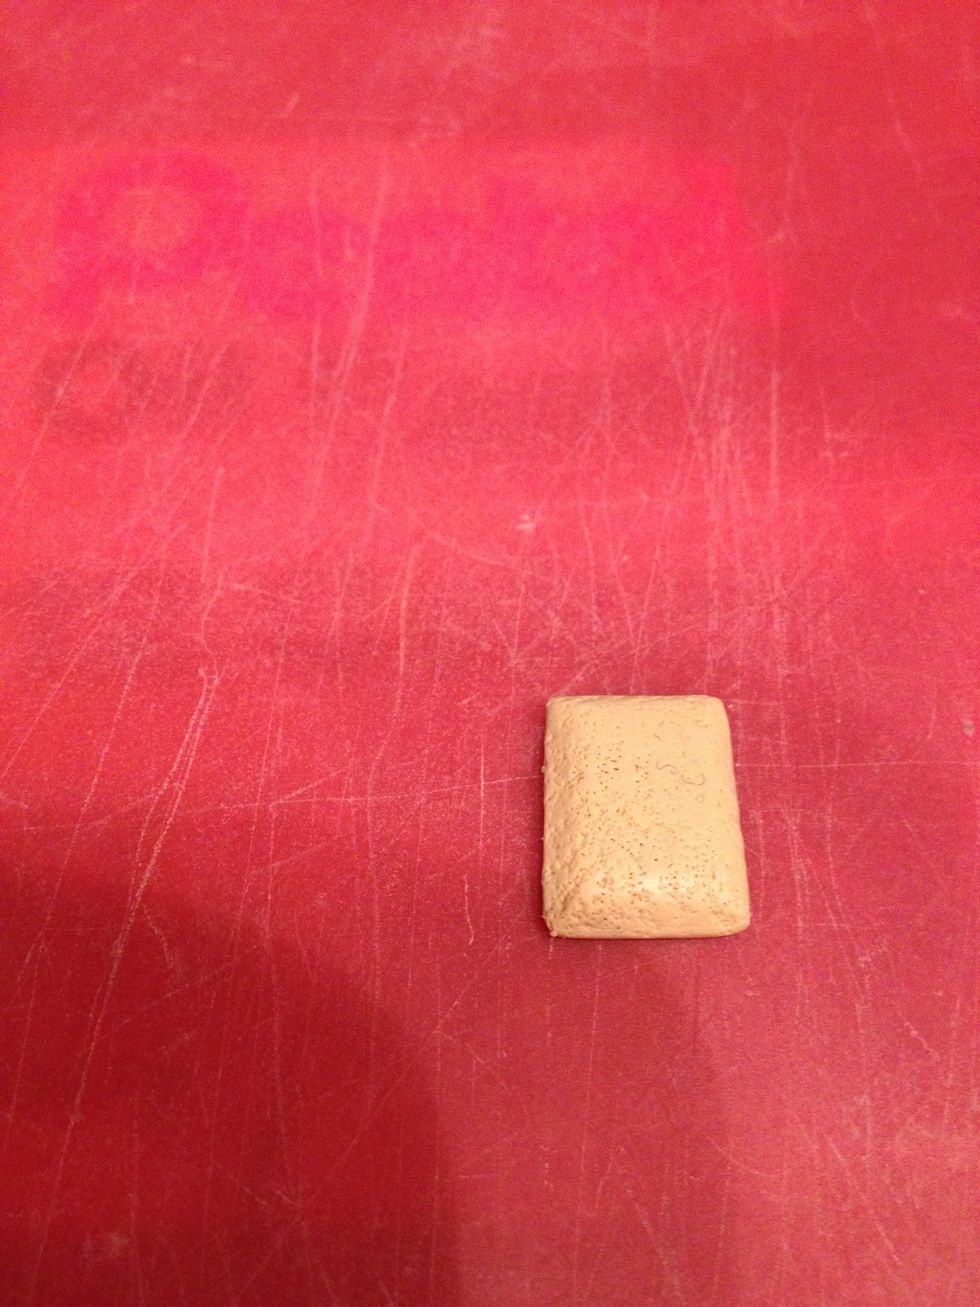
Result!
Get some orange pastel power onto a brush
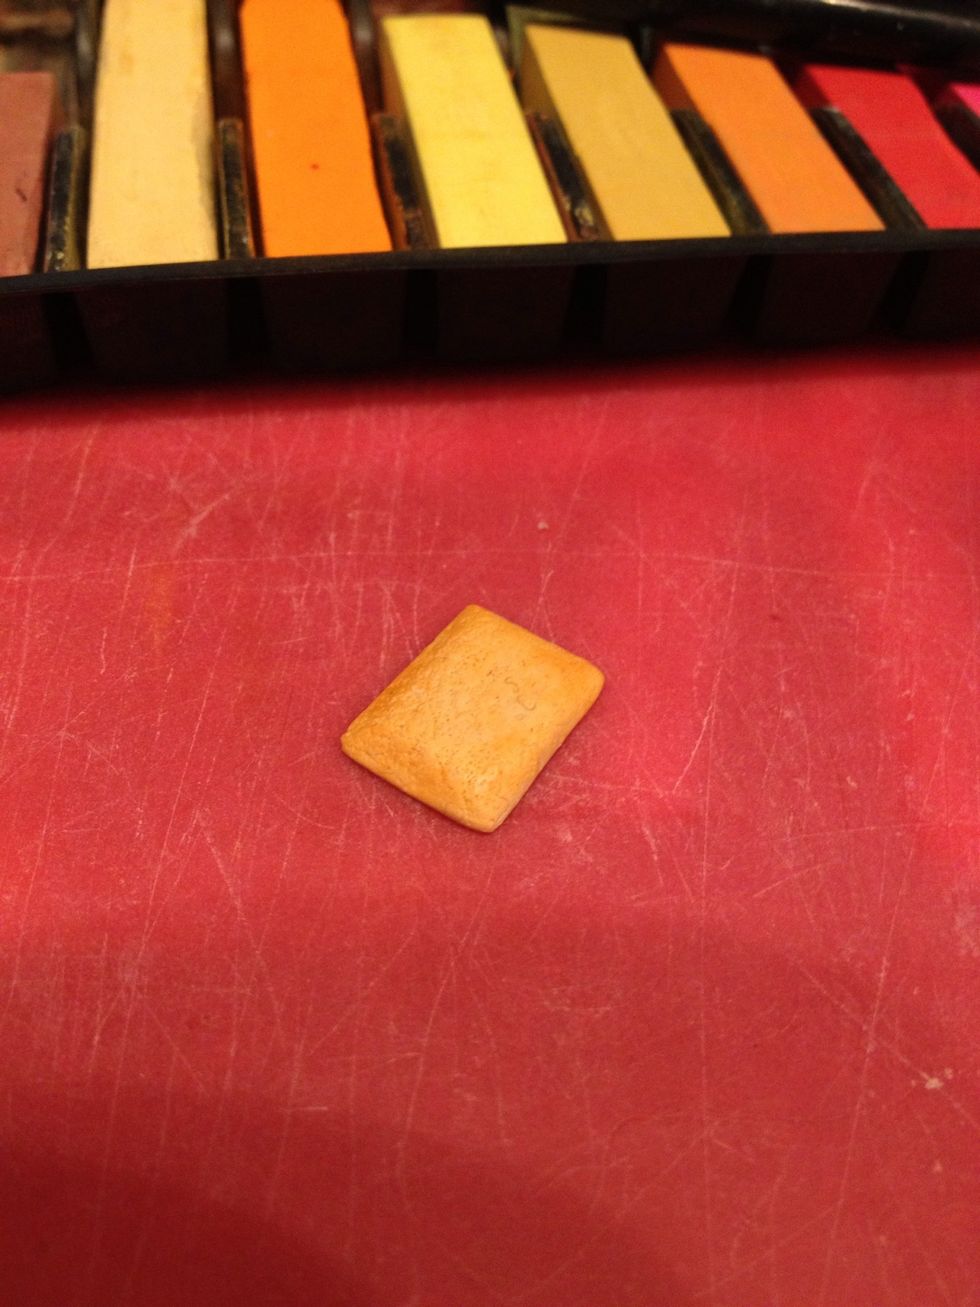
Dab it onto the tart until it looks like this
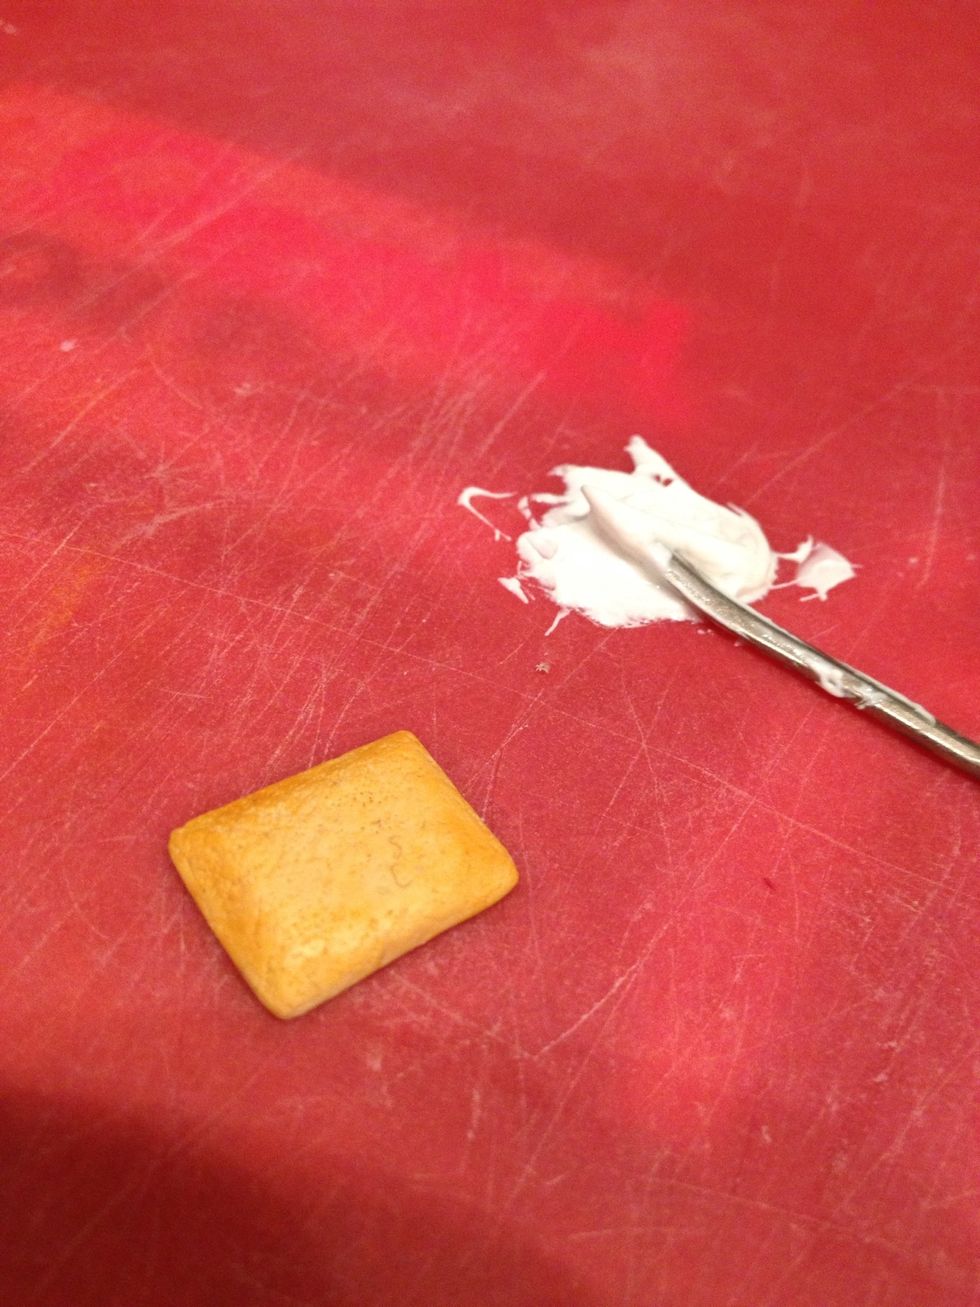
Make some icing by mixing TLS and white clay
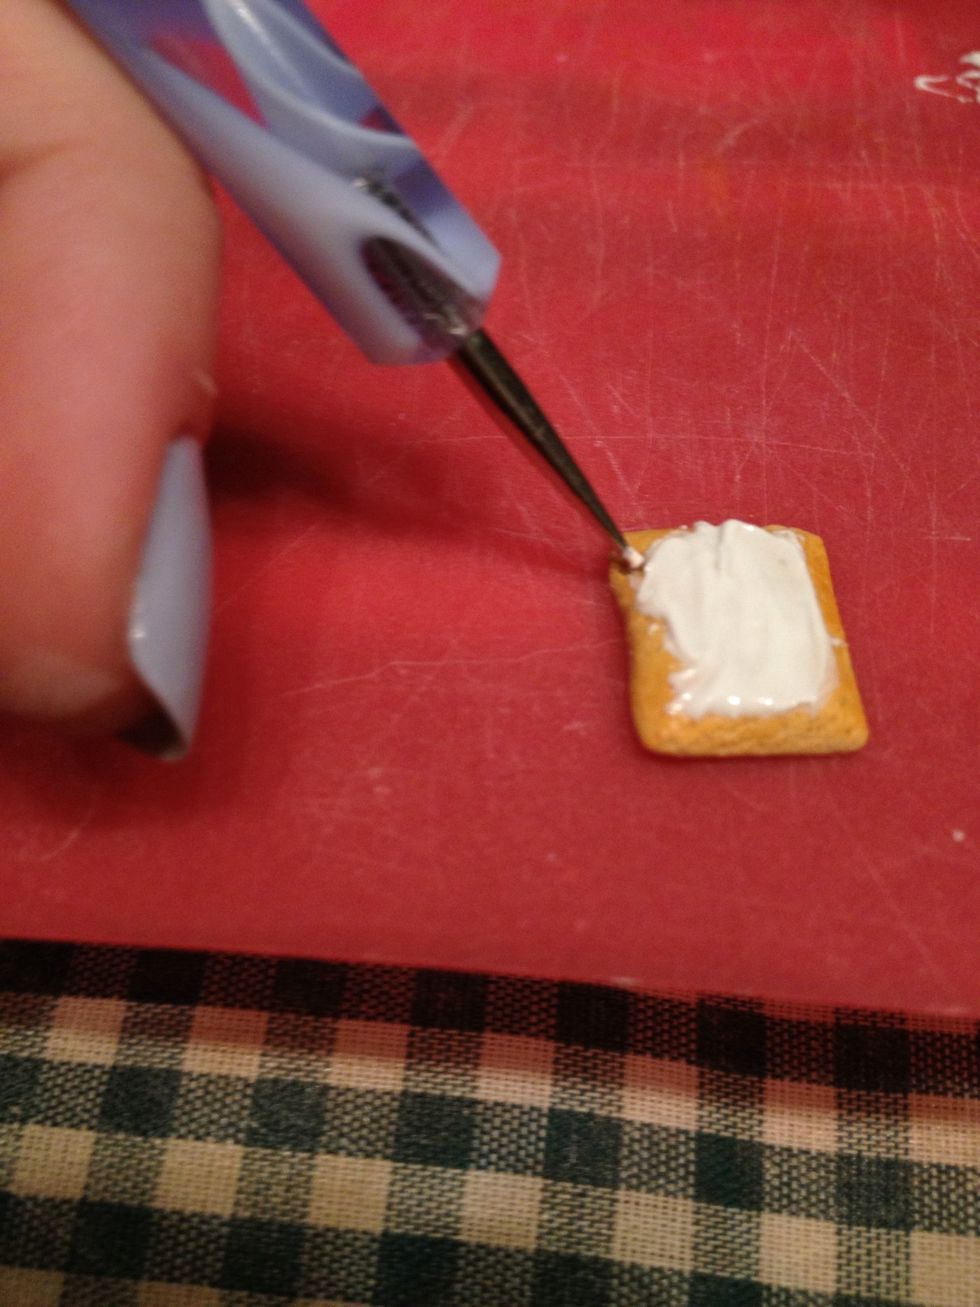
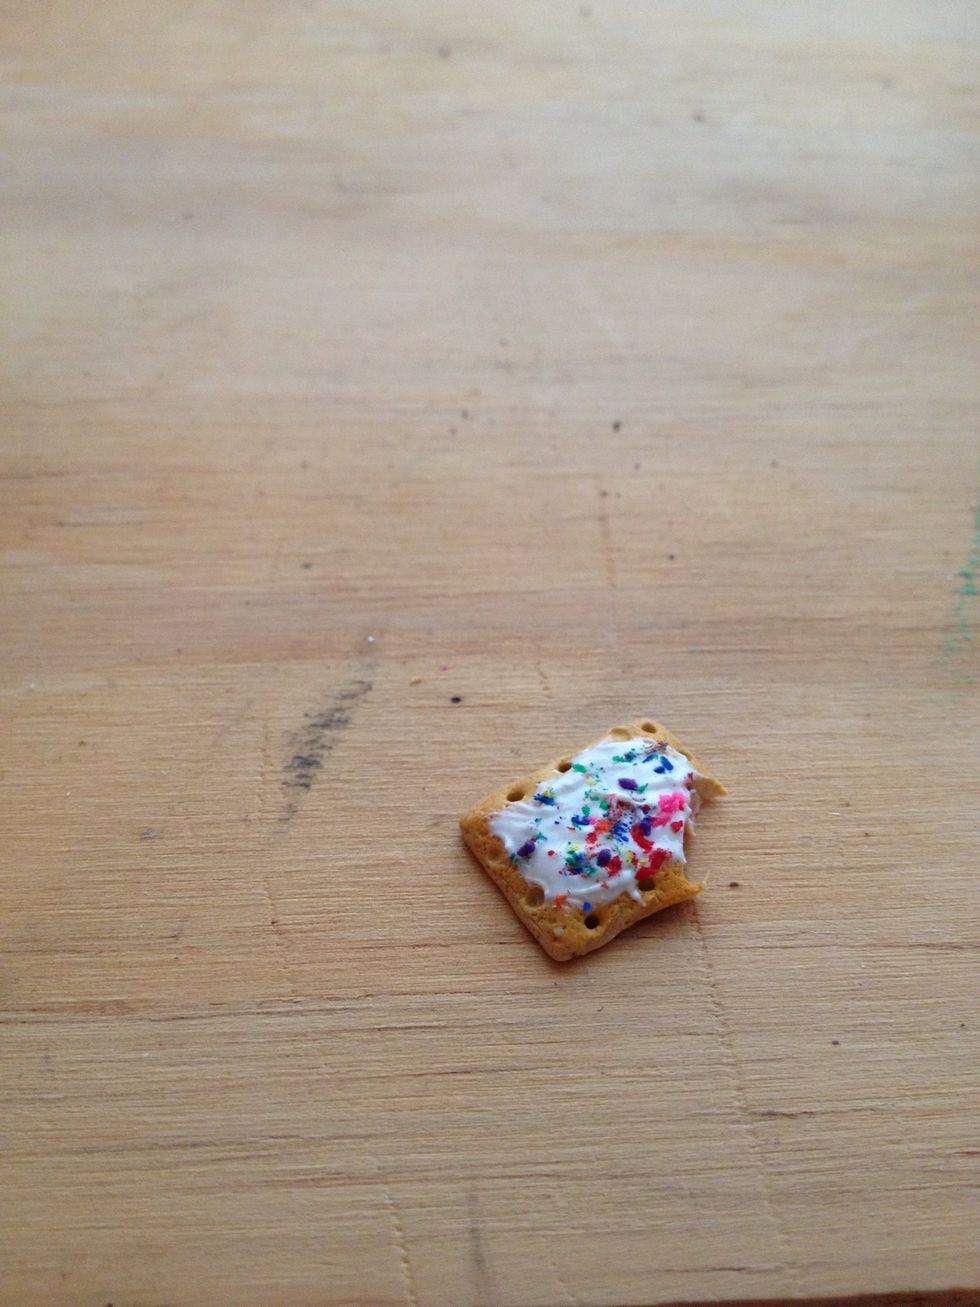
Try your best to get it neatly on top - this part's a mess! Then use a dotting tool to make little indents along the edges
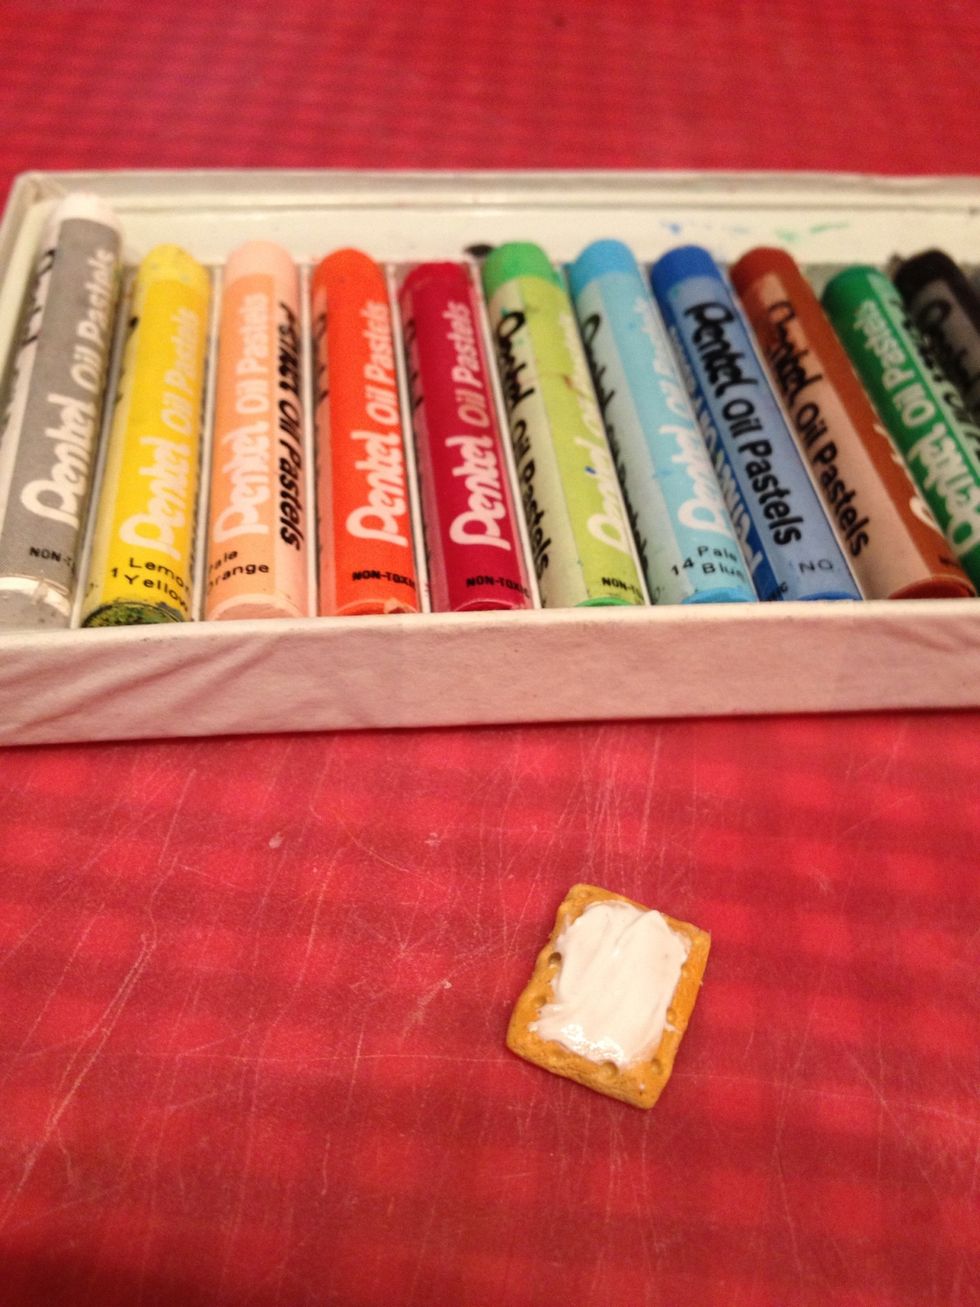
Use clay or oil pastels for the next step.
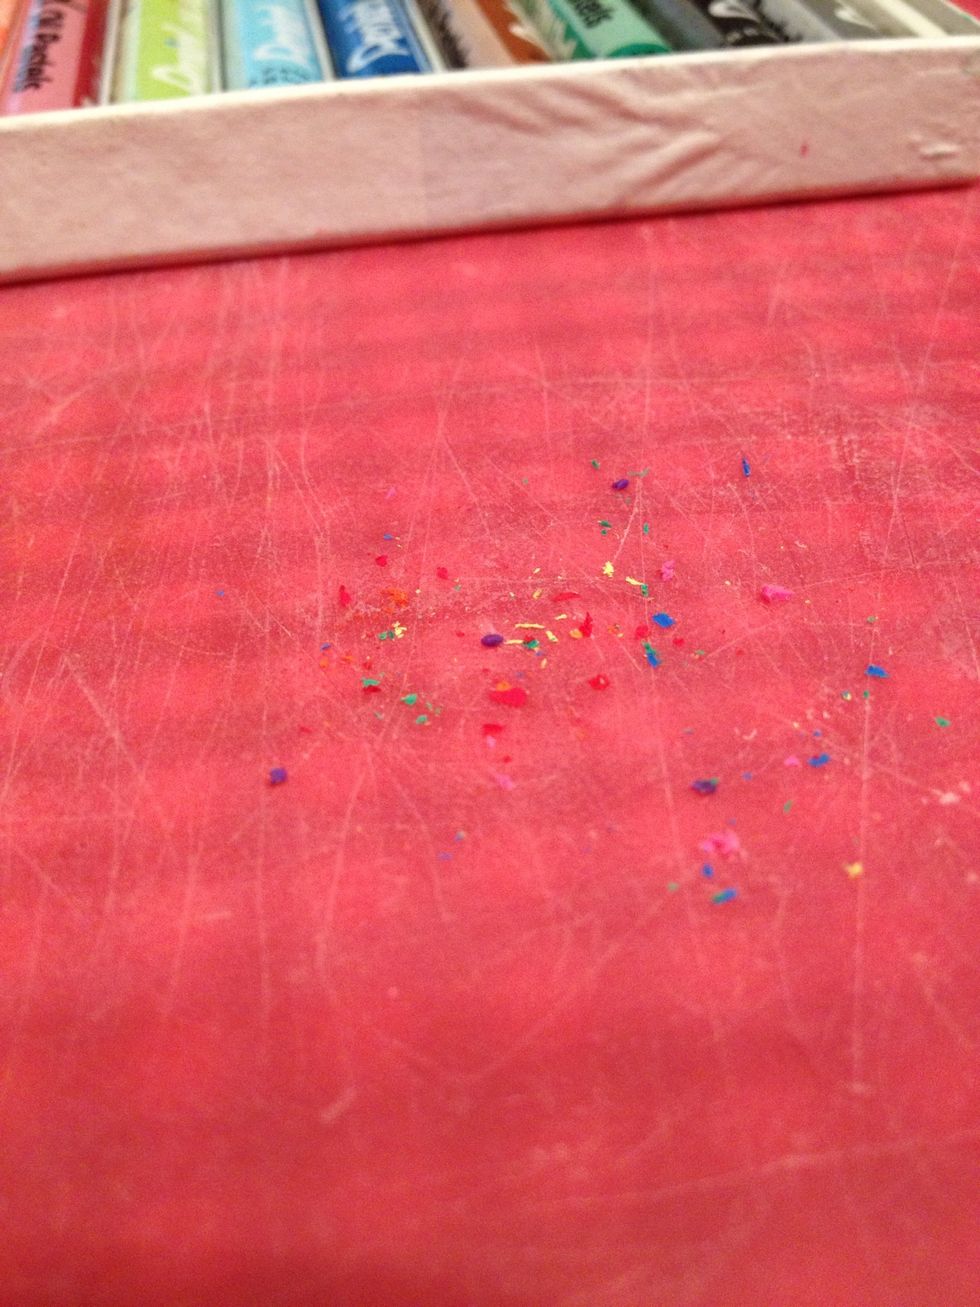
Scrape off tiny bits of every color
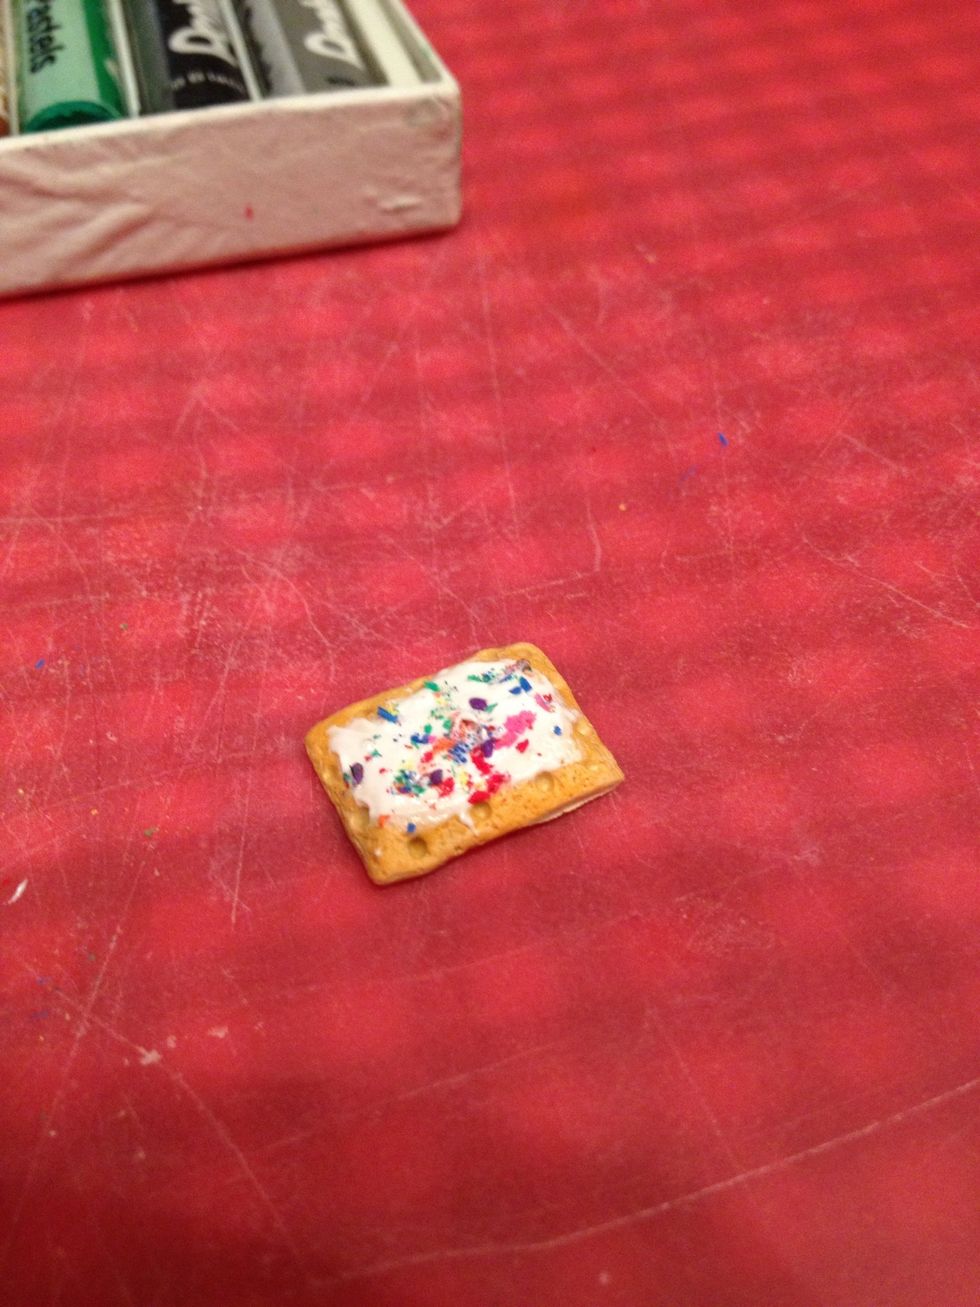
Sprinkle on top of the white
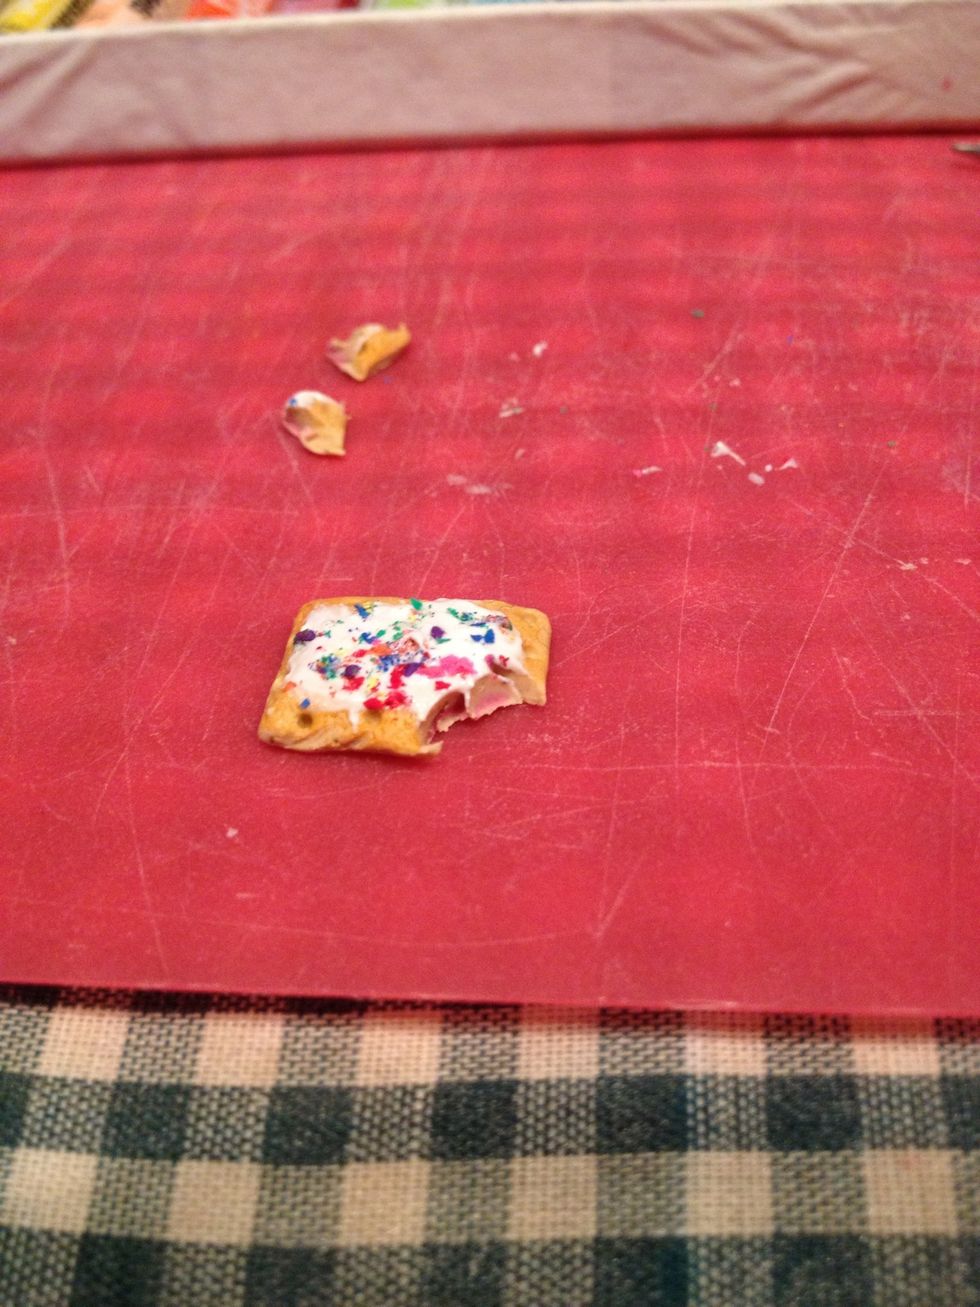
Cut out a corner to look like a bite. Now it's all set to bake!
Bake at the appropriate temperature and let it cool. When cool, you can choose to glaze it or not, then cut a strip of magnet and glue it to the back. Voila, adorable little poptart!