The Conversation (0)
Sign Up
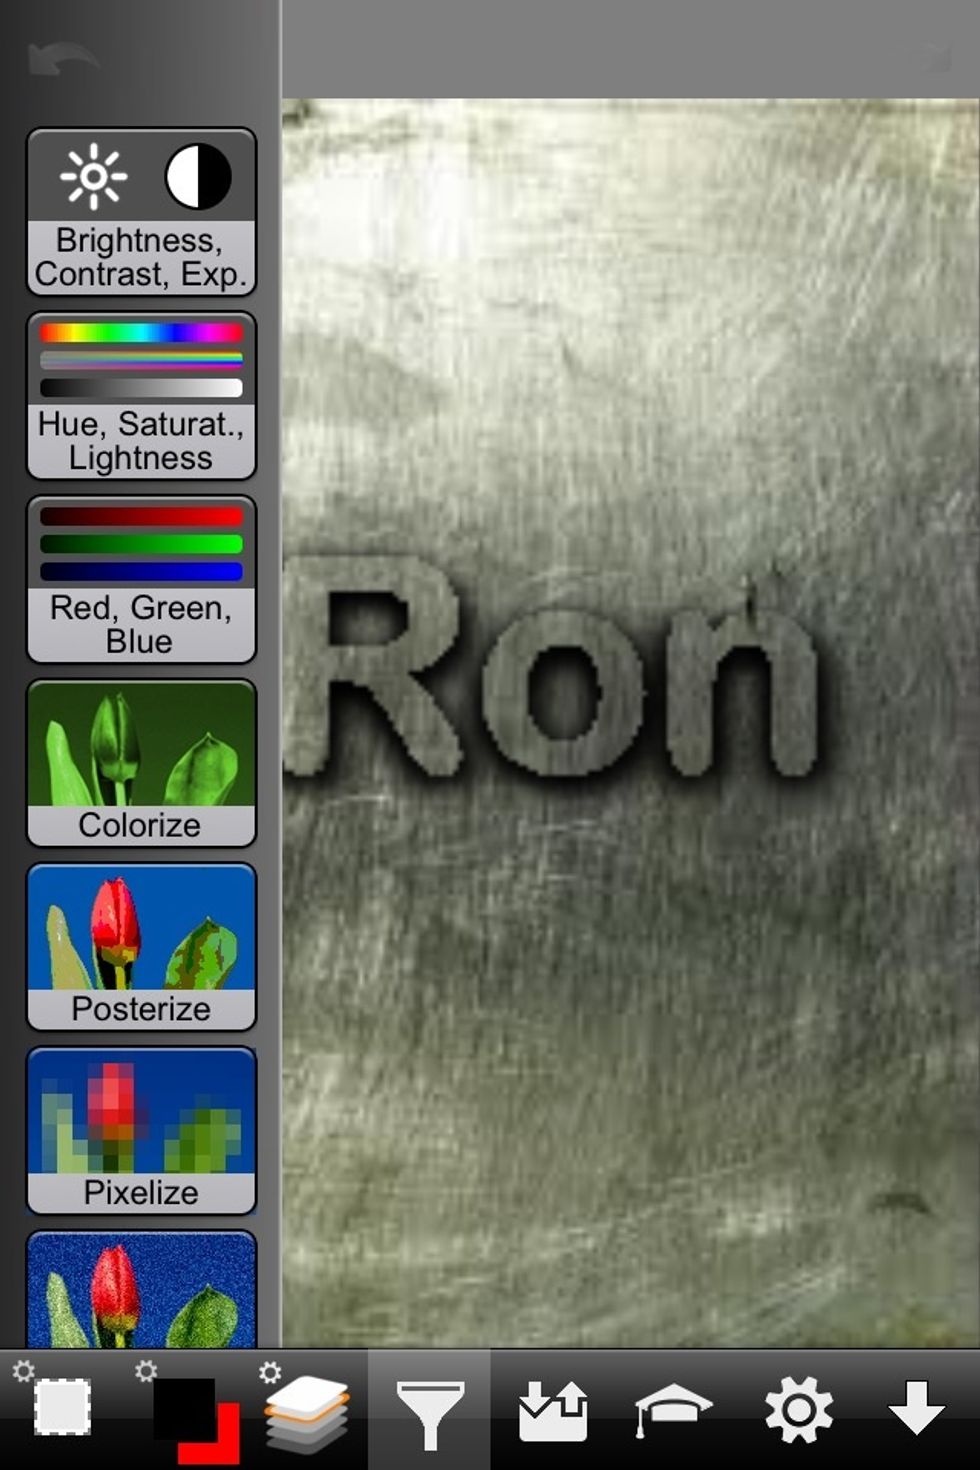
In this guide I'll be using the ArtStudio app on iPhone. But the same steps can be taken with just about any image editor that has the required tools and features such as layers.
I've already made a guide for many of the steps needed in this guide. Refer to them for more details on executing the steps.
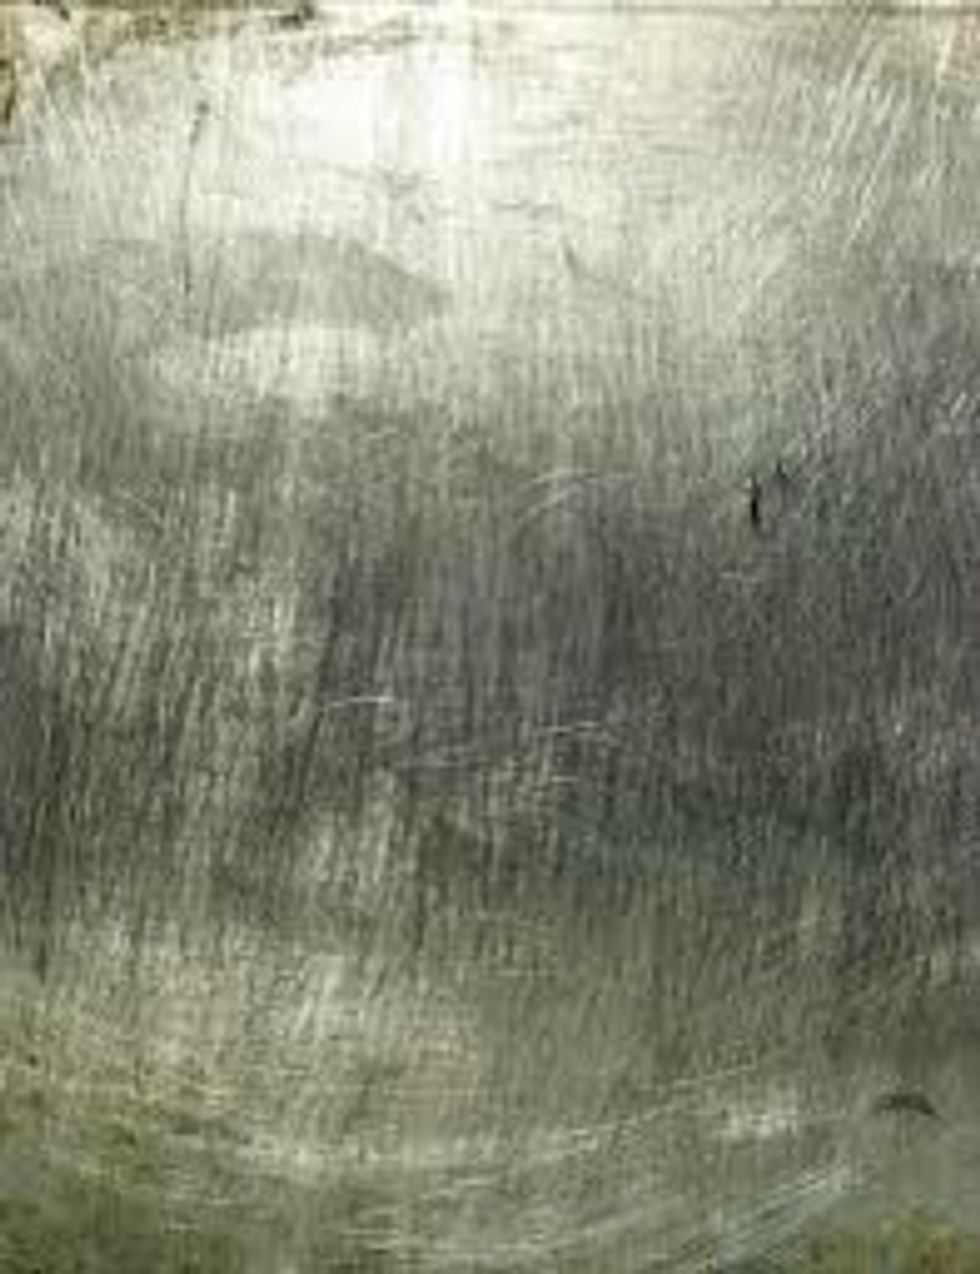
Open the image you want to pop out text on (see my ArtStudio guide). In this example I'm using an image of scratched steel.
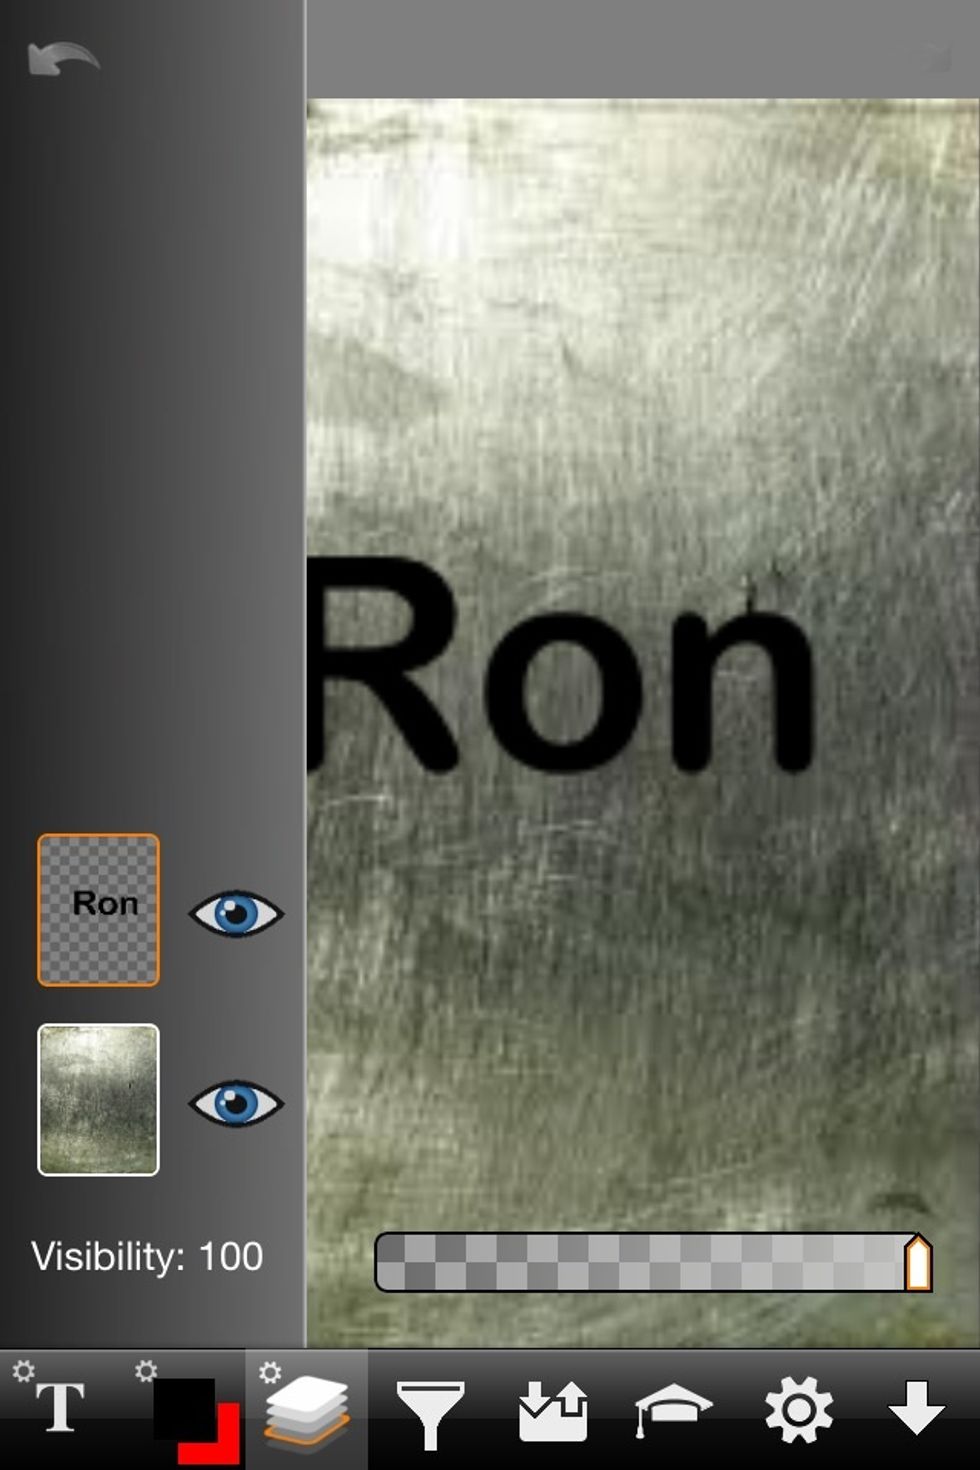
Add a new layer and insert the text you want to pop out of the image (see my layers guide).

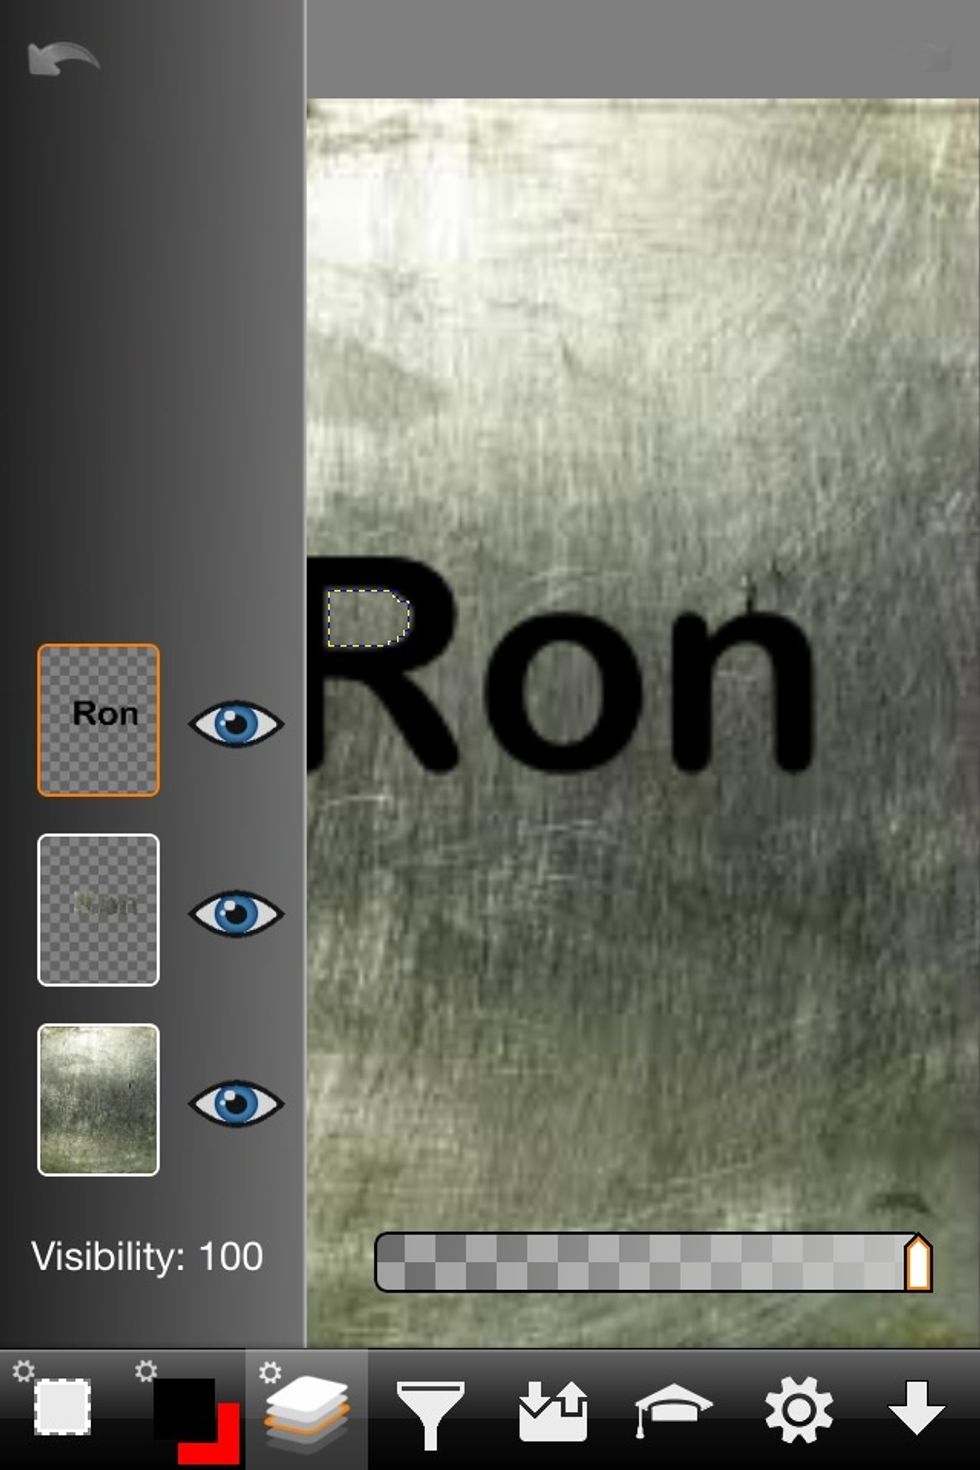
Use the magic wand selection tool to select the transparent area of the text layer (see my selection tools guide and my layers guide).
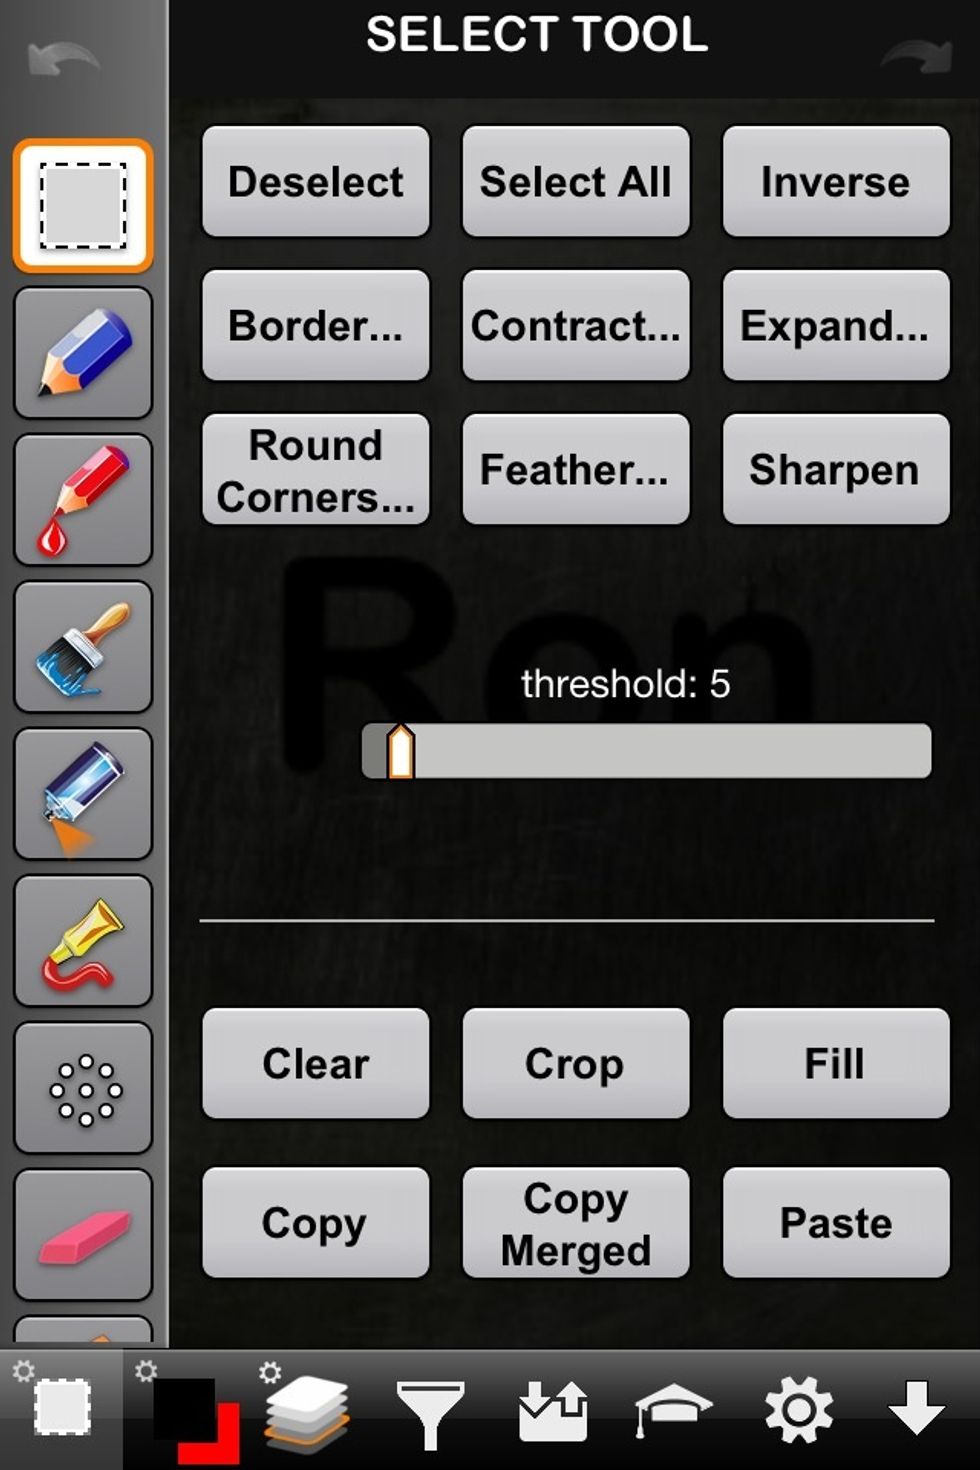
Go to the selection tools menu and select "inverse". You'll now have the actual text selected rather than the background.
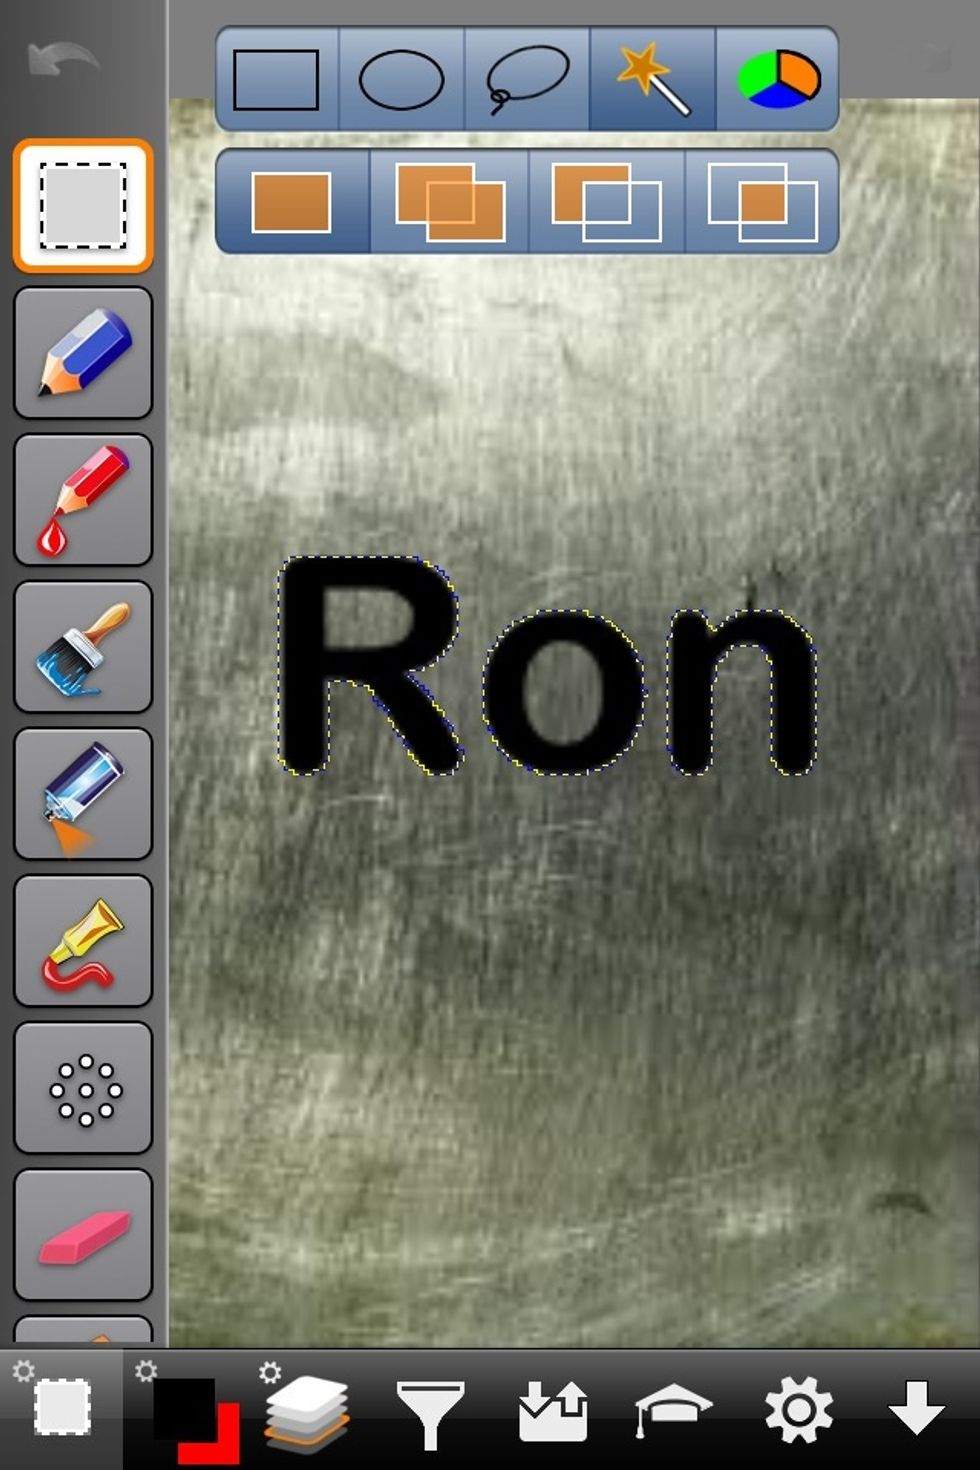
Here the text is selected. But notice the holes in the R and the O are not selected. We'll take care of this in a moment.
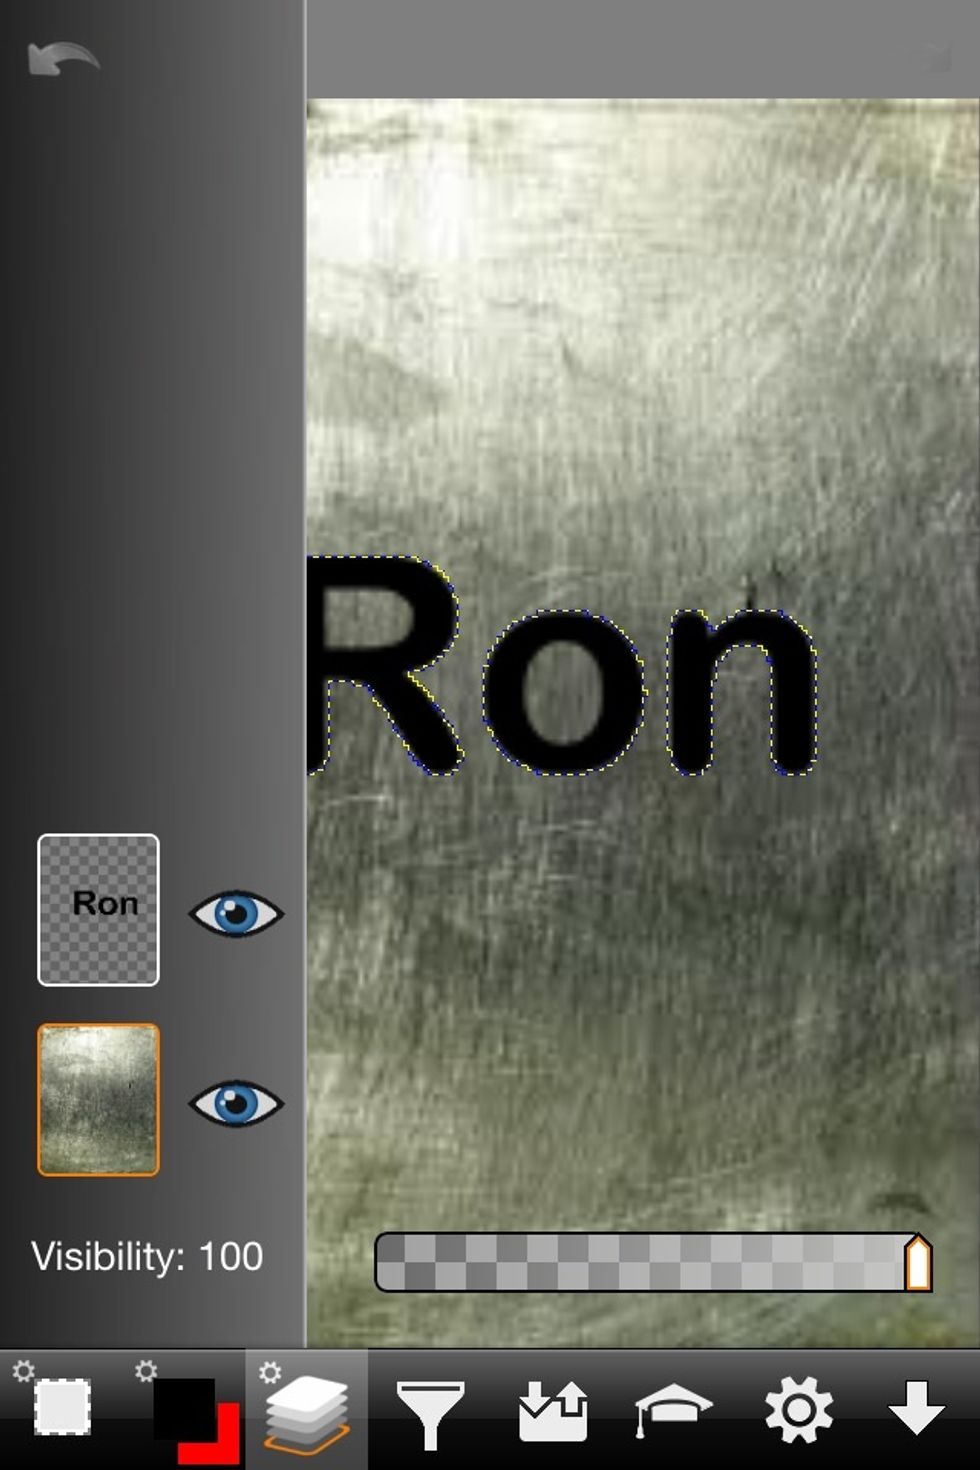
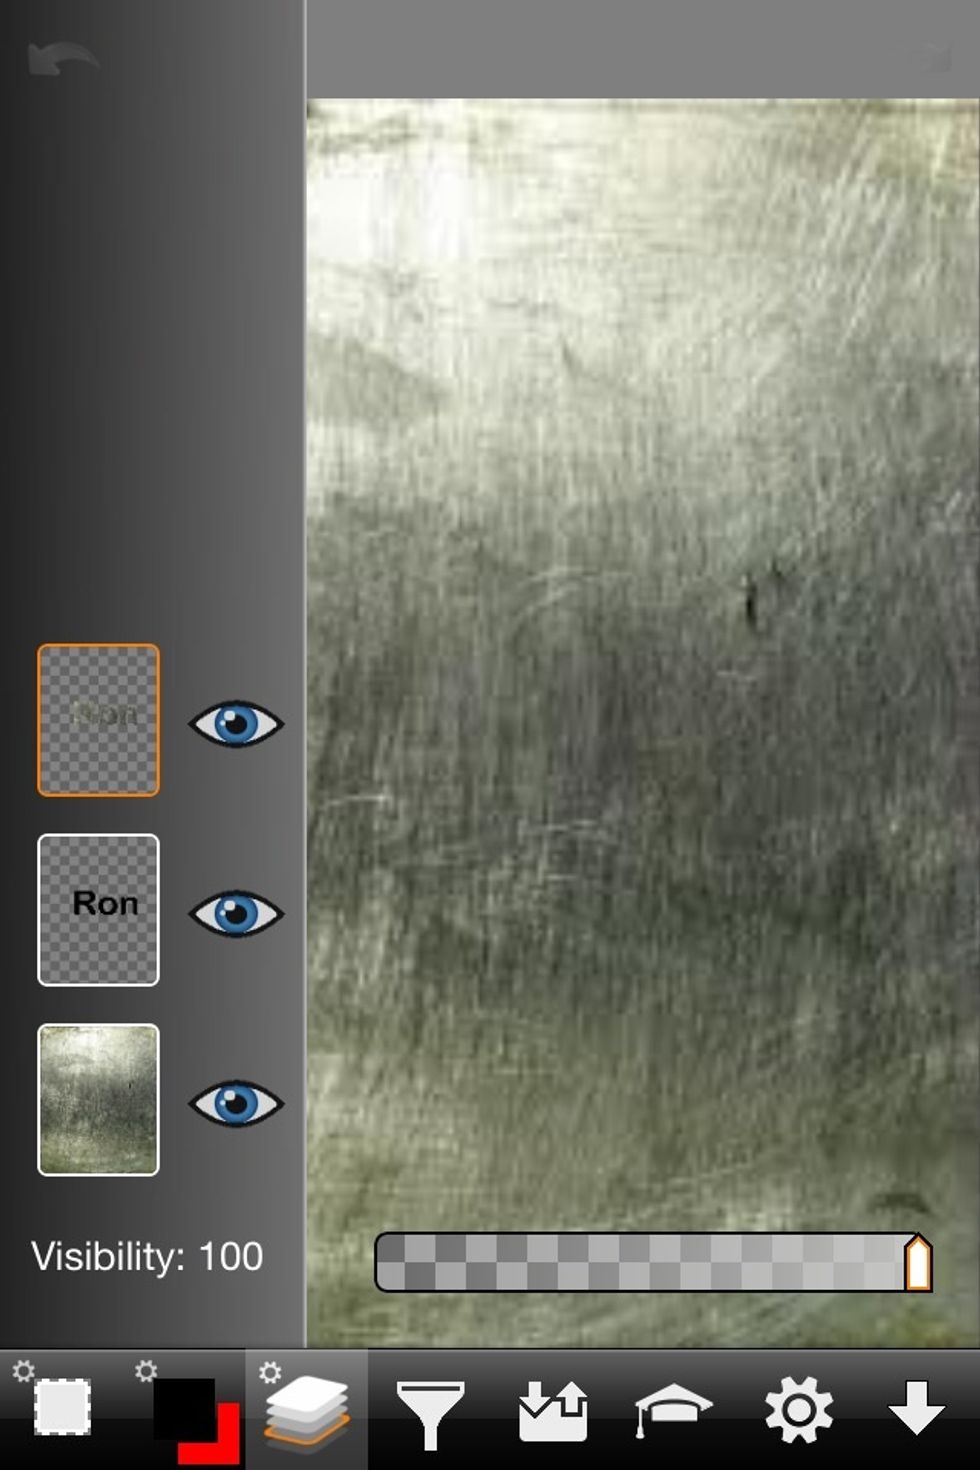
Now go to layers and select the background image layer (note the background layer is selected when its outlined in orange).

Now copy the selected area.
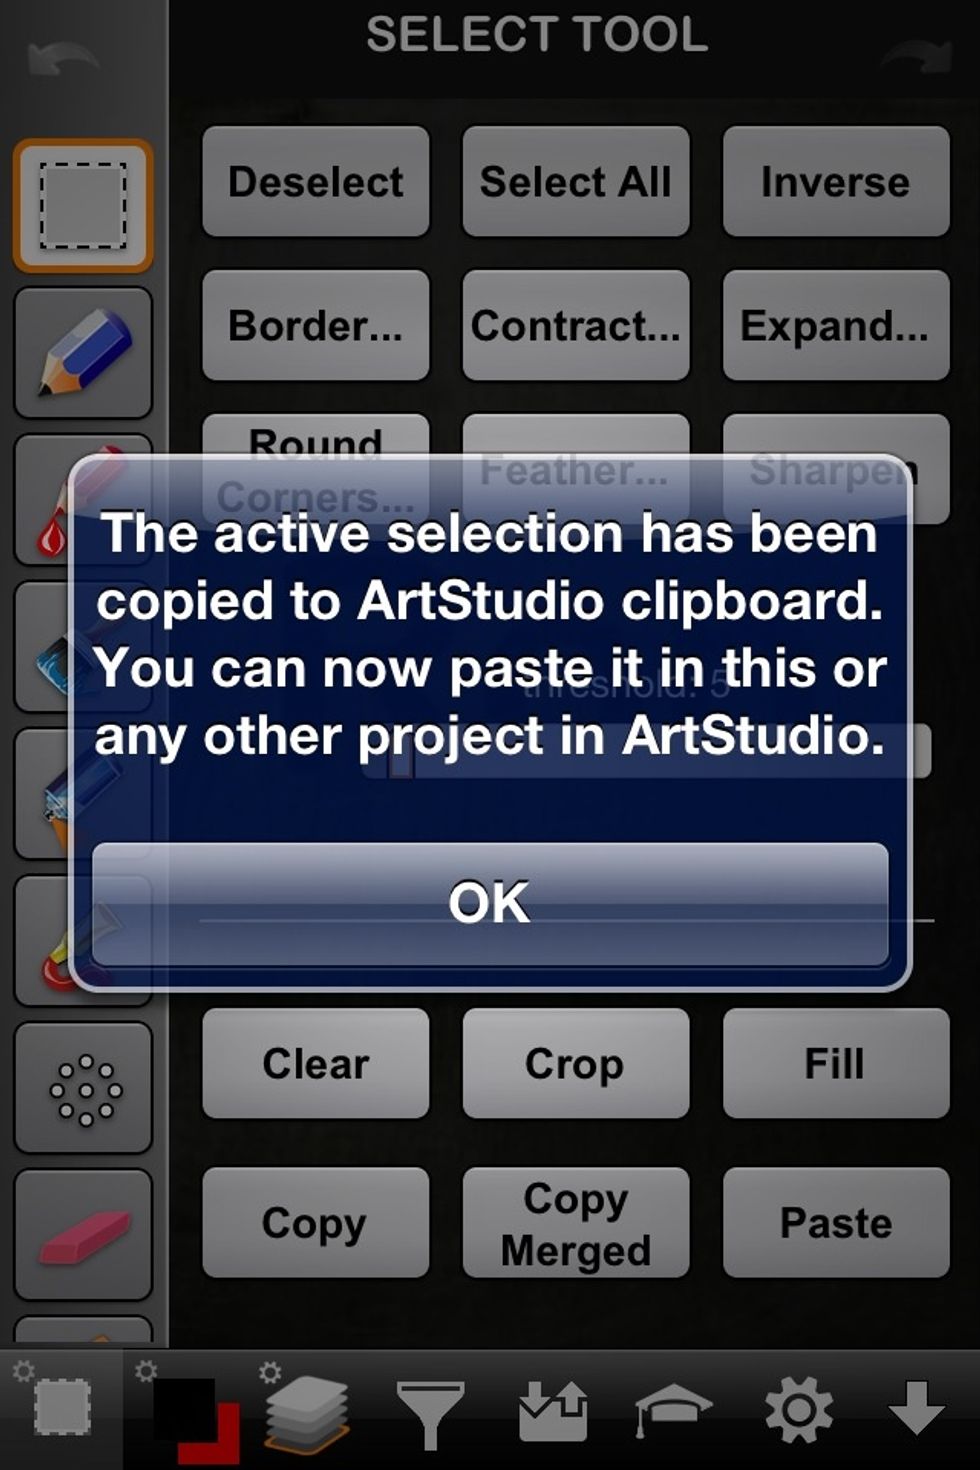
It's now copied to clipboard.
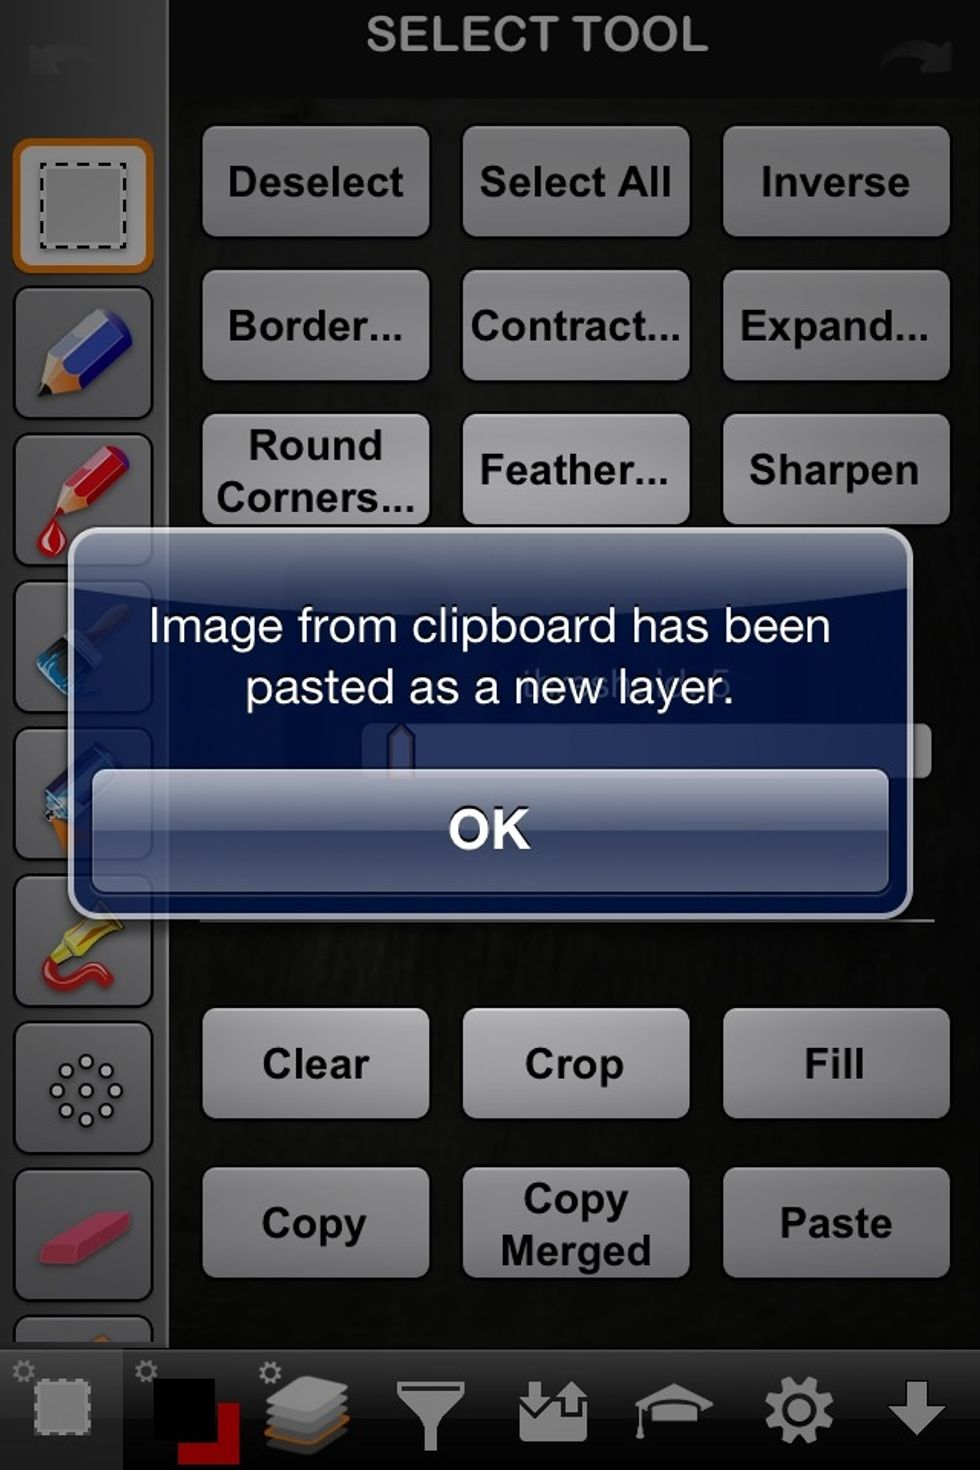
Then hit paste.
It'll be pasted in a new layer. You've just copied the text that is made of a portion of the background layer.
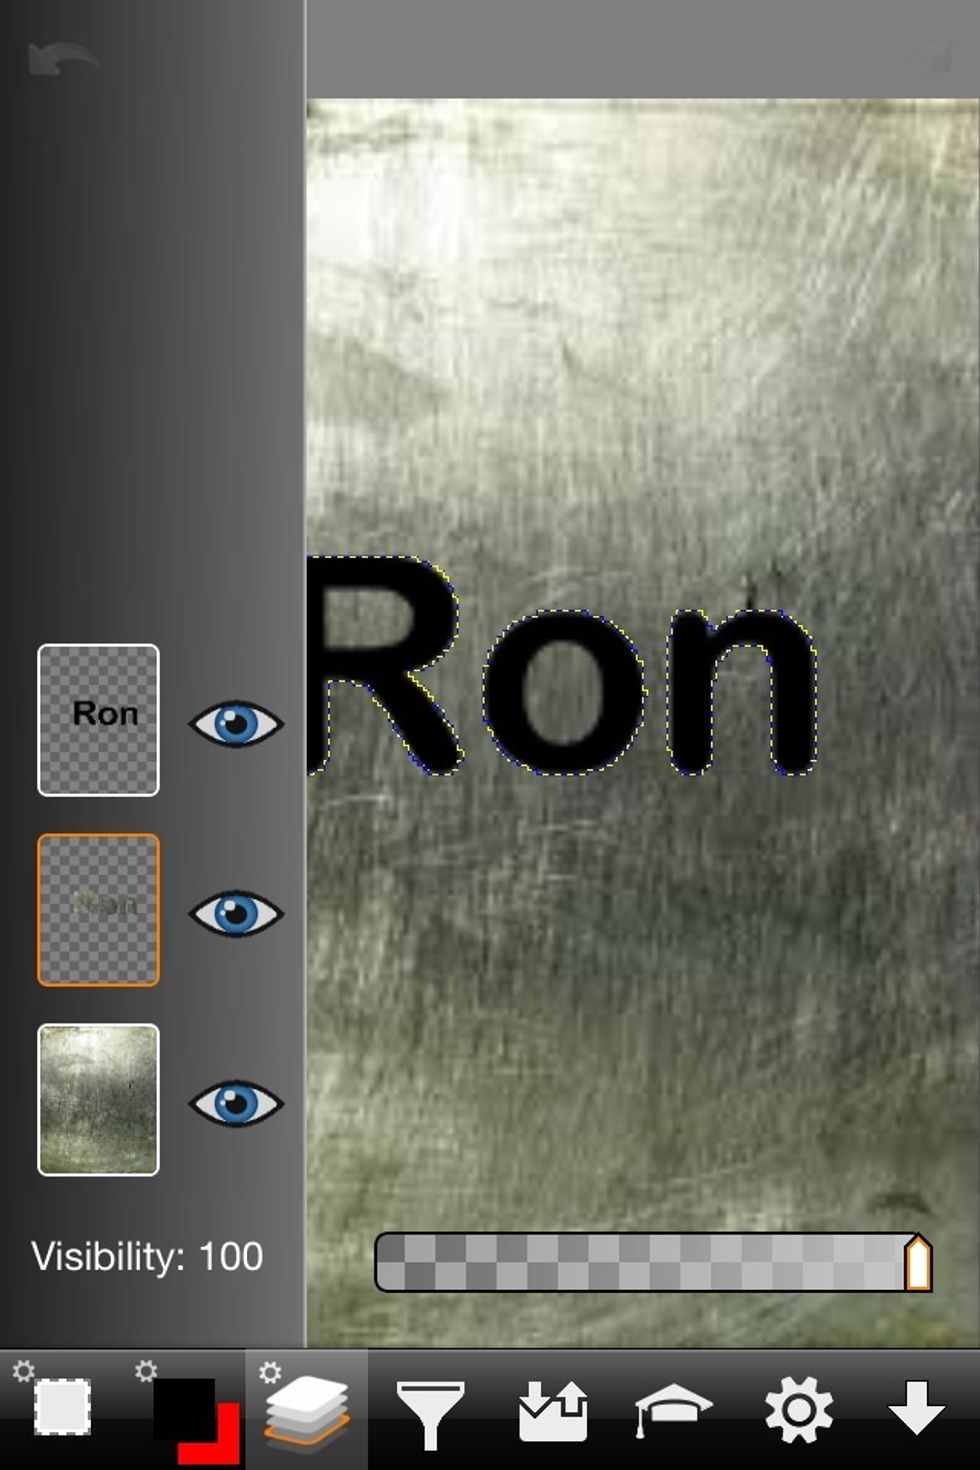
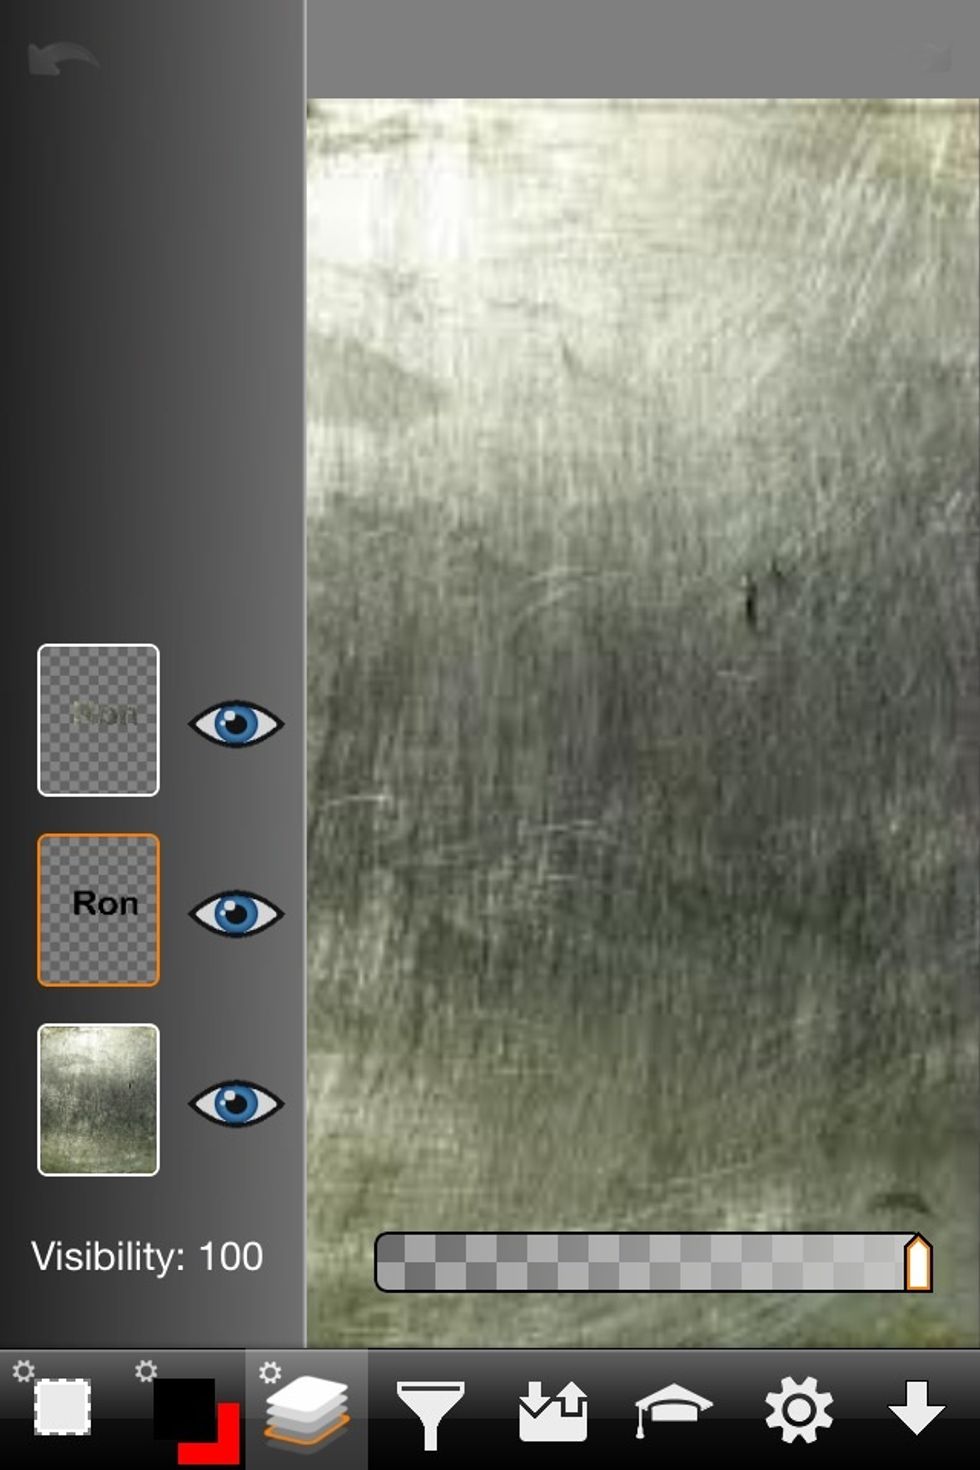
But those holes aren't cut out of the R and the O on this new layer. So go back to the text layer and select one of the holes with the magic wand selection tool.

Then go back to the new text layer.

Then clear the selected area. Repeat these last steps to remove the holes from any letters that has a hole such as the A, P, O, R, etc…
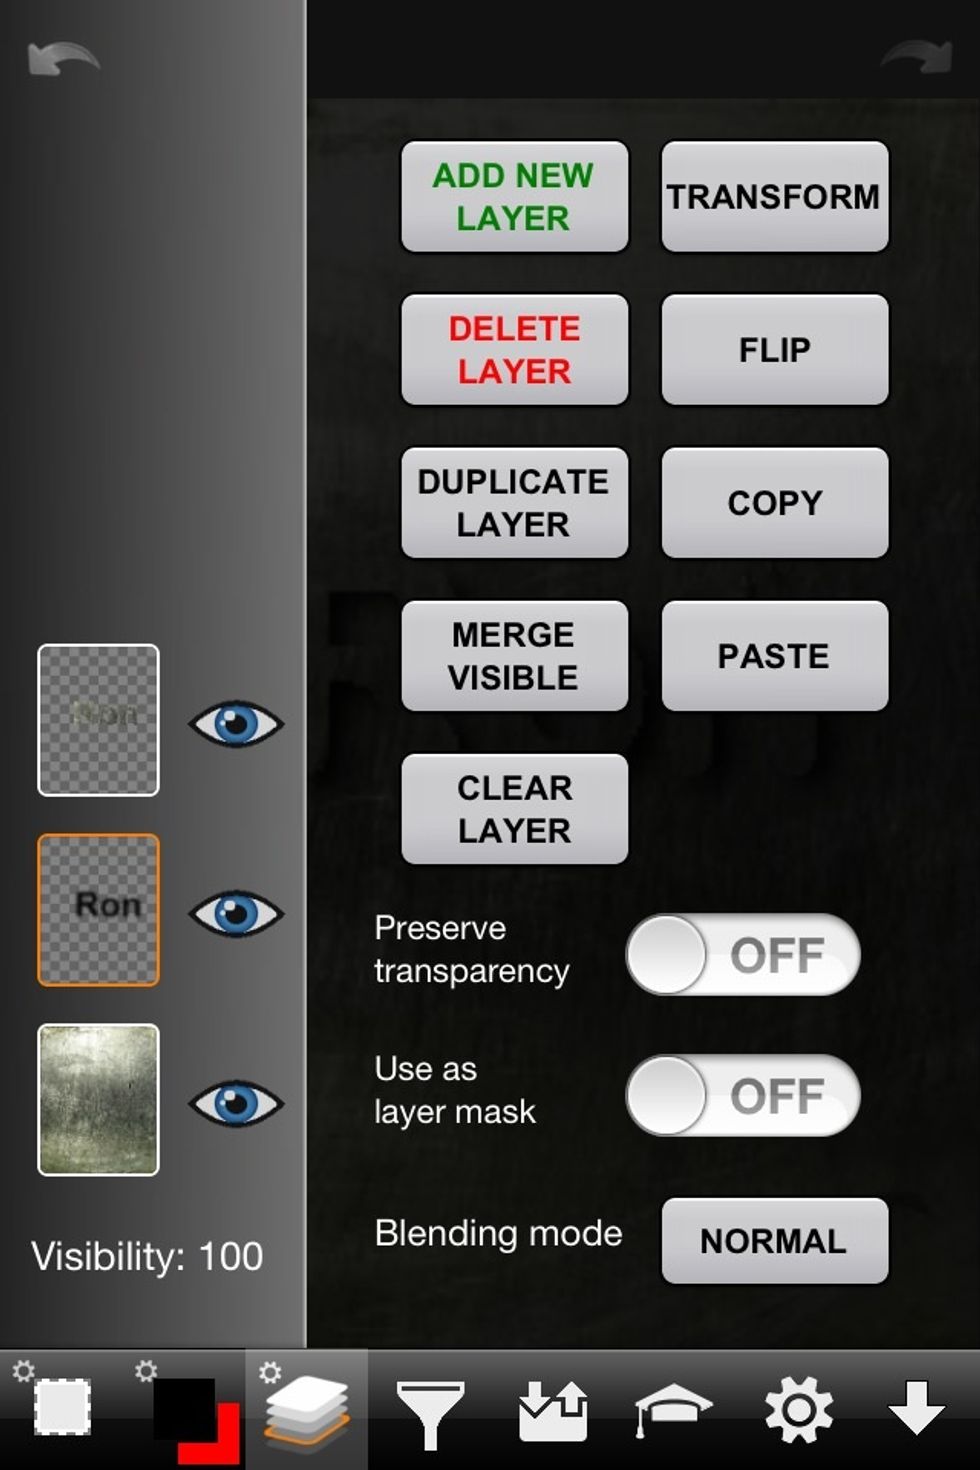
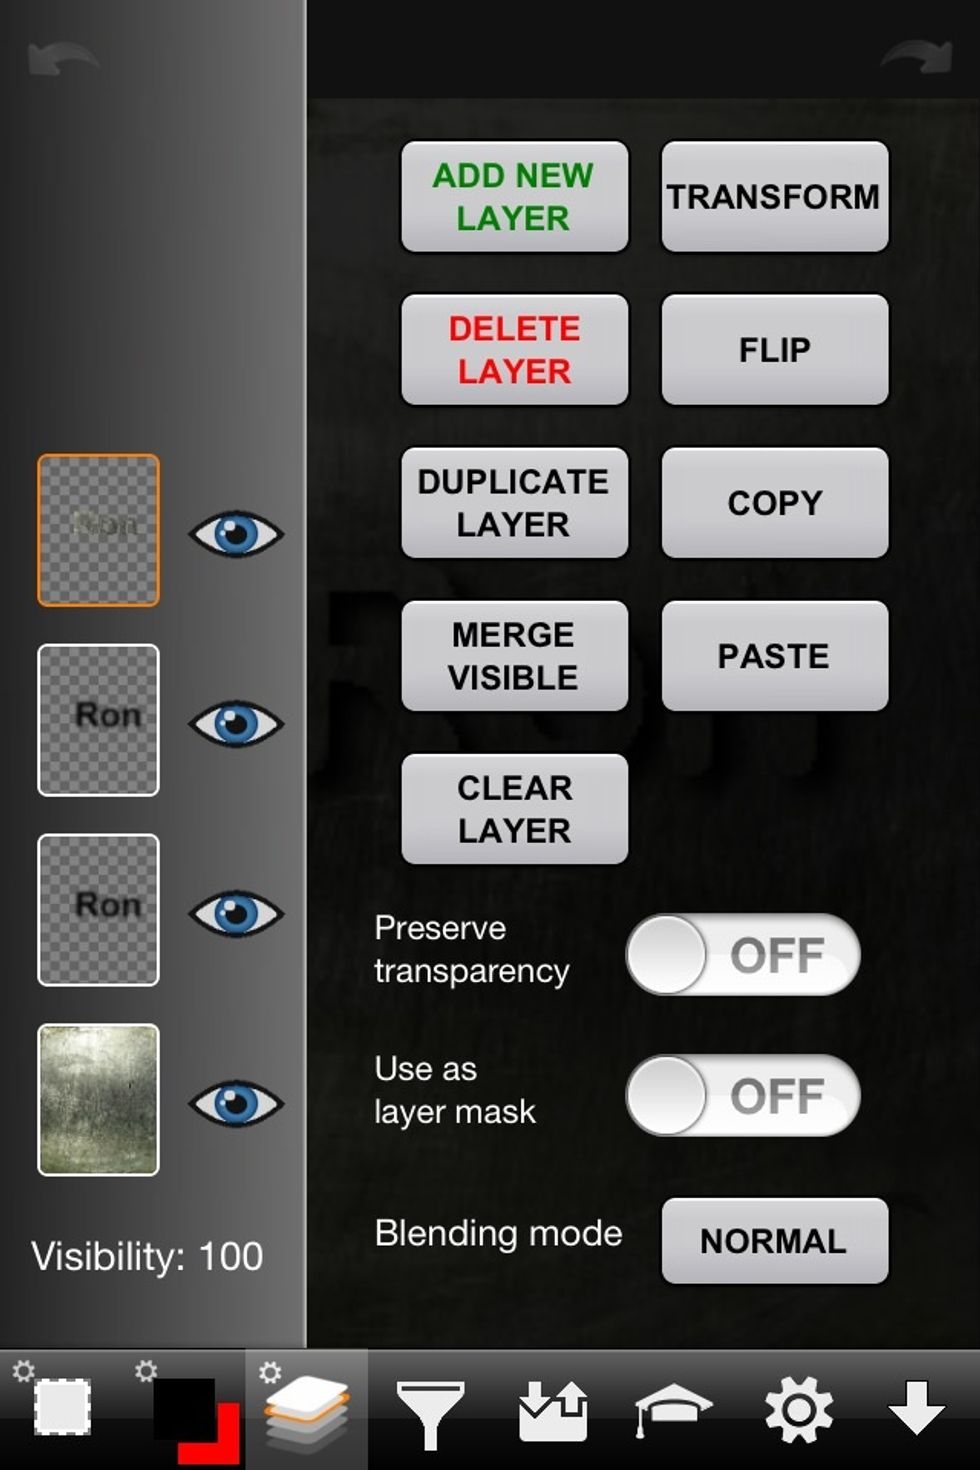
Move the new text layer to the top layer. From this point on we'll refer the original black text layer as the shadow layer because that's the purpose it will soon serve.
Note the text seems to have vanished. But its still there. The shadow layer is just covered by the text layer.

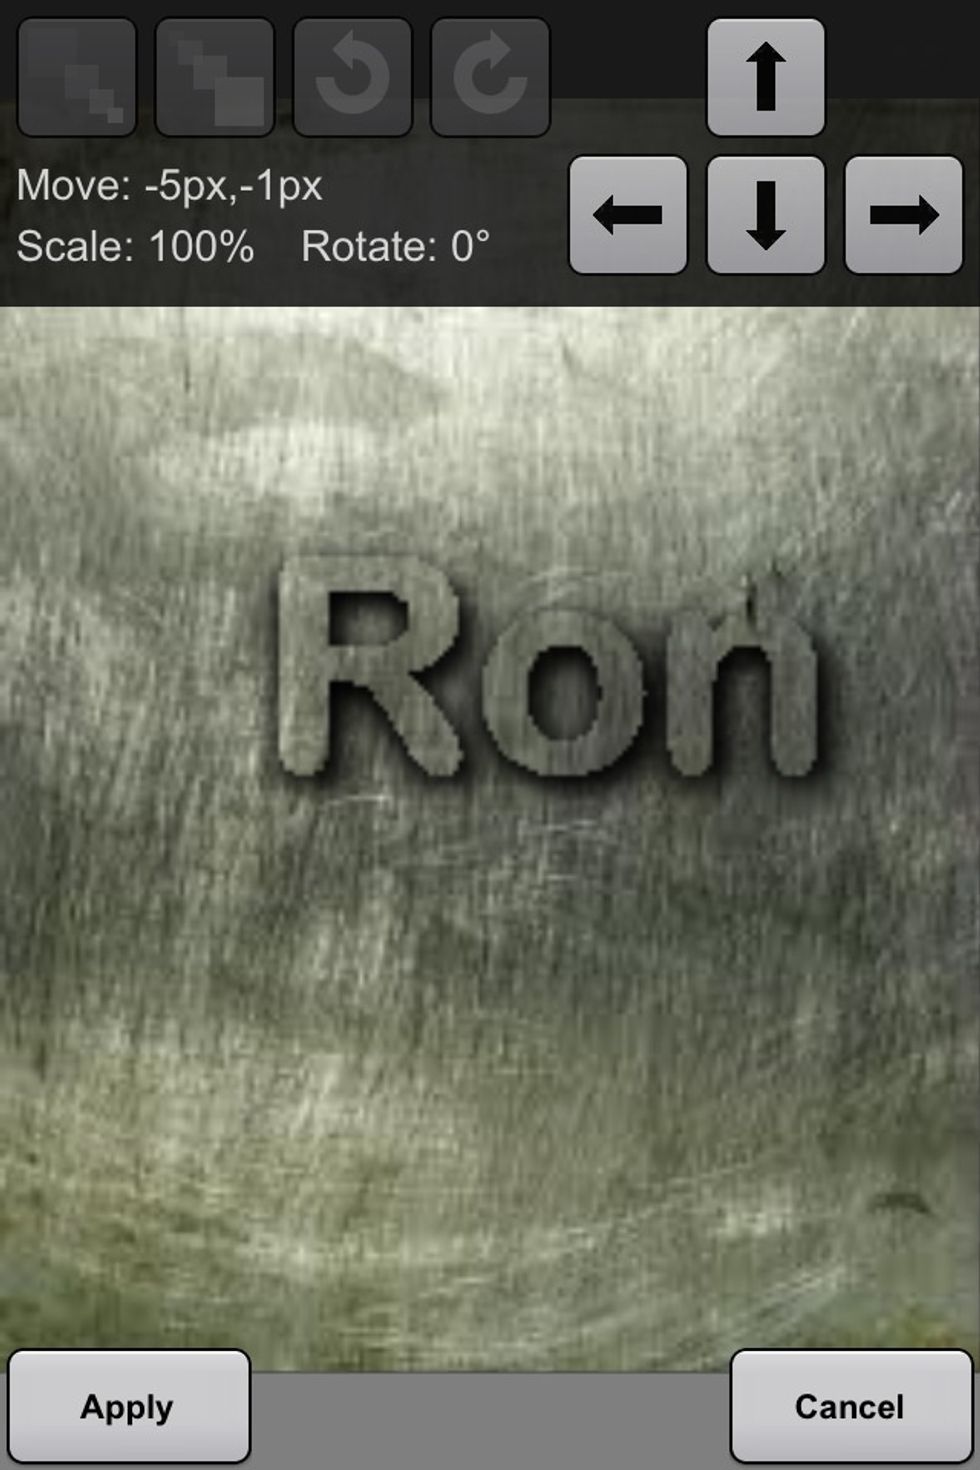
Open the shadow layer and go to Transform.
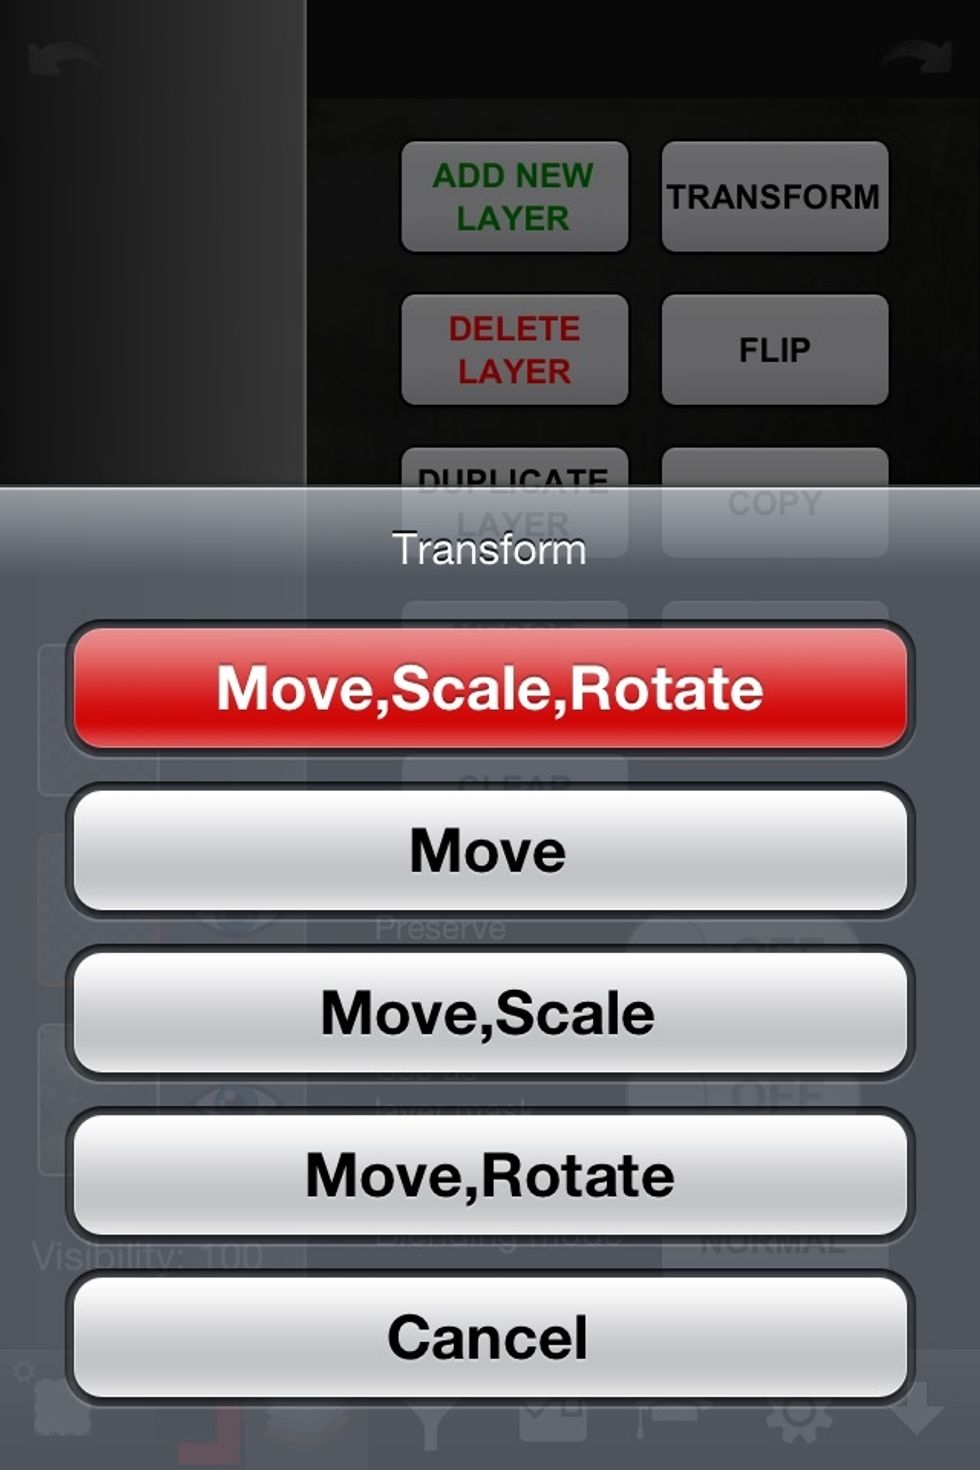
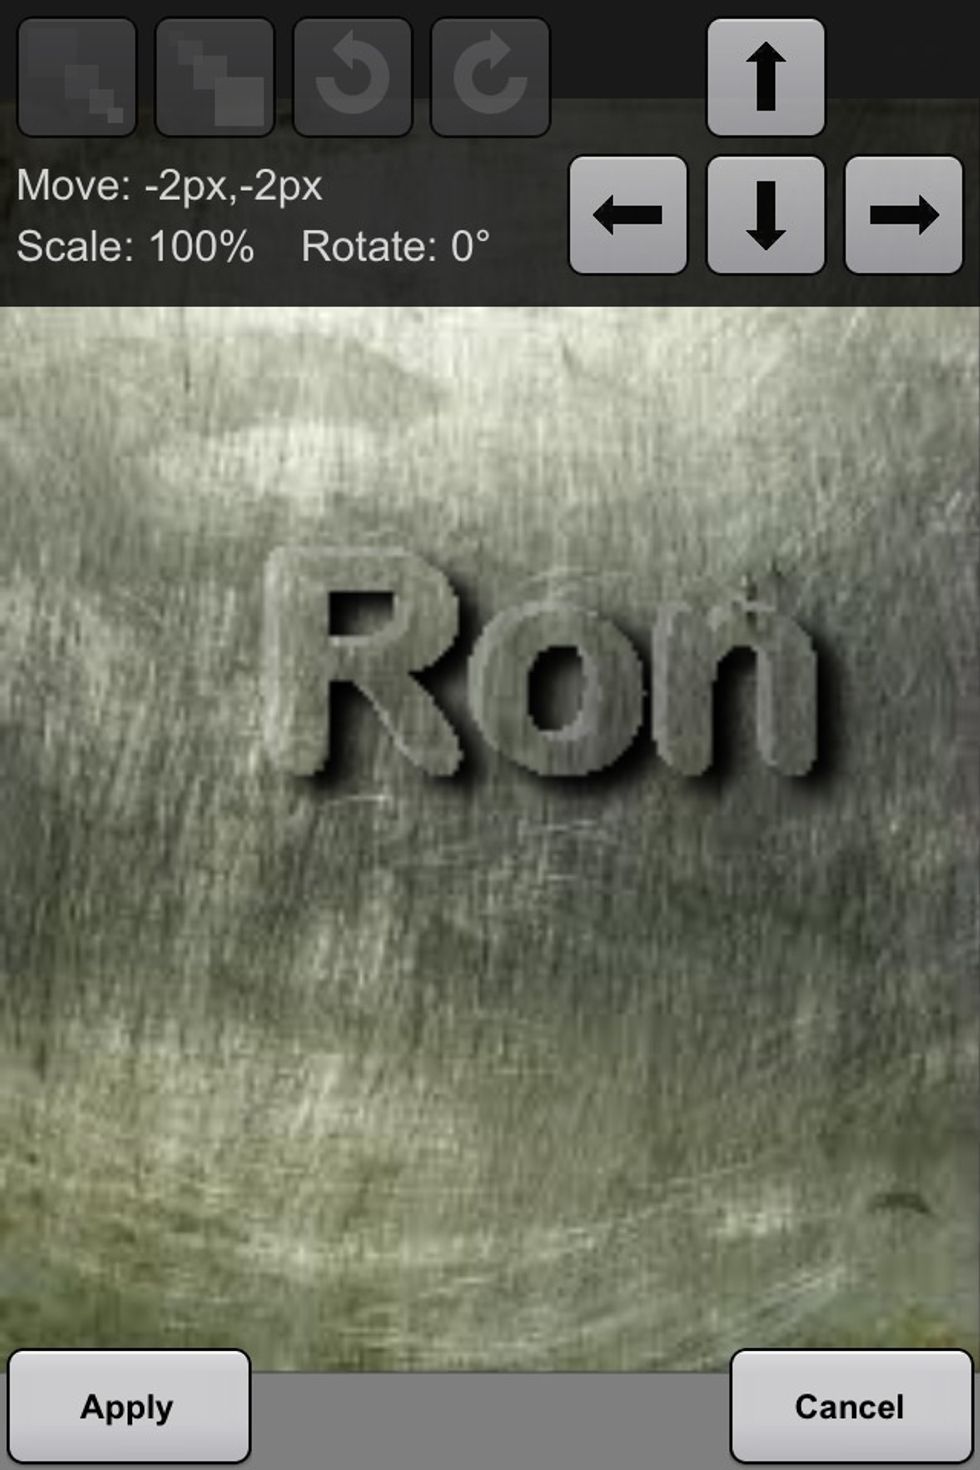
Then select move.
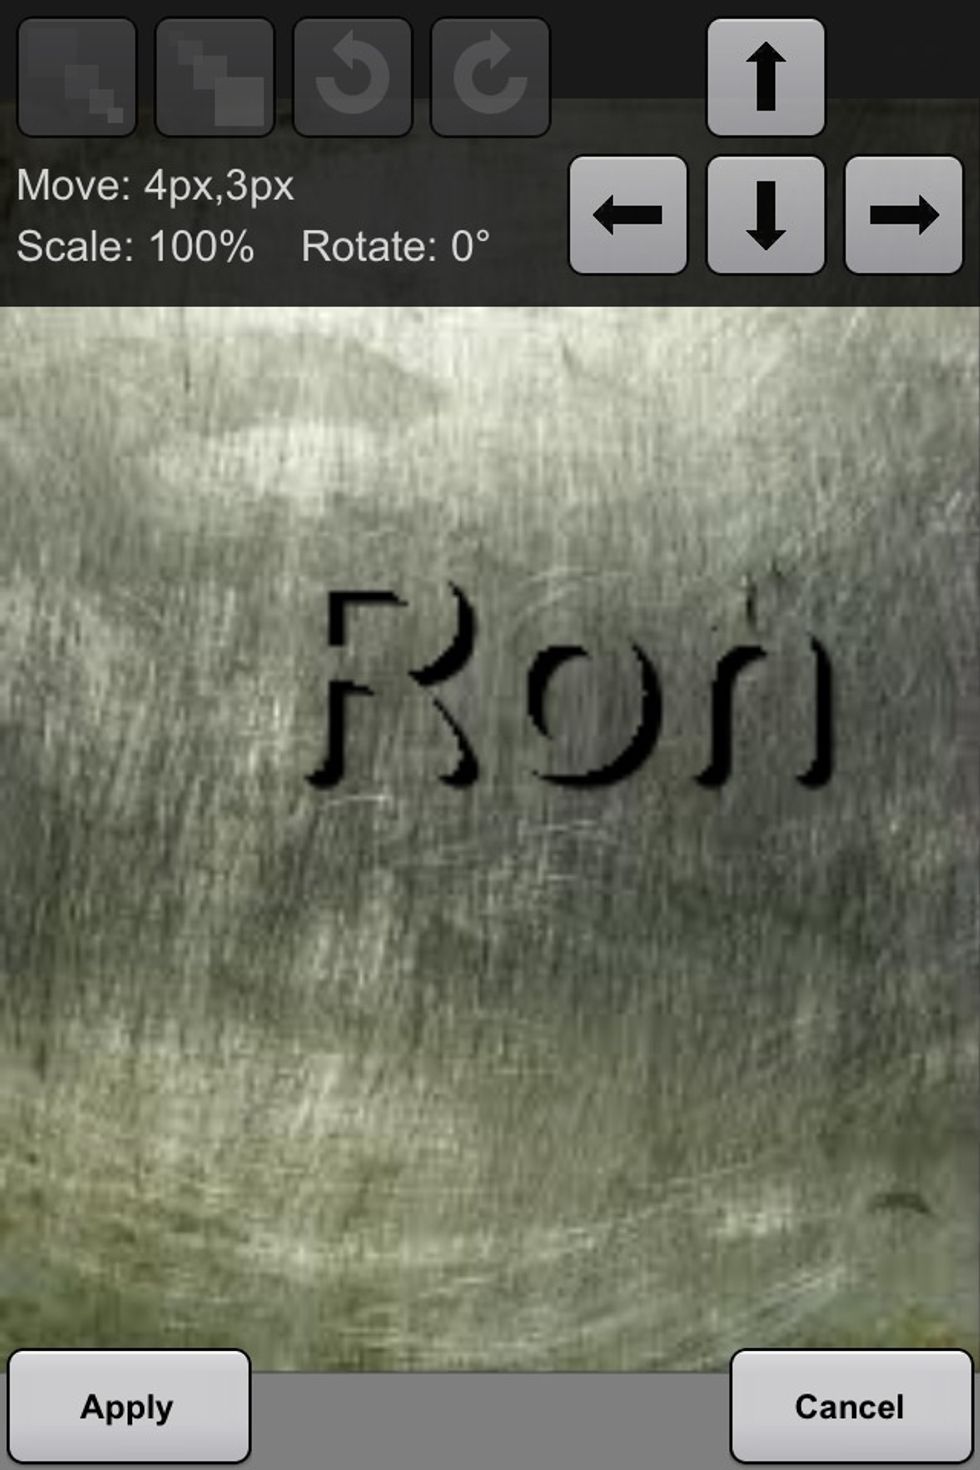
Move the shadow layer slightly down and to the right. You can move it in any direction depending on the direction you want the light to come from. But for simplification just move it down/right.
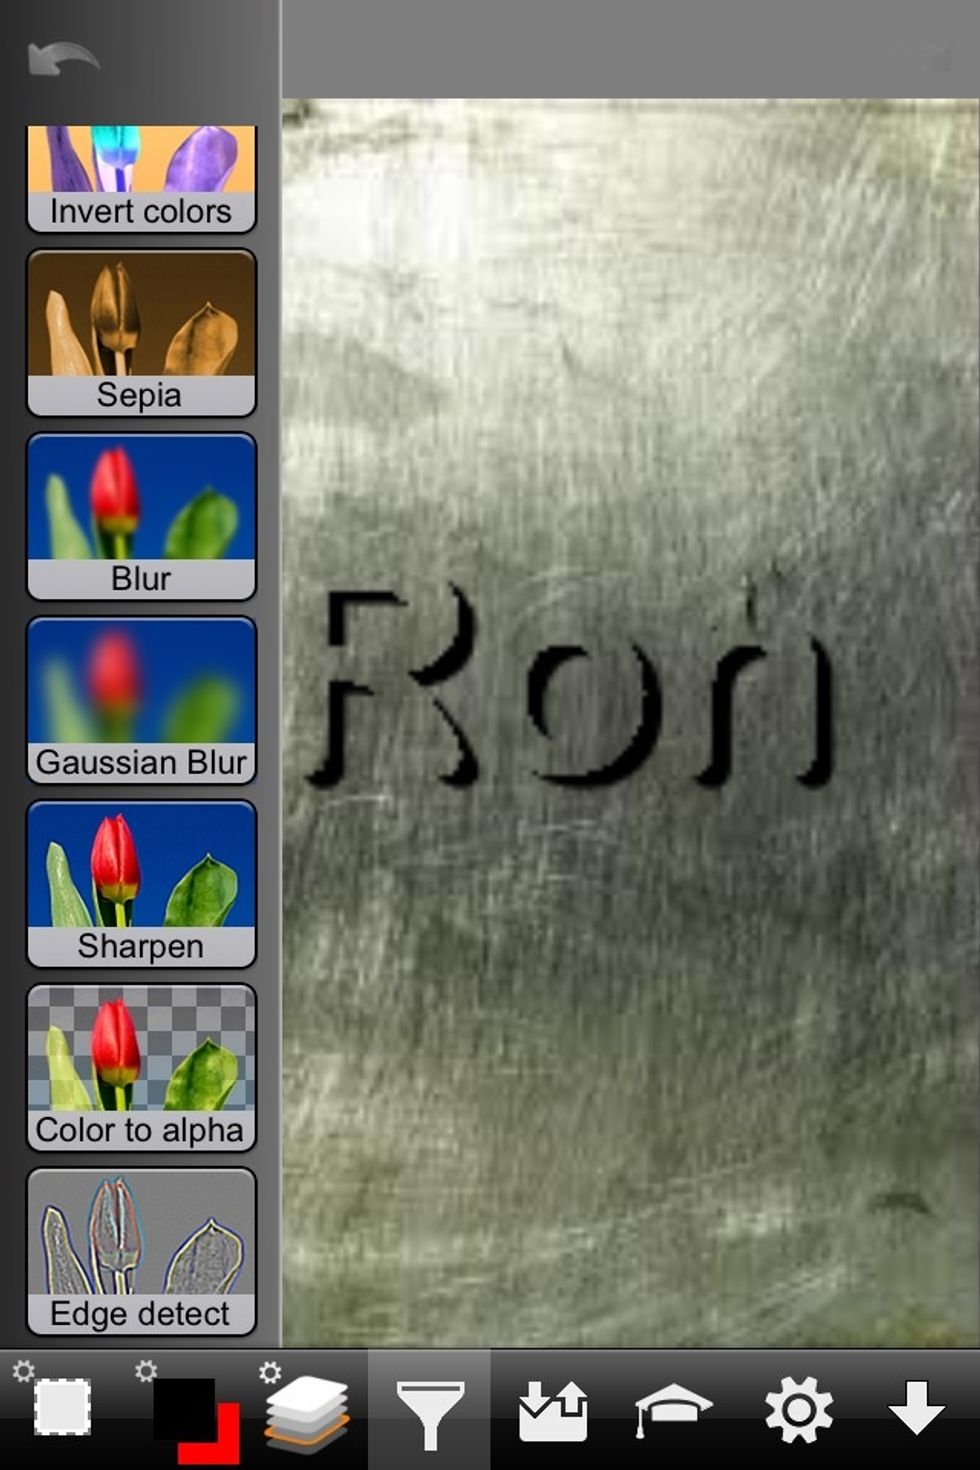
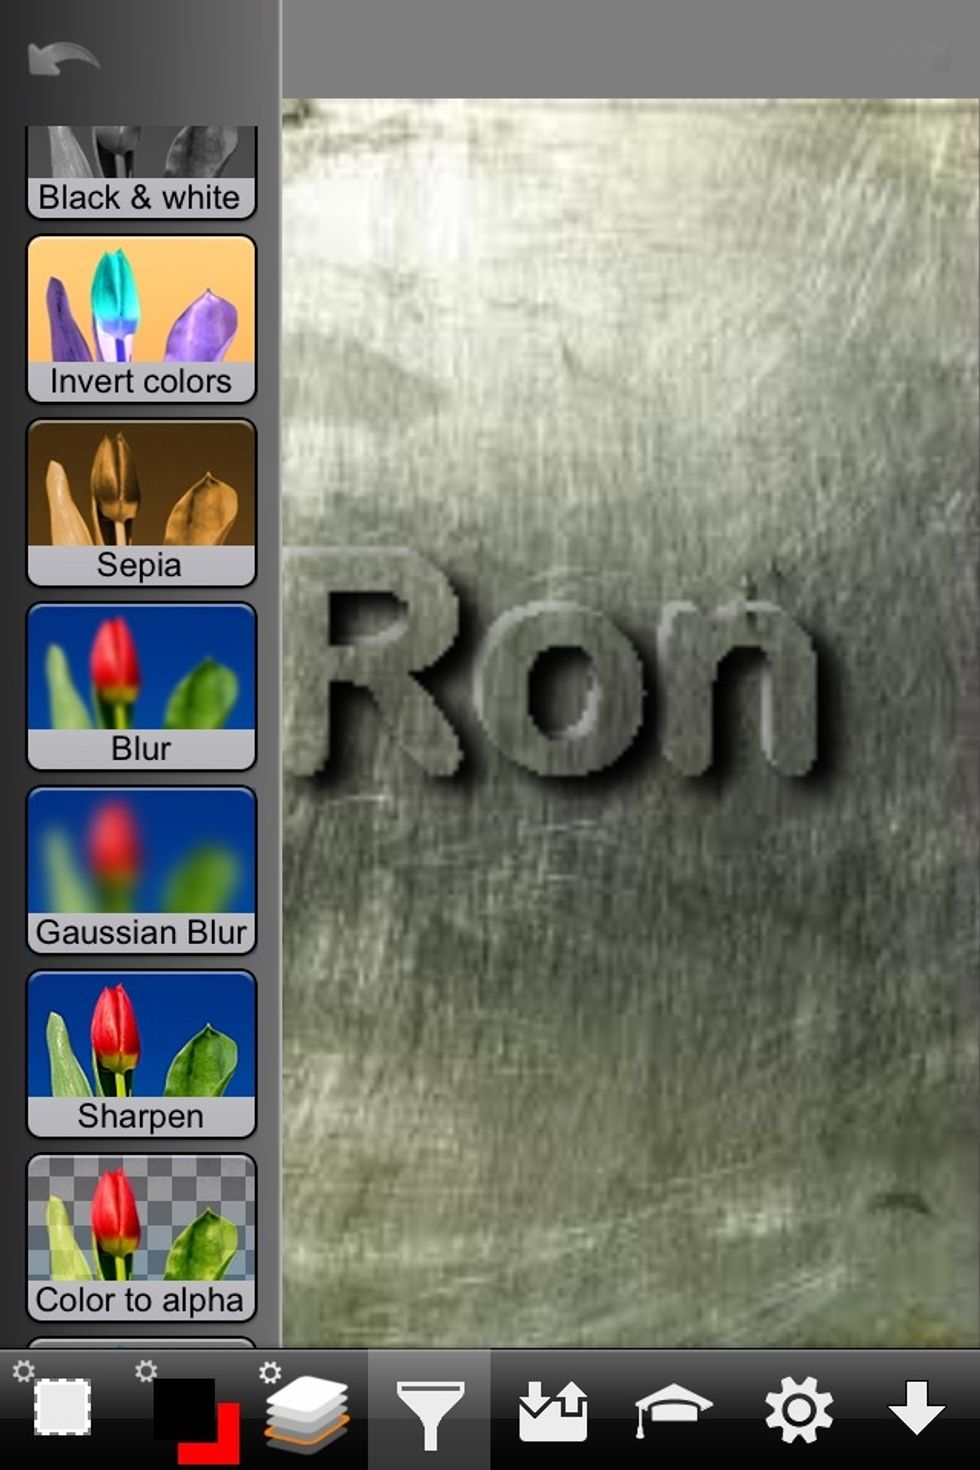
Now put some Gaussian blur on the shadow layer.
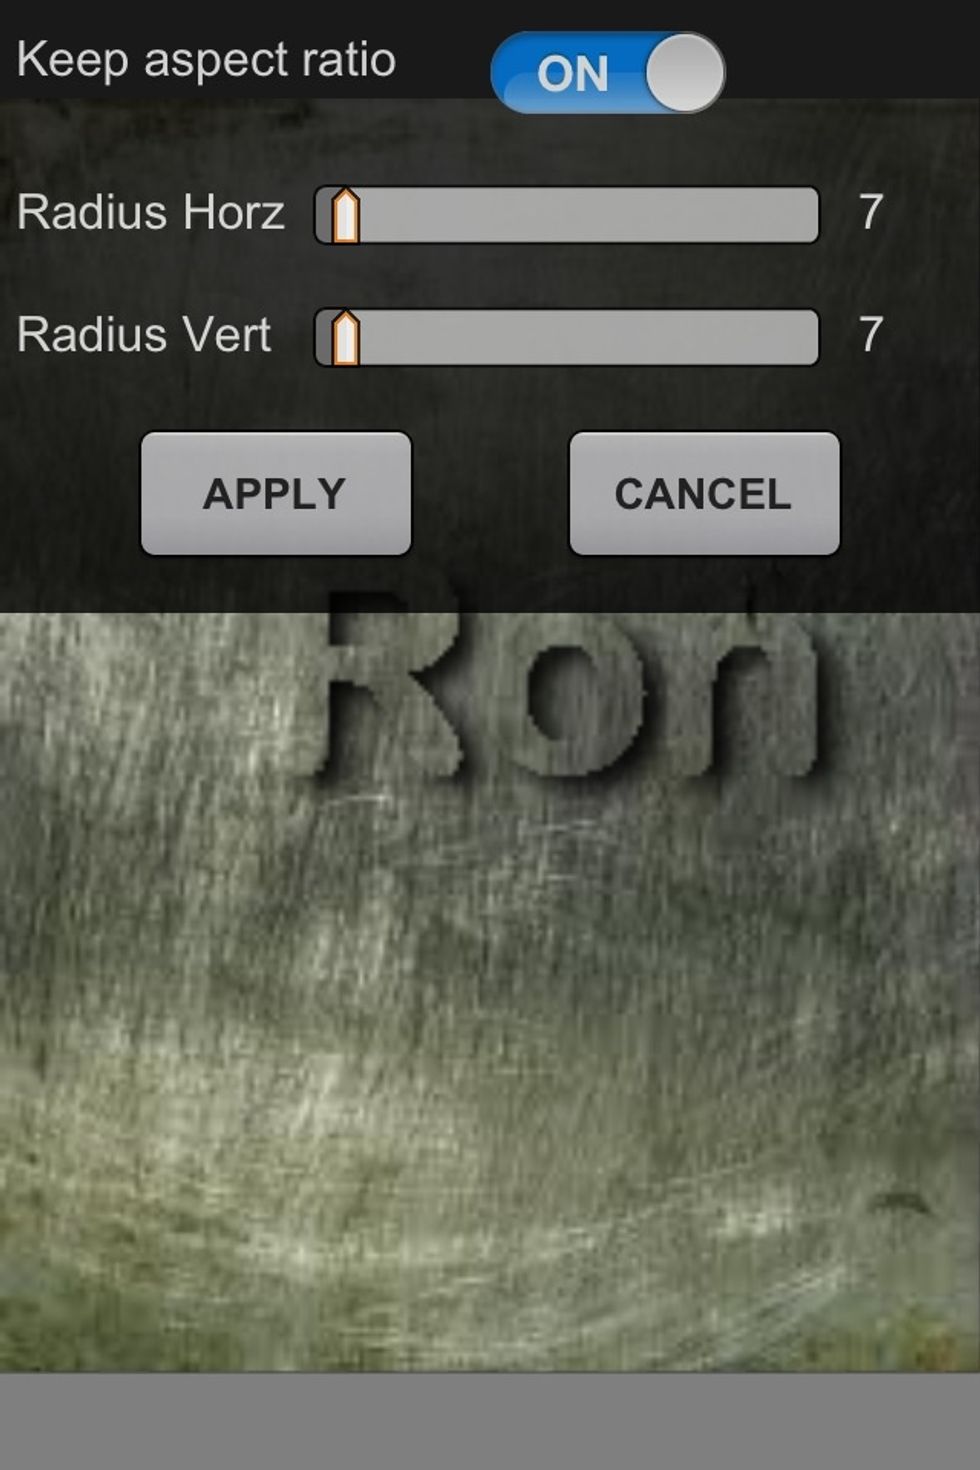
Just kind of eyeball how much blur to put on it. You can always come back and adjust it more later.
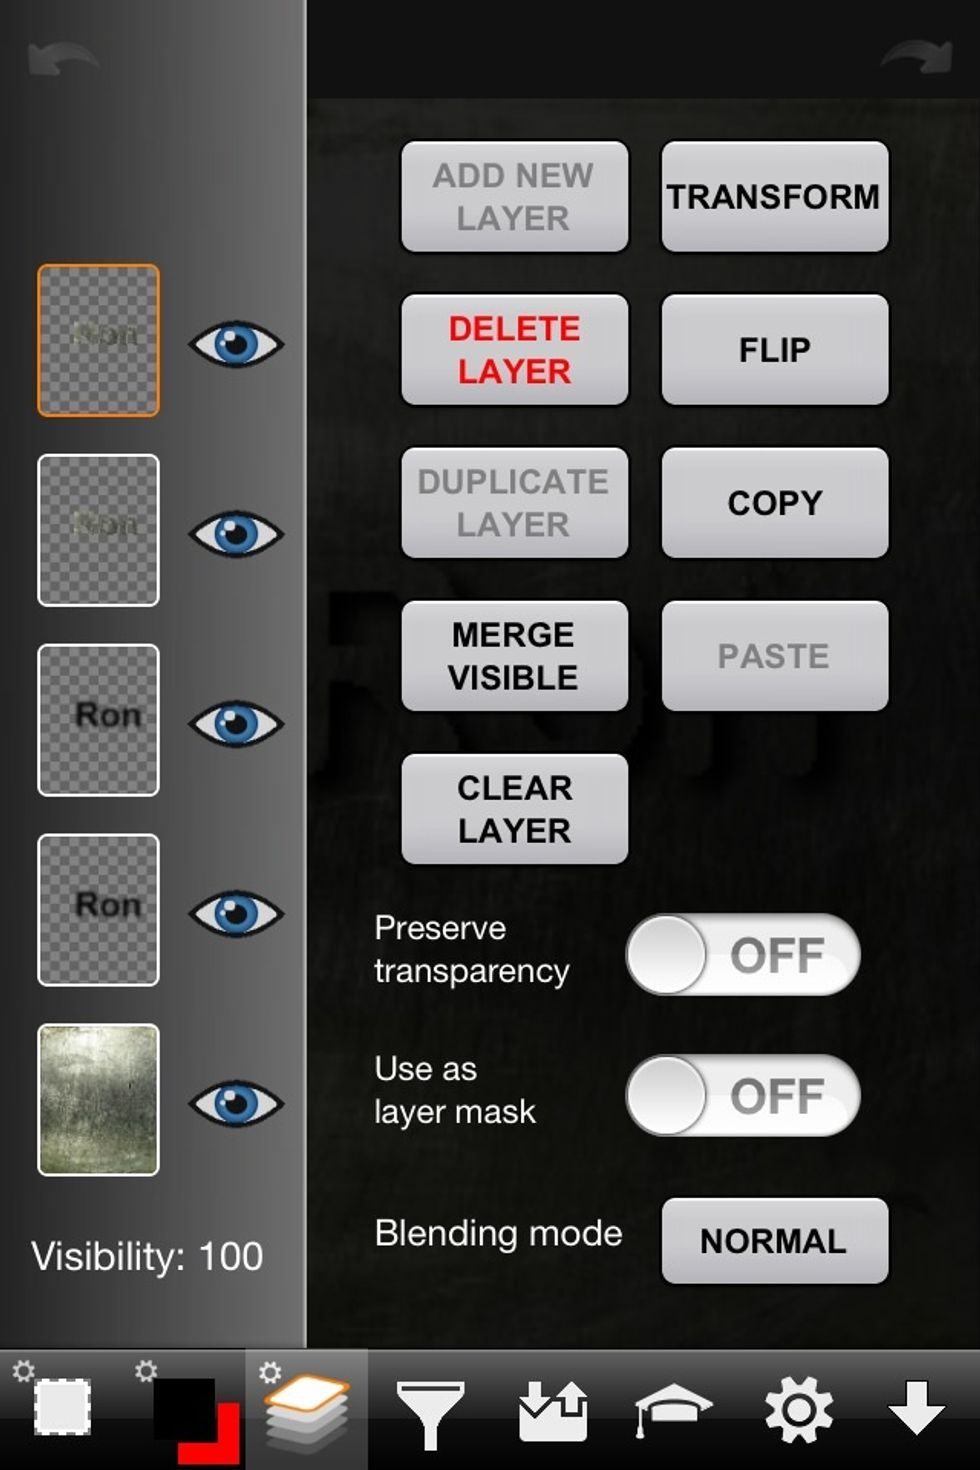
Now we're going to put a little shadow on the opposite side. So duplicate the shadow layer.
Then move this second shadow layer slightly to the left and up from the text layer. This puts a little darkness on the left side and top of the text.
If needed adjust the blur of the second shadow layer.
Next we're going to add a little shine to top and left edge of the text to create a slight glare effect. So duplicate the main text layer.
So you now have two text layers.
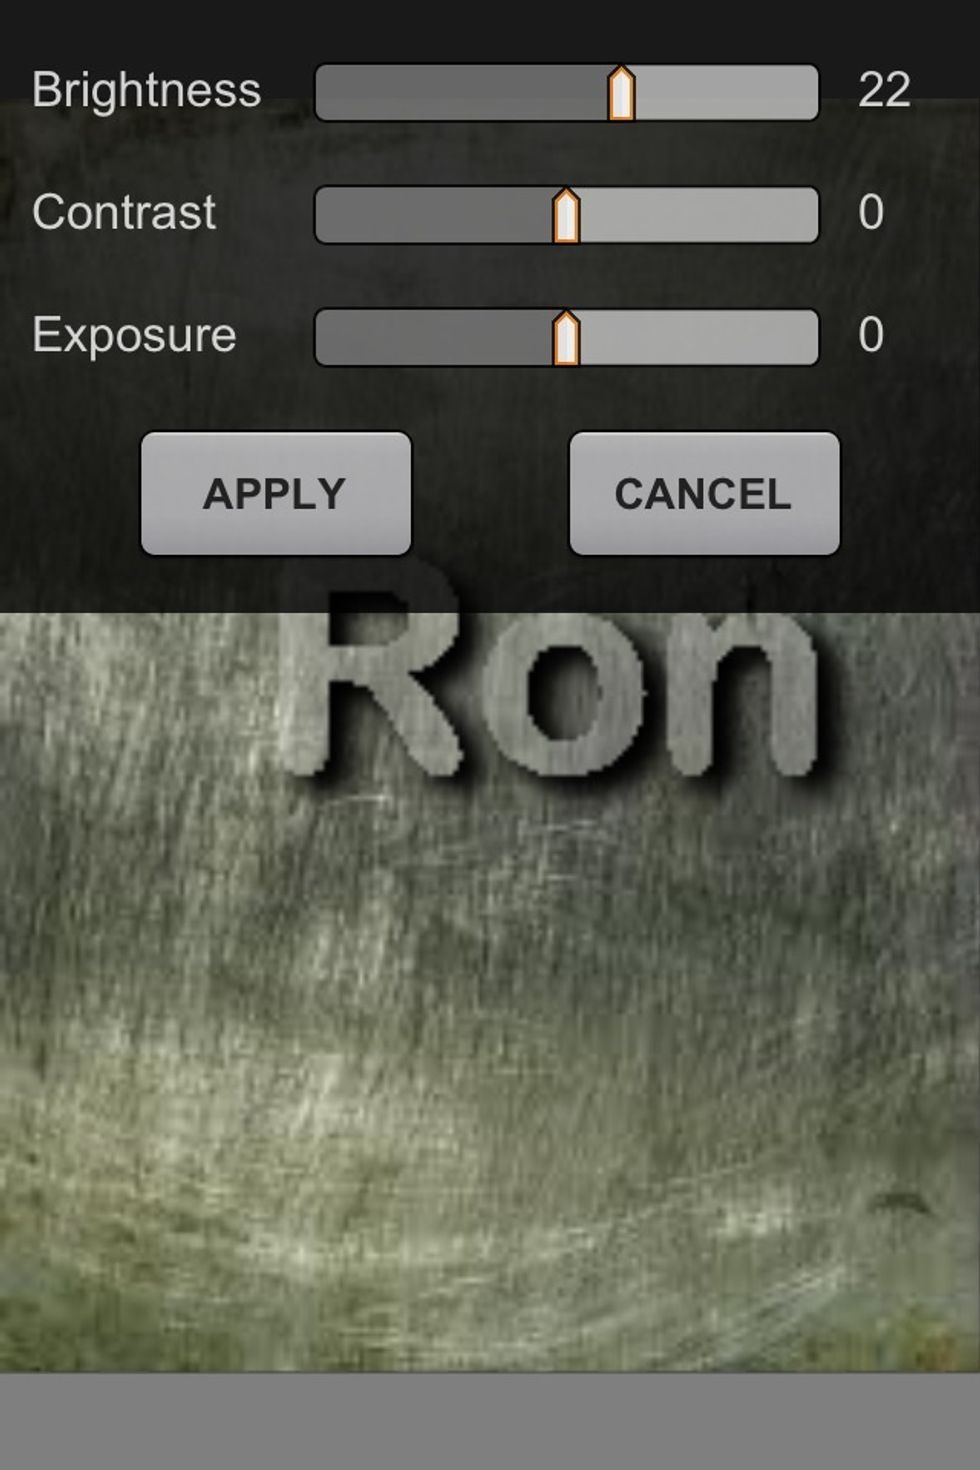
Increase the brightness of the new text layer.

Then move the "bright text layer" below the main text layer. The brightened layer is now hidden.
So move the brightened text layer slightly left and up to give the edge of the text a hint of a glare as real metal would have if it was pushed out.
Then add a little Gaussian blur to the bright text layer.
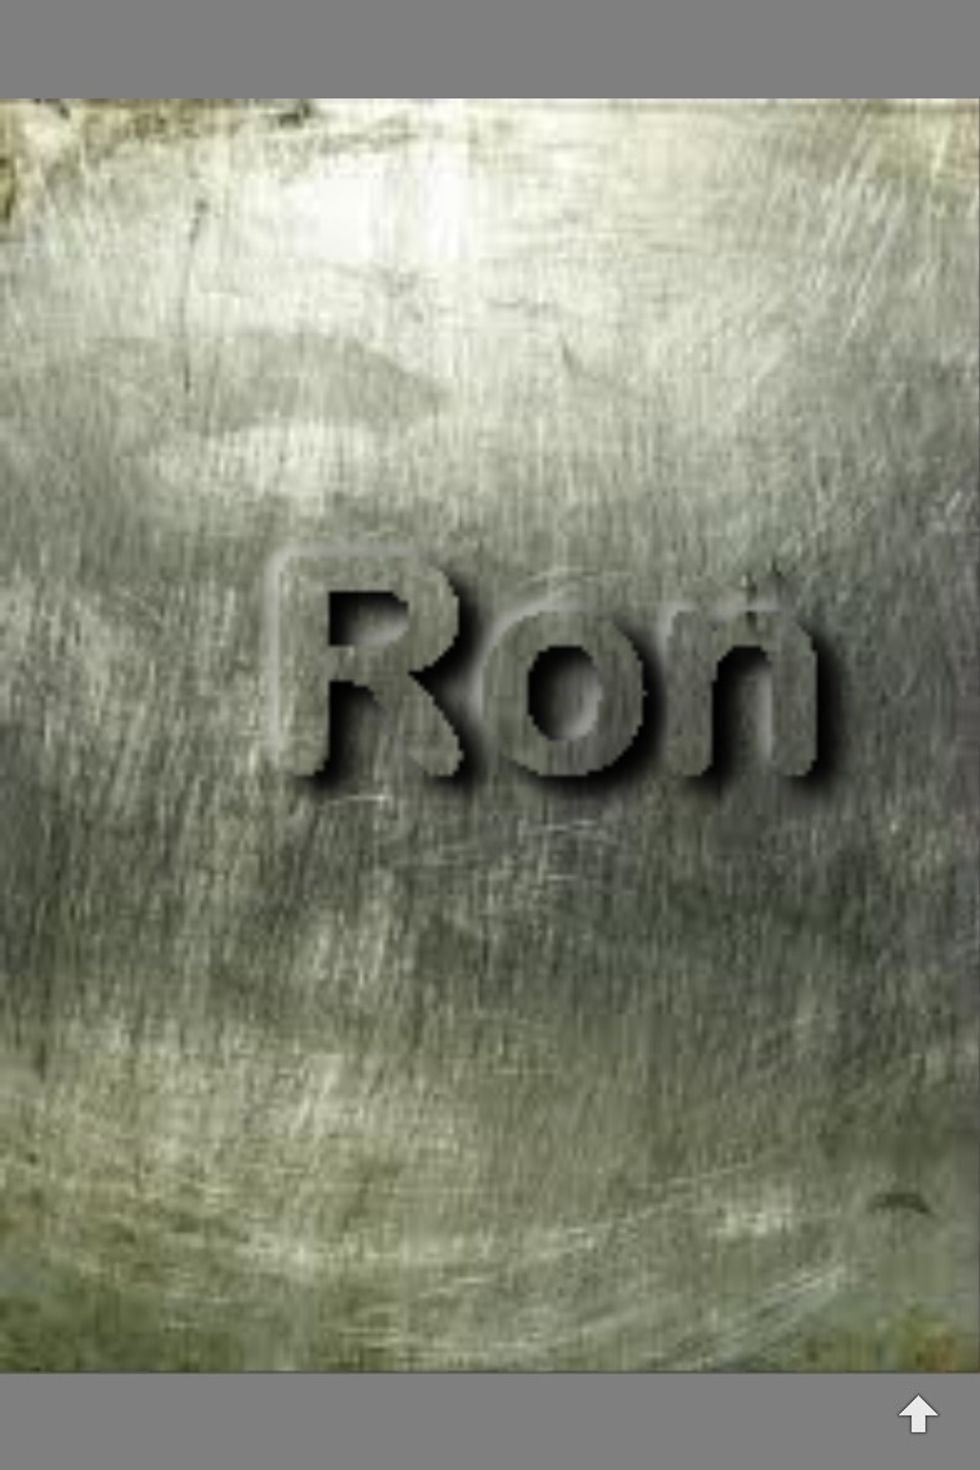
Go back and make any adjustments as needed. Experiment with different angles and opacity of the shadow and shine layers.