The Conversation (0)
Sign Up
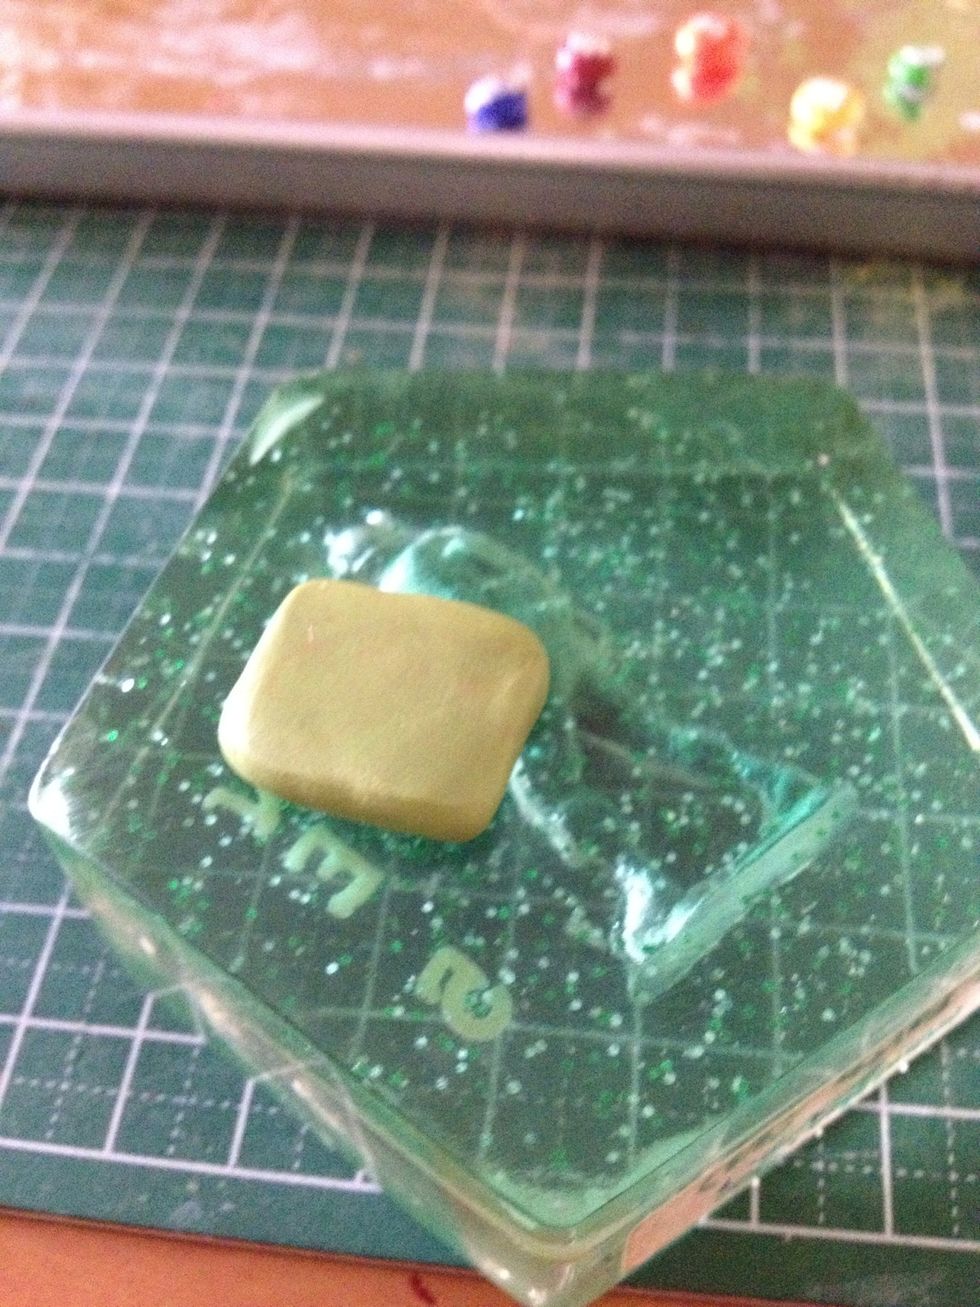
Flatten your olive-coloured clay into a thick slab. This colour can be achieved by mixing brown with leaf green clay.
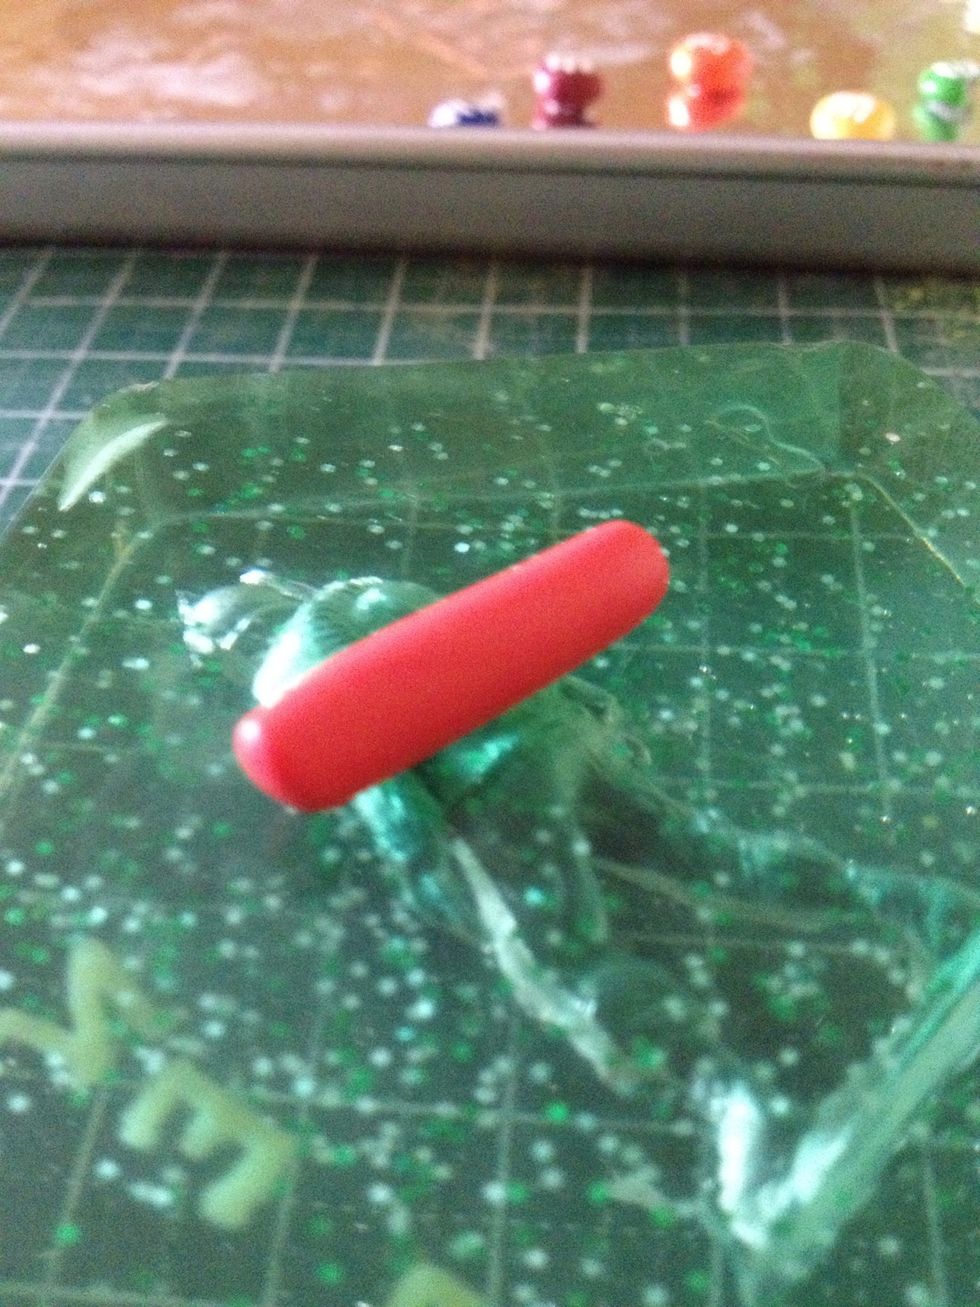
Roll your red clay into a thick cylinder.
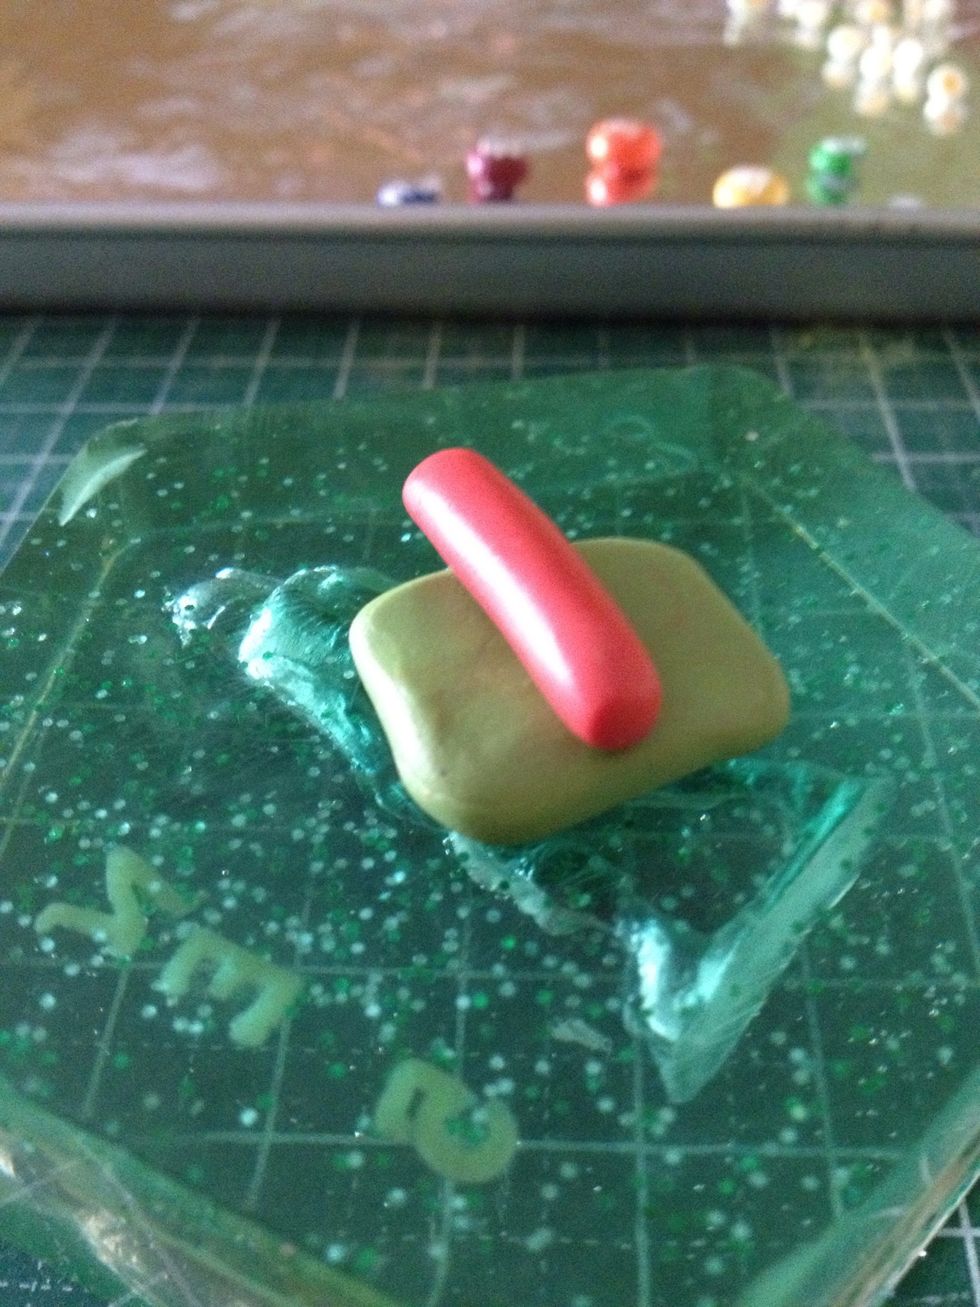
Place the red clay onto the olive one.
Cover the red clay with the olive one like so.
Start rolling the cylinder in the centre to the edges.
(rolled the centre, edges still thick) Then you may roll the edges.
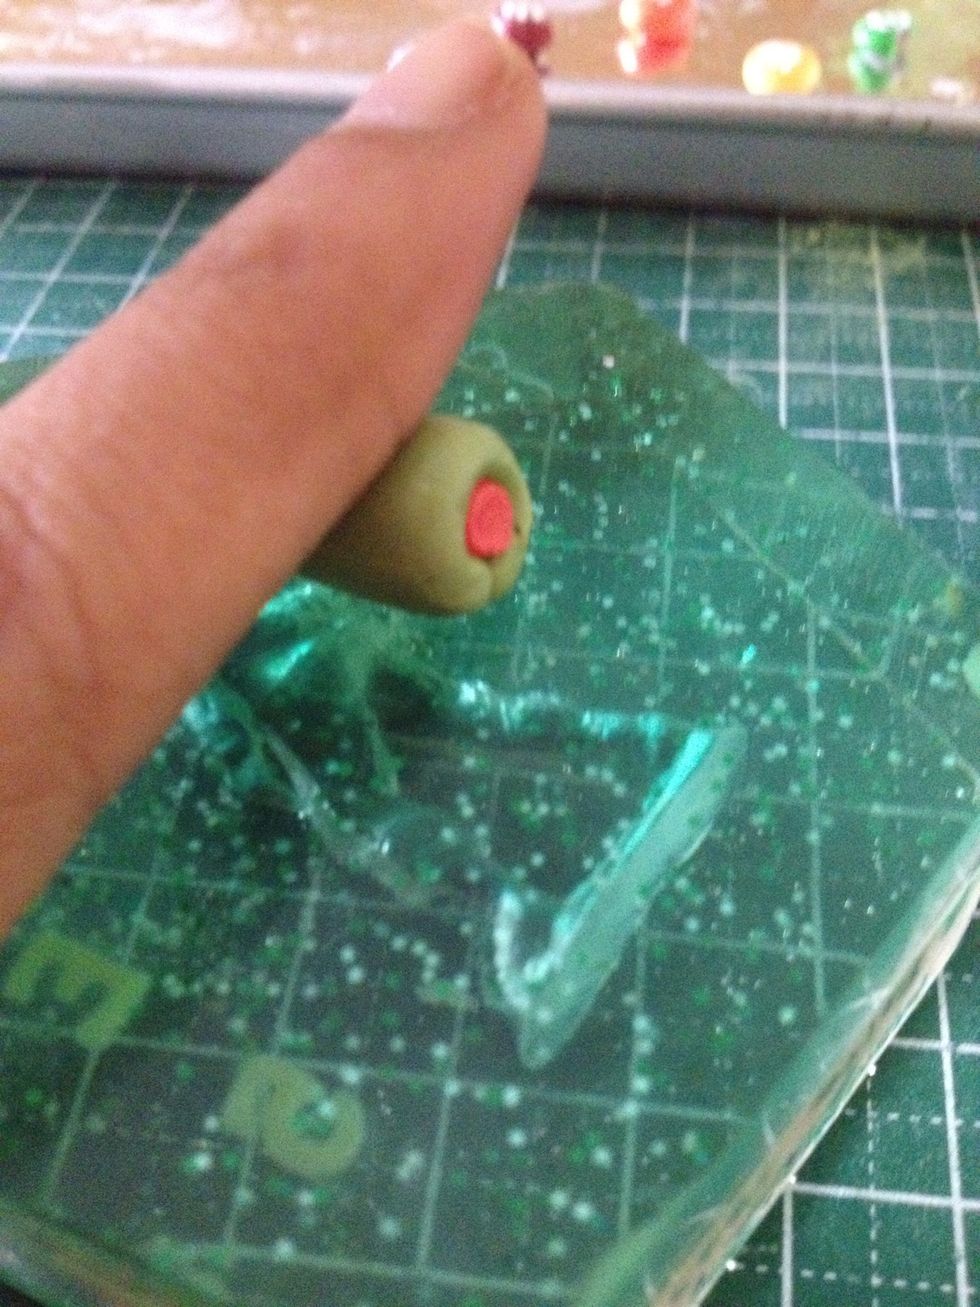
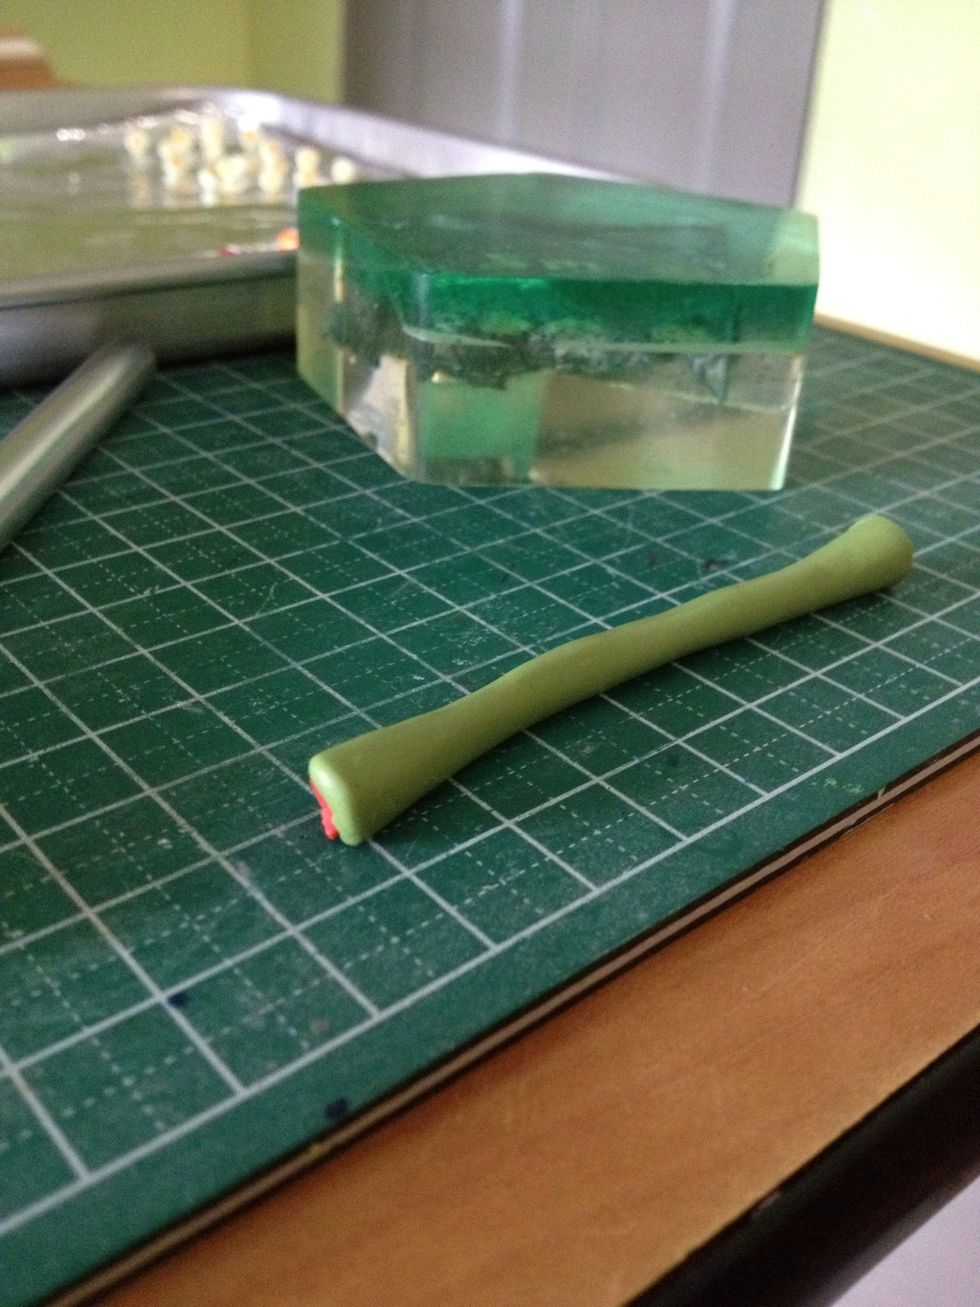
Cut a small piece of the cane.
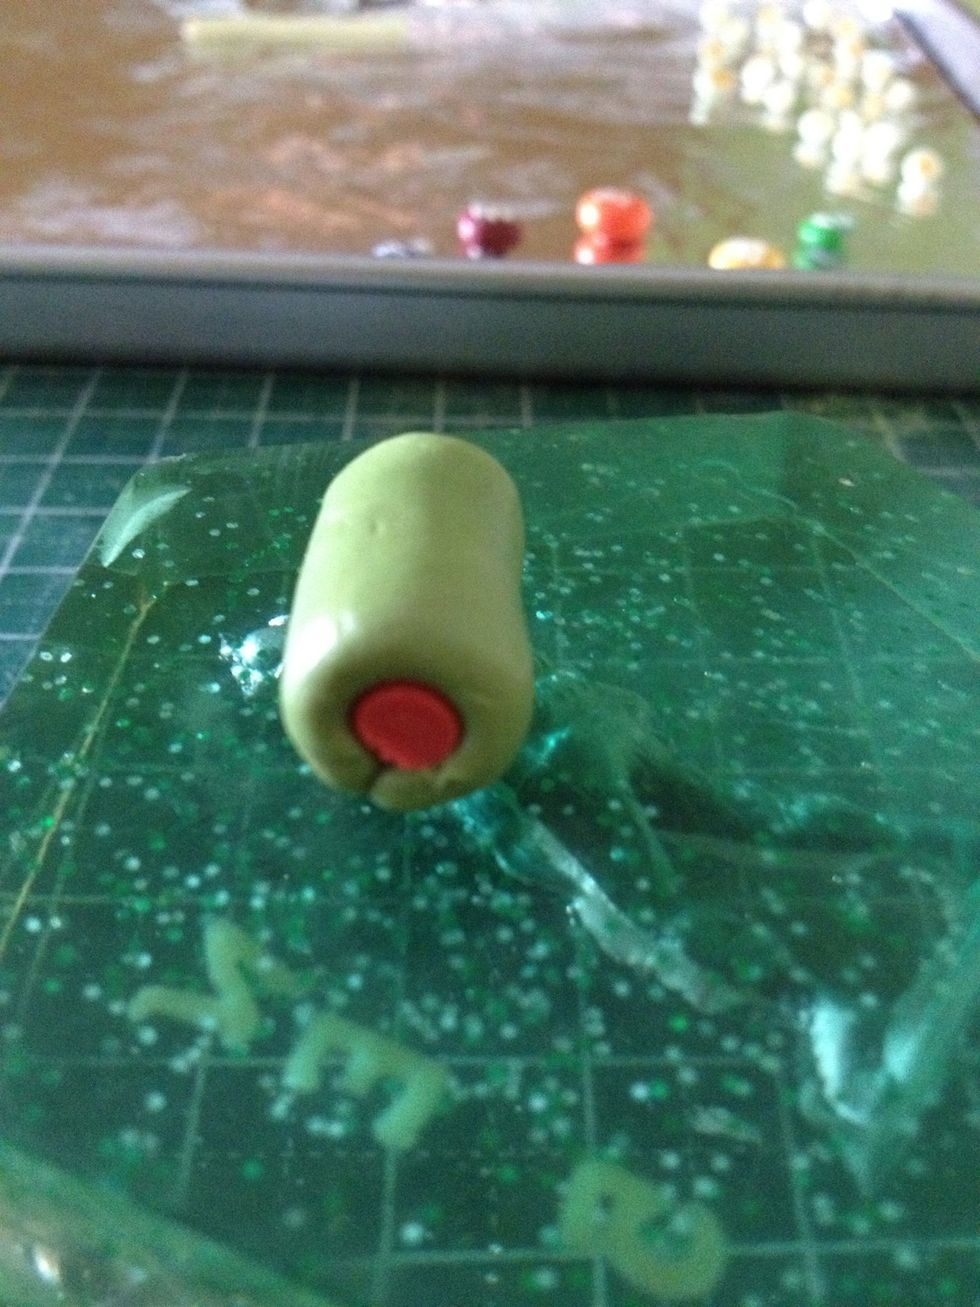
Place the good looking side face-down, leaving the other side up. Close the side up by rubbing the sides upwards, closing in the side up.
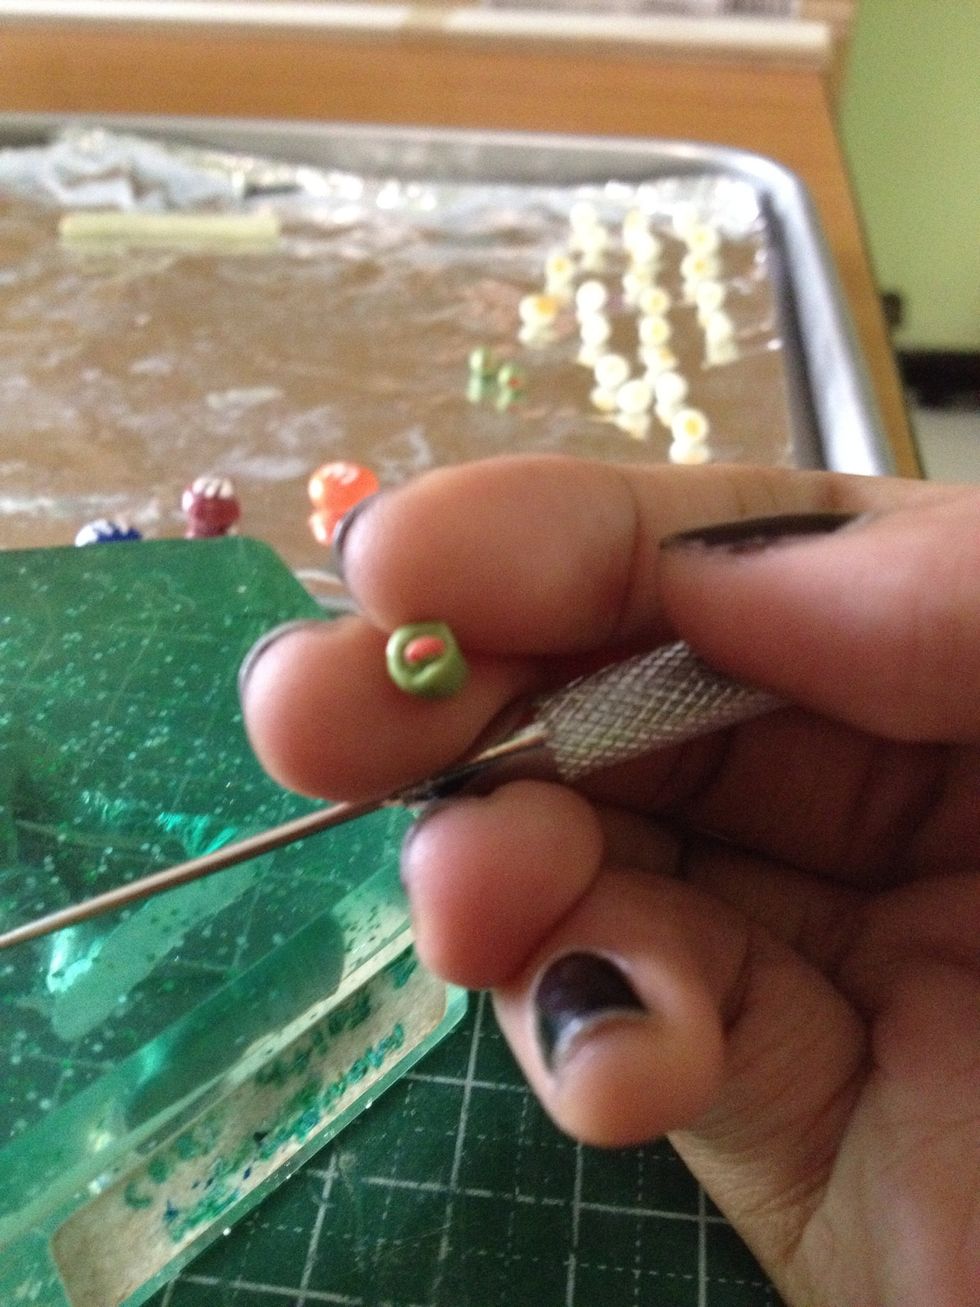
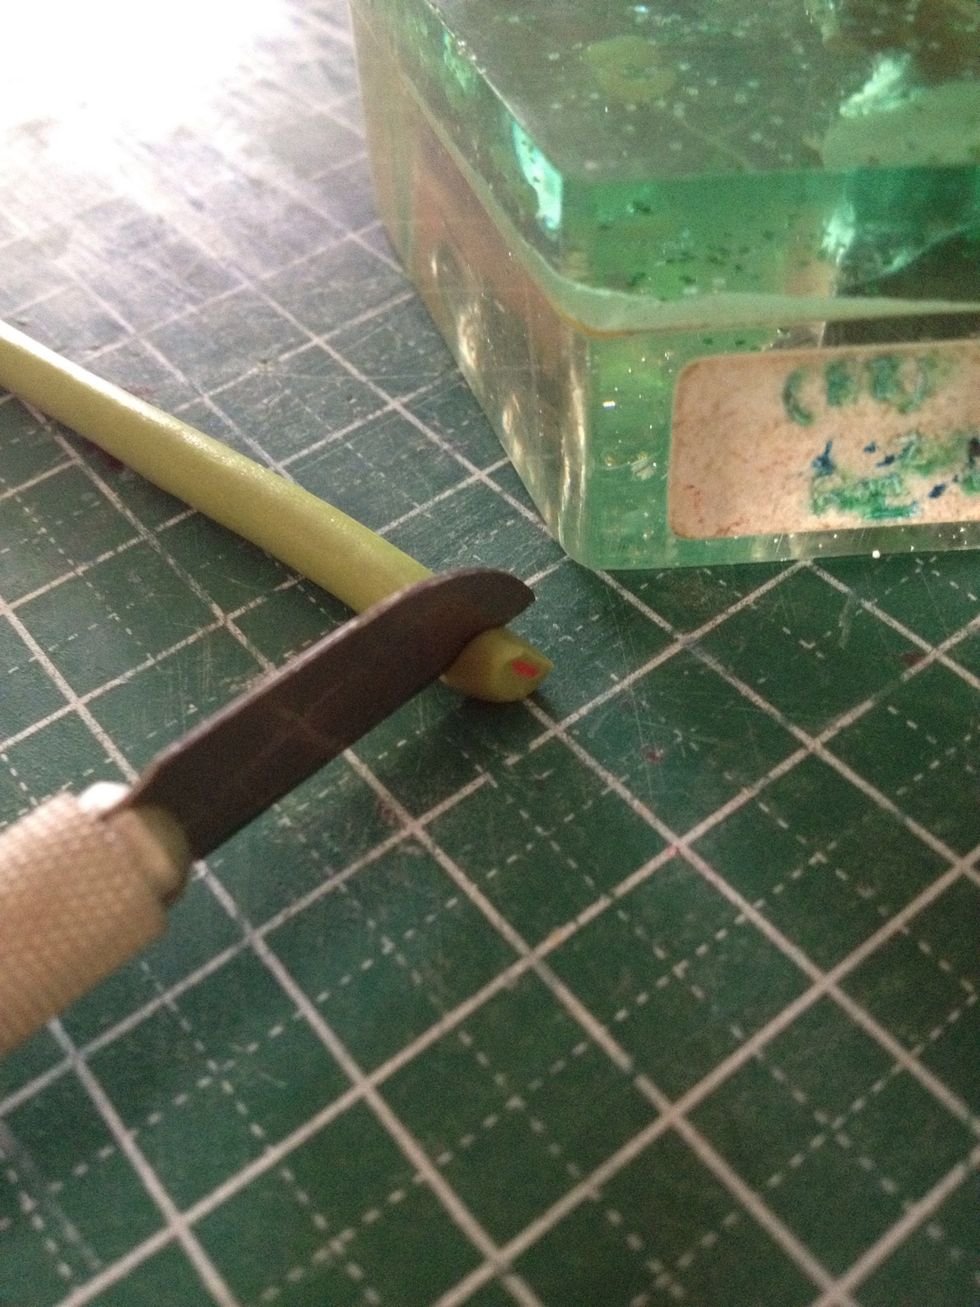
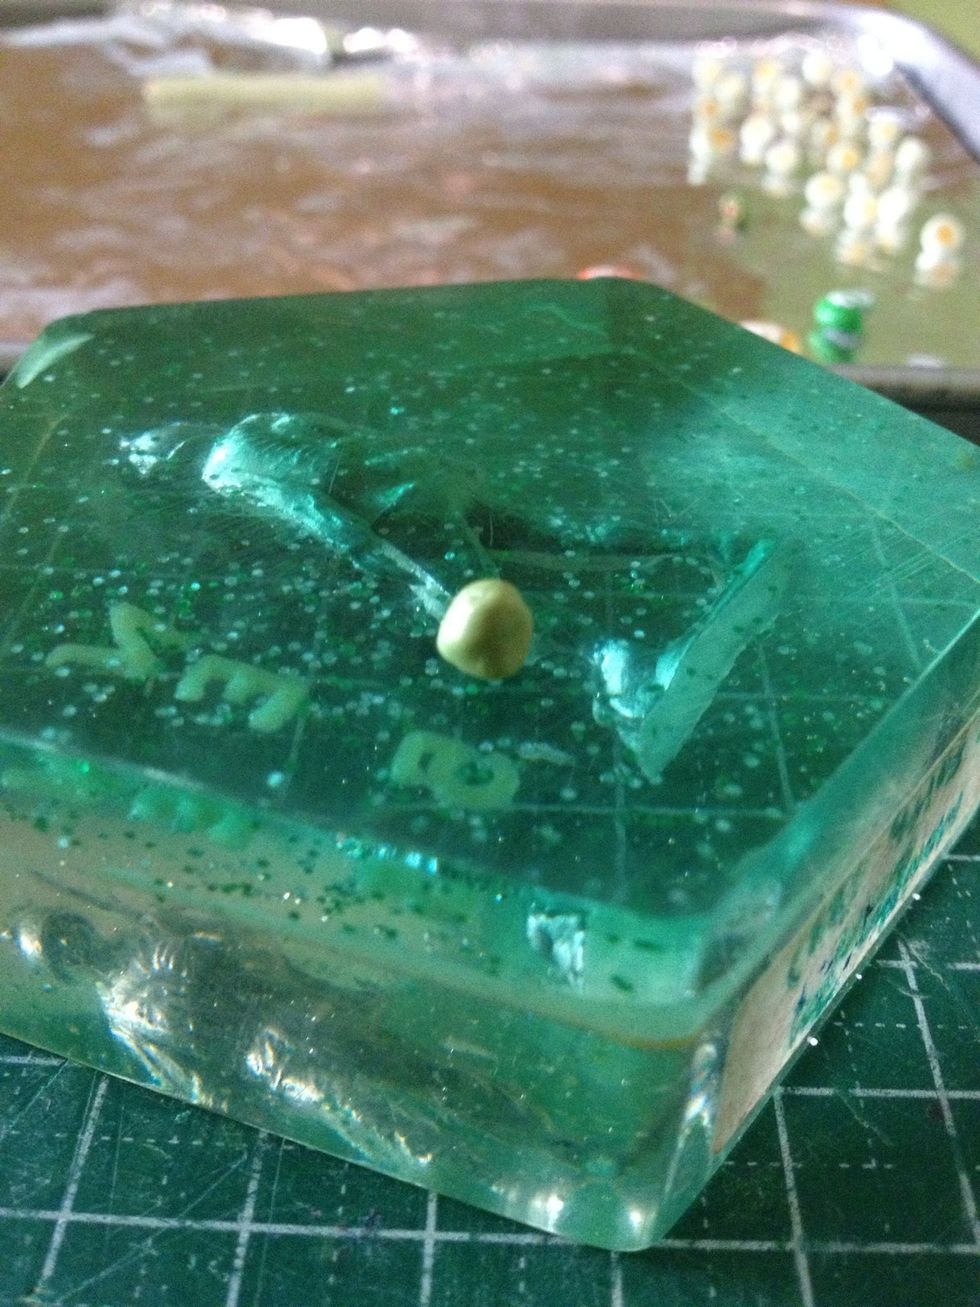
Use a needle tool to outline the filling, making it stand out from the olive clay. Then use a ball tool to flatten the filling, making the olive edges out stand.
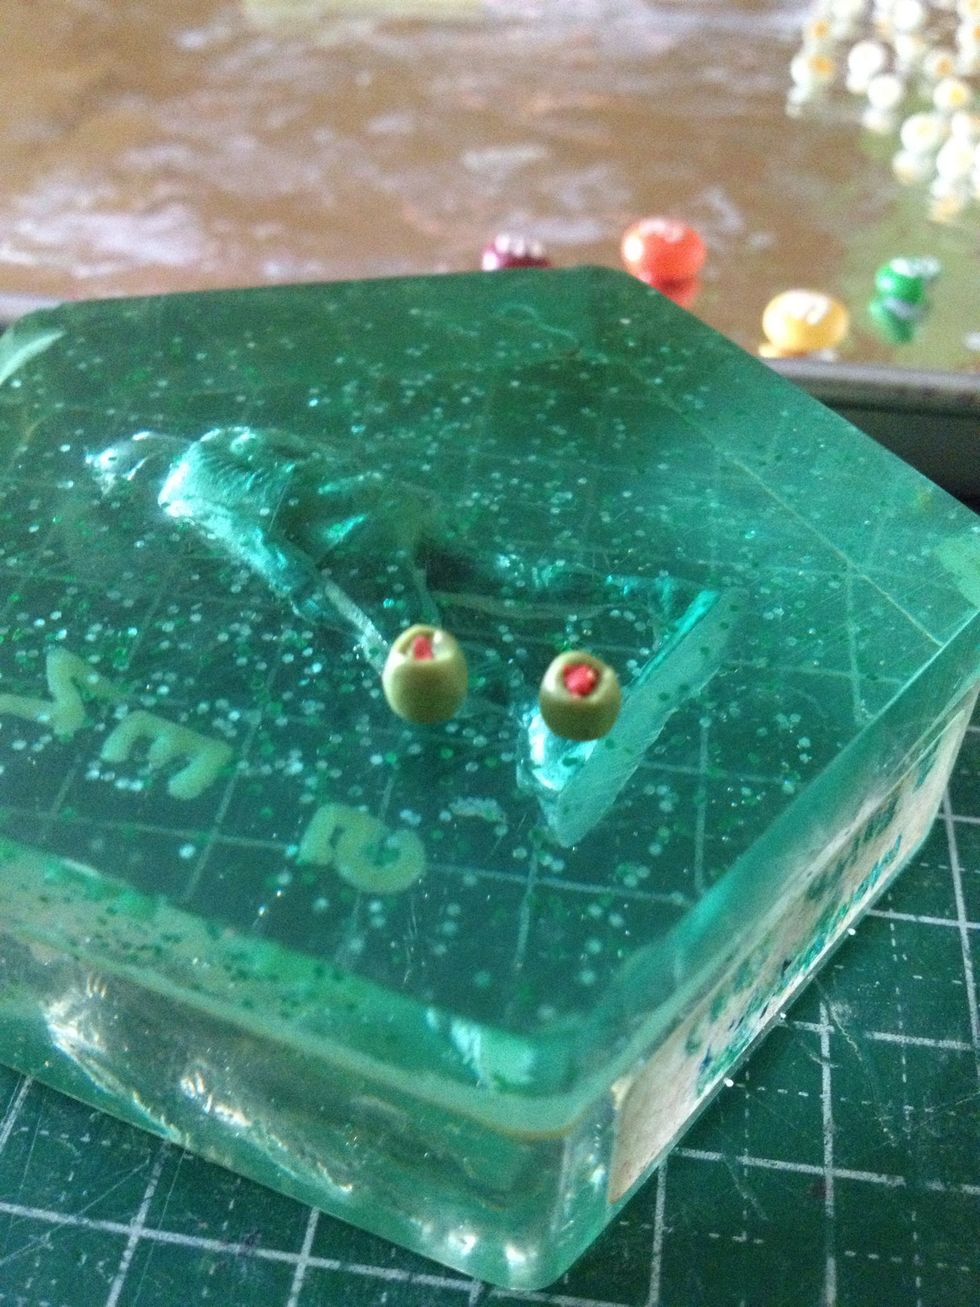
Ta-da~ Your finished little miniature fruit :P You can add it to your other clay projects such as miniature dishes or simply keep them in small glass jars. Have it your way ;)