The Conversation (0)
Sign Up
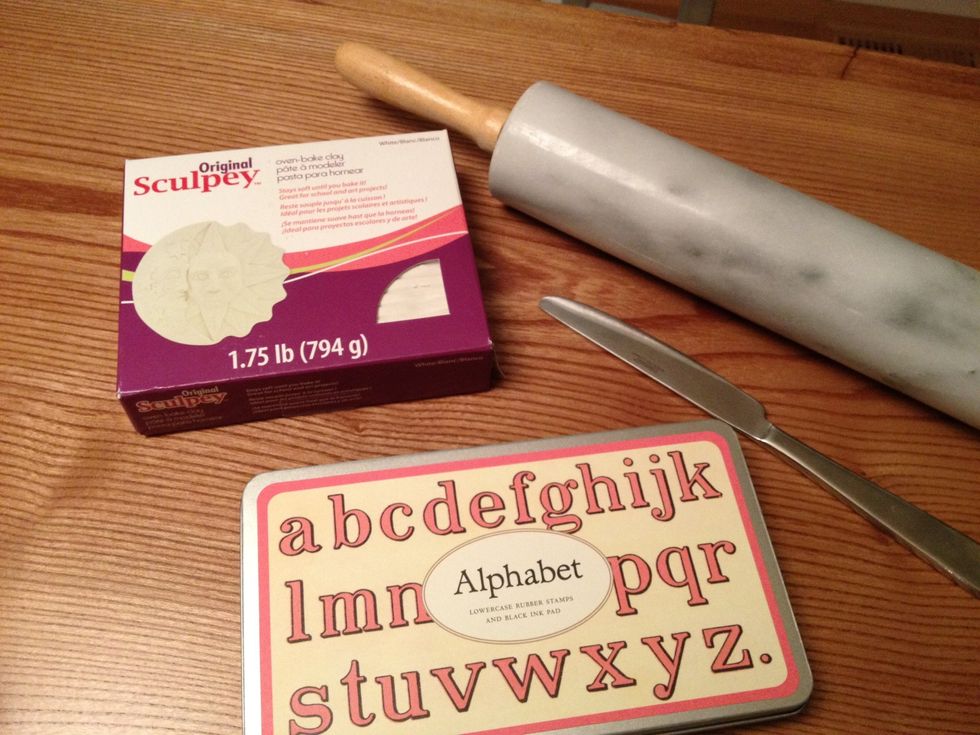
Gather your materials. Any oven bake able polymer clay will work. I am using some sculpey. You will also need a butter knife, a rolling pin and a set of alphabet stamps.
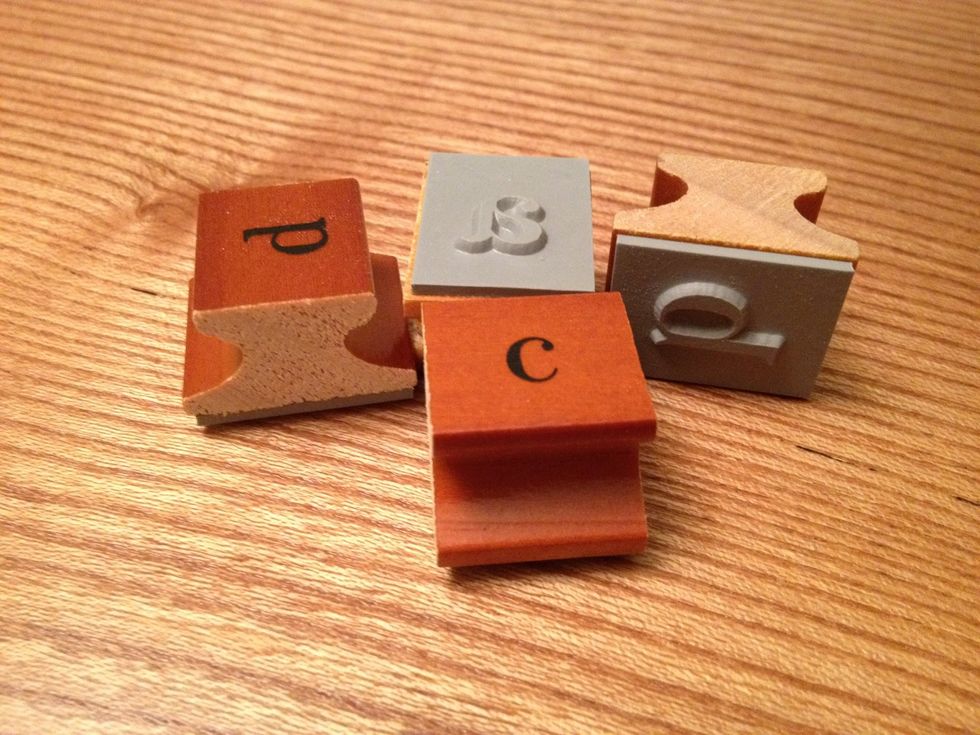
For the alphabet stamps, use either rubber or metal. Just make sure that the letters are somewhat small in size.
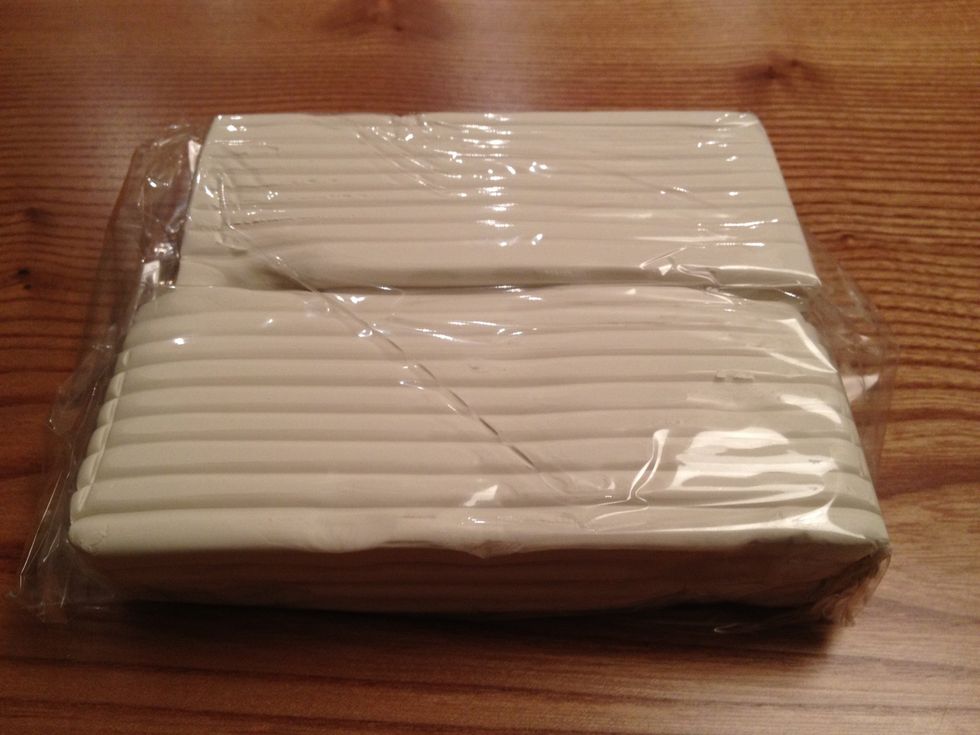
When you unwrap the clay, it will be in rather rigid blocks. You must really work the clay until it gets soft. This is known as conditioning, and is necessary for two reasons
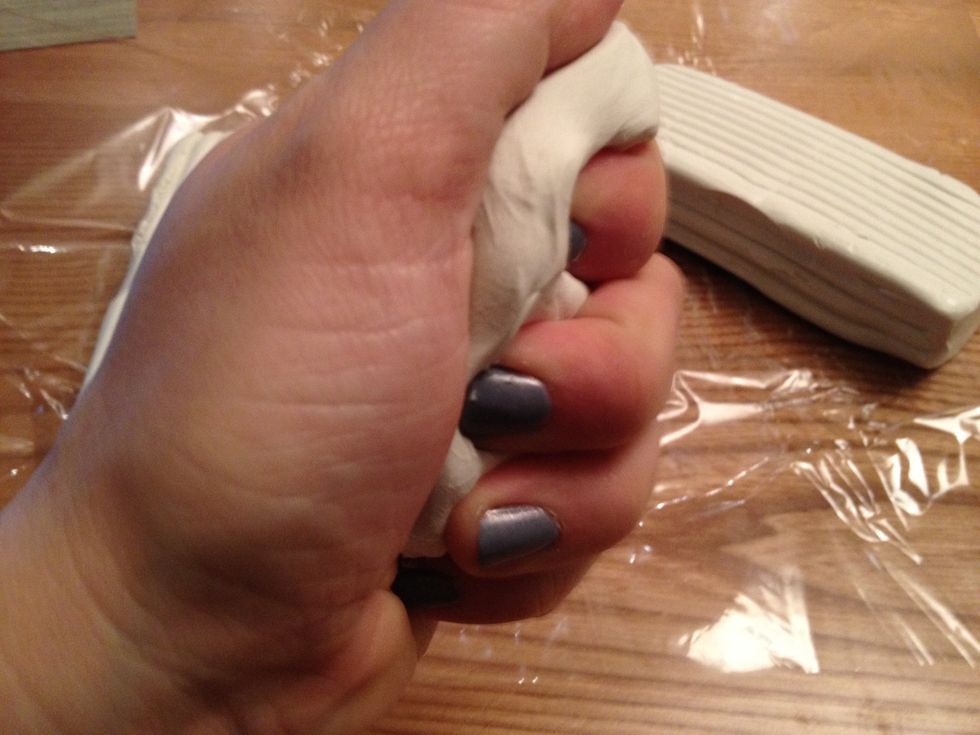
First, to make it easier to work with. Second, it activates the PVC particles, which strengthens the clay and makes it less likely to crack after baking.
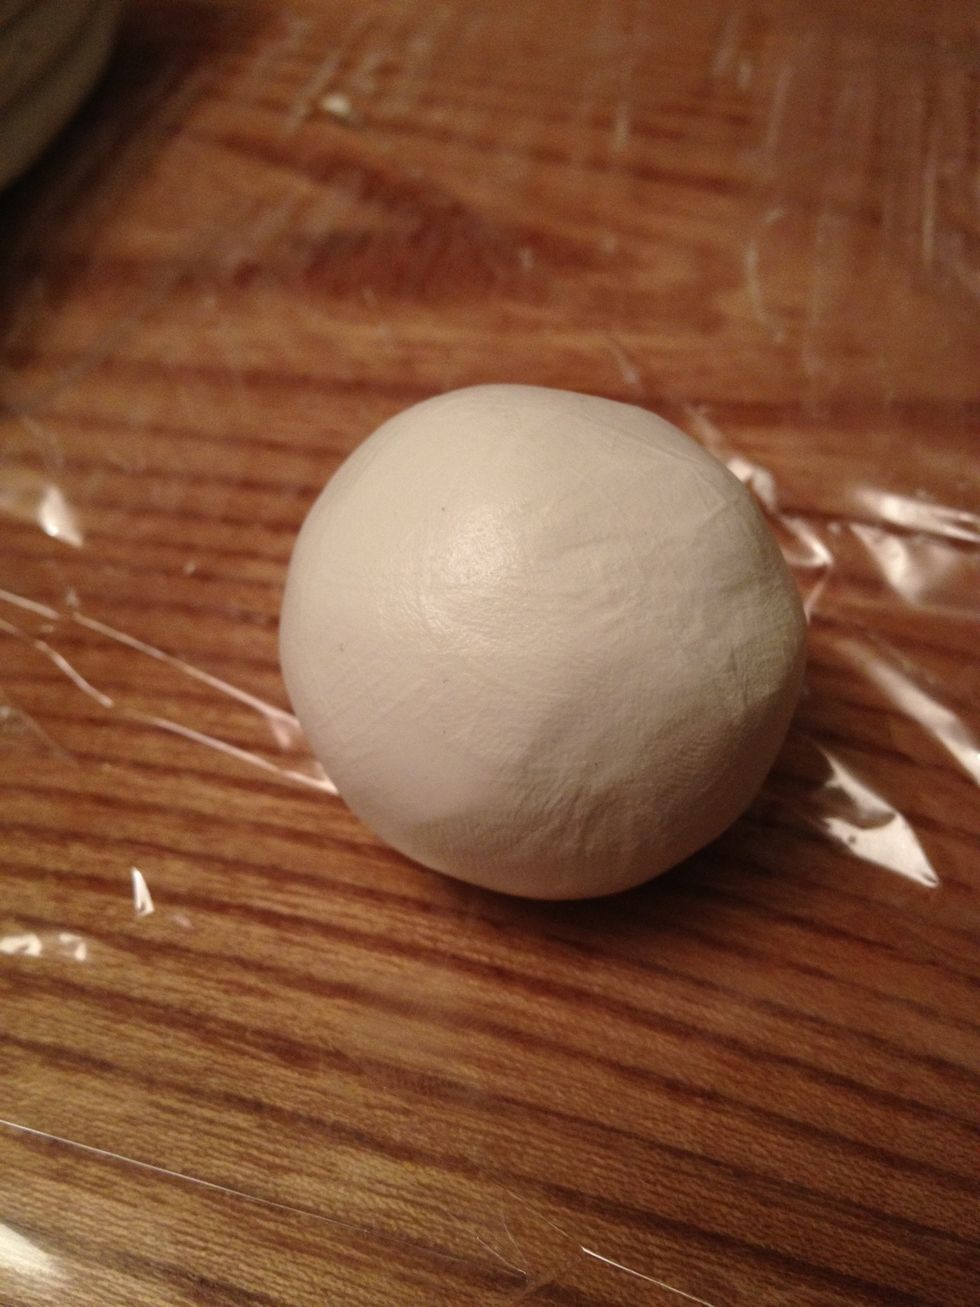
Roll the clay into 1.25 inch balls.
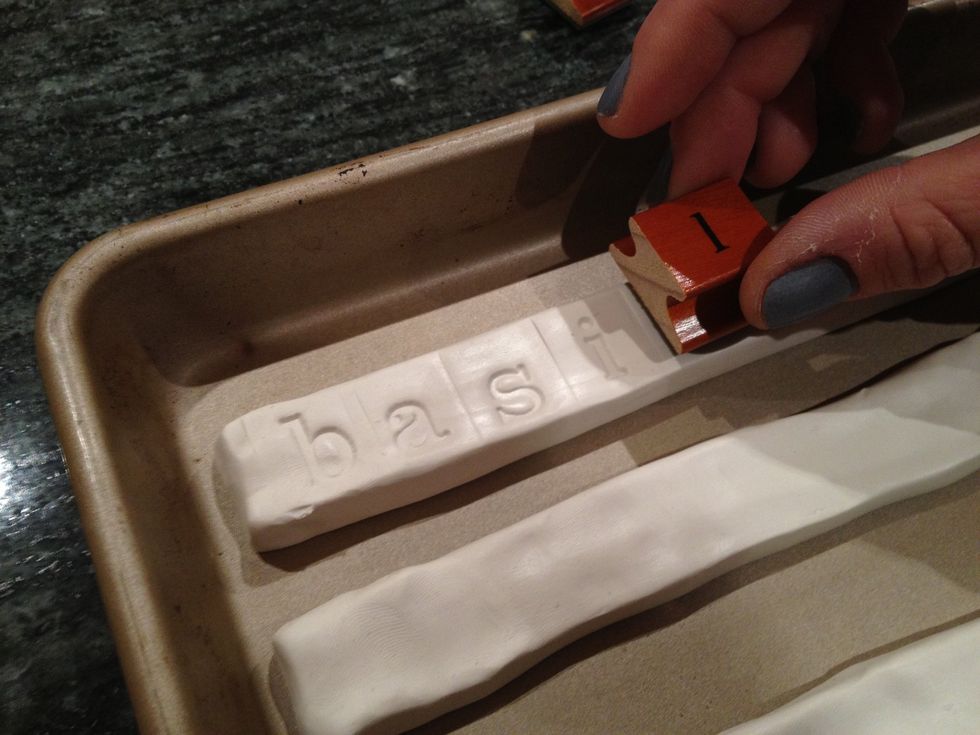
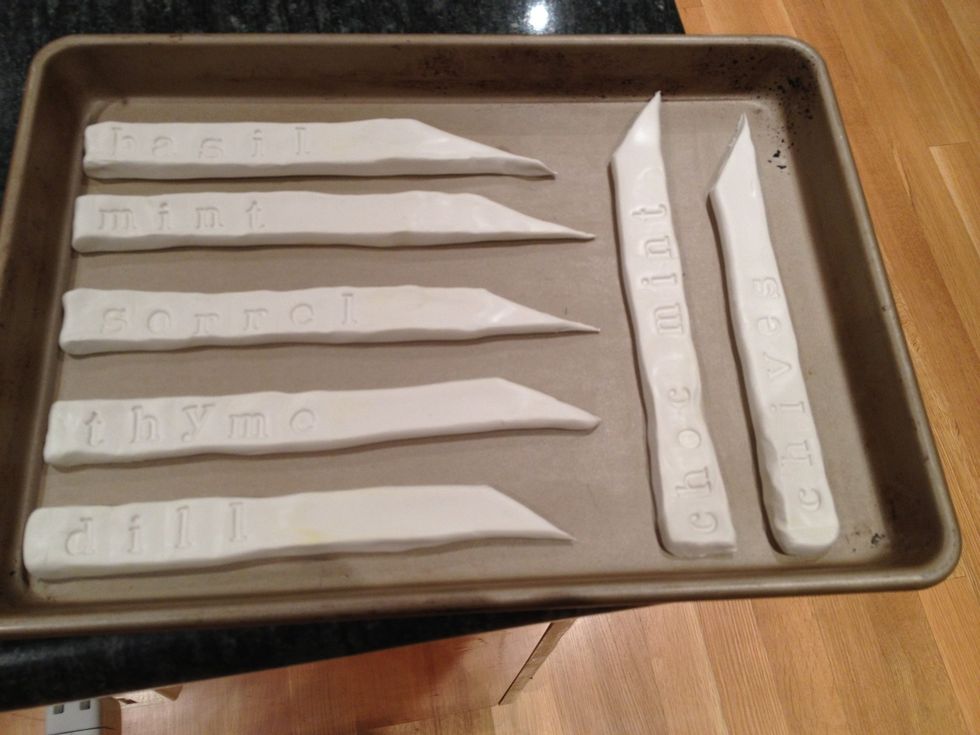
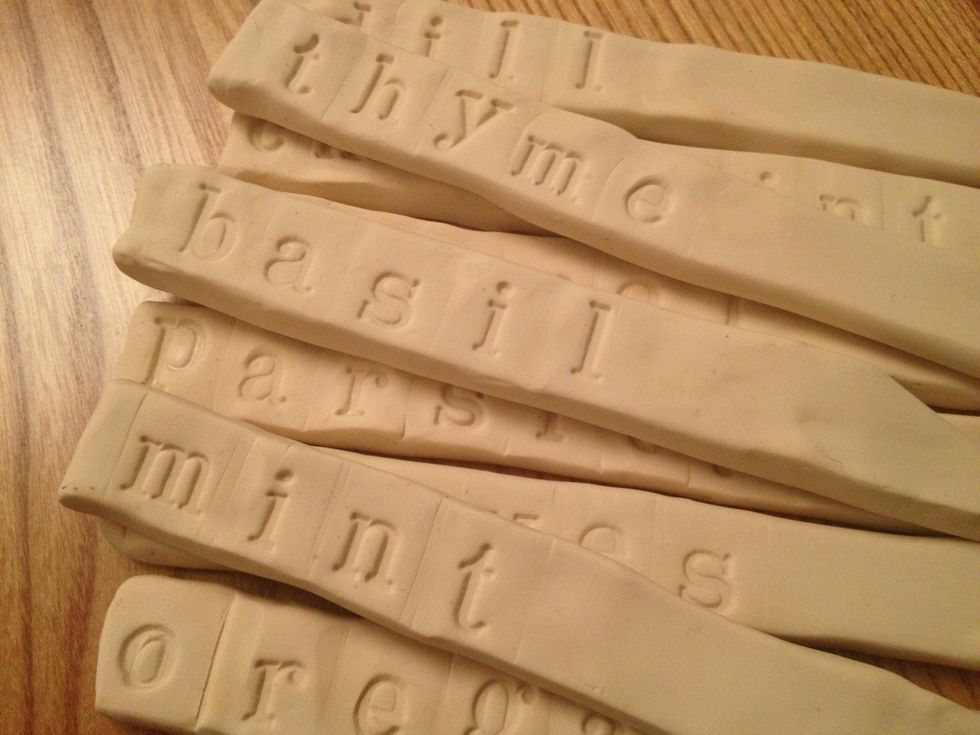
Use your stamps to write out the herbs or veggies you want to mark. Use your fingers to smooth out rough edges. Or go for a homemade, rustic look and leave any imperfections as is.
Make sure to cook your clay based on the package instructions. Each brand is slightly different in its temp and cooking time.
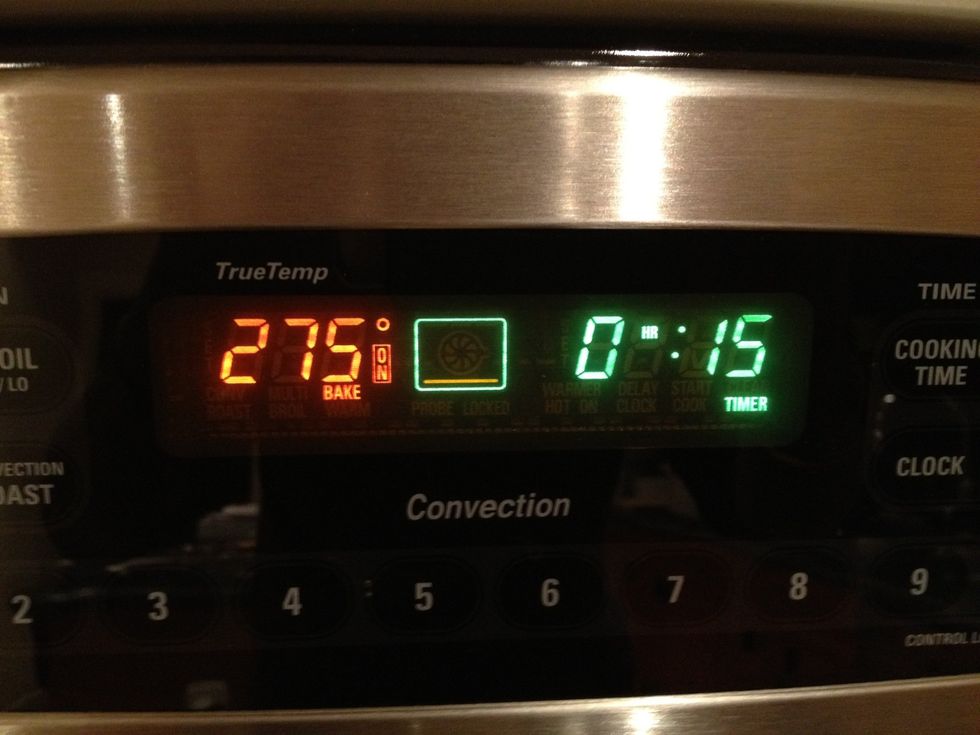
For my sculpey, the package instructions were to cook at 275 degrees for 15 minutes per 1/4 inch of clay. However, it took about an hour until it seemed like they were done.
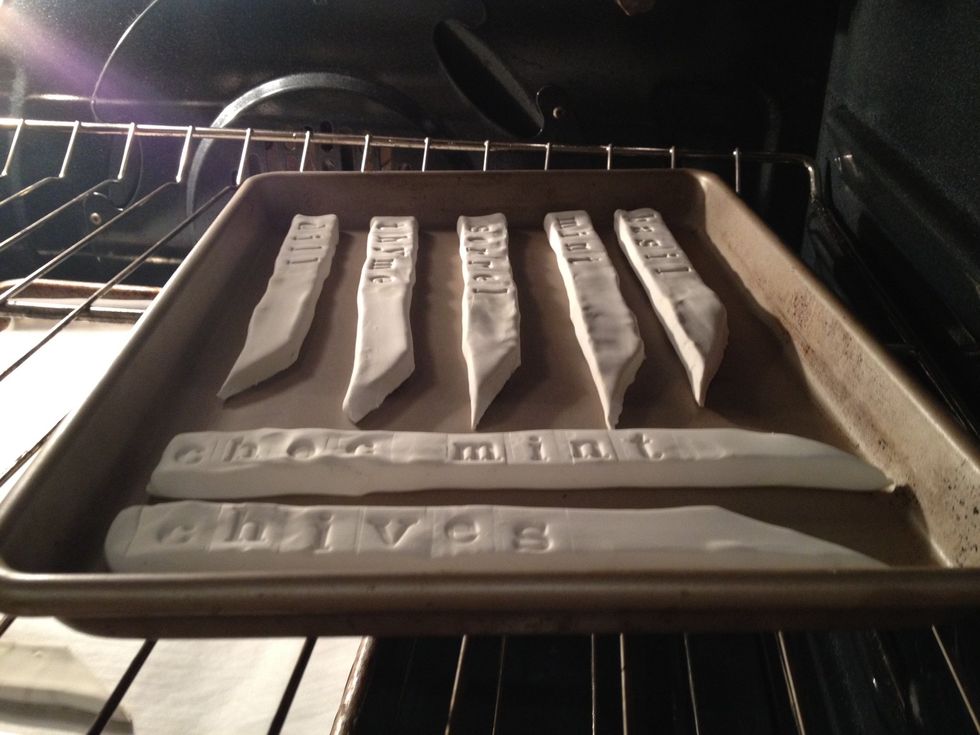
Turn off the oven, and leave inside until the garden markers are smooth and have firmed up.
Remove from pan when cool. Be gentle, as this material is strong, but not unbreakable. It will stand up to the rain outside in your garden, but you would not want to drop it on the ground.

Place in your garden!