The Conversation (0)
Sign Up
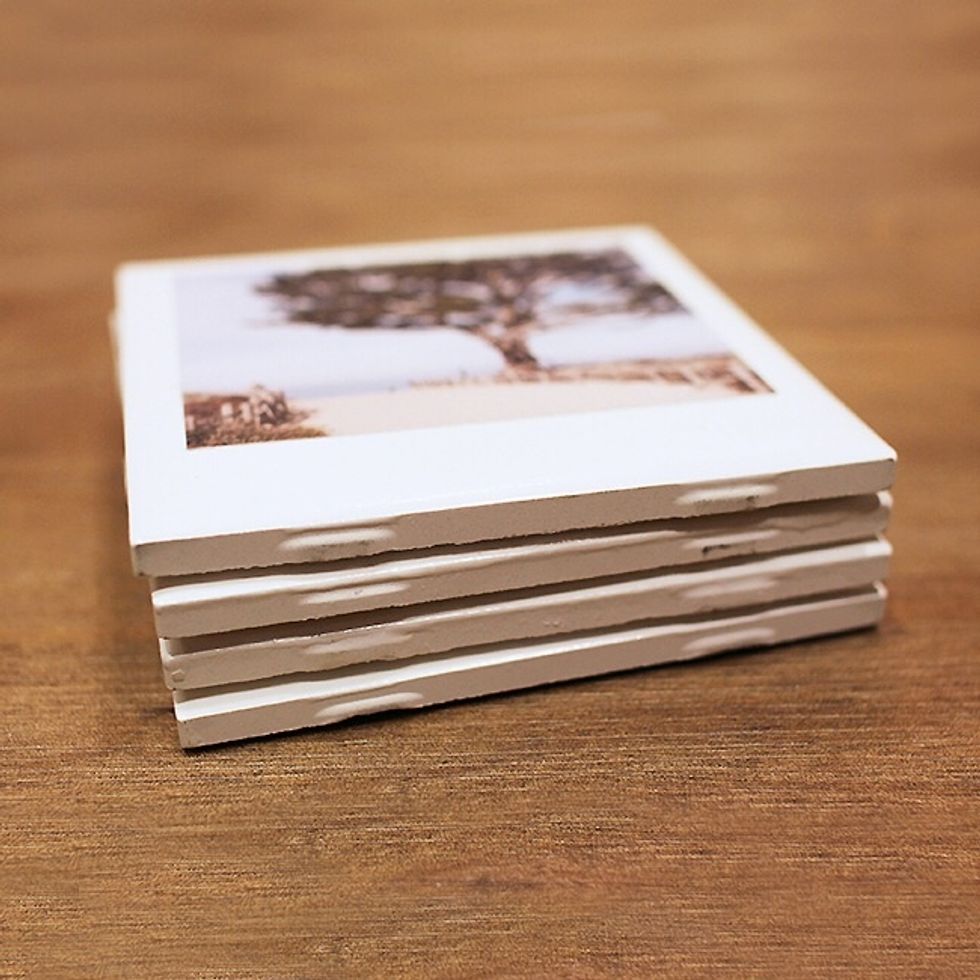
A glance at the finished product.
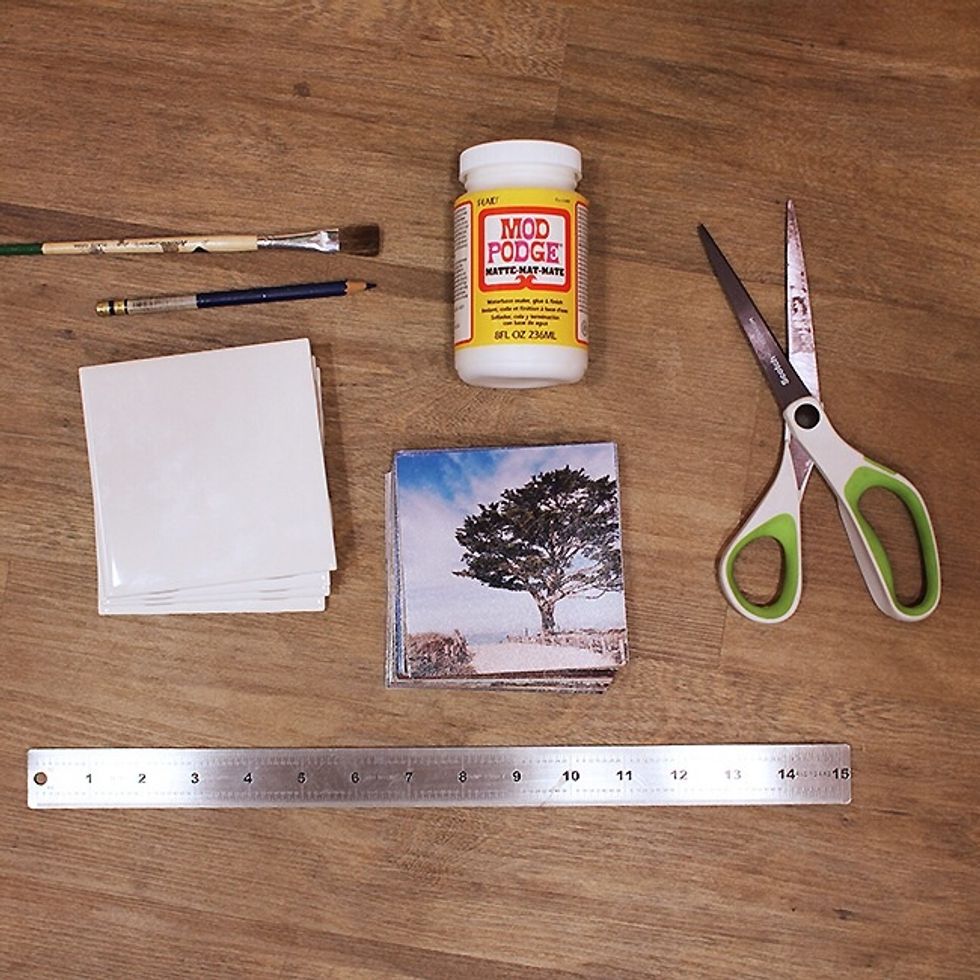
The supplies you will need. The ceramic tiles can be purchased at any home improvement store. These ones were from Home Depot for under $1 each!
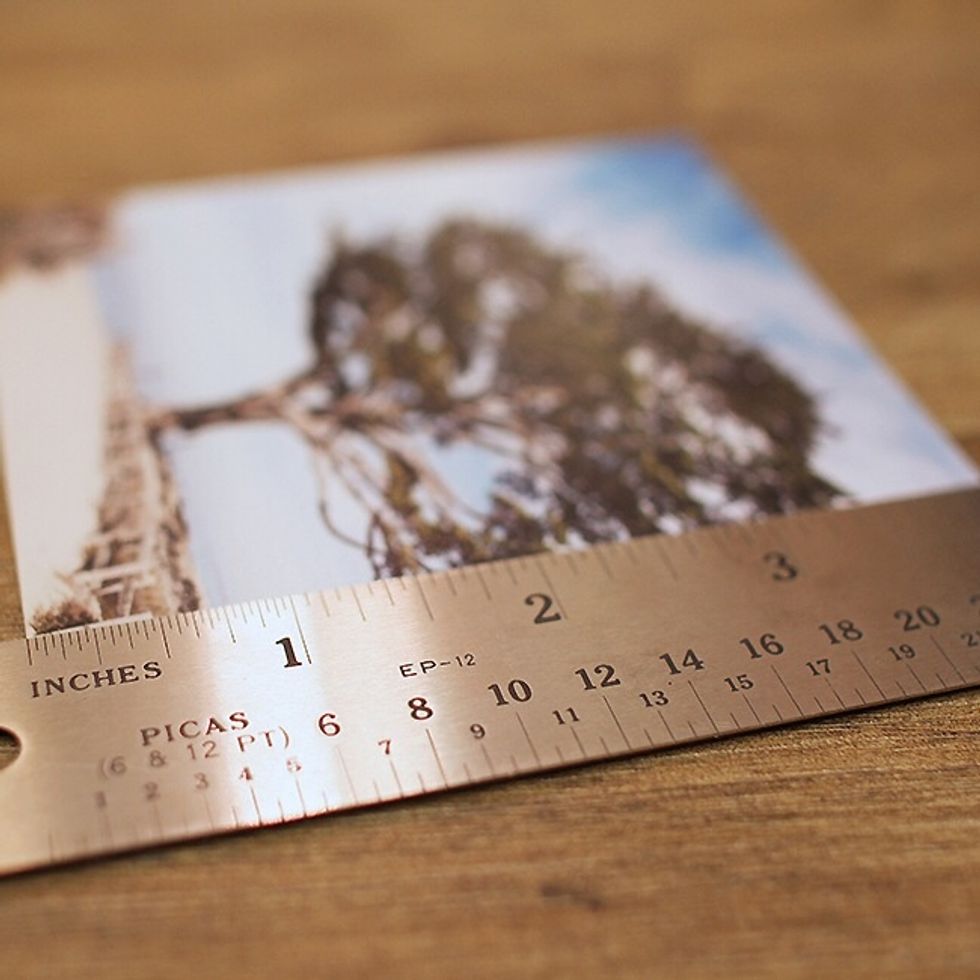
You will have to trim a ½ inch from the width so decide which side you'd like to cut from. Mark with a pencil and ruler first then trim. It should now be 3.5″ wide.
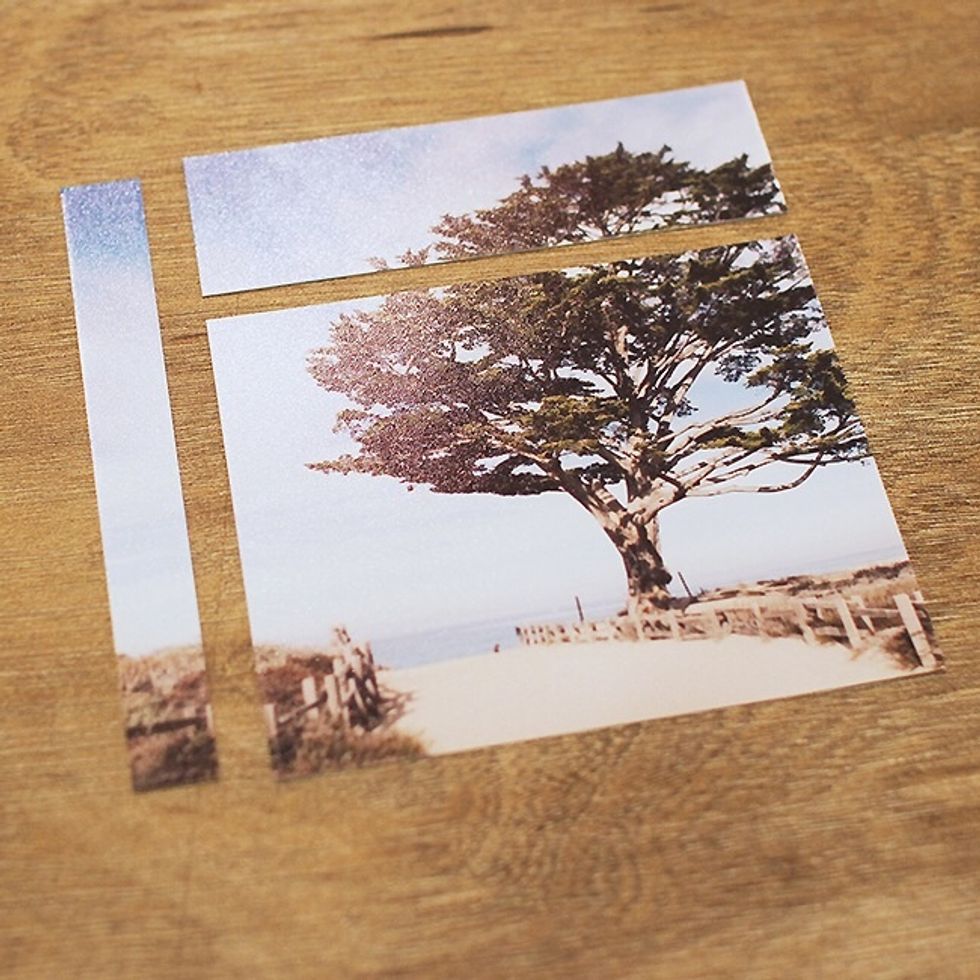
You will then also have to trim 1 inch from the height of the photo. This should now leave you with a print that is 3.5" x 3".
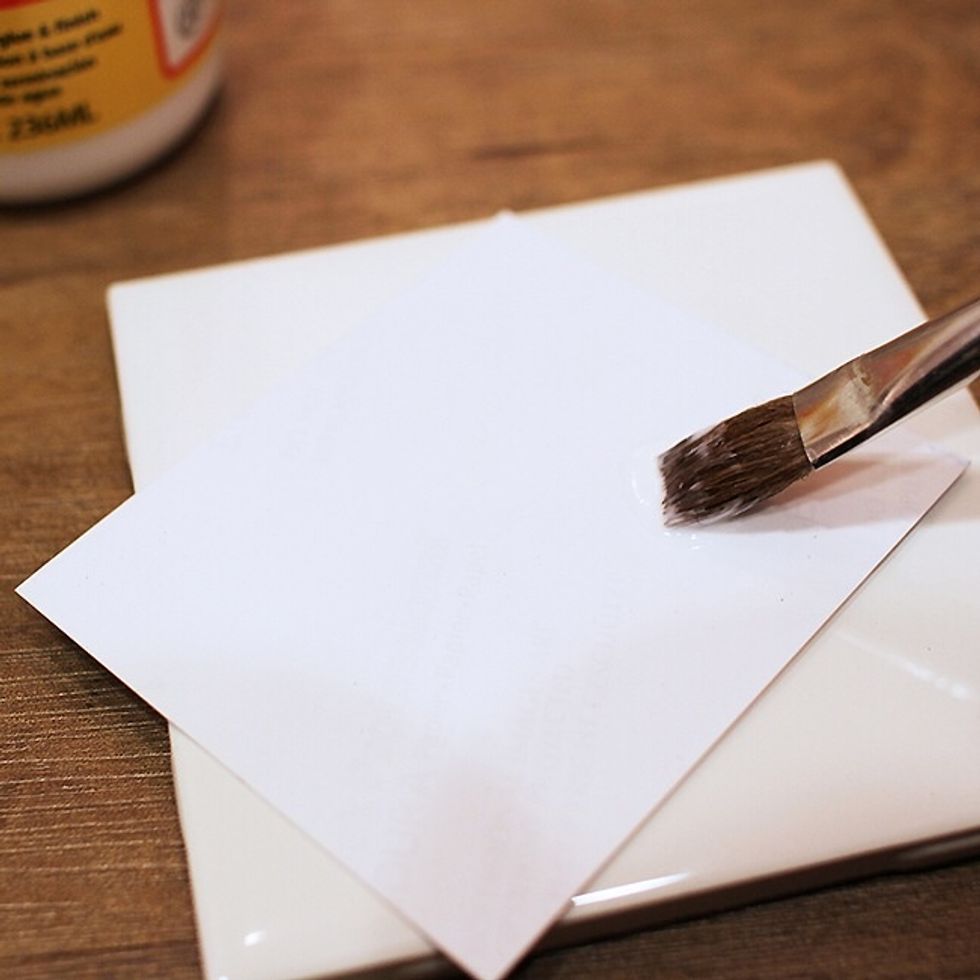
Wipe down your tiles so that they are clean and ready to be turned into a Polaroid coaster. Generously apply Mod Podge using the brush to the back of the photo.
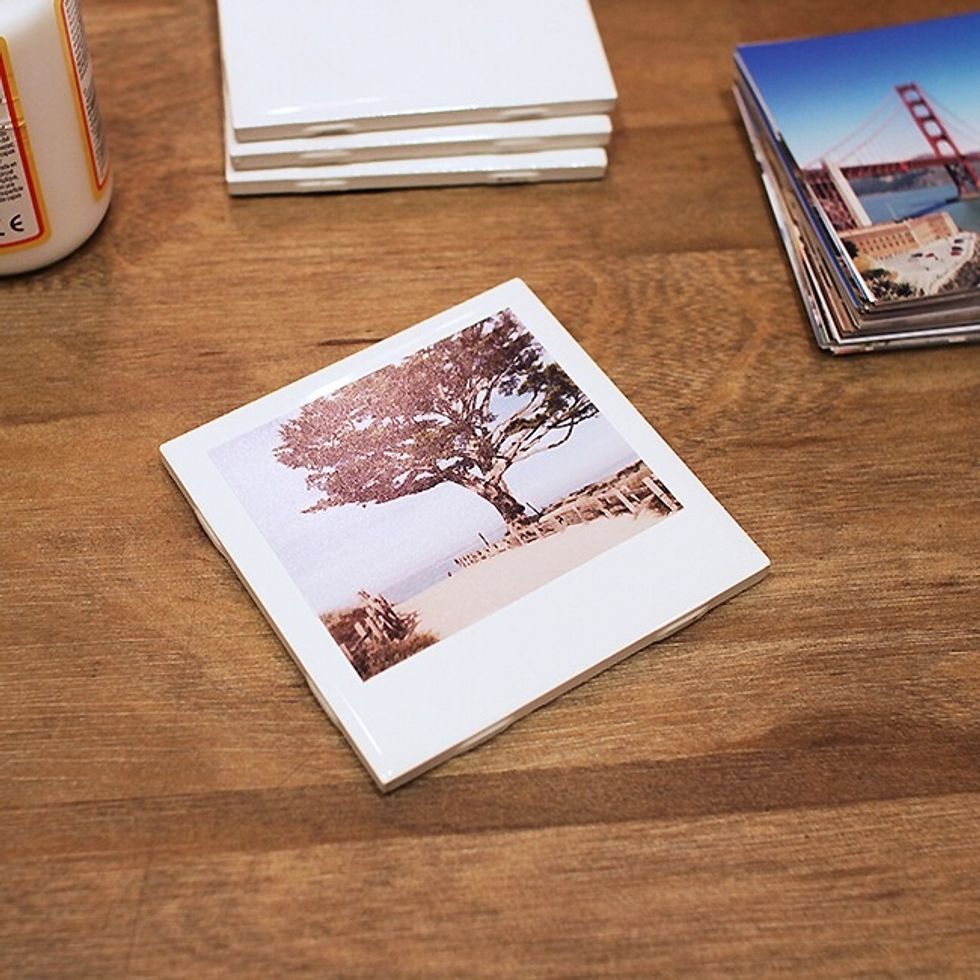
Simply eyeball an even amount of space from the top & the two sides, the bottom will be left with more white space to resemble a Polaroid. Smooth out the photo to remove any air bubbles & excess glue.
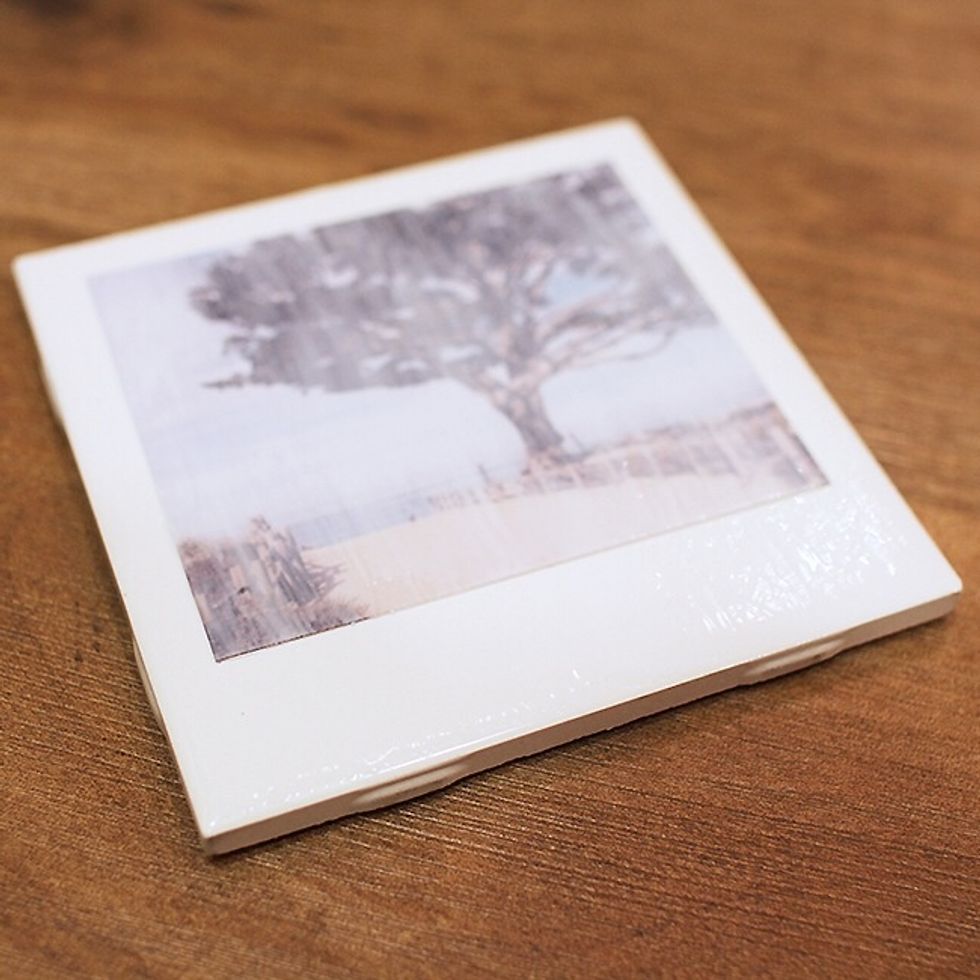
Let dry and work on the rest. Once all are photos are applied, go back to the first and generously apply Mod Podge to the top of the photo. Let it dry completely and it will dry clear.
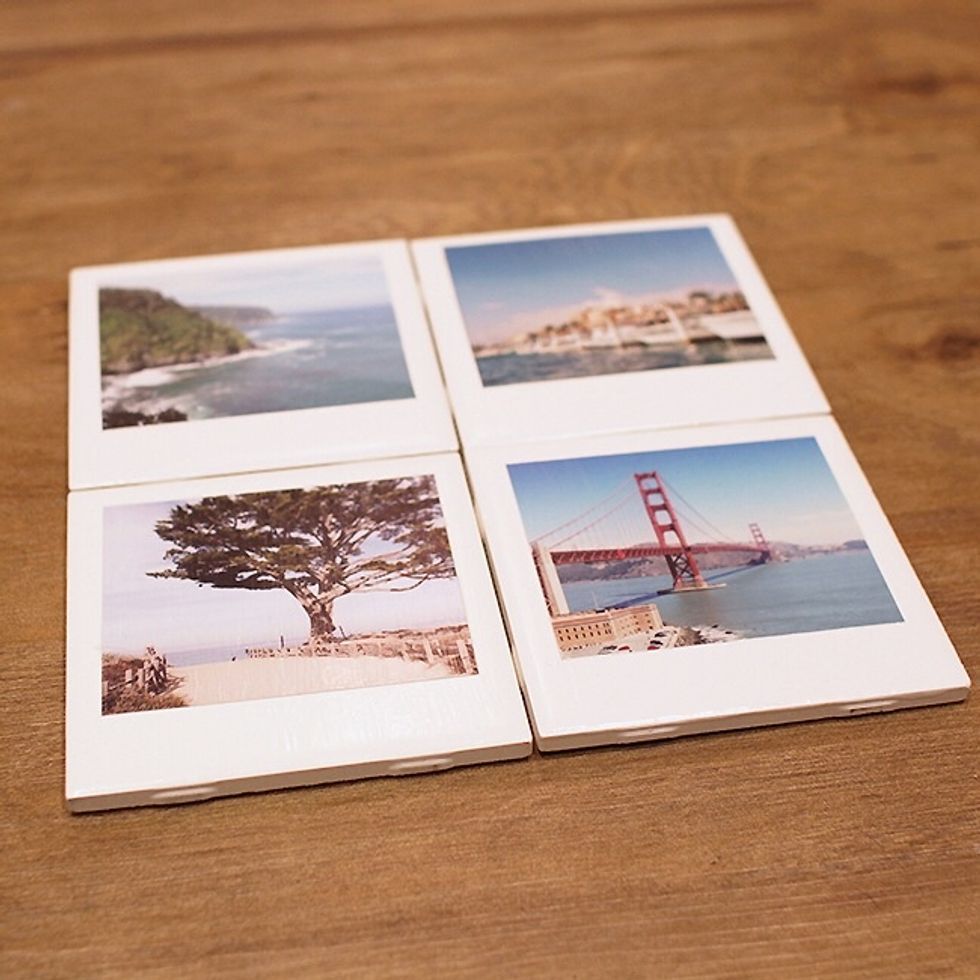
You can make as many or as little as you want! These make great gift ideas. Optional step: apply small felt circles on the bottom.