The Conversation (0)
Sign Up
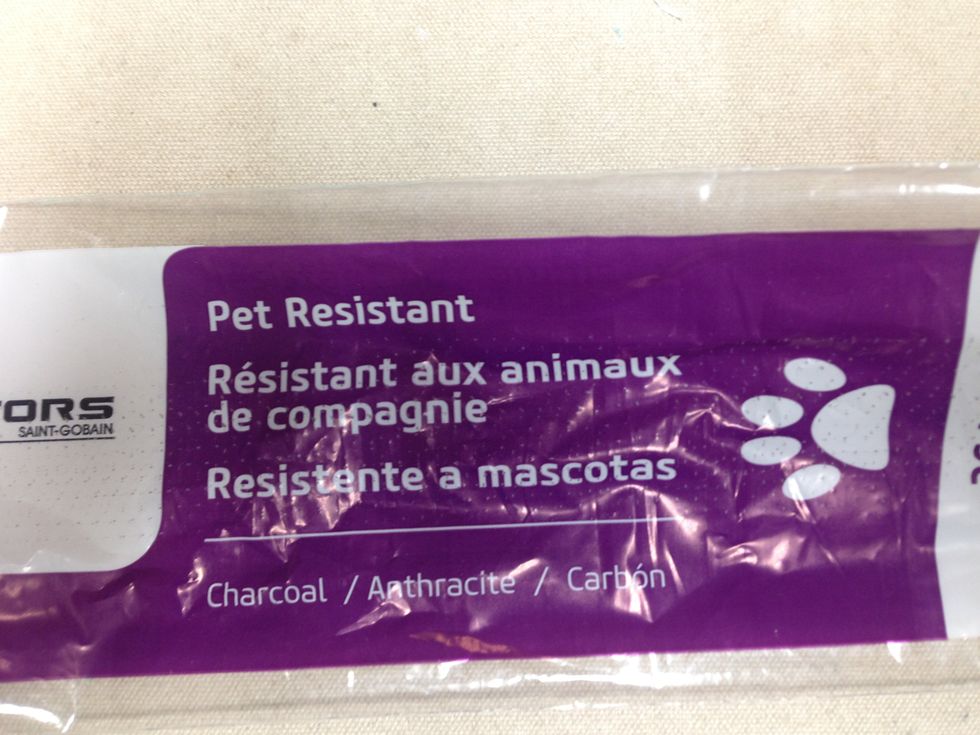
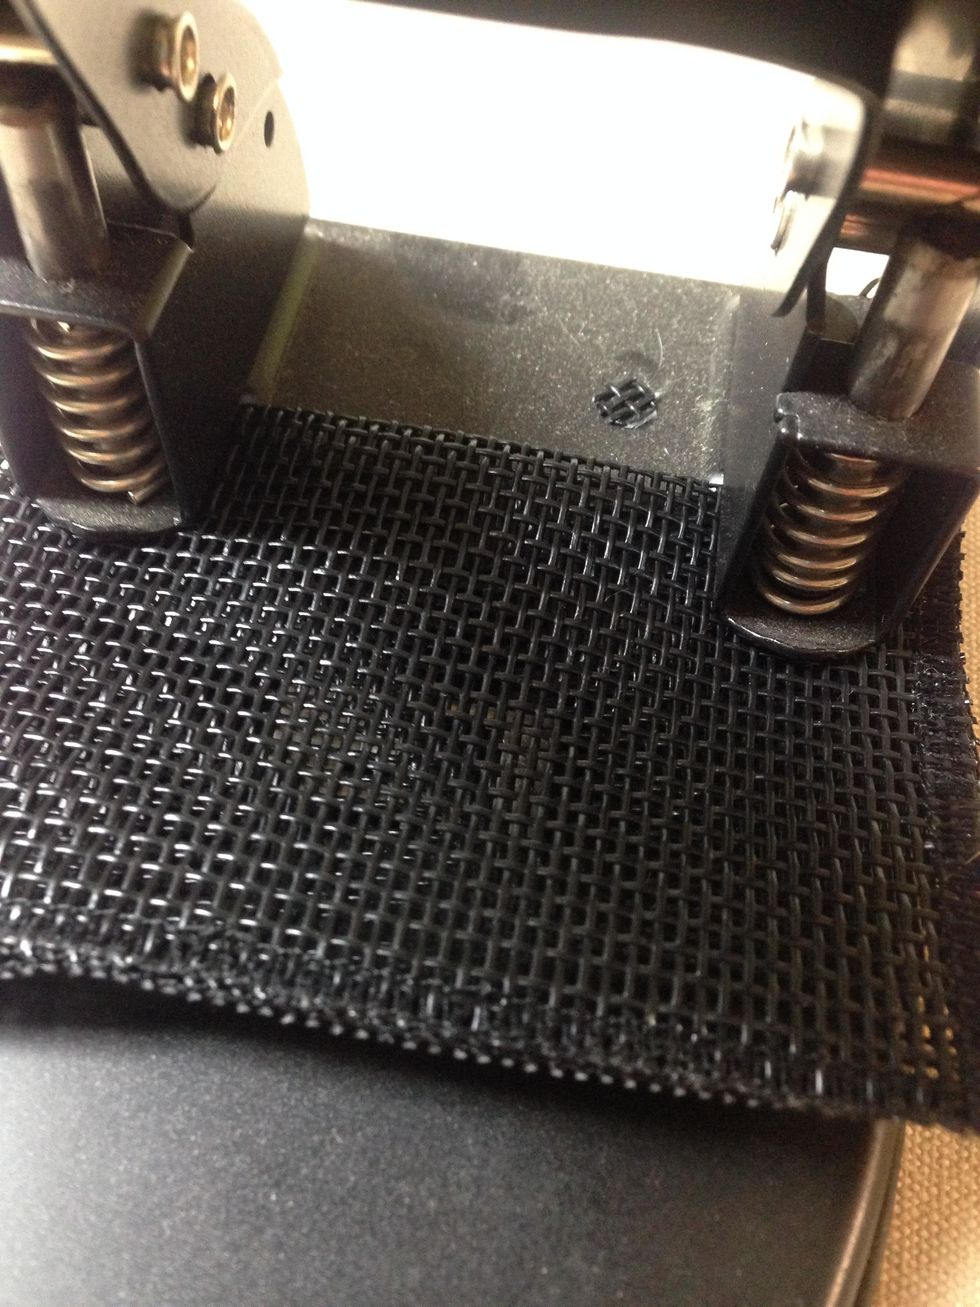
This Pet Resistant Screen is soft and easy to sew. It comes in different widths and lengths. I used a 36 x 84 roll in the Charcoal color.
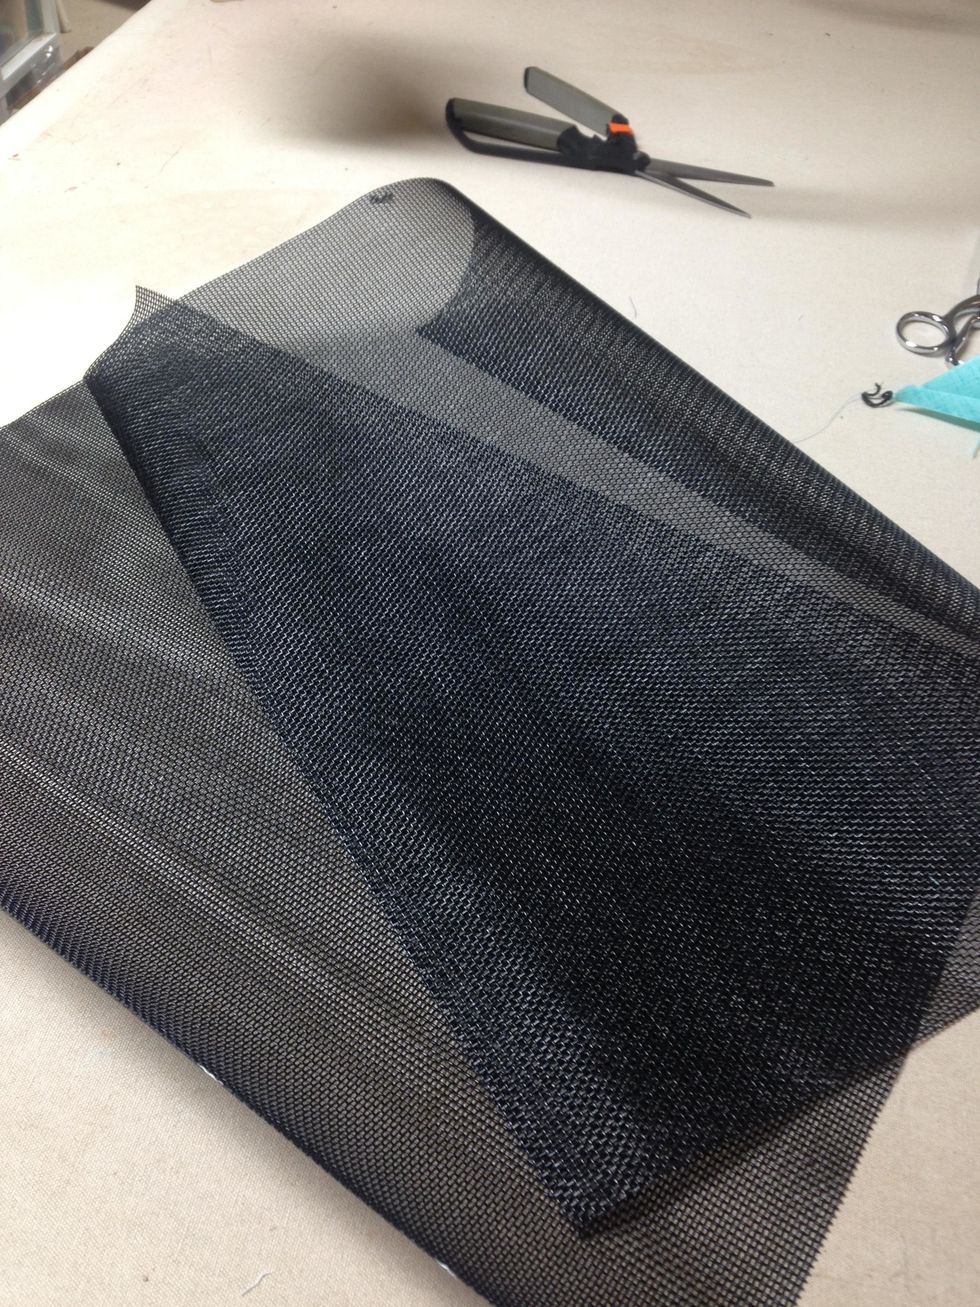
I cut my screen placemats 18" wide x 14" high and my pockets are 5 1/2" wide x 5" high. I only made 4 but you could easily get 6 out of the roll of screen.
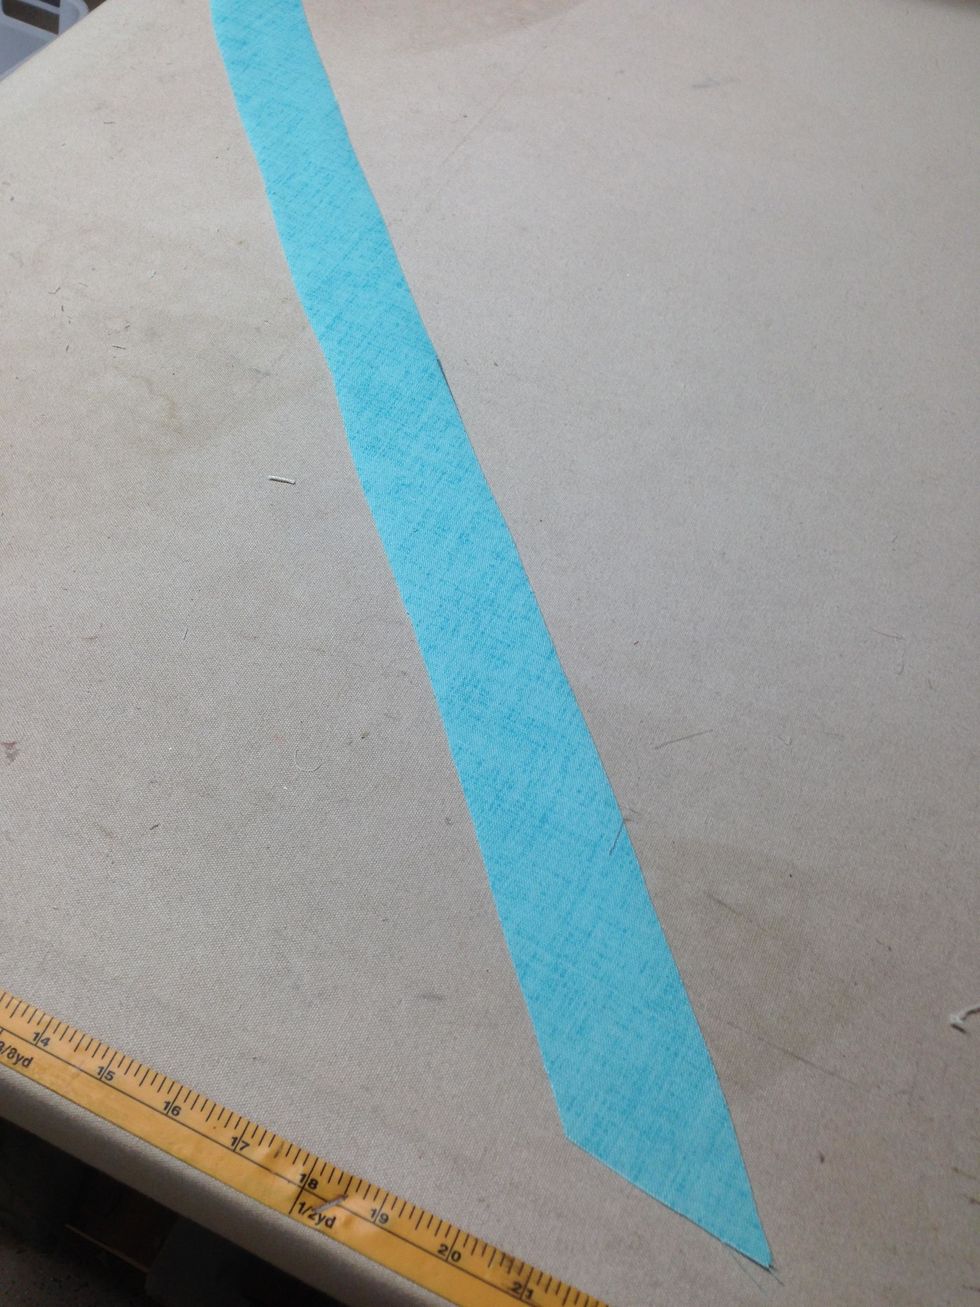
Cut 2 ¼” bias strips for the banding from the outdoor fabric. Check out our website for tips on cutting bias strips. http://www.patemeadows.com/Cutting-Bias-Strips-for-Piping-and-Banding_ep_61.html
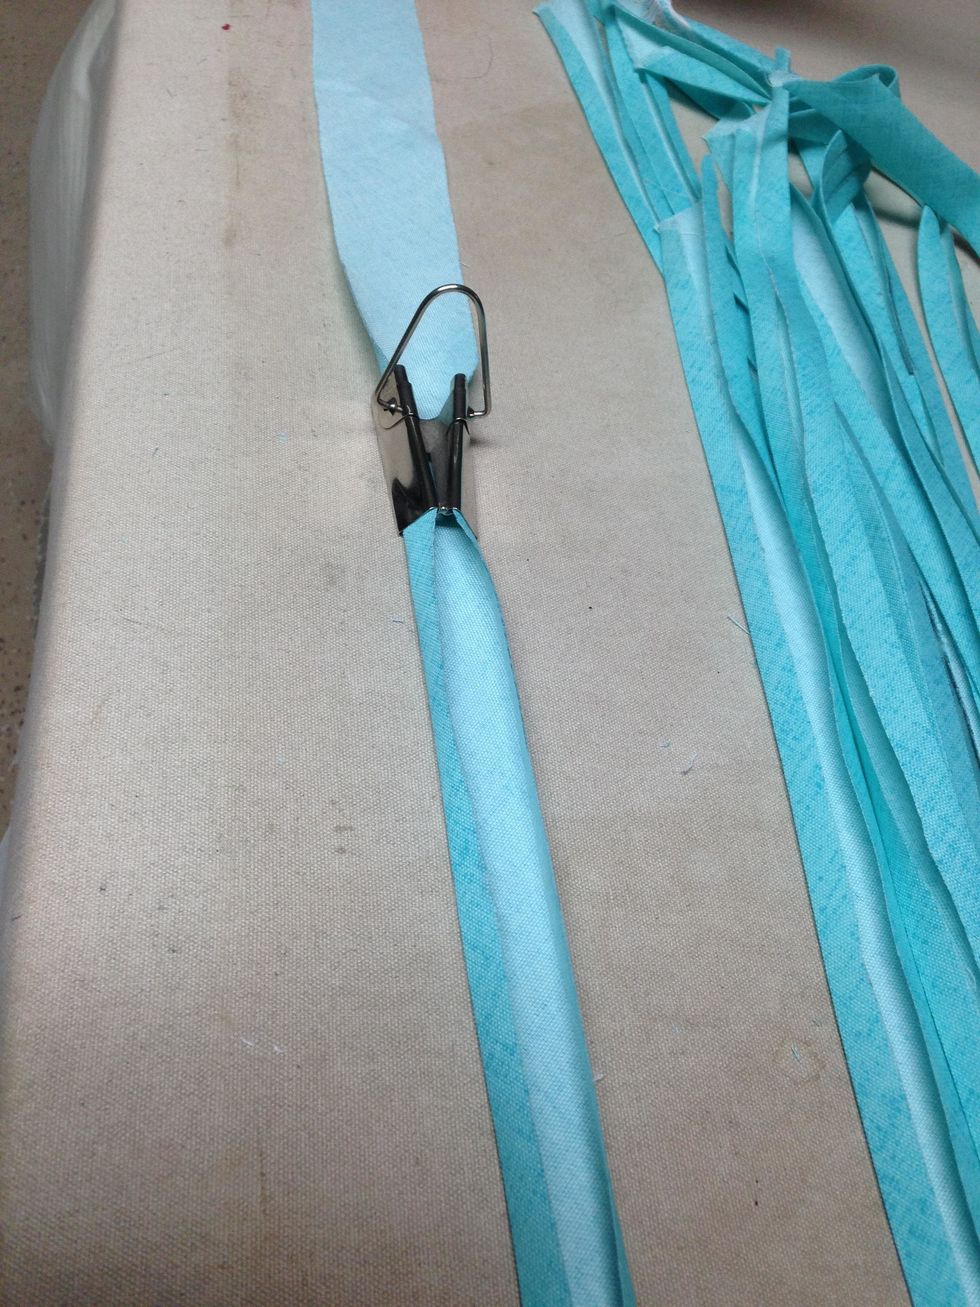
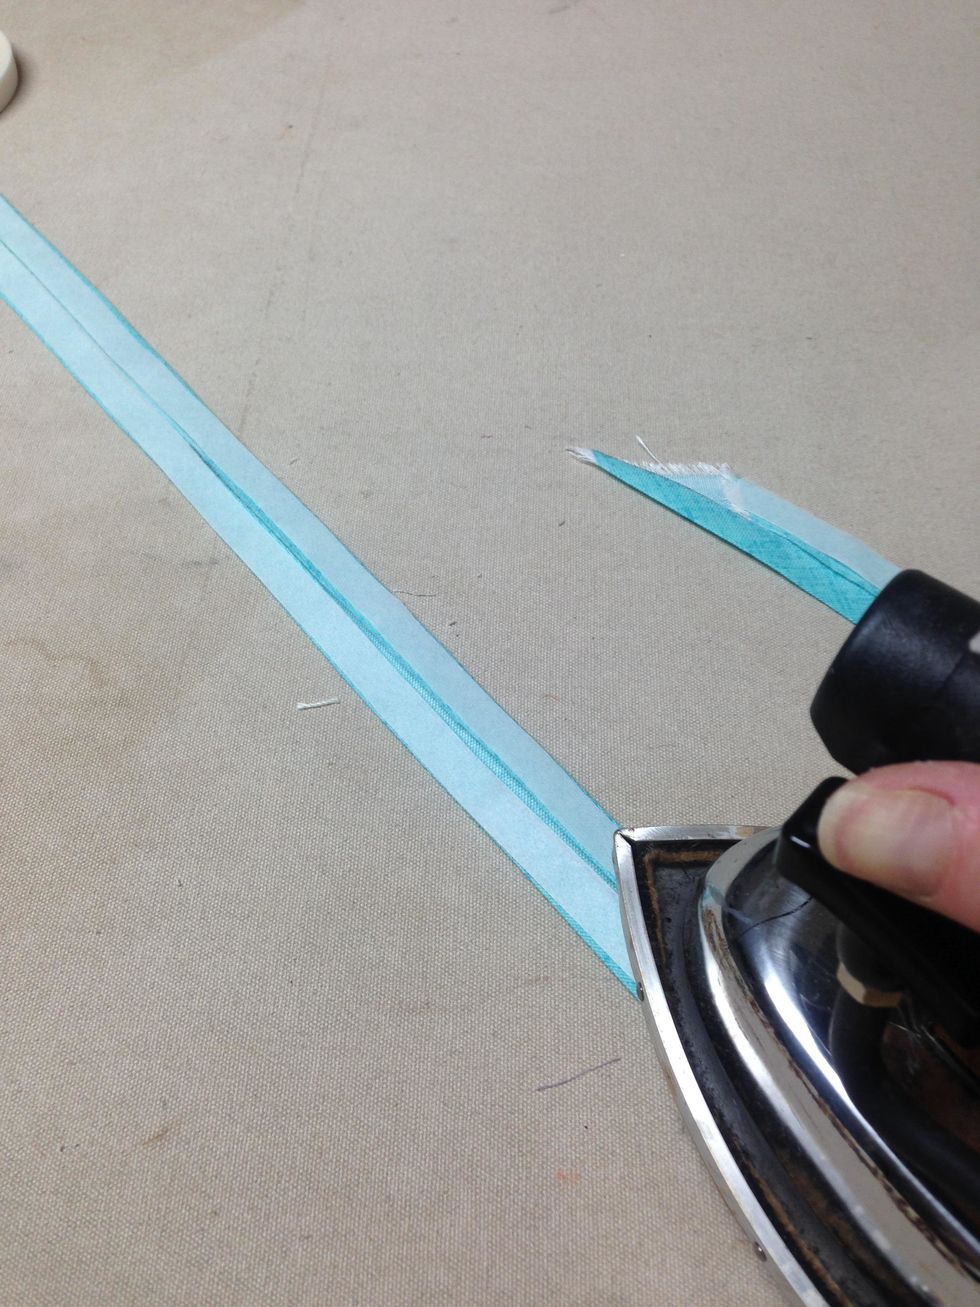
Step 3: Using the 1” Bias Tape Maker, pull each strip through the tape maker tool. You will need 2 – 28” strips, 2 – 15” strips, 3 – 11” strips and 1 – 6” strip for EACH placemat you plan to make.
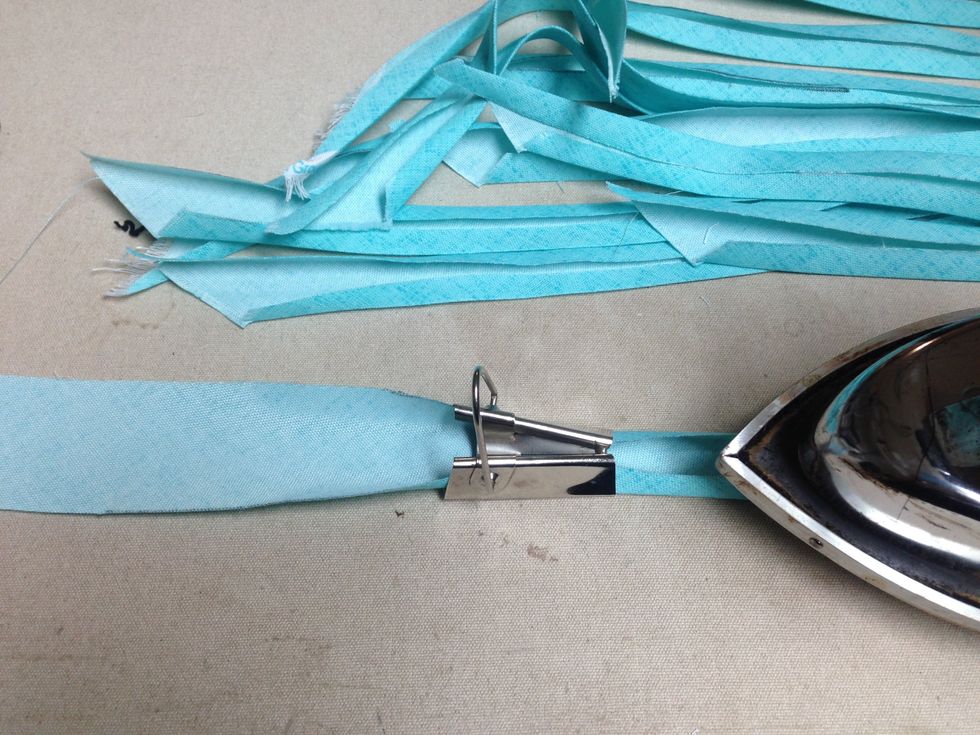
For tips on using the Bias Tape Maker and more visit our Tips/Tutorials and Techniques section of the website. http://www.patemeadows.com/tips.htm
Press SteamASeam2 to the seam allowances of both sides of the 28” and 15” strips. Here's an informative video from our website about SteamASeam2 http://www.patemeadows.com/steamaseam2.htm
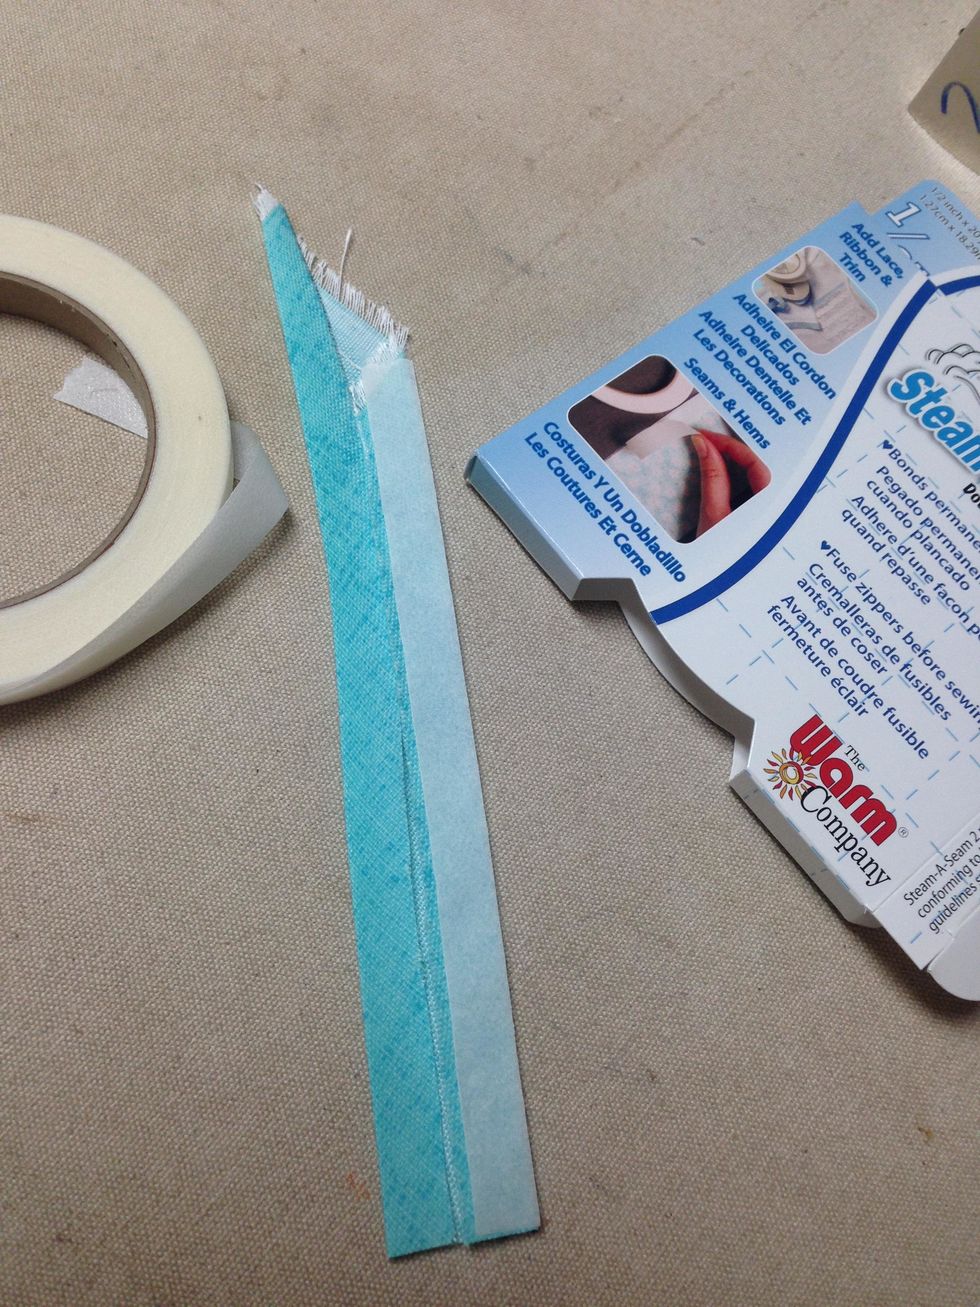
Press SteamASeam2 to the seam allowance on only one side of the 6” and the 11" strips as shown.
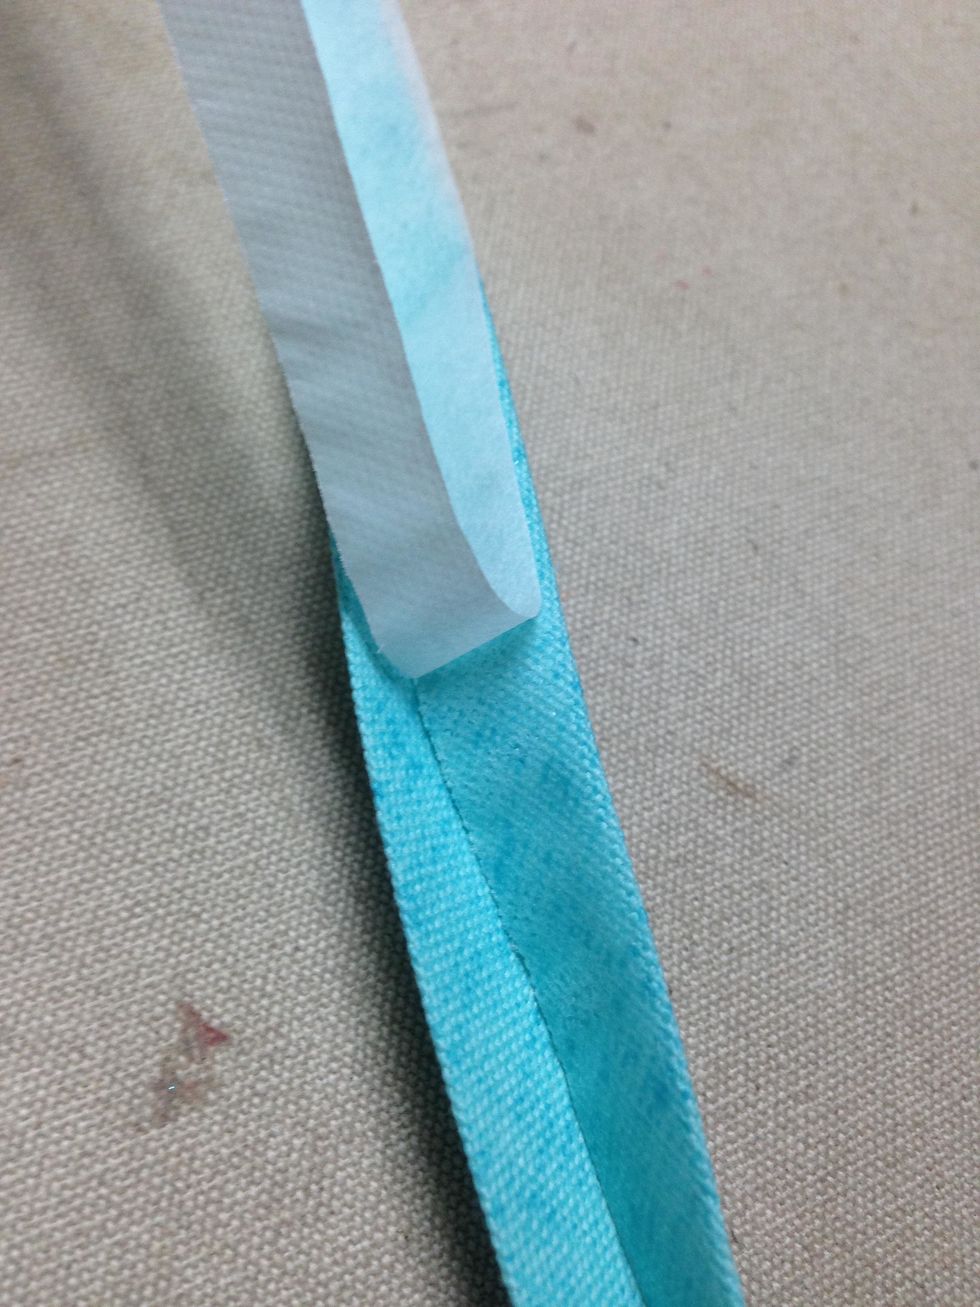
Using the 15”strips, remove the paper from the SteamASeam2 applied to both sides of bias banding

Slide screen in between the folded bias banding and iron onto the 14” sides of placemat. Wrap banding around the edge of the placemat to the front side and press.

Trim banding even with the top and bottom.
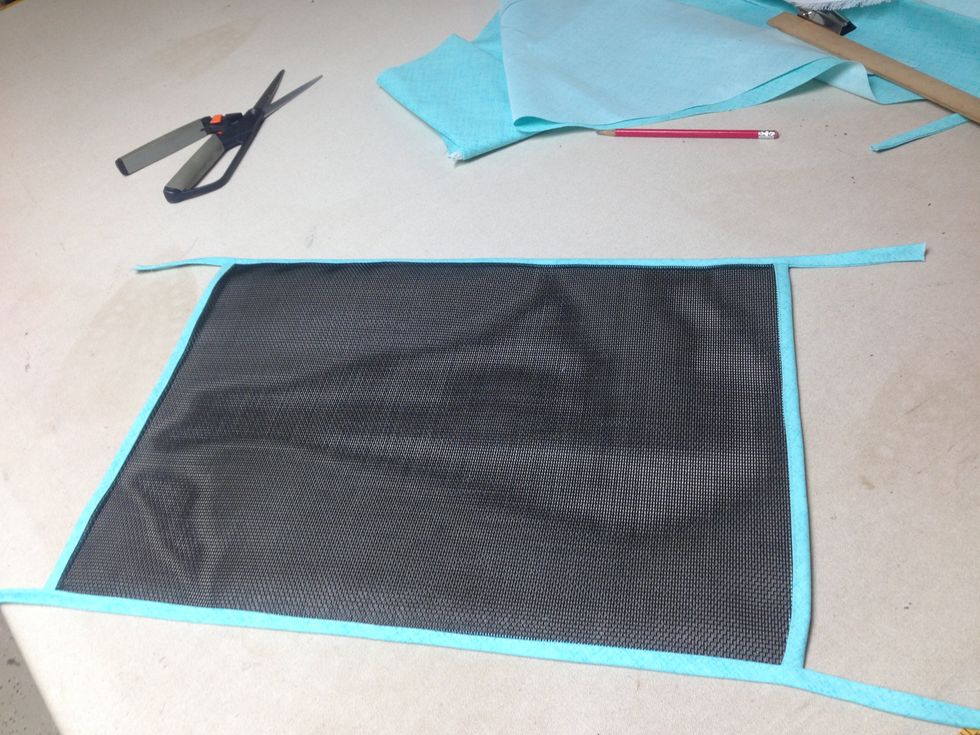
Remove the SteamASeam2 paper from 28" strips. Center band on 18” sides of place mat so that the banding extends beyond the edge of the placemat on each end as shown. Apply as previously done.

Trim the extended ends to 4” to make your knots so make sure it extends past the edge of the placemat enough to trim it down.

It should look like this.
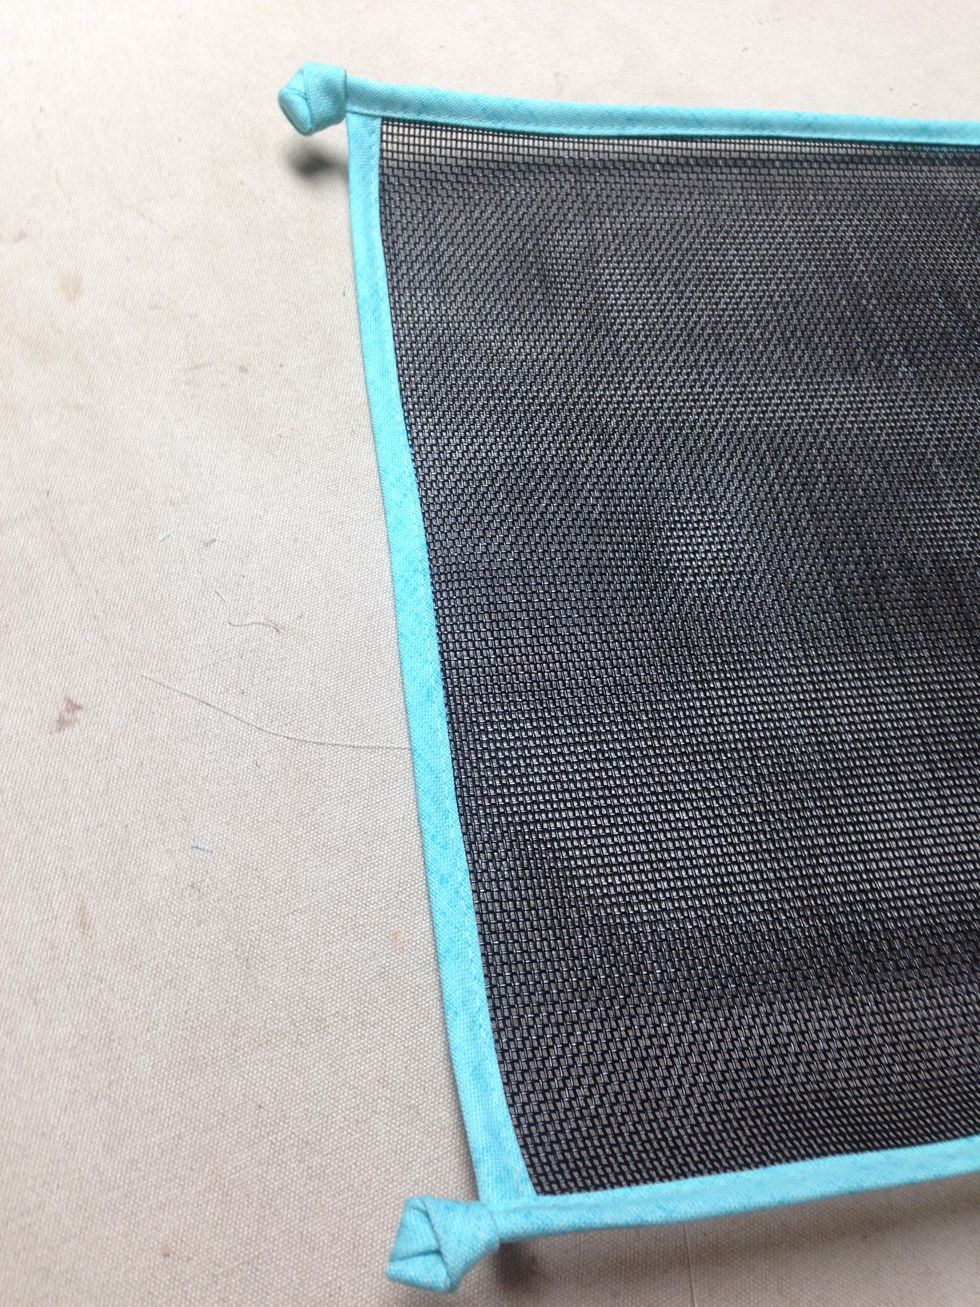
Tie the knots at the corners
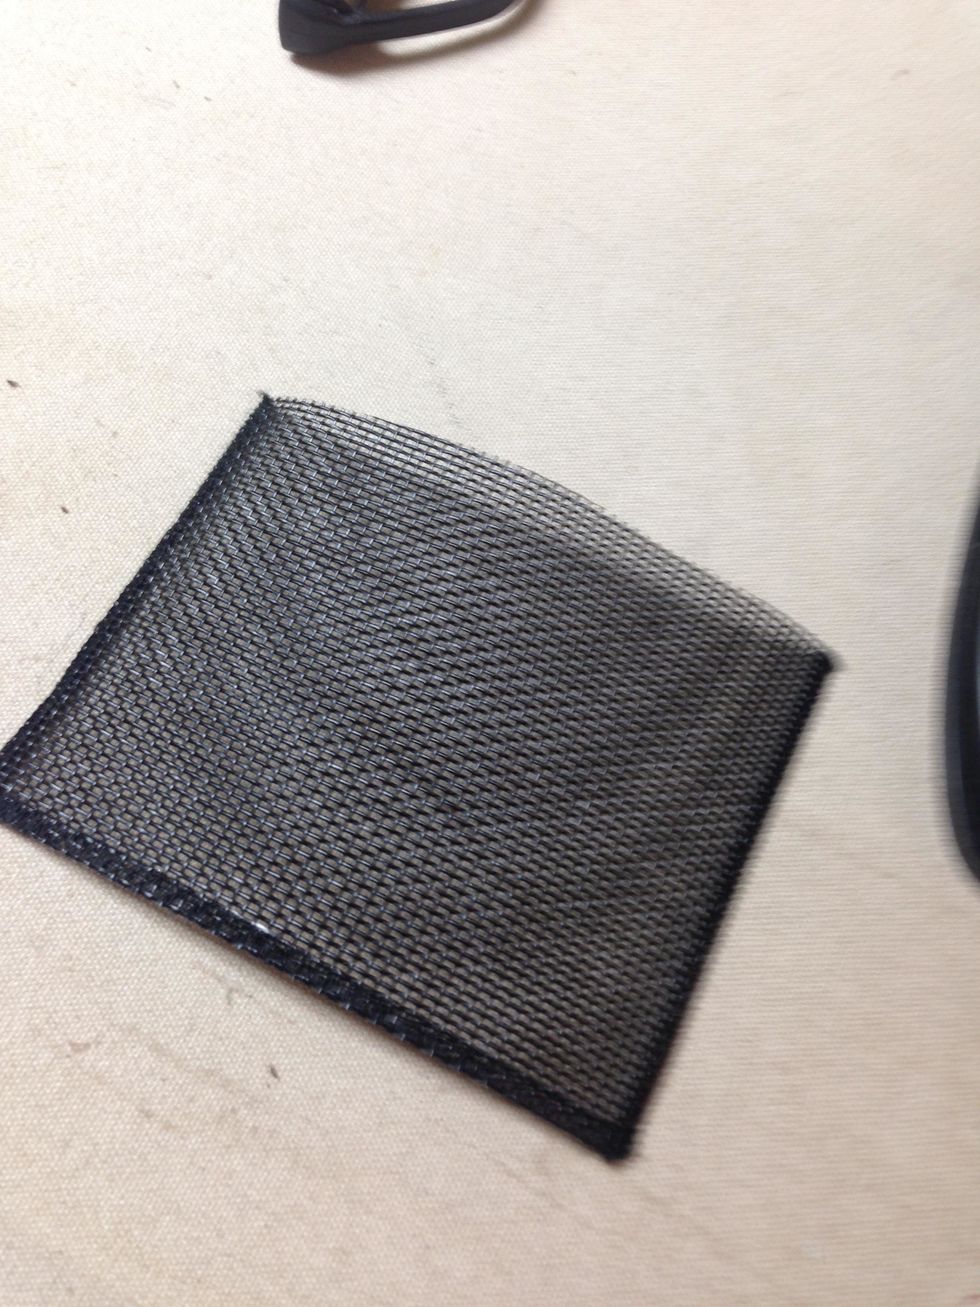
For the utensil pocket, I happened to have black wooly thread in my serger to do rolled hems so I serged the sides and bottom of my pocket which finished the edge nicely - but this is not necessary.)

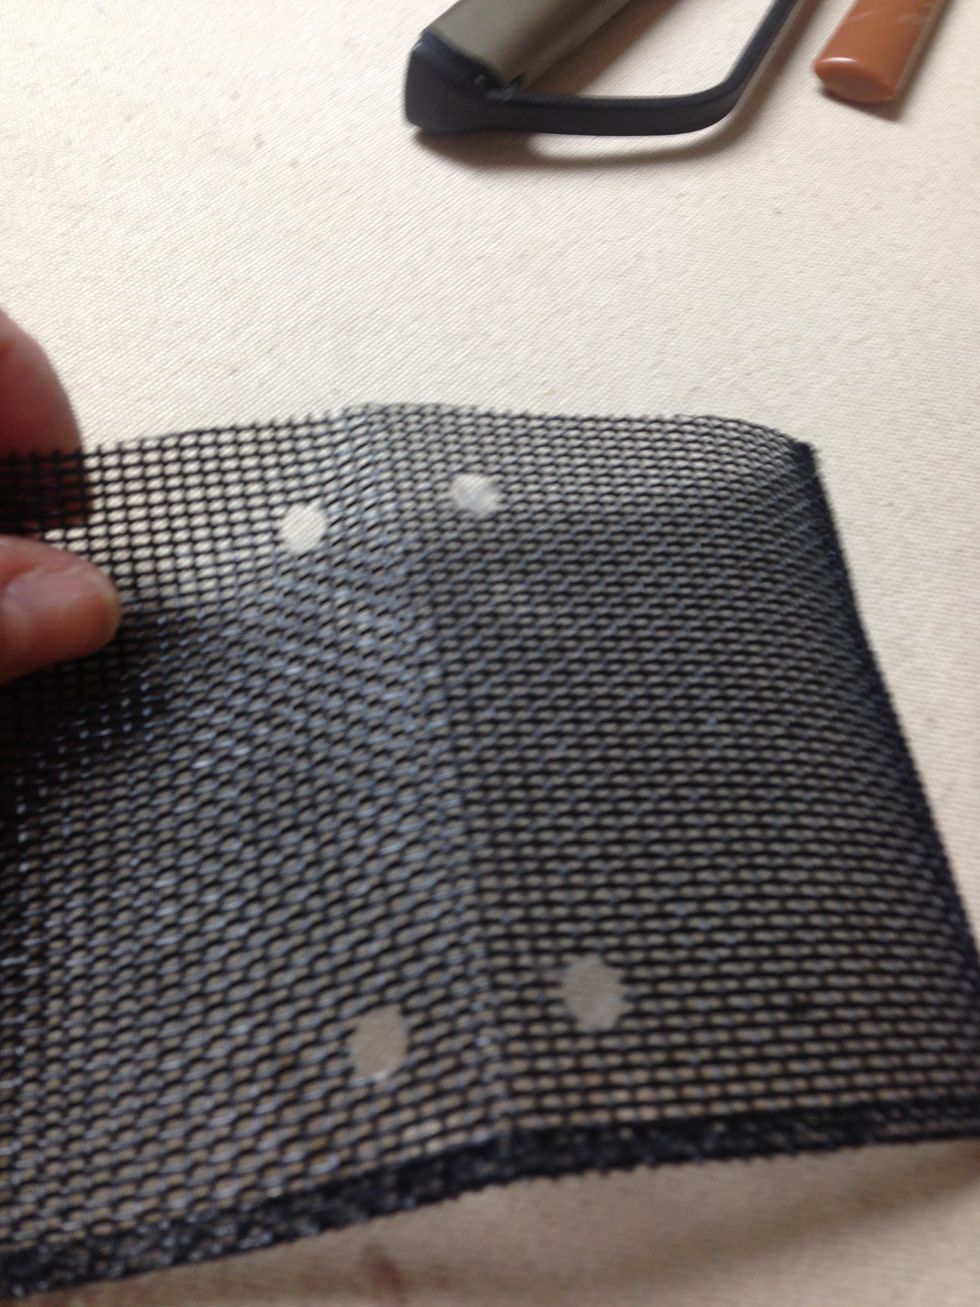
Fold pocket in half vertically and insert into 2-hole punch. Sorry for this fuzzy pic :(
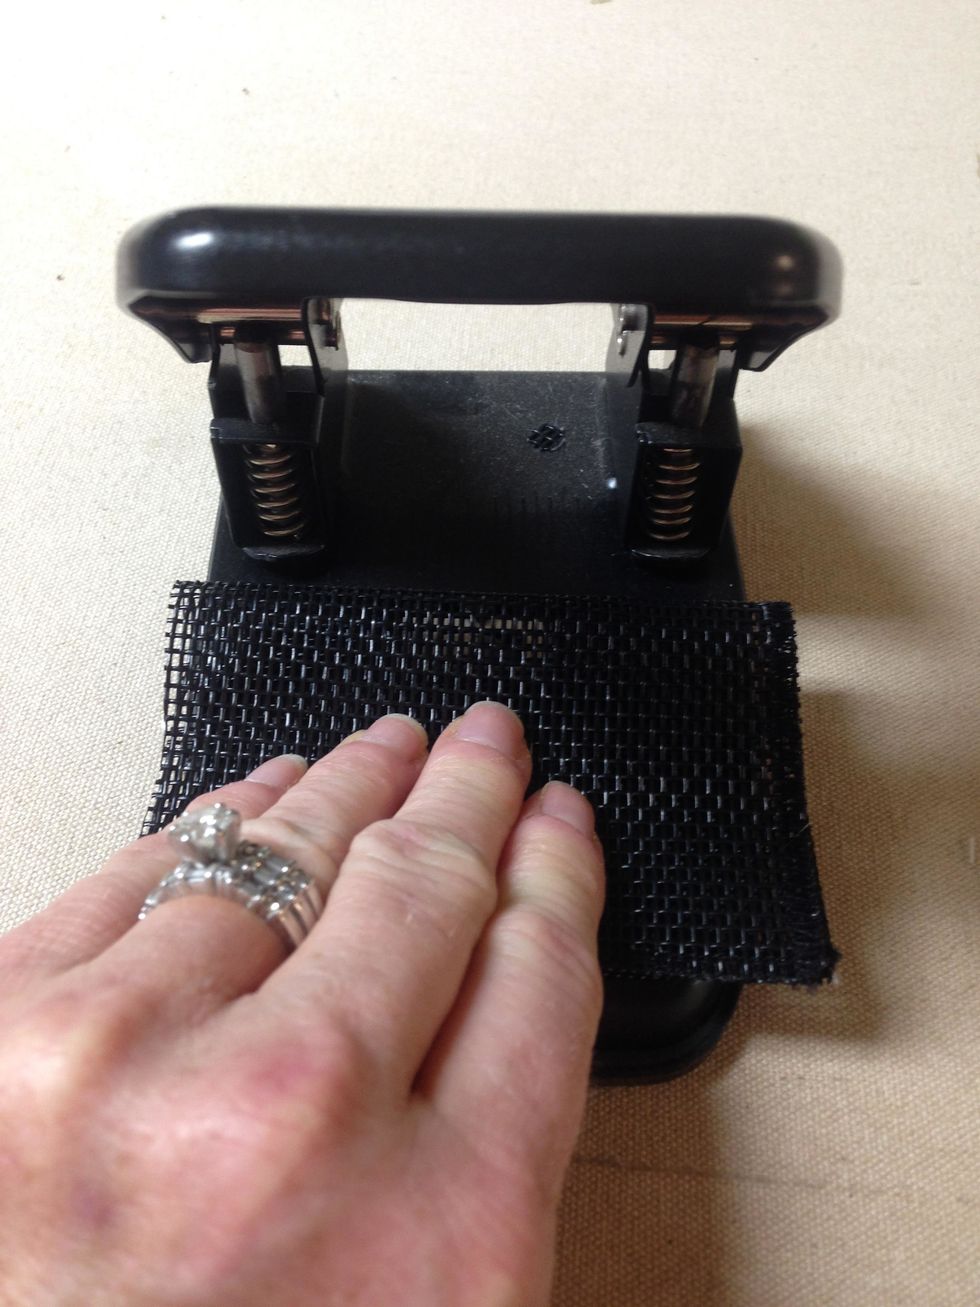
Make sure it is centered on the punch and is pushed in all the way.
Make sure it is pushed in all the way to the back of the guide.
It will look like this when it is opened up.
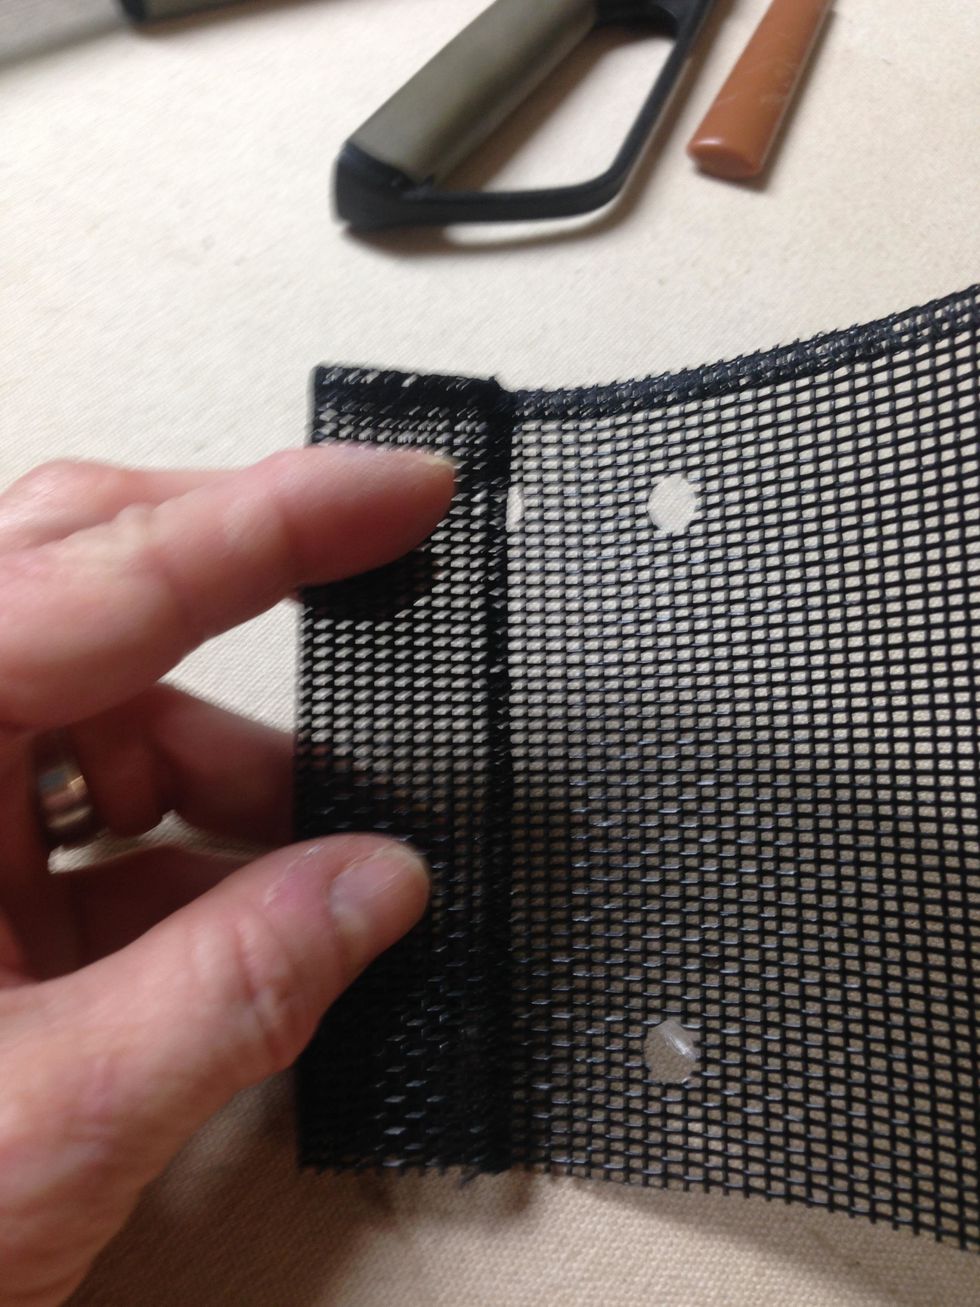
Next fold the side edge to the middle of the first two holes. Insert into the punch and make two more holes.
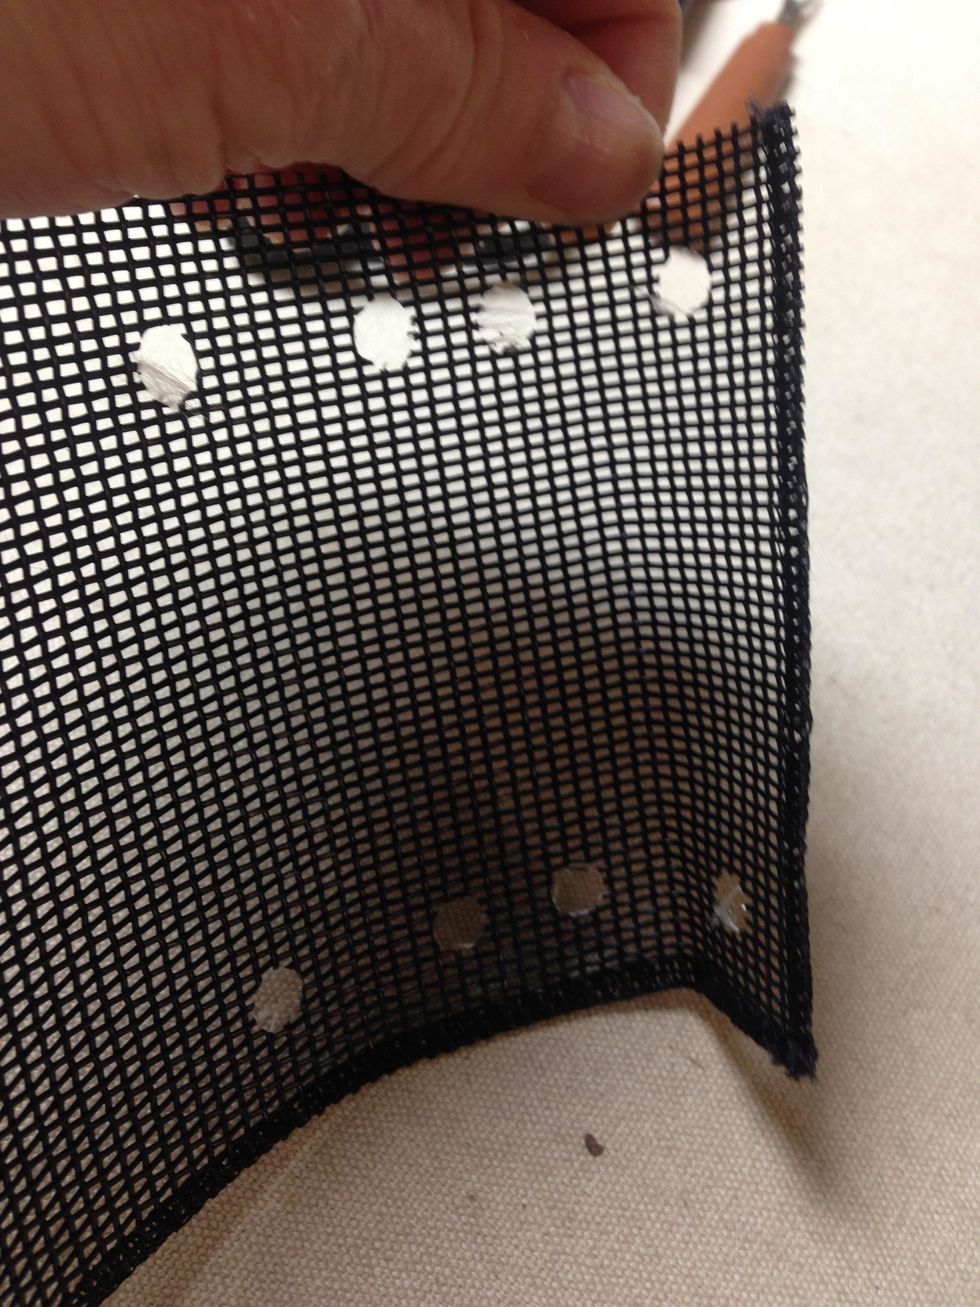
It will look like this when it is opened. Then fold the opposite side over to the first two holes and repeat the hole punch process.
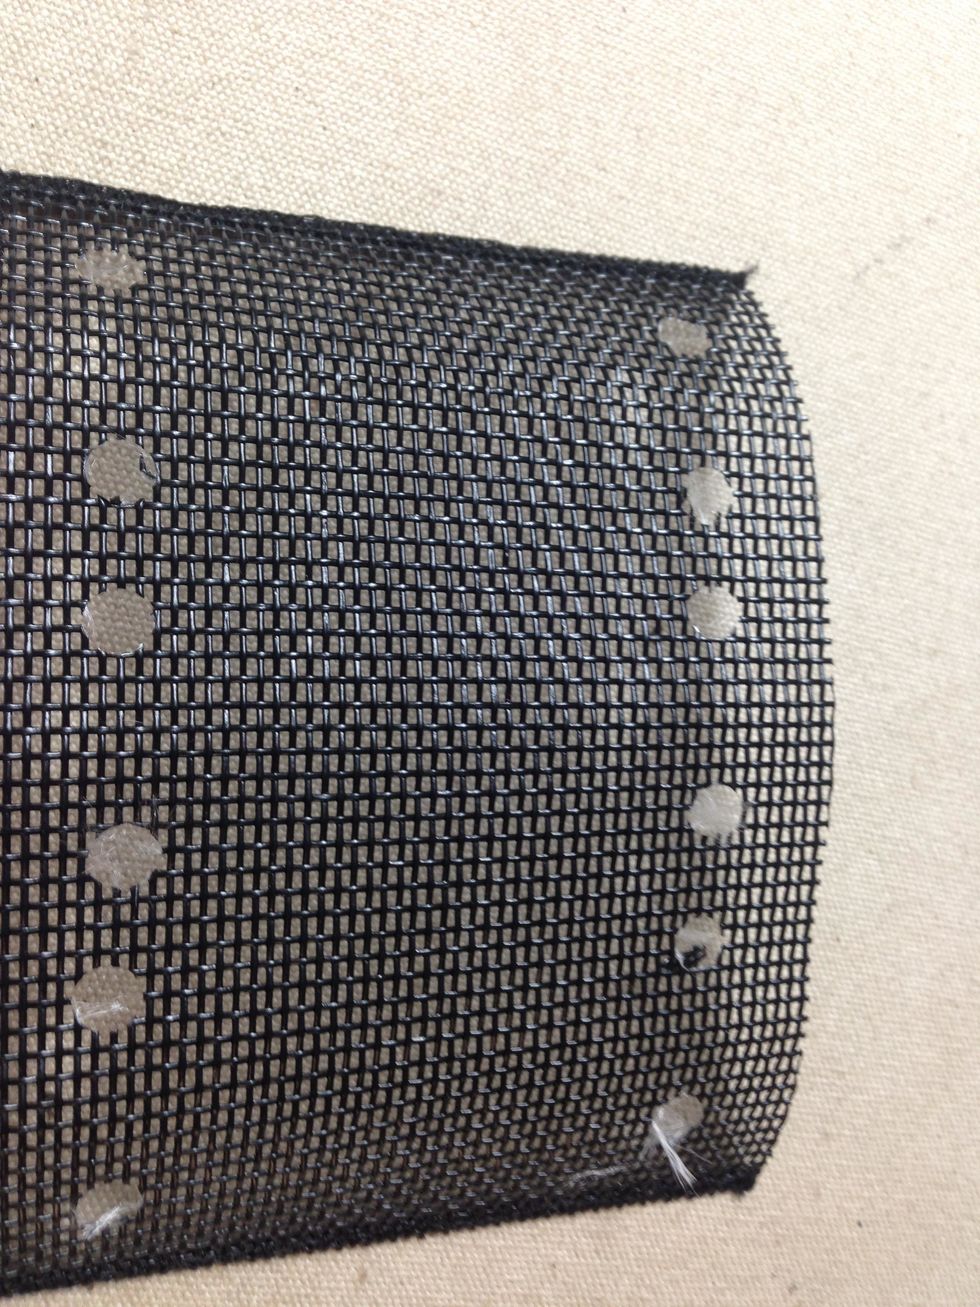
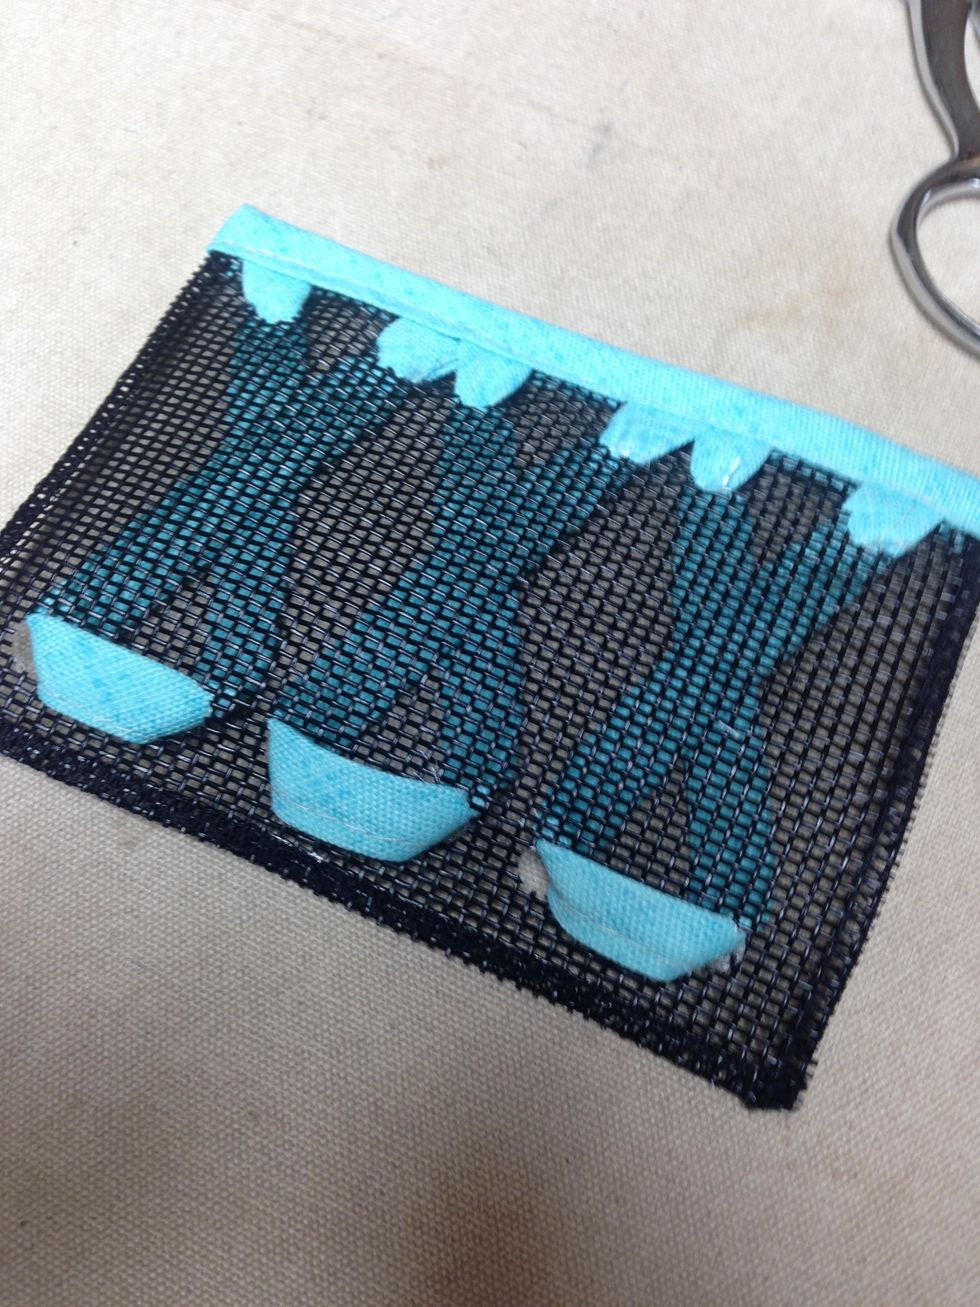
You will end up with 12 holes.
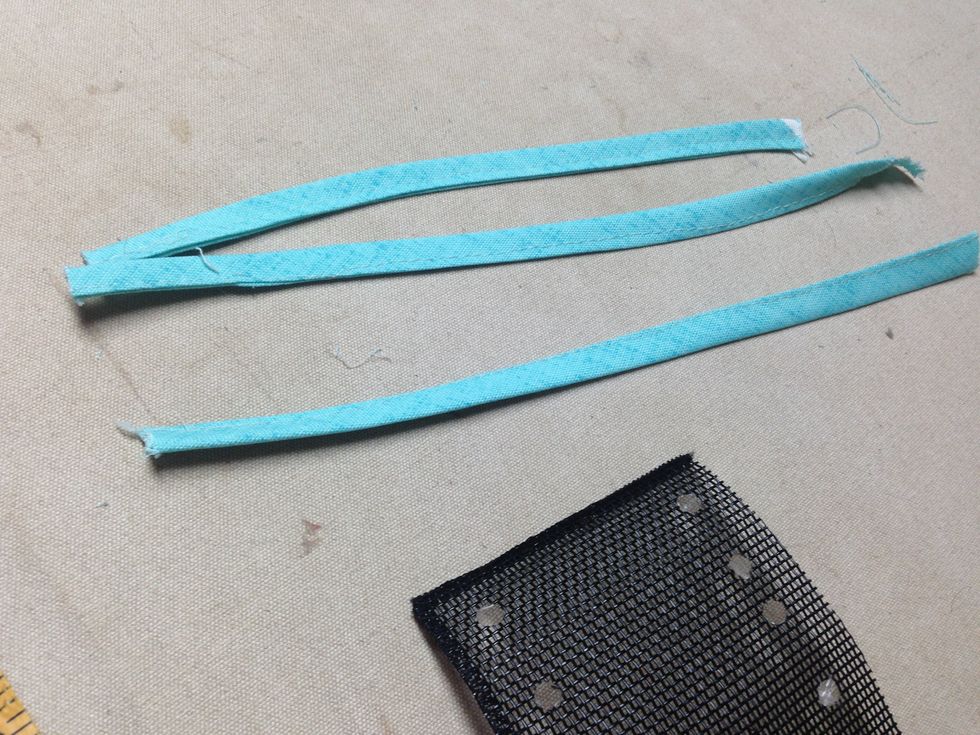
Remove the paper from the folded selvage of the 11” utensil strips and press - then top stitch.
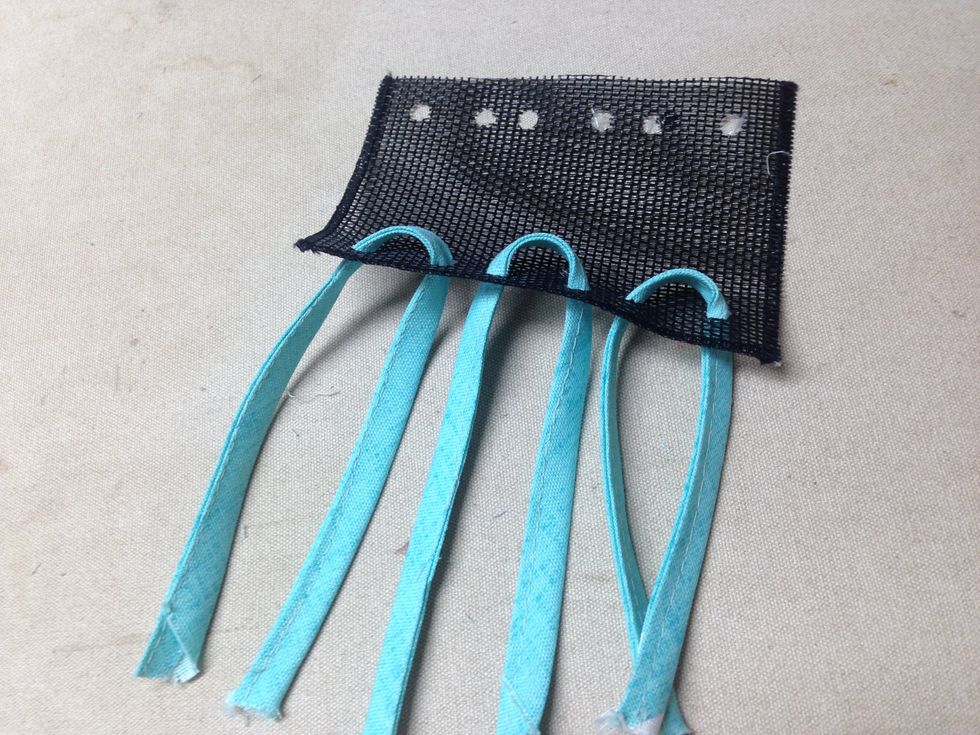
Thread each utensil strip through the bottom holes of the pocket – back to front as shown.
(Tip: My outdoor fabric became very soft and pliable when heated up by the iron so if your fabric is like mine, I recommend ironing each strip before threading it through the holes.)
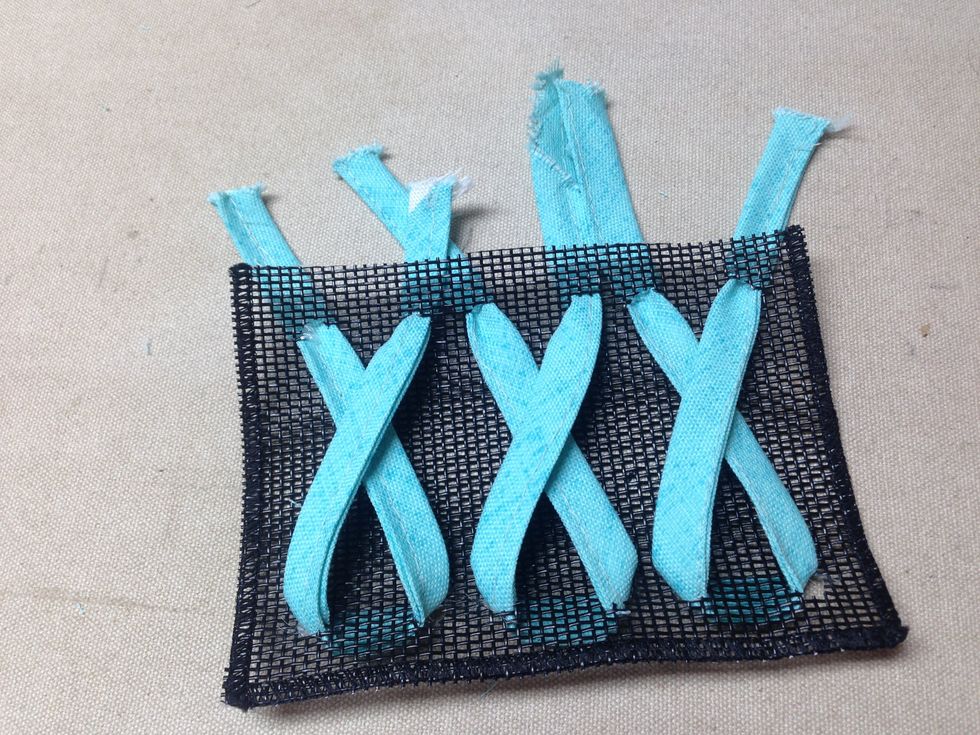
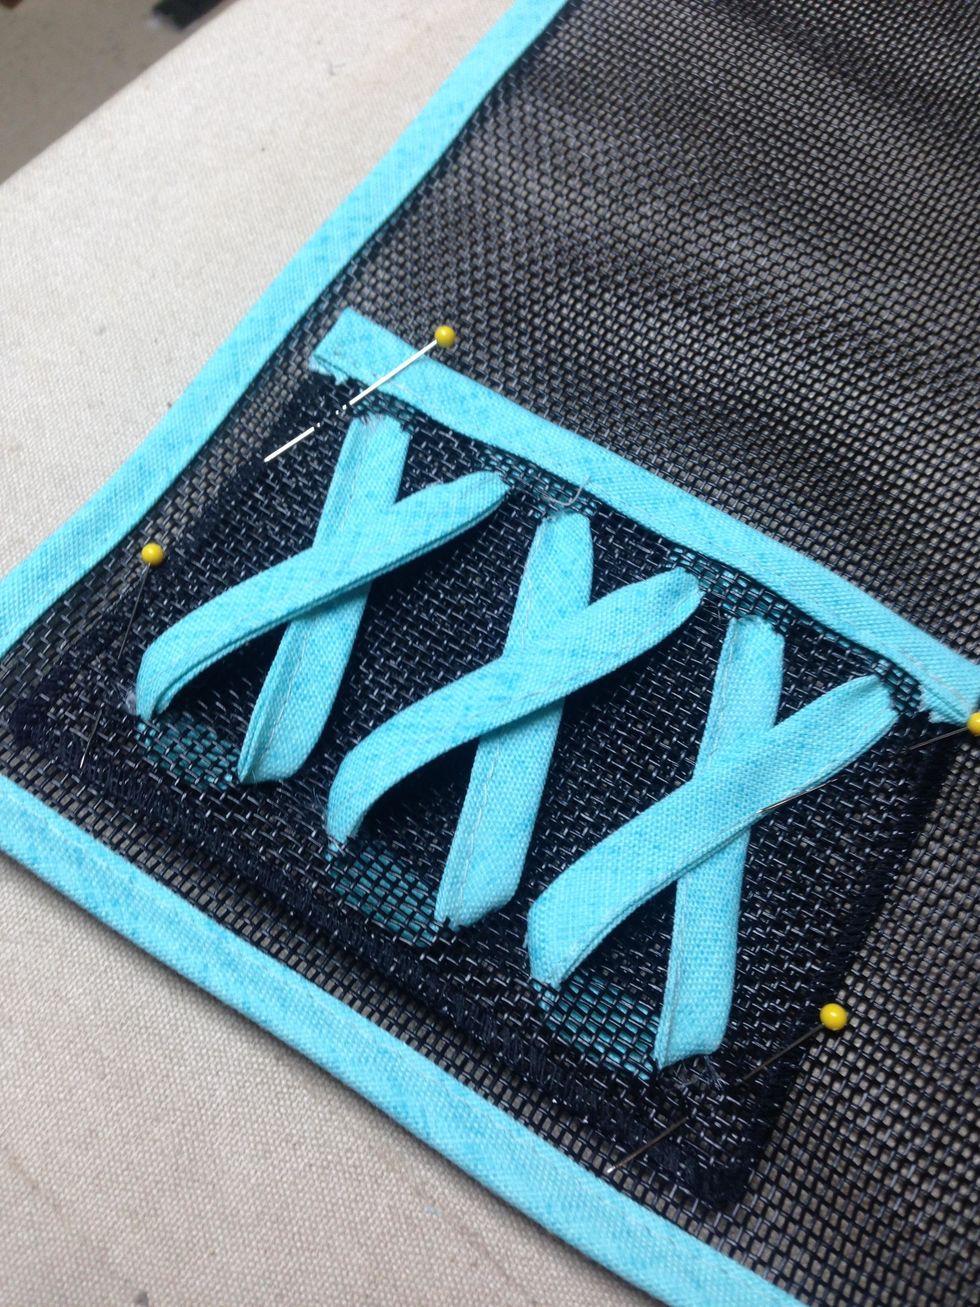
Flip the pocket over and thread the utensil strips through the opposite hole – front to back - to form a criss-cross as shown making sure to cross the same strip on top – left over right.
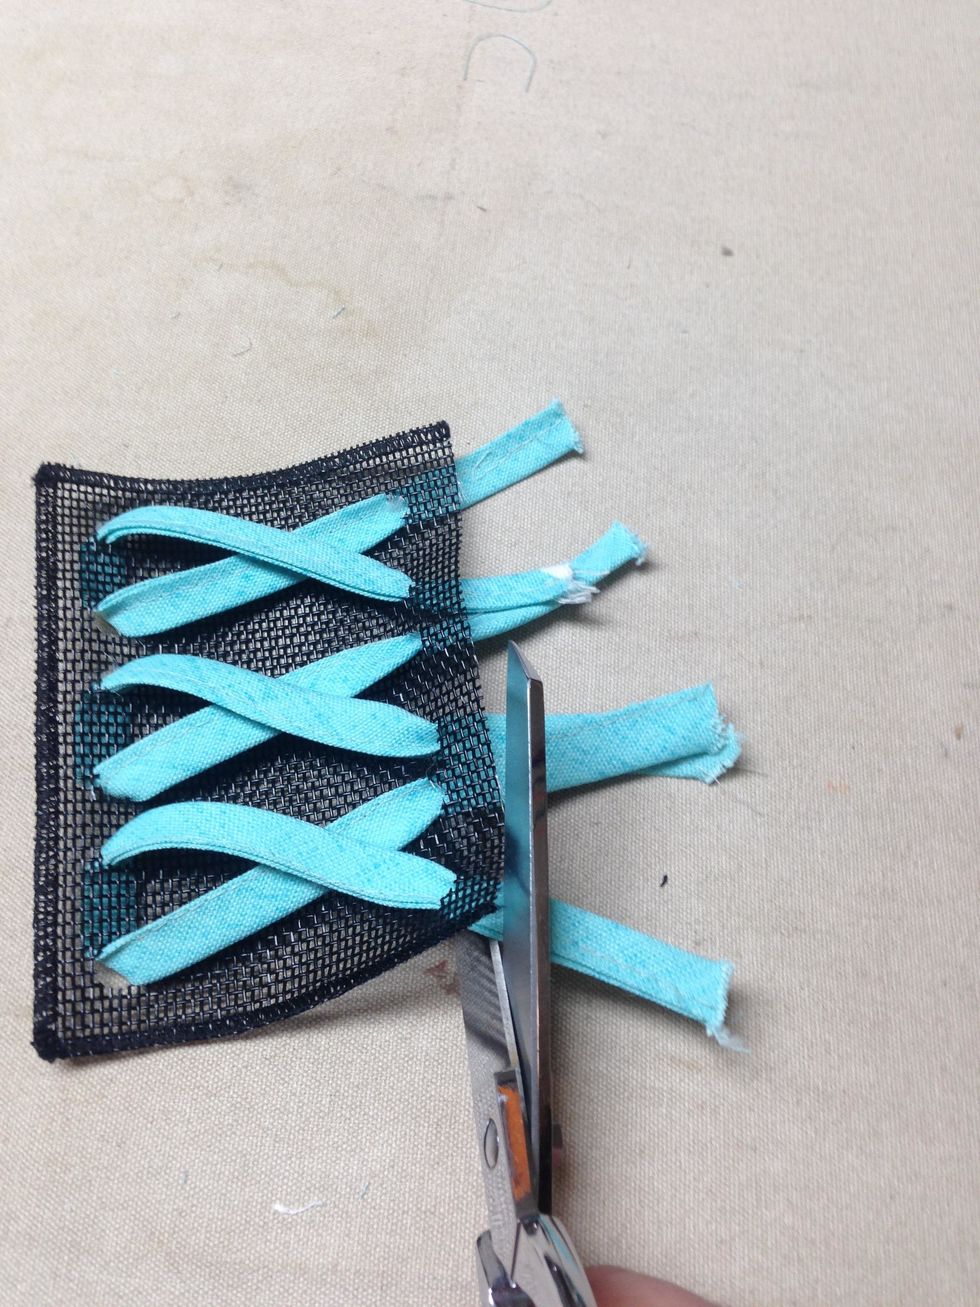
Clip strips even with the top of the pocket. (You could stitch the strips in place along the top edge of the pocket but I didn't.
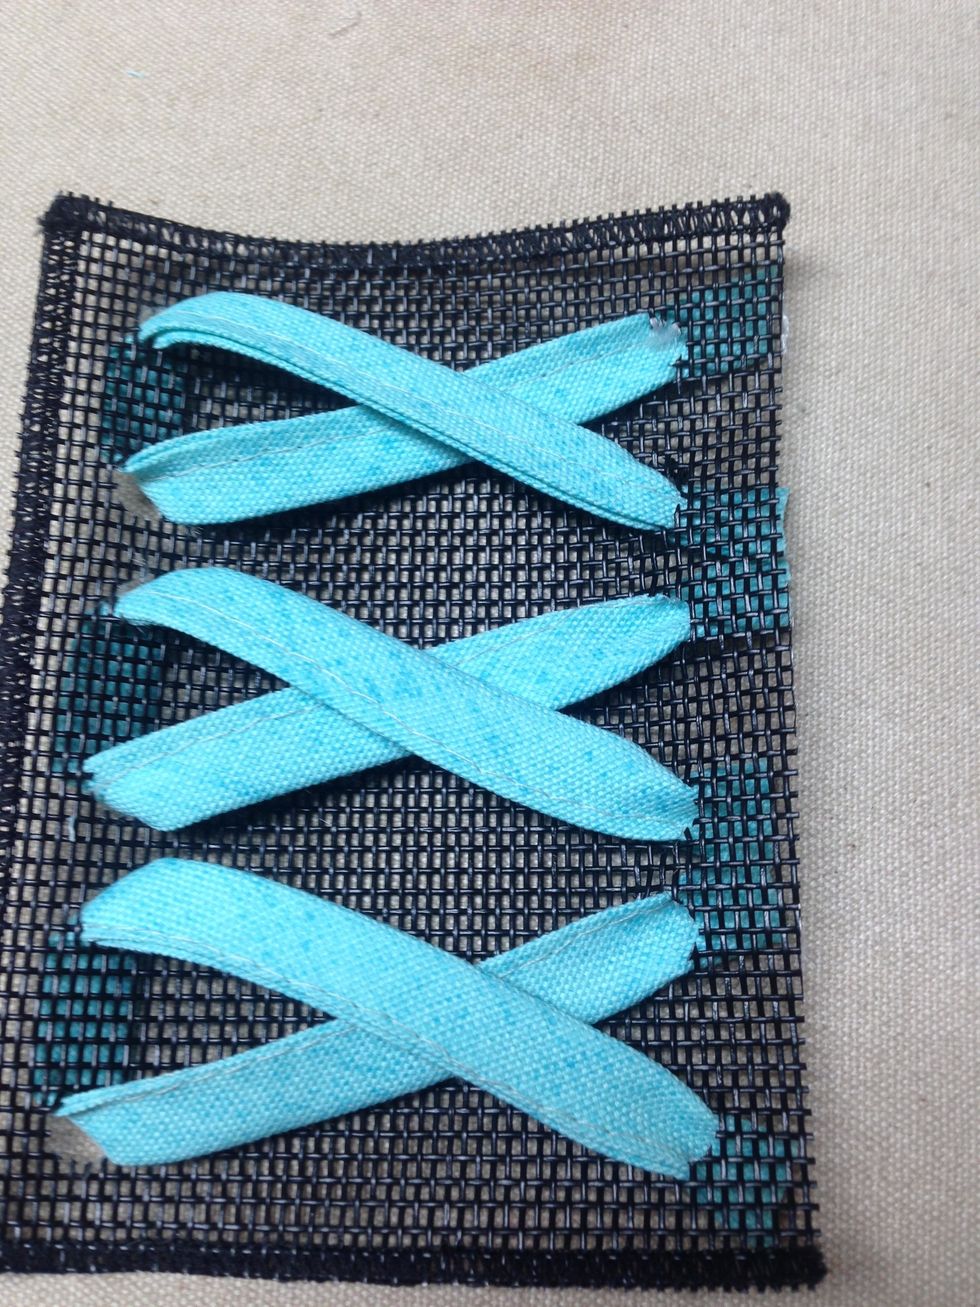
It should look like this.


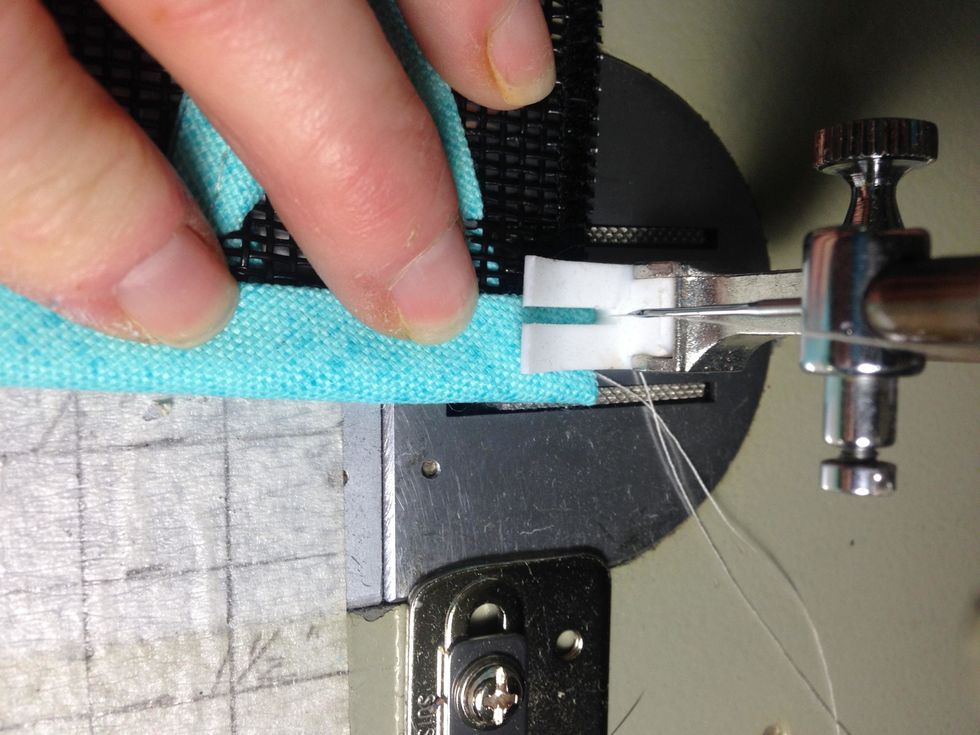
Peel the paper strip from the SteamASeam2 of the 6” banding and place under the the top edge of the pocket with banding extending past the edge of the pocket at least 1/2" inch.
Wrap the excess end of the band around to the right side, then fold the top of the band down and topstitch. Goodness gracious I need a manicure!!!
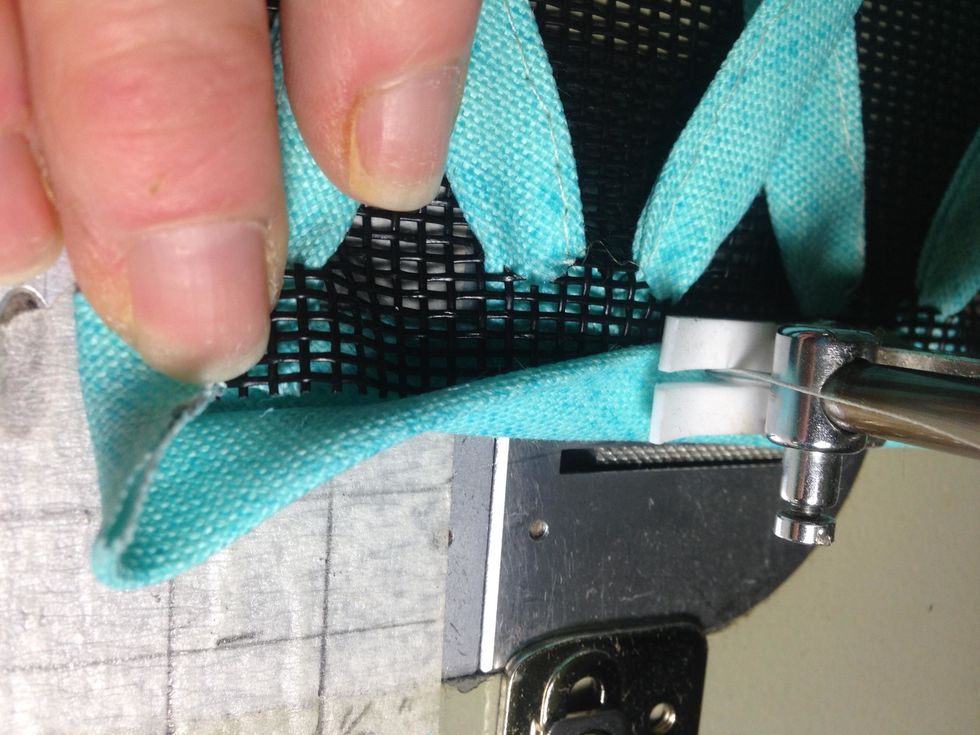
Before stitching all the way to the end – fold the other raw edge of the band over, then fold the band down as shown.
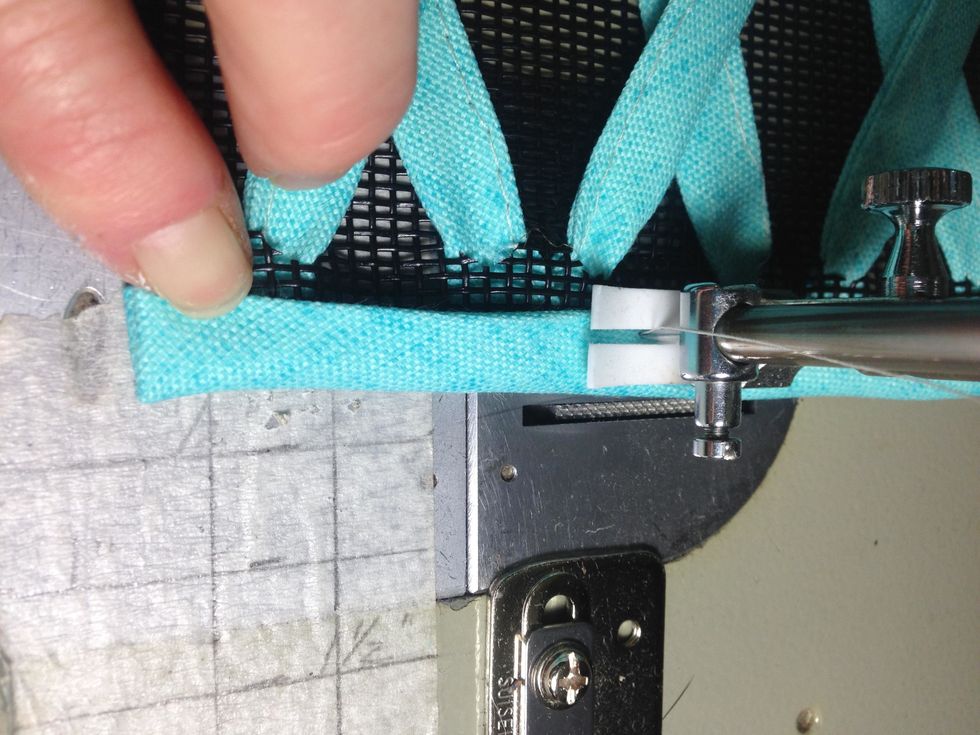
Stitch to the end.
Your pocket should look like this from the back.

And this from the front.
Pin your pocket to the bottom corner of each of your placemats. Stitch down the two sides and across the bottom.
Tip: I applied pockets to lower left corners of 2 placemats - two were applied to lower right bottom corners of remaining 2 placemats for easier stacking - reduces bulk and for left handed friends :)
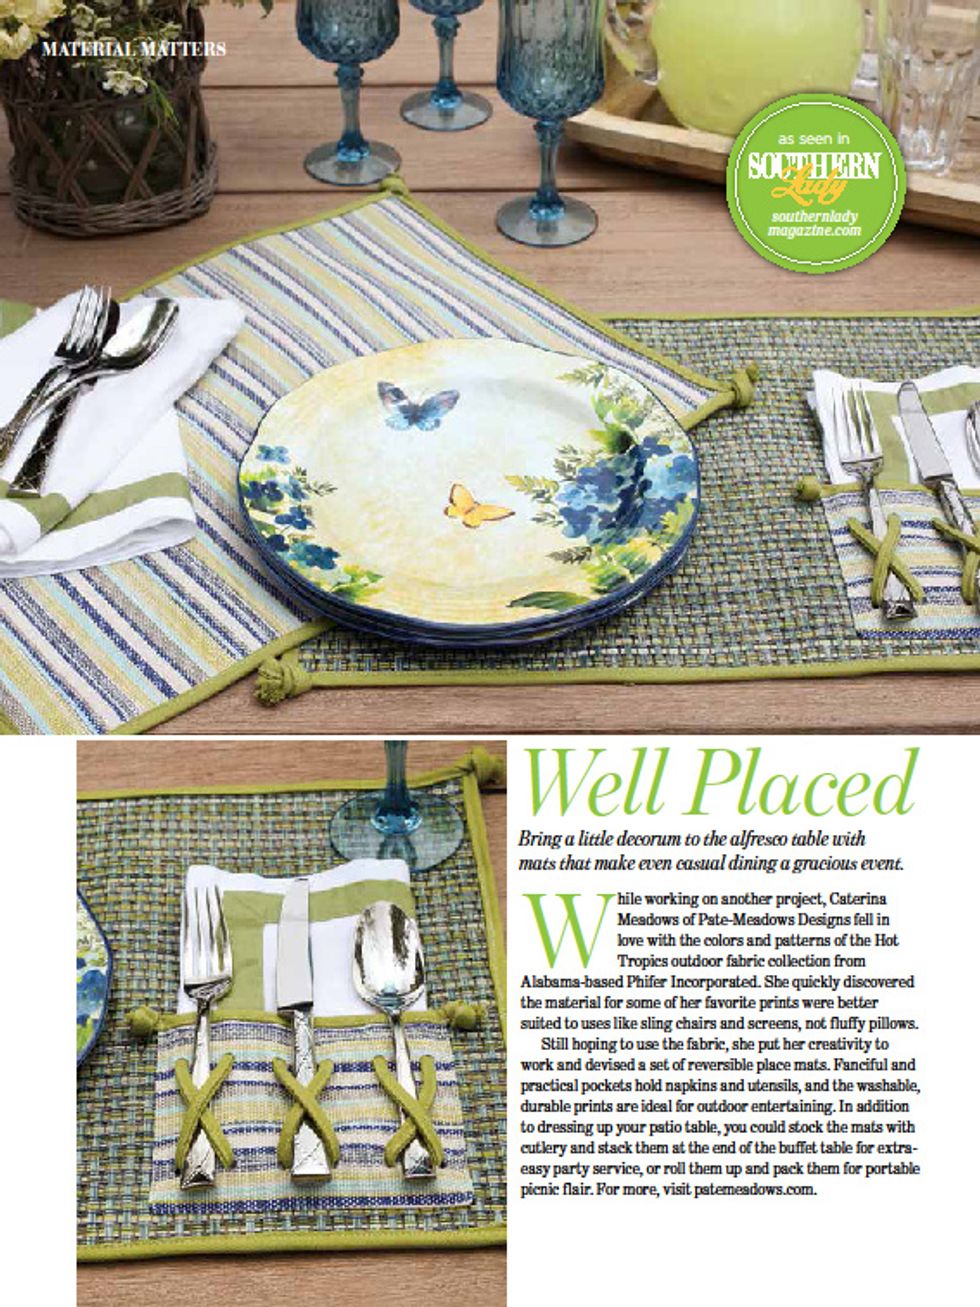
Here's another version I did for the June/July '16 Issue of Southern Lady Magazine. Made these reversible using PVC pool chair fabric.