The Conversation (0)
Sign Up
Allow 2 blocks of time with 4+ hours in between to complete project... Time to mix & prepare dough... 4+ hours (or overnight) to chill prepared dough... Then later. a half hour or so to bake cookies.
Mix butter, sugar, vanilla & egg. Set aside cocoa. Add remaining ingredients exxcept cocoa, mixing well. Divide dough... Mixing 1/4 cup cocoa into half.

Divide dough. Stir 1/4 C dough into half.
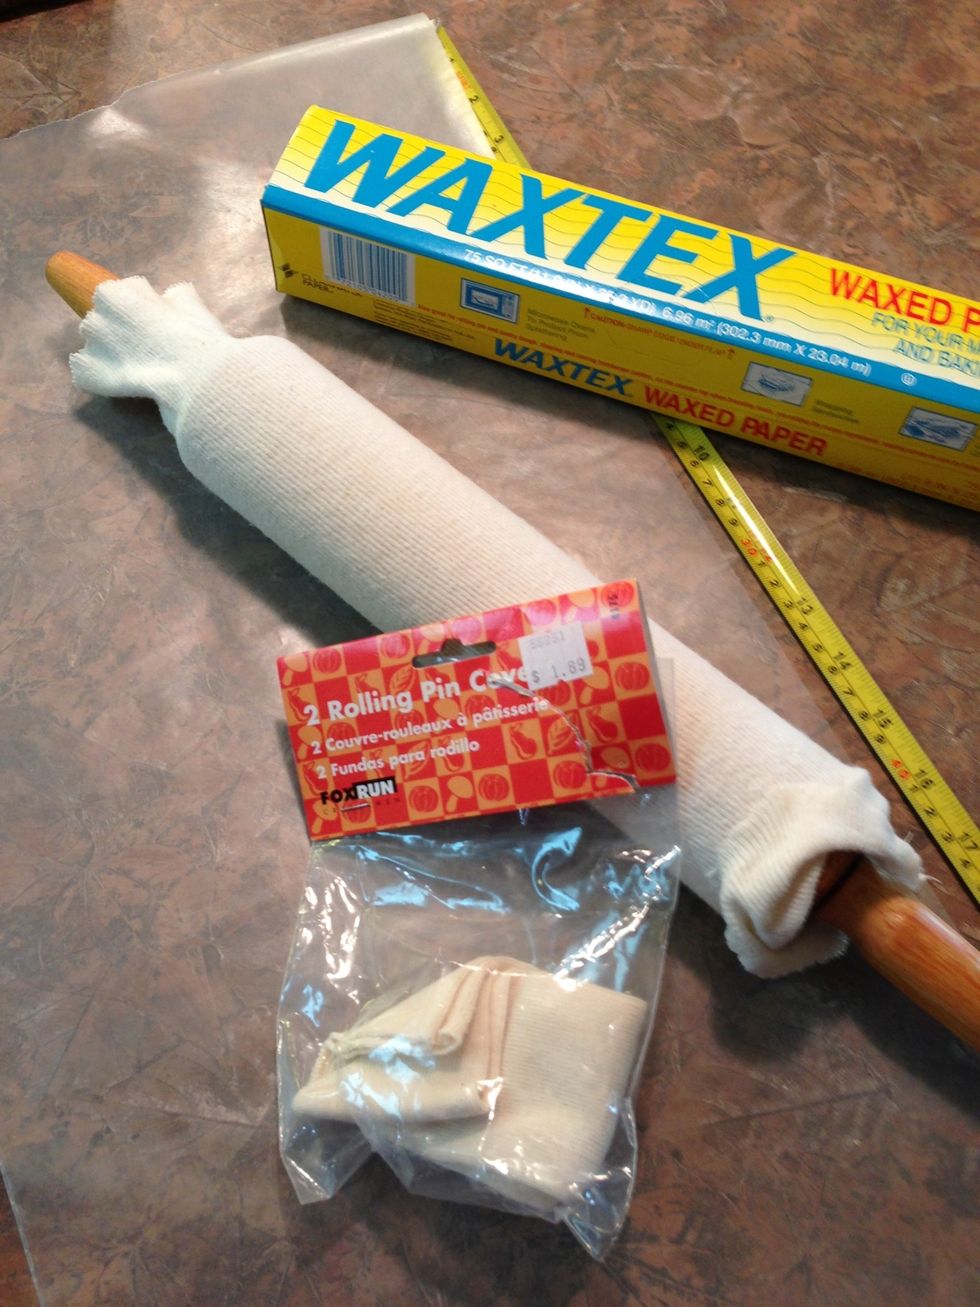
A Rolling pin cover is essential, as is WAX PAPER! I've perfected this method over 40 years of Christmas baking.

On 24" sheet of wax paper, roll chocolate dough to 10" x 17" rectangle. I used to try to hold it still by folding edge over counter but check out a better way in next slide...
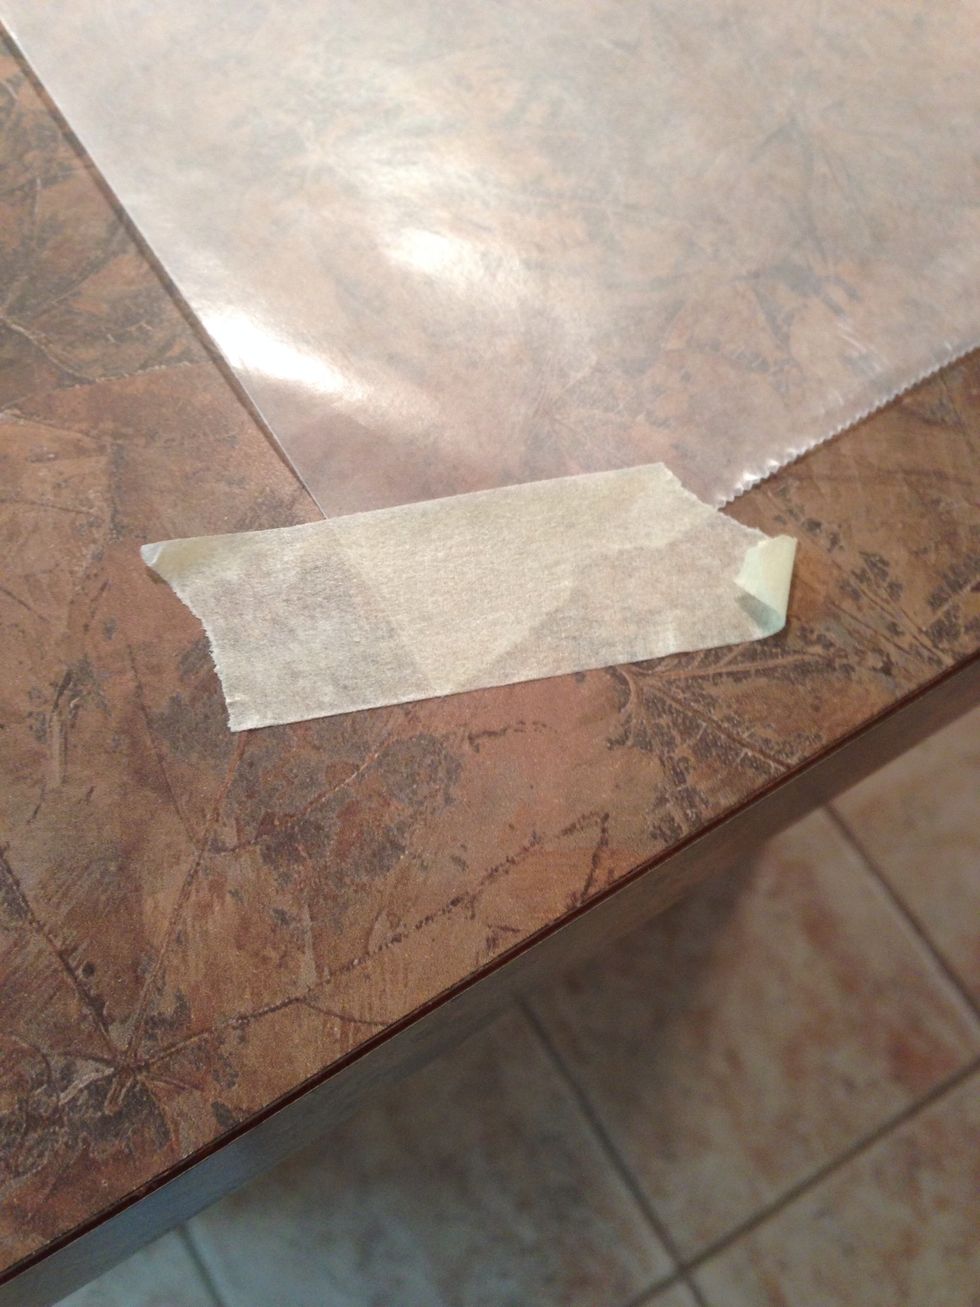
After years if having trouble keeping it still while I rolled, thinking tape wouldn't stick to wax paper, I just discovered masking tape works great to hold wax paper in place!

I use a tape measure to guide me and clean fingers can help shape into accurate rectangle.
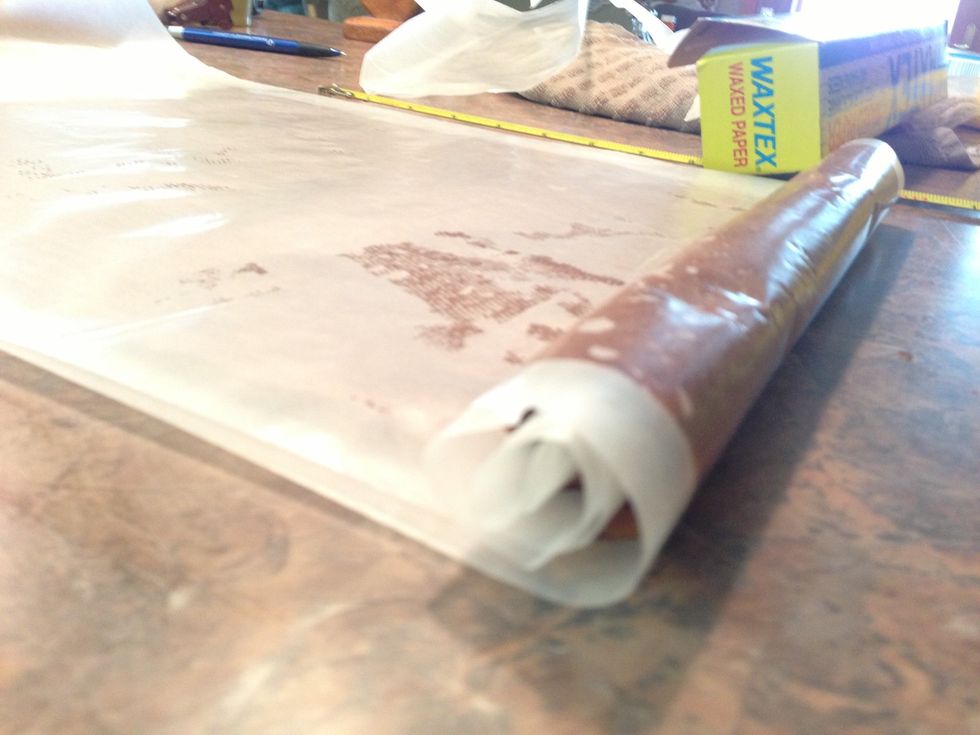
Cover chocolate rectangle with another sheet of wax paper. Carefully roll up with wax paper on both top and bottom. This is what will make it possible to later UNROLL on top of the white layer.
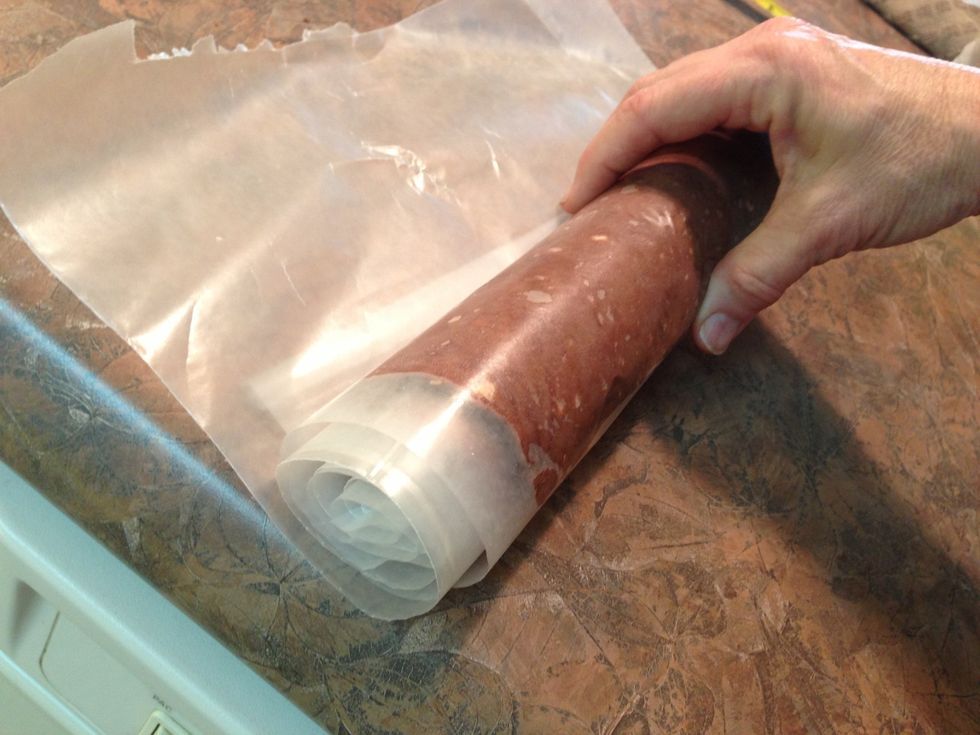
Once rolled up, temporarily set aside.

Roll out white dough the same size 10" x 17" rectangle on another 24" sheet I wax paper.
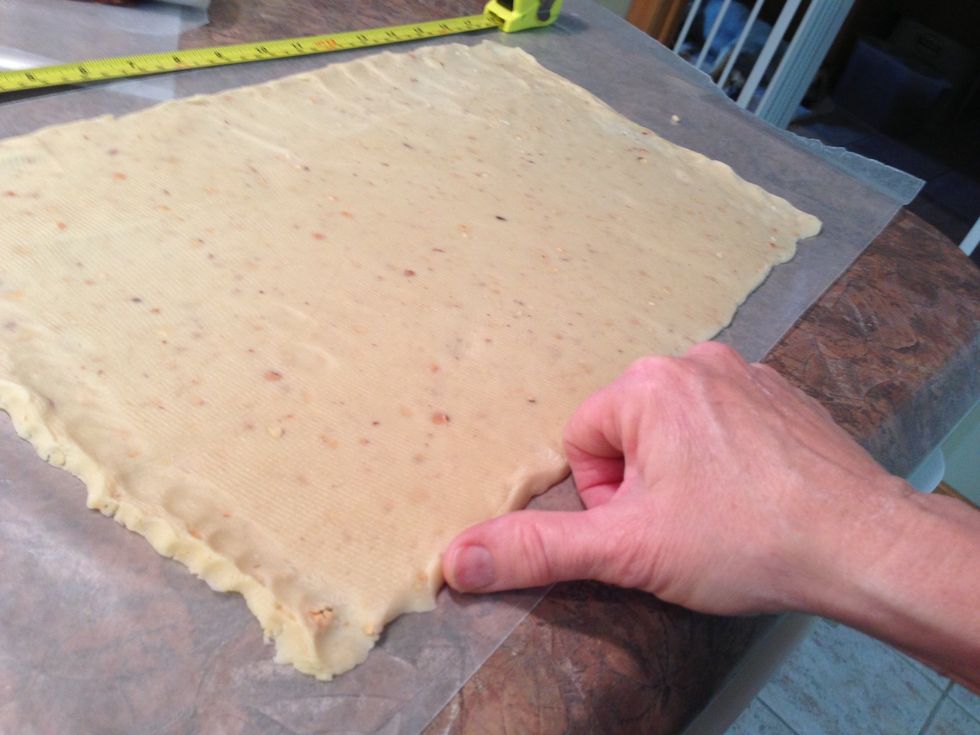
Again, feel free to shape edges & corners to form rectangle the same size as the chocolate one was.
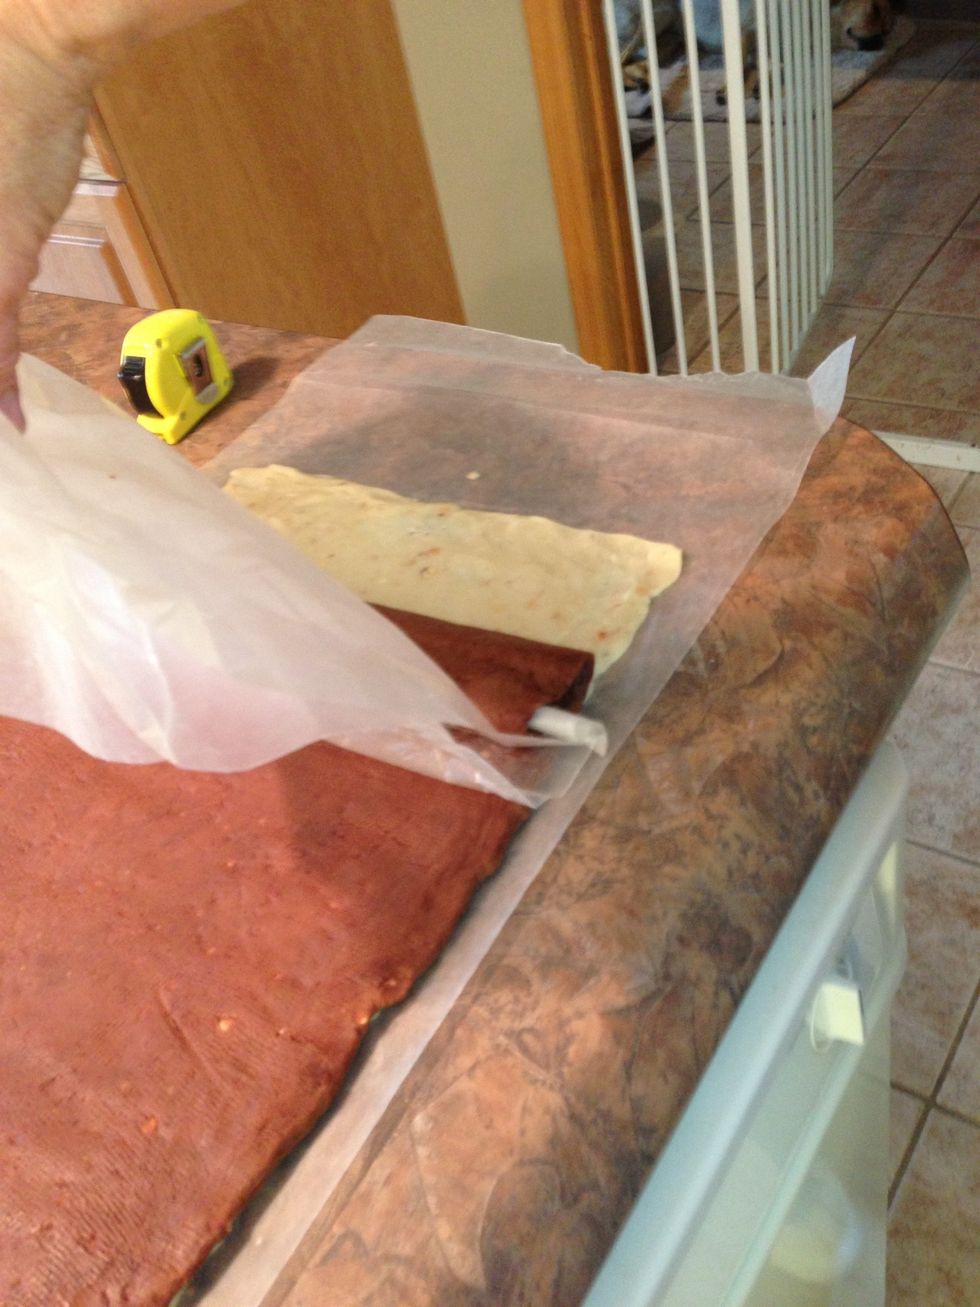
Now you will truly see the value of the wax paper! Unroll wax paper from edge of chocolate just enough to expose about 1 inch and move over to just above white dough edge.
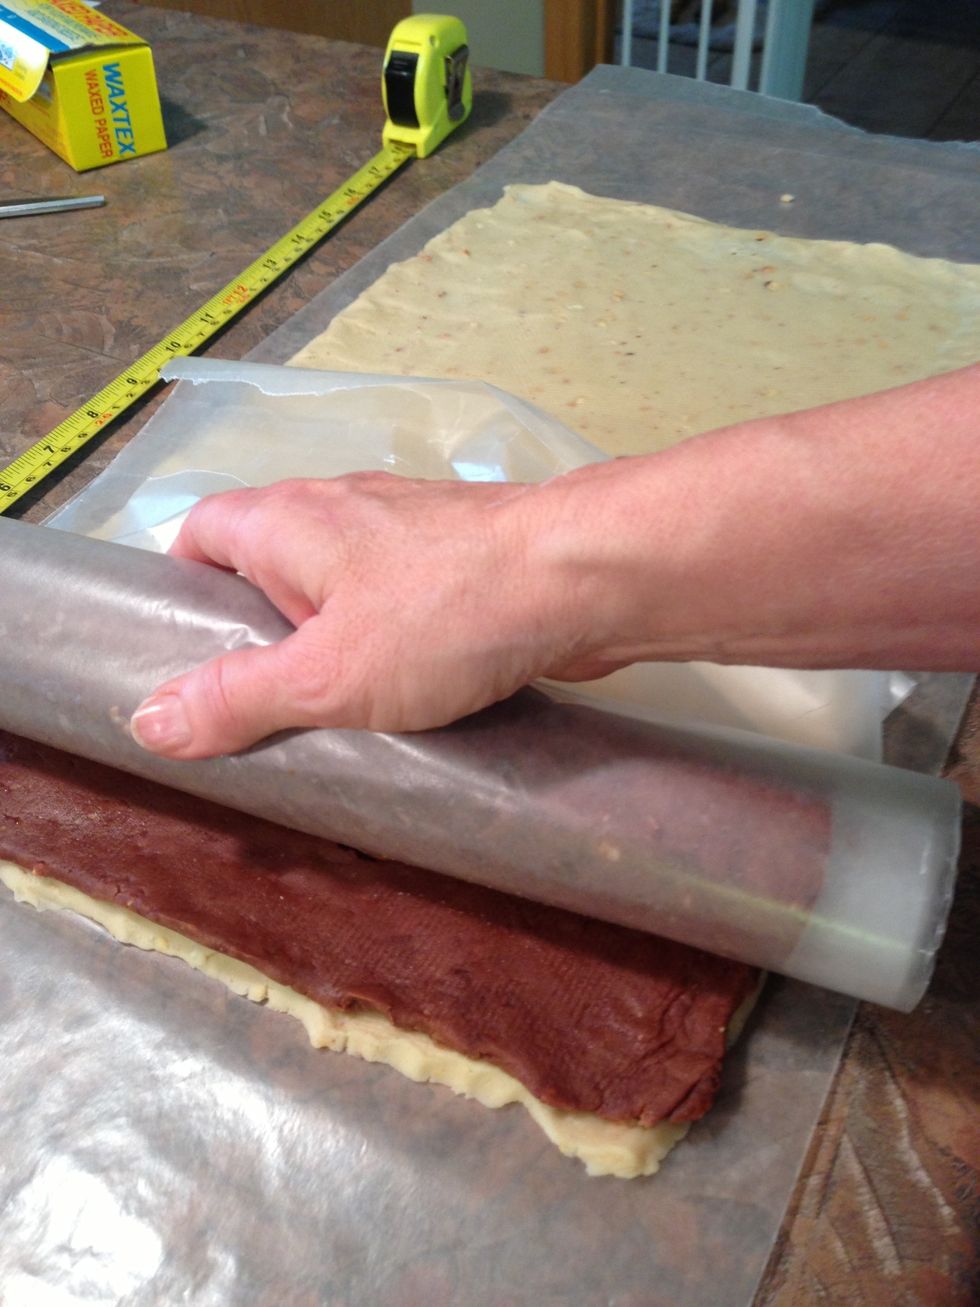
Both sheets of wax paper are being removed as you UNROLL chocolate onto white matching edges.
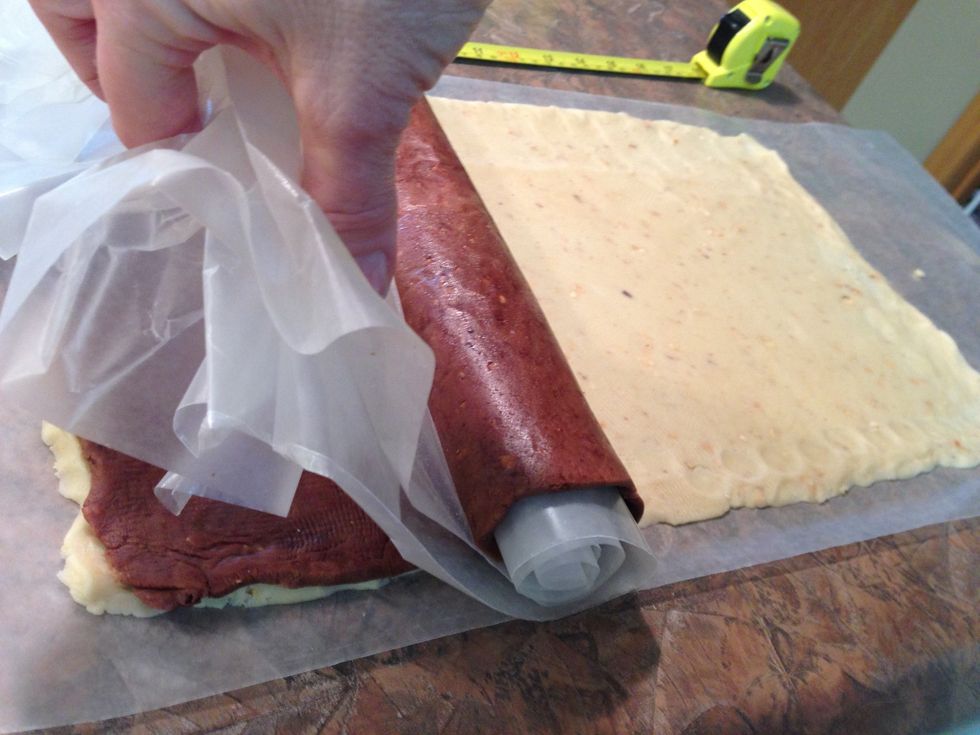
One hand pulls wax paper out of the way as the other hand rolls chocolate out over white.
Once chocolate is over white, the recipe suggests rolling it a little thinner and longer... From 17" to 18-19" on the long side. This thins the dough a bit and makes for more cookies.
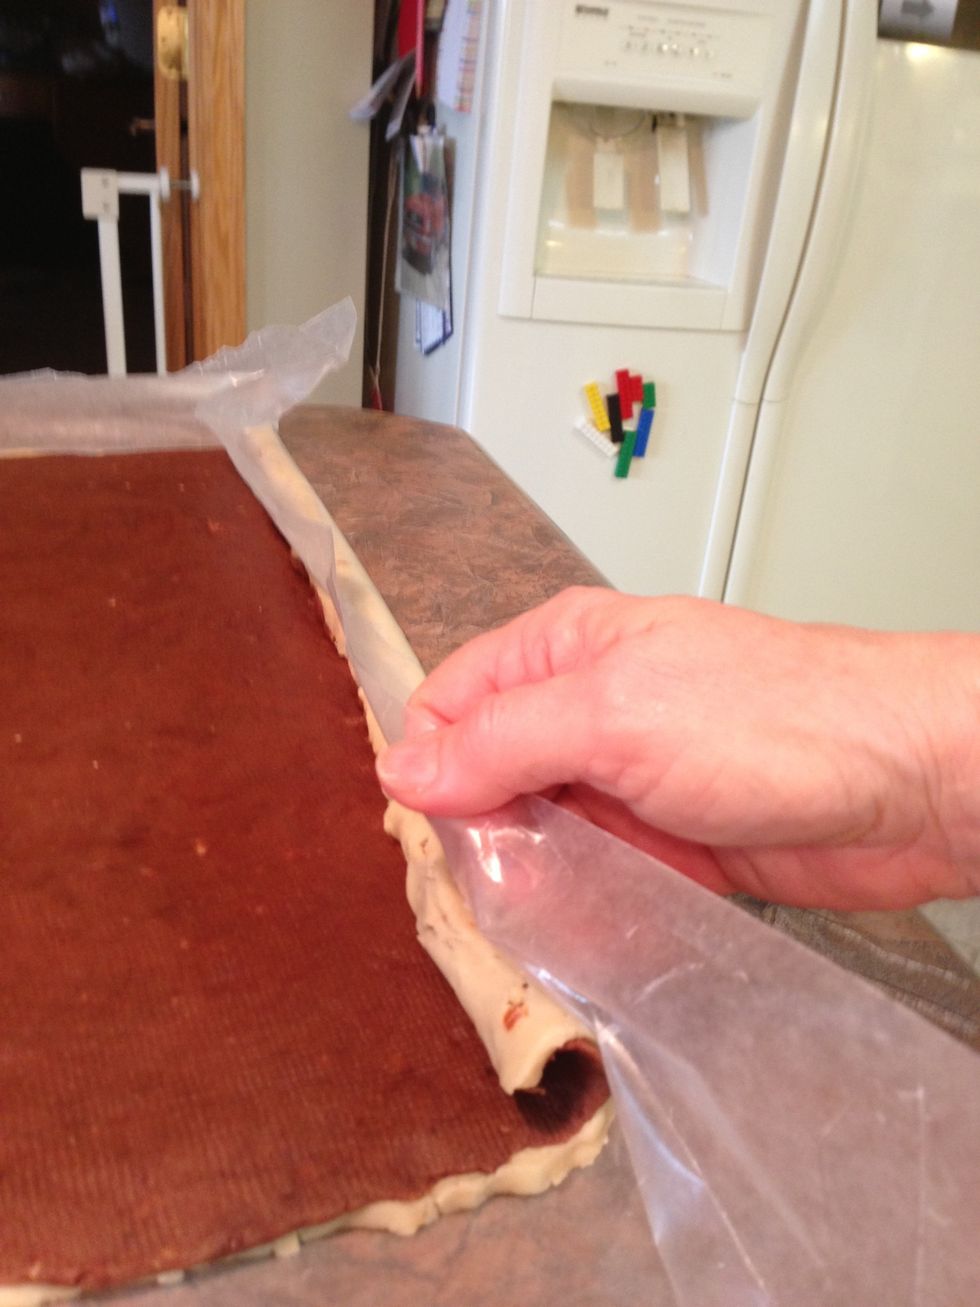
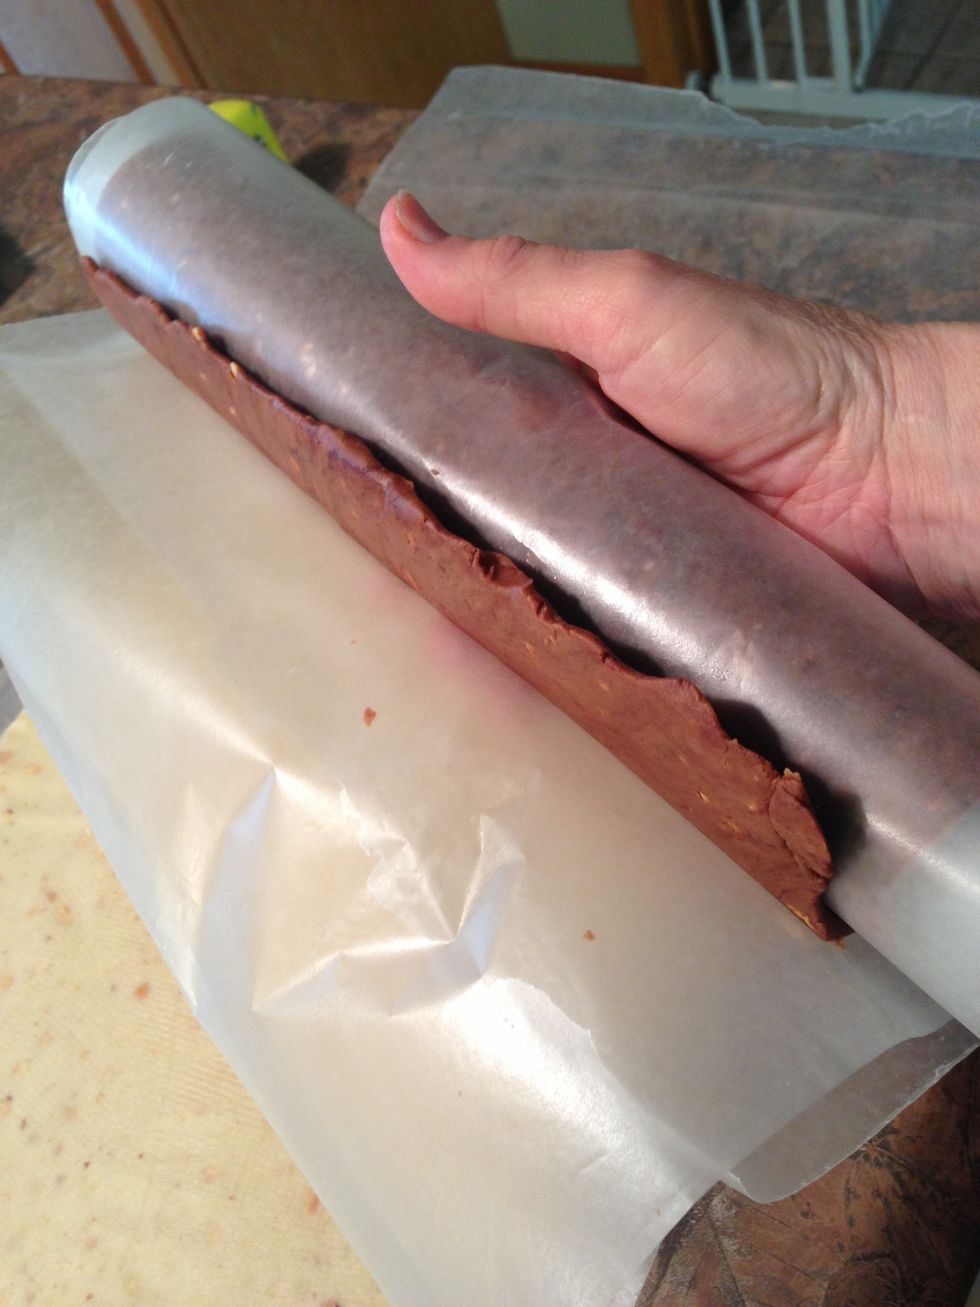
On the LONG side, using the bottom wax paper to help you, roll up slowly and tightly into a cylinder, being careful to not allow spaces between layers.
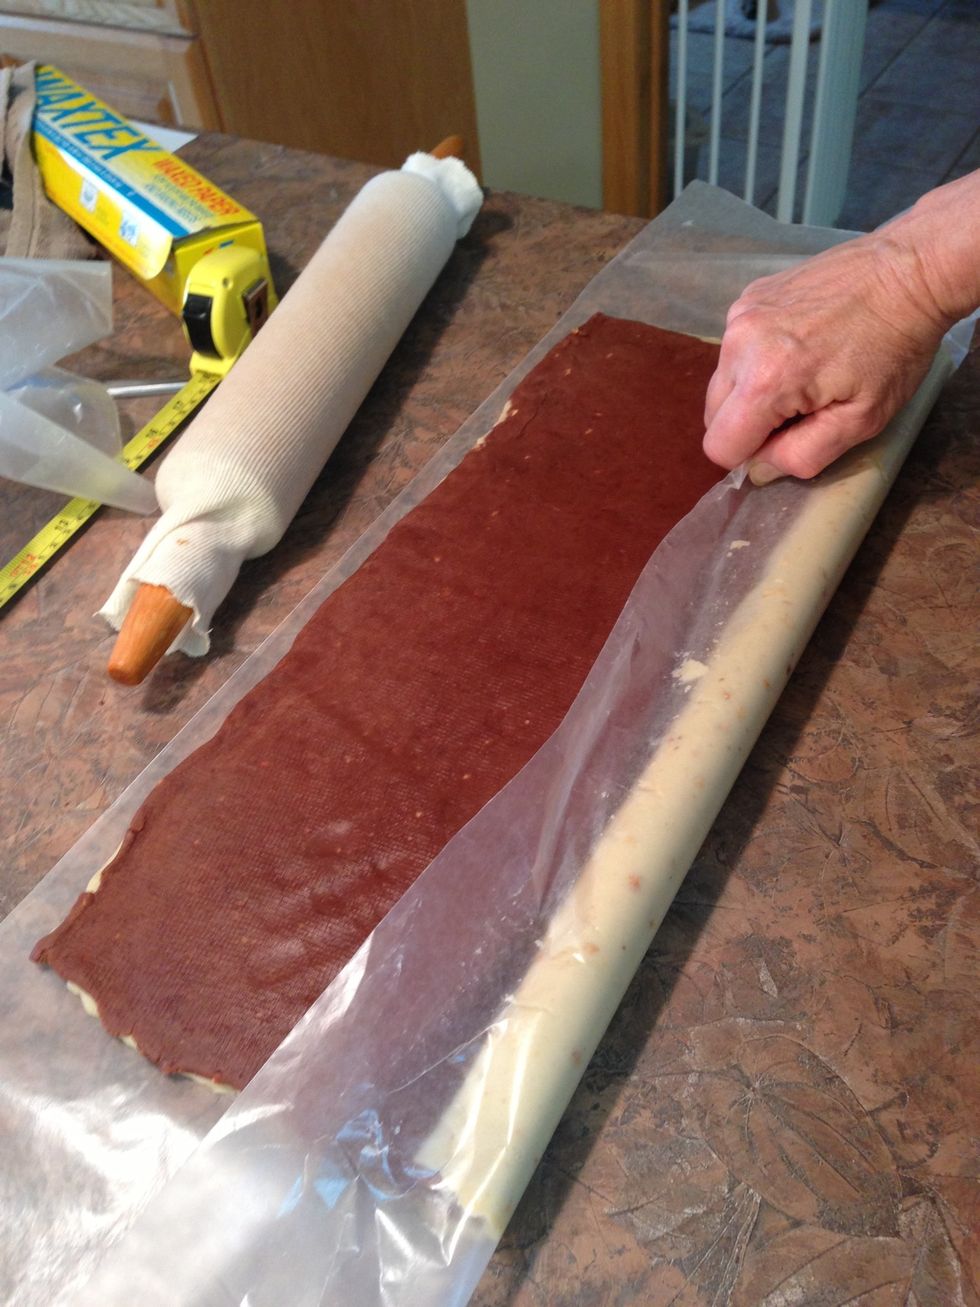
See how helpful again the wax paper can be for helping to LIFT & roll? Do not roll wax paper into the dough however. Remember... Roll dough TIGHTLY!
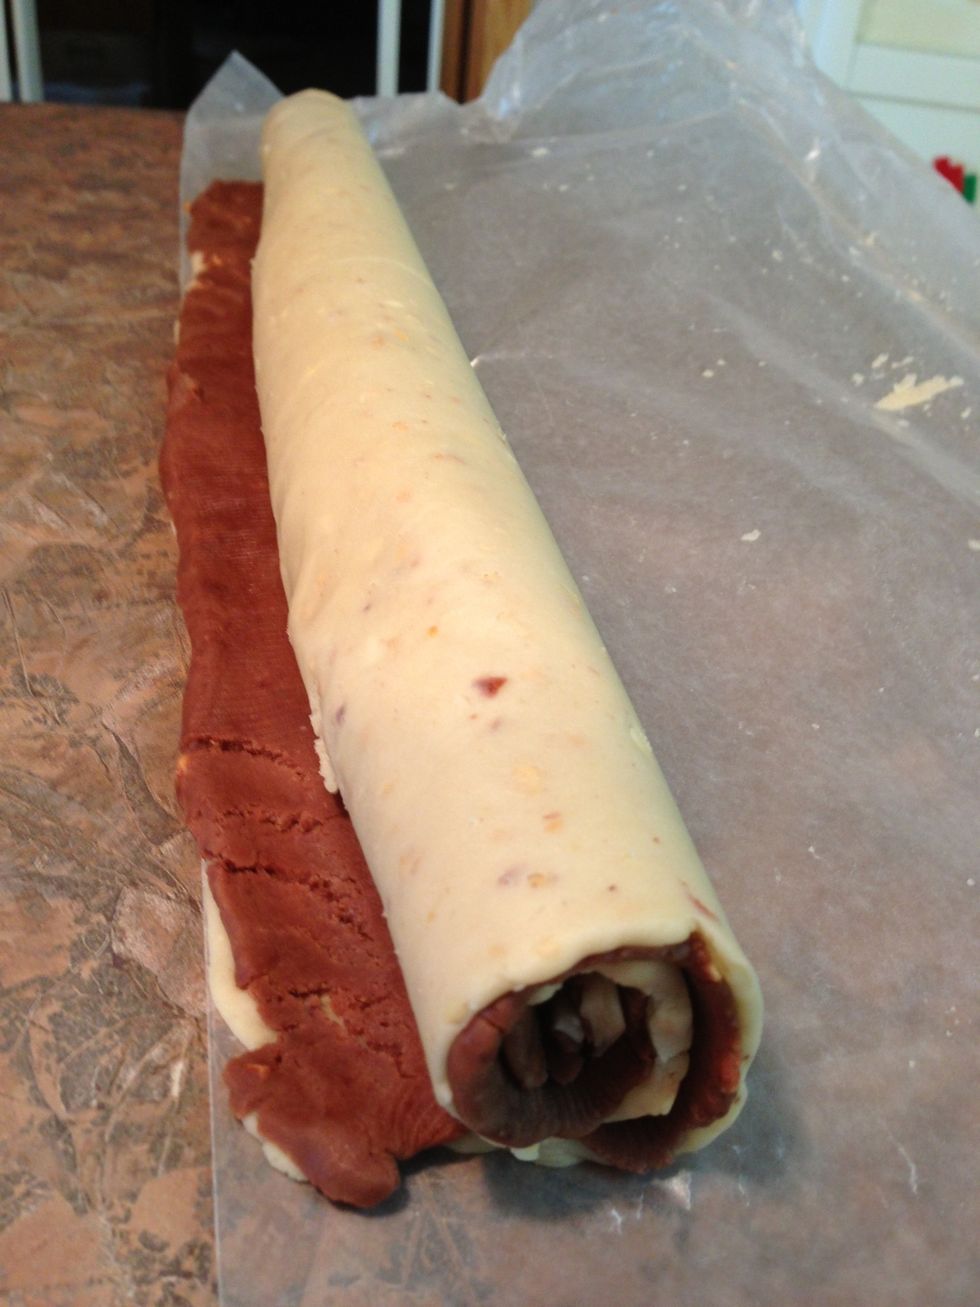
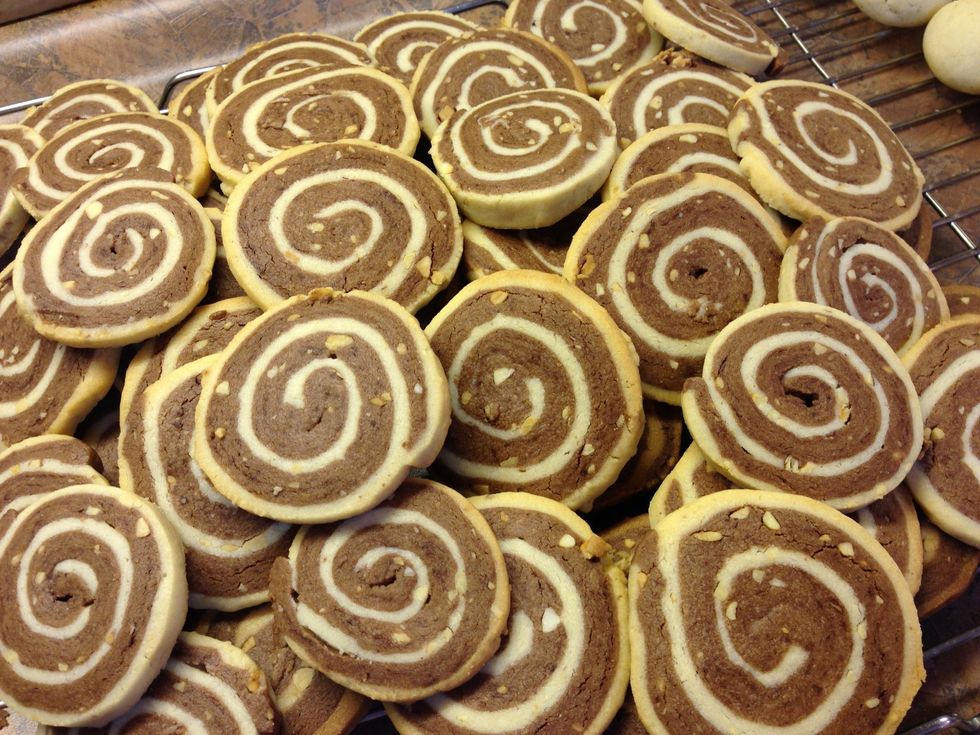
The ends always look messy but inside you have a perfect pinwheel... You will see later, when you slice. Cover with one of the sheets of wax paper to keep moist & refrigerate 4+ hours.
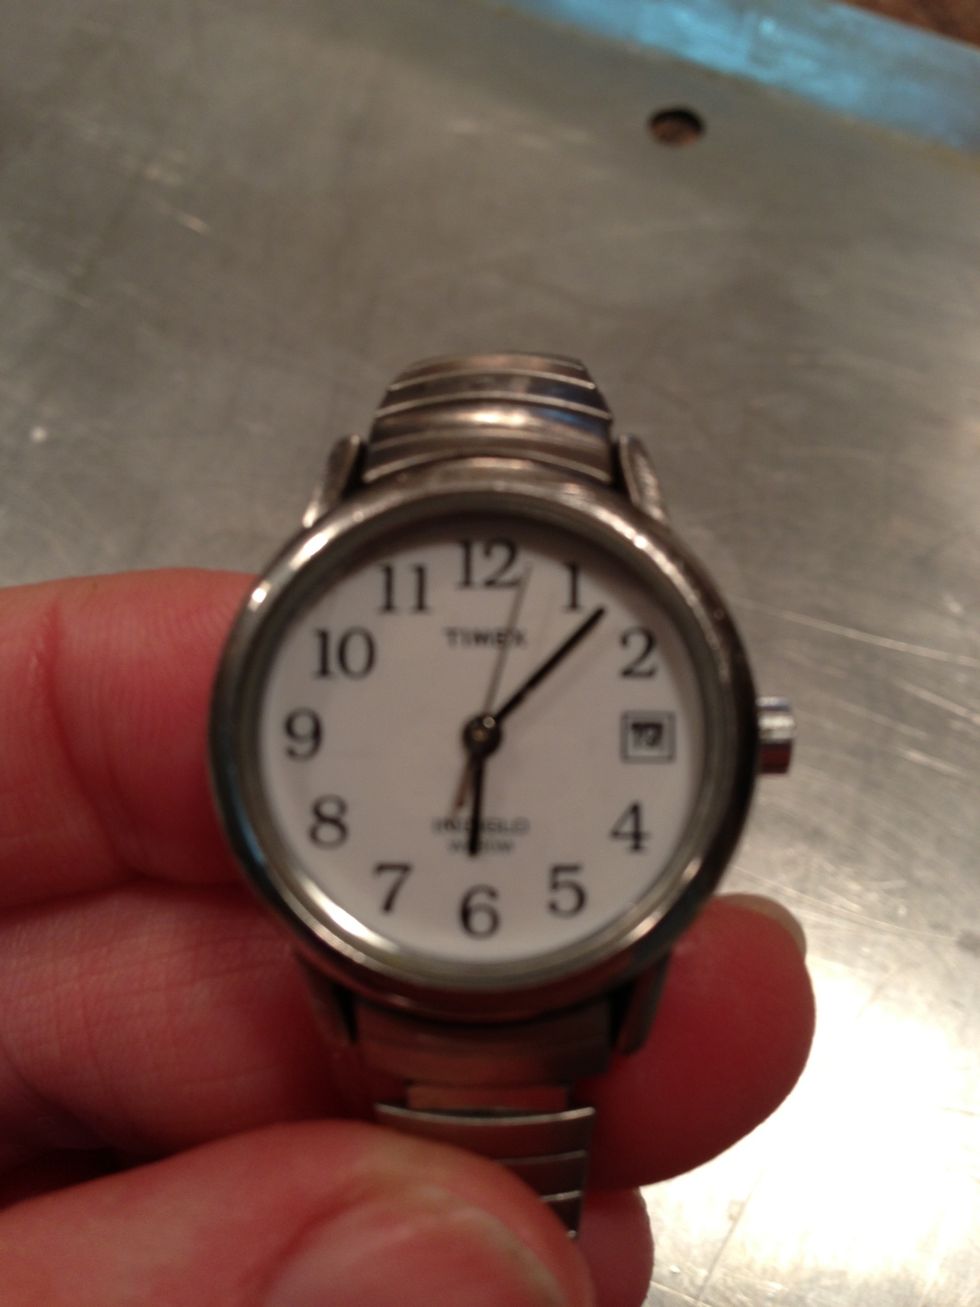
Chill at least 4 hours. Overnight works too. You want it to firm up.
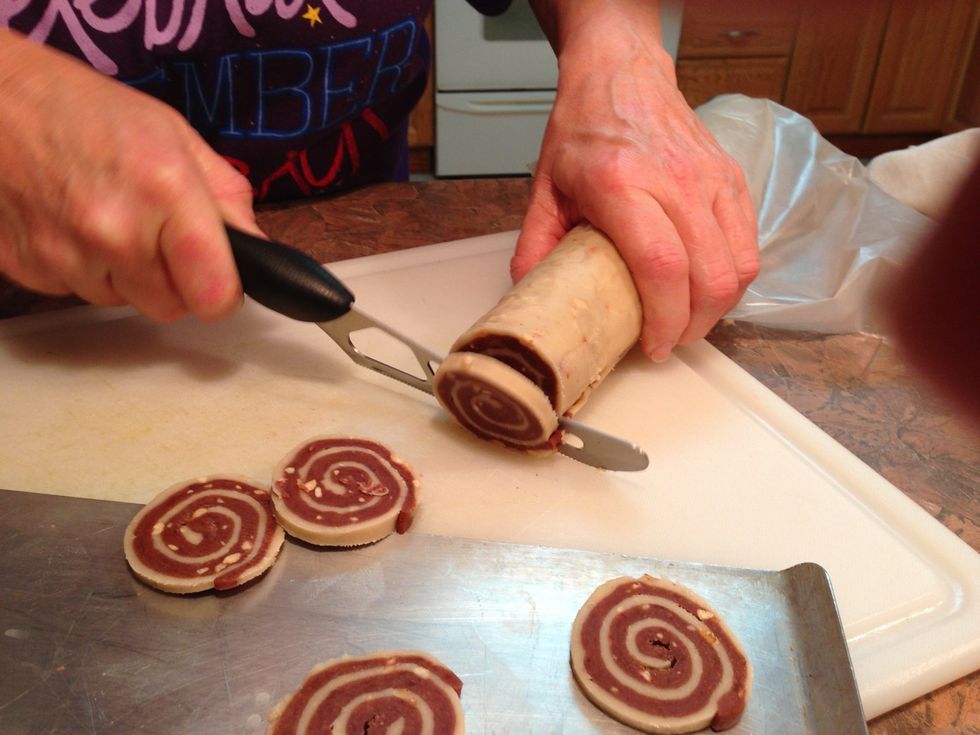
Slice 1/8 - 1/4". Any sharp knife works. (I tried my new cheese knife this time but found that a simple SHARP non-serrated knife works better) If it sticks, it's helpful to dip knife in hot water.
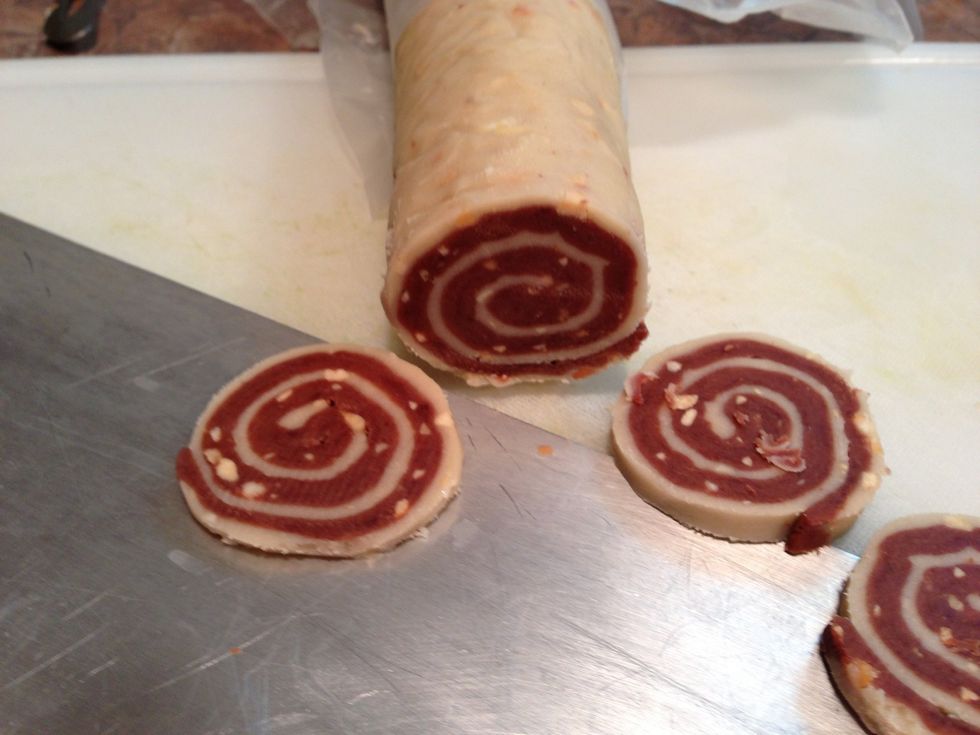
The whit specks are the finely chopped nuts.
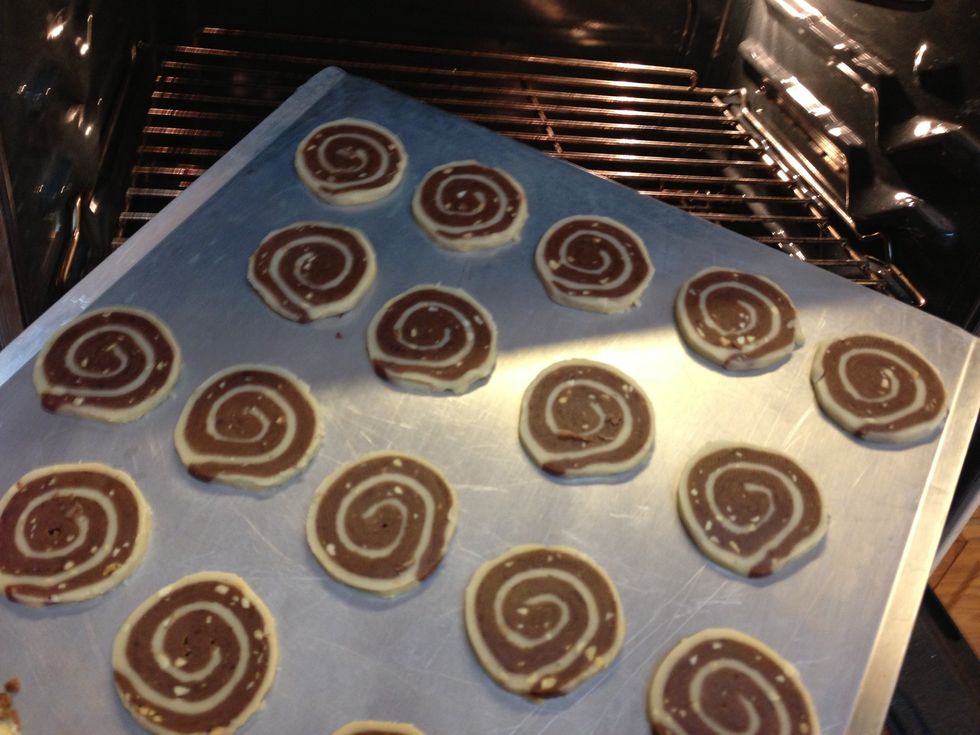
Bake in 400° oven 9-11 minutes. Don't over brown.

These add a fun look to my Christmas cookie assortment every year!