The Conversation (0)
Sign Up
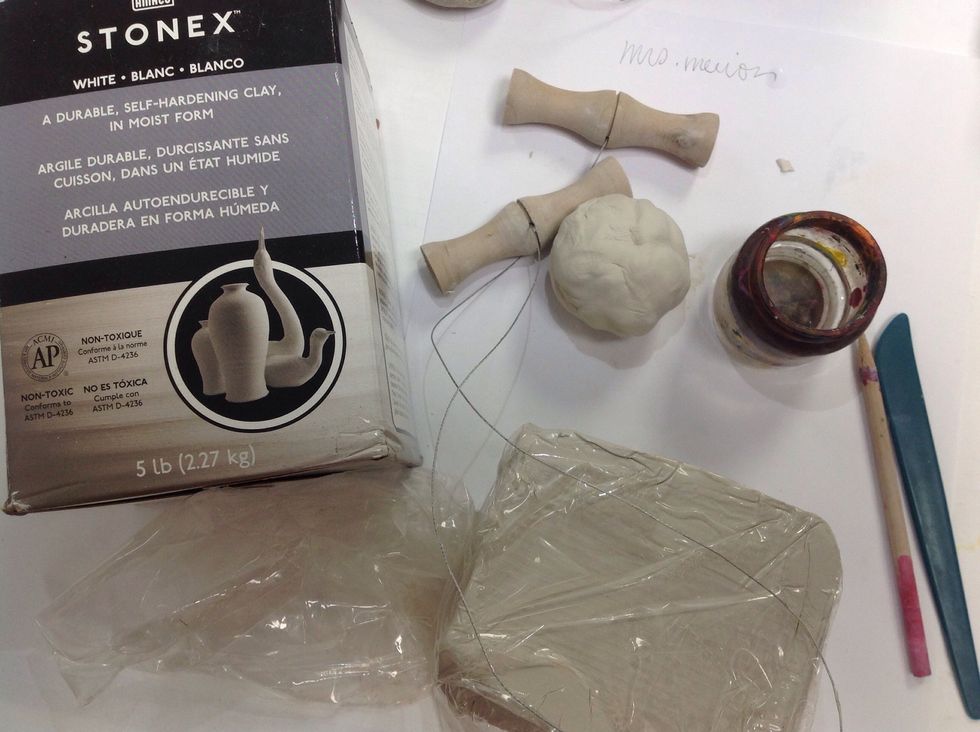
Here are the supplies. I am using air-dry clay, but if you have access to a kiln, I recommend firing and glazing instead of painting.
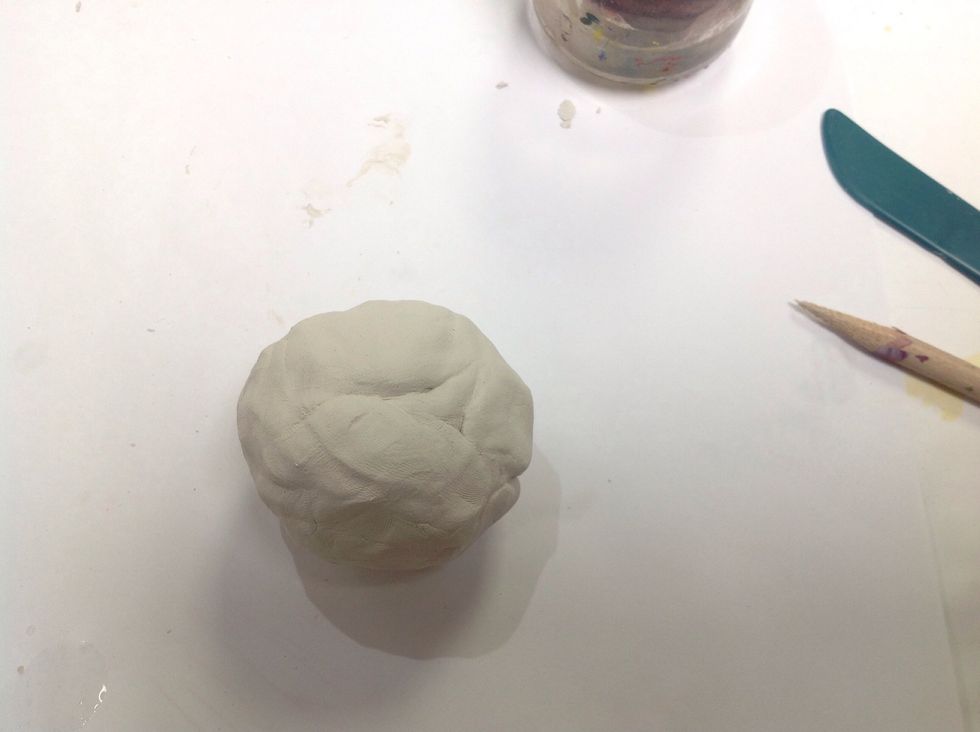
Begin with by rolling a ball of clay. Have your water and toothpick nearby. A plastic butter knife can also be handy, or clay tools.
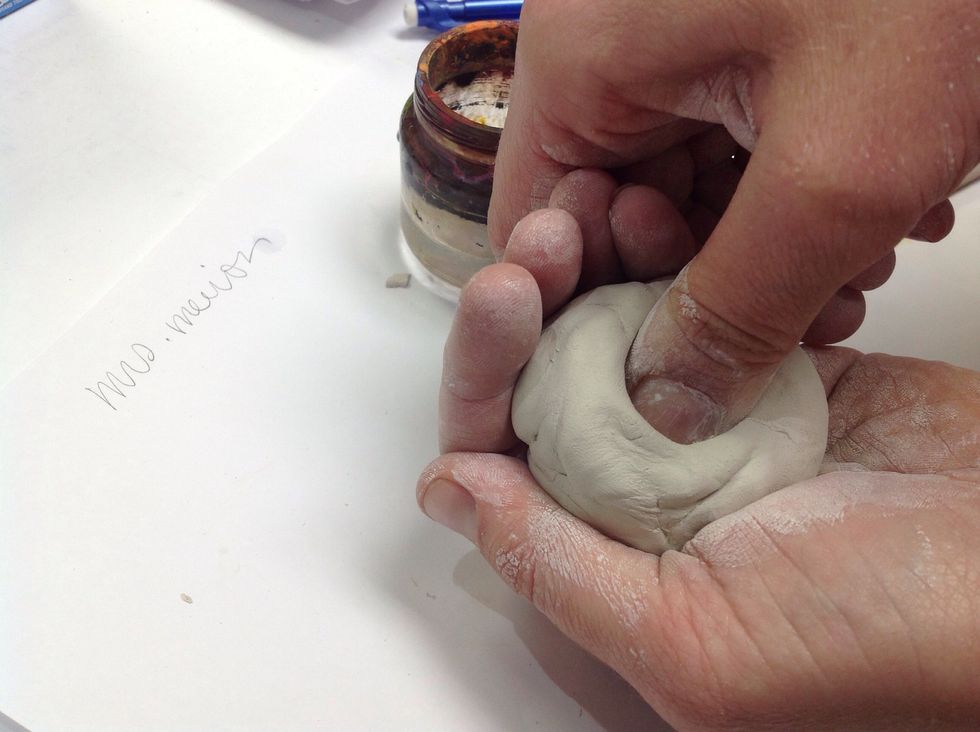
Next form a pinch-pot by inserting your thumb into the ball and applying pressure against the palm of your other hand. Dampen you hands with water periodically as needed.
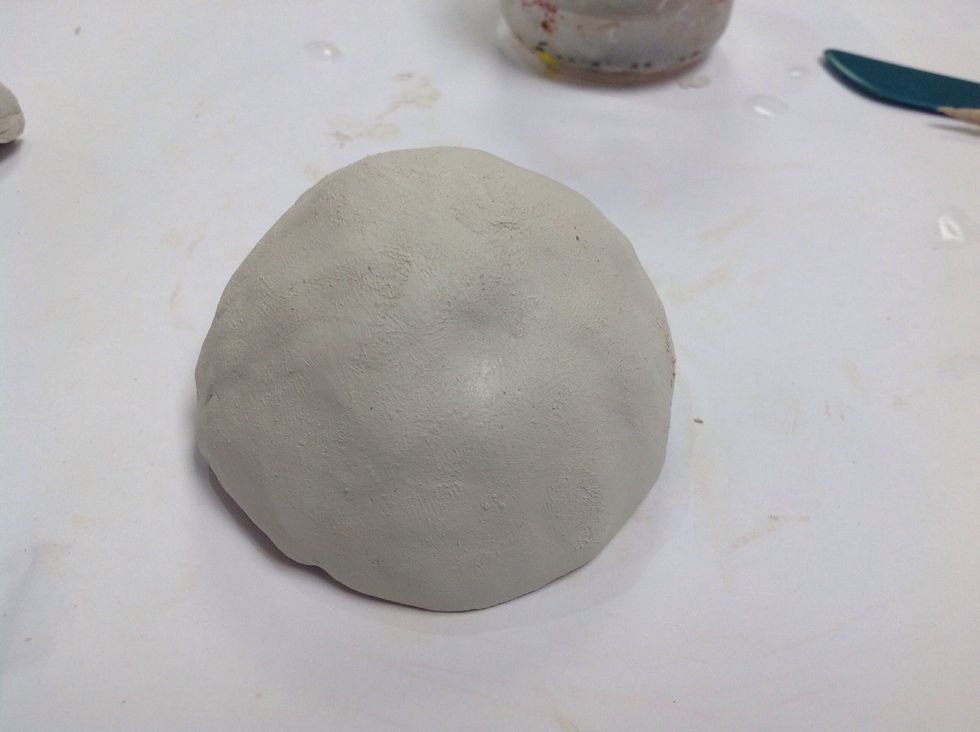

I smacked the bottom of it down on the table lightly to even out the base.
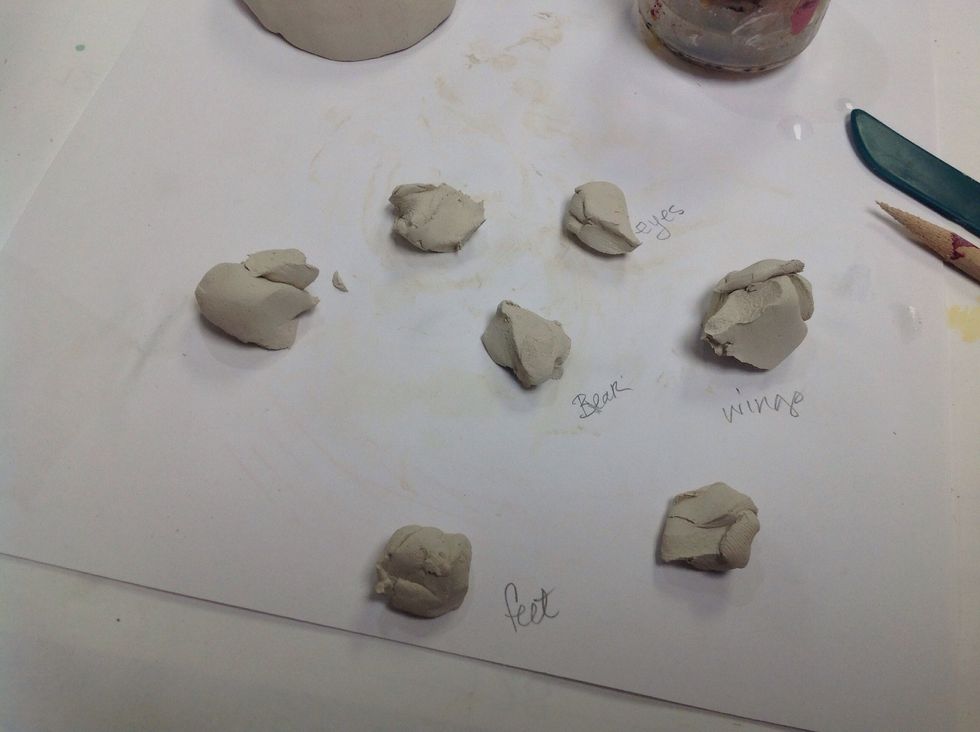
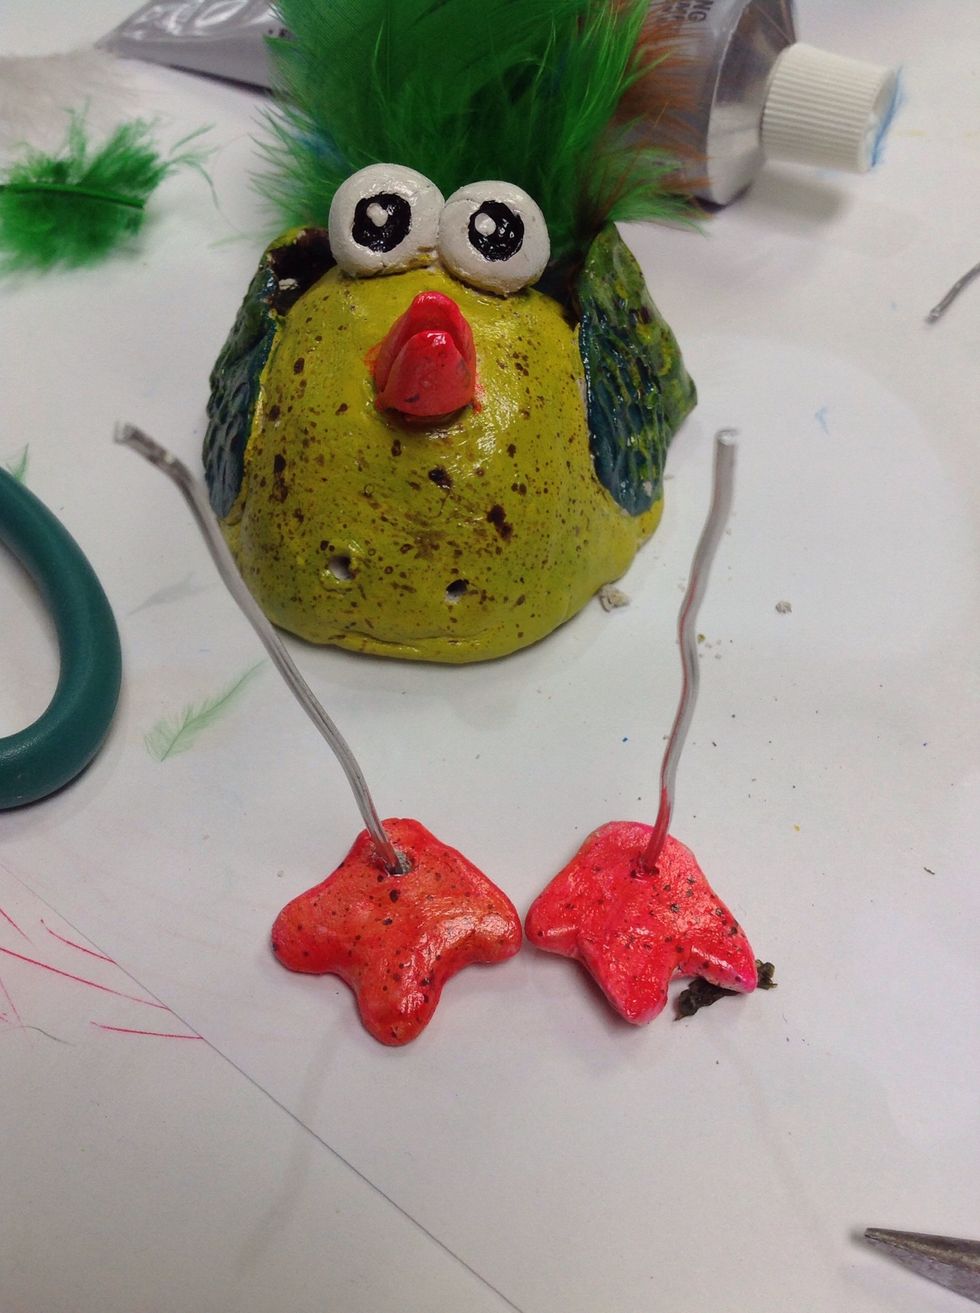
Pinch off 7 smaller pieces of clay to be used as bird features- eyes, nose, wings, feet.
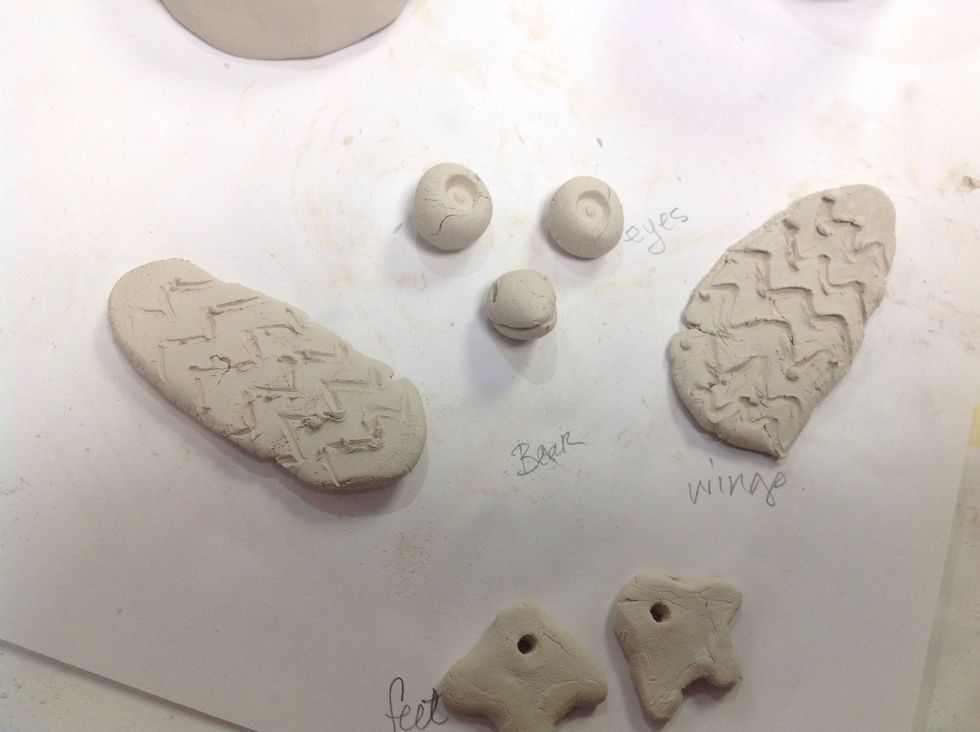
Mold the small pieces into eyes, wings, beak, and feet. Kinda like this. I used the top of a pen to add pupils to the eyes. Paper clips make cool feather patterns when pressed into clay.
When attaching the pieces we must first slip and score so they stay adhered to the pinch-pot. You will need the toothpick and water.
Scoring is using the toothpick to scratch the surfaces where two pieces will attach.
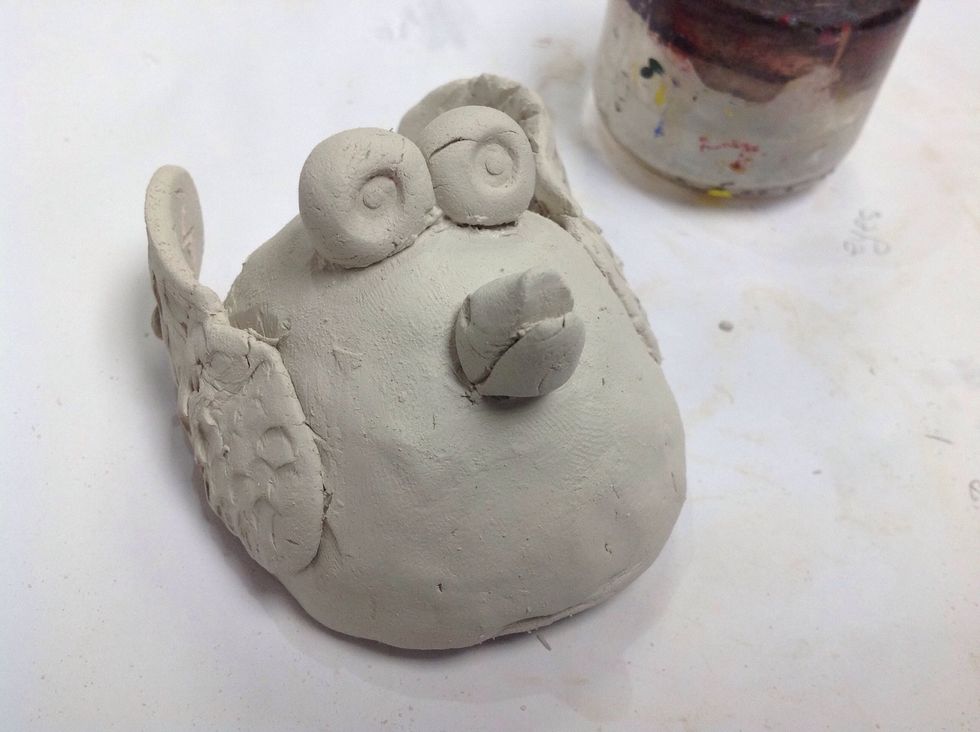
All pieces are added! I wish I had positioned the eyes and beak closer to the front of the sculpture.

Use a piece of wire to make leg holes...
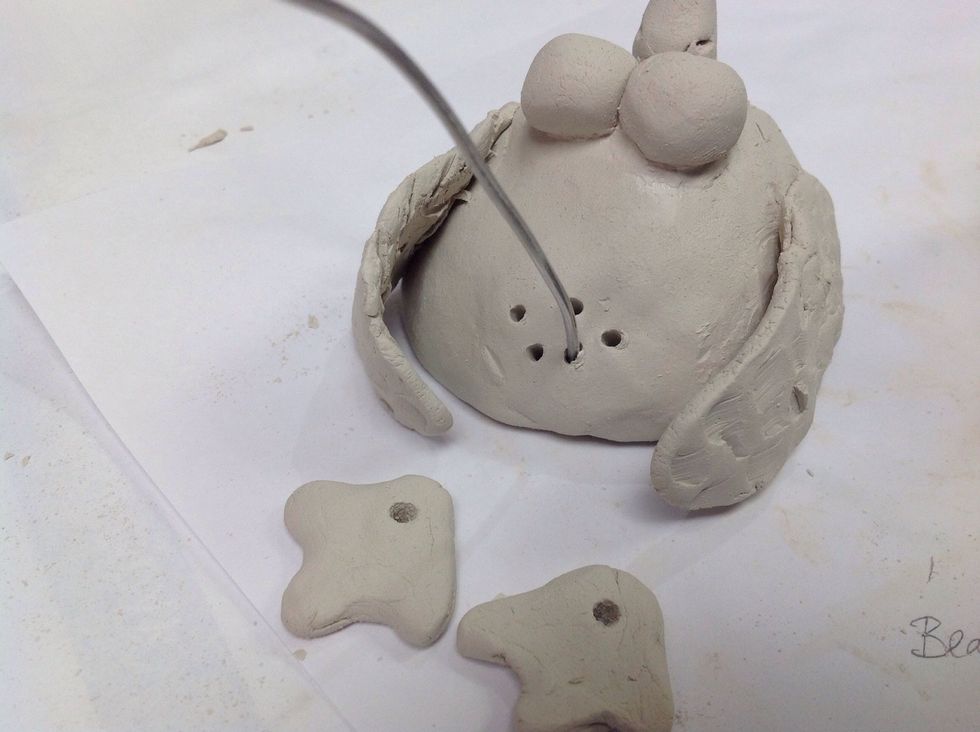
and feather holes. Angle the feather holes upward. Don't forget ankle holes in the feet!

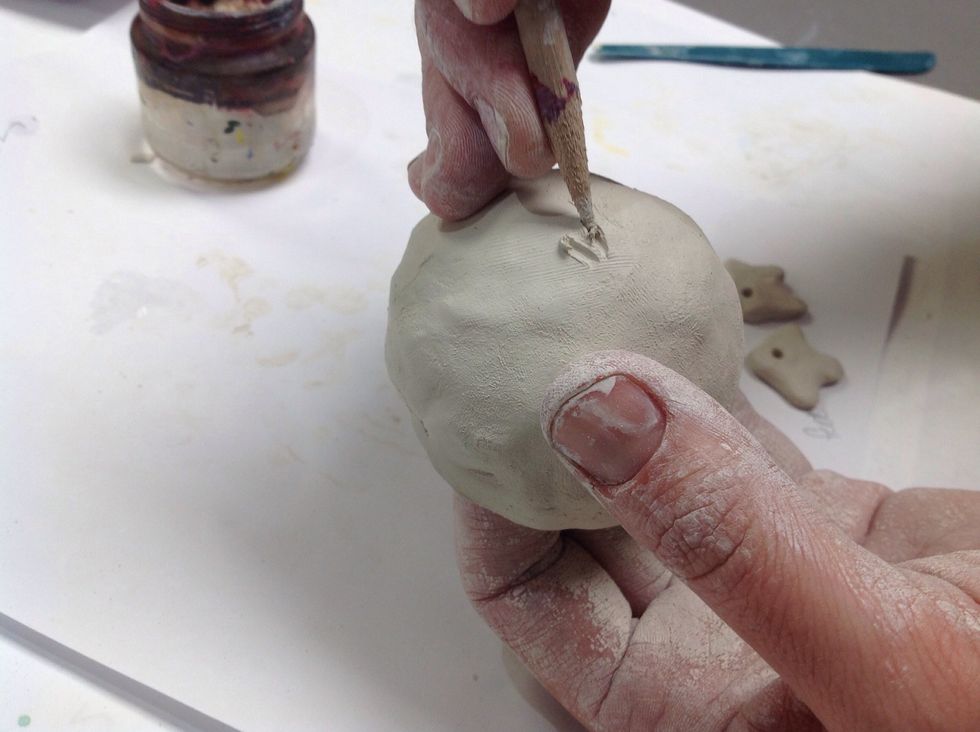
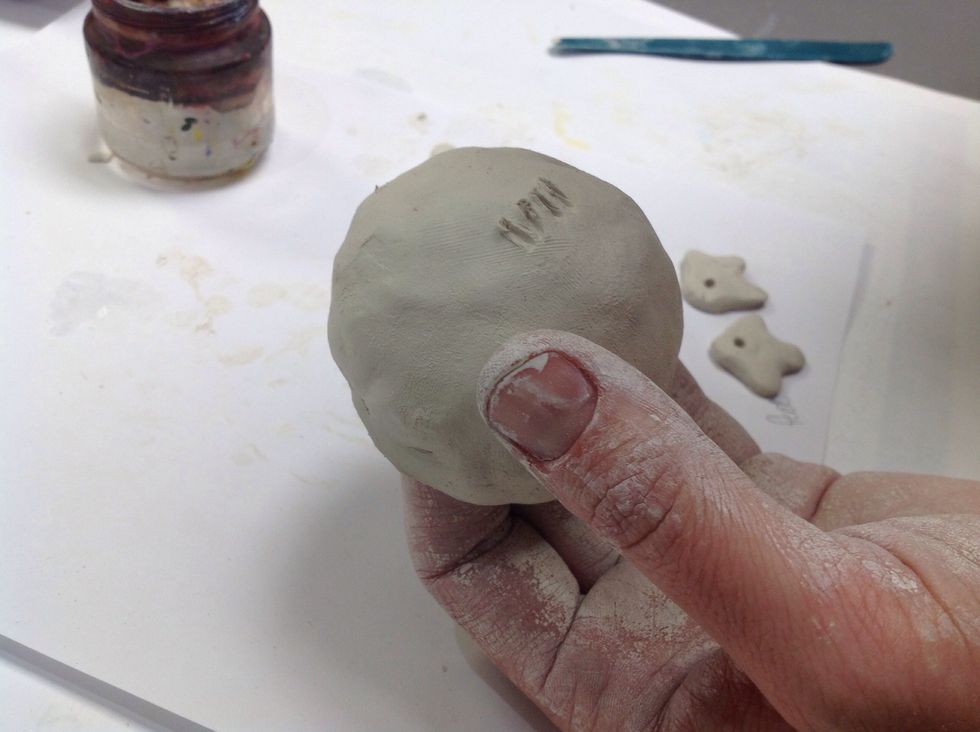
Sign it underneath with your toothpick.
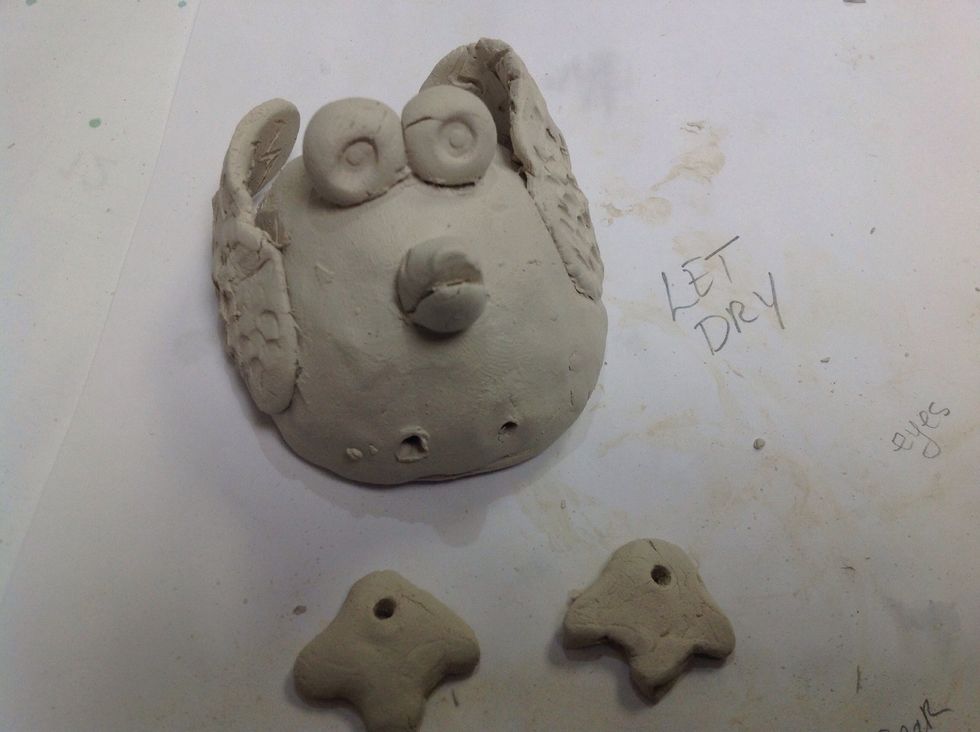
Let dry at room temperature overnight. Tick tock, tick tock, tick tock.
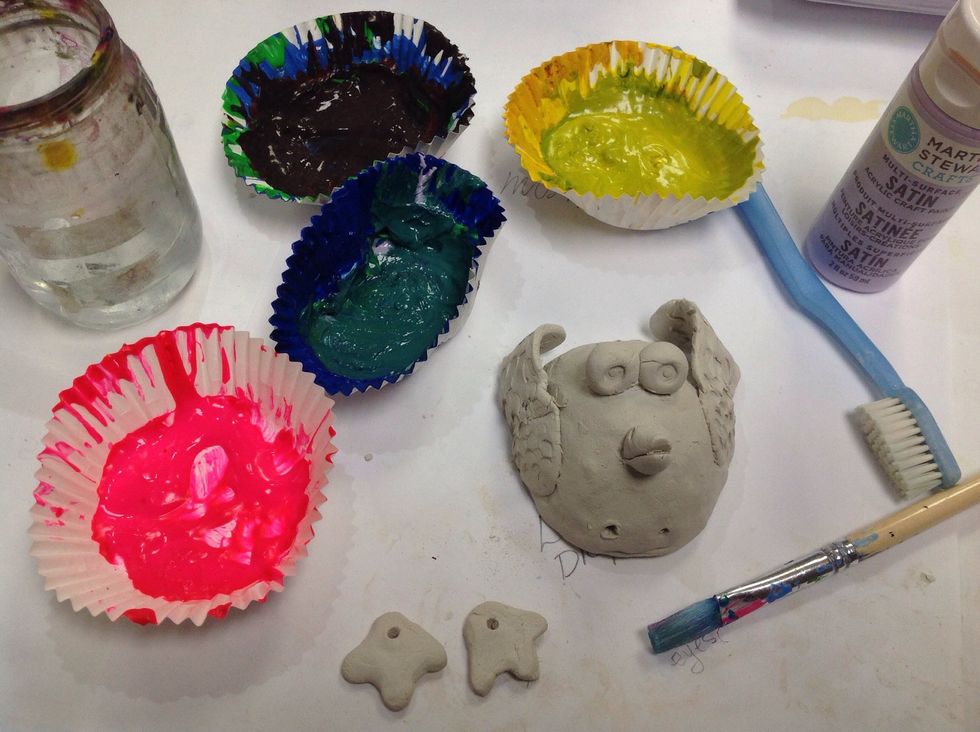
Ooooo, pretty colors. Grab some acrylic paint, a brush, water, and toothbrush.
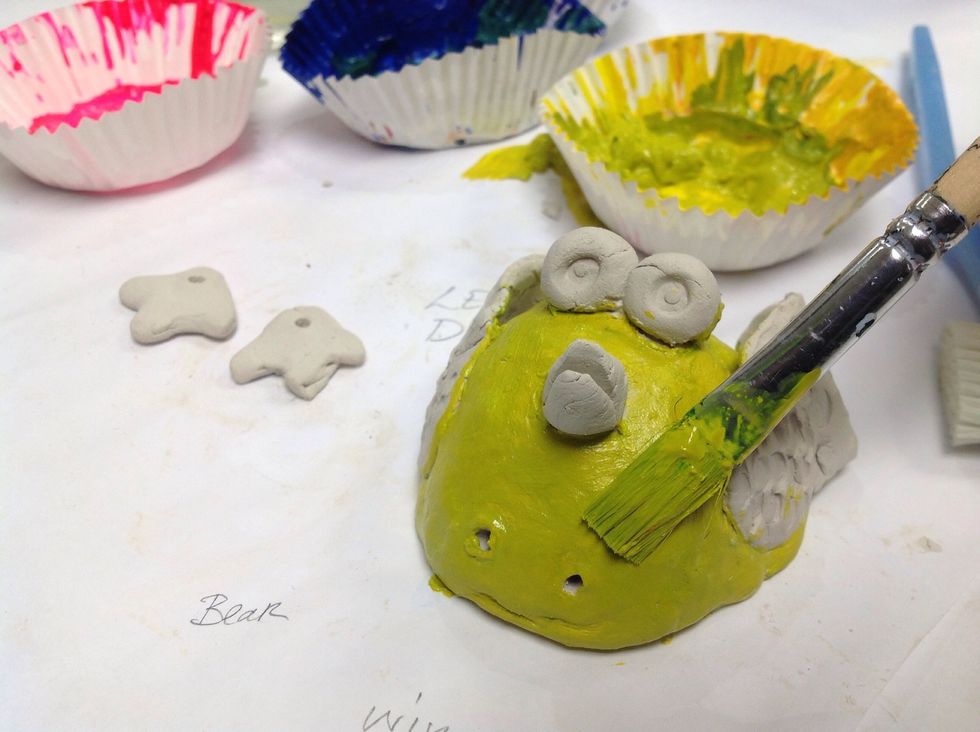
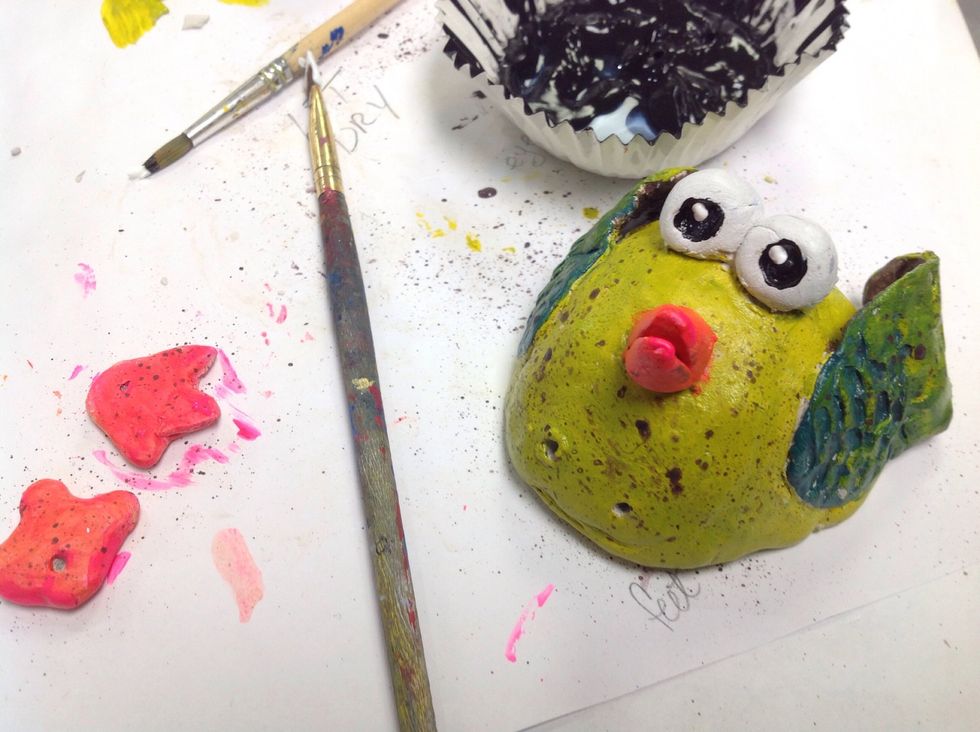
Paint your bird.

I painted the inside, but it's really not necessary.
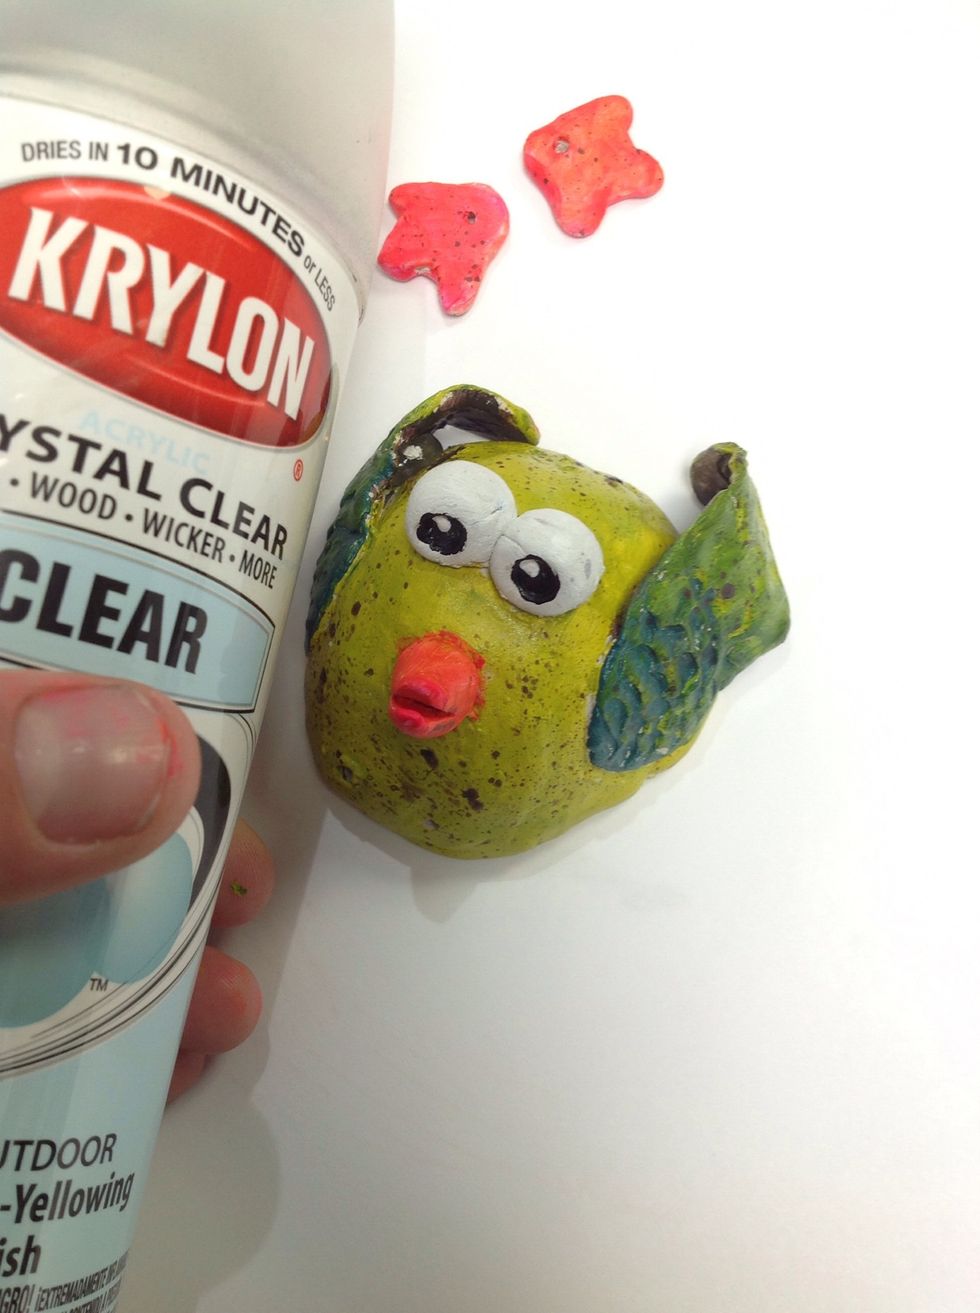
After the acrylic paint is dry, spray your bird sculpture with a clear gloss.

So Shiny.
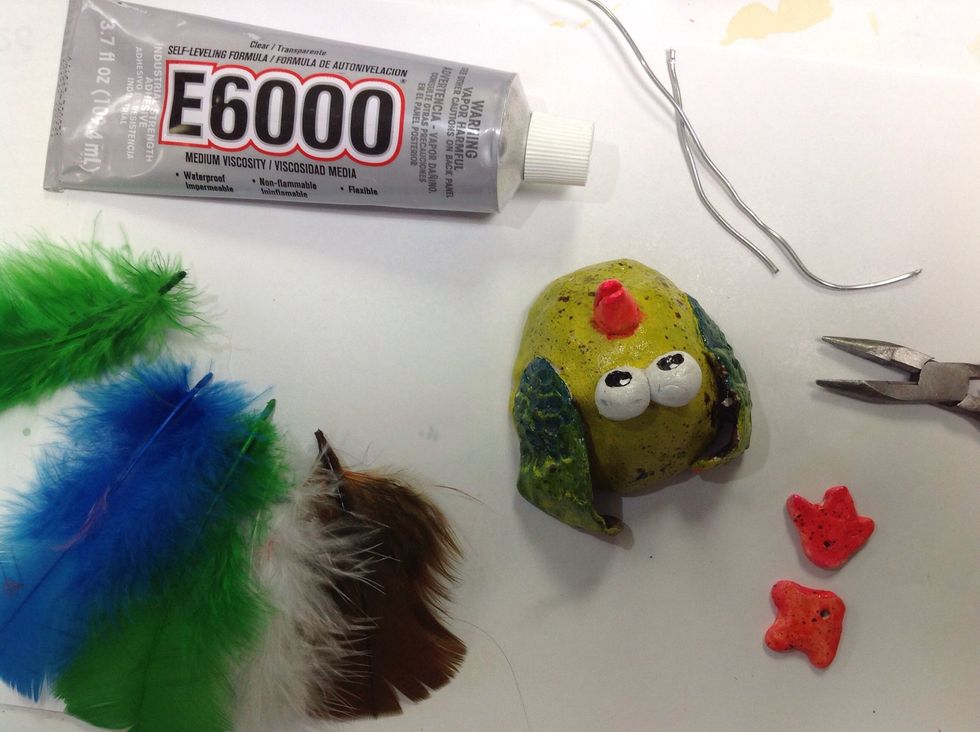
Collect your feathers and wire. I'm using E6000 adhesive, but I think the feathers would stay put without it. Hot glue would be a good alternative.

Position the feathers in the feather holes.

Cut them to make them shorter if necessary.
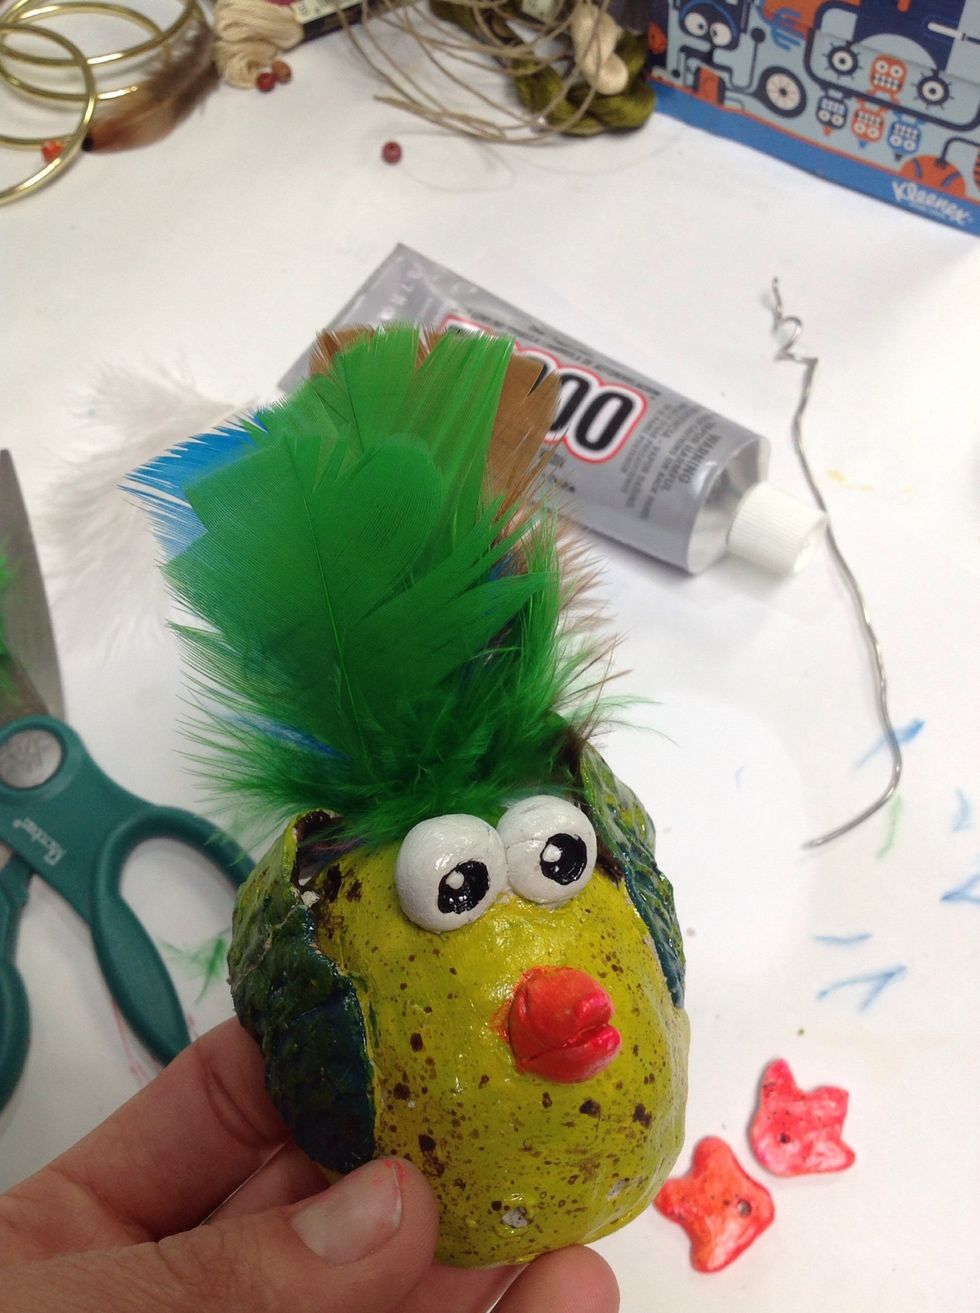
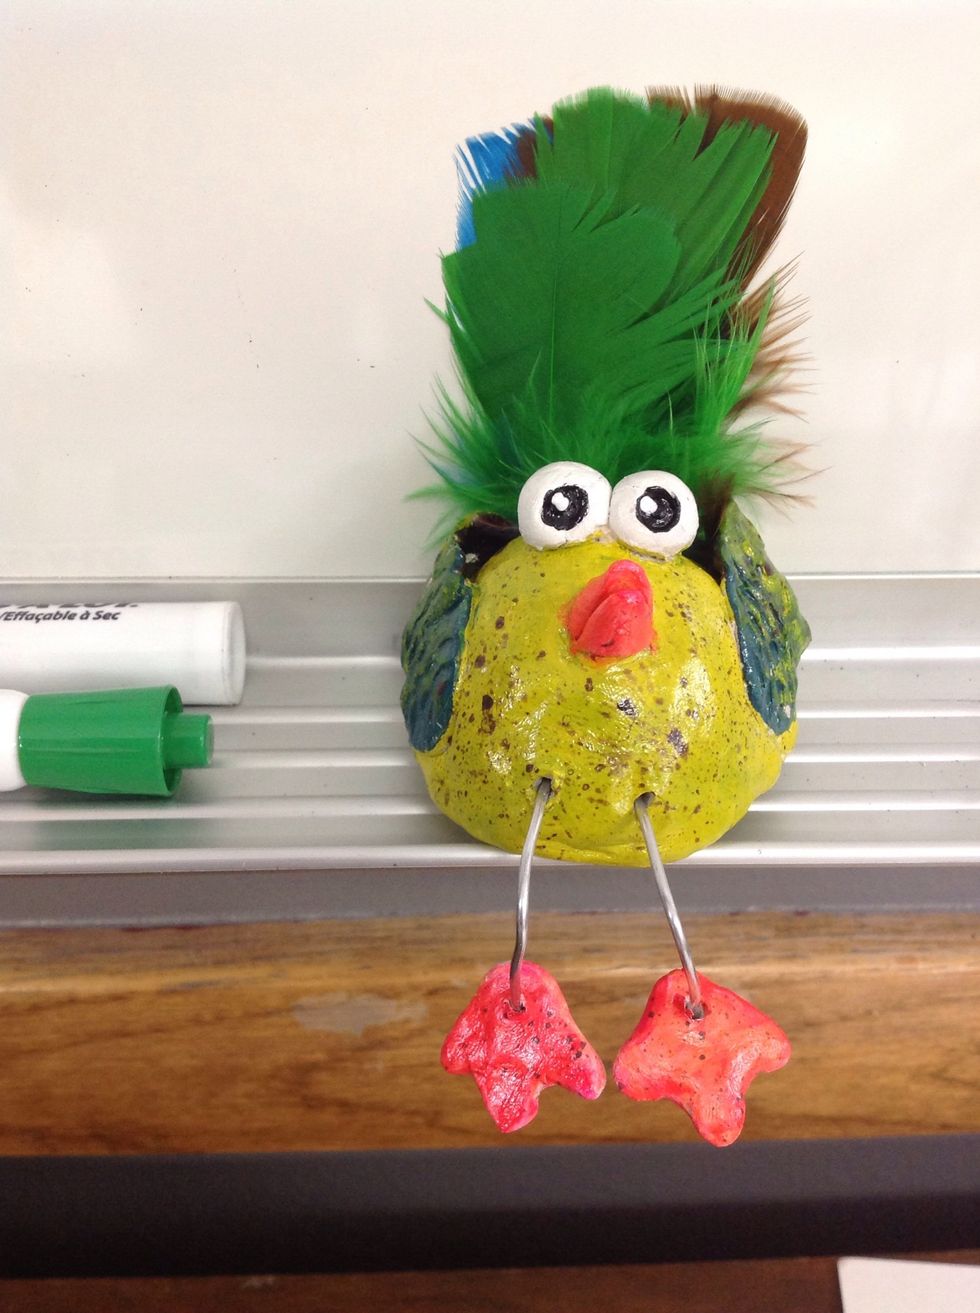
The Front.
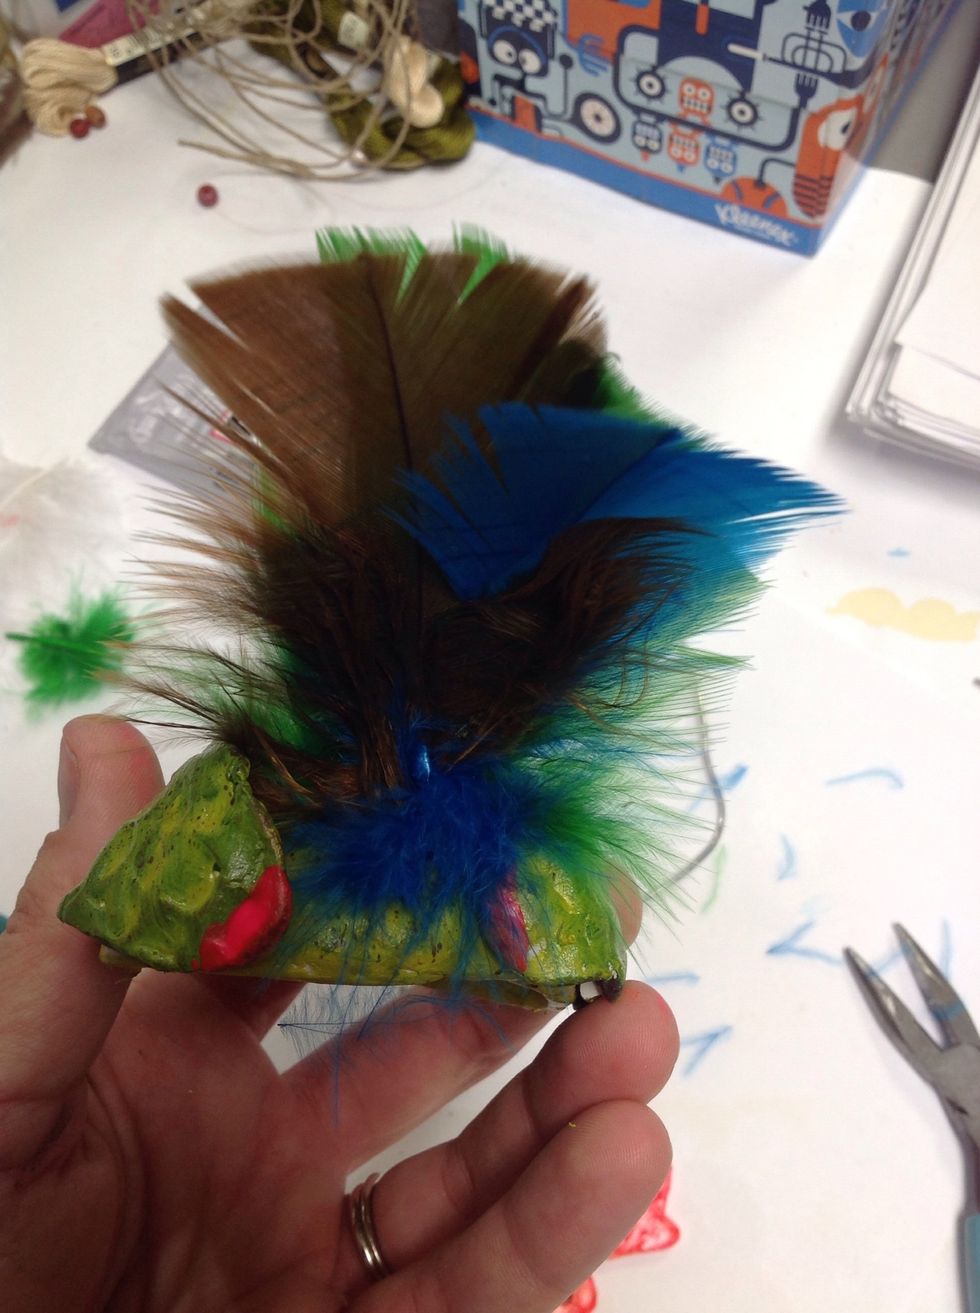
The back.
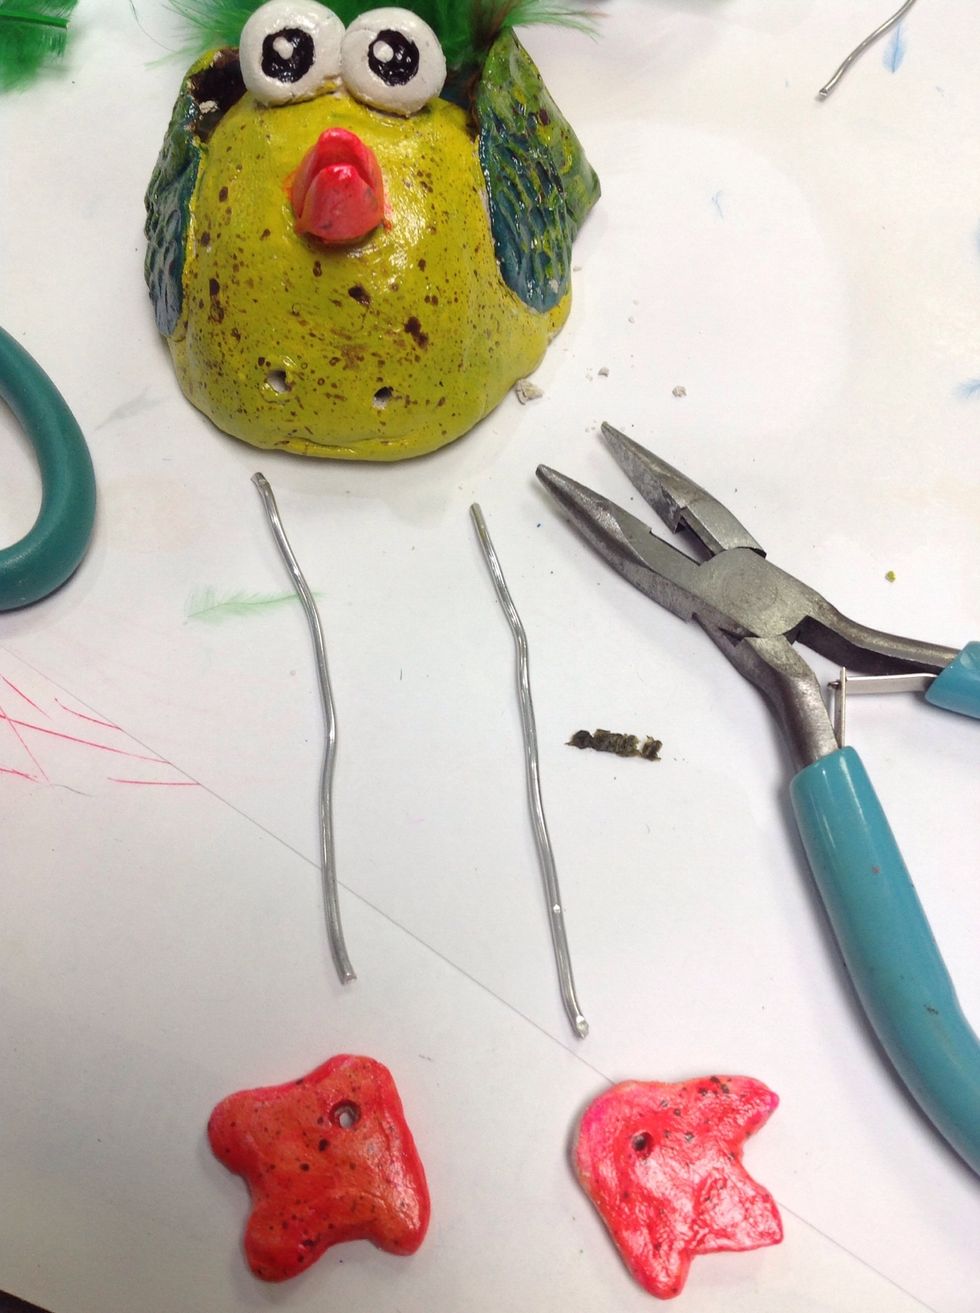
Aluminum wire is very easy to bend. If you don't have wire you can use yarn.
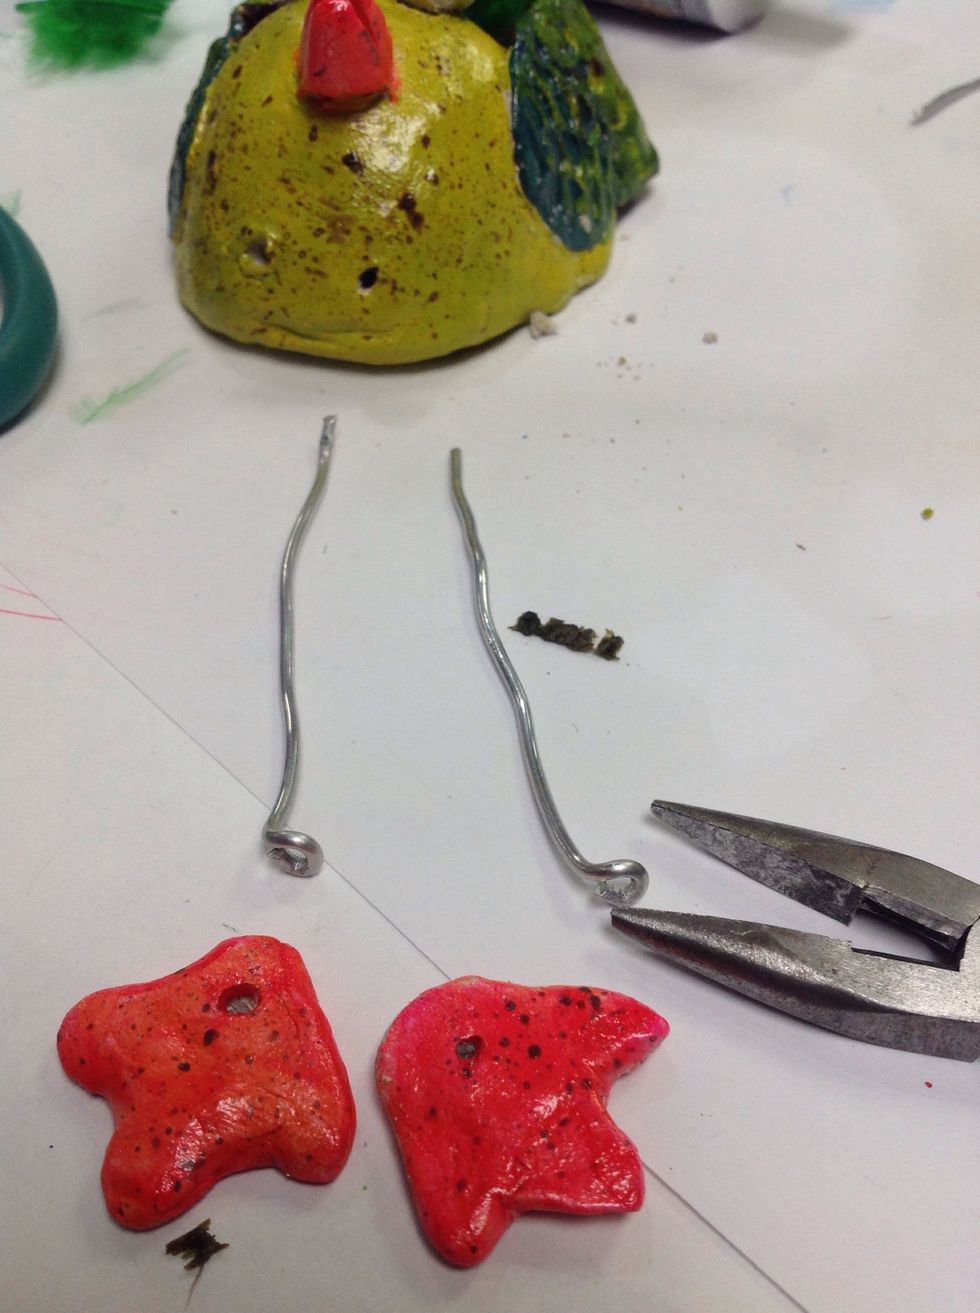
Bend the bottom for the feet to rest upon.
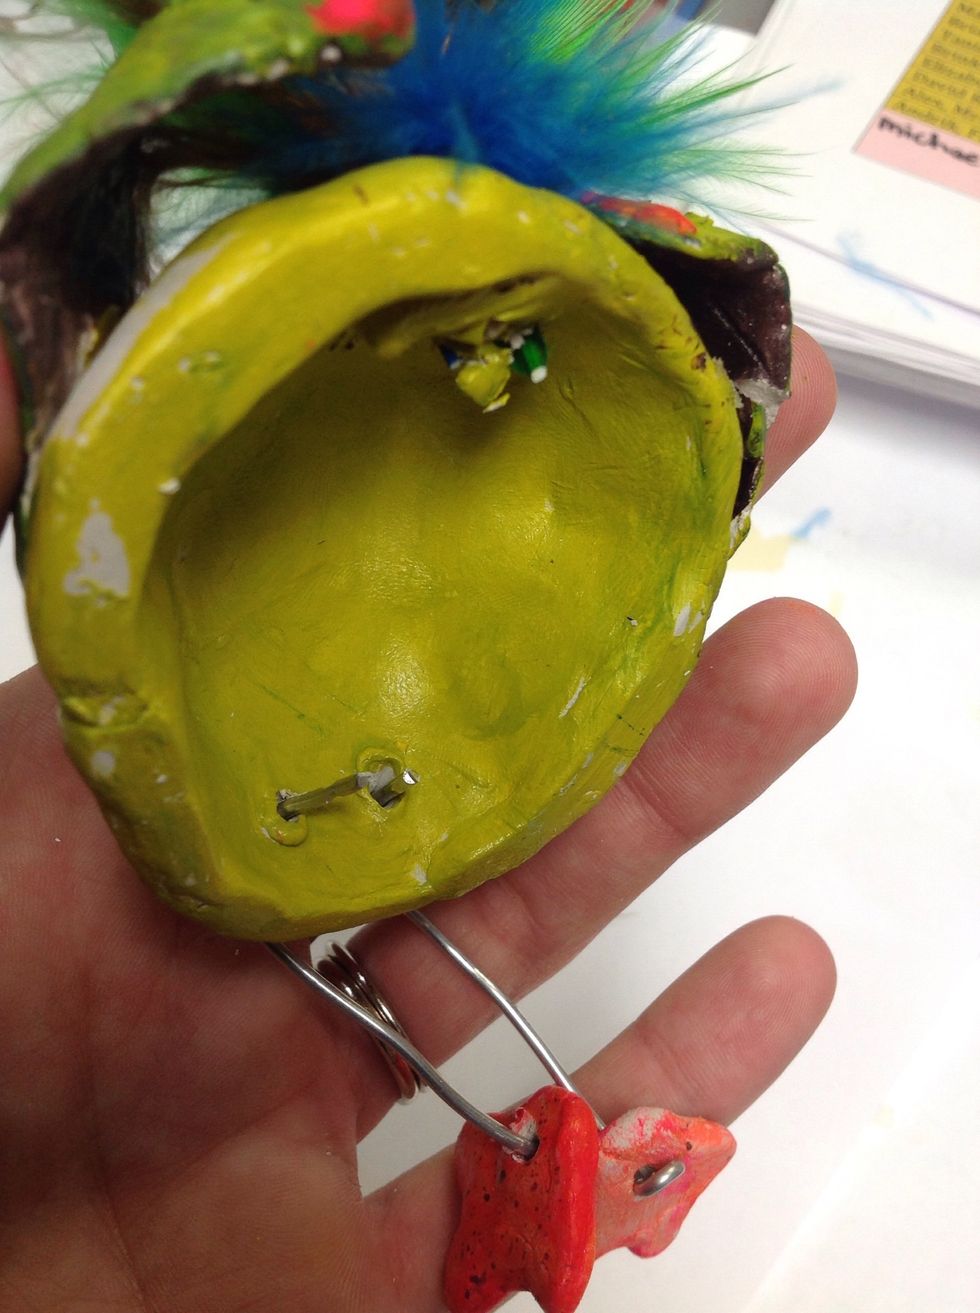
Then bend the top and insert into the leg holes of the body of the bird.
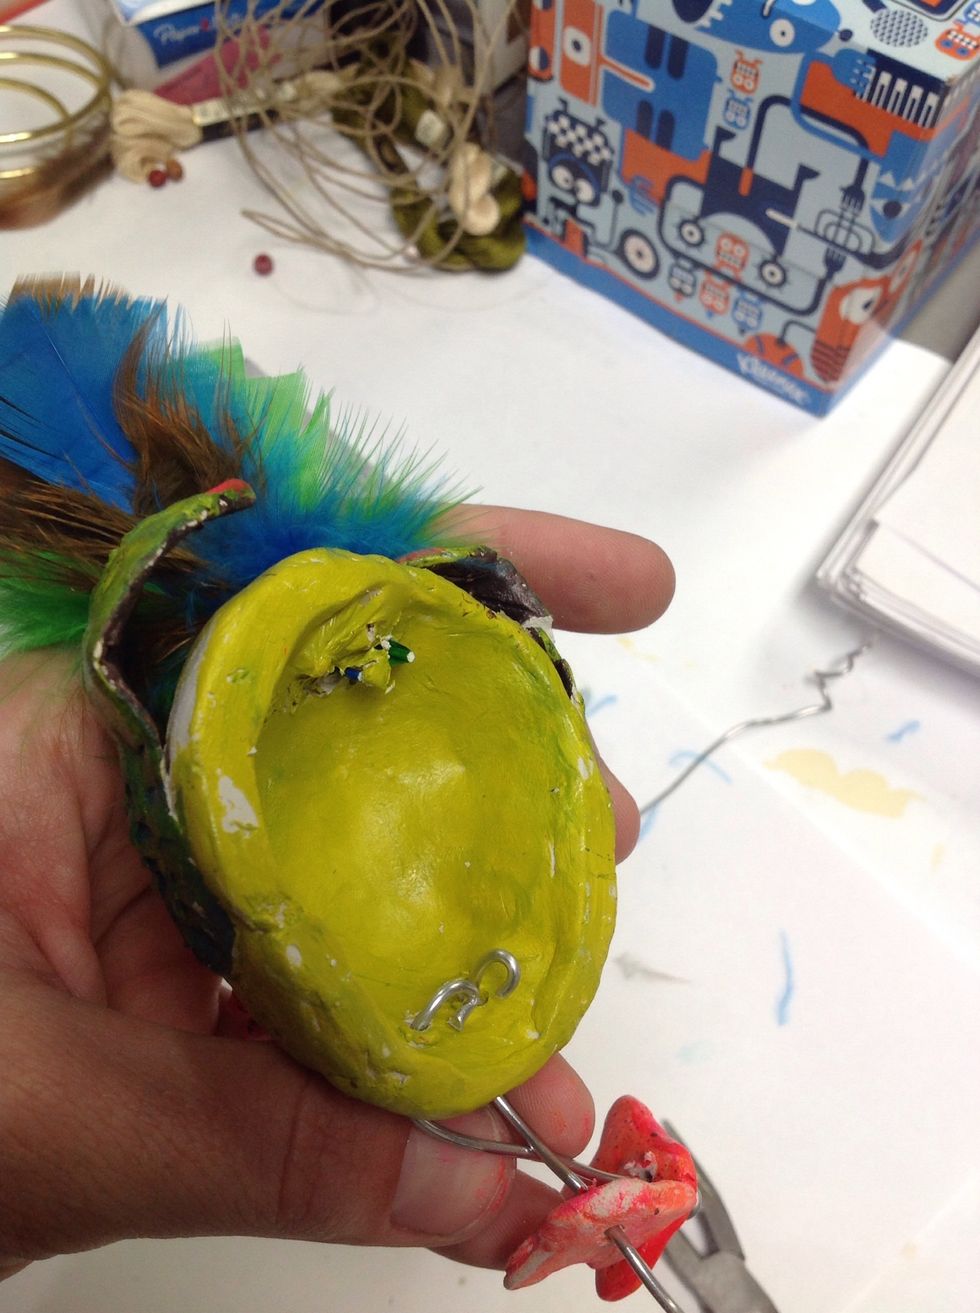
Use the pliers to bend the wire so it stays put.

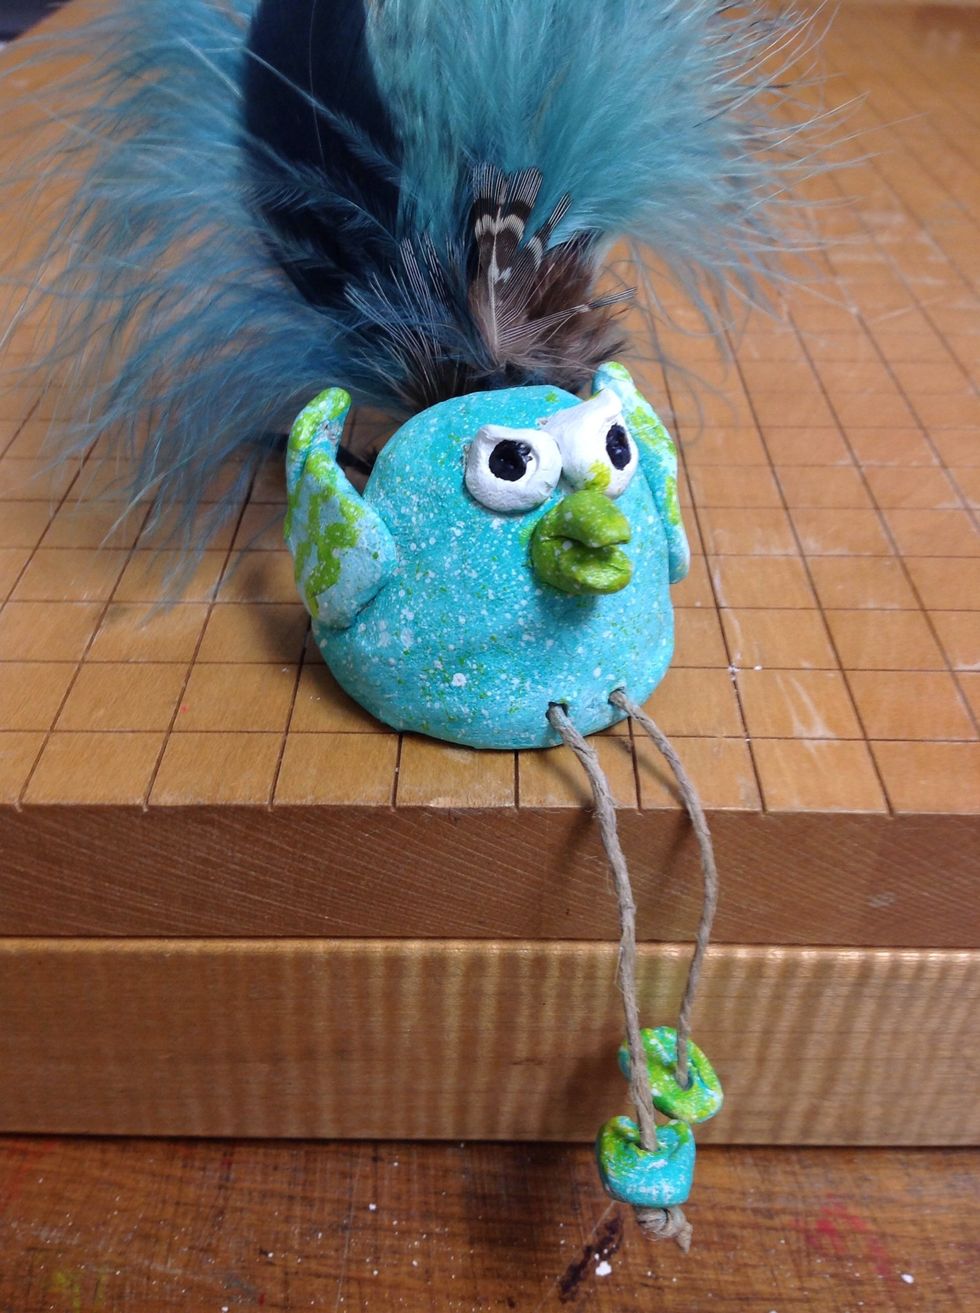
All done!
Make a friend.
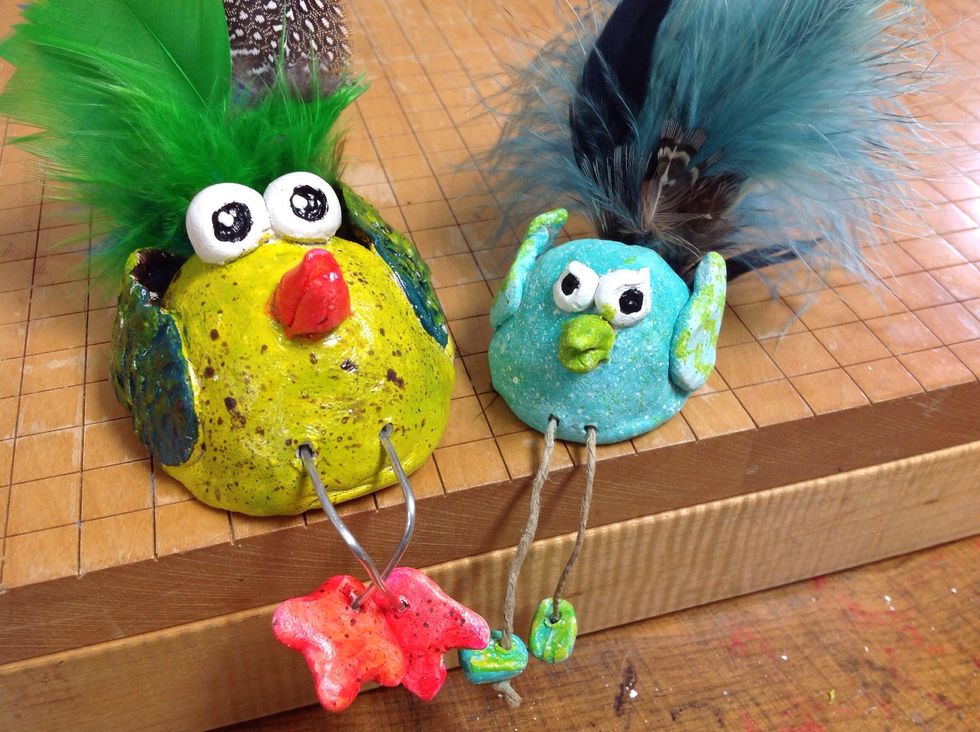
The blue one looks a little perturbed.