The Conversation (0)
Sign Up
If you haven't already...download the awesome fun app Pho.to Lab. Then open it, of course 😉 Oh and download Pic Jointer too if you don't already have that app as well 😁
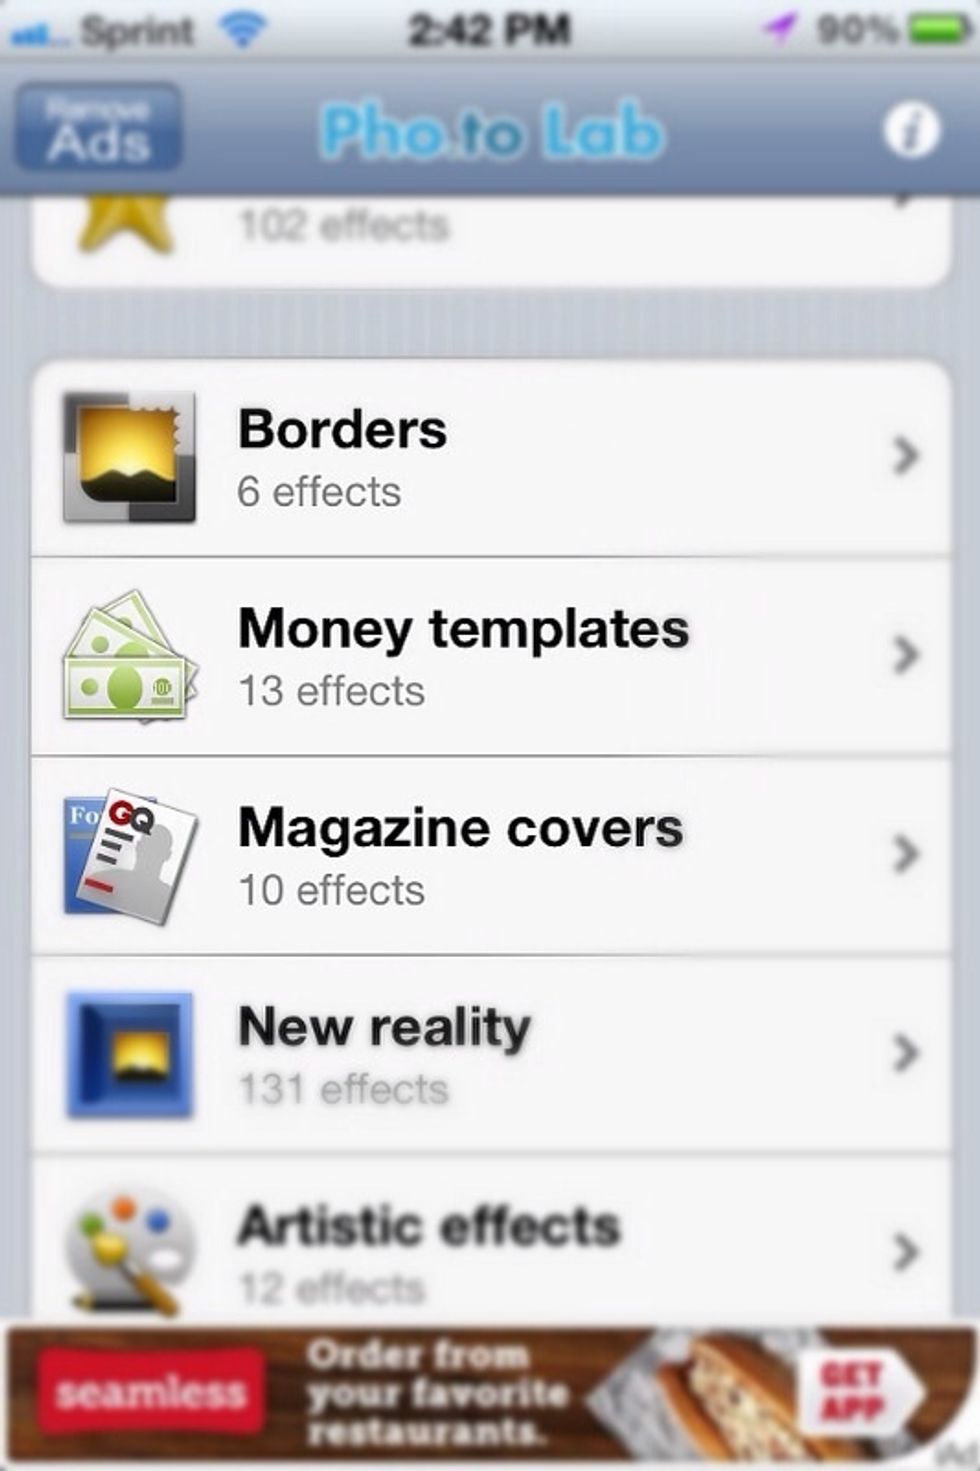
Scroll down, find and tap on Money templates.

Choose which money template you would like to use (I used the US one hundred dollar bill).
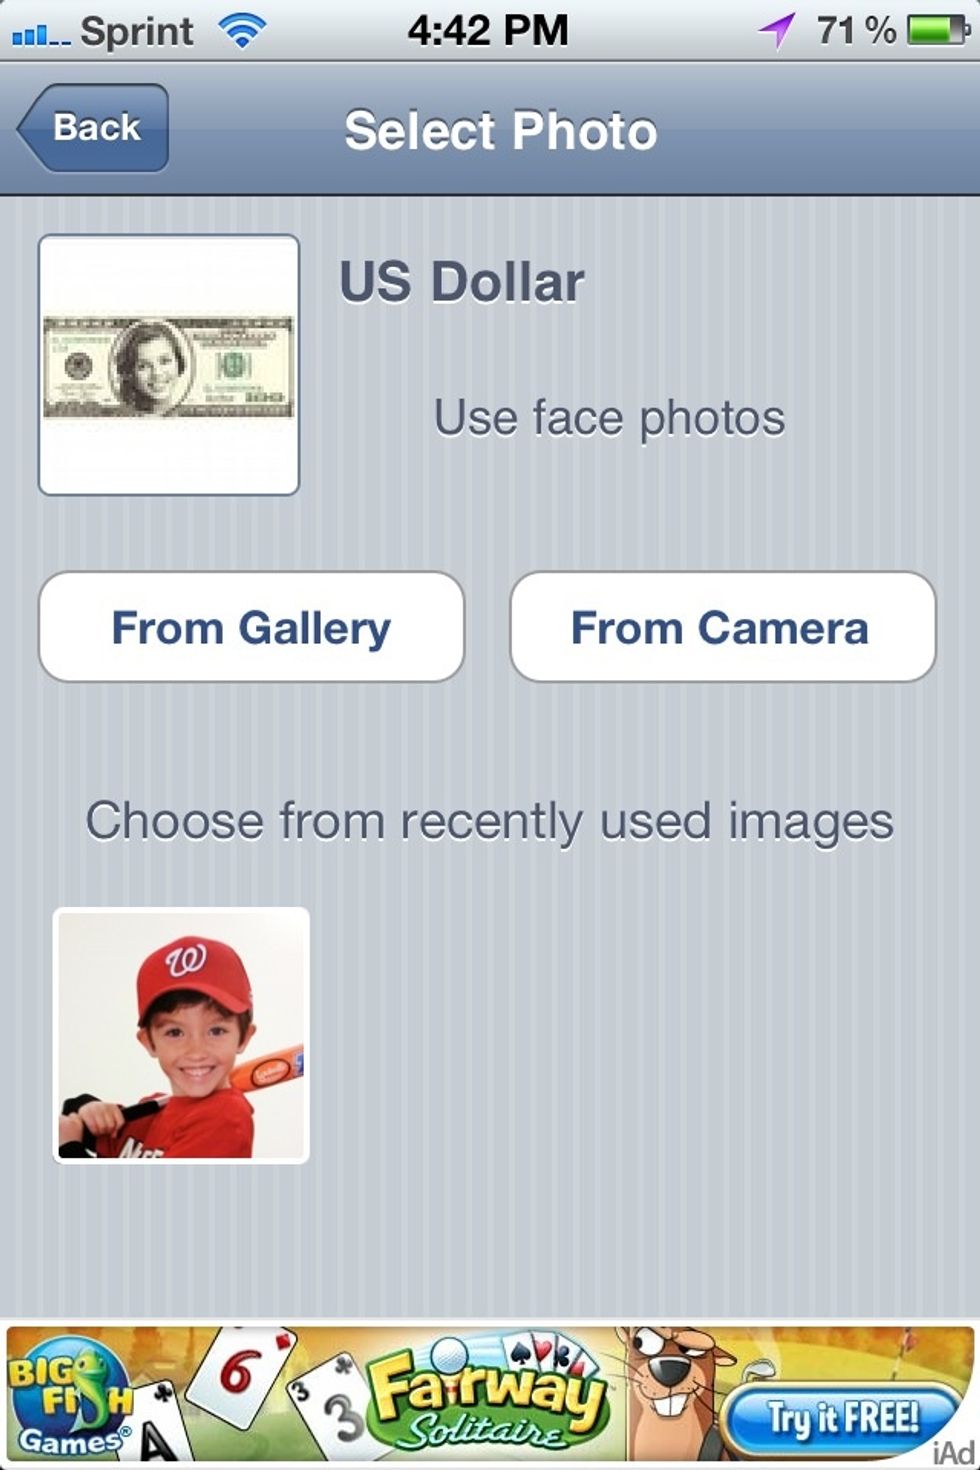
At this point you can take a photo by choosing camera, choose a photo already taken from your camera roll or choose a photo previously used from this app.
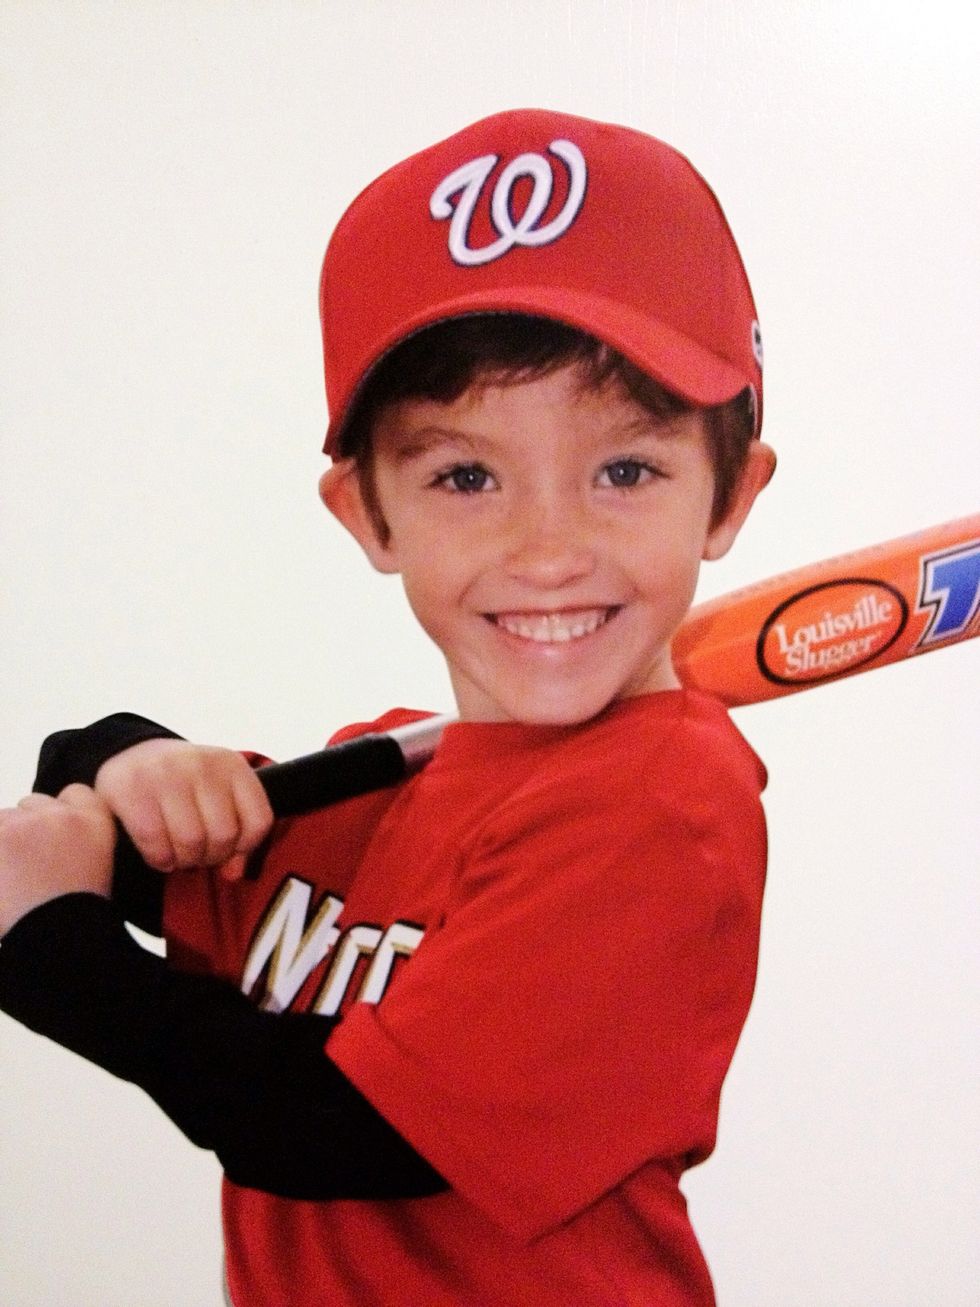
Take or choose the picture you would like to have on your reward/play money.
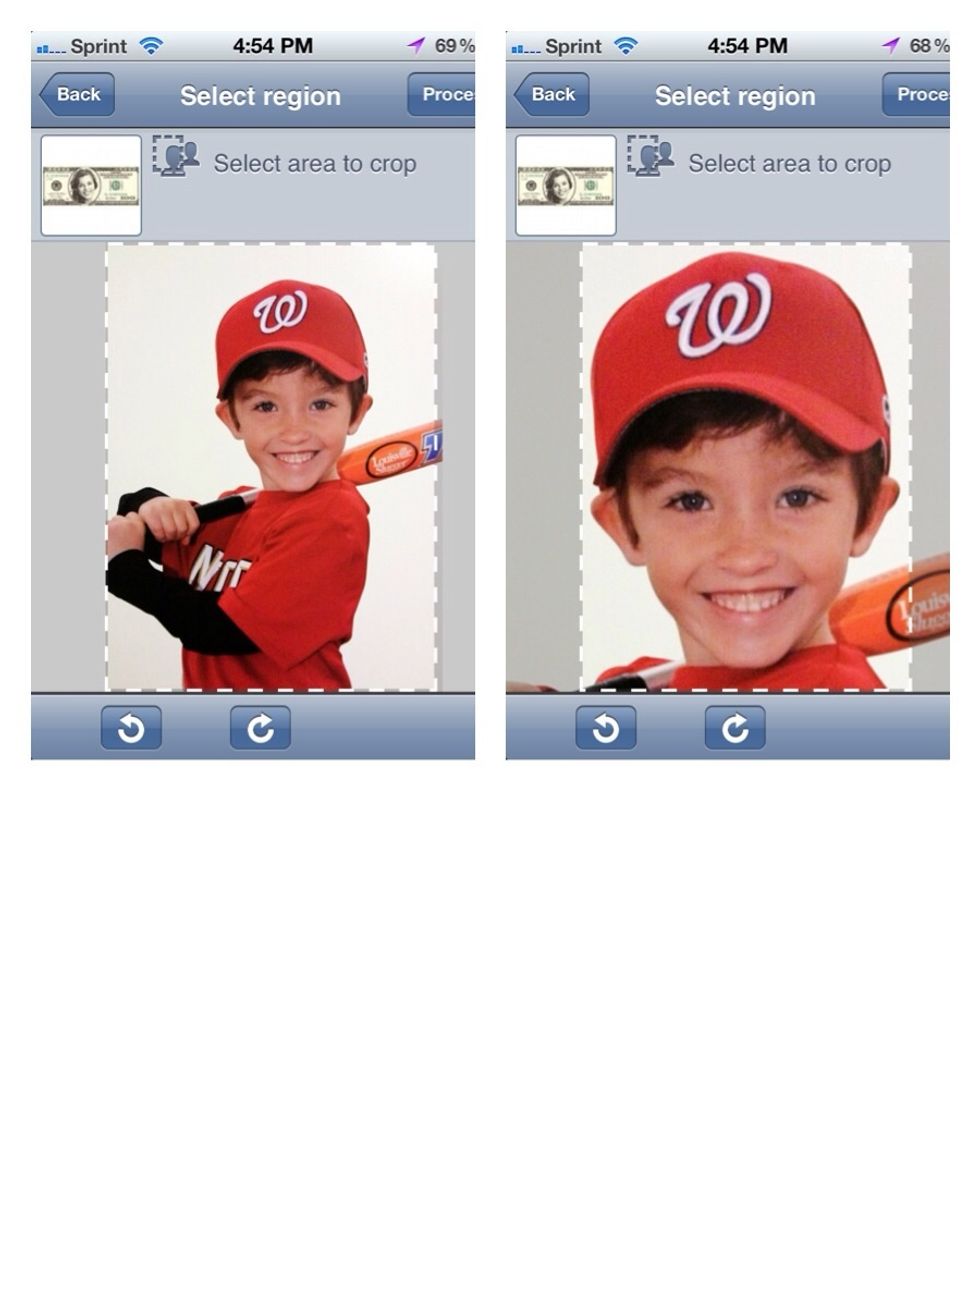
Crop your photo so just the head of your image fits in the selected area. Then press process.
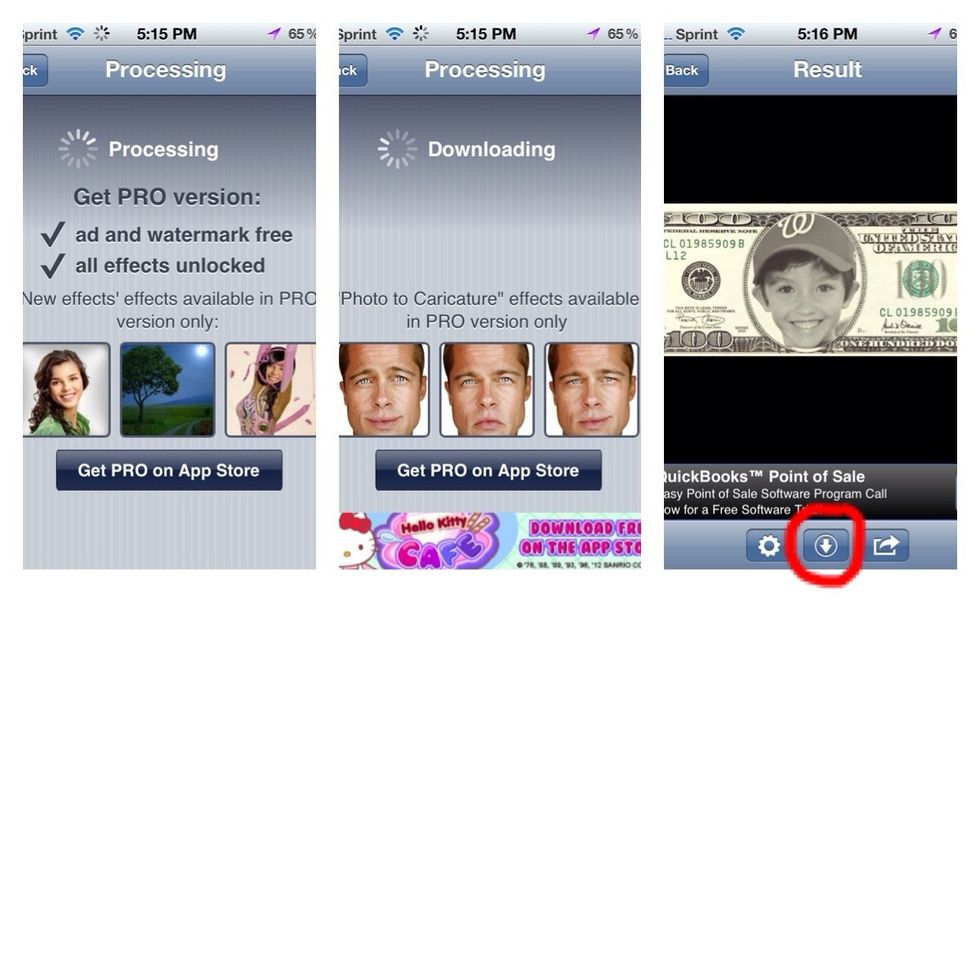
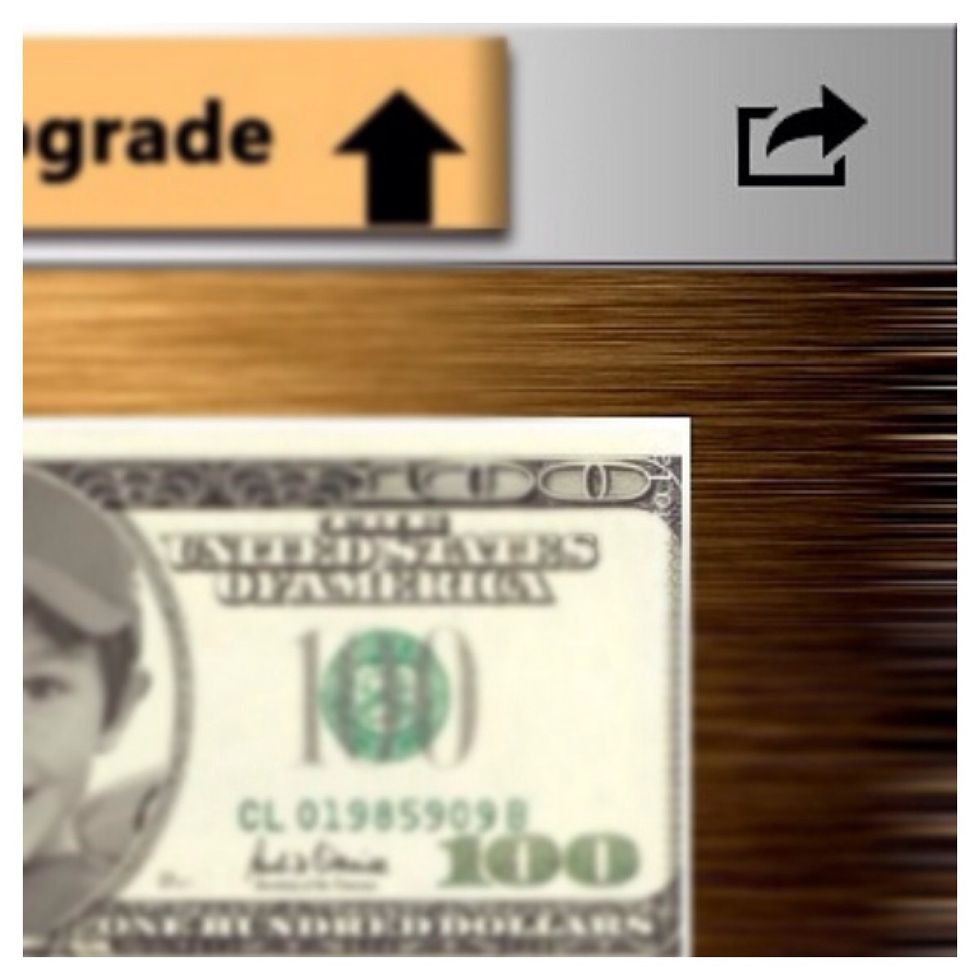
Wait patiently through the processing, processing, processing...downloading, downloading, downloading...and YES, finally your result!! Press the save button to save your lovely money 😉
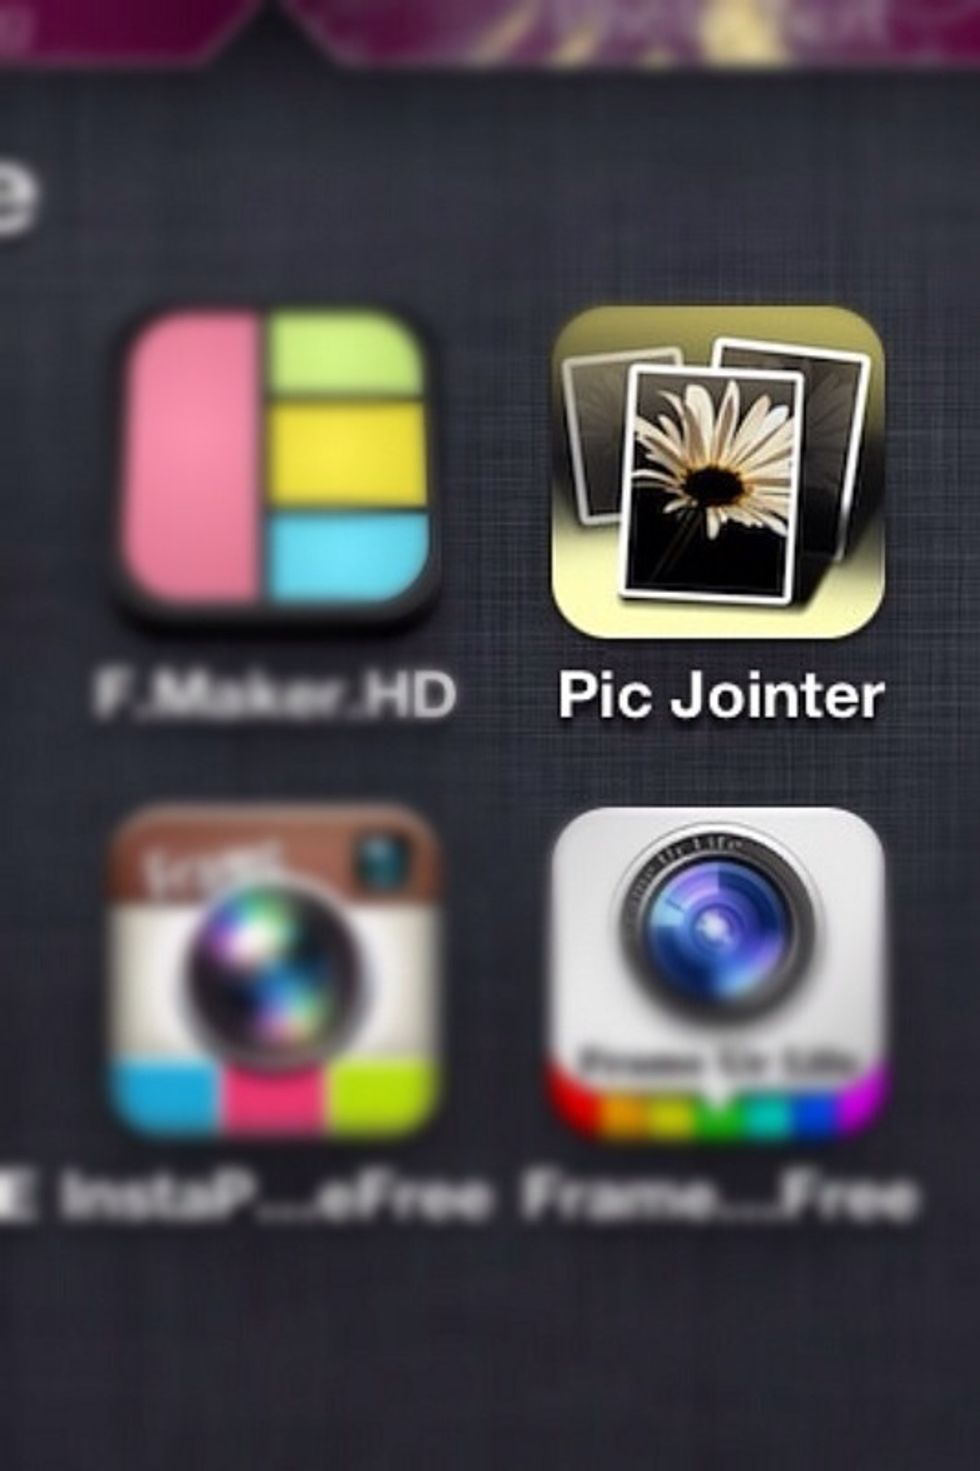
Open Pic Jointer 👆
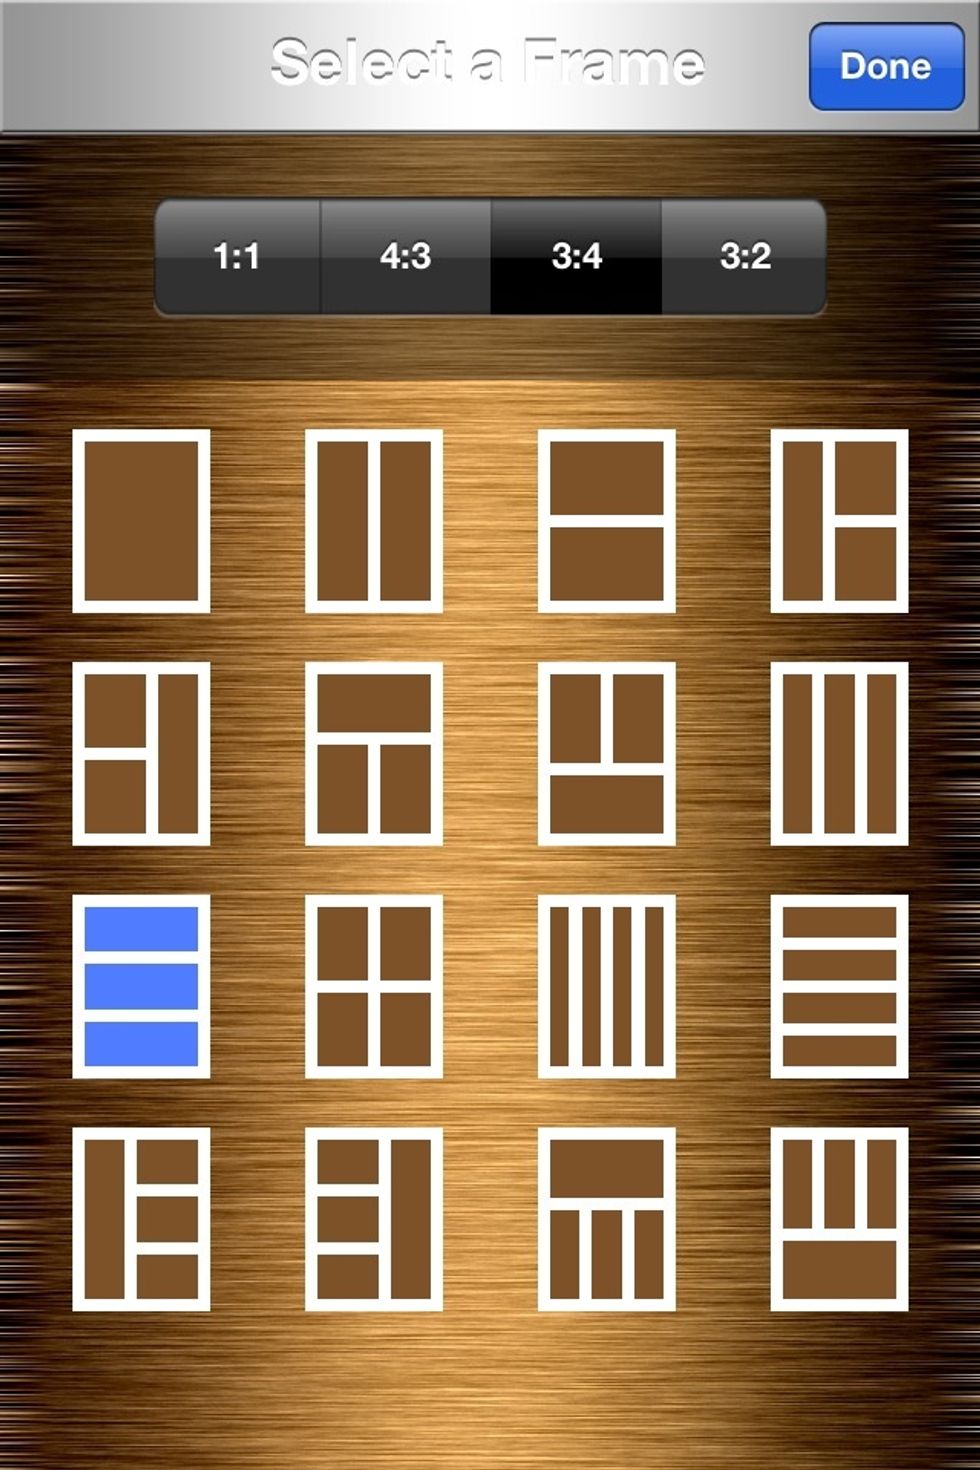
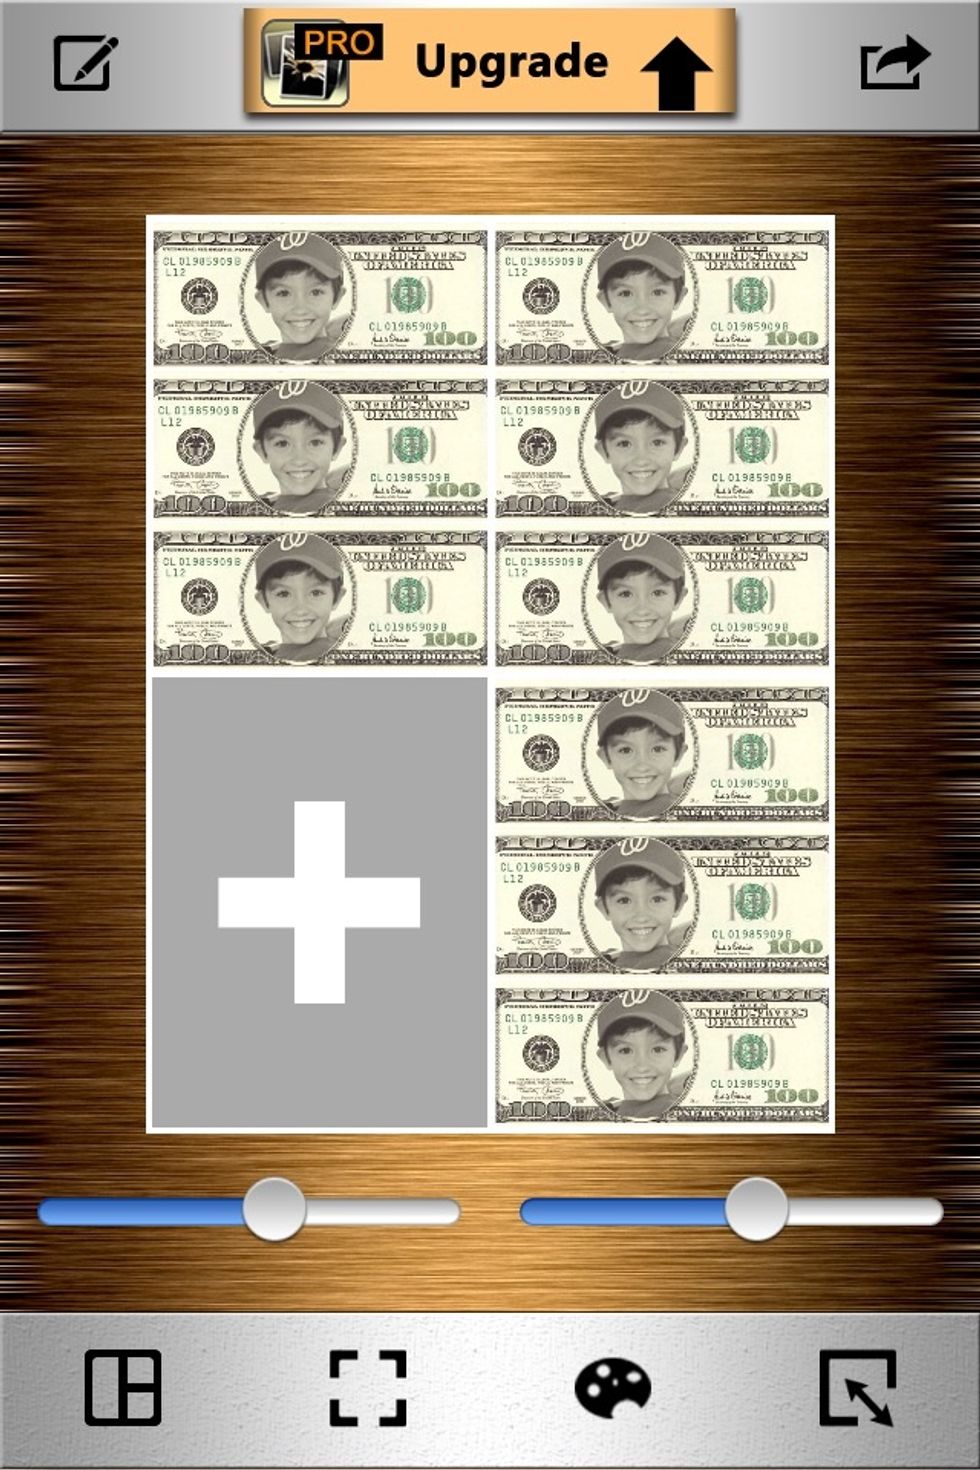
Select the collage frame under 3:4 that has three horizontal rectangle slots for your photo money.
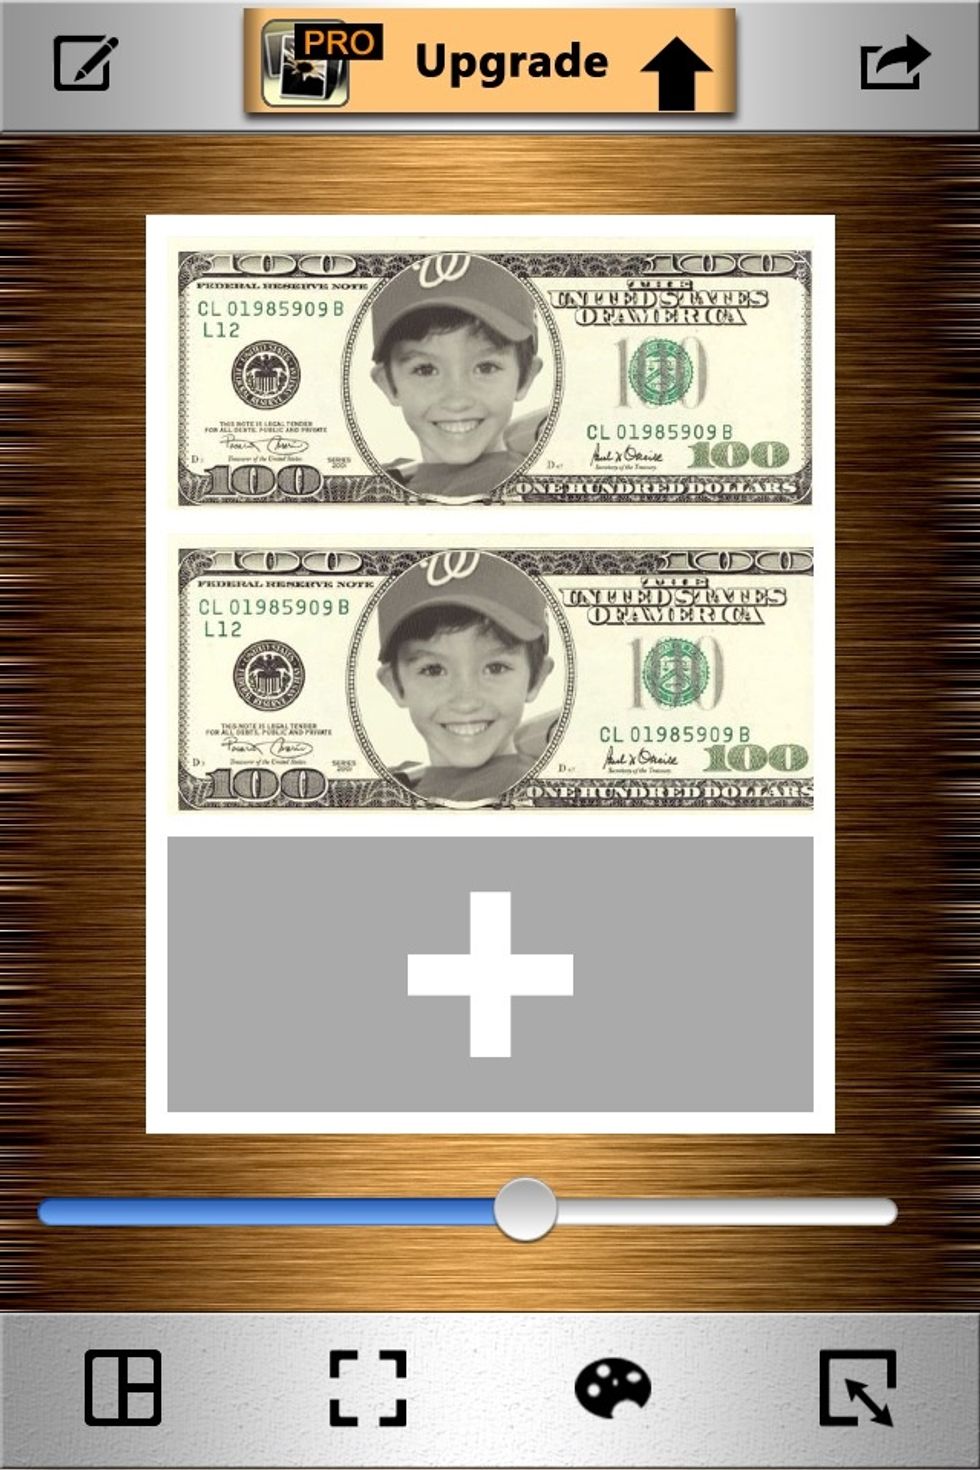
Add your photo money to each slot.
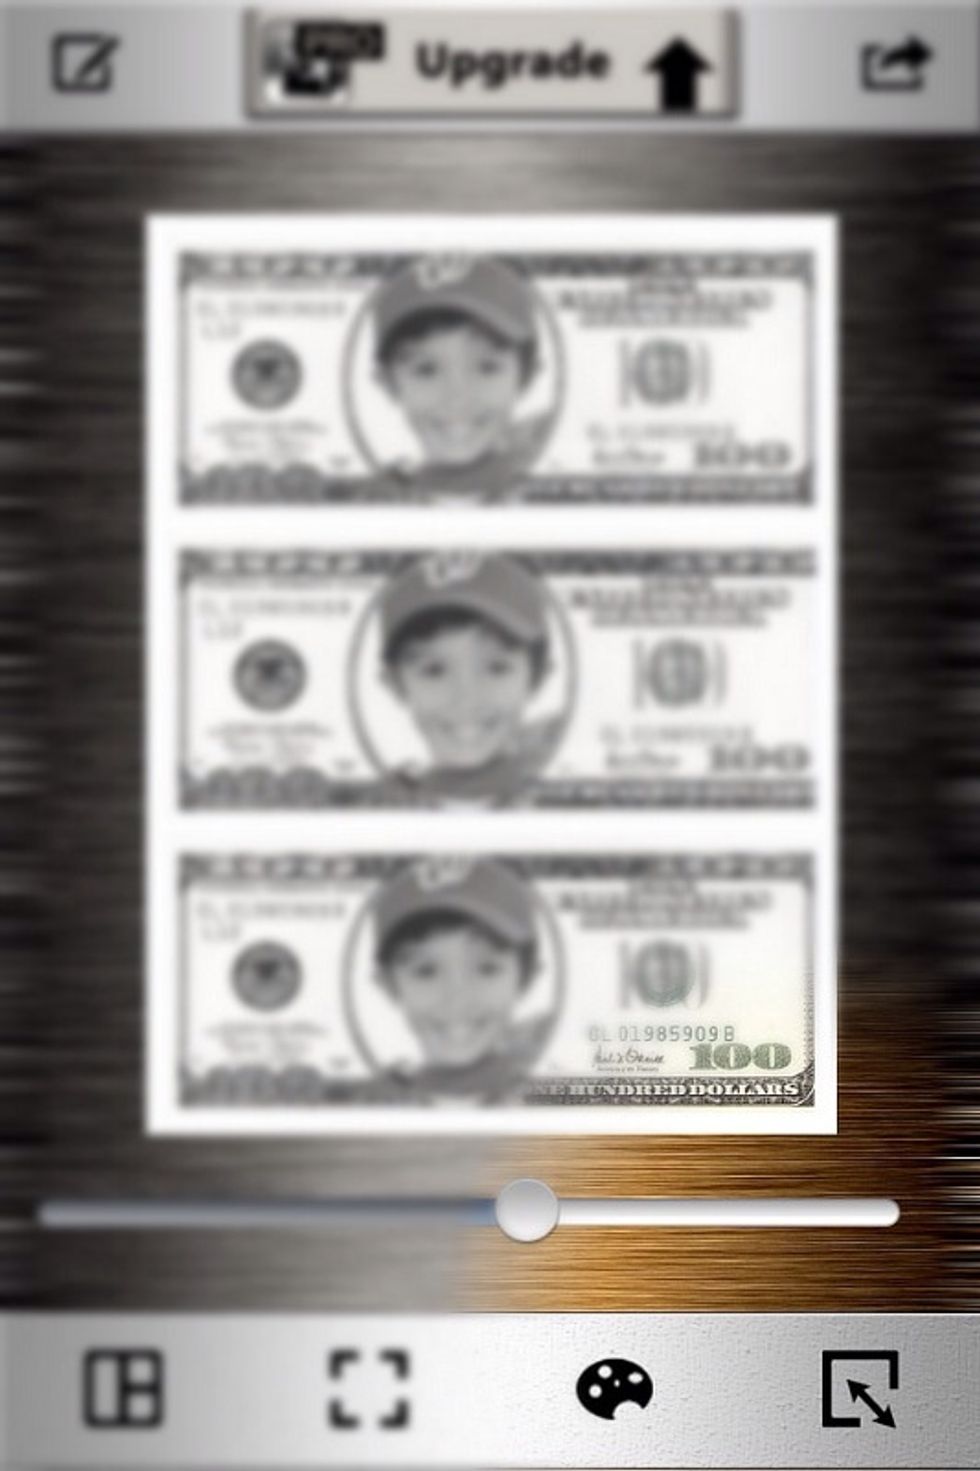
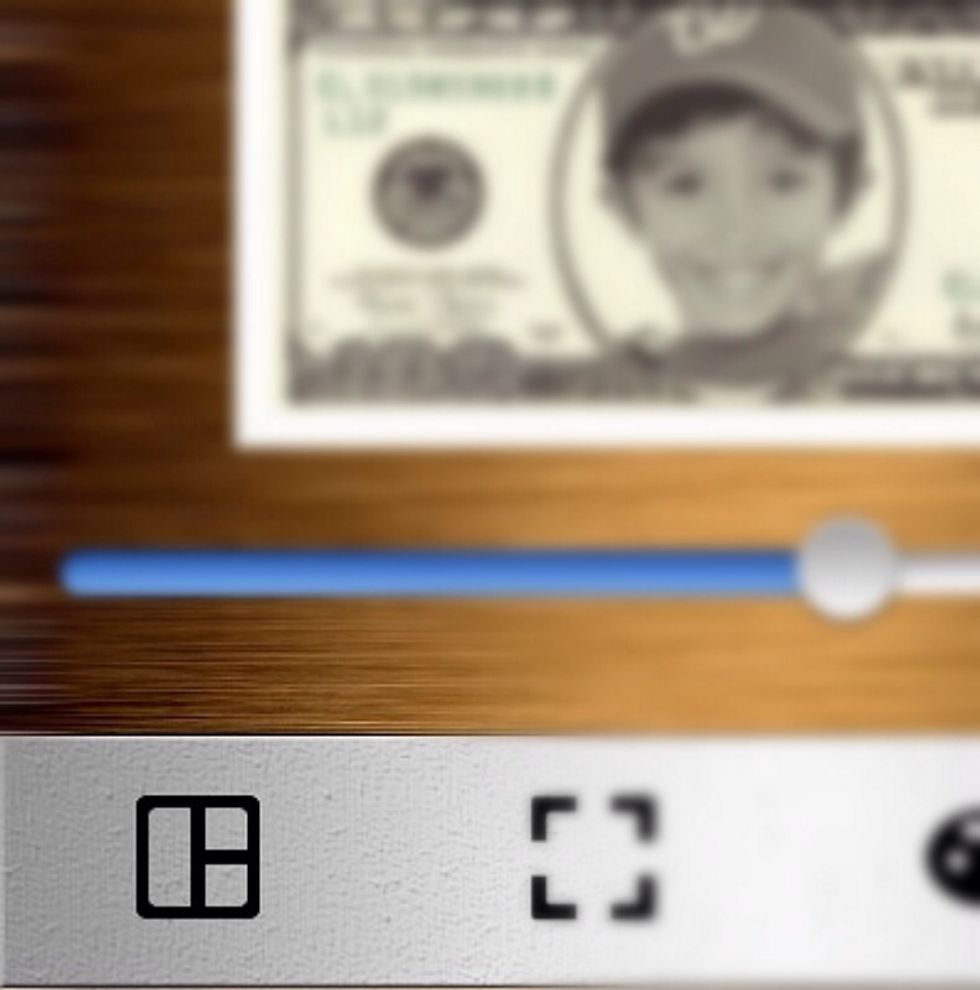
Press the bottom right button that has the square and a diagonal line with arrows.
Slide the bar all the way to the left so your dollars fill the whole page.

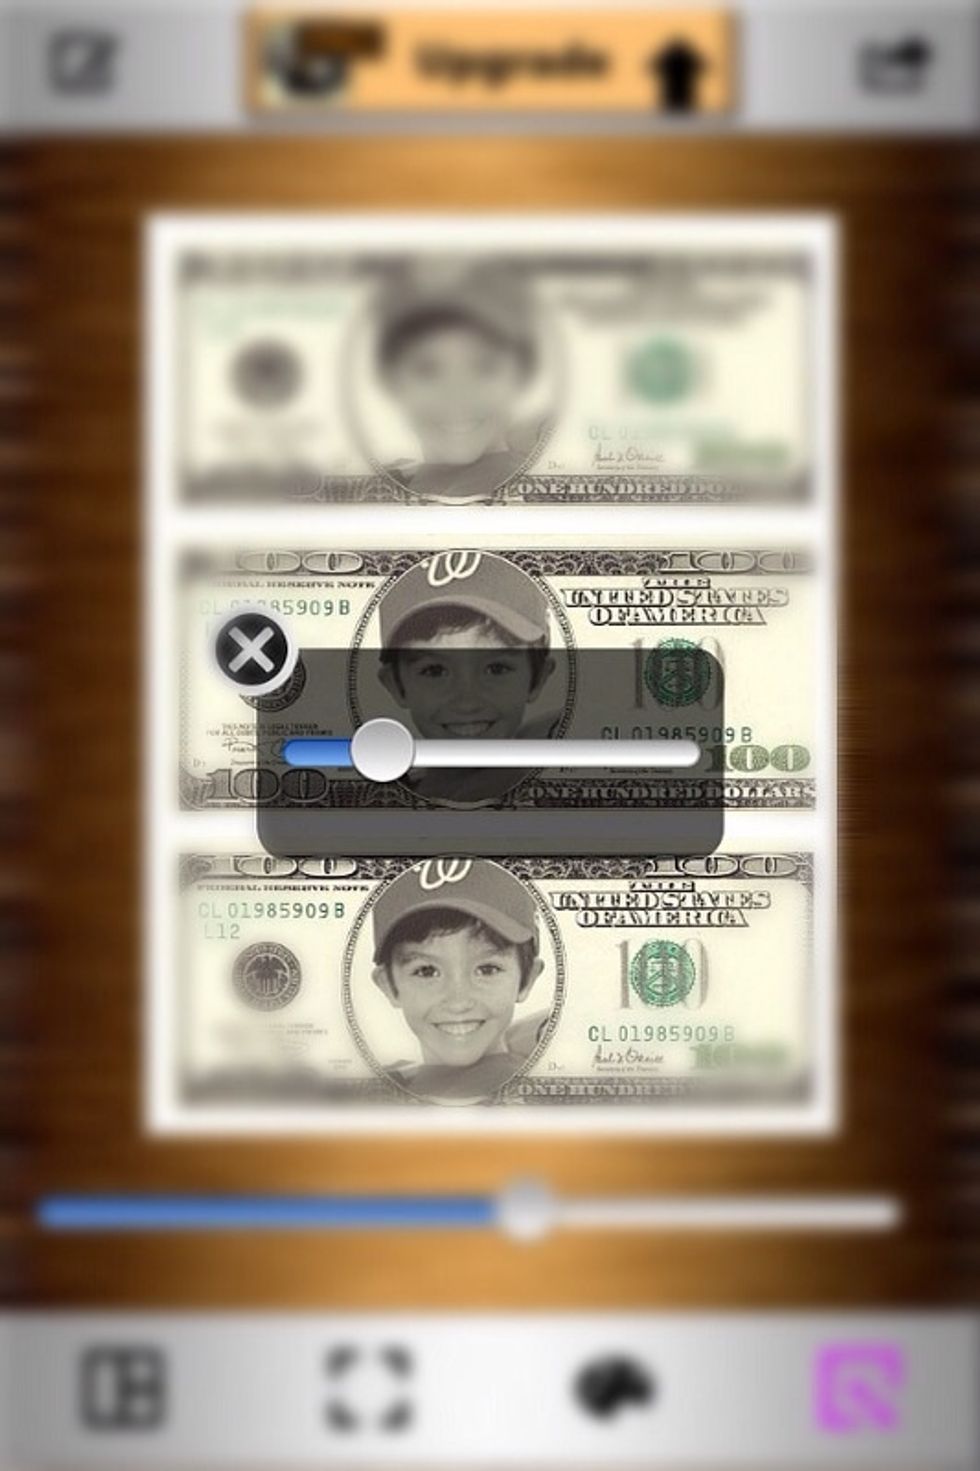
Press the (x) to close this feature.
Center each of your dollars with your finger to your liking.
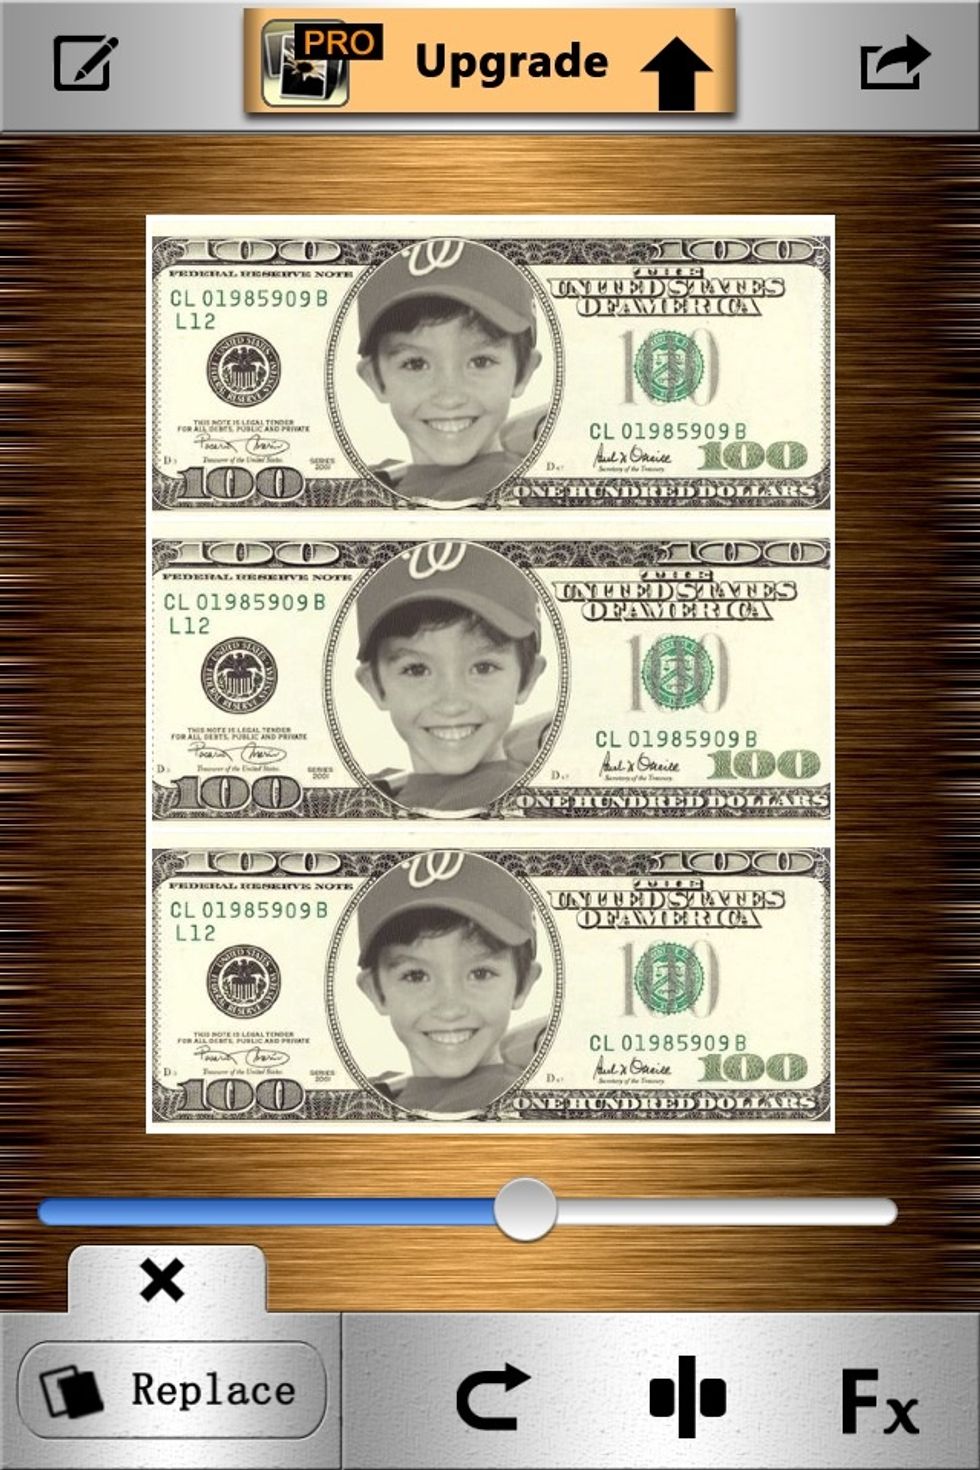
Press the top right button to save the dollar collage.
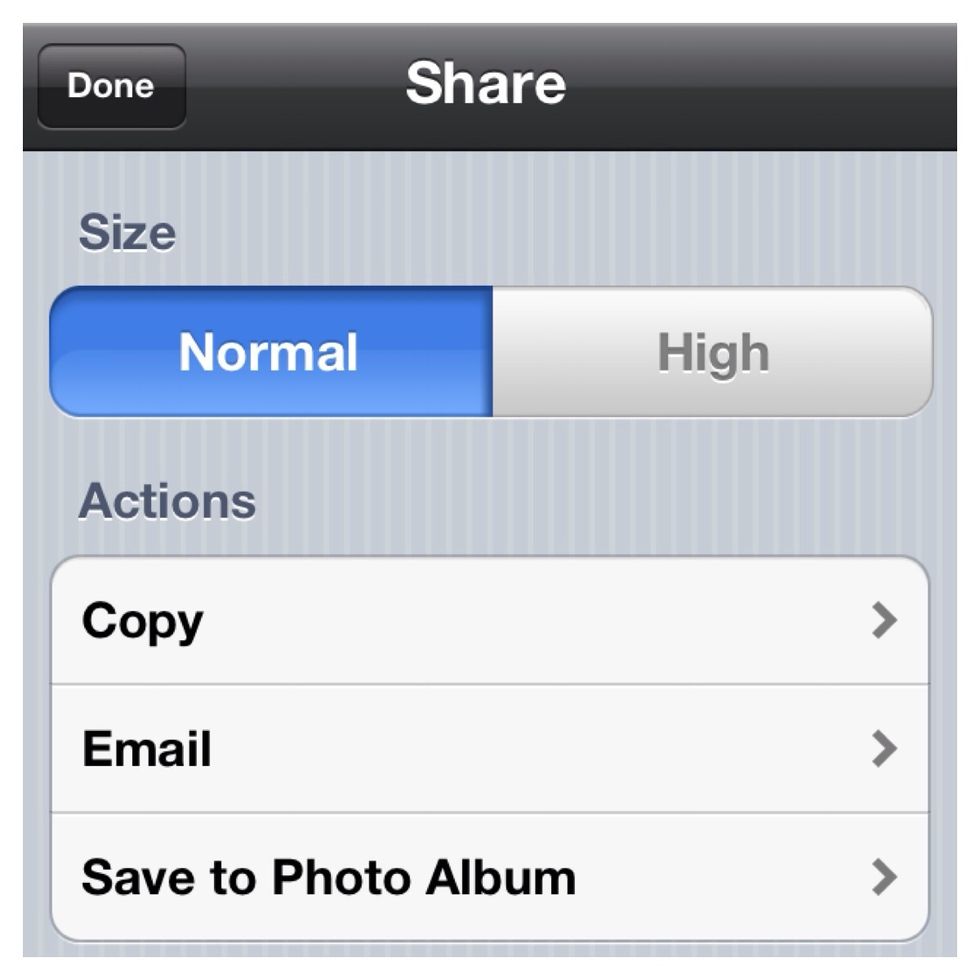
Choose Save to Photo Album. After it has been saved press Done in the top left corner.
Now press the bottom left button to choose a different frame.
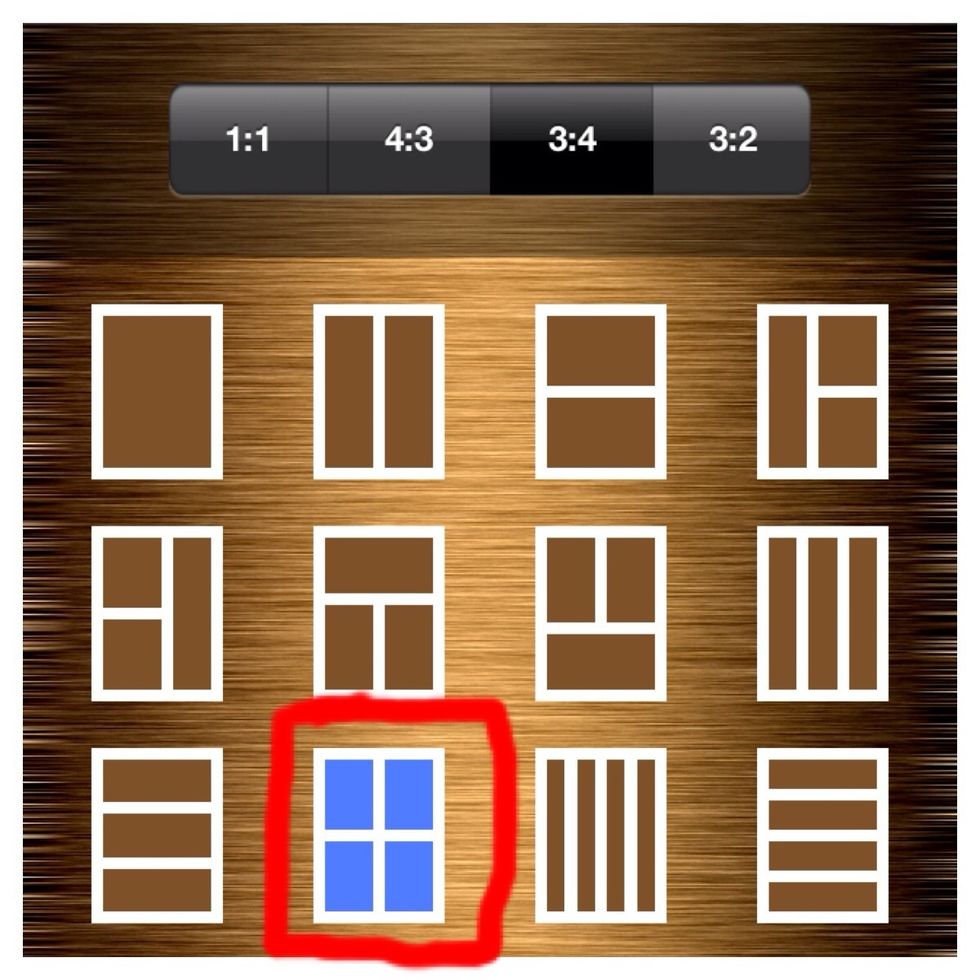
Under 3:4, now choose the frame with four photo slots.
Replace with/add the three bill collage you just saved, to the slots.
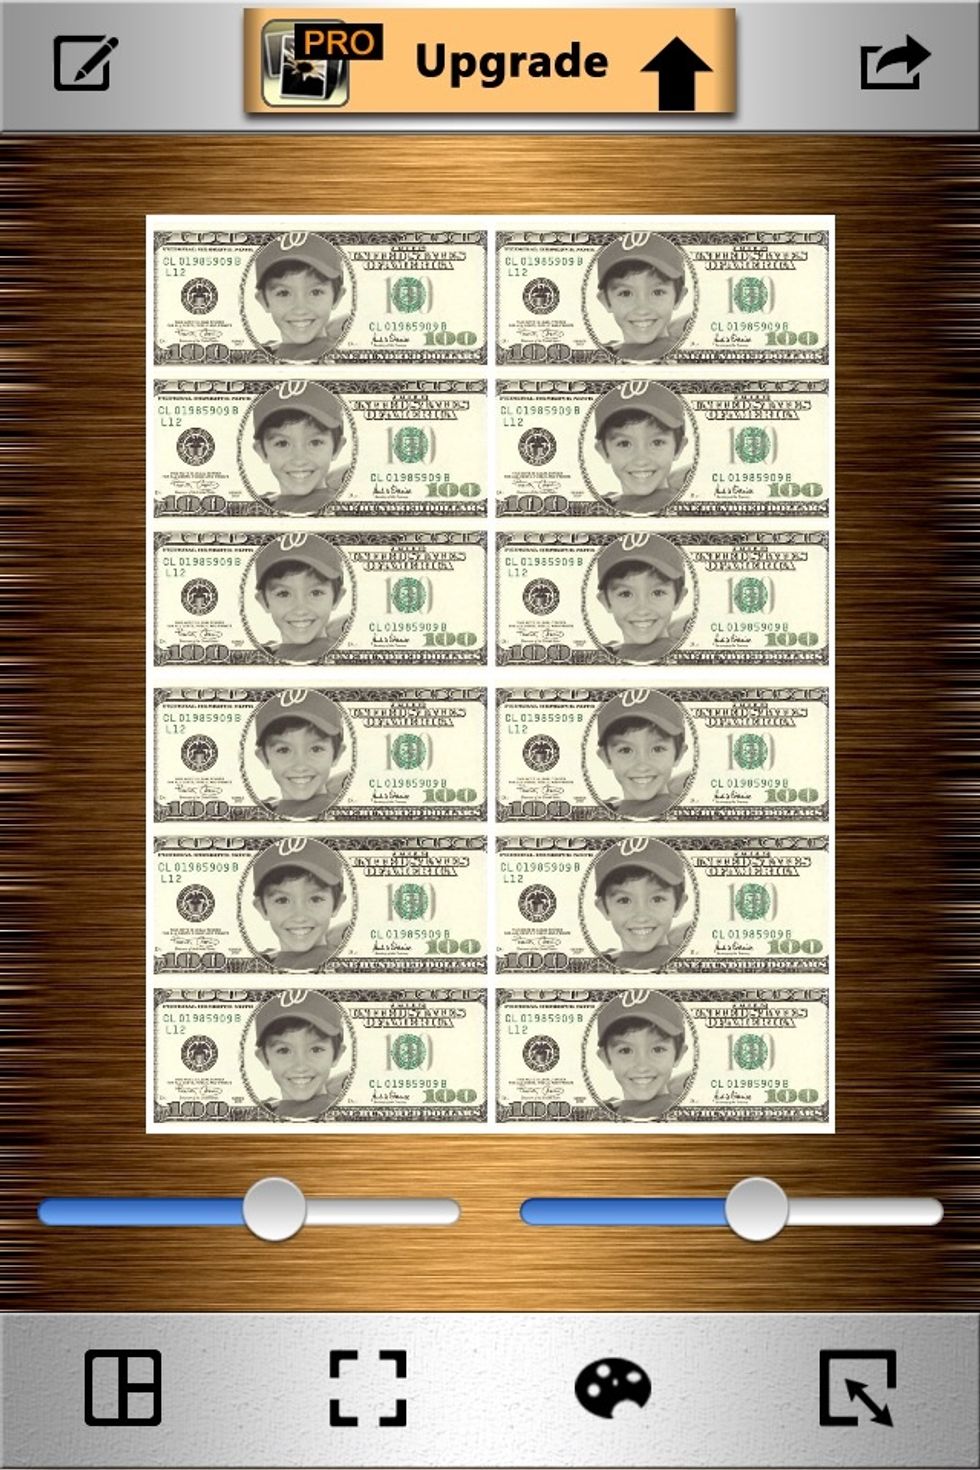
This time no adjustments need to be made because your previous adjustments are still in effect from the three bill collage you made. Your bills should be fully covering the whole page.
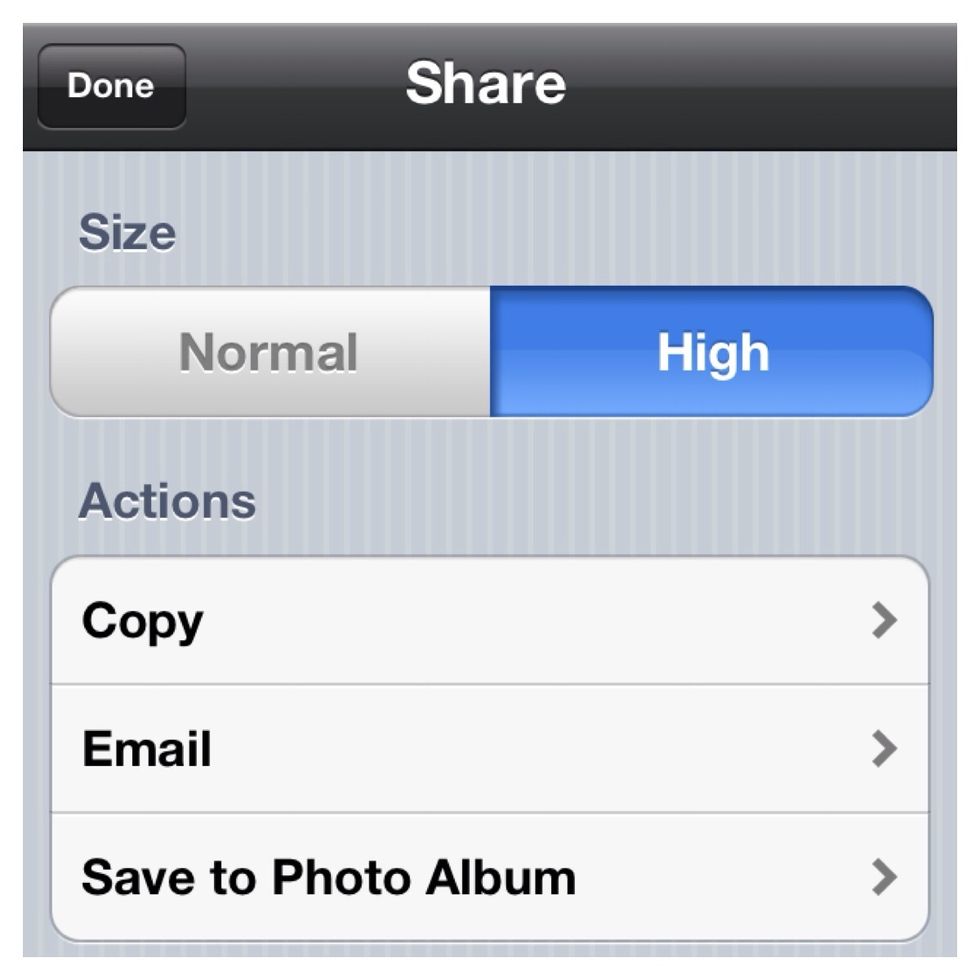
You can now save your twelve bill collage again to your camera roll. I chose to save in high resolution this time for printing.
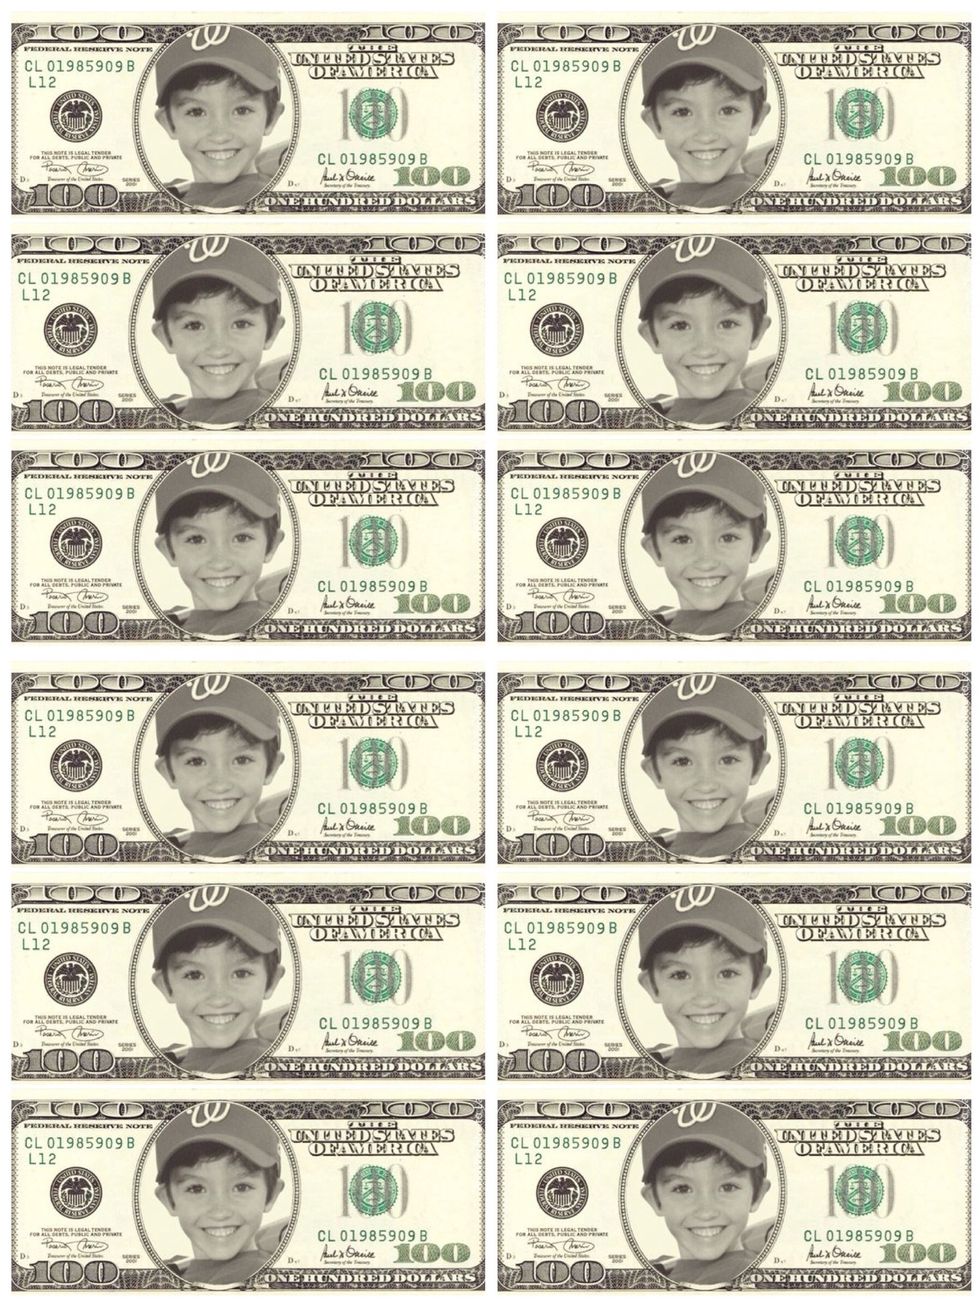
Your finished image is ready to be printed 👍 Print an 8x10 right from your own computer or take it to a photo lab (I used Sam's Club 1 hour @ $1.46 per 8x10). Use next step for cropping information.
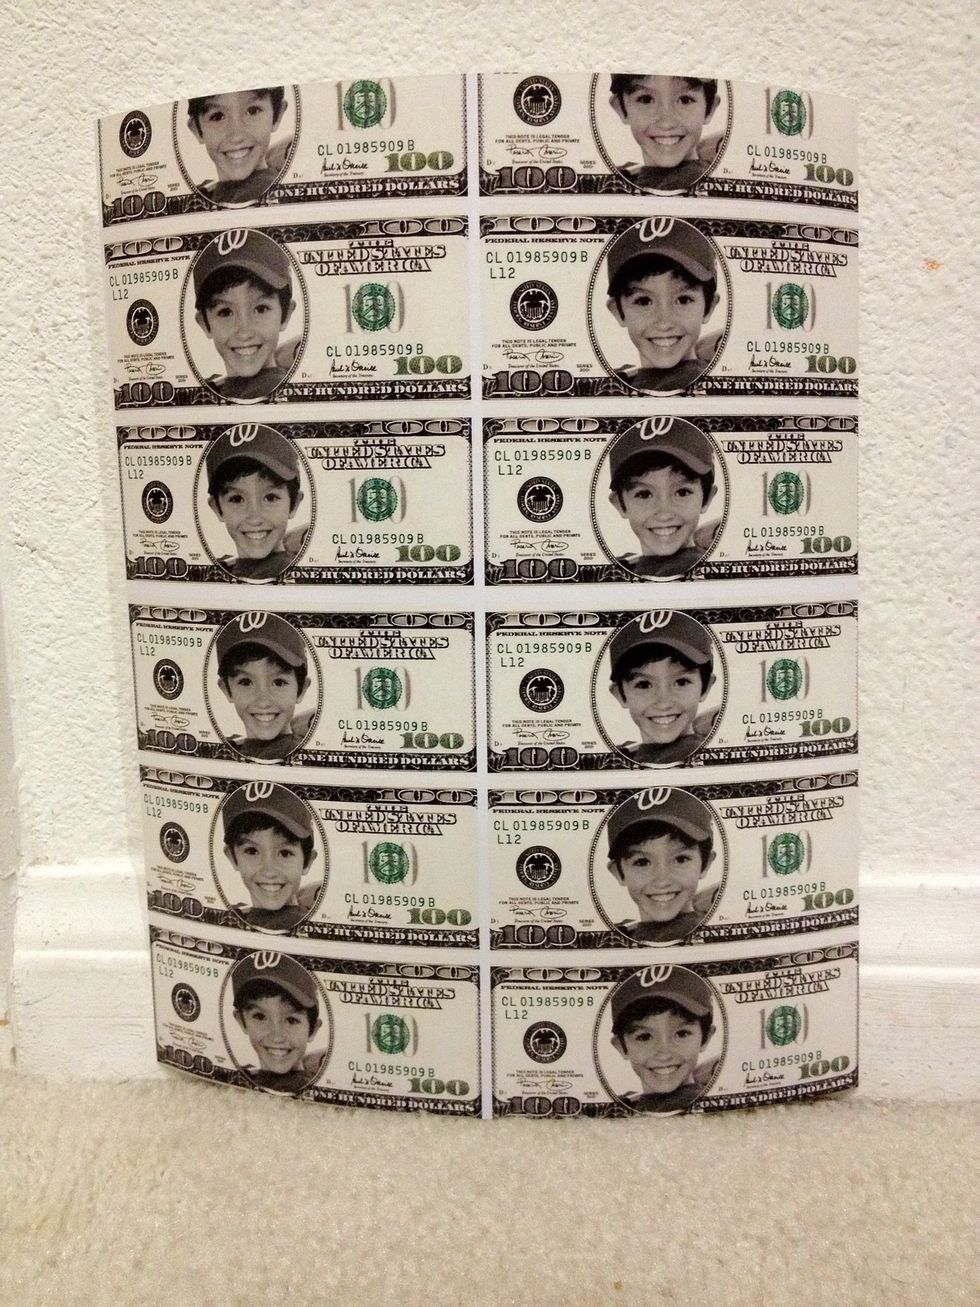
When cropping to print, move the image so you have the full dollars showing at the bottom. The bills at the top will not be full (top will be cut off). You will get ten full bills per page.
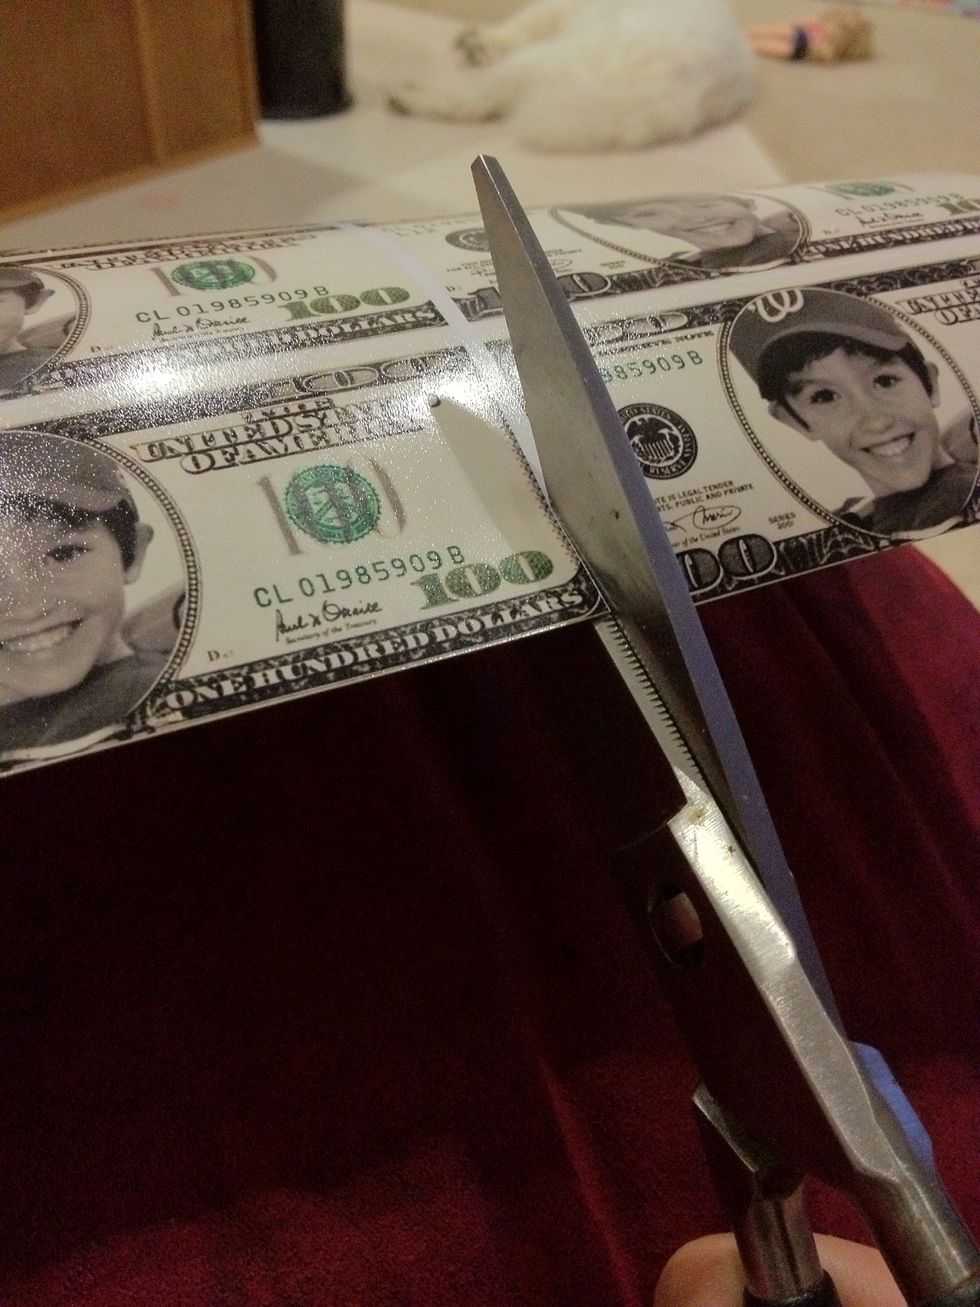
Cut out the bills. ✂
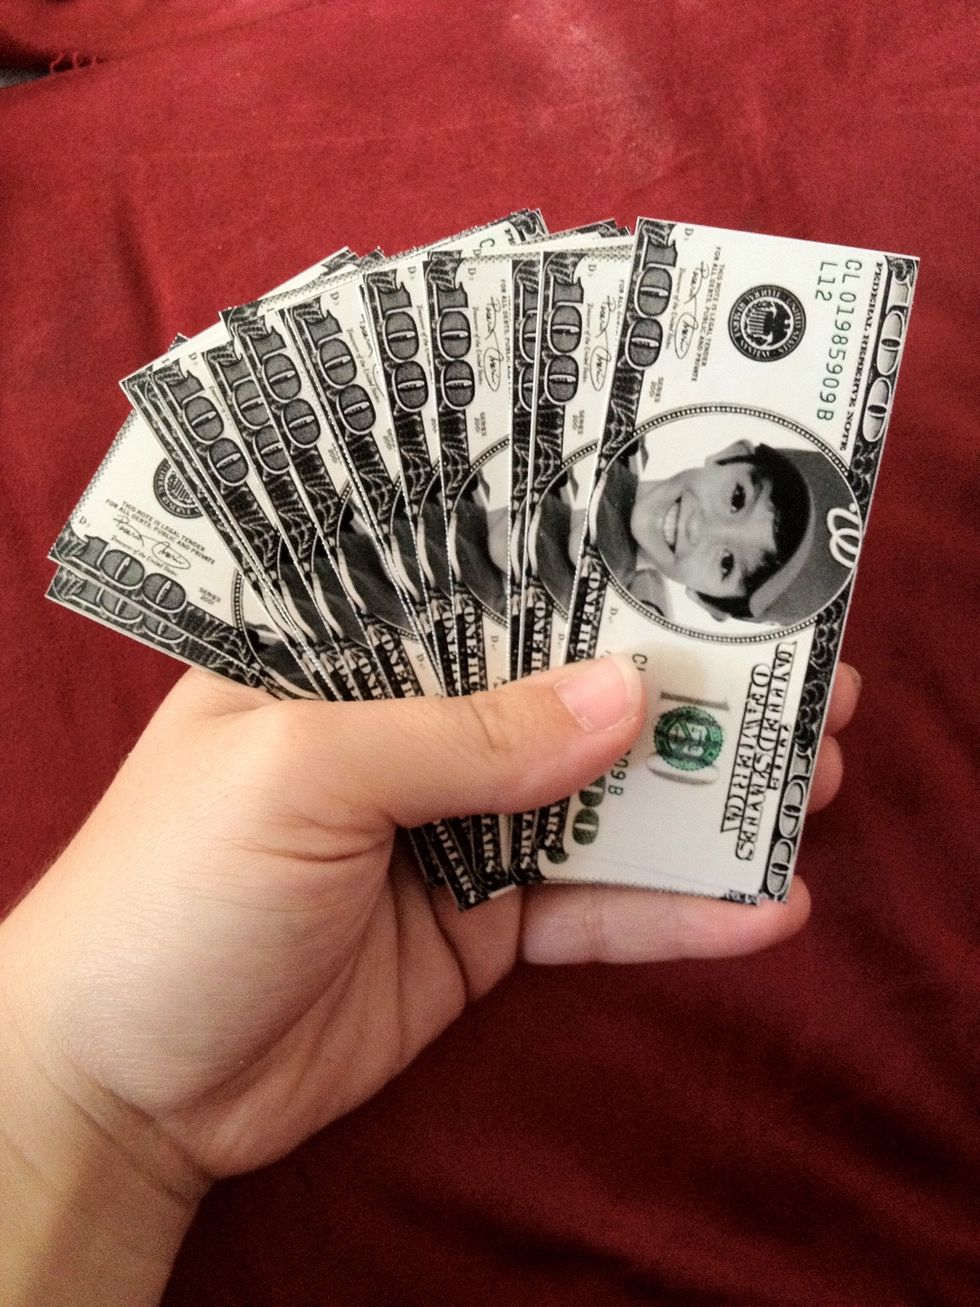
Now you have some play money. The bills measure approximately 3.875 inches wide by 1.625 inches high.
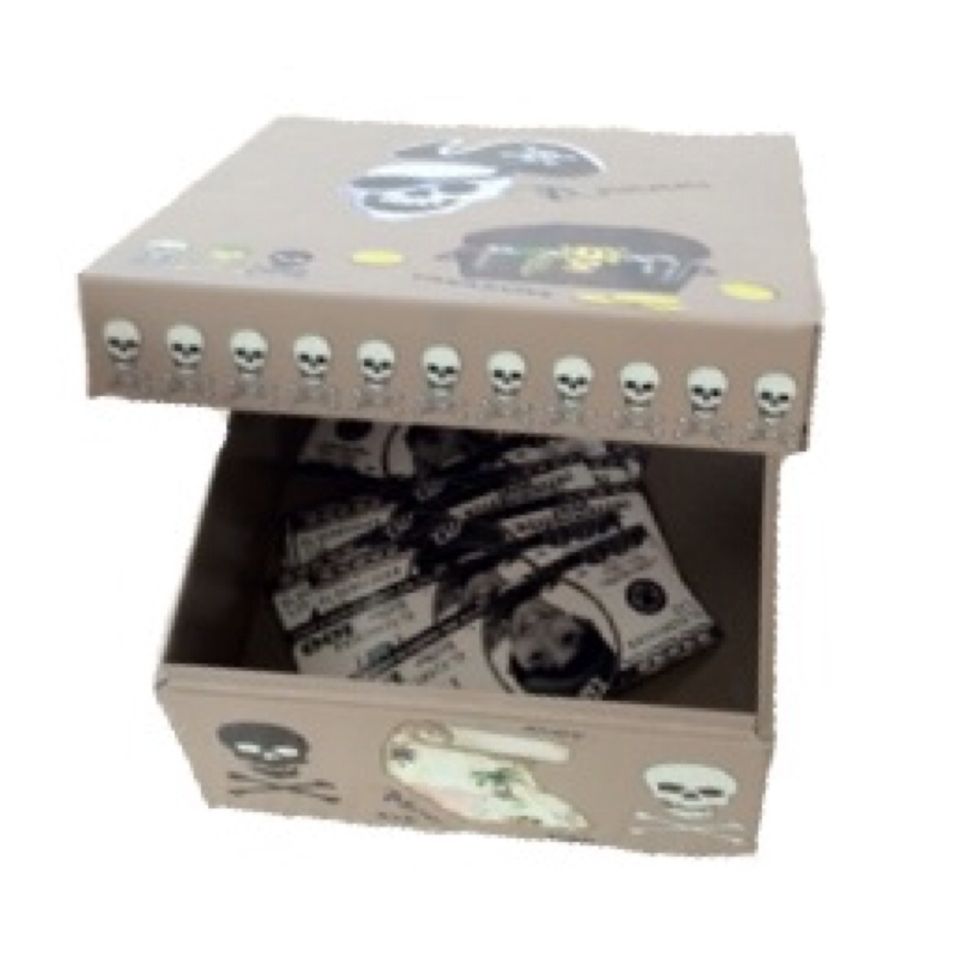
I actually made them for my son's reward system. He gets "Curran Cash" each day he fulfills his responsibilities and gets a sticker on his chart at school. Then he can spend them on special rewards.

Thank you for checking out my very first guide. I hope you enjoyed it!! Have a wonderful day!! 😁