The Conversation (0)
Sign Up
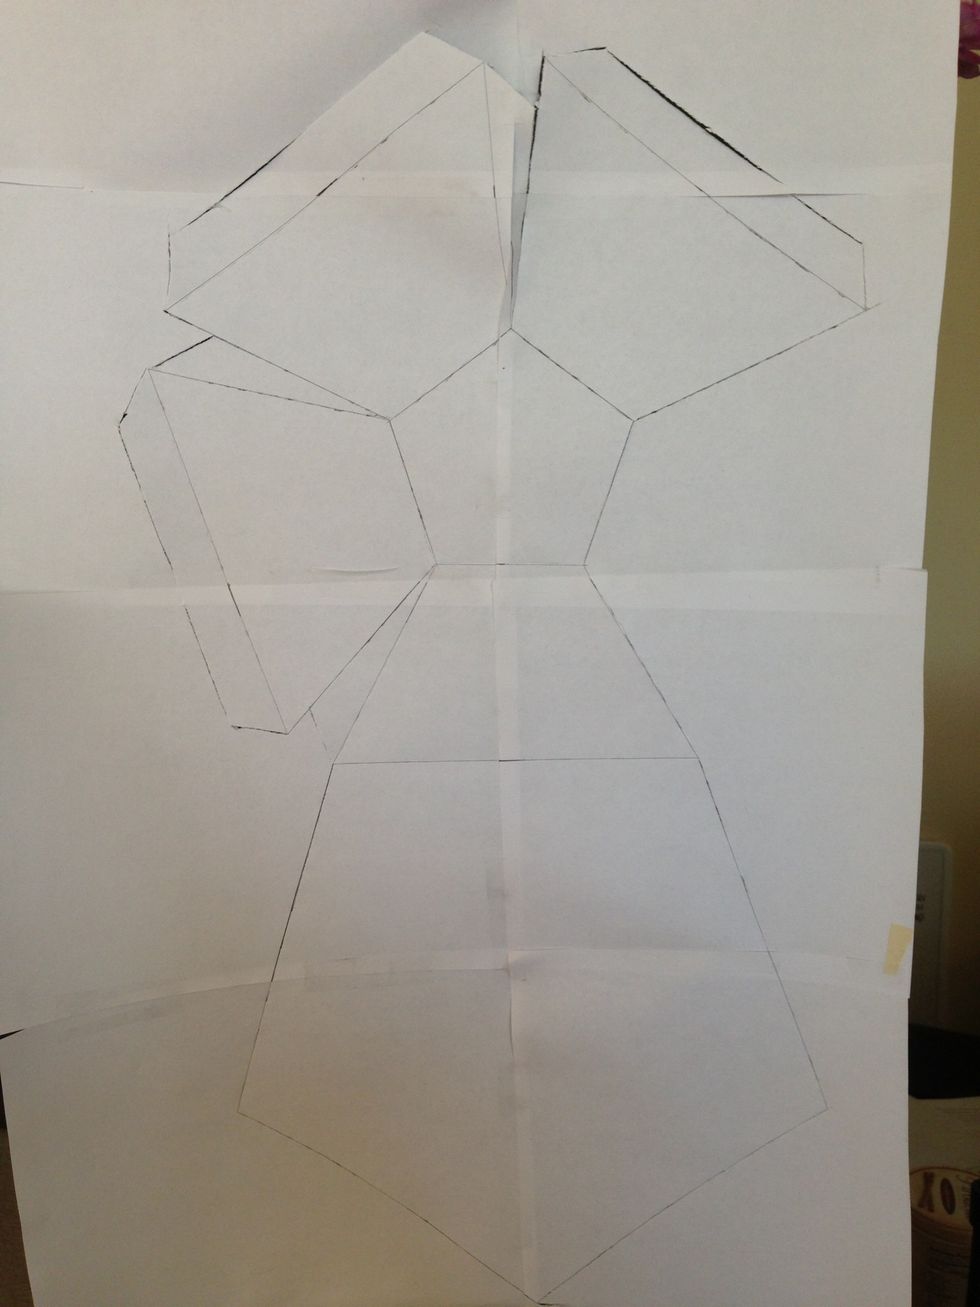
First, check out the template I made https://docs.google.com/file/d/0B_CK_0rBjd4INWM0VXpGX2ozek0/edit?usp=sharing
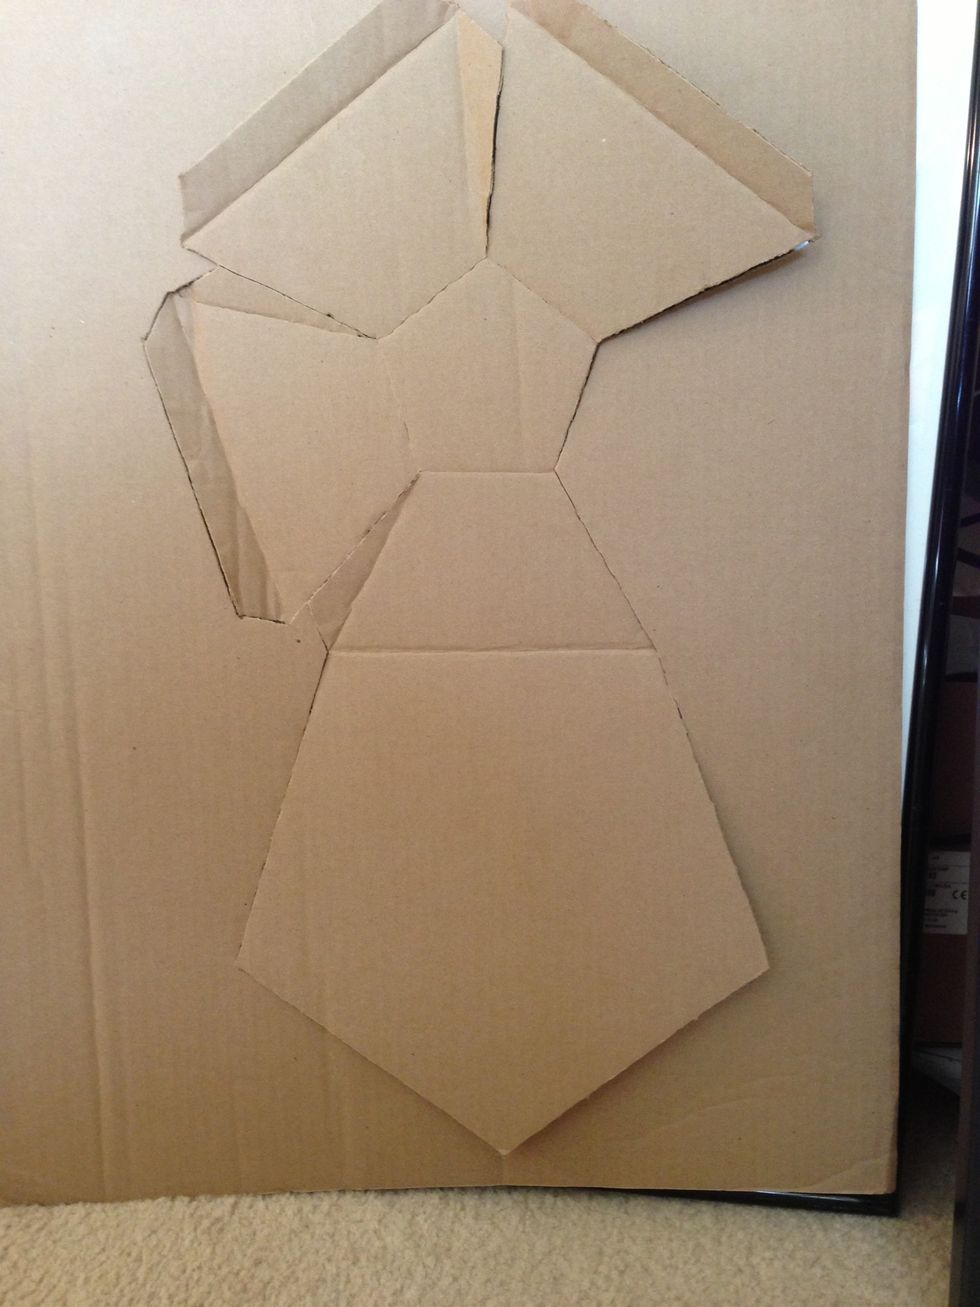
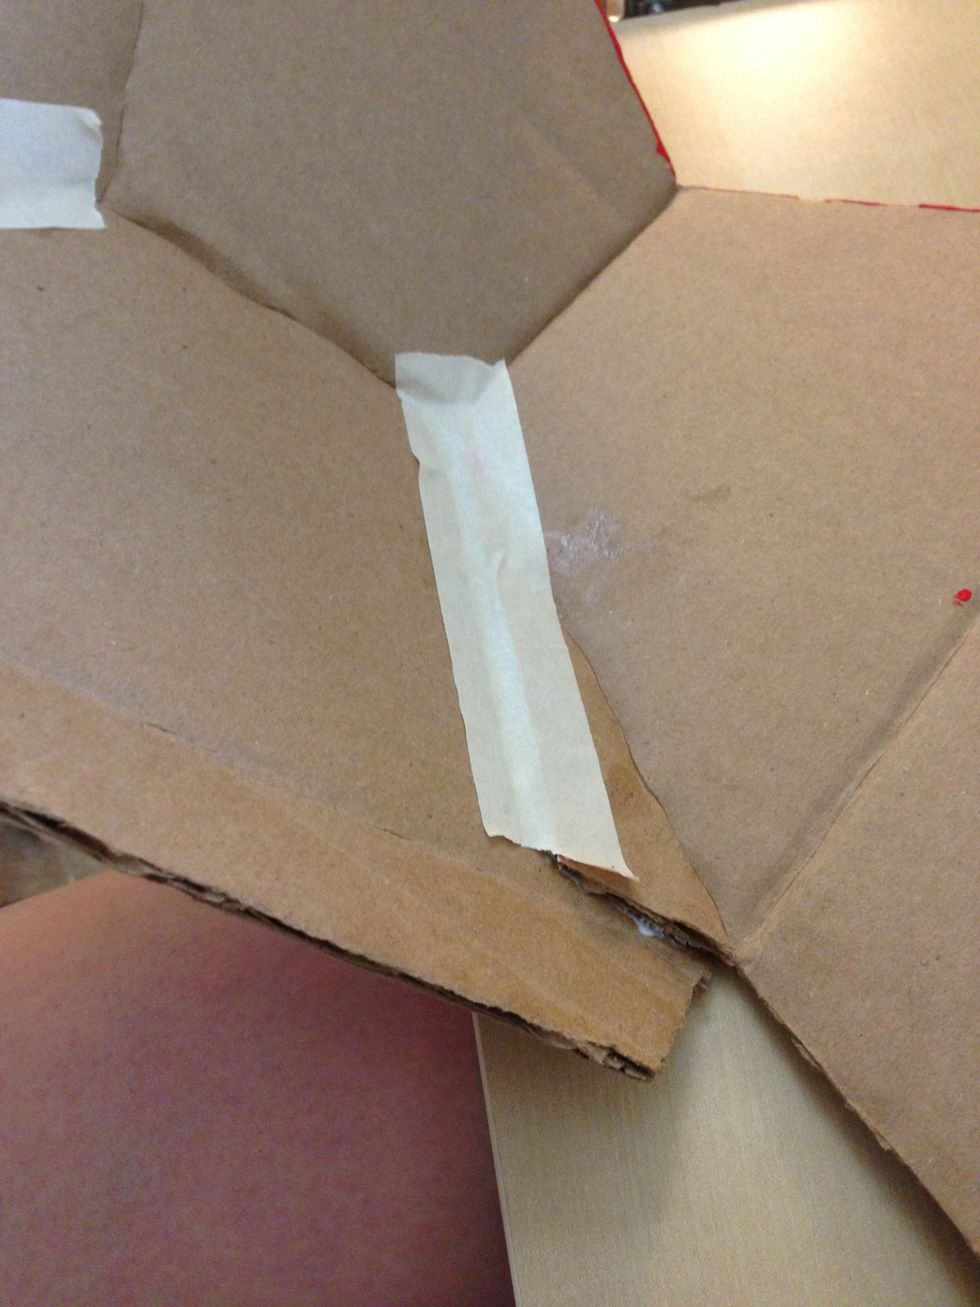
Tape the template to the cardboard and Trace over the template with your X-Acto knife not pushing through the entire template. Remove the templateCut through the cardboard on the edges.
Fold on the line center scored but not hot to determine if the cardboard has been cut properly.

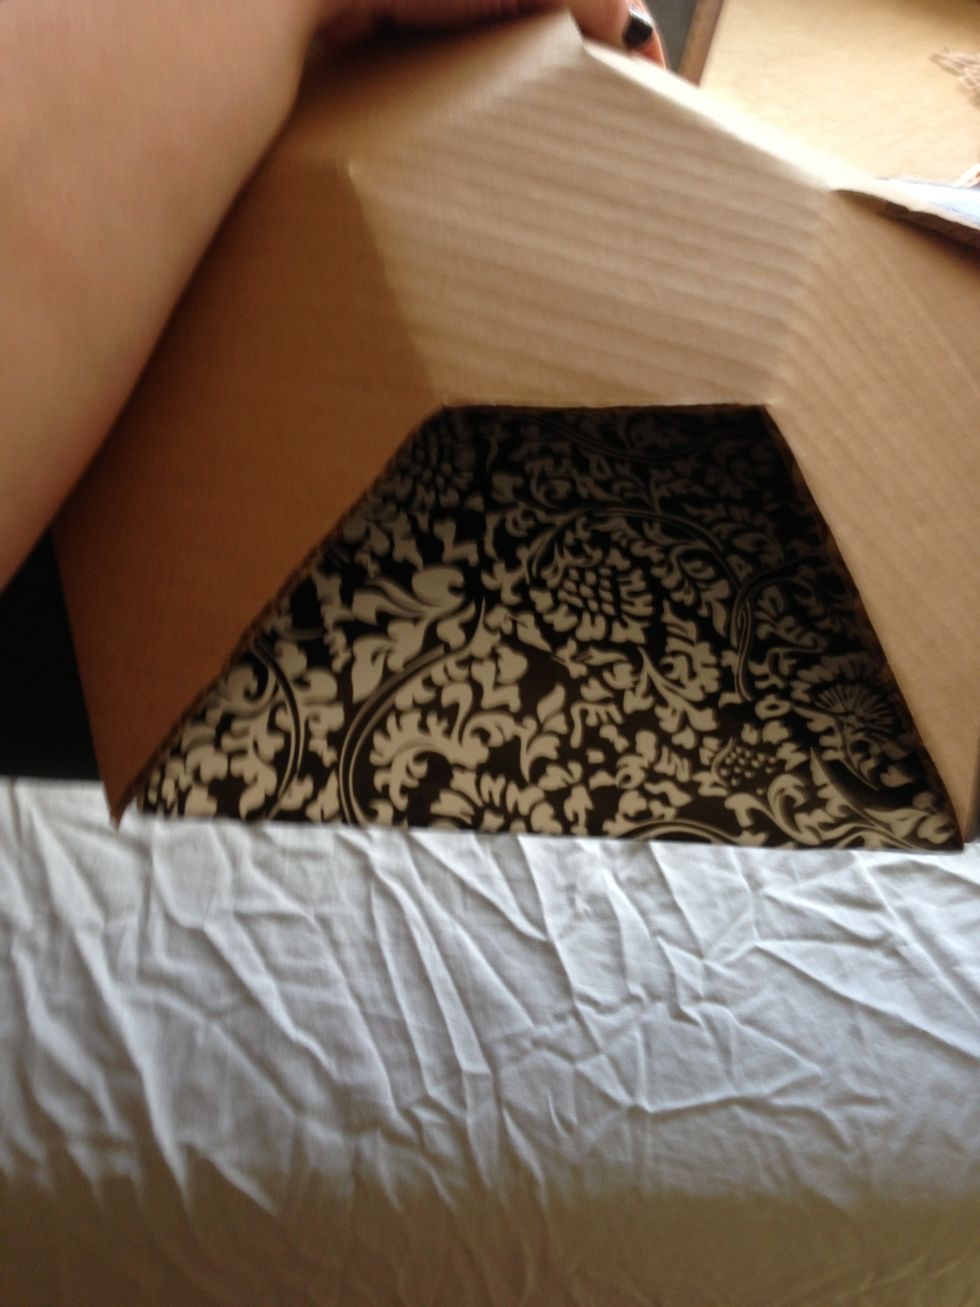
I used contact paper to cover the inside lip of the pocket. The piece only needs to be as wide as the edge of the larger pentagon.
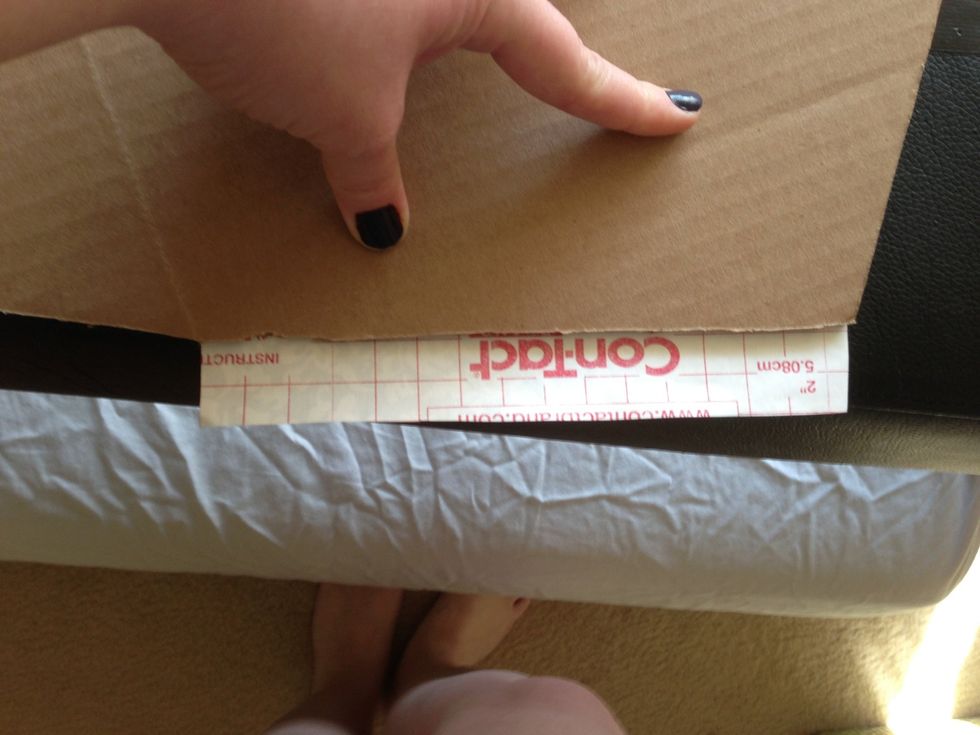
Put about an inch on the backside of the pentagon.
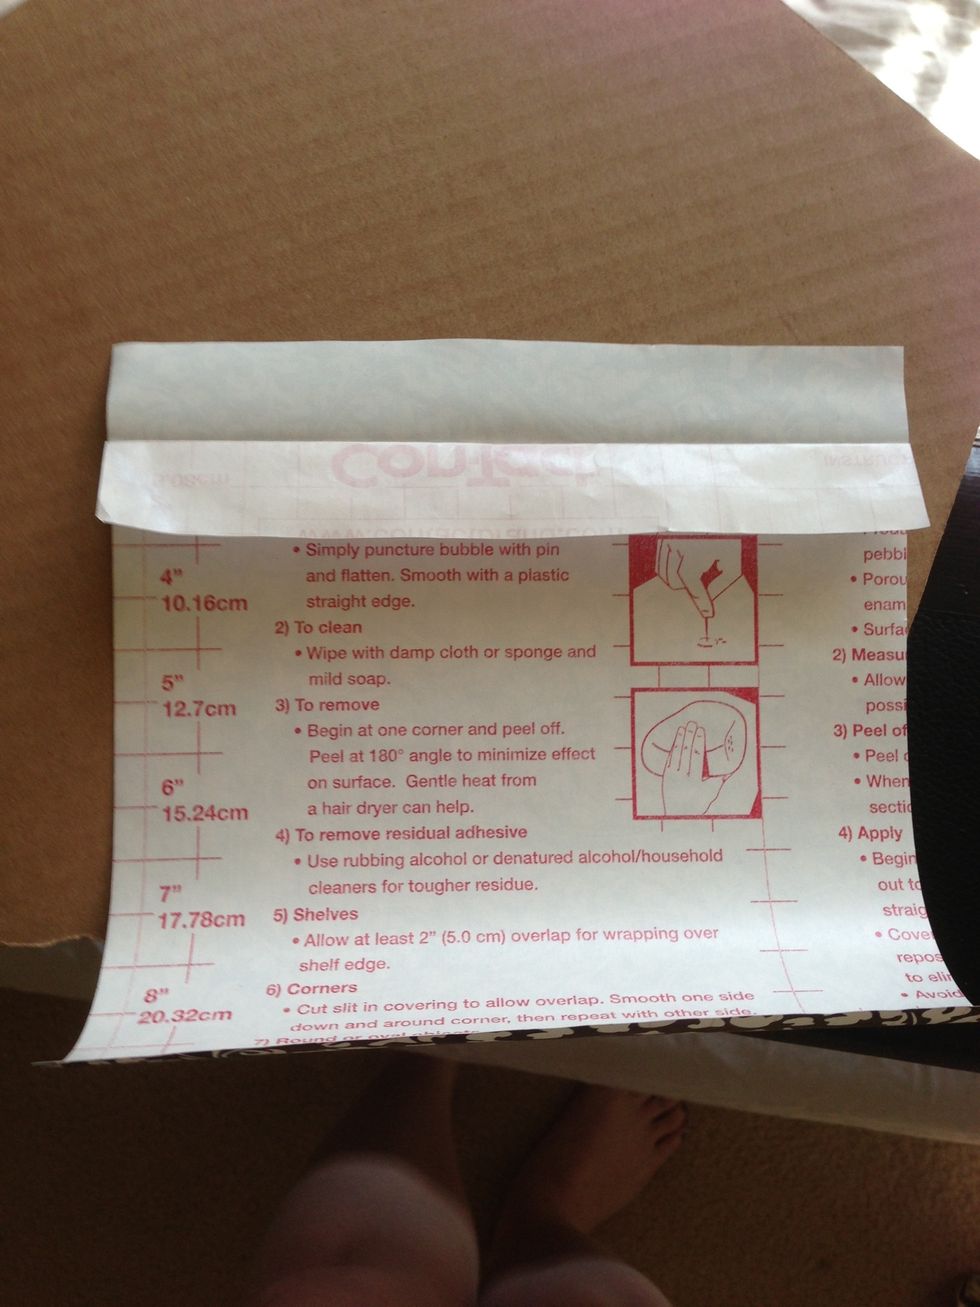
You can do this by pulling off that much of the contact paper's backing.
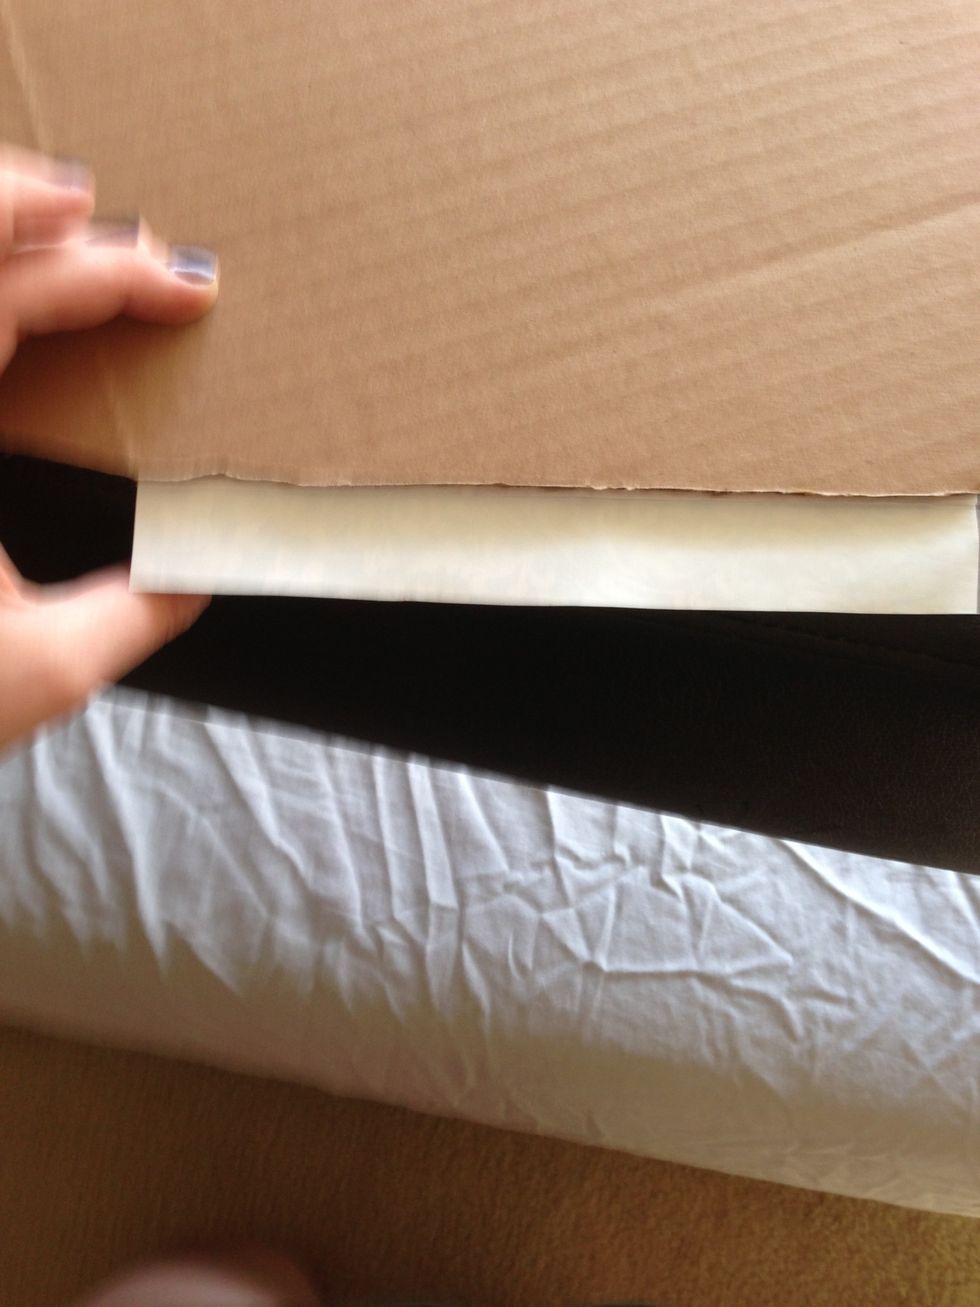
Line it up...

And press it down.
Flip over the whole keys and pull the rest of the contact paper onto the inside of the pocket.
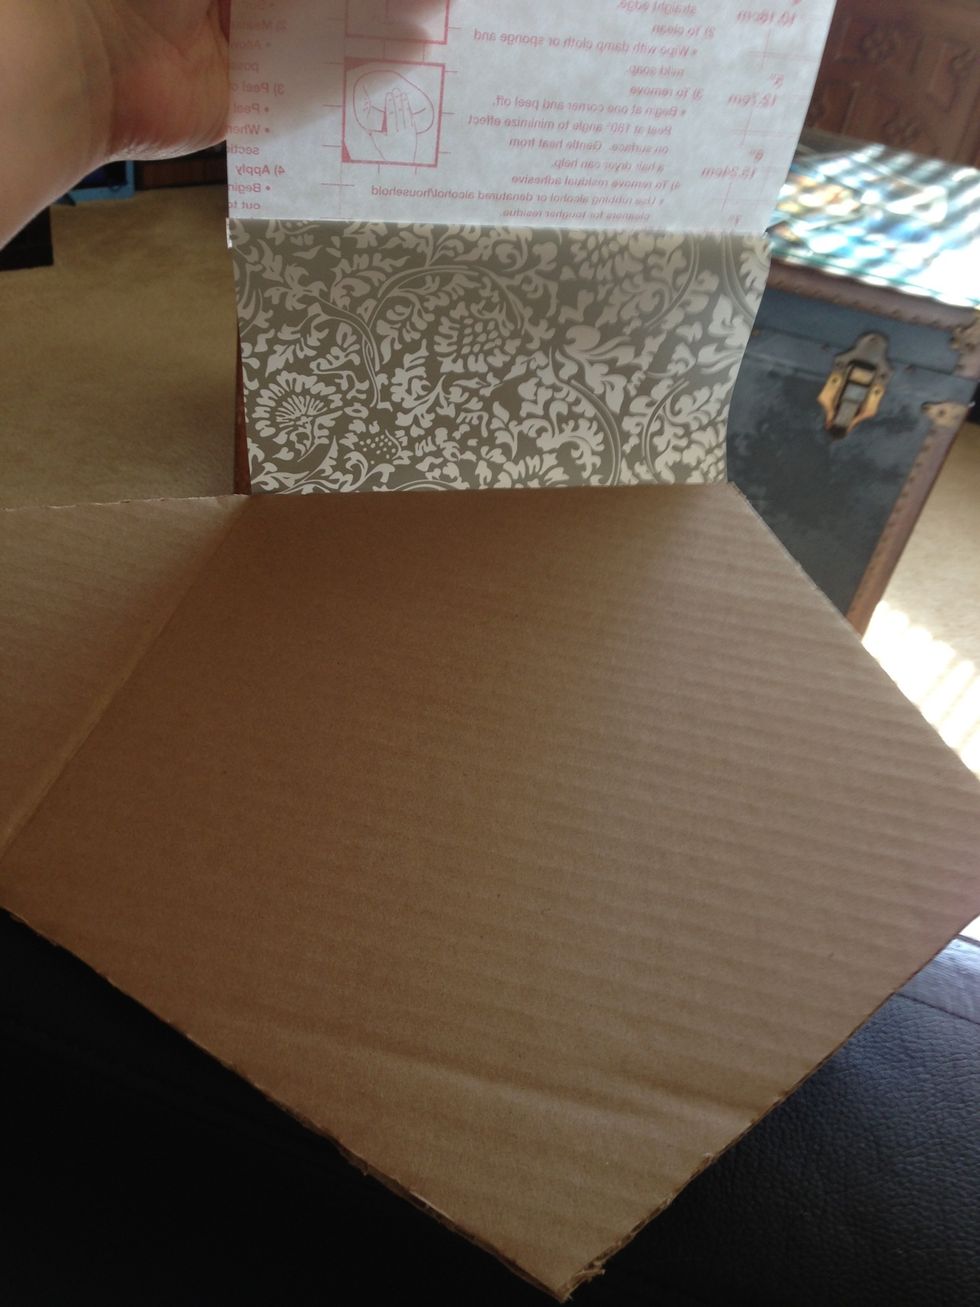
It should look something like this.
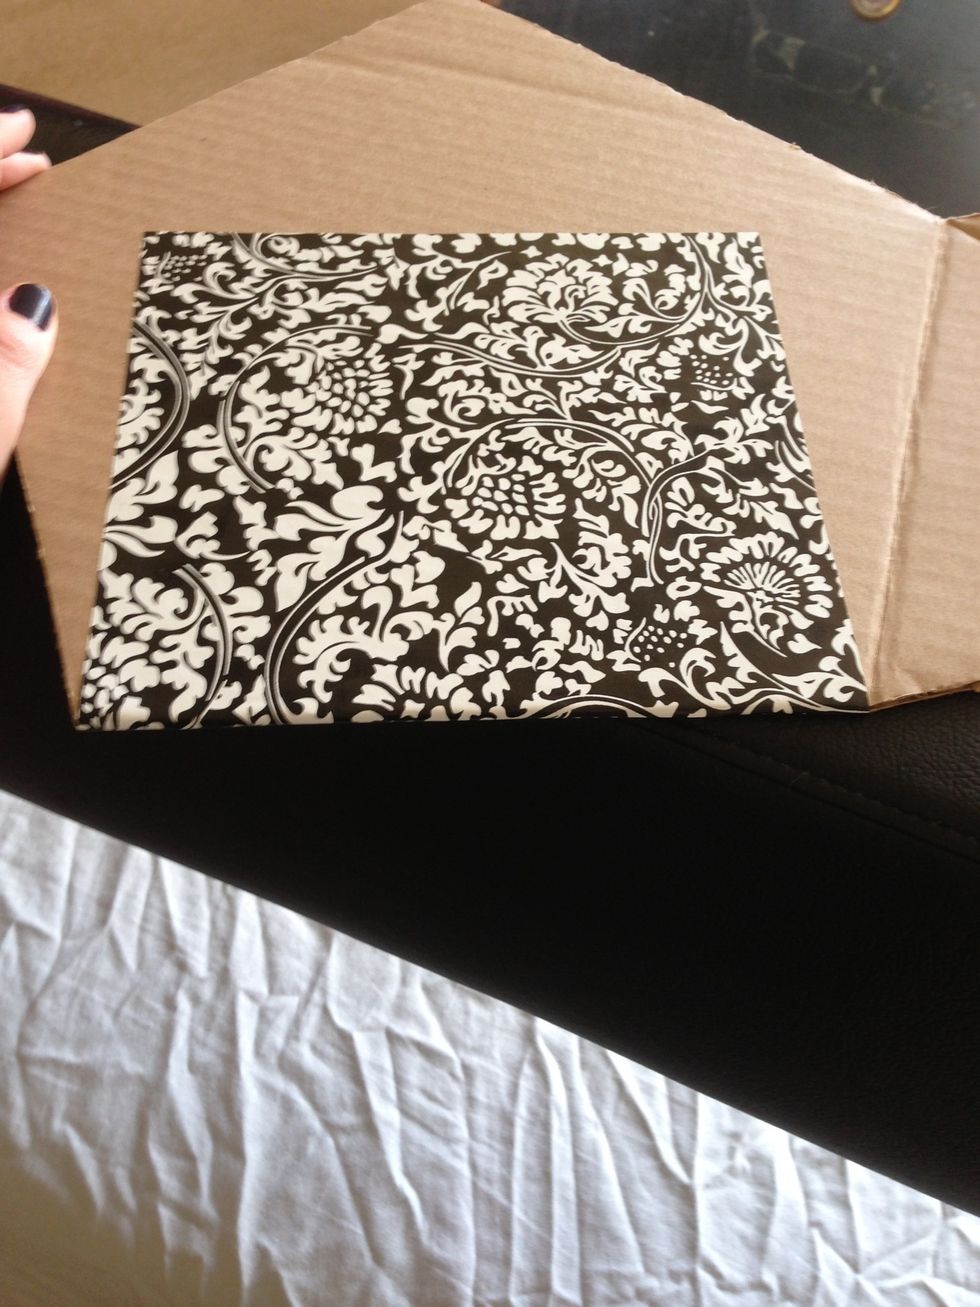
If you want to cover the entire inside you can but as you can see you only need to cover the part that shows.
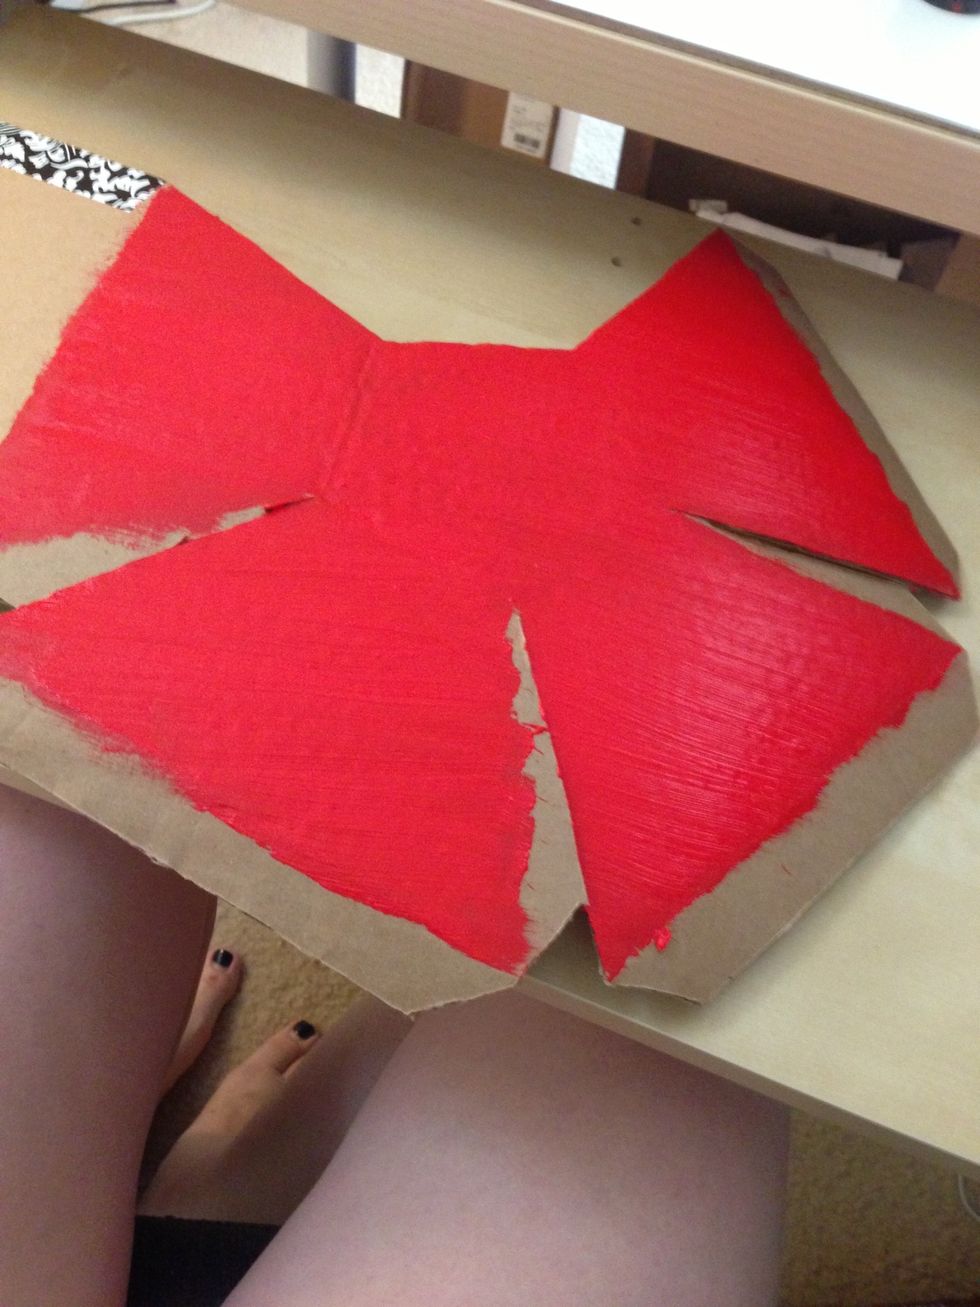
Now paint the outside of the pocket. Try to keep the edges clear of paint so that the glue will adhere more easily.
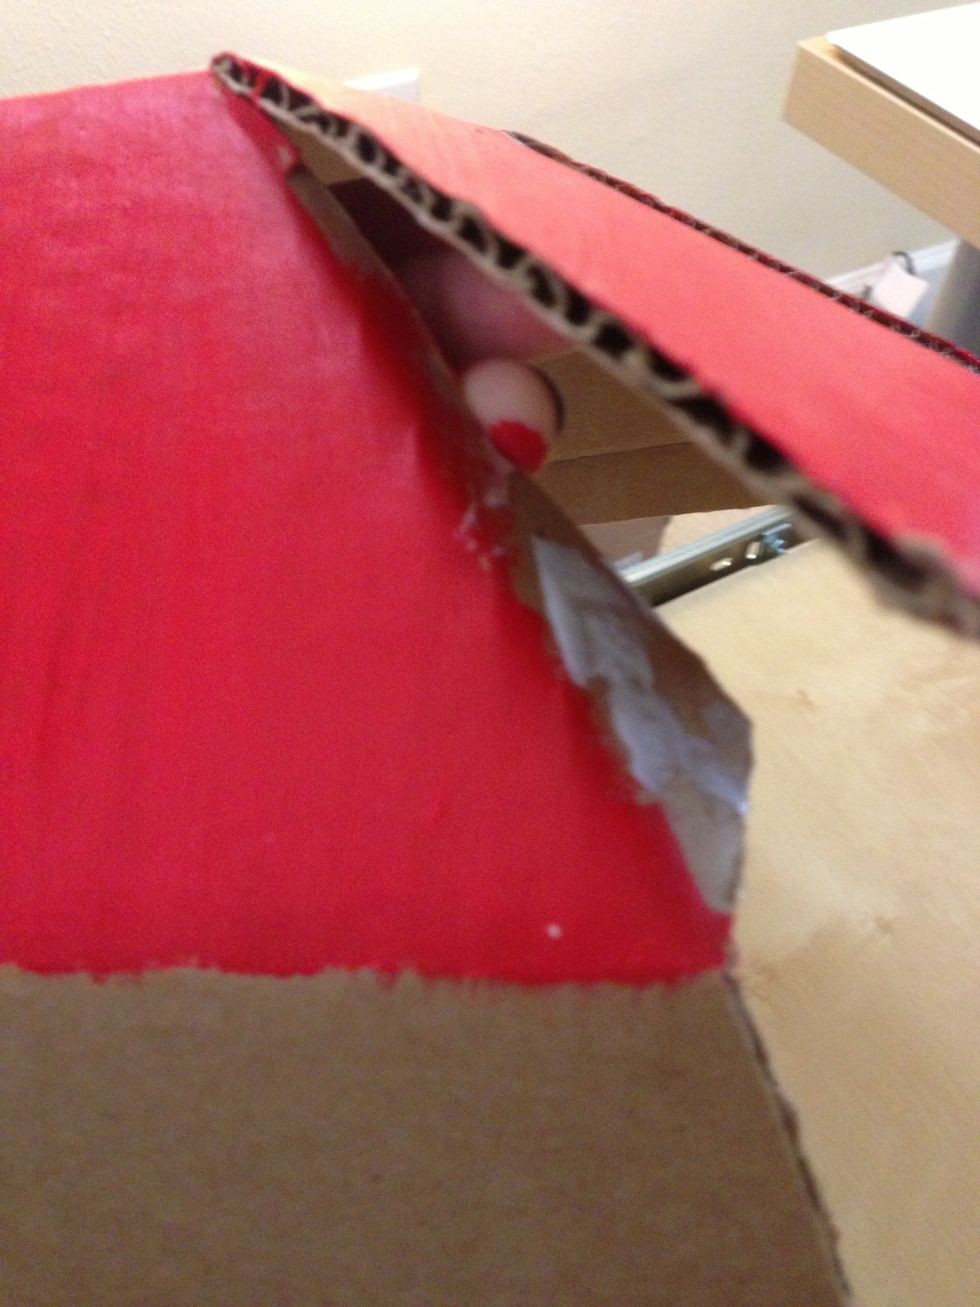
It's time to assemble the outside of the pocket fold in the tab that you created that isn't painted and glue it to the inside of the next panel
You might be holding this down firmly for a while.
I have no patience.
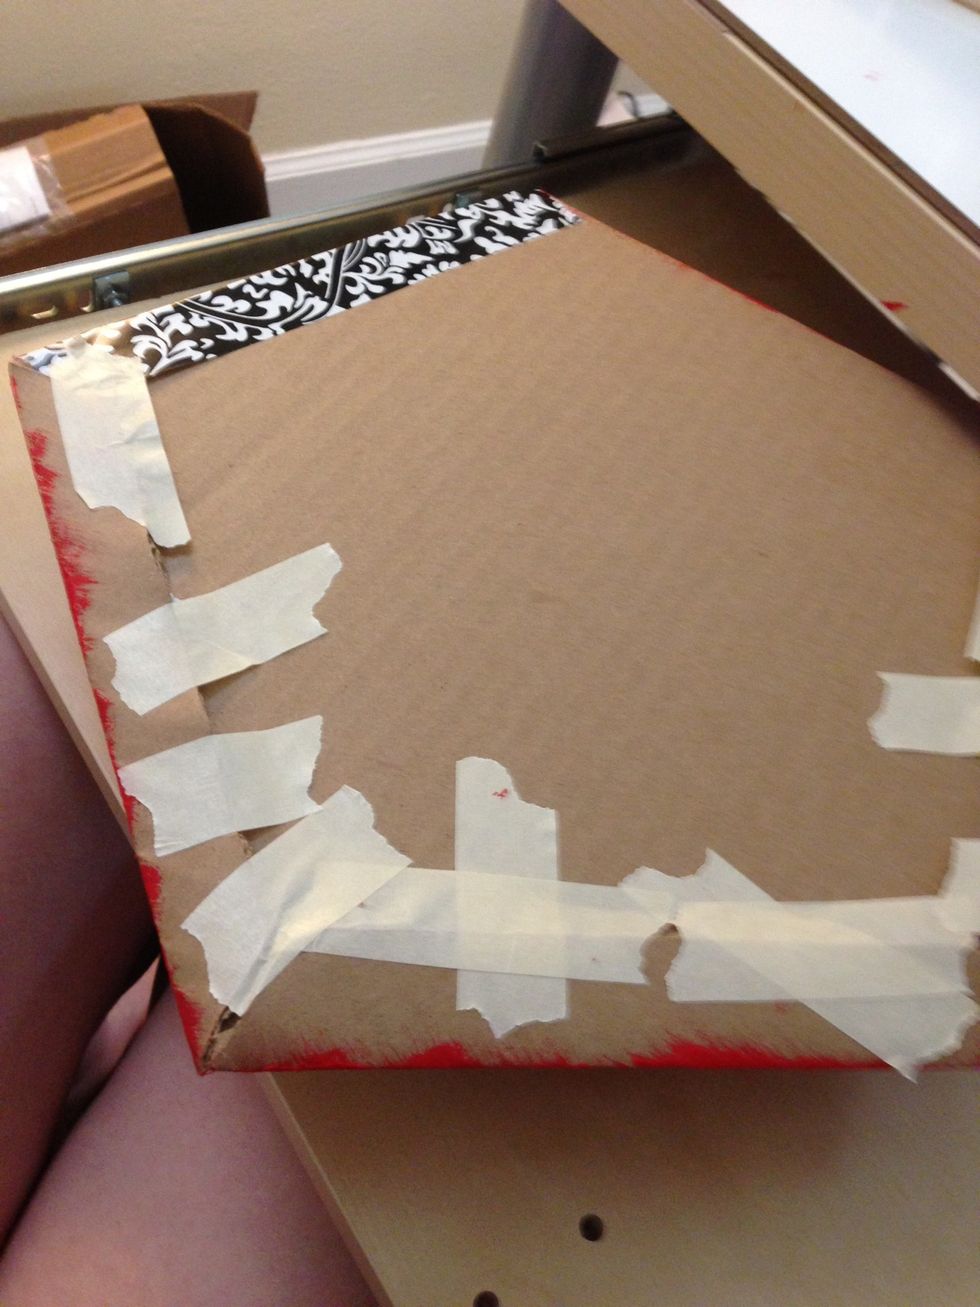
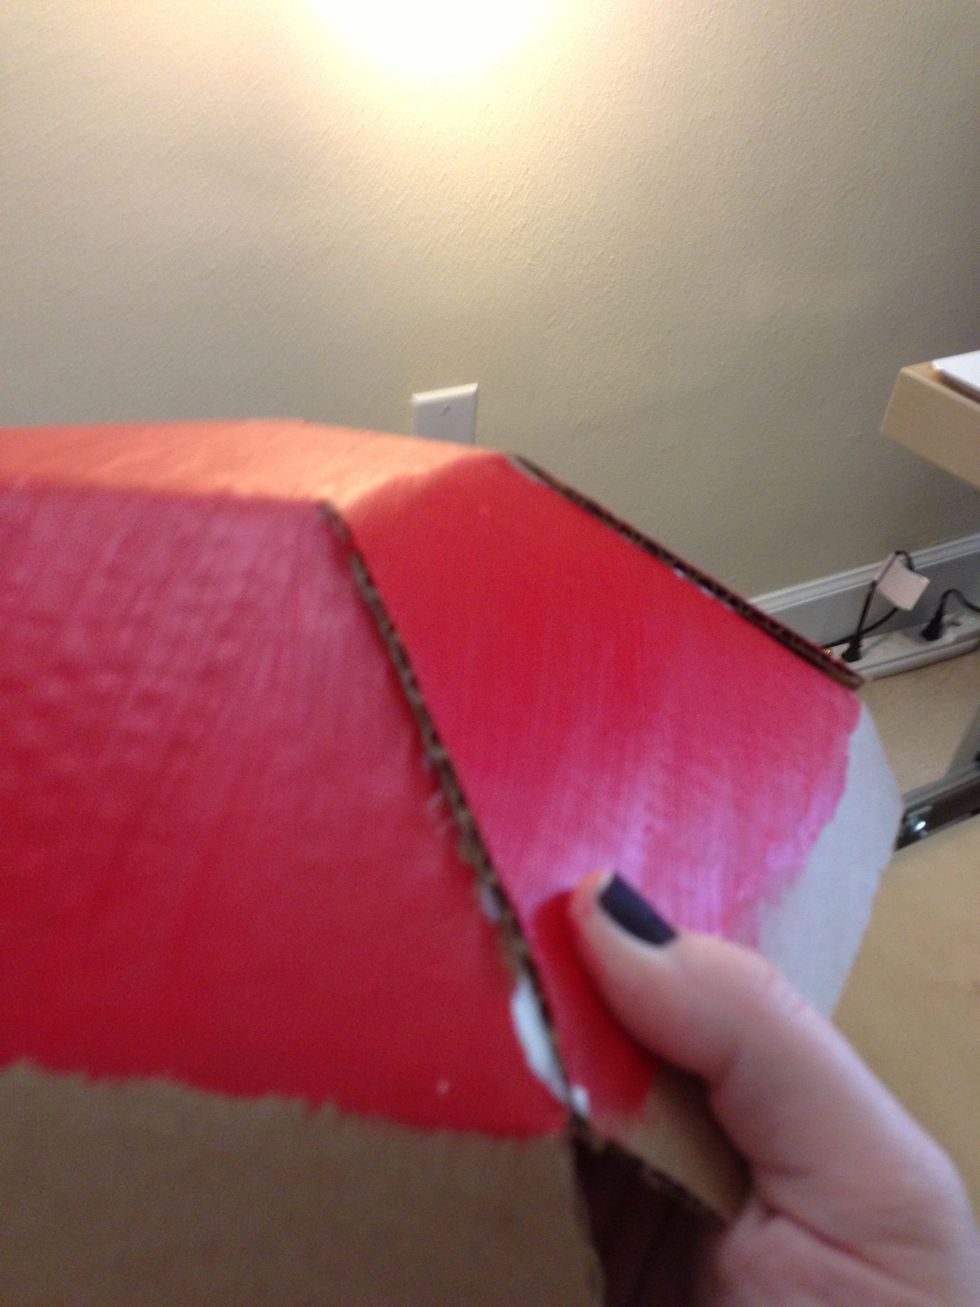
Once you've finished, fold the outside tabs onto the back and glue them down. Again, I have no patience.

I applied a coat of Modge Podge (gloss finish) to seal the paint.
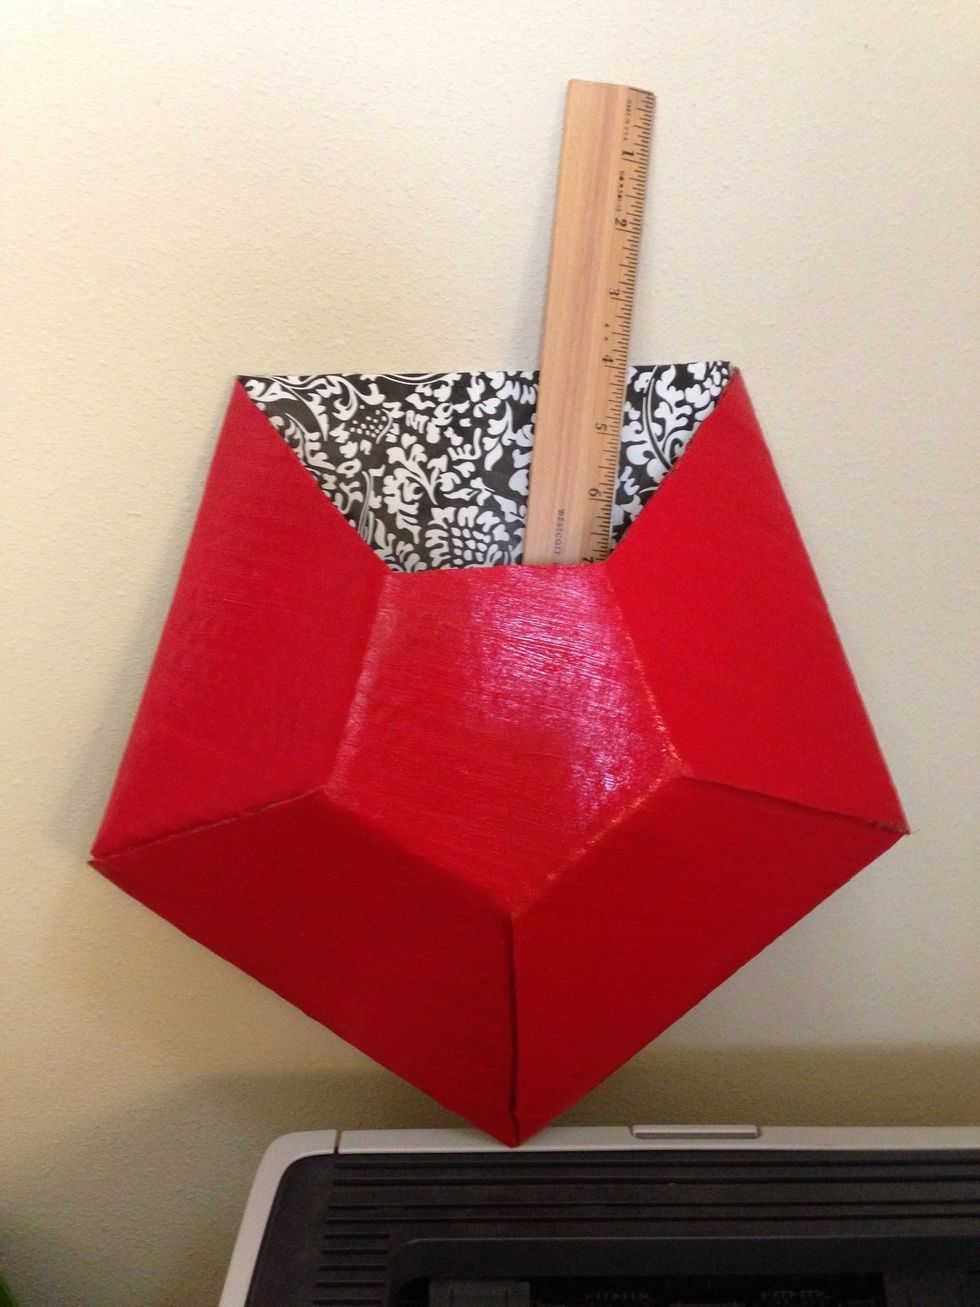
Done! Stick it on the wall however you like. The pocket can hold all sorts of stuff and look much cooler than a normal shelf.