The Conversation (0)
Sign Up
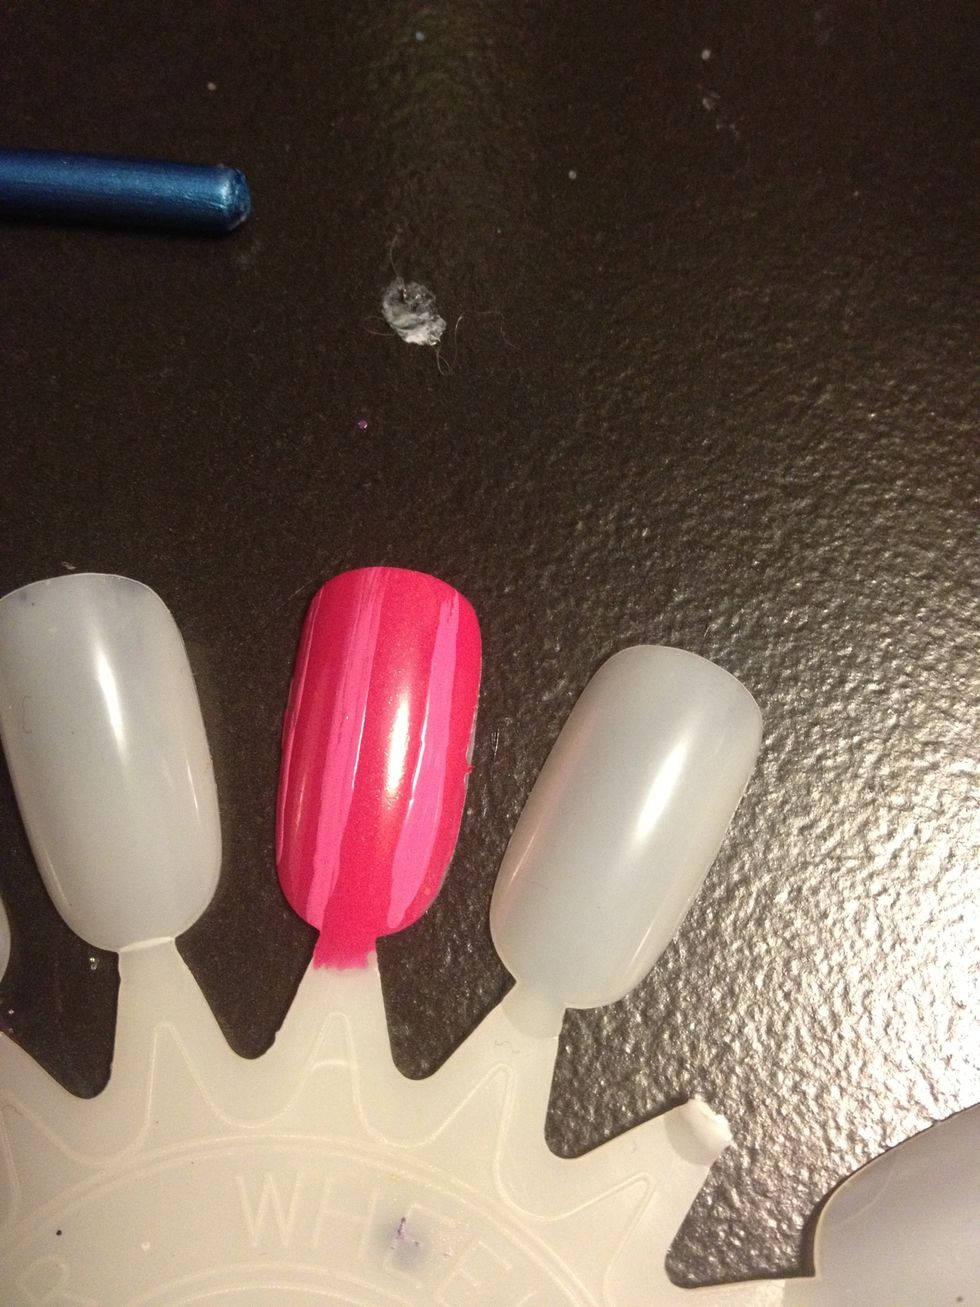
Start off with a pink base coat and add light pink lines if desired.
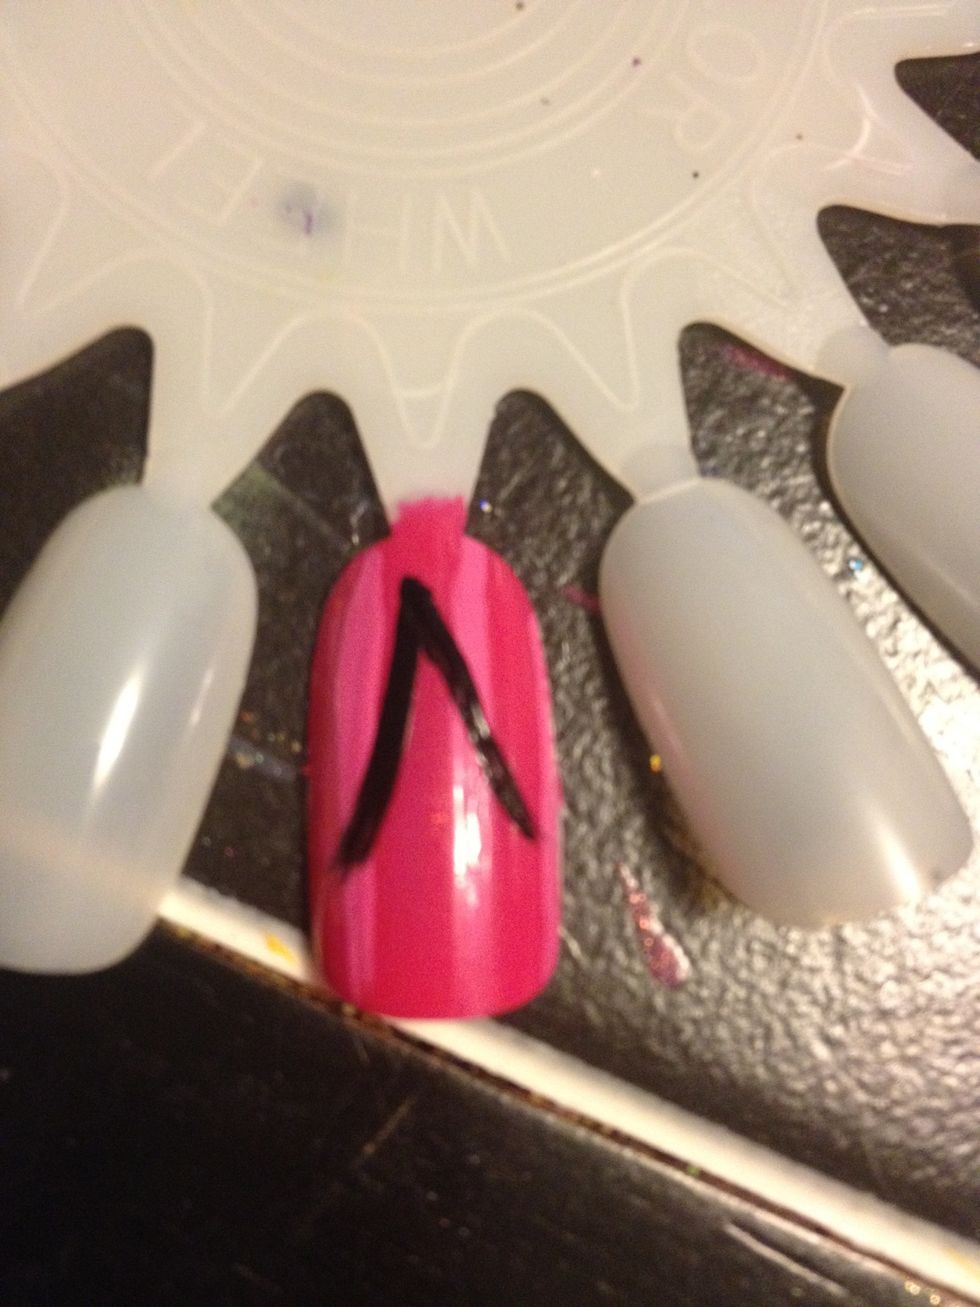
Now take the paint brush starting at the top of the nail curve a line stopping a little more then halfway down the nail. You should get this design.
Connect the two lines with yet another curved line :)

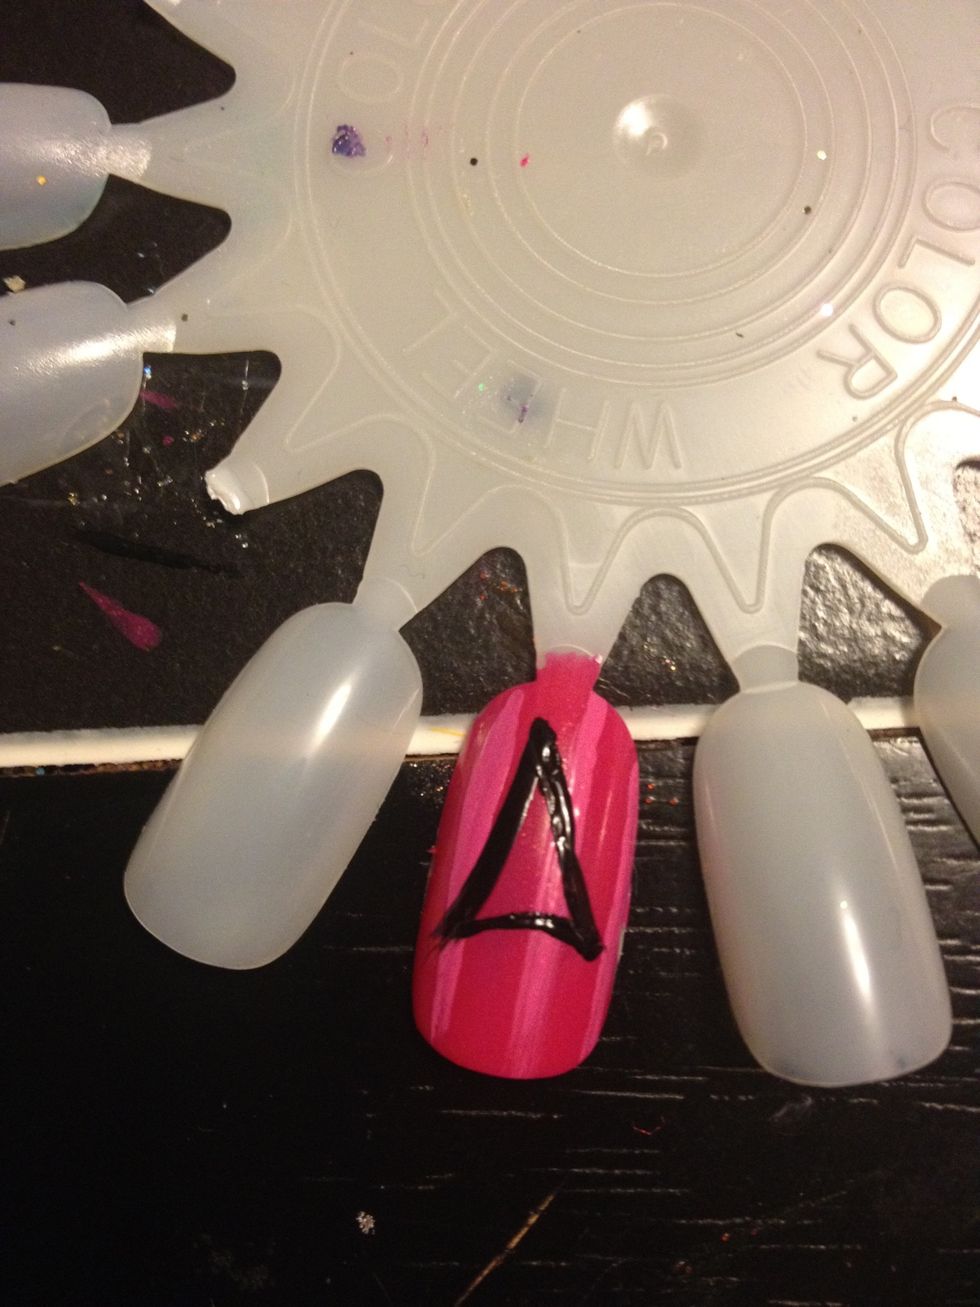
Take the paint brush and paint two lines. One at the base and one almost to the top. Now your tower is done.. Yes, I know it looks plain, but this is a simple design, but watch..
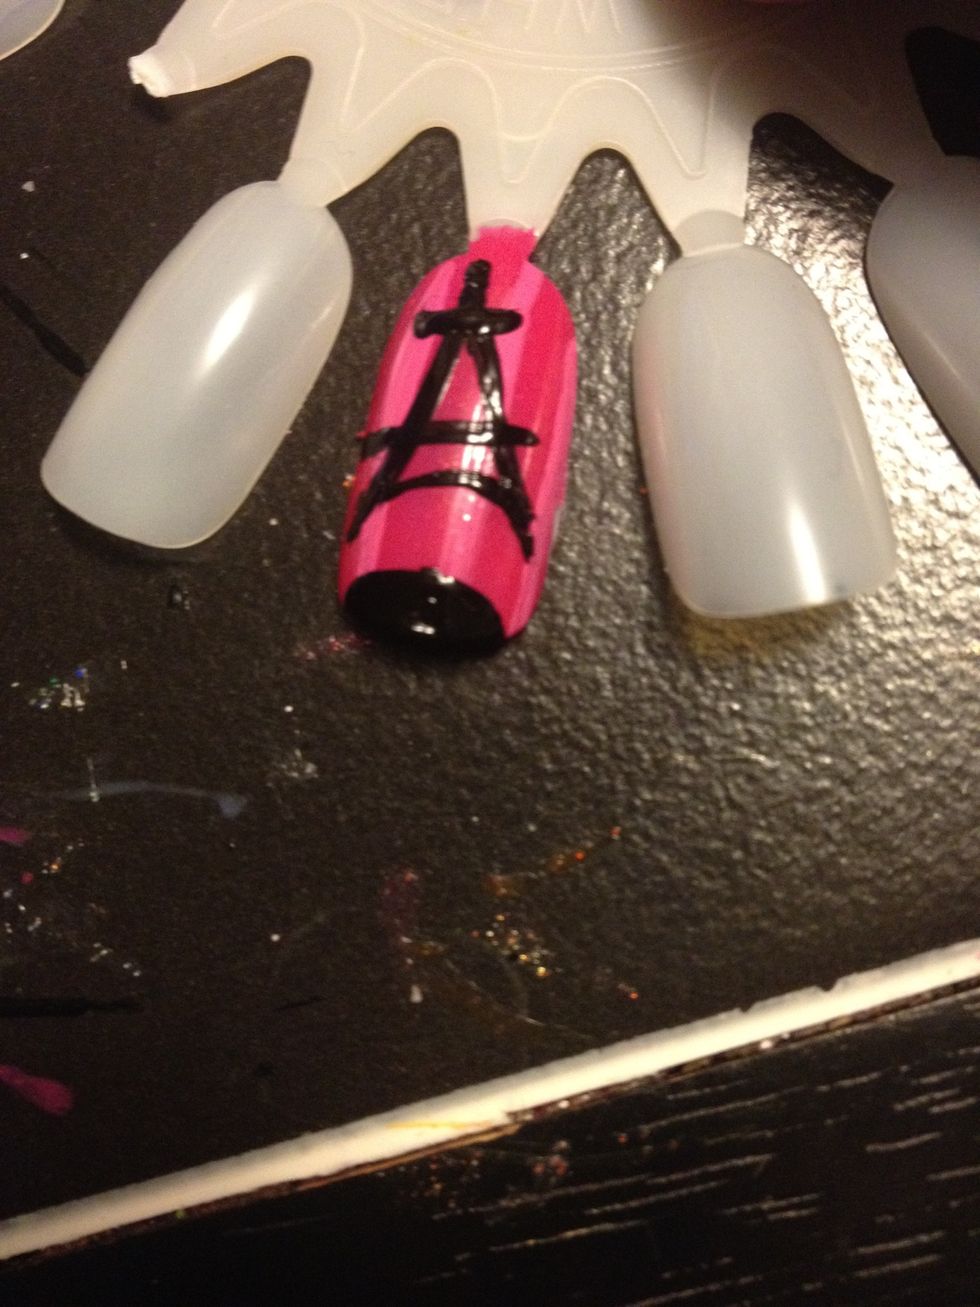
Take the same paint brush and create half a circle at the bottom of the nail.
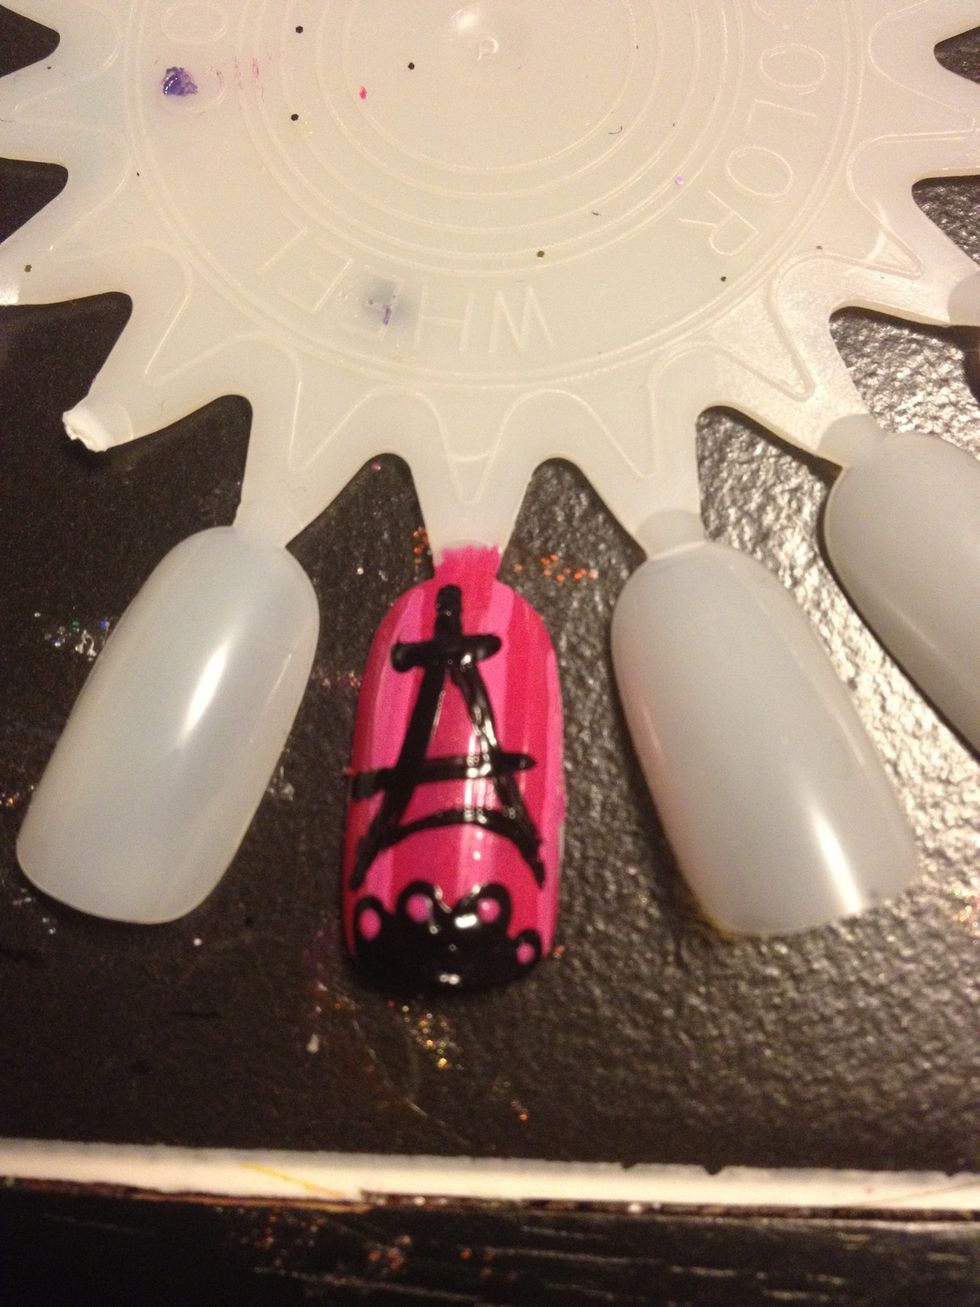
Now take a dotting tool and place 4 black dots at the top, once those dry place 4 smaller pink dots within those circles. A dot within a dot lol. This gives a lace design :)
Sometimes designs can seem too simple, however with the right amount of effort like adding a rhinestone or pairing it with other simple designs can make the difference.
I recommend using the Eiffel tower for a one finger design, like the ring finger.