STEPS
TOOLS
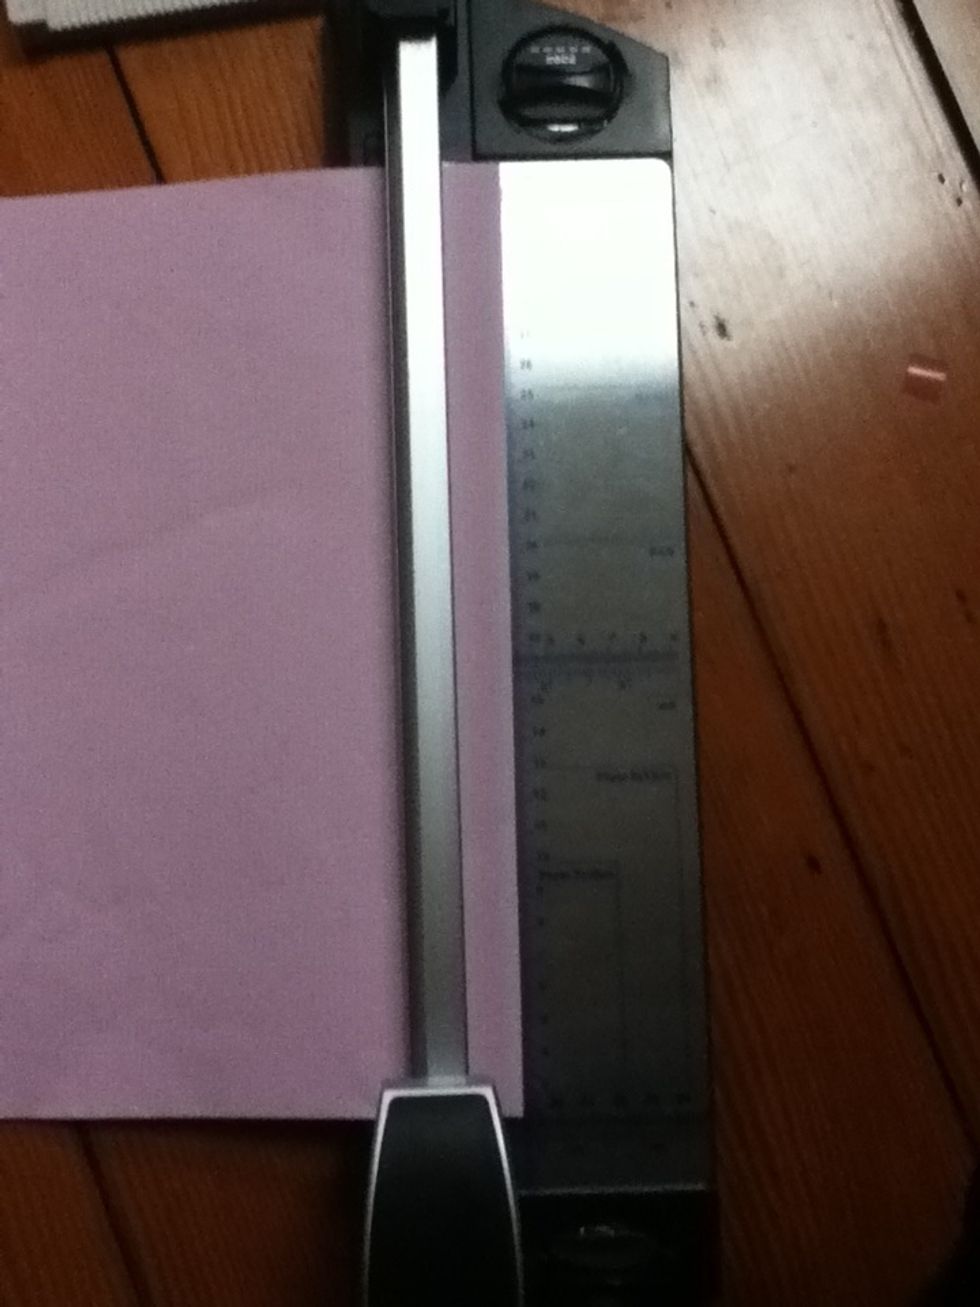
Cut a strip of paper to 12" by 1.5".
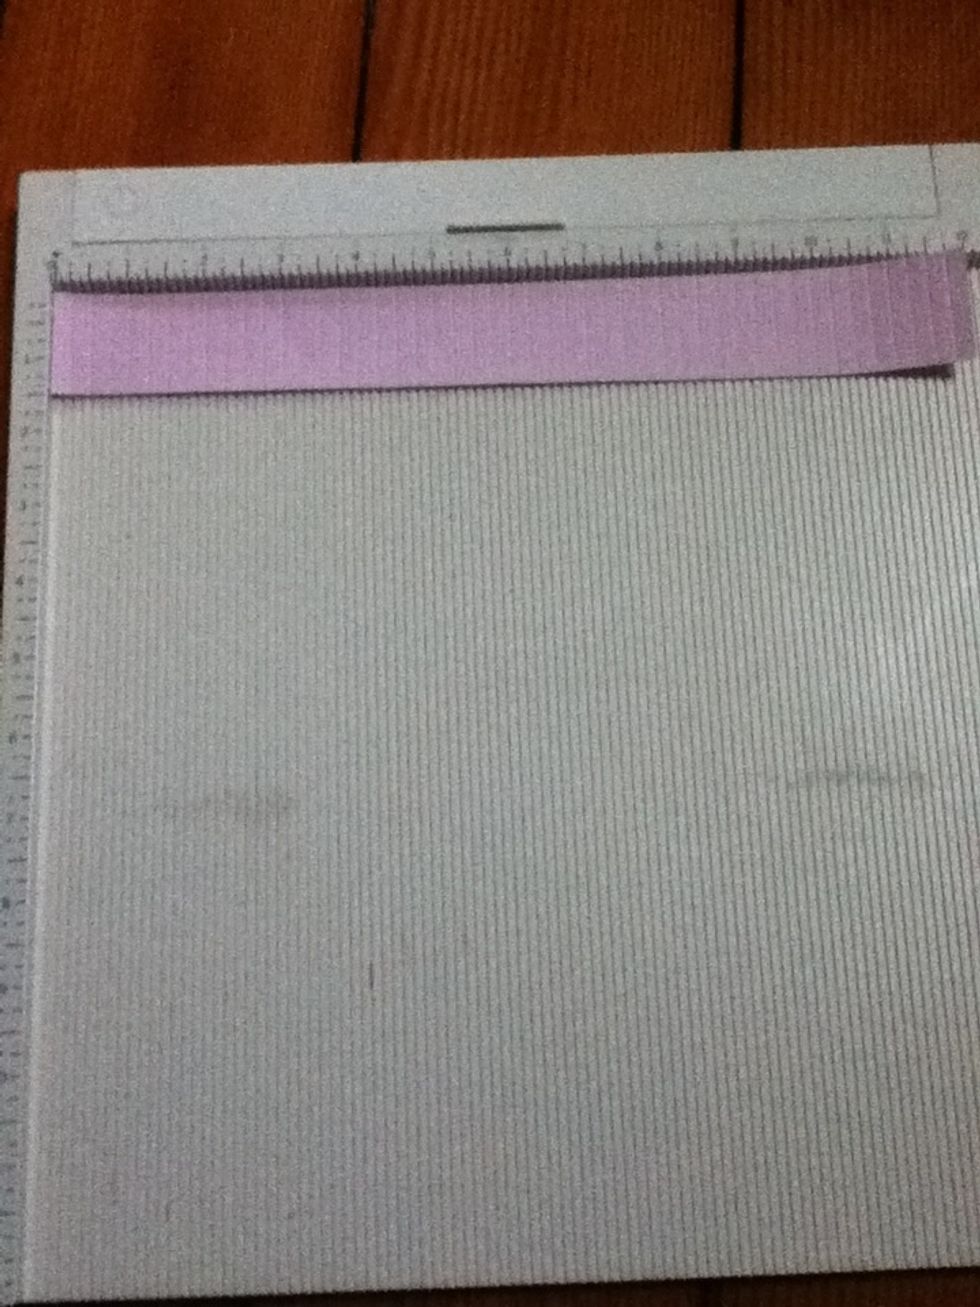
Score it at every 1/4" using the scoring board.
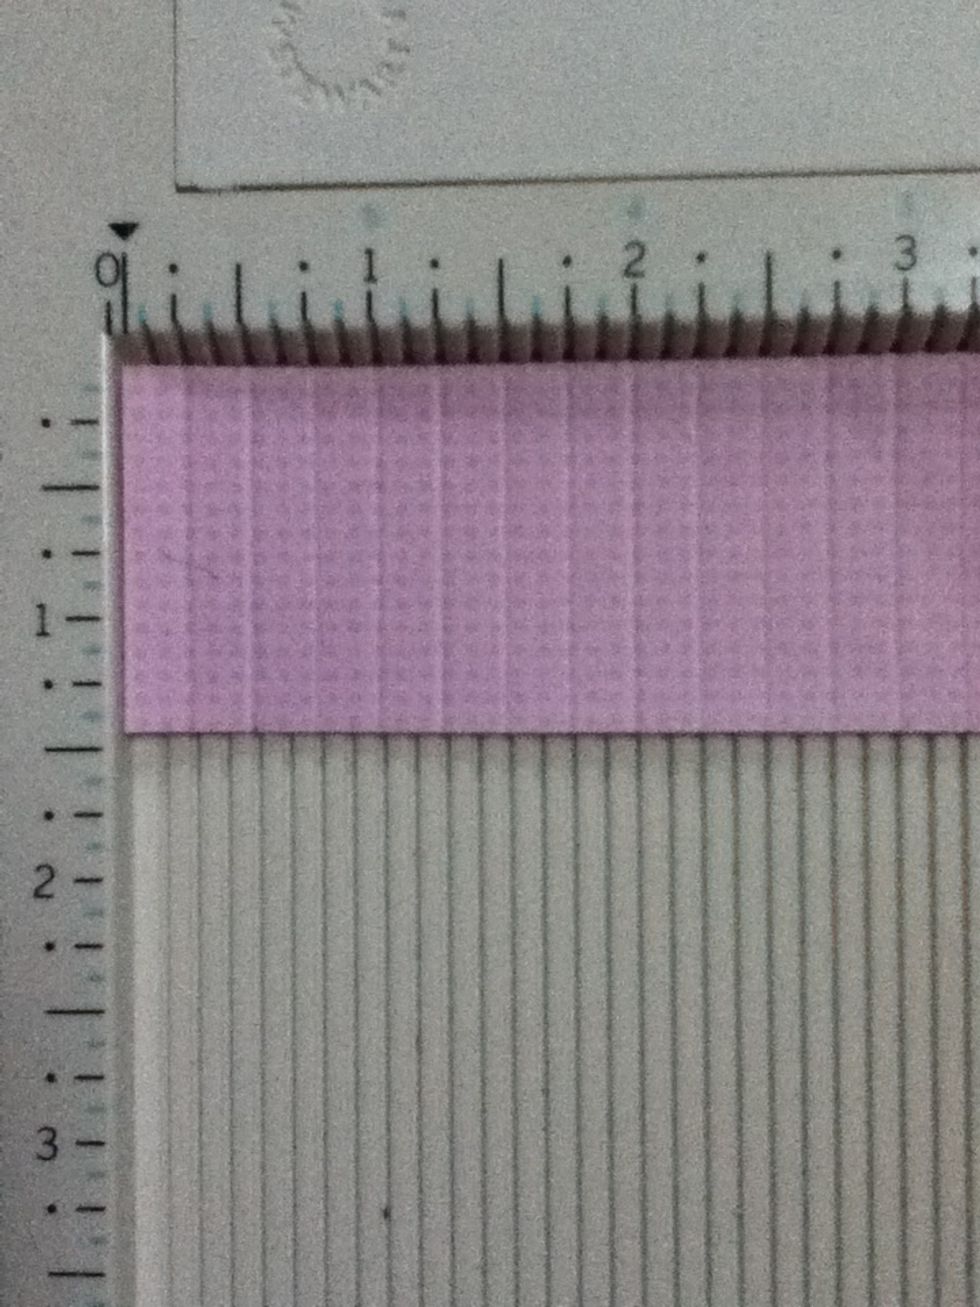
Close up of scoring board and paper
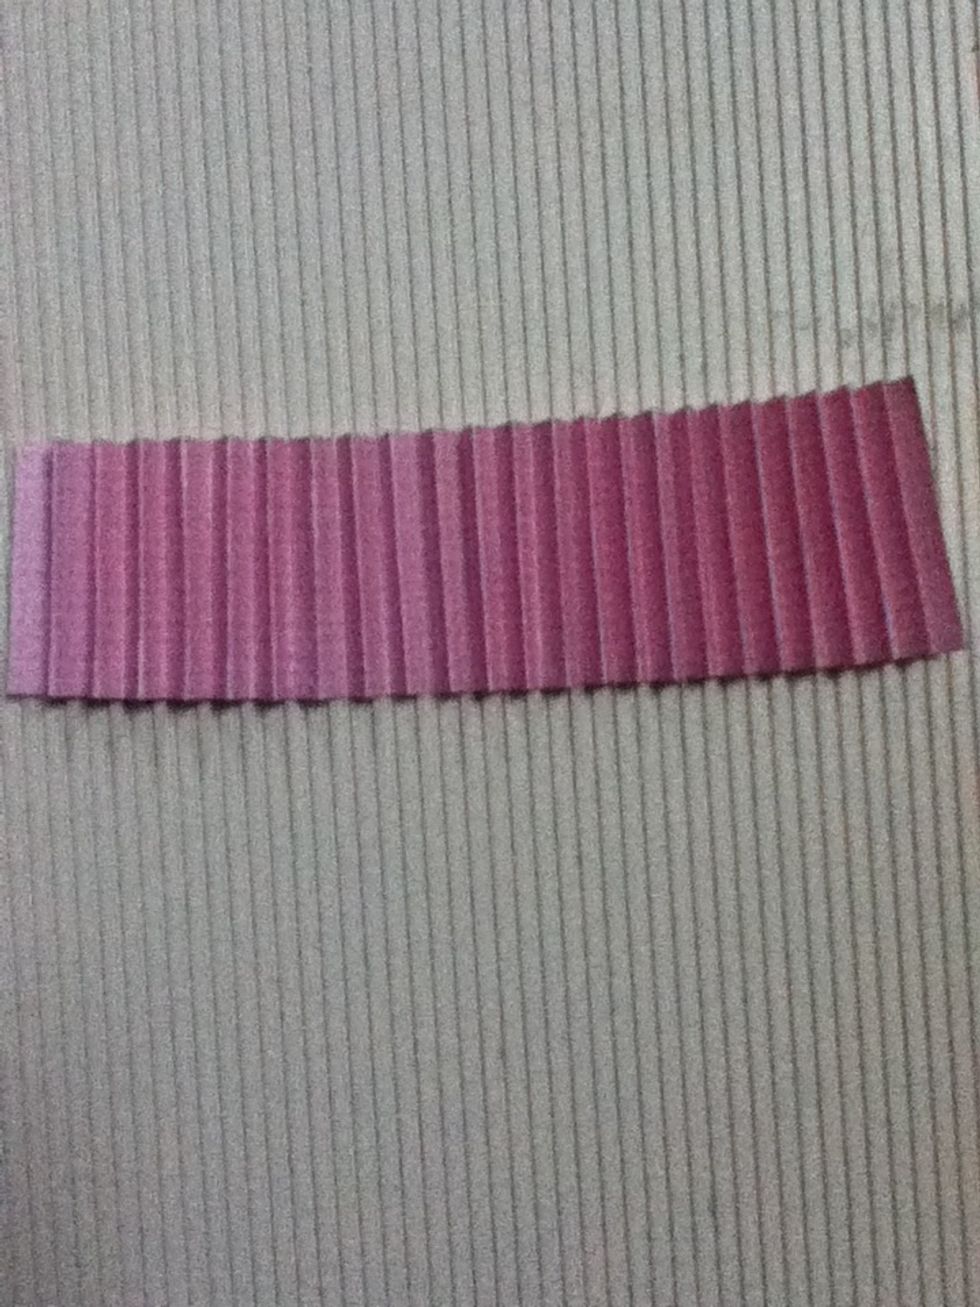
Accordion fold the paper on your scored lines.
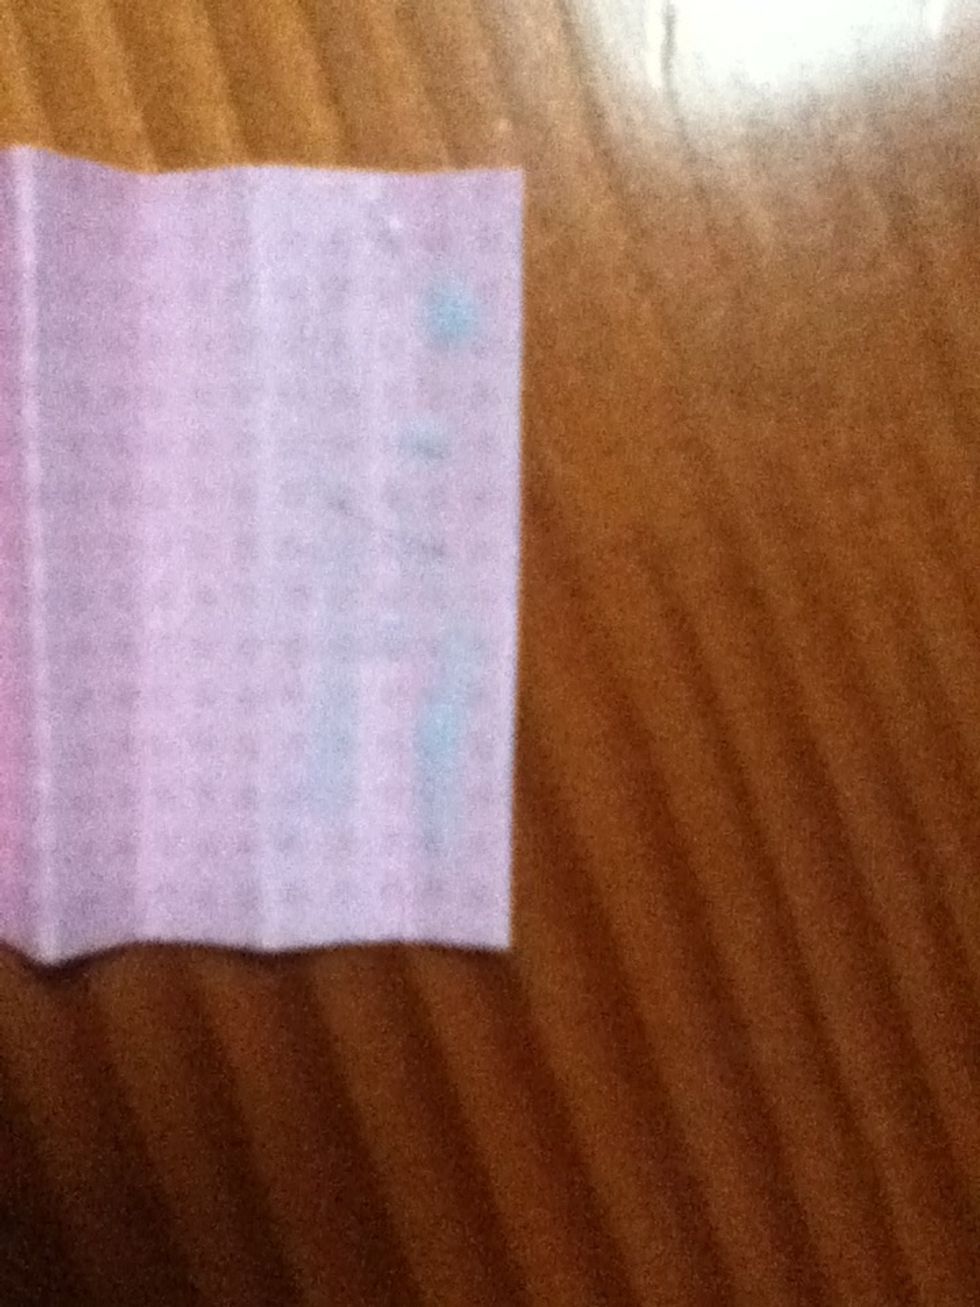
Put glue on the last half inch of your strip
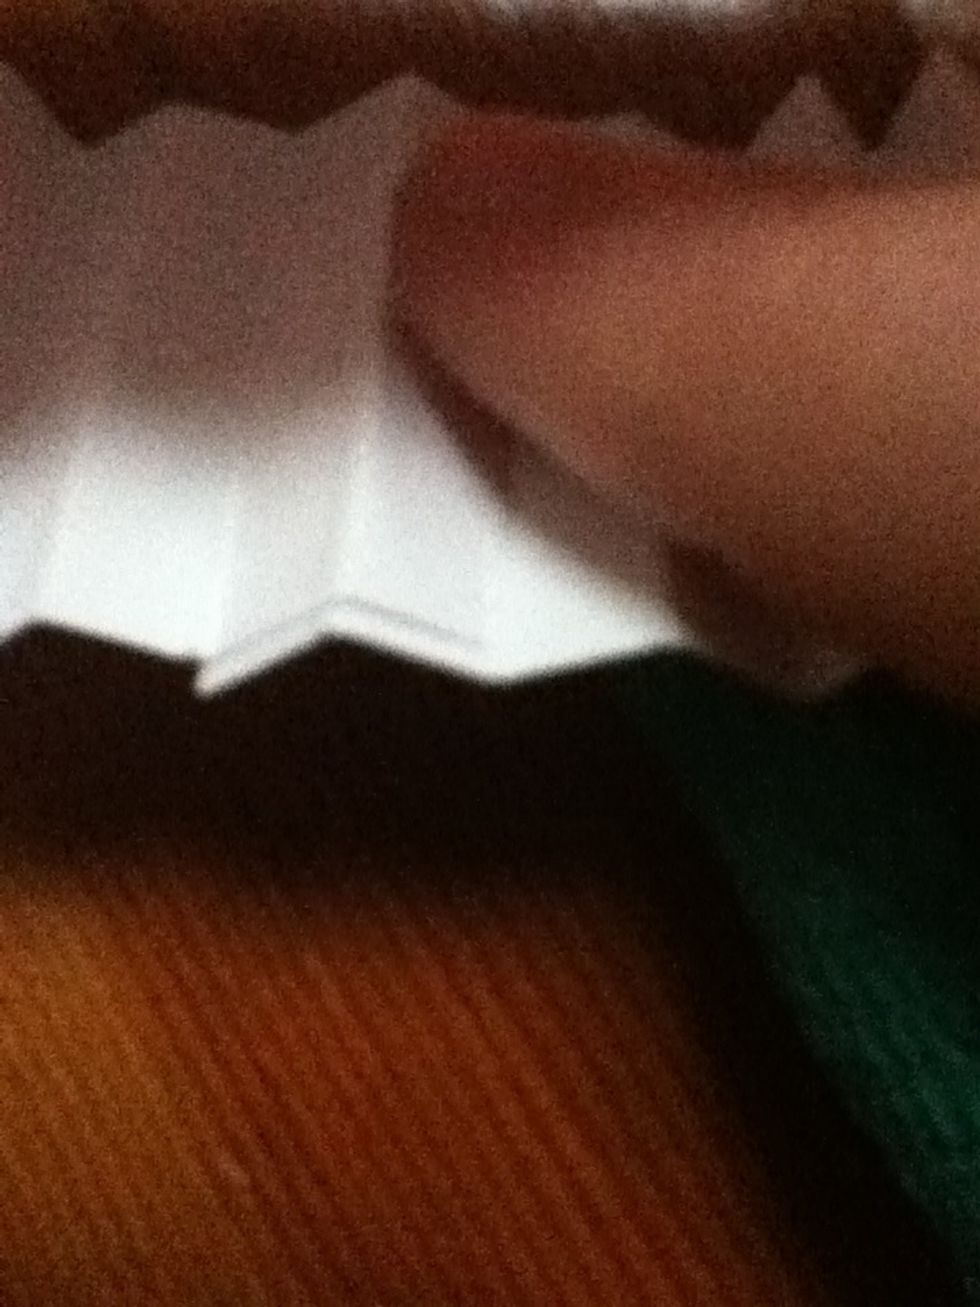
Put the last half inch of the other end on the gluey end.
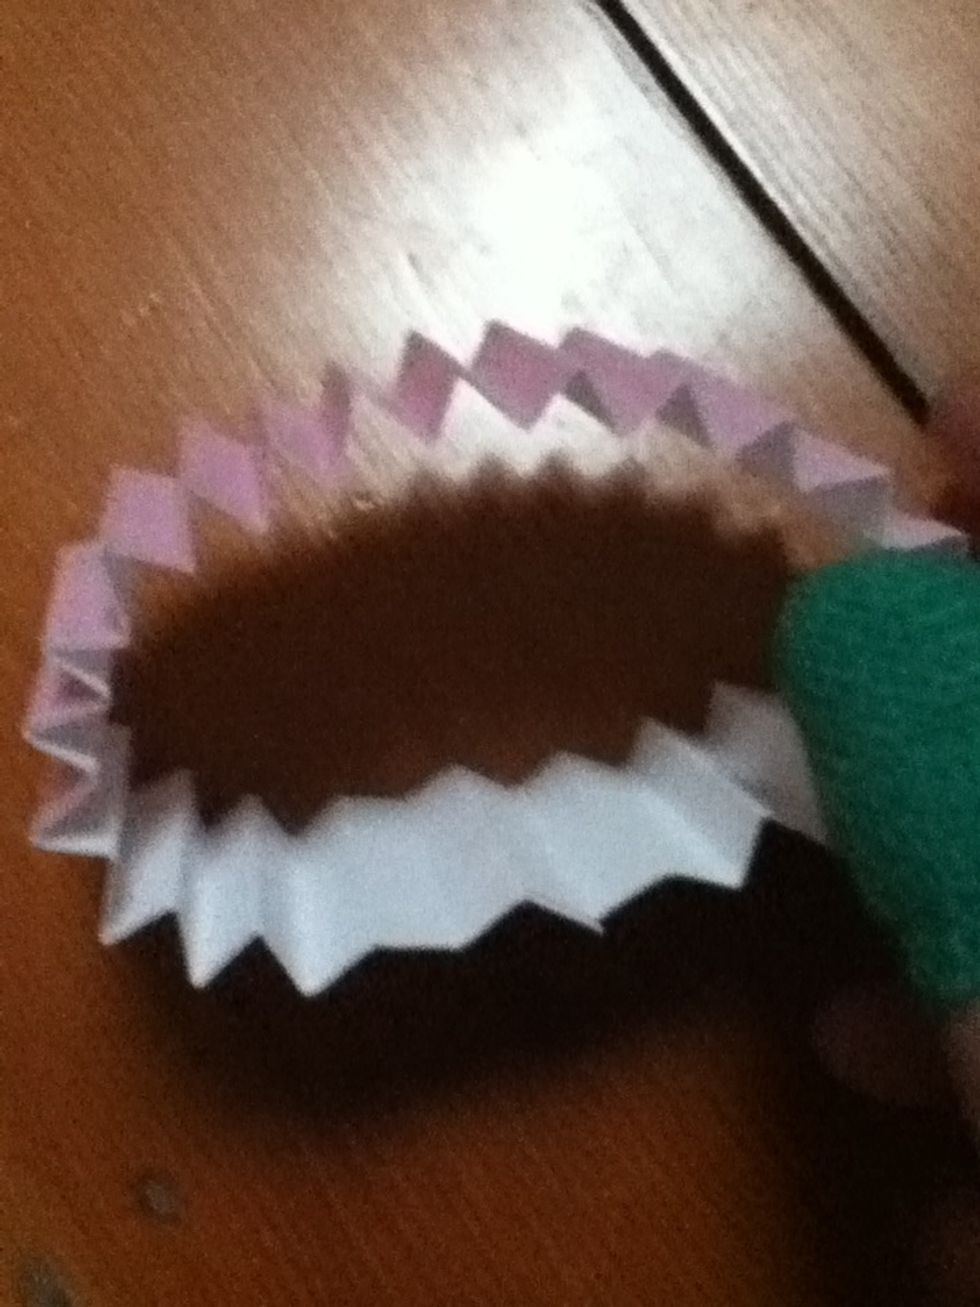
Forming a pleated ring.
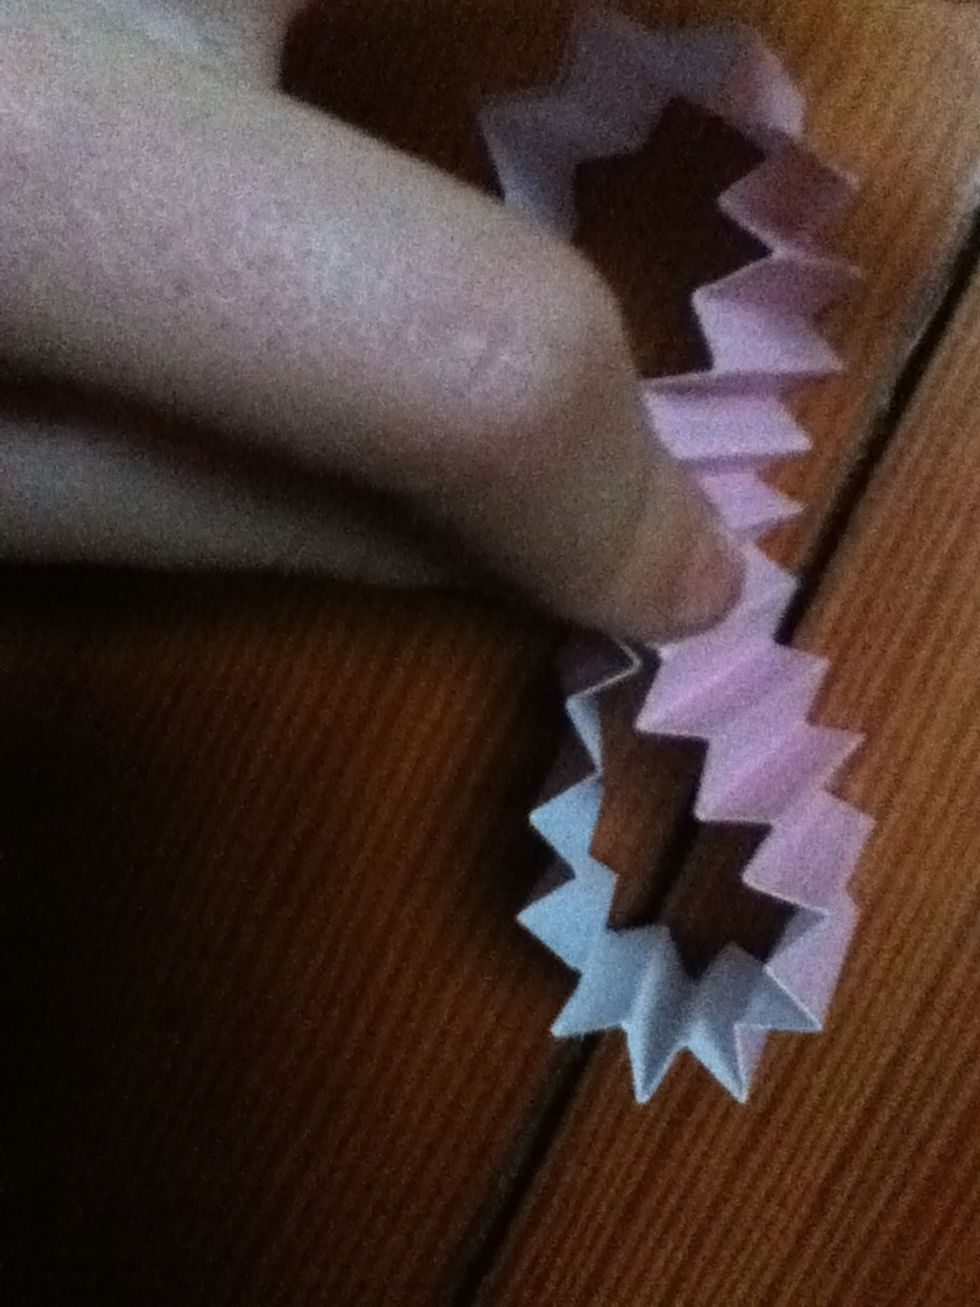
Pinch the ring in the middle.
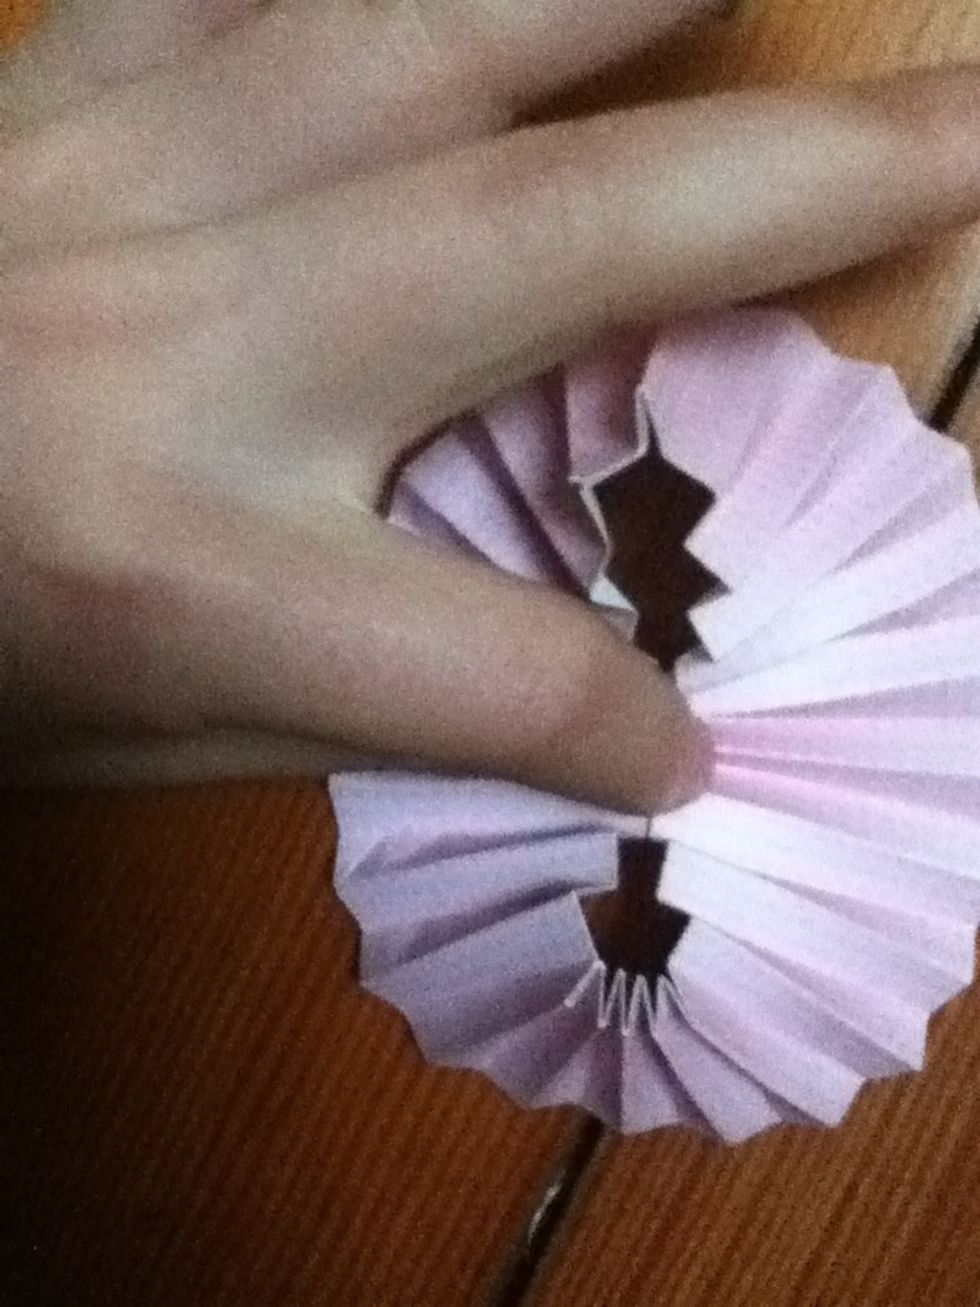
Push downward to flatten.
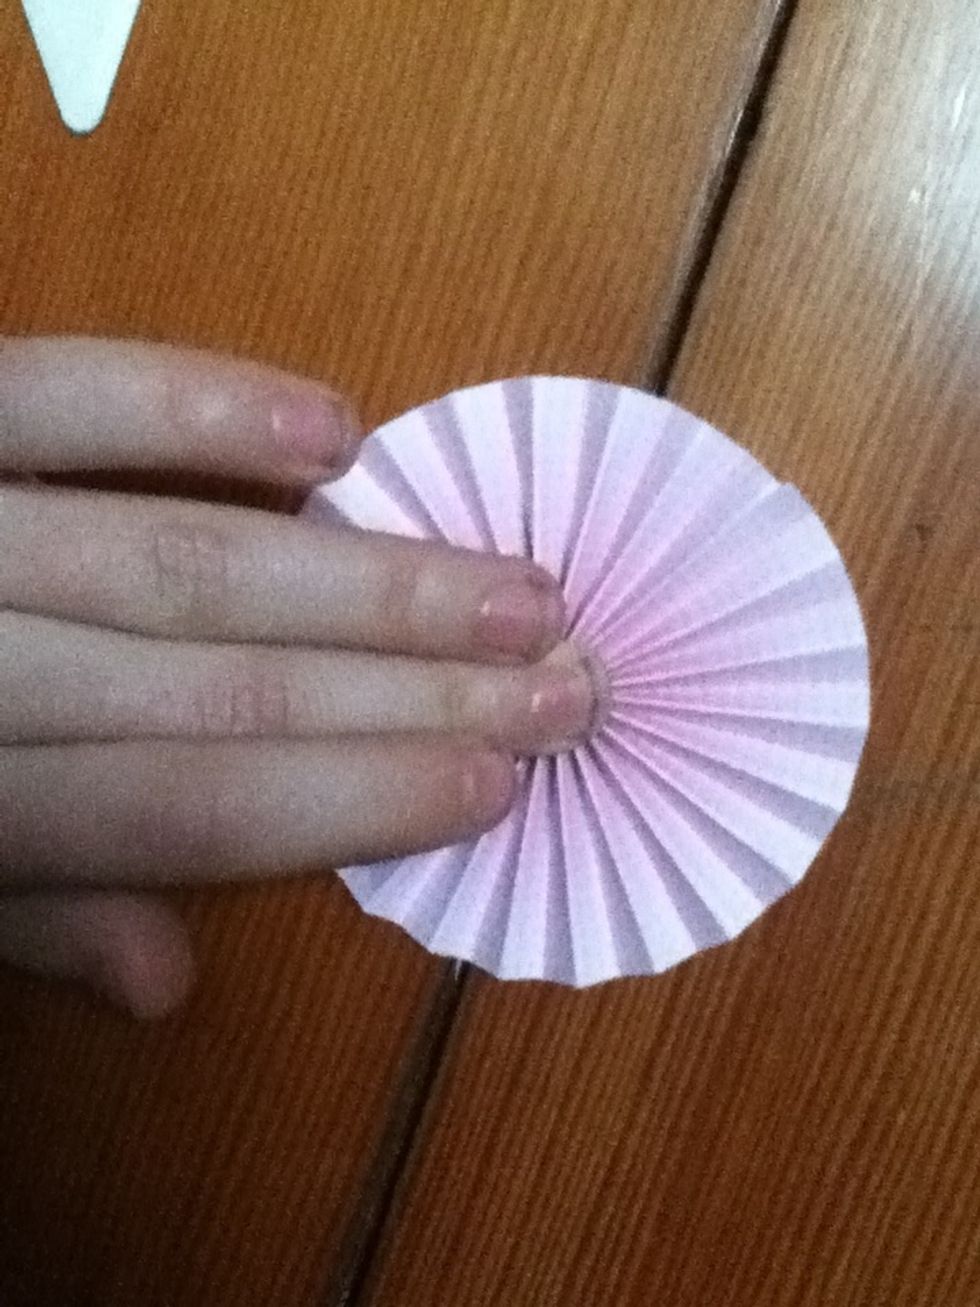
Push and shape to form a ring. It is ok to let it spring up now, and to just push it down again when you start the next step.
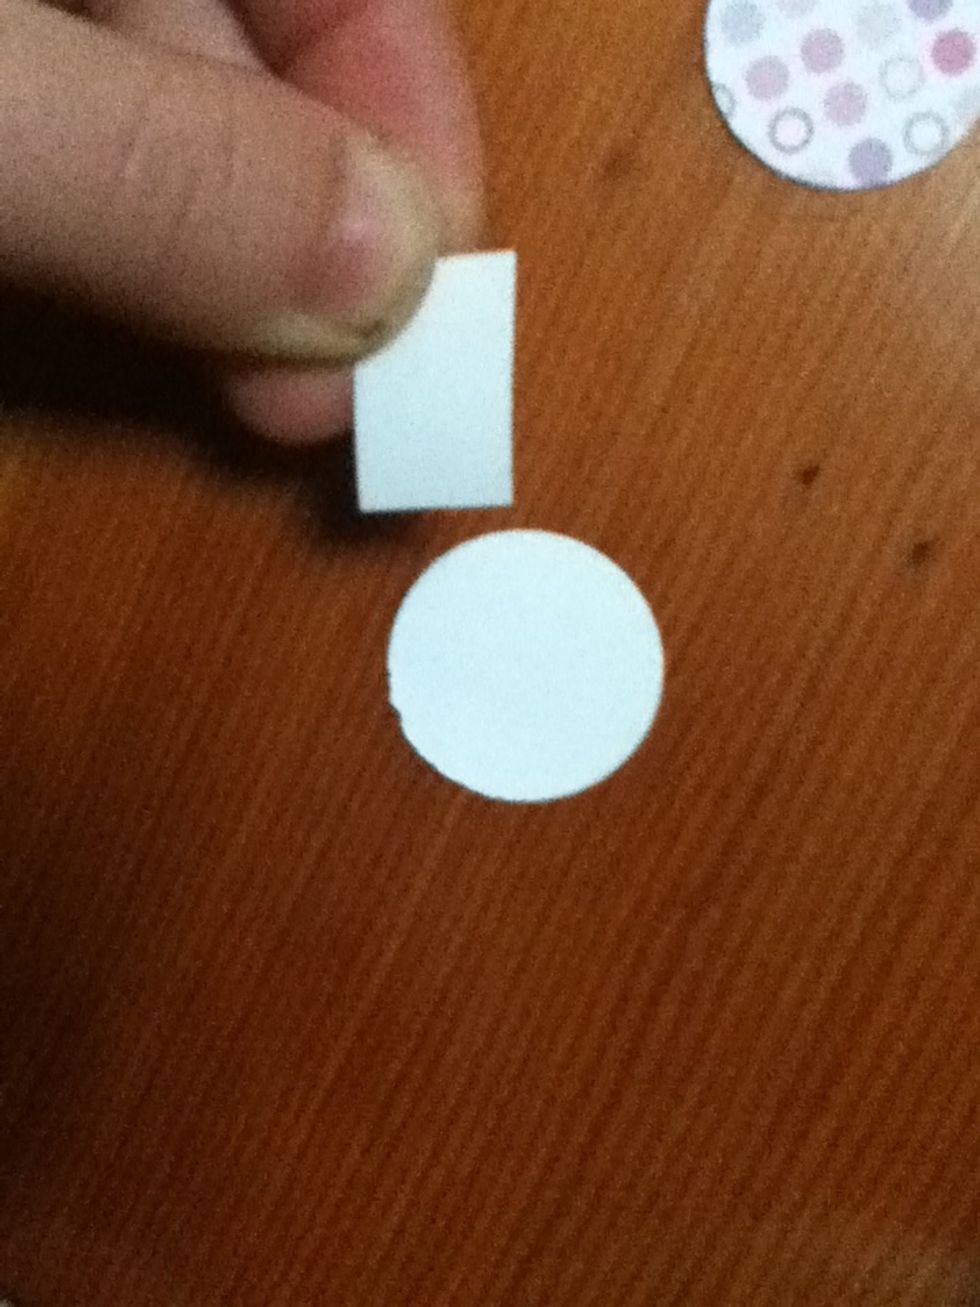
Put a piece of double sided tape on both of your paper circles.
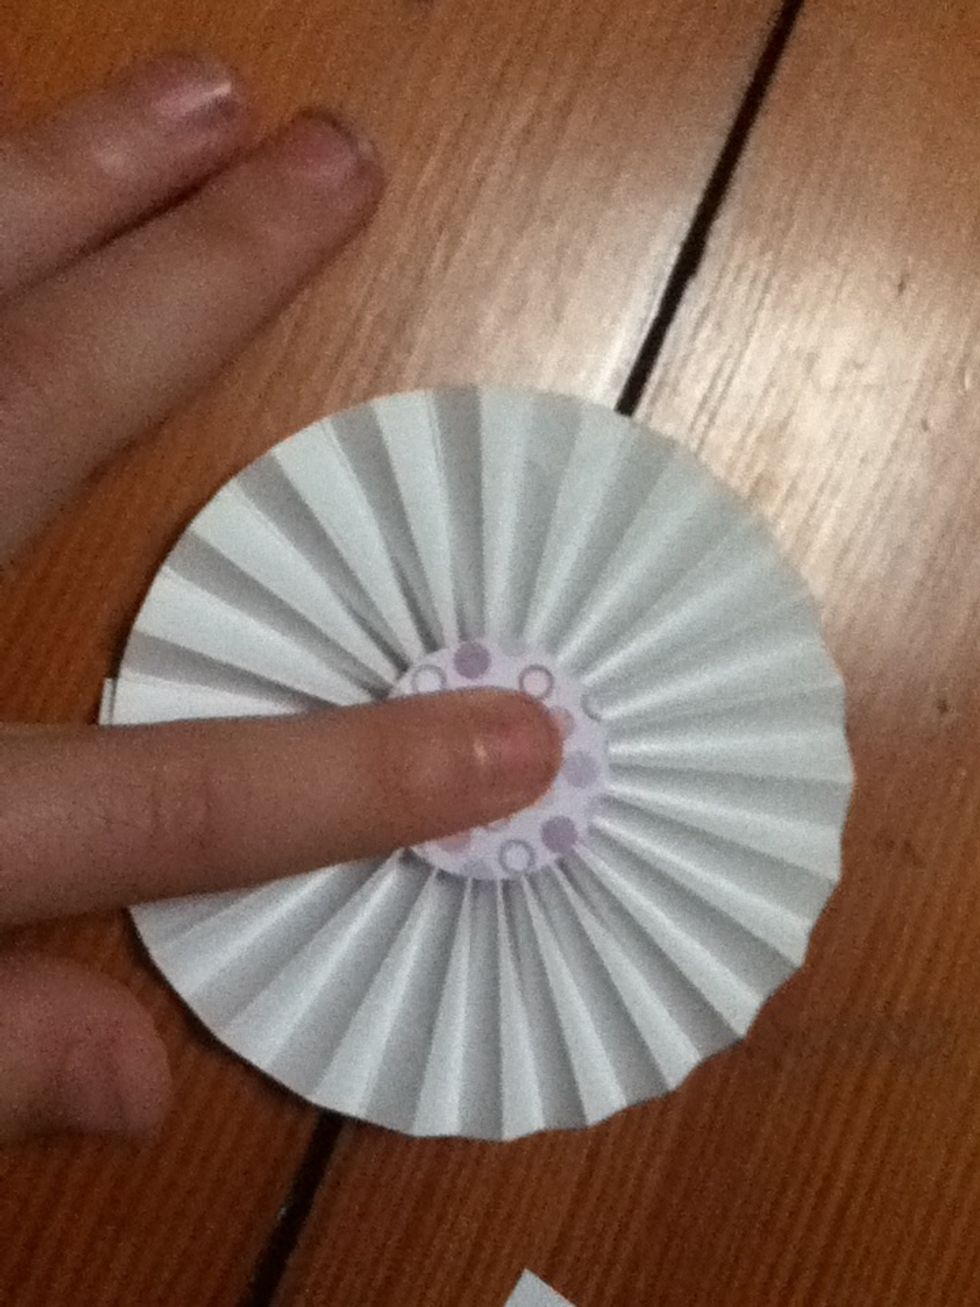
Peel off the backing of the double sided tape if it has a backing, and put it in the middle of your flattened ring to hold it in place.
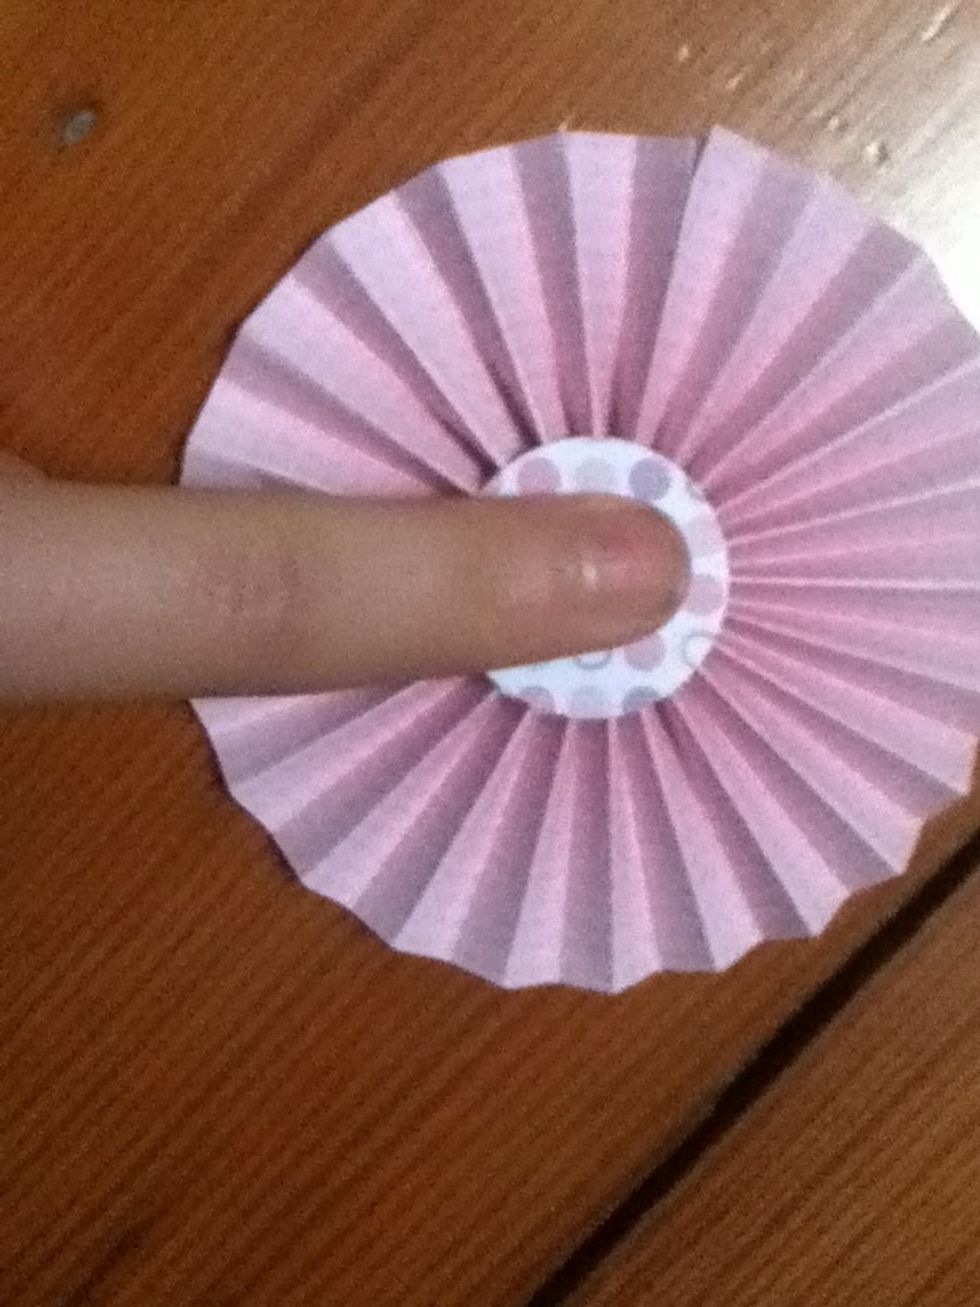
Do the same for the other circle of paper, and put it on the other side. Voila! You are done!
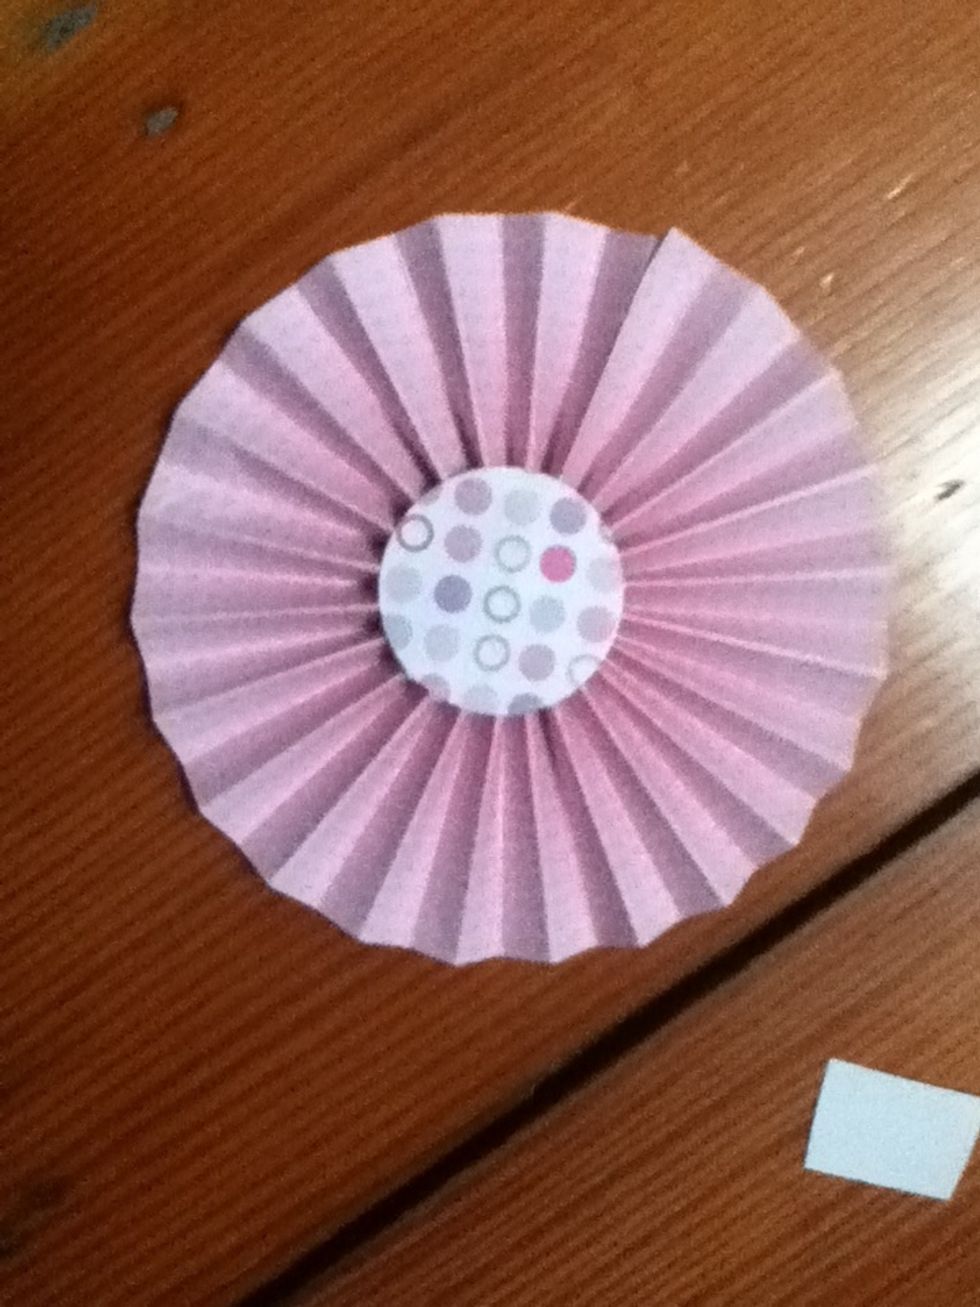
The finished product. It can be made with wider or skinnier strips for larger or smaller rosettes.
- 1.0 12" wide sheet of paper
- Glue
- 1.0 Scoring board(I am using a Martha Stewart one)
- 1.0 Bone folder
- 2.0 1" circles of patterned paper
- 1/2in Double sided tape
Trula R
I love to craft with paper! If you have any ideas of guides I should make, let me know in the comments of one of my guides, and I would love to try!
The Conversation (0)
Sign Up