The Conversation (0)
Sign Up

The mess before the awesome. AKA supplies
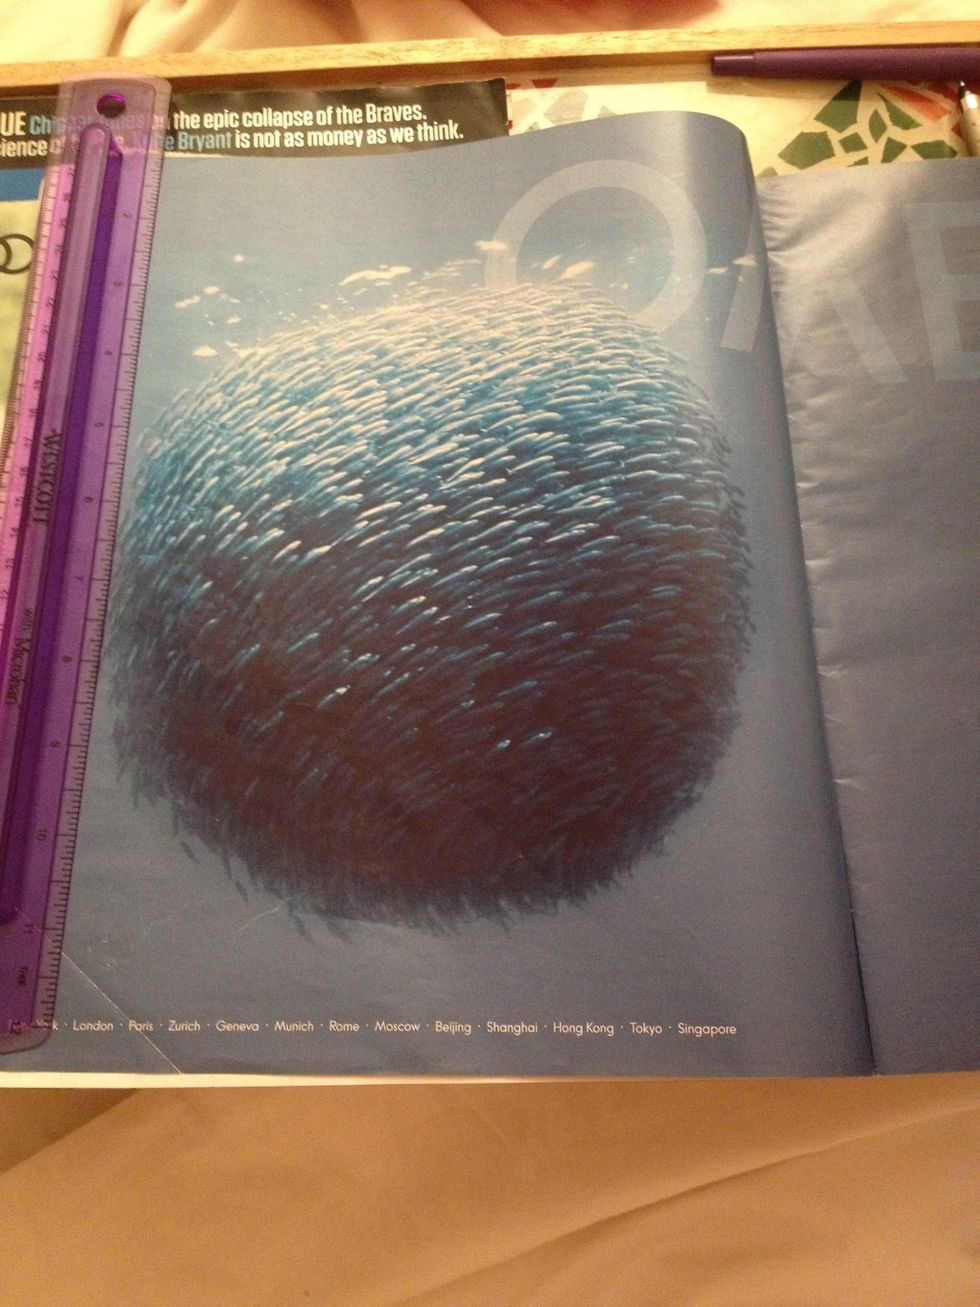
Choose a magazine and a page to work with. I choose pages with blocks of solid colors that I like to get at least a handful of matching beads.

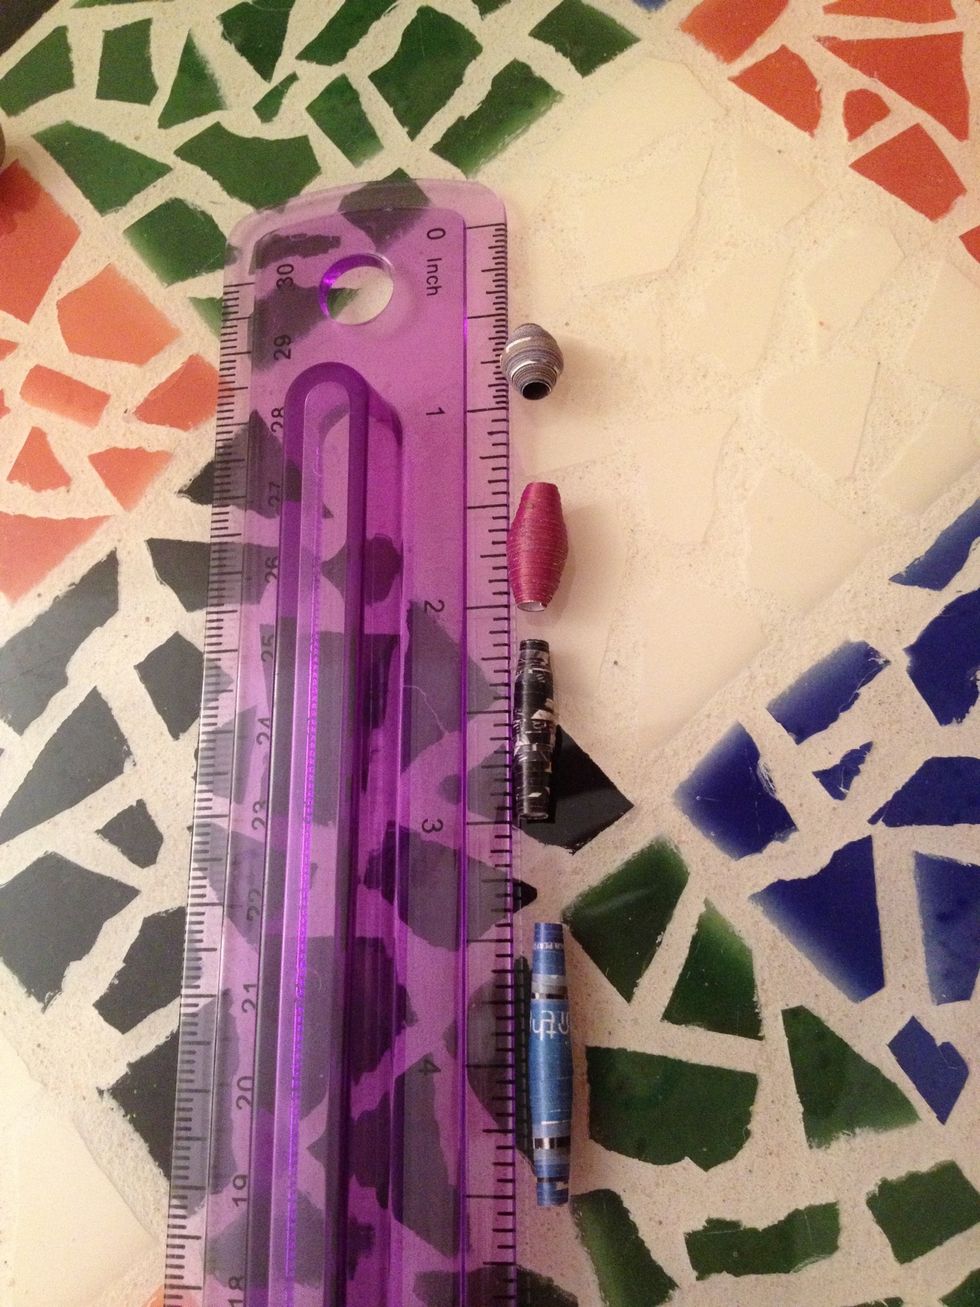
Taller magazines like ESPN will produce thicker (in diameter) beads. Shorter magazines like store catalogs will result in thinner beads. The thickness of the magazine paper will also affect bead size.
If you want short & round beads, make your measurements smaller (1/4 - 1/2 inch). If you want long & thin beads, make your measurements wider (3/4 - 1 inch).
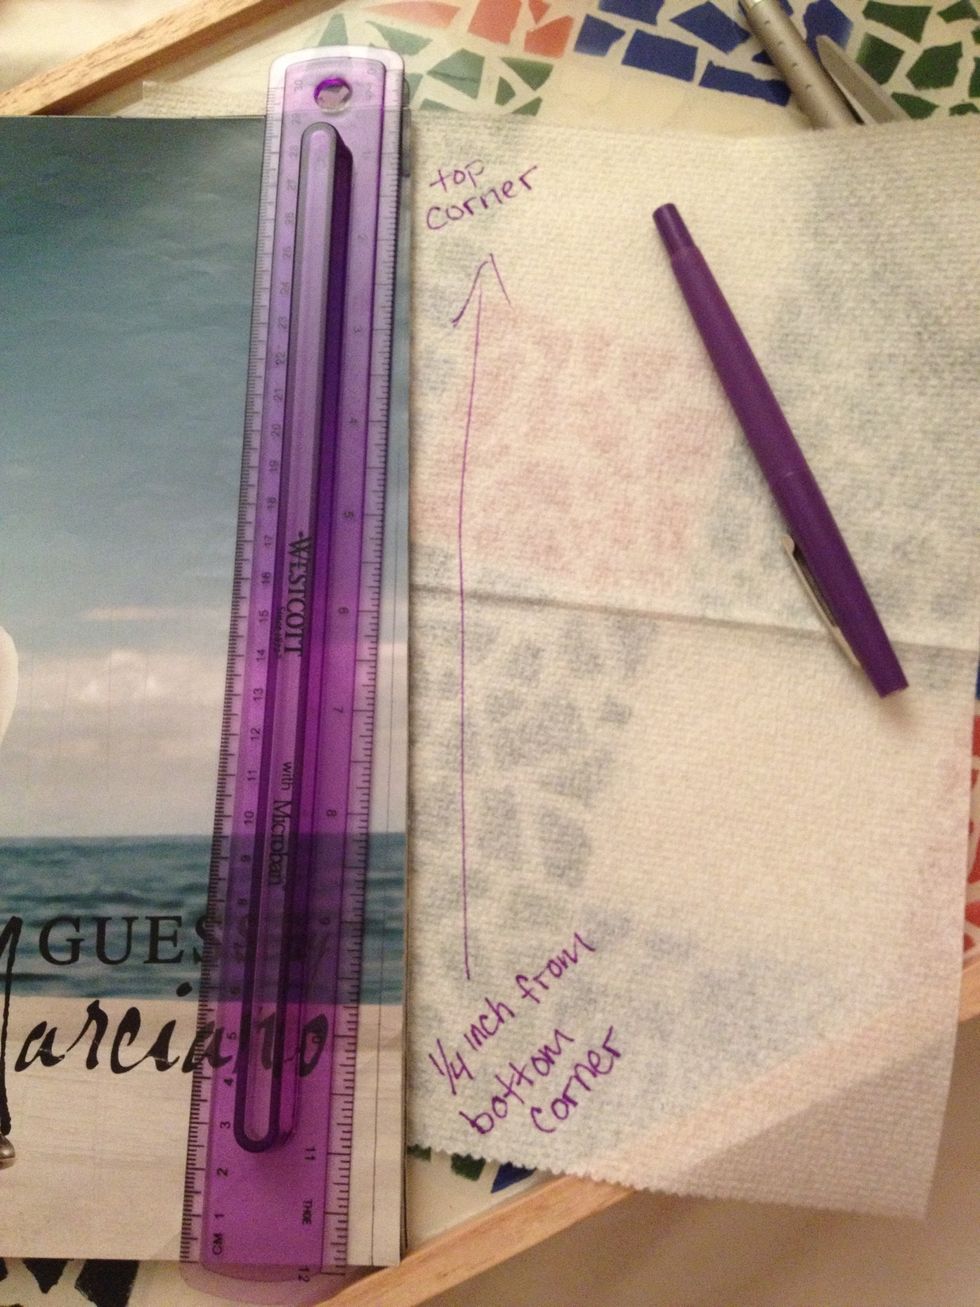
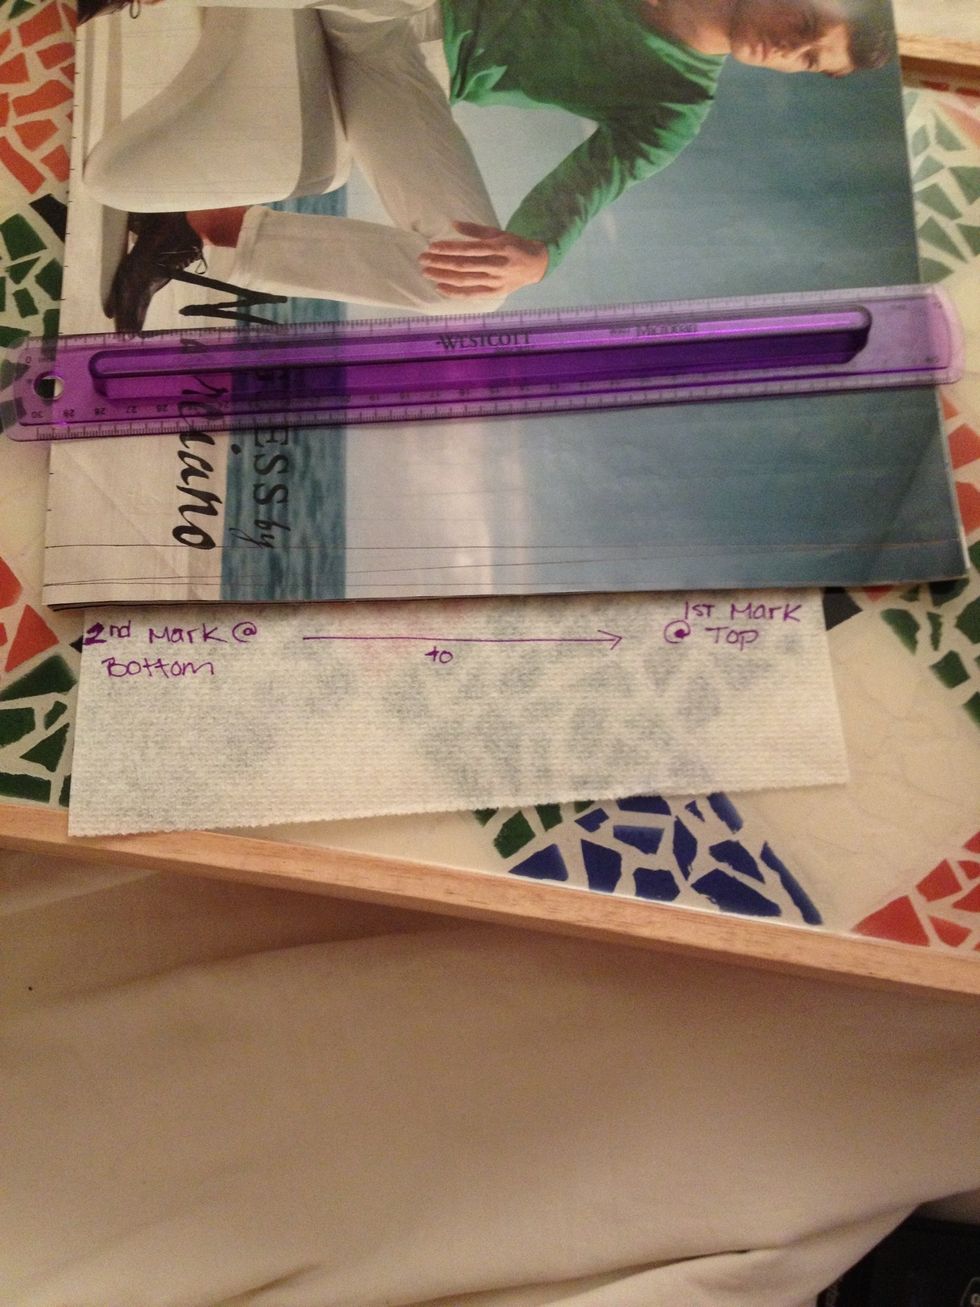
Use the back of the page you want to use to mark and measure. Otherwise your beads will end up with pen at the edges.
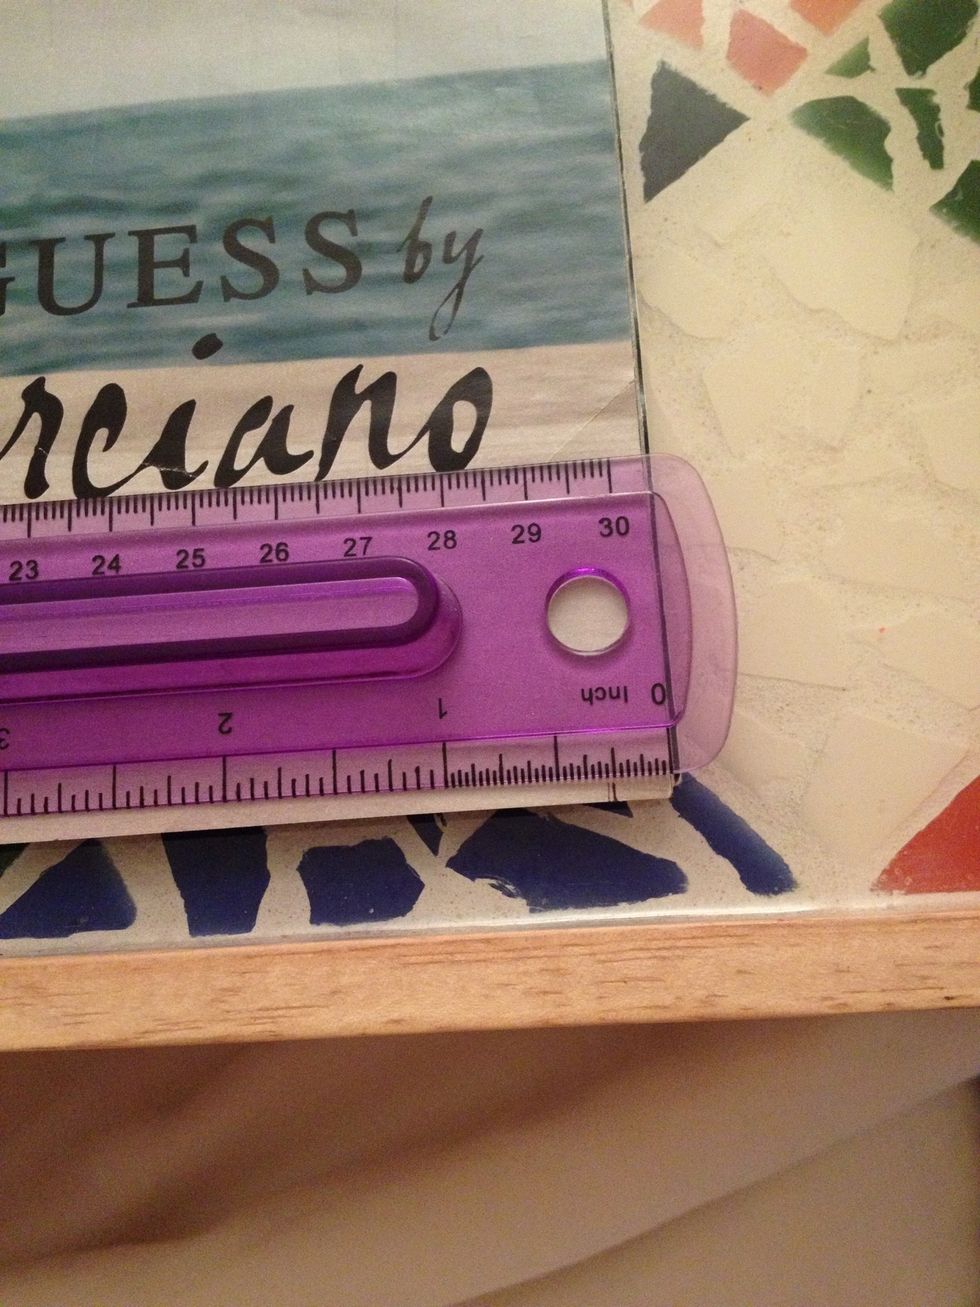
Starting on the end of the page, use your ruler to measure and mark the point that is half of your desired bead width. So if you're doing 1/2in beads, your first mark would be 1/4in from the edge.
Use your ruler to connect the mark you made to the corner above it.
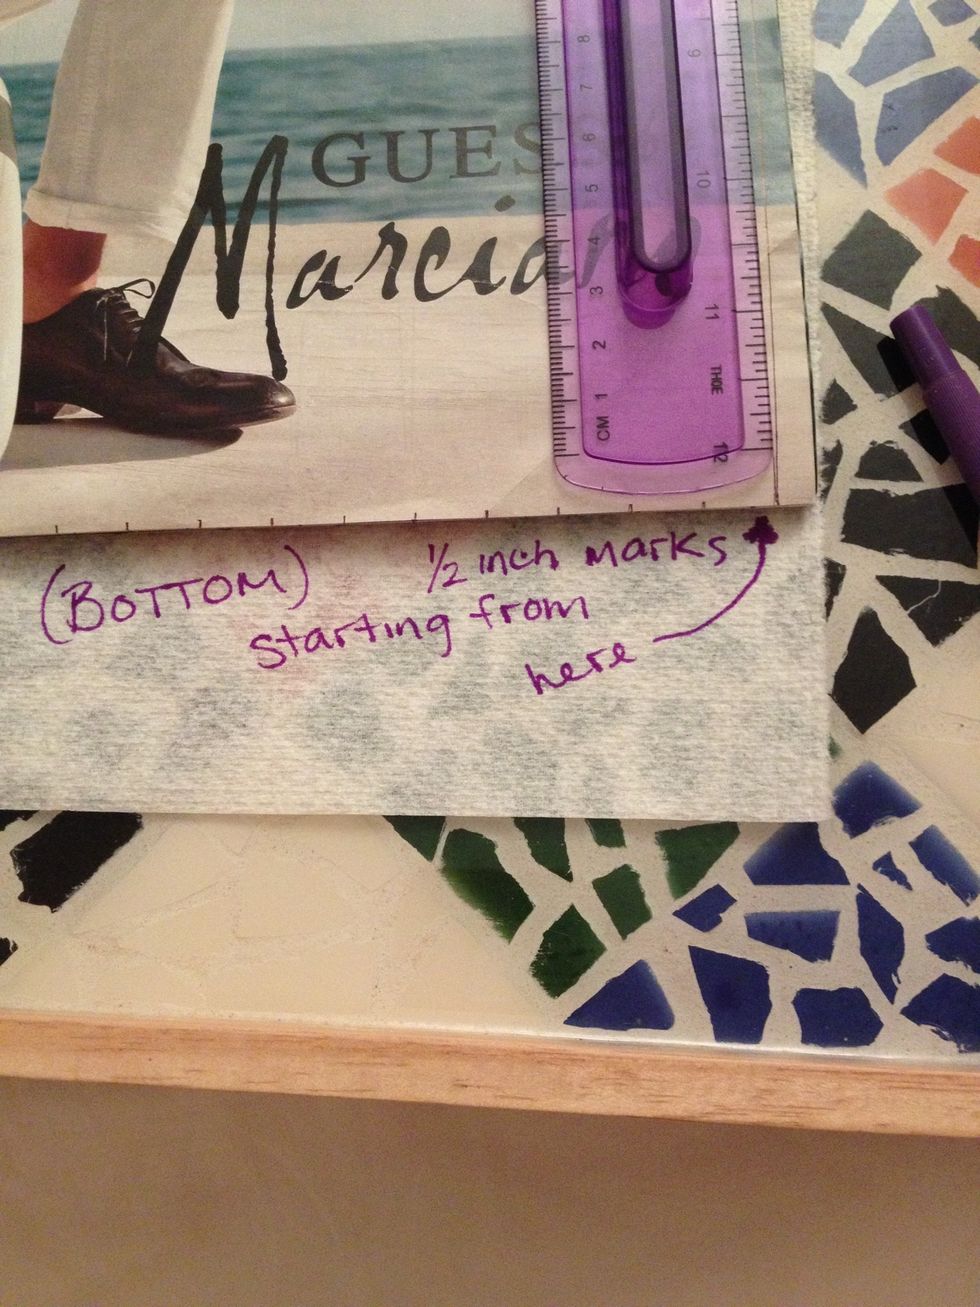
Now measure and mark every 1/2in point (or whatever width you decided on) from the first point you marked (NOT from the edge of the paper).
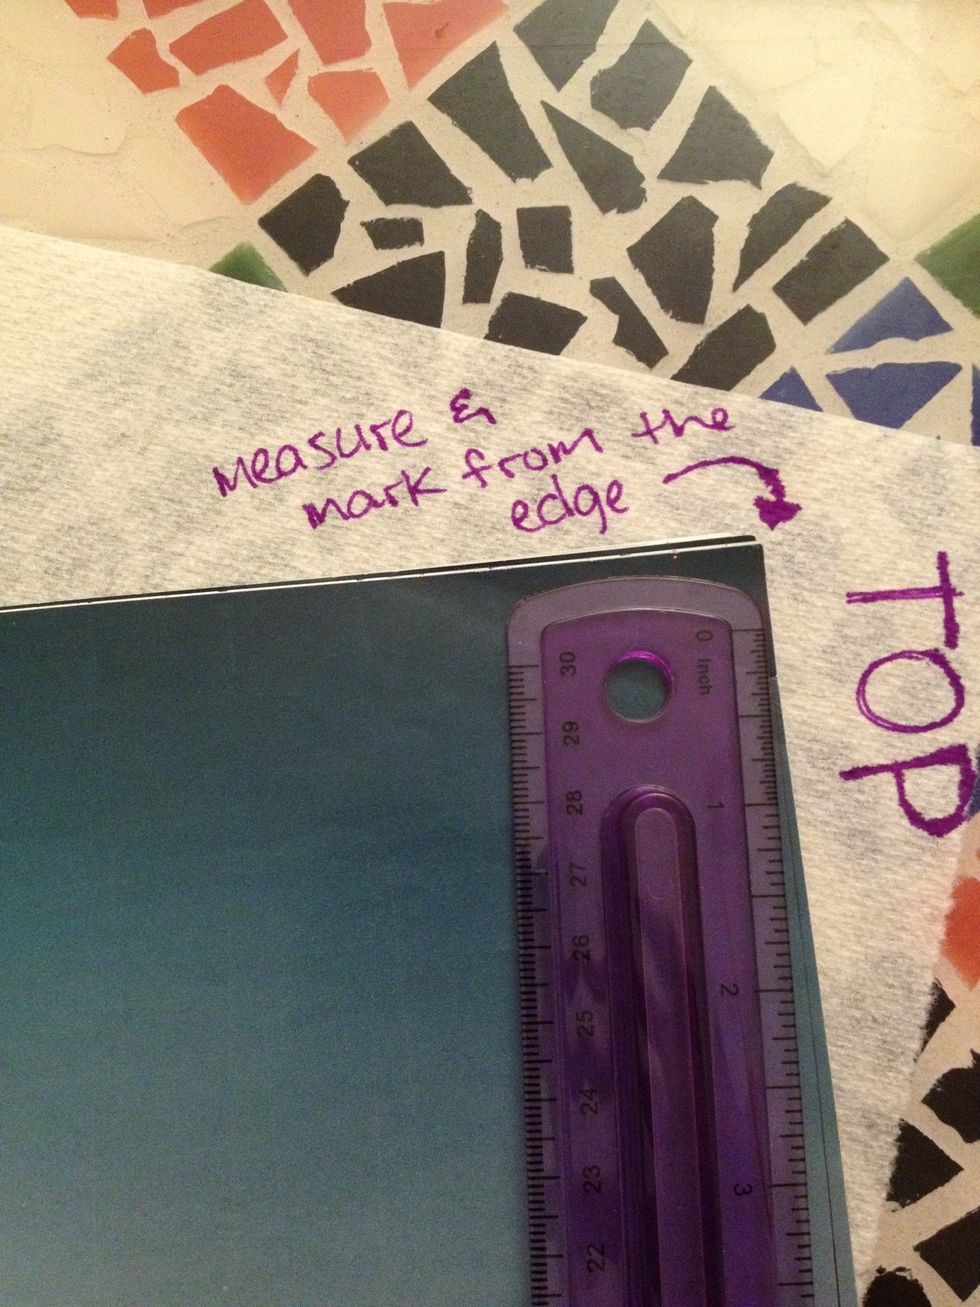
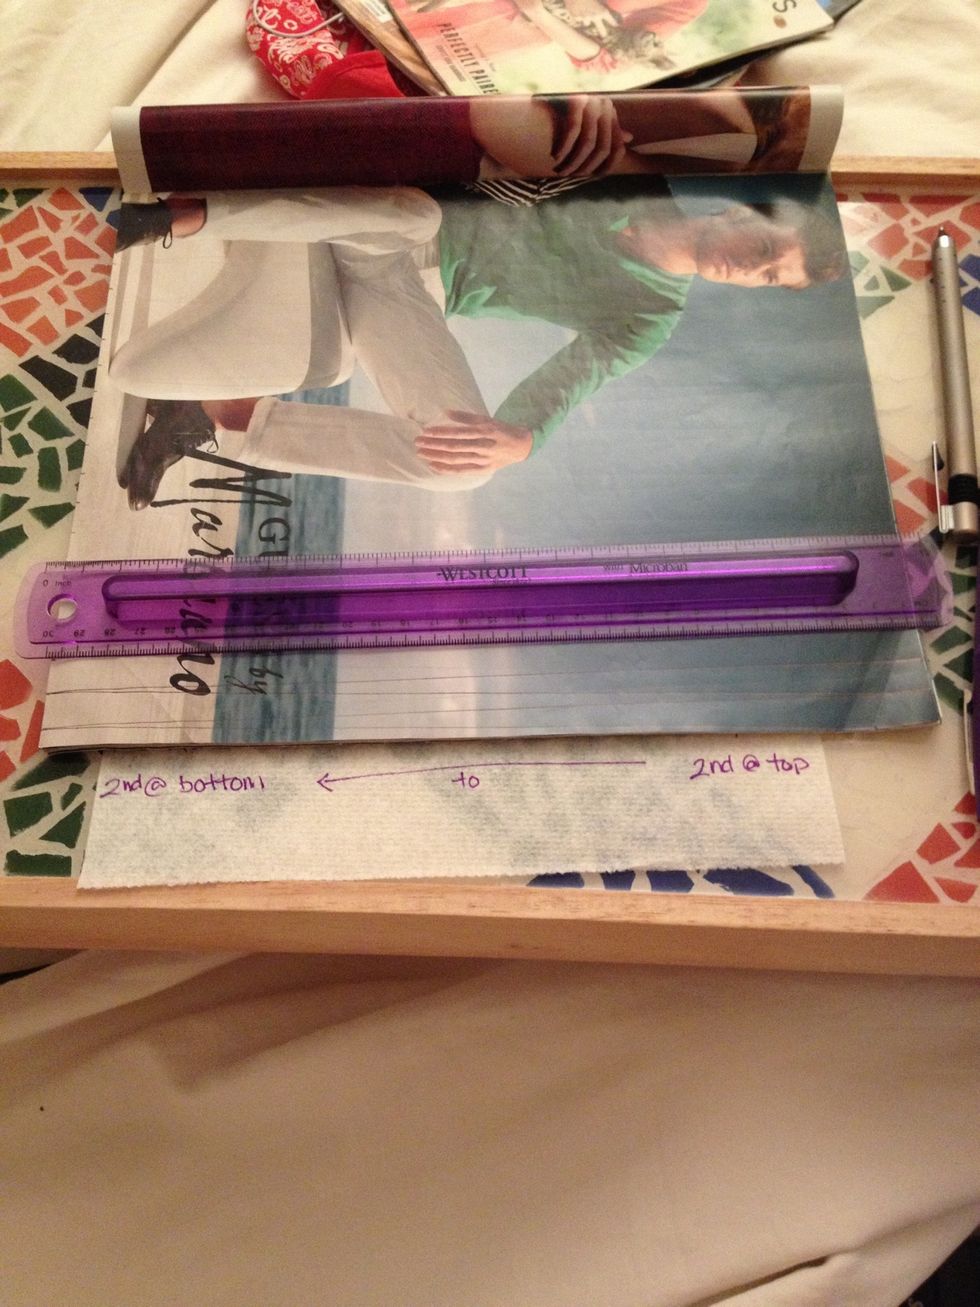
Measure and mark each half inch at the top of the paper, starting from the edge of the paper.
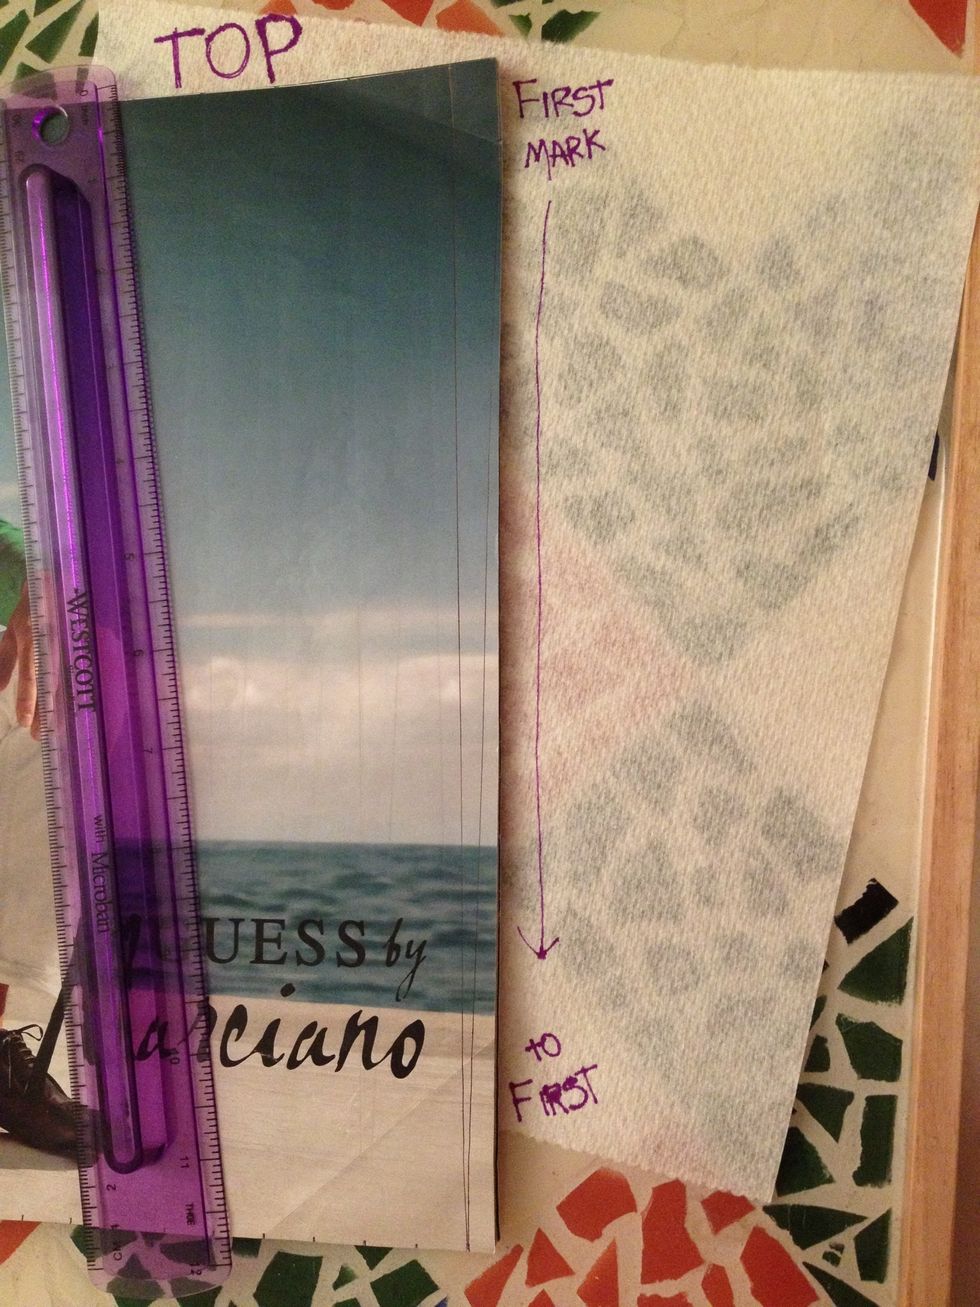
Use your ruler to draw a straight line from the FIRST mark you made at the top of the page to the FIRST mark you made at the bottom. To make a triangle
Next, draw a straight line connecting the SECOND mark at the bottom to the FIRST mark at the top.
Then the SECOND mark at the top to the SECOND mark at the bottom.

THIRD mark at the bottom to the SECOND at the top.
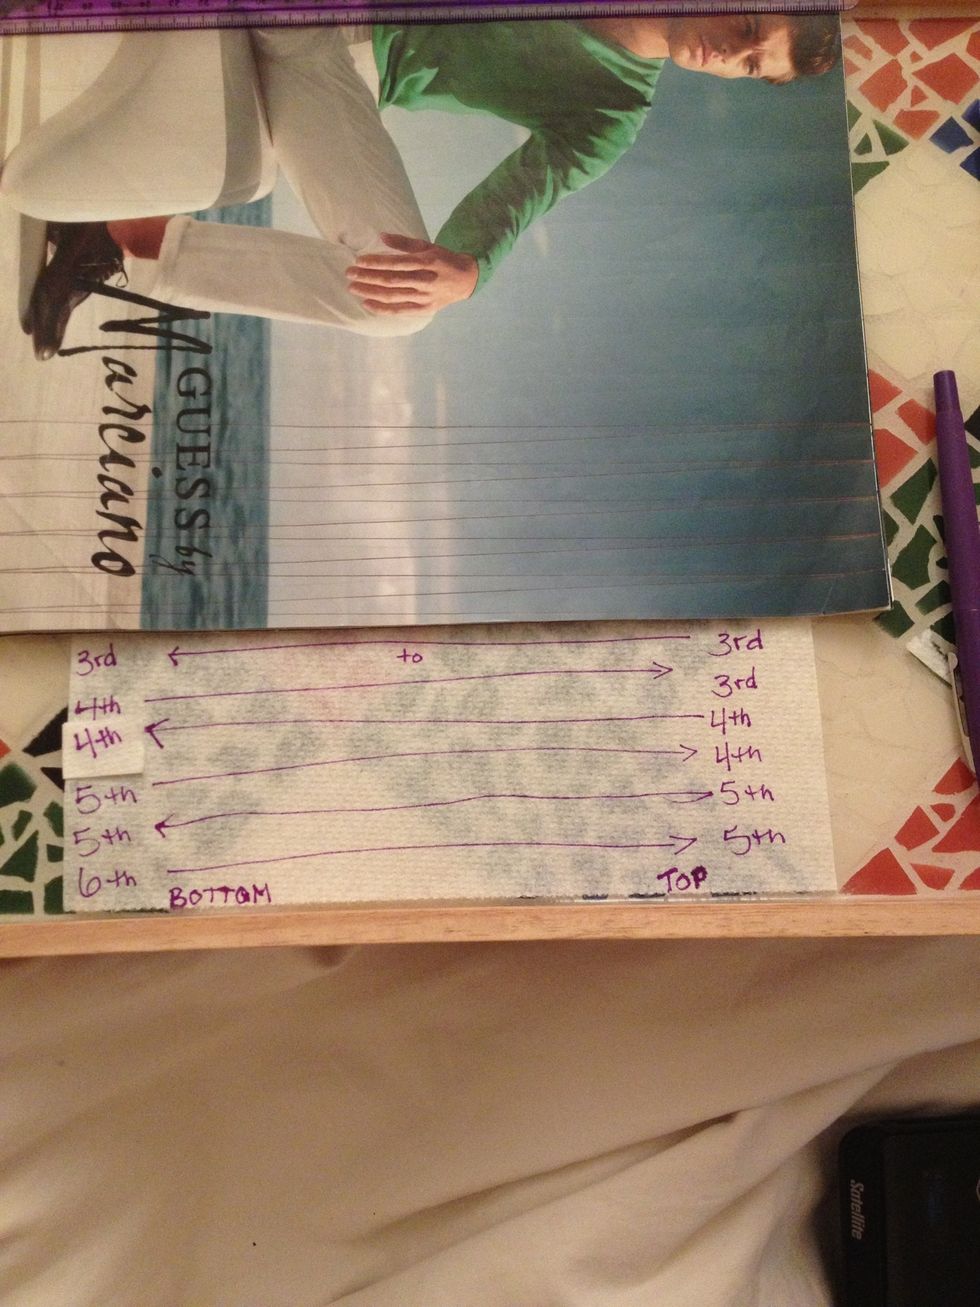
THIRD to THIRD. FOURTH to THIRD. 4-4. 5-4. 5-5. Etc etc
Connect your marks for the entire page, and then start cutting out the triangles you've drawn.

The first triangle was just to get the others to align properly; you can discard that one. Or make an awkward little bead...
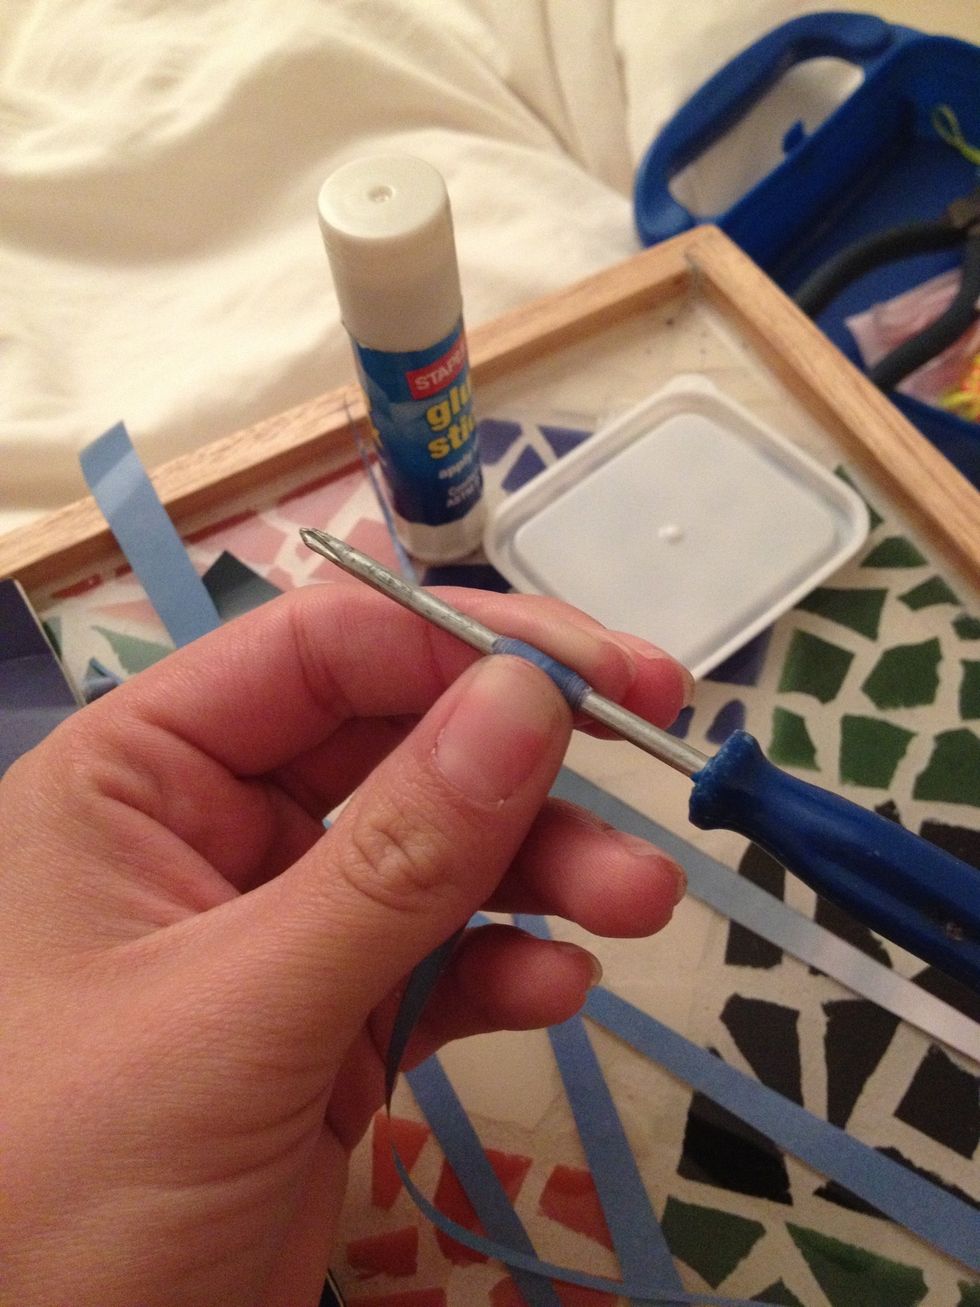
Take one of your triangles & your screwdriver or crochet needle (or whatever floats your boat) & start rolling your beads. Try to keep each bead rolling centered & rather snug to the screwdriver.
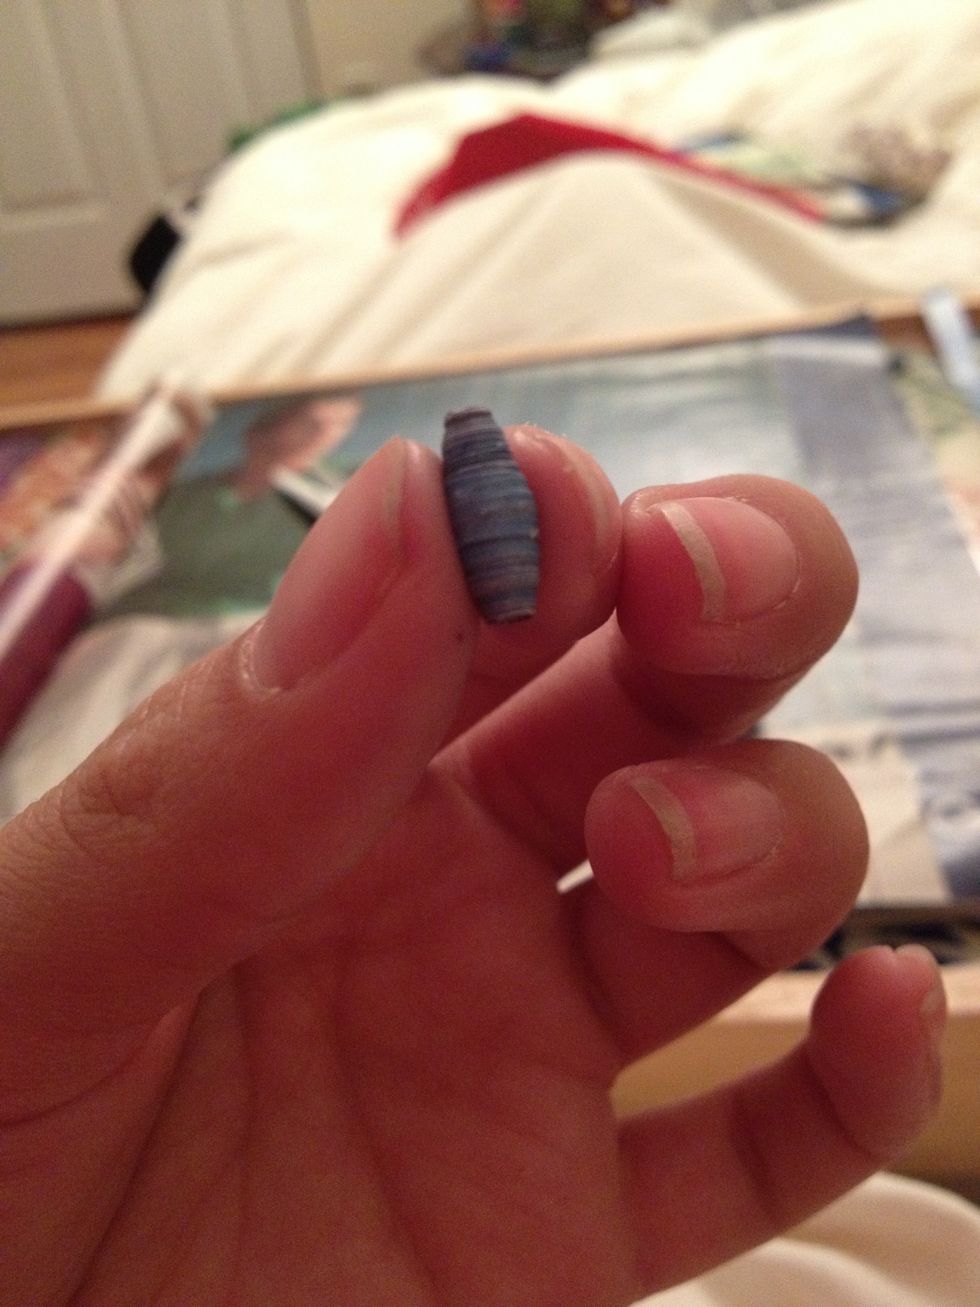
When you get to the end of your triangle, apply some glue. I put the glue under the last little piece AND over it. Roll 'em all- or until you get sick of 'em.
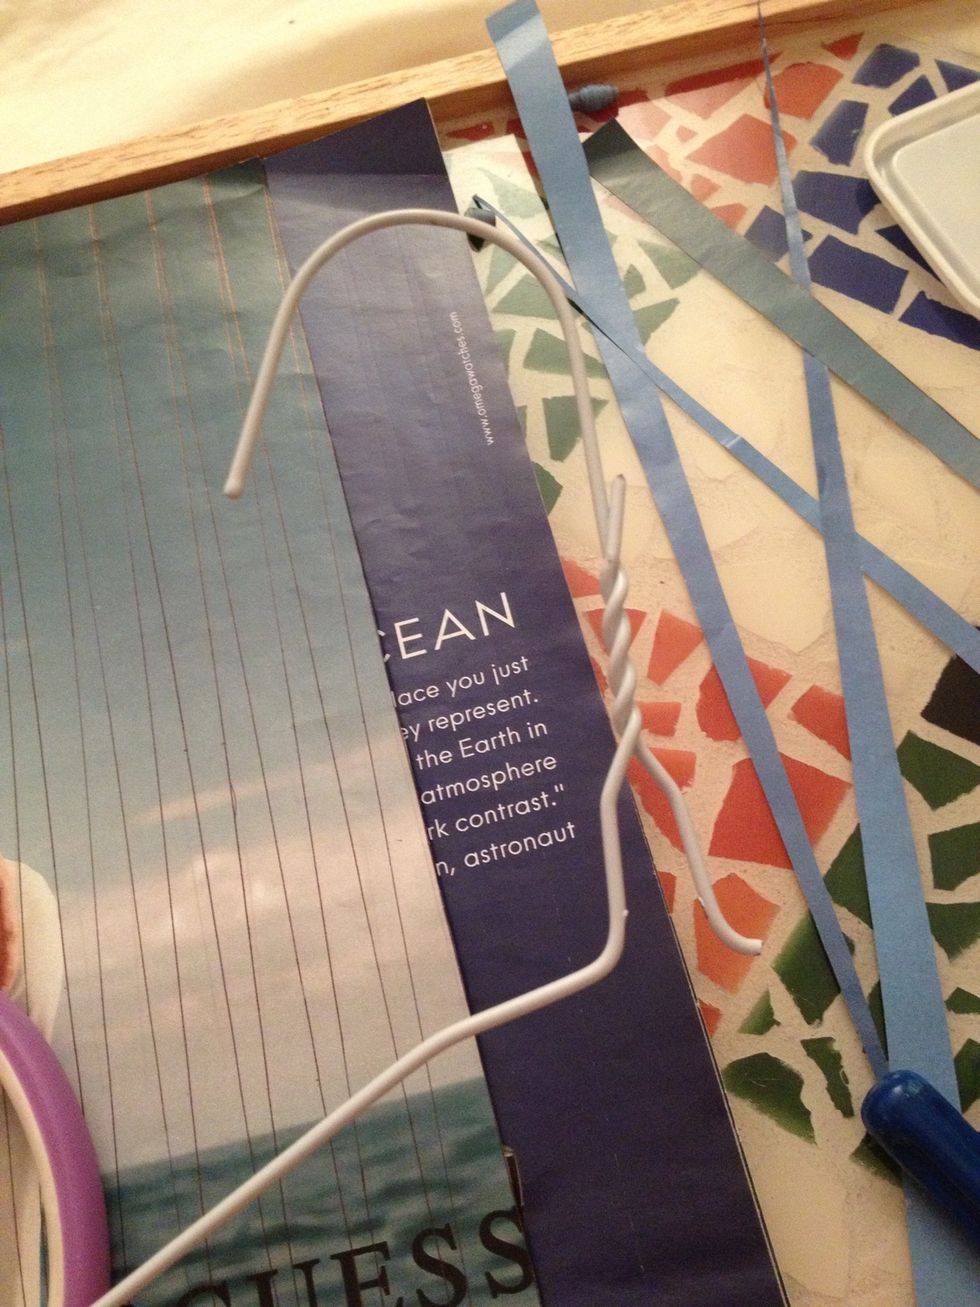
Cut one side of the hanger and straighten it out.
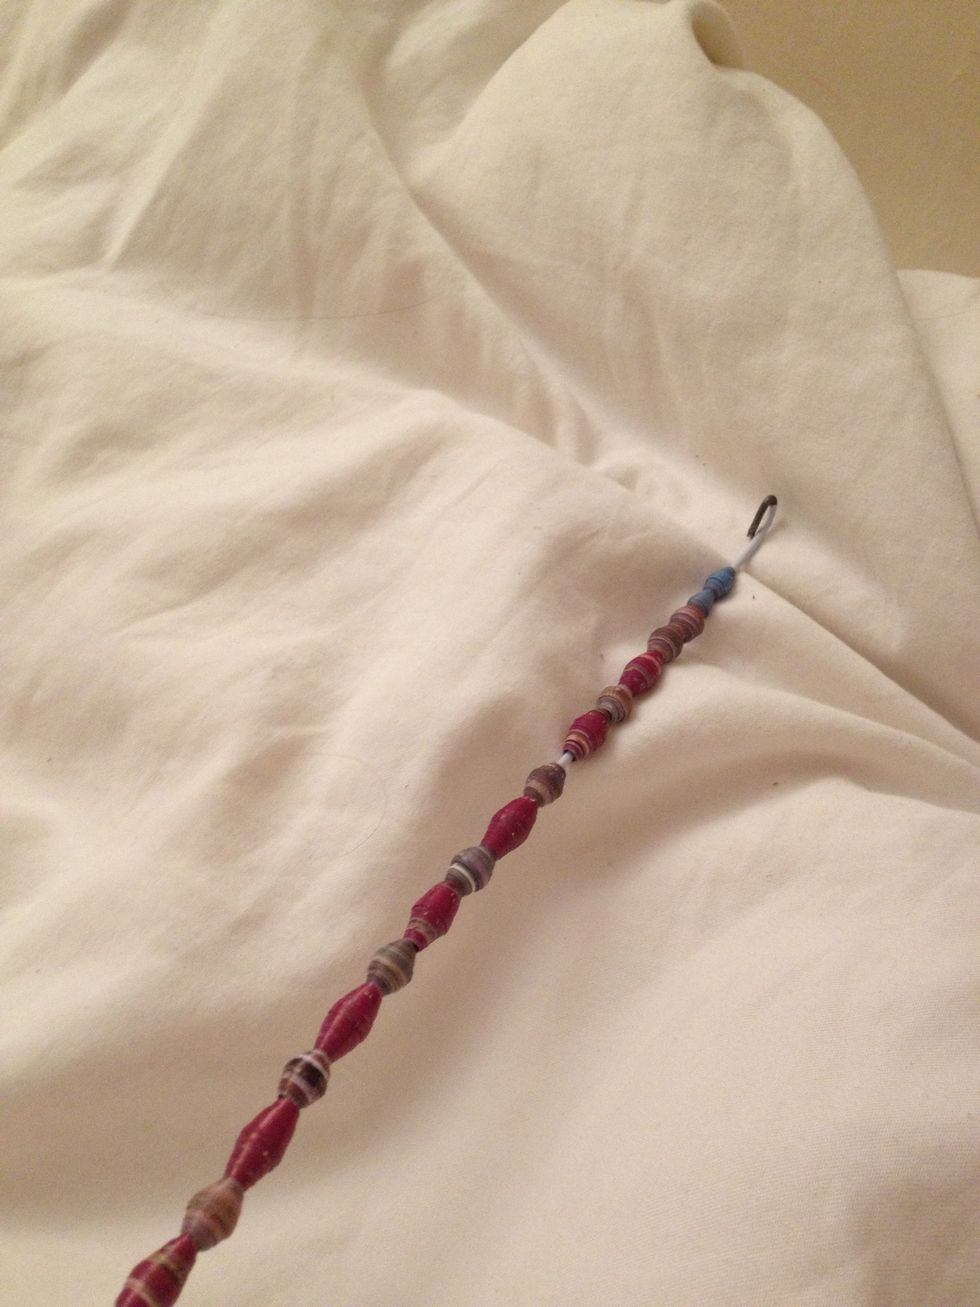
String your beads on the hanger. Hook the end. This is the easiest way I could figure to prepare the beads for the next step. (These are some other beads I've done)
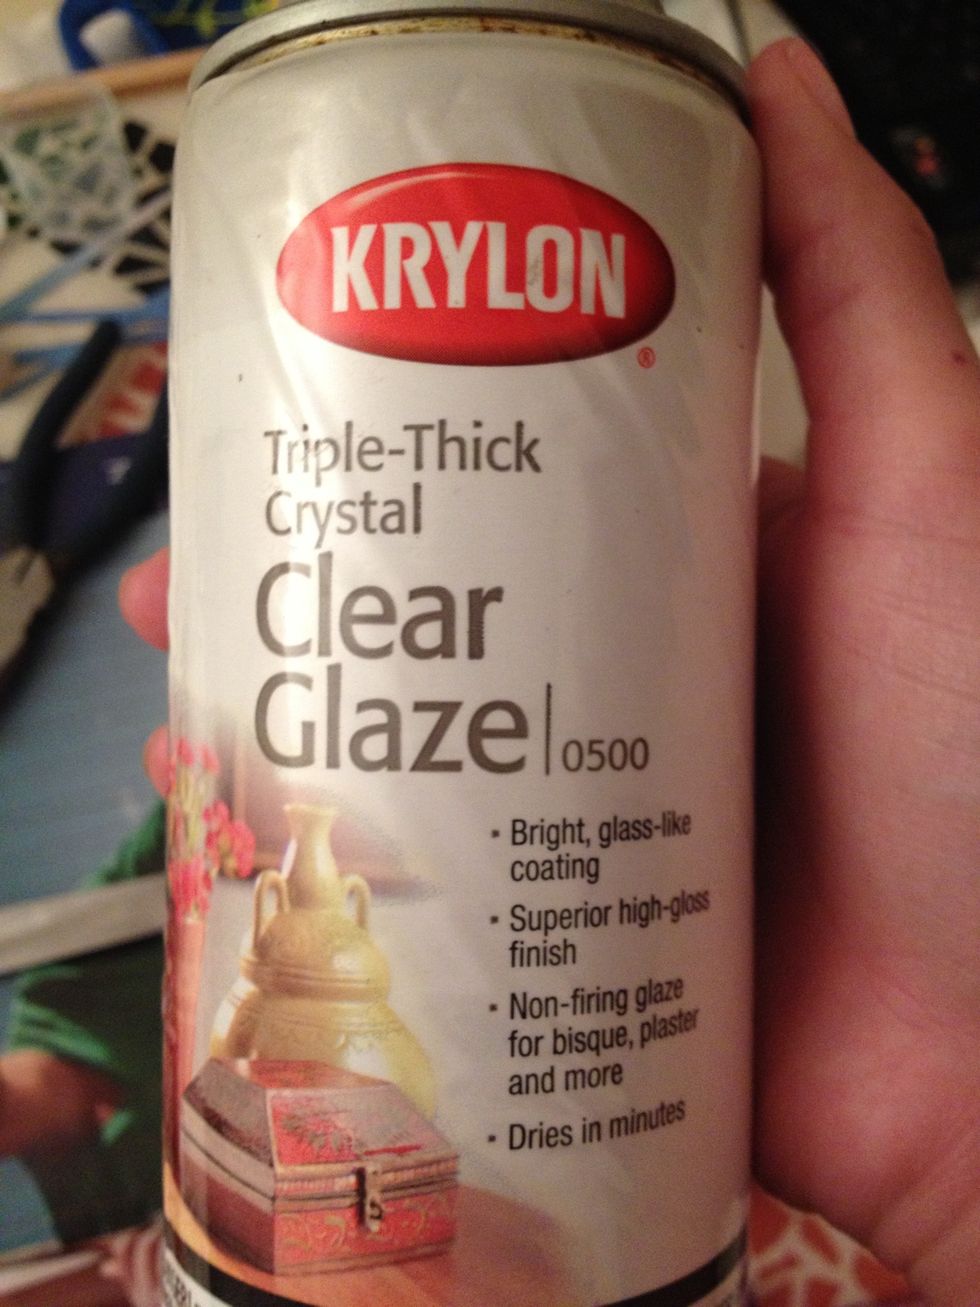
I then put the hanger on the clothesline and give them a couple coats of clear glaze. The glaze doesn't make the beads waterproof. It just makes them a little more durable.
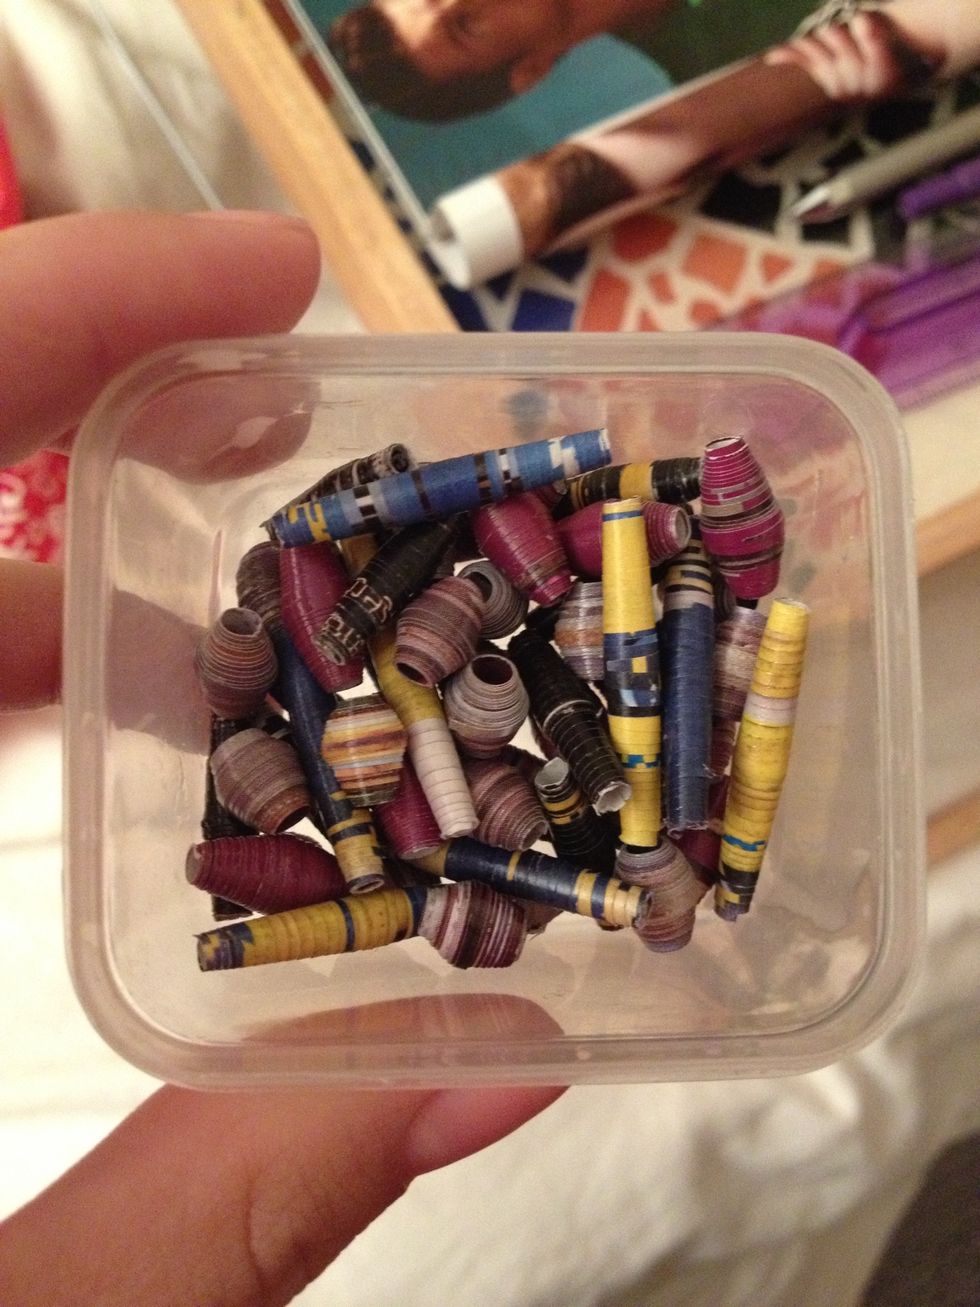
These beads have already been glazed and dried.
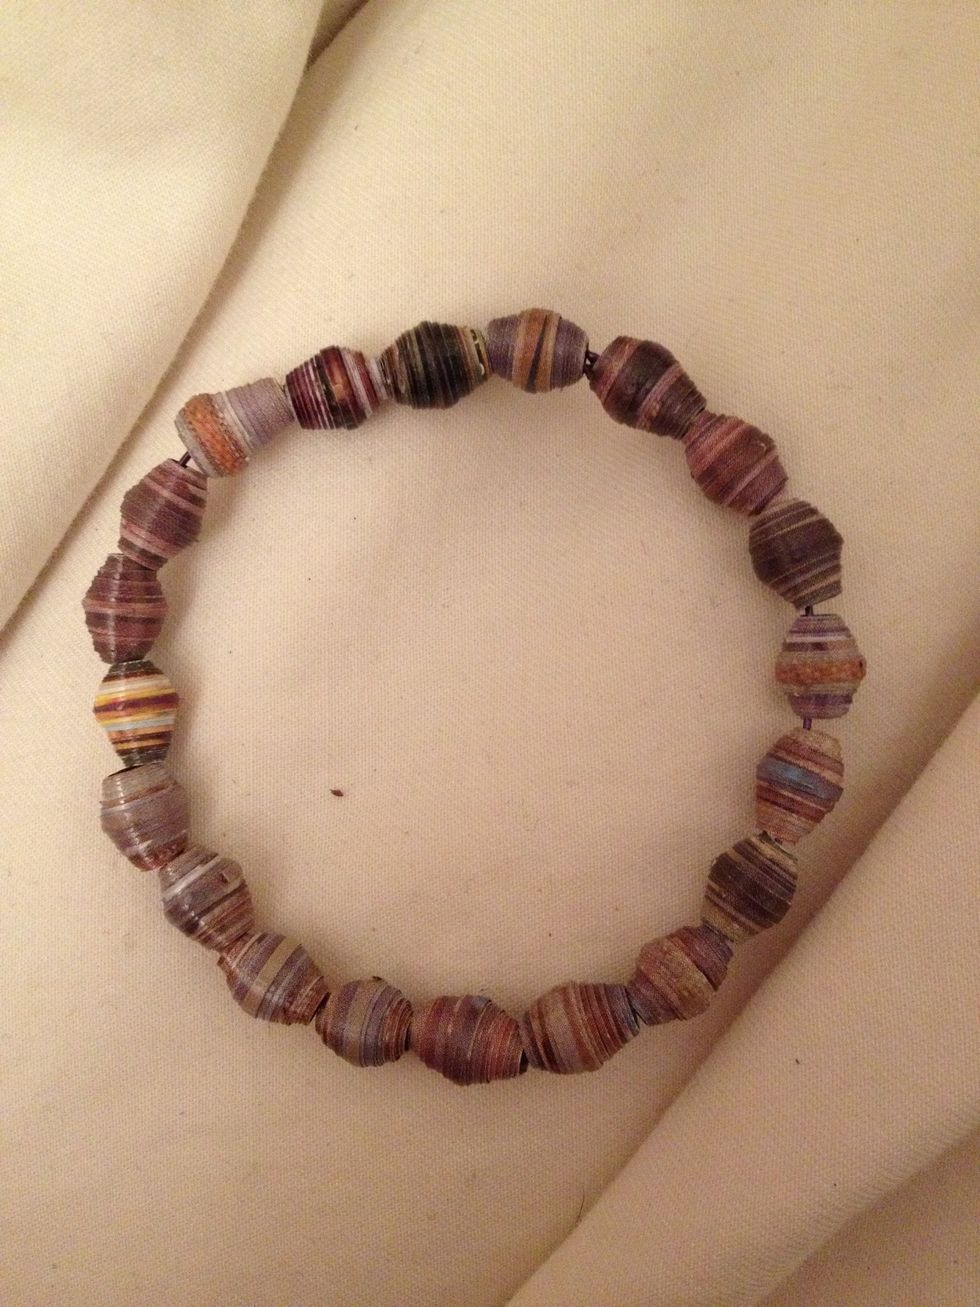
I threw some of the beads I've already made on some wire so you can get an idea of the "finished product." I'm hoping to make some paper bead jewelry as gifts for the holidays.