How to make paper angel wings with marion smith designs
Make Paper Angel Wings With Marion Smith Designs
1707
STEPS
TOOLS
Start with a 1/4 of a sheet of poster board.
Fold it in half width-wise.
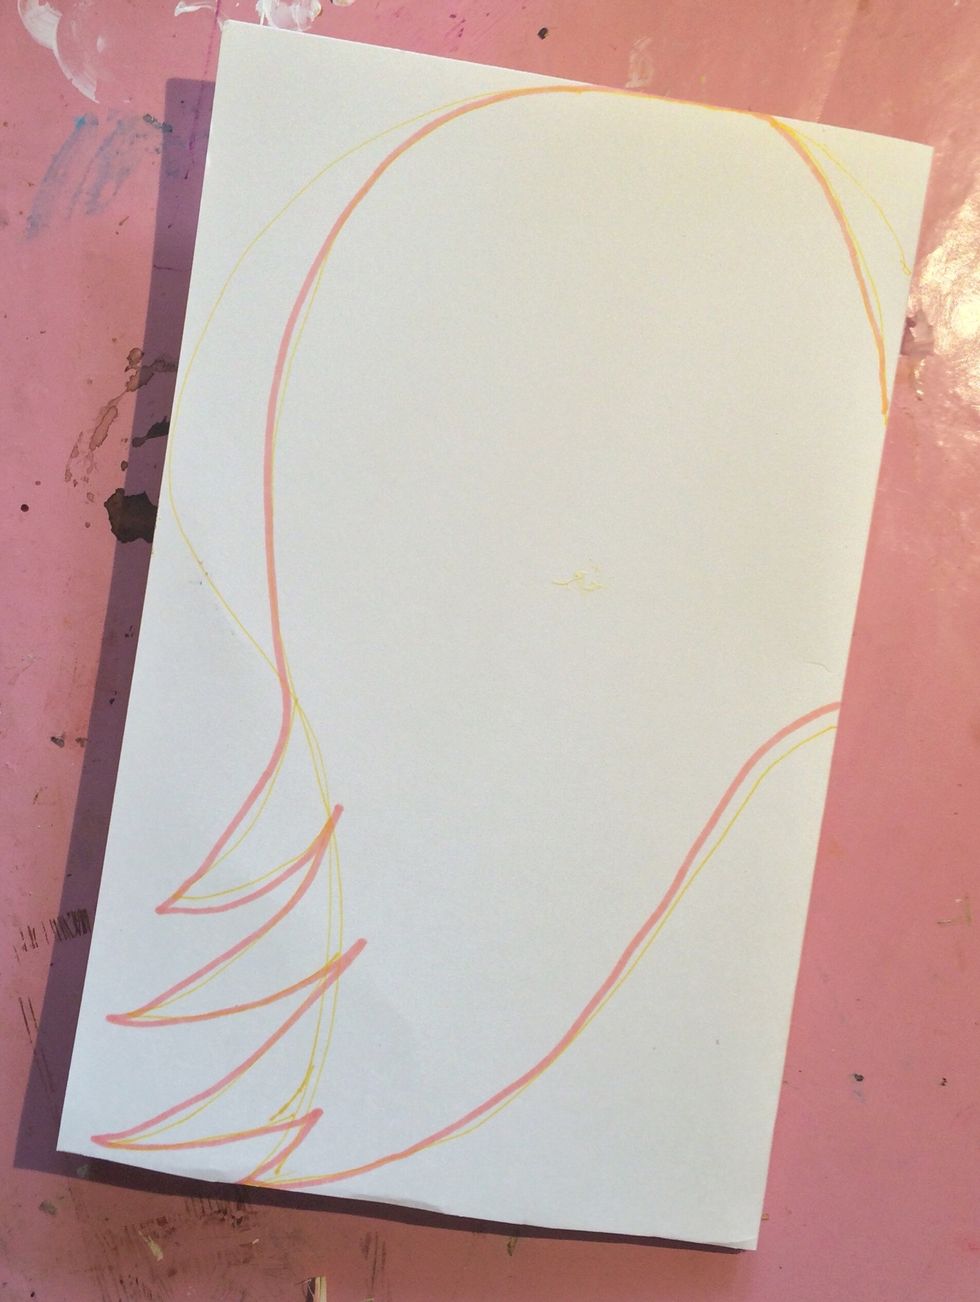
Draw the outline of your desired shape. I suggest doing a google search for angels wing shapes. There are many styles and you might find you like 1 more than another.
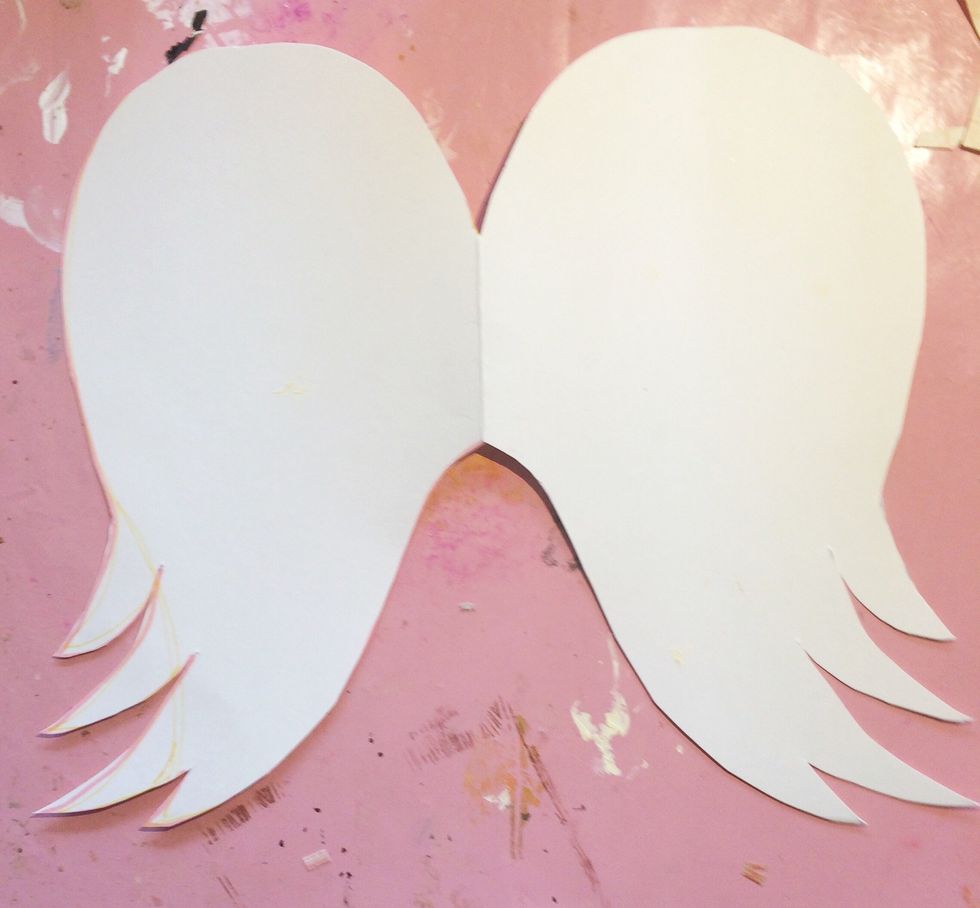
With your poster board still folded, cut out your shape. When you are done, open it up and you have your wing base.
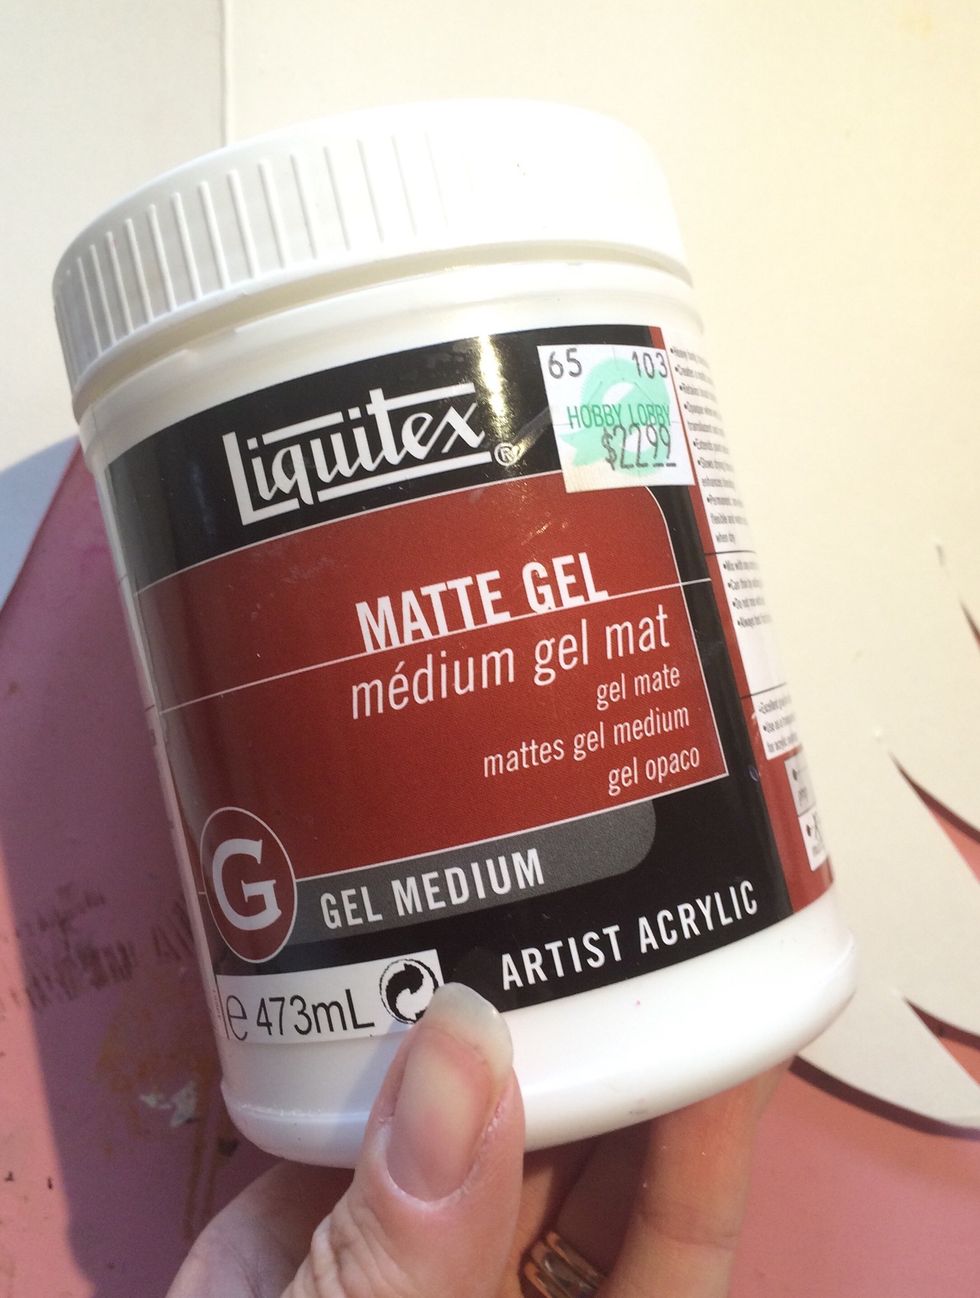
Next, grab your matte gel medium (you can also use Mod Modge.)
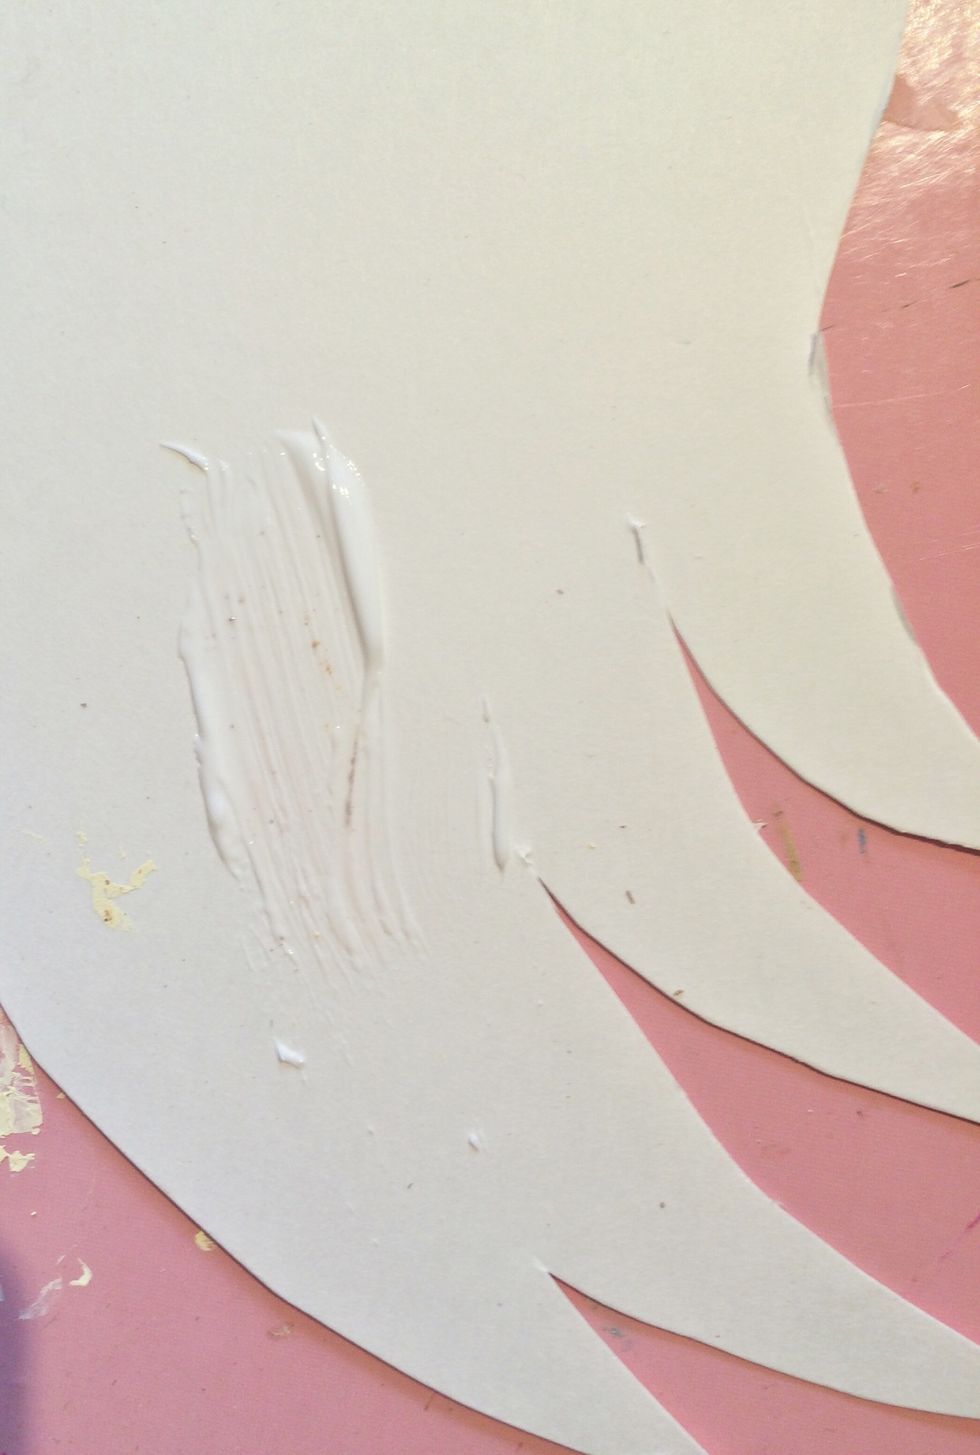
Apply your gel medium to the bottom part of the wing.
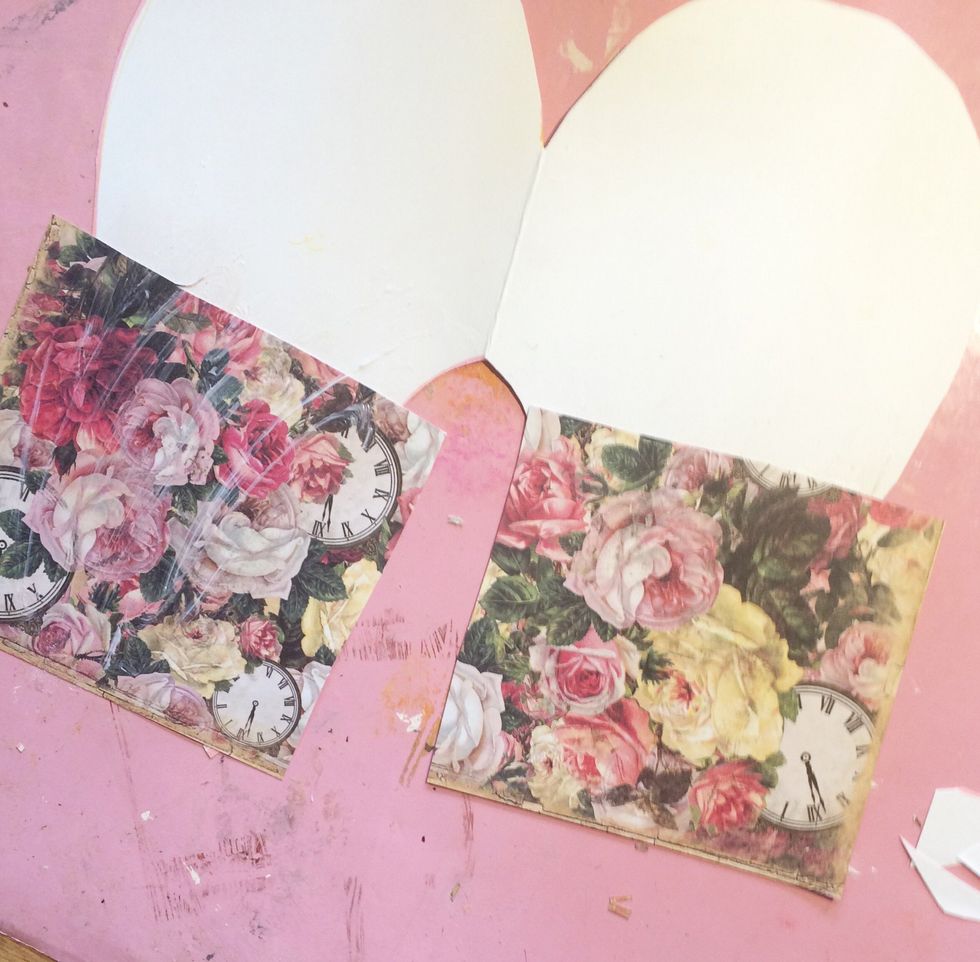
Lay a small sheet of paper over your gel medium. Doing this is easier than trying to layer "feathers" on these intricate places later. :) Apply a layer of gel medium over it and allow to dry.
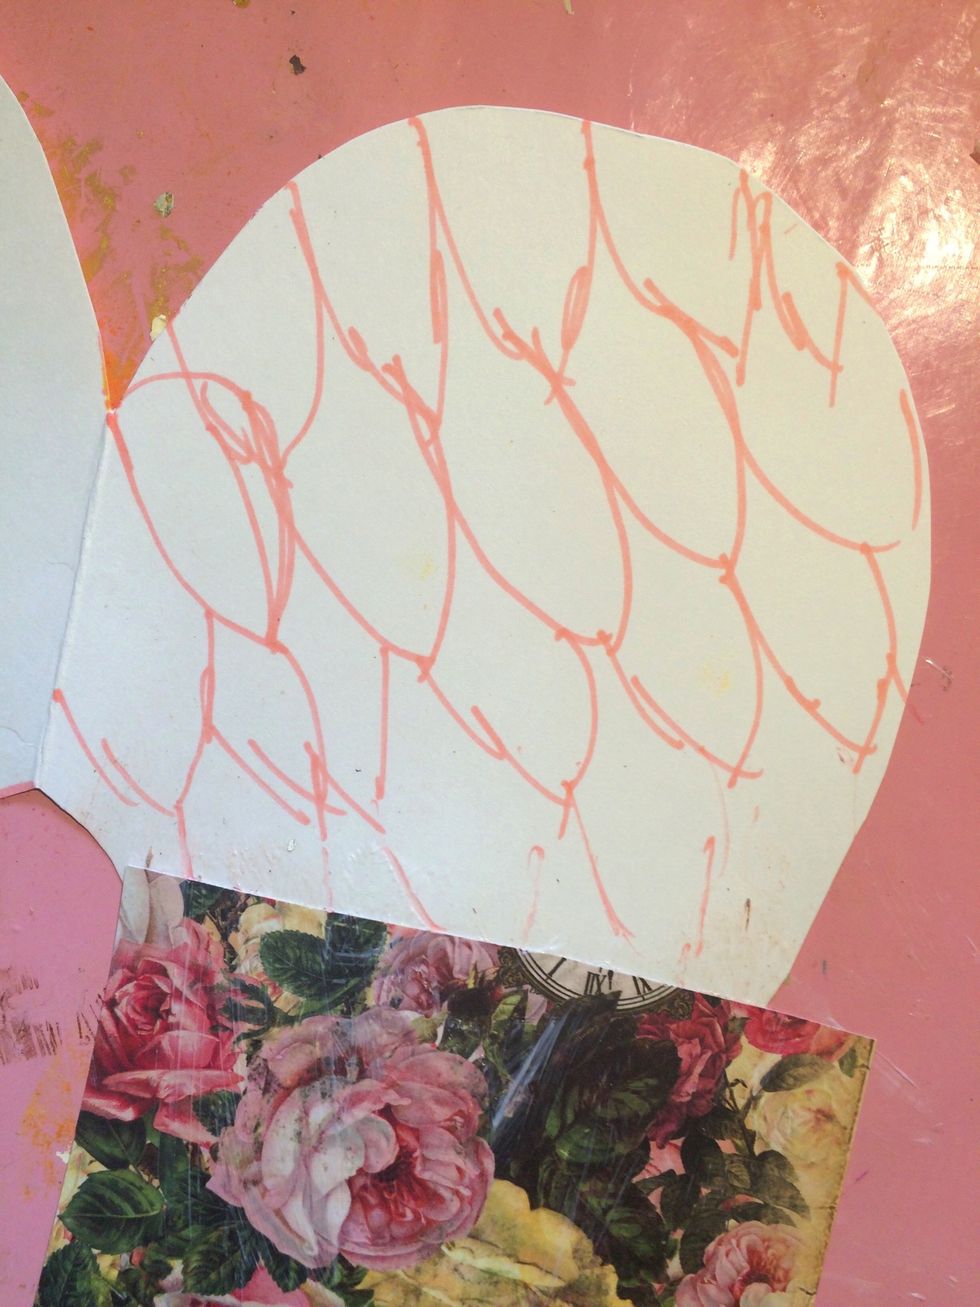
To give yourself an idea of how big your feathers need to be, do a rough sketch of your feathers on your wing.
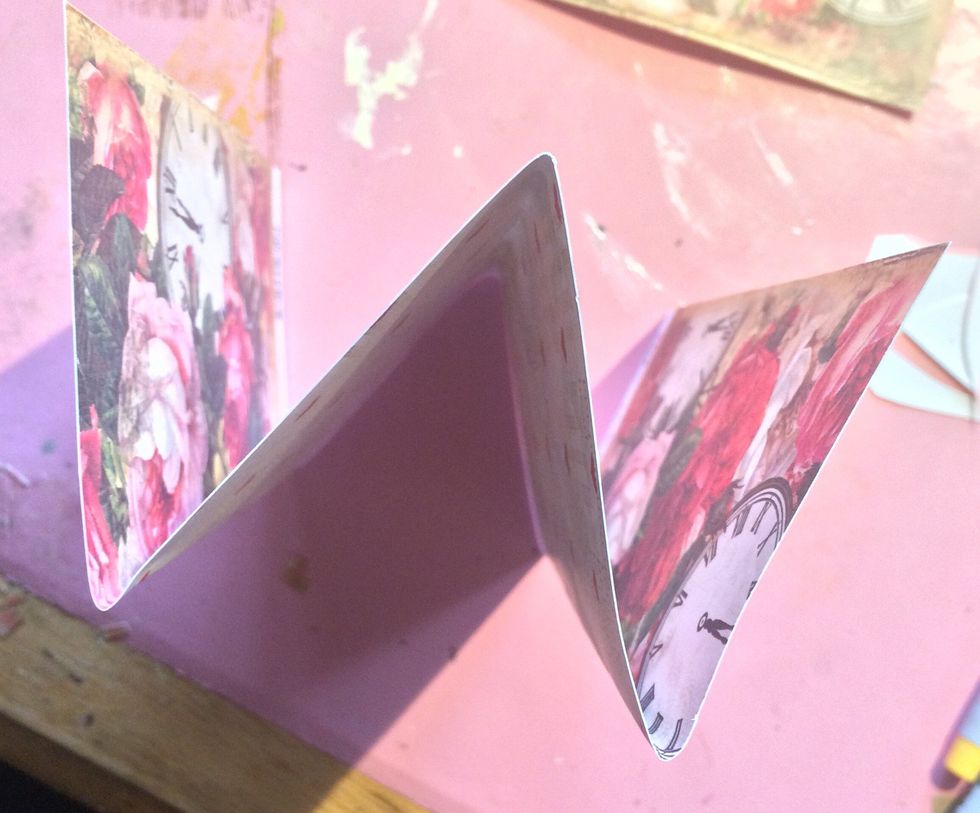
To make a large number of feathers at one time, fold your paper accordion style.

Draw a feather design on your paper. I chose a tear drop shape, but you can play with different shapes for different effects!
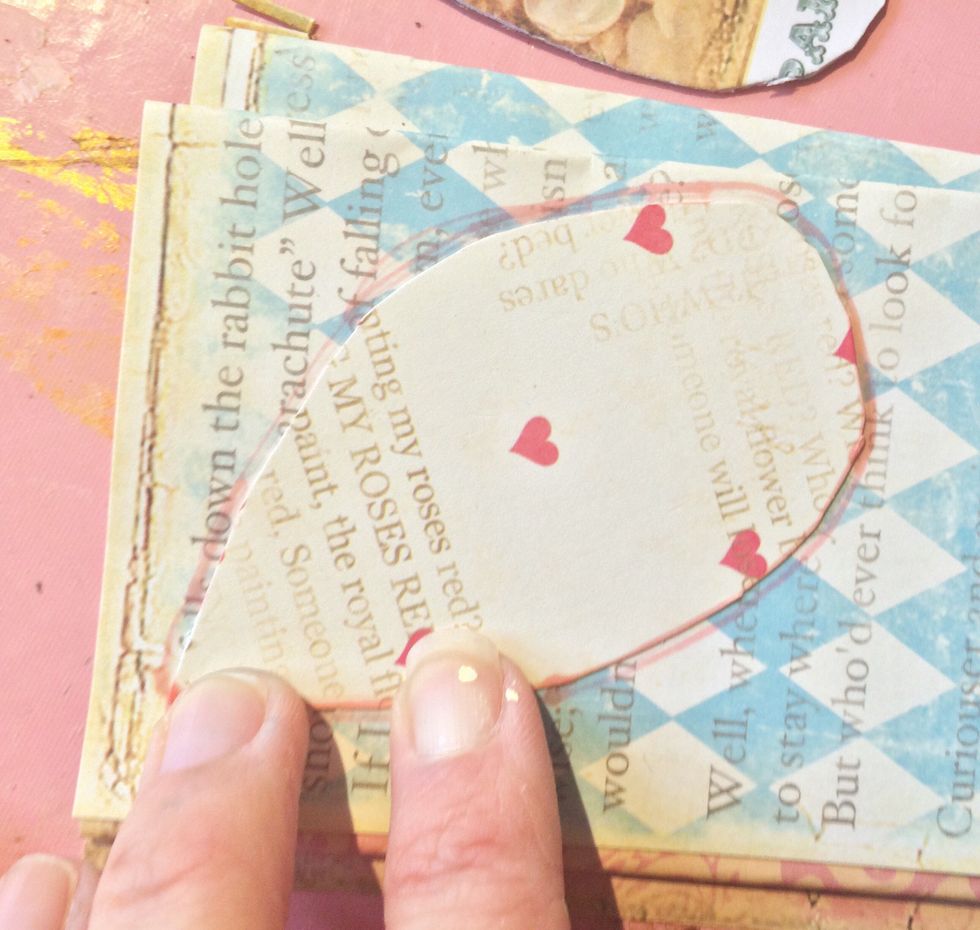
Once you have cut your first wings, use them as a template for your other feathers. Wings this size take approx 40 larger feathers and 12 smaller feathers (we will make these later.)
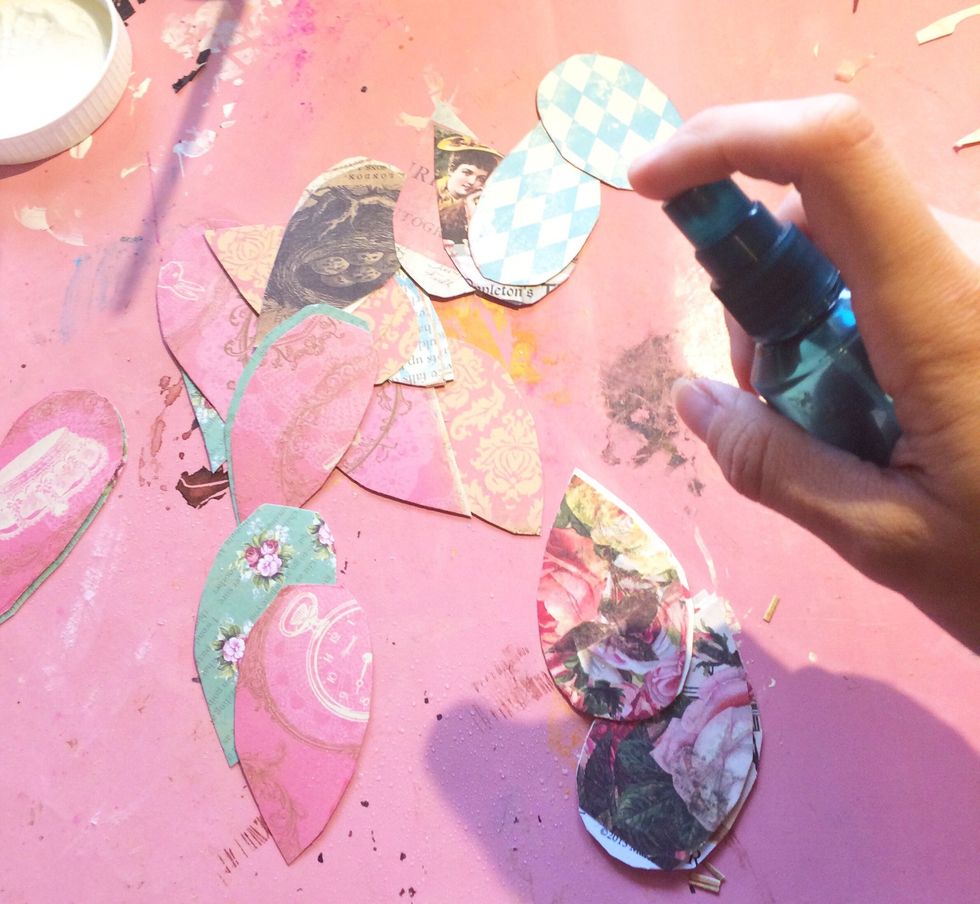
To give your feathers textures, start by spraying them with water.
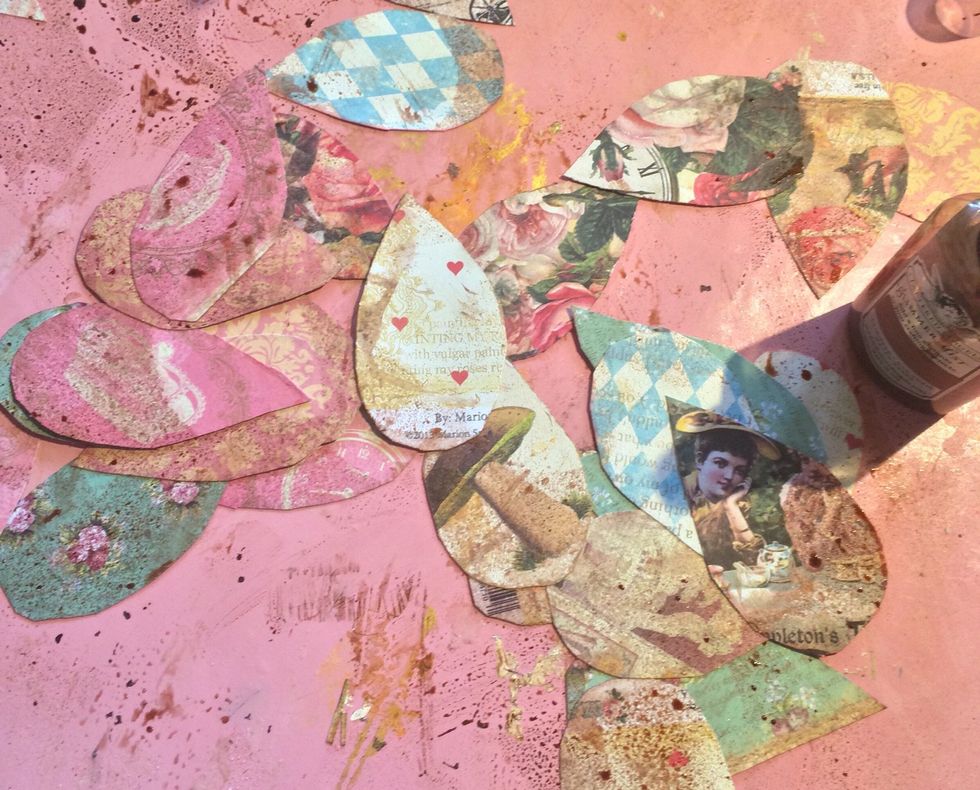
Now would also be the best time if you are wanting a distressed look, to spray your feathers with a colored mist like Tattered Angels in Coffee Shop.
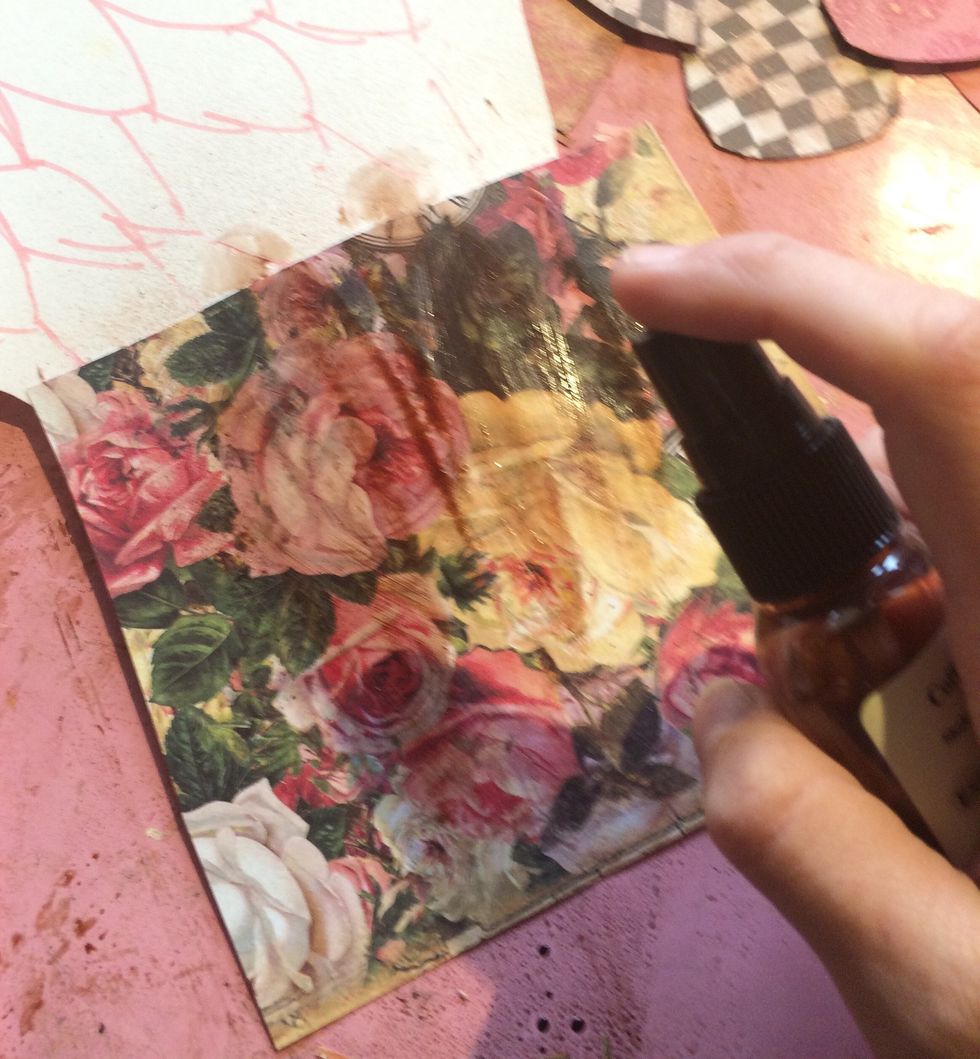
Don't forget to spray your wings with your spray ink as well.

Here is a closeup of one feather. you can see that the Glimmer Mist adds color and shine!
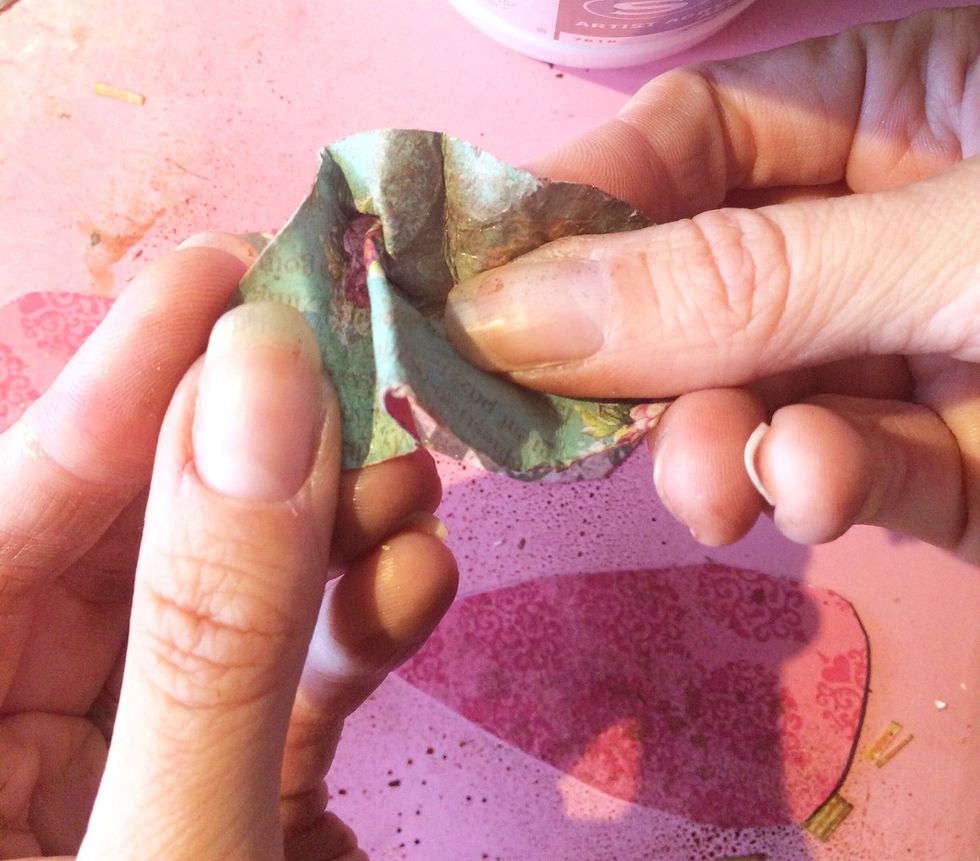
While the feathers are still damp, scrunch them in a messy accordion shape. Repeat this with all of your feathers.
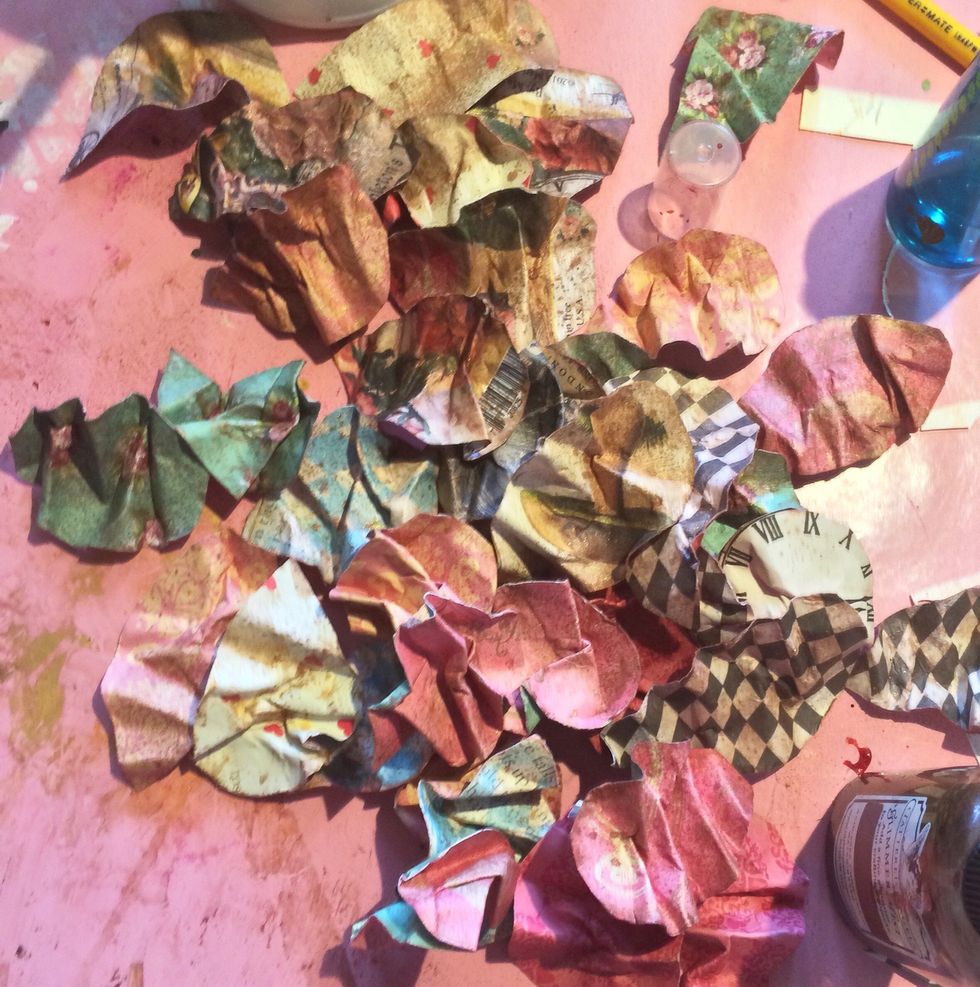
Once you are done, you will have a big pile of feathers! Allow them to dry completely. A heat gun can speed this up if needed.
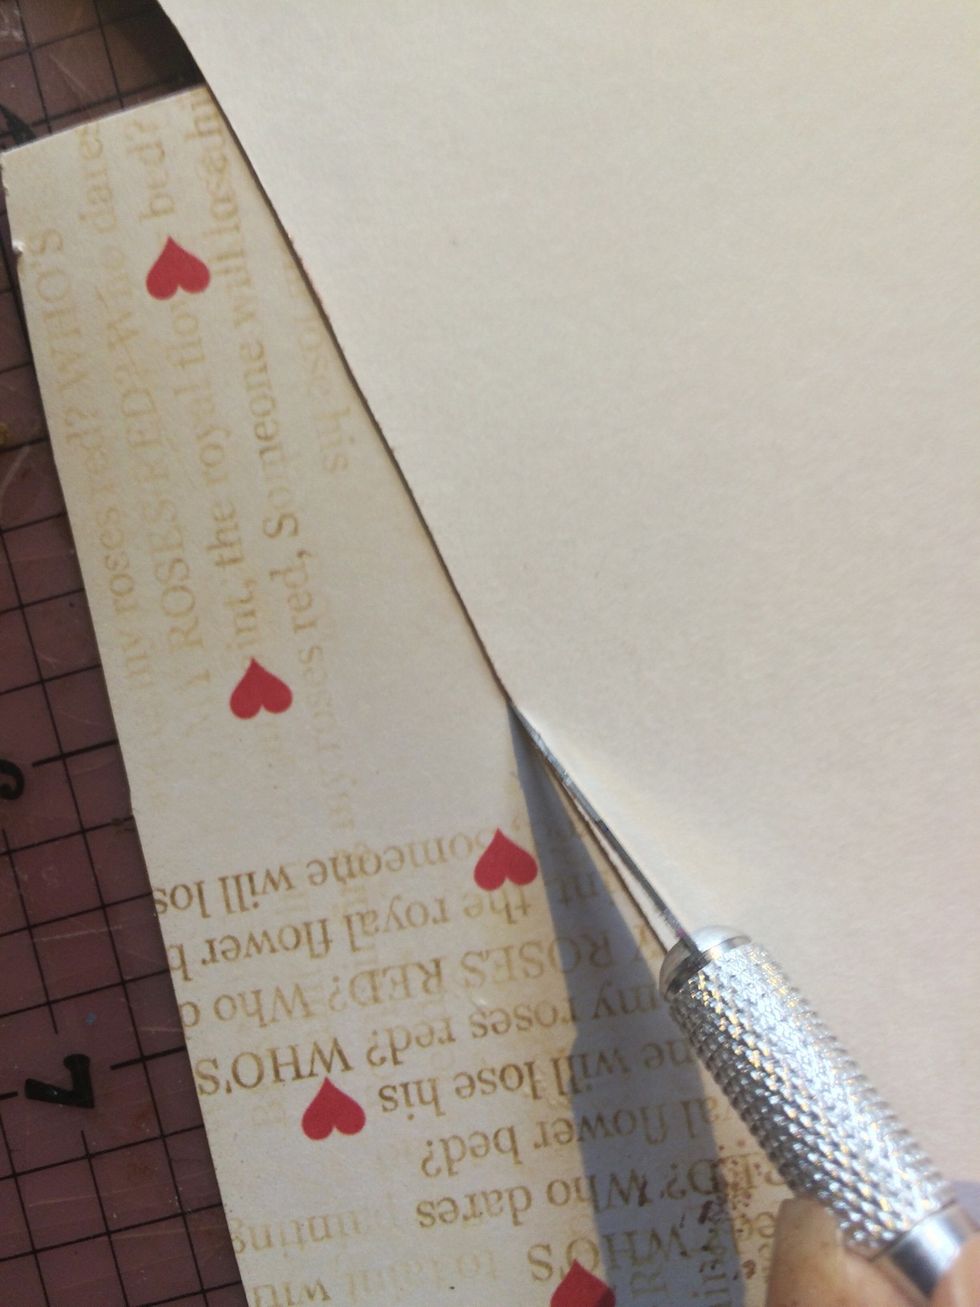
While your featehers are drying, flip your wings over. Using an exacto or craft knife, cut the away the excess paper from your wings.
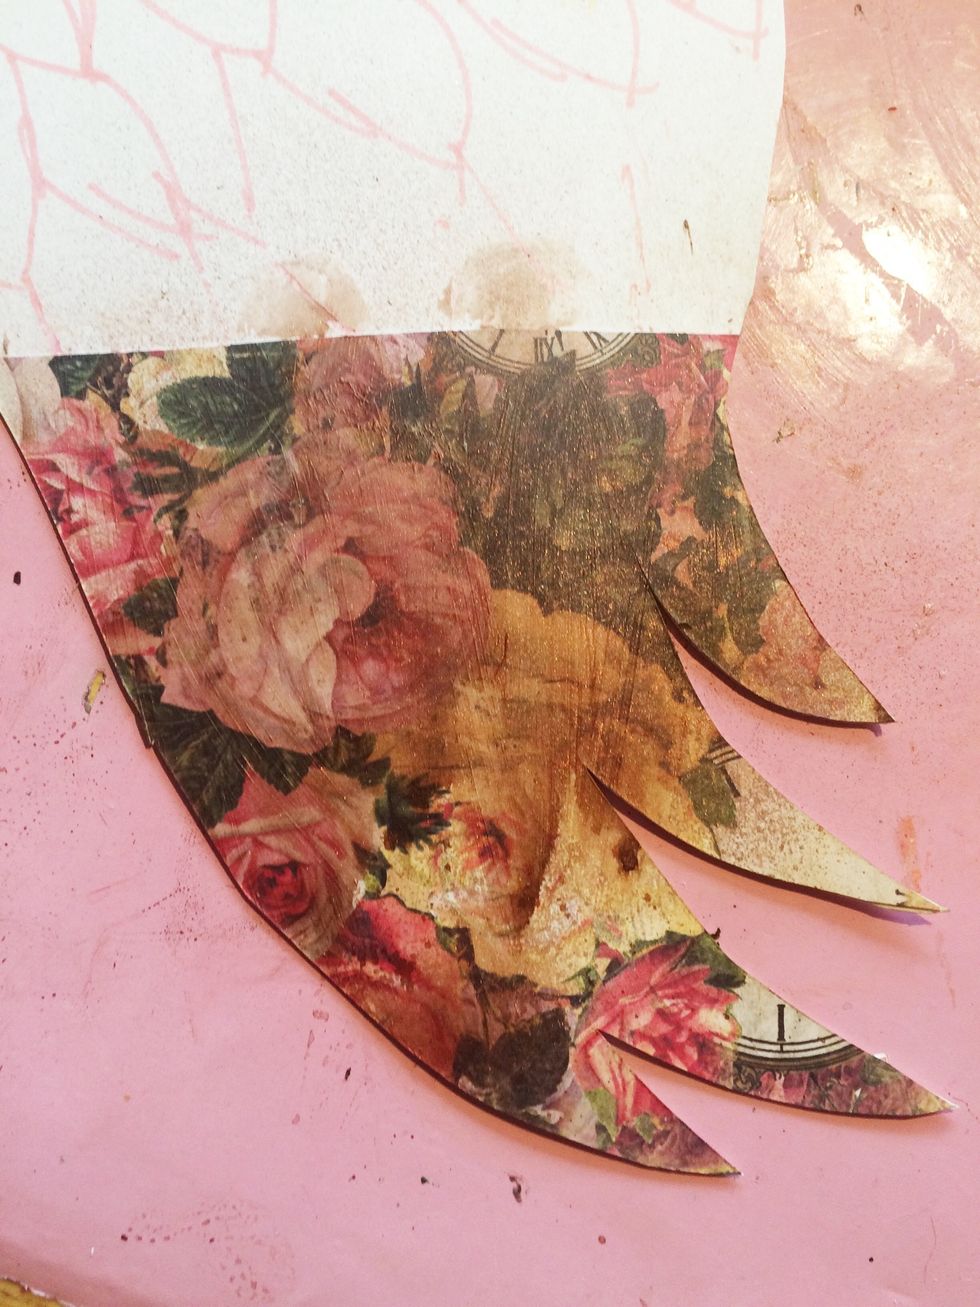
This was my finished product once I finished.
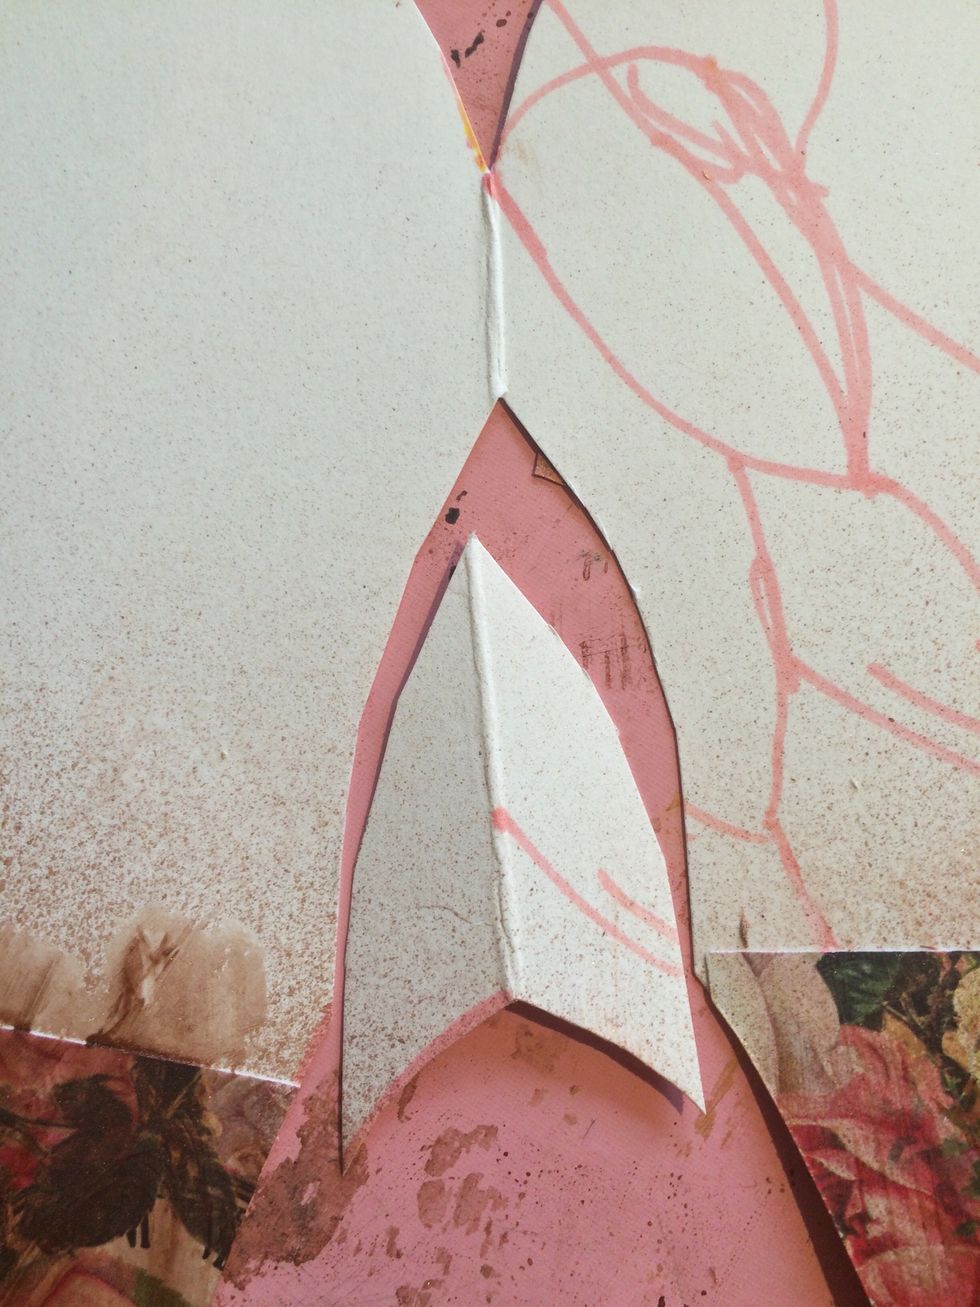
Before I started adding my feathers, I decided to trim down the connector between my two wings. I also did a couple of dry runs with my feathers to get an idea of how best to arrange them.

It works best to start from the bottom and work your way up.
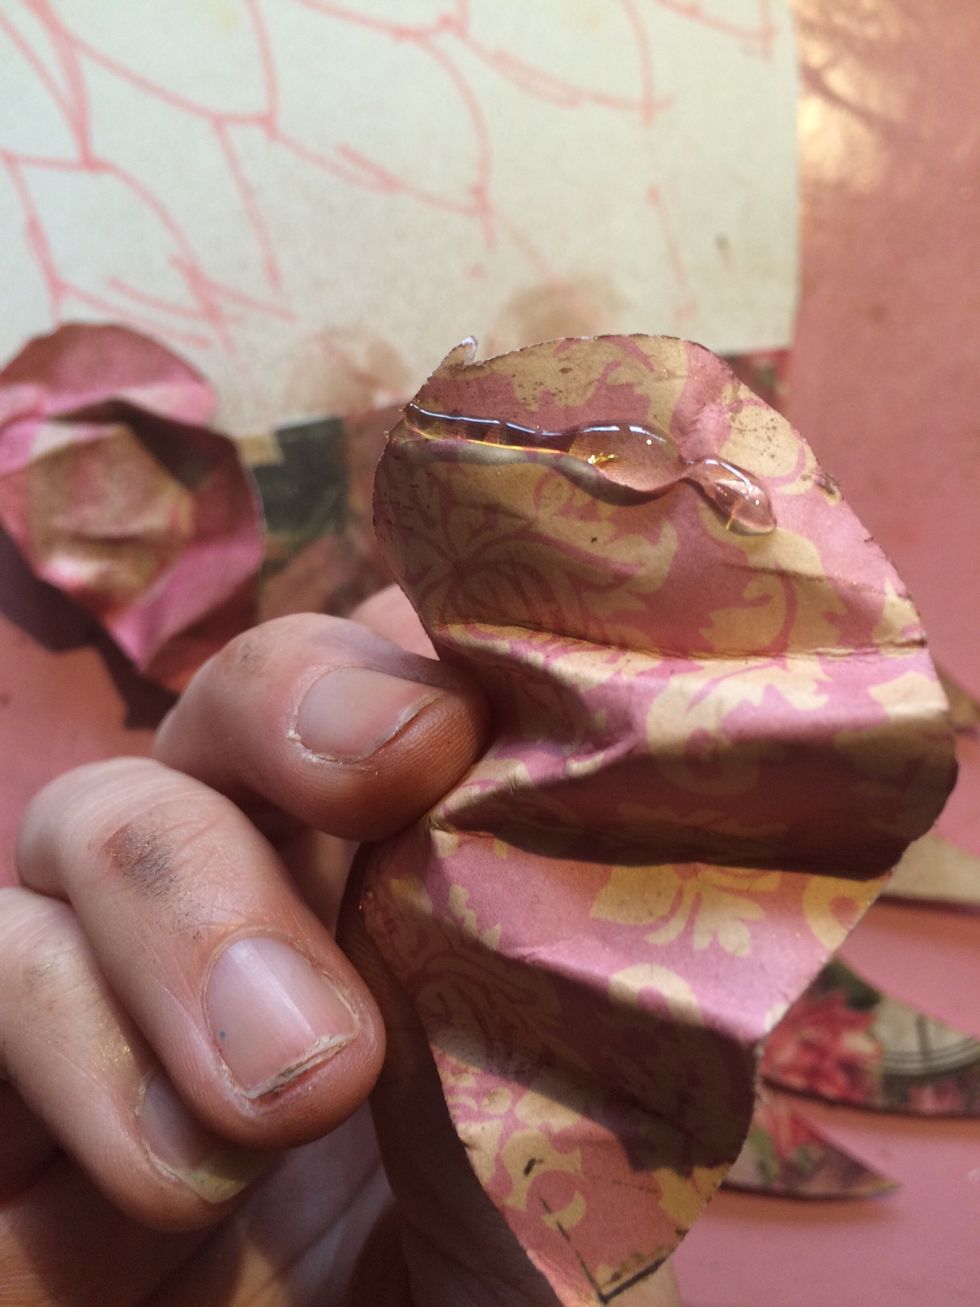
Apply a line of hot glue at the top of your feather.
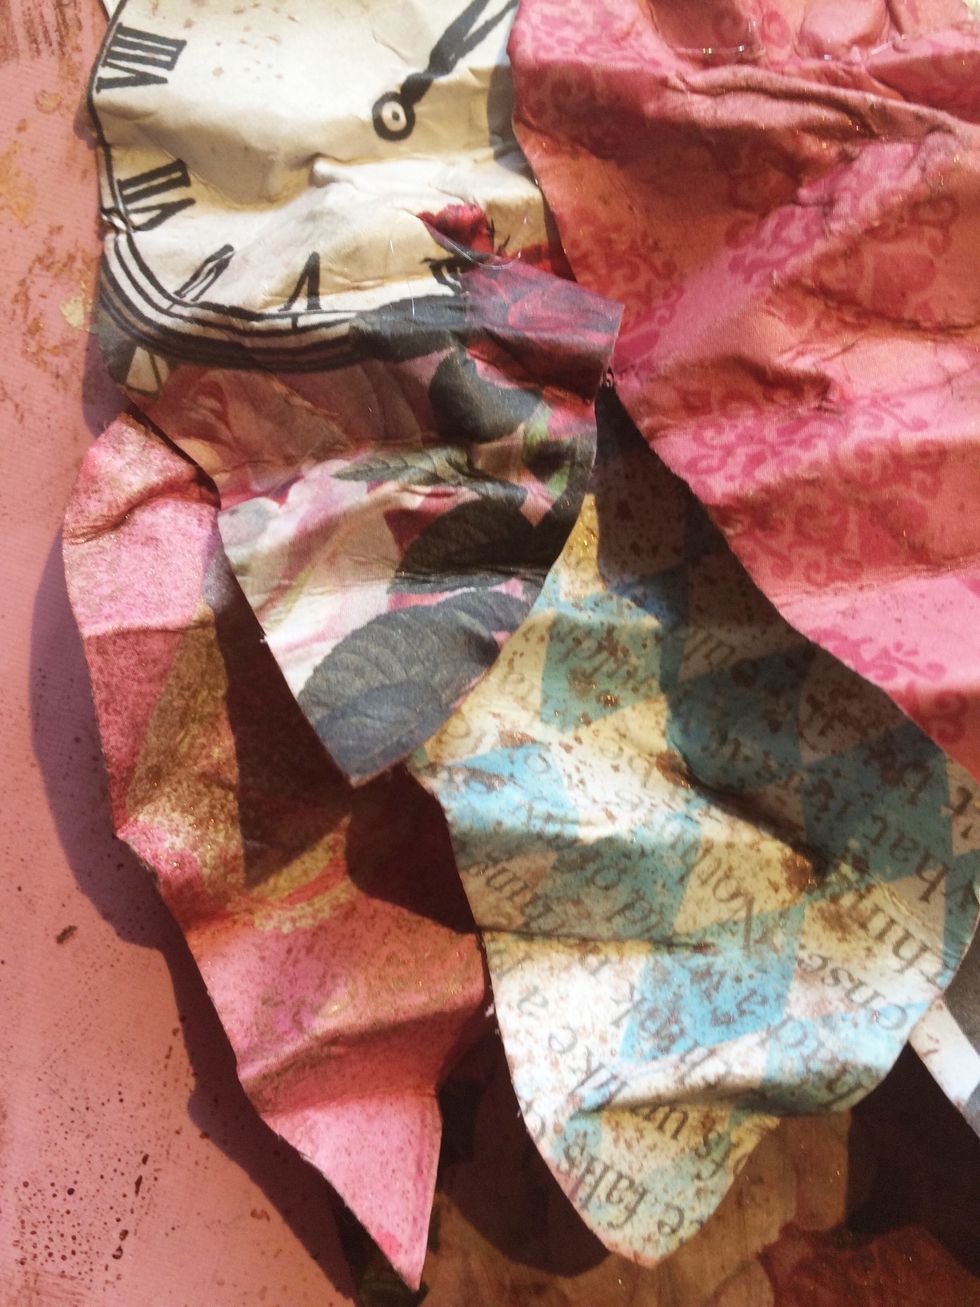
Continue layering your feathers in a row. When you start your next row, place the tip of that feather in between the two feathers below it.
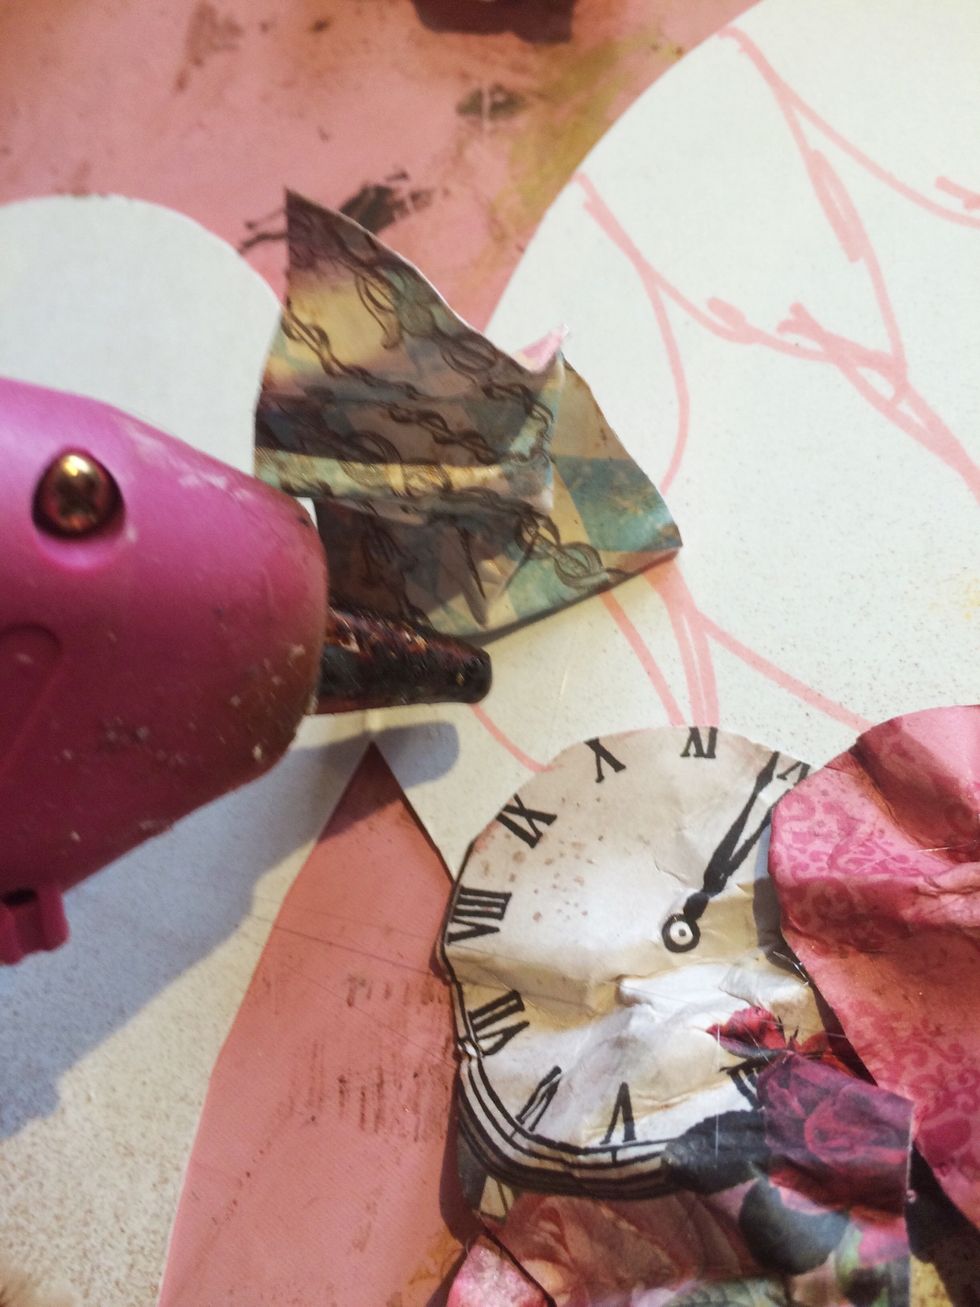
Sometimes the feathers don't lay just right. When that happens, simply lift the feather up slightly and add a little glue.
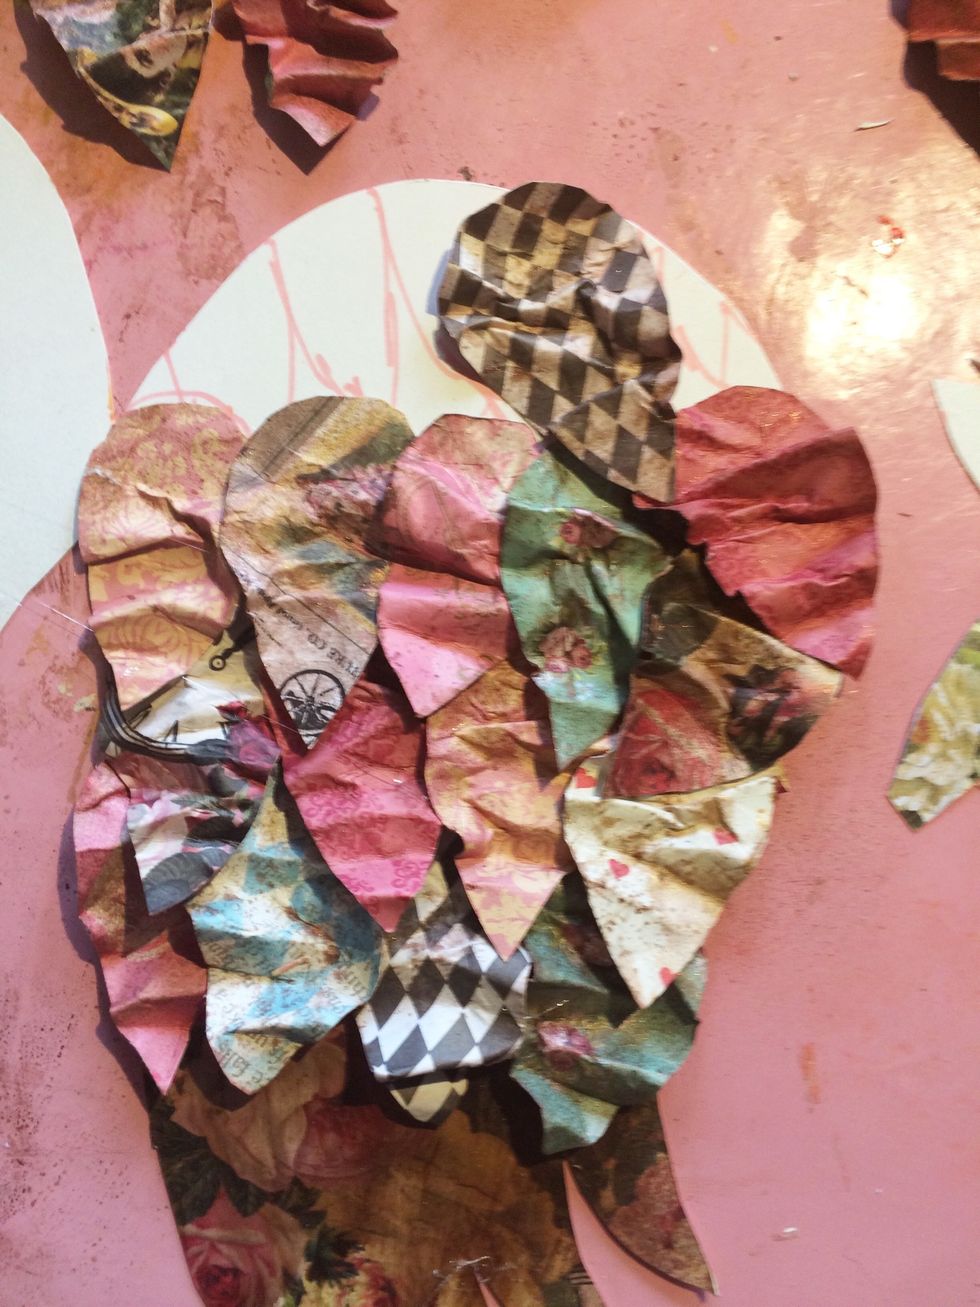
For me, it took about 3 layers of larger feathers to fill the majority of my wing. Once I reached the top, I angled my feather slightly to go with the curve of the top of the wing.
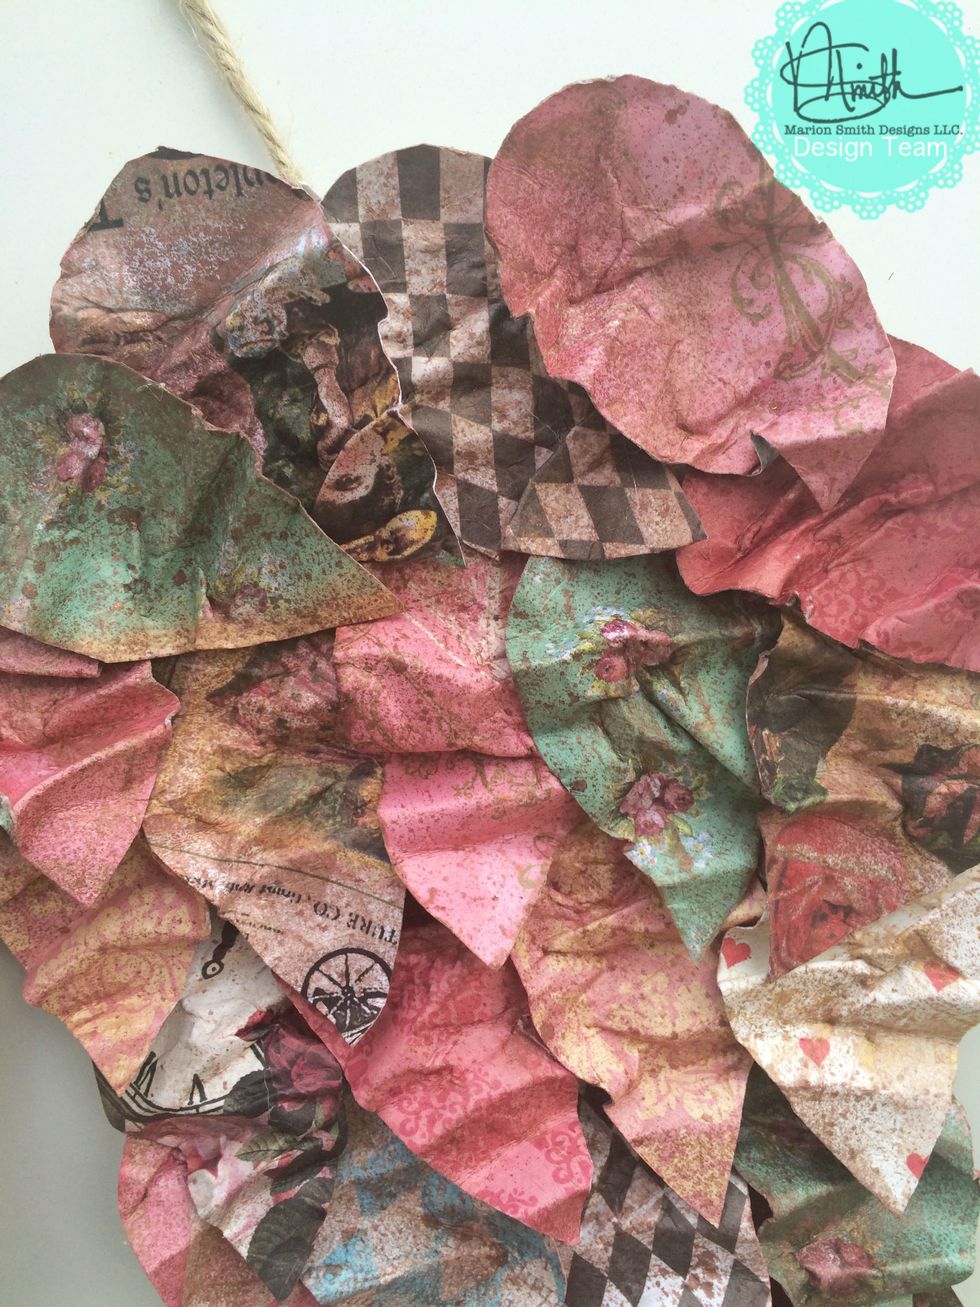
Here are the layered feather's at the top.

Once all of the larger feathers are in place, I thought the bottom looked a little empty...so...
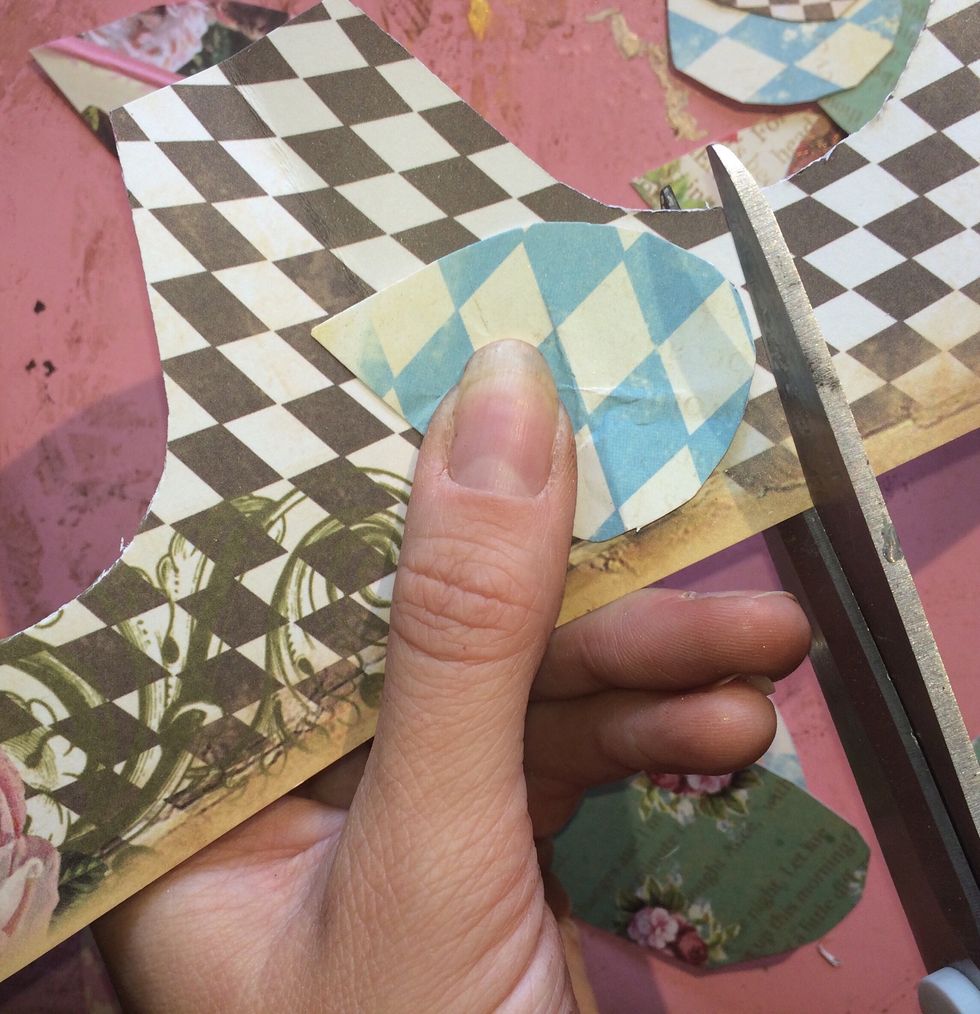
From my scraps, I hand cut 12 small feathers and did the same process of crinkling and distressing them.
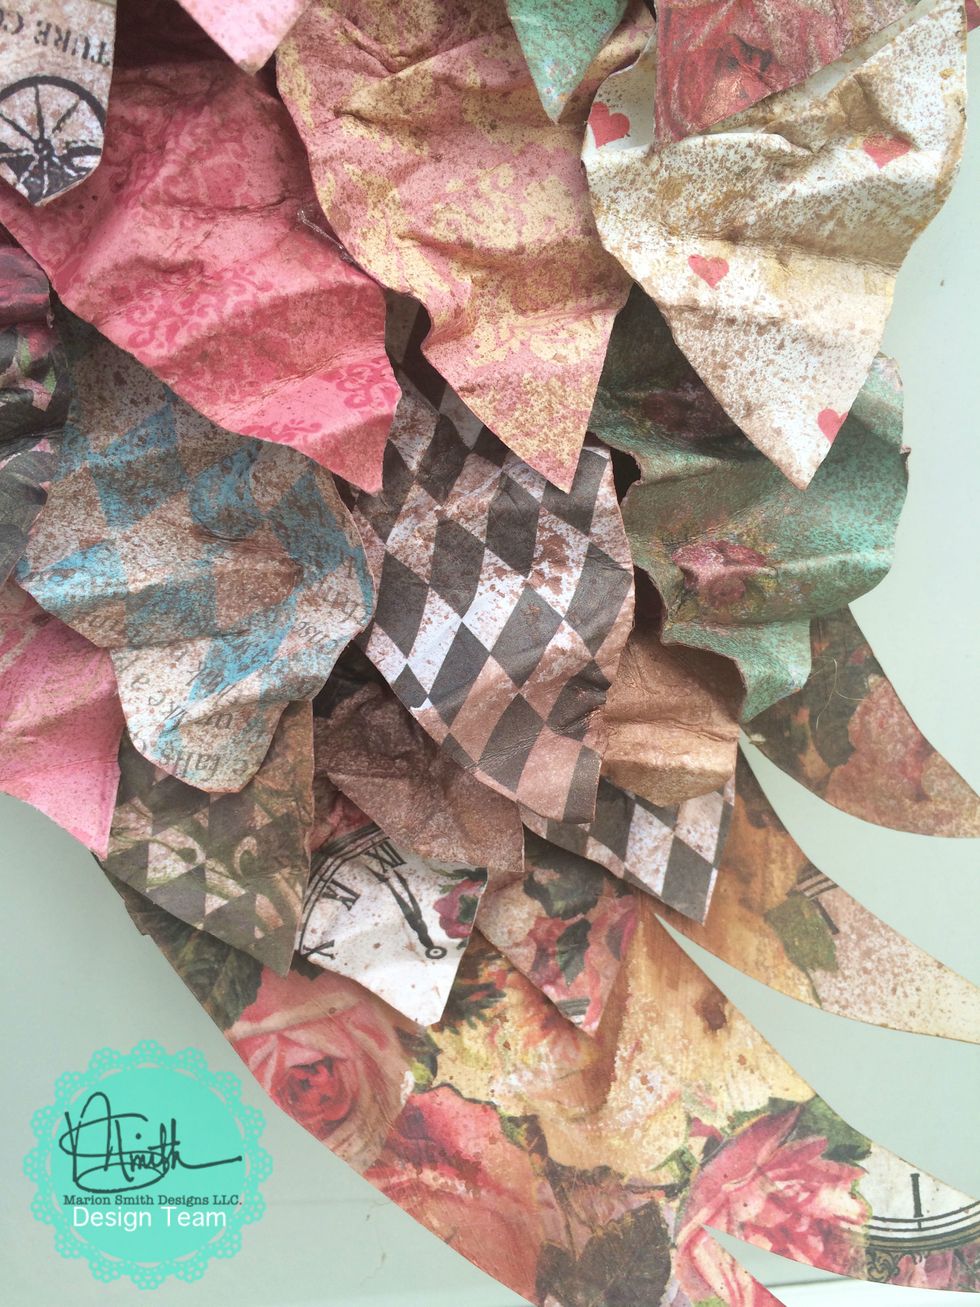
I tucked them under my last layer of feathers, graduating them down..row of 3..row of 2, then 1
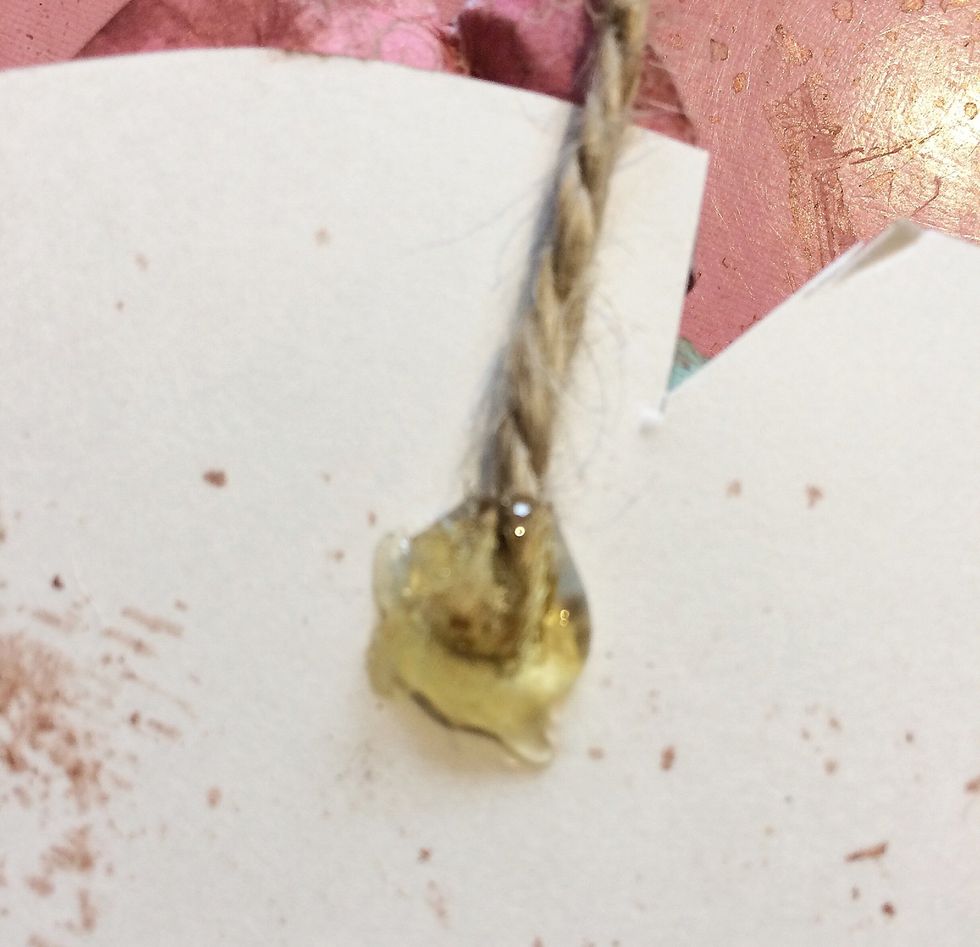
To hang your wings, use your hot glue to adhere a rope or ribbon to the back. From the front, there were a few places were you could still see the white poster board, so I simply trimmed them out.
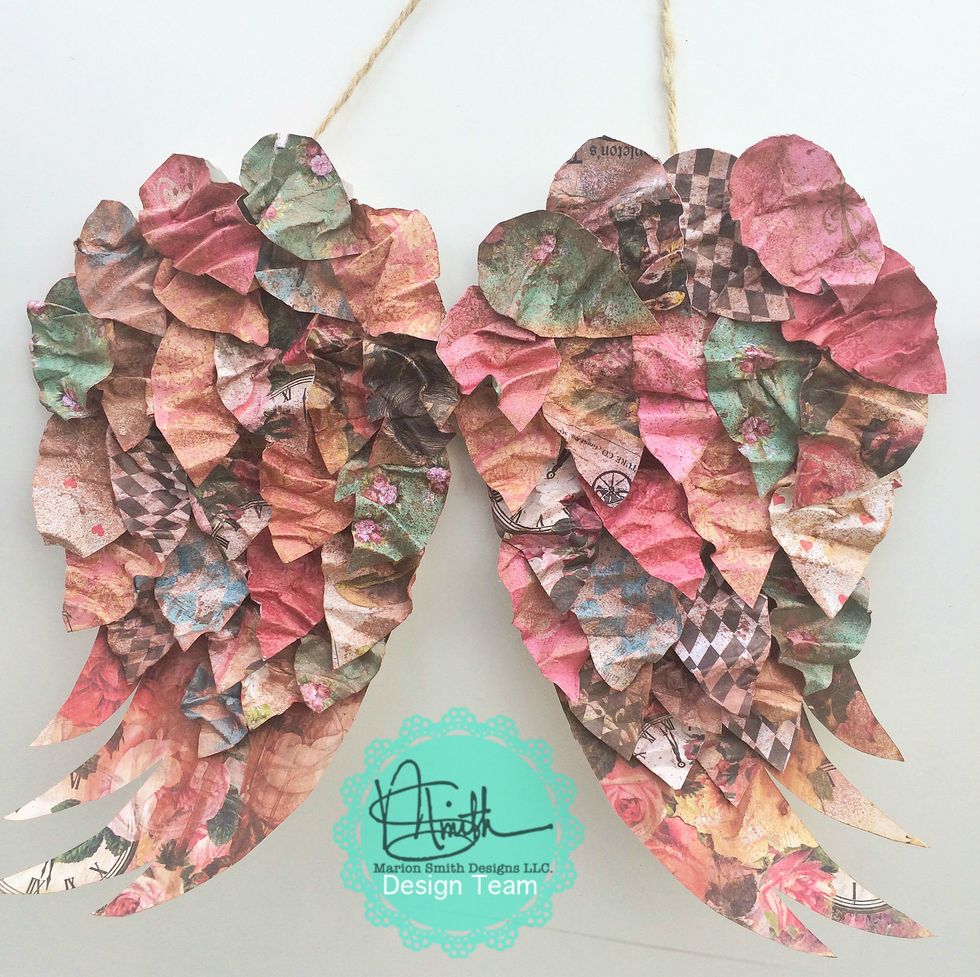
Here are my finished wings! I love my mixed of colors and patterns, but you can make them out of any paper you wish. The sky is the limit! I hope enjoyed today's project!
- Marion Smith Designs "Mad Tea Party" Collection
- Matte Gel Medium
- Posterboard
- Scissors
- Exacto or Craft Knife
- Tattered Angels Glimmer Mist-Coffee Shop
- Hot Glue Gun
- Pen or Marker
- Spray Water Bottle