The Conversation (0)
Sign Up
These took me around three/four hours to make. However, I'm a very slow painter and wanted these to look as perfect as possible! Also, the paint had to dry- it was hot outside, so they dried quickly.
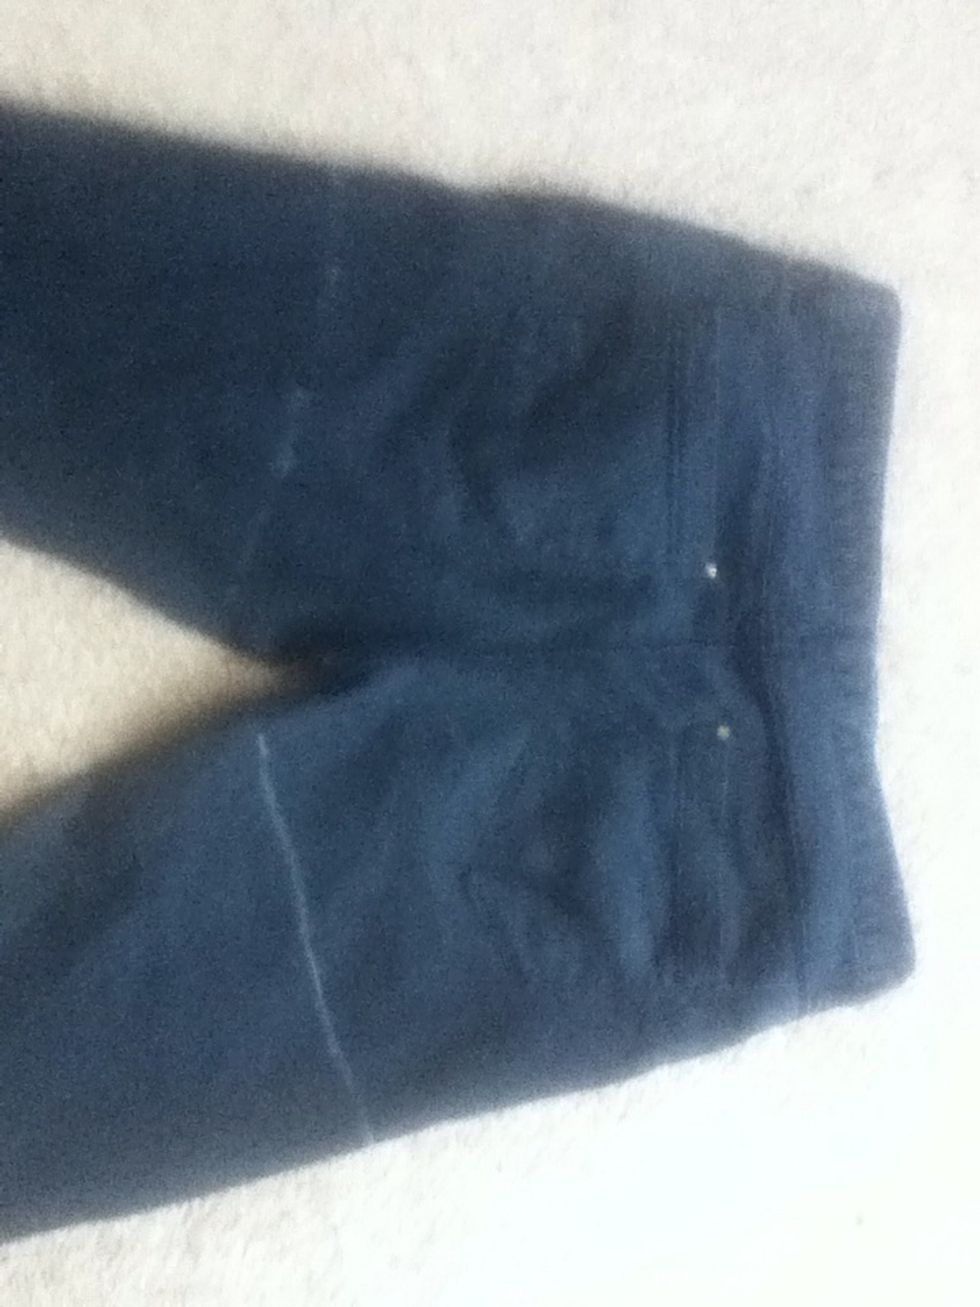
Mark out the length of your shorts with chalk. I traced an existing pair to make sure they were the right length.
Cut along your lines. REMEMBER- always cut them a little too long at first. You can trim length off later, but if you mess it up and they go wrong first time, you can't stick fabric back on.
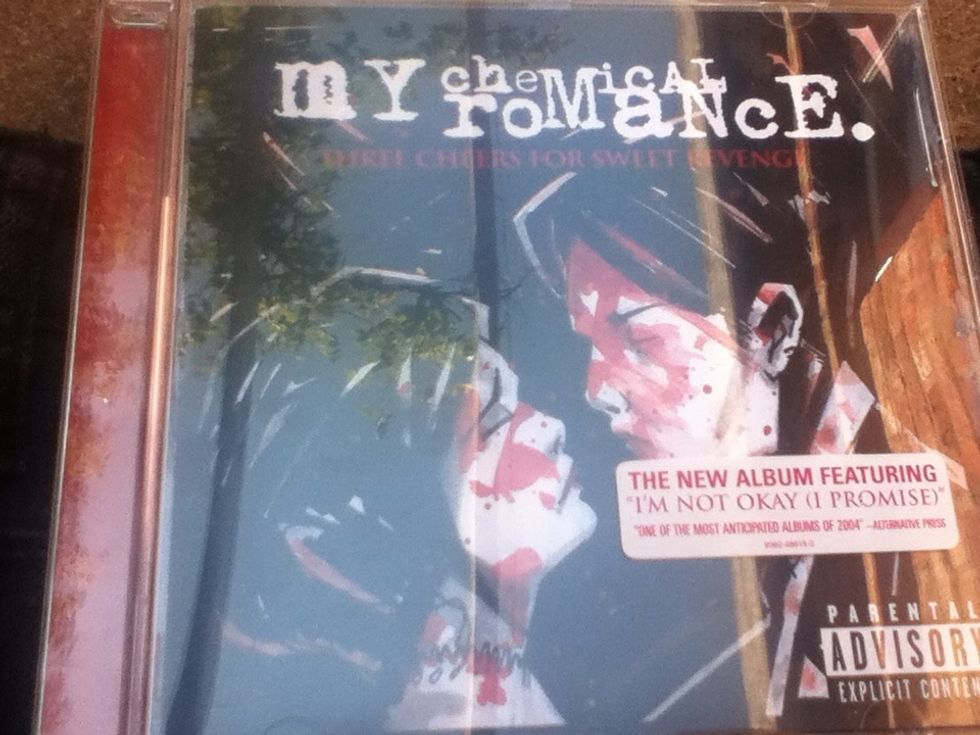
Find source material. I'm using the Three Cheers For Sweet Revenge album cover.
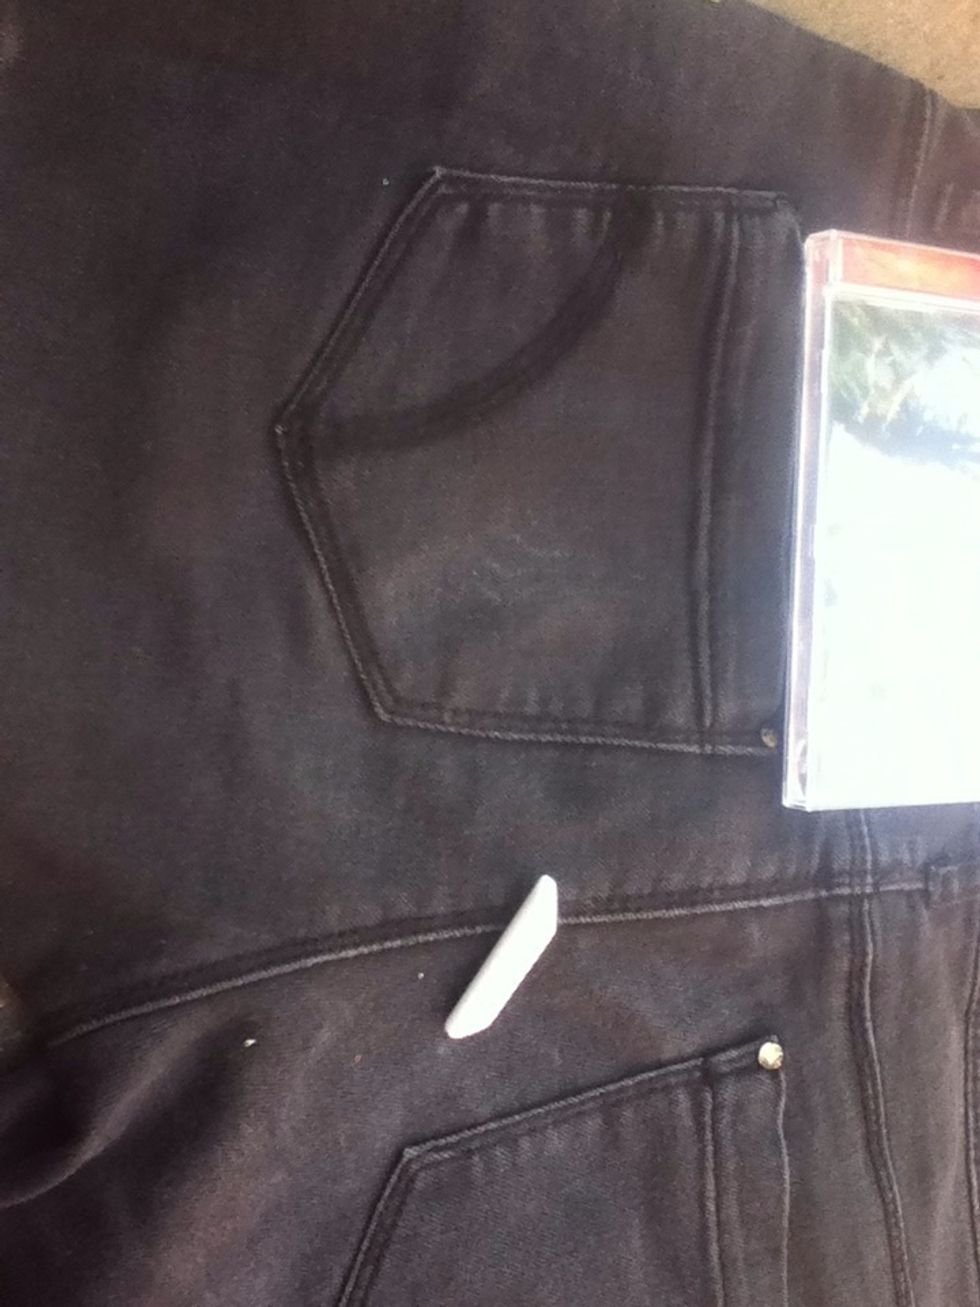
Now time to draw your design on the pockets with chalk.
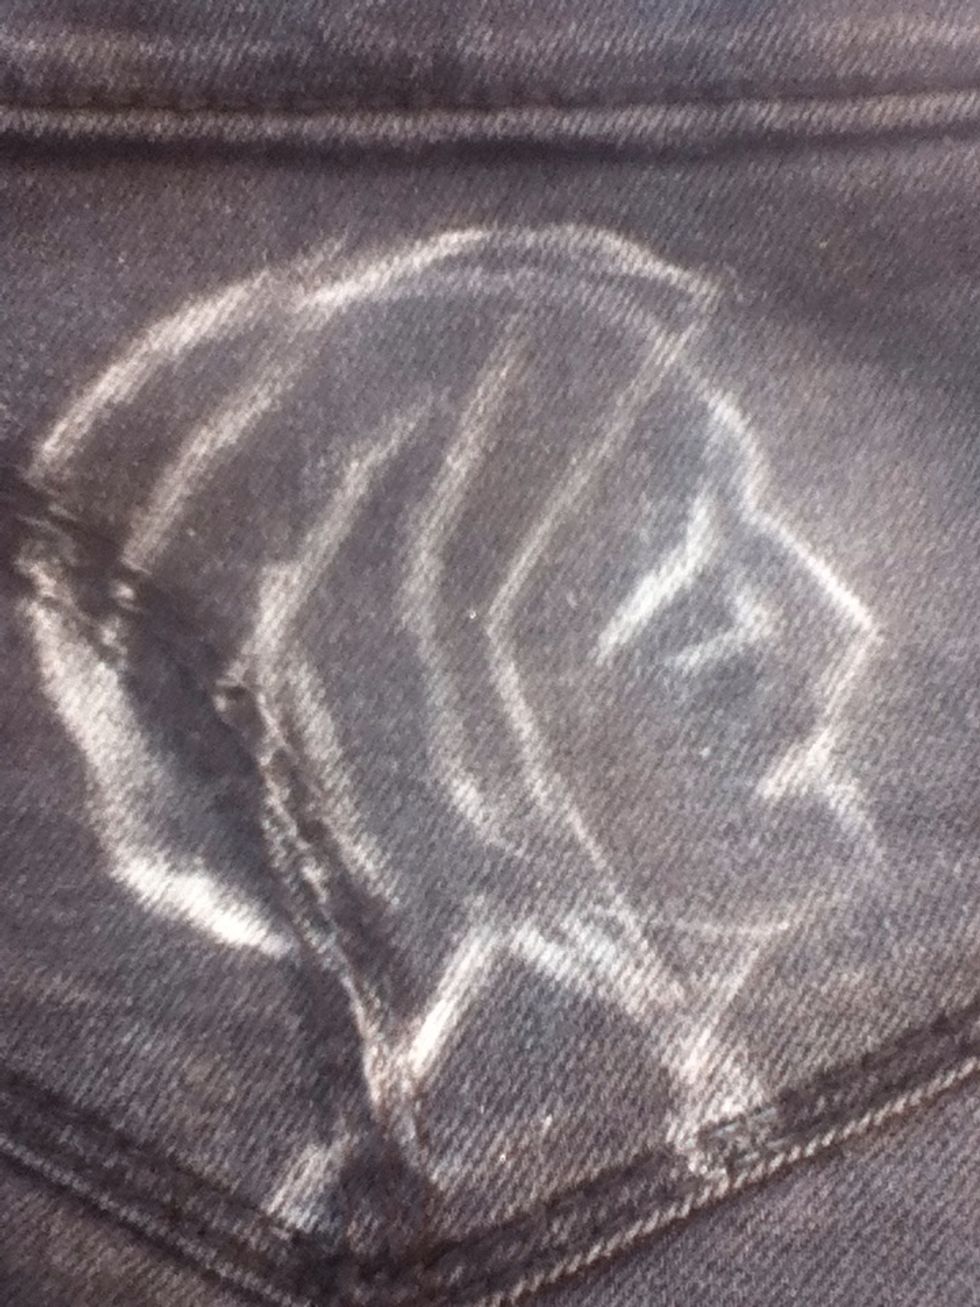
It's gonna look pretty bad, but don't give up! Chalk's hard to draw with, but it's only an outline and can be rubbed off!
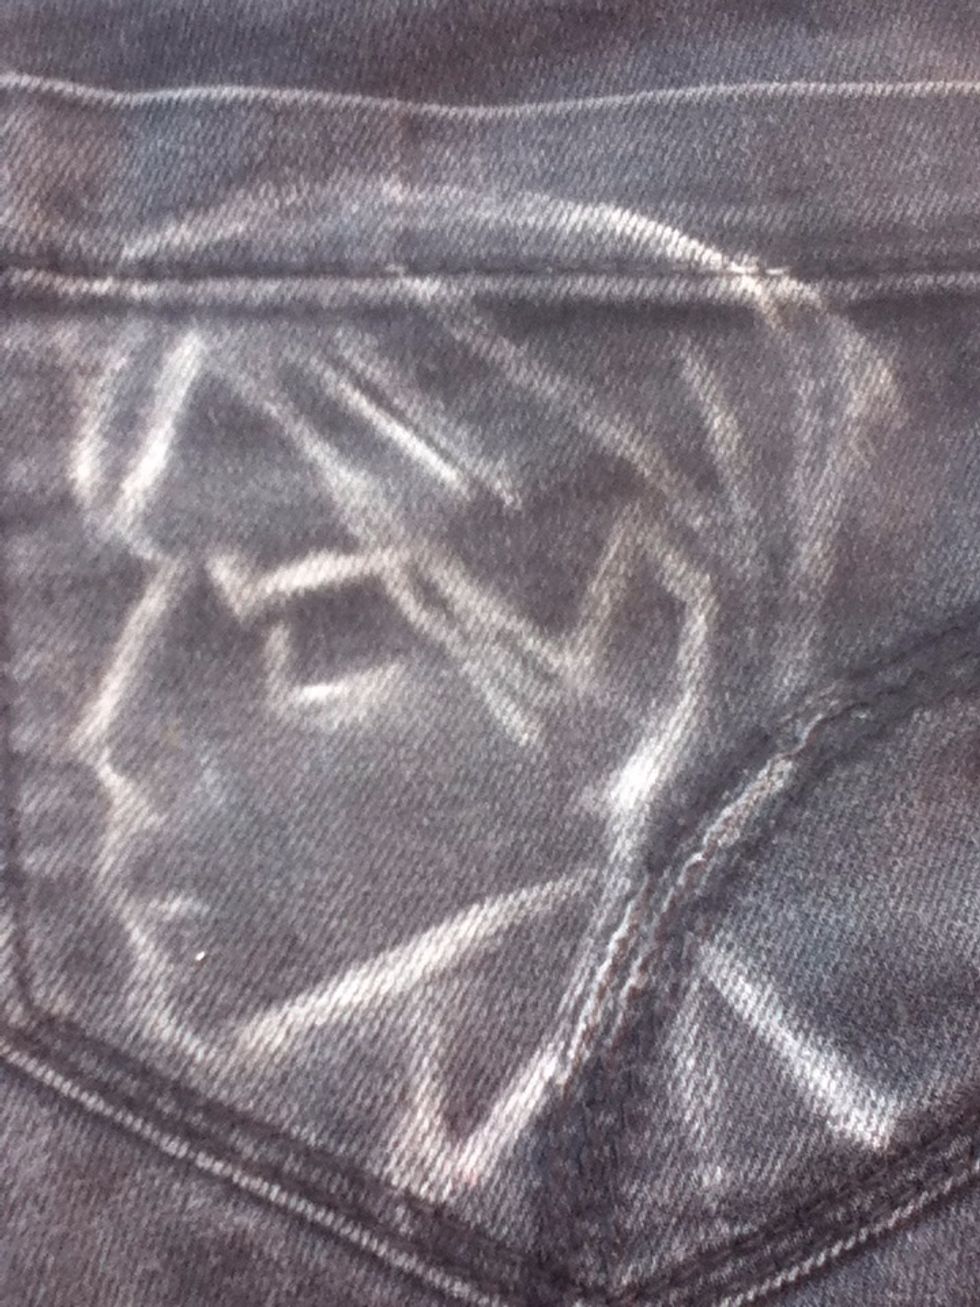
Wow. Words cannot express how bad this looks. It gets better.
Sorry, I forgot to take pictures whilst painting! I do recommend patience and music, though- I listened to Three Cheers on a loop to get into the mood!
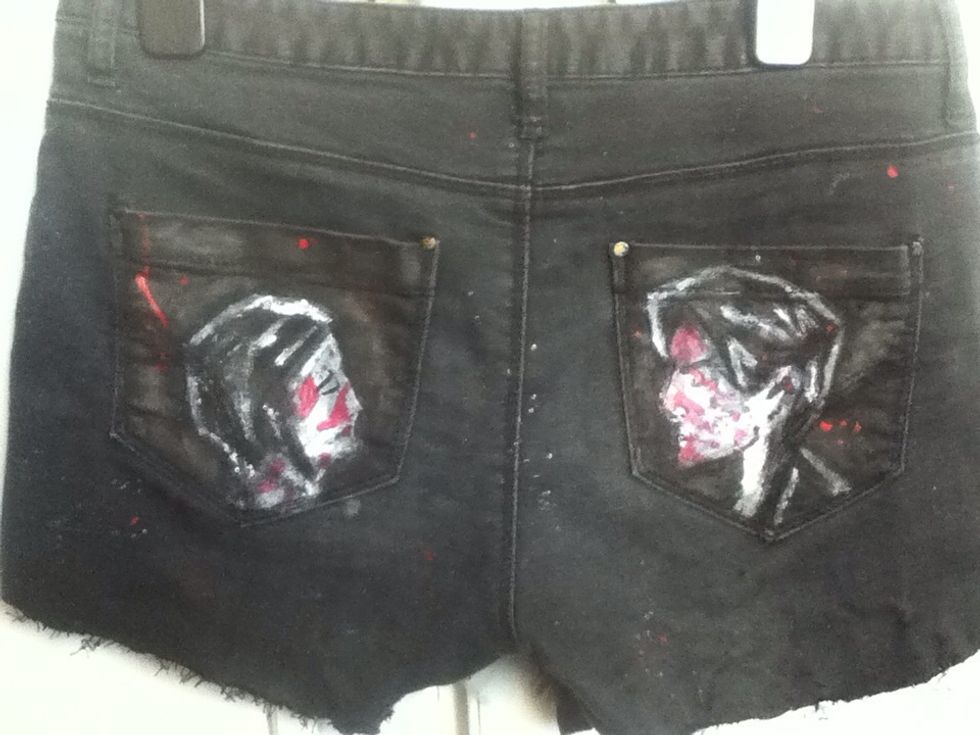
Paint carefully. I used thin brushes, and used one colour at a time, getting all the white done first, then going to black and so on. Any detail was done last.
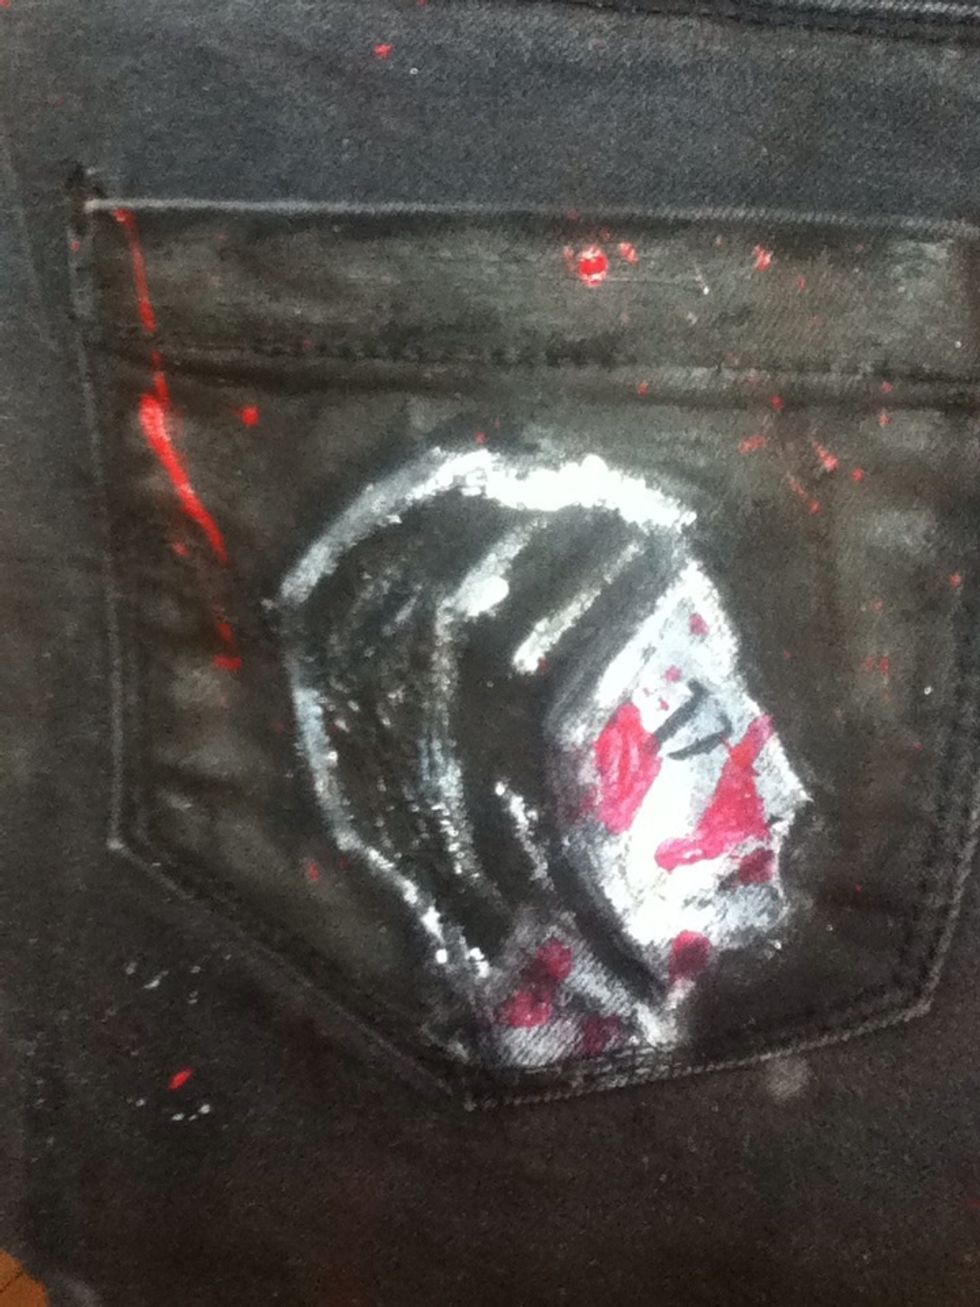
It's not great, but then again, I'm not exactly Gerard Way. I'm proud of it though.
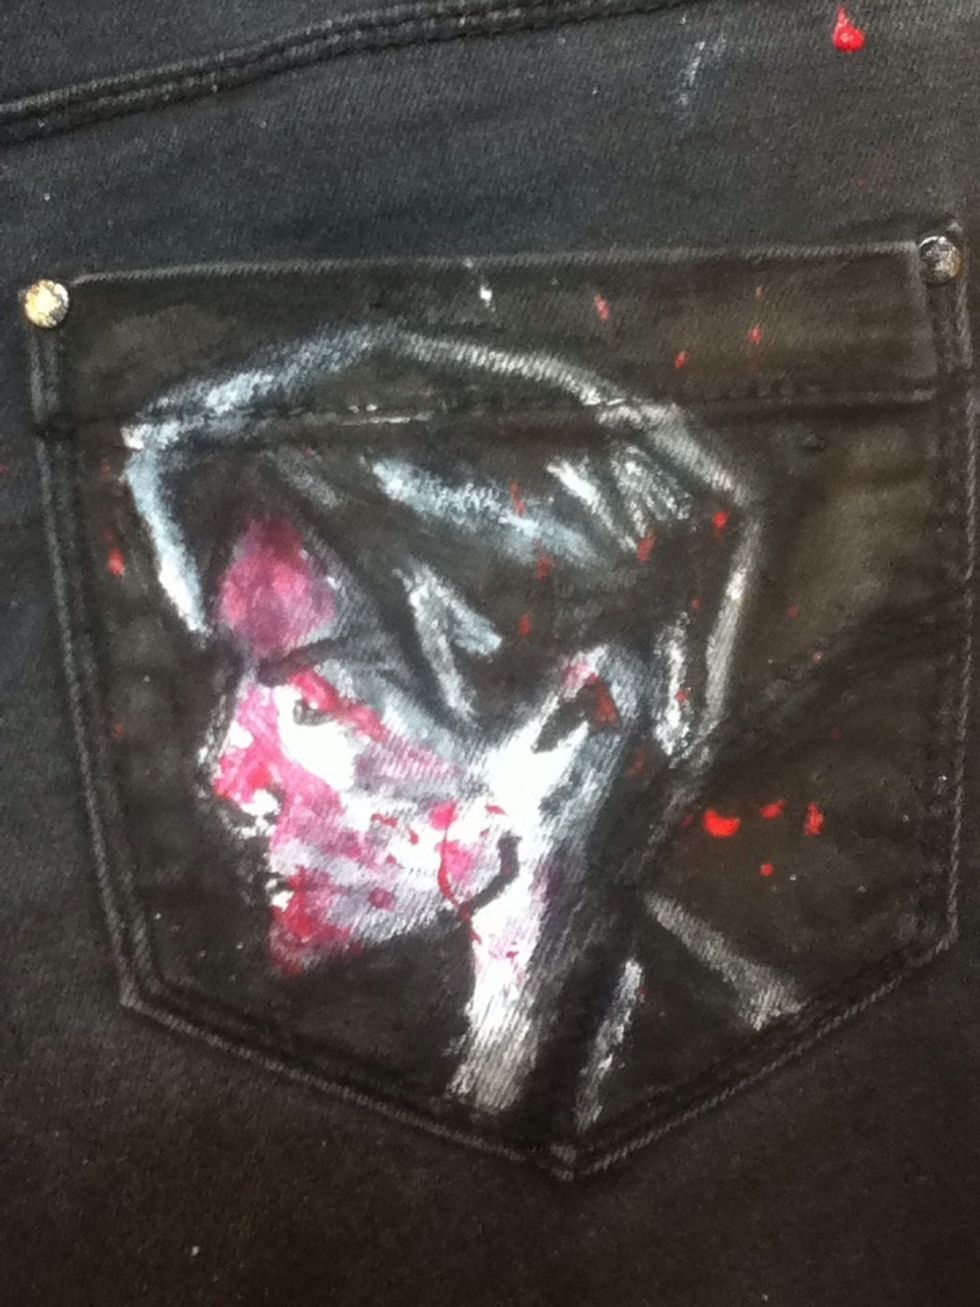
Again, not great but I like it! As you can see, I splattered paint around to fit in better with the album cover.
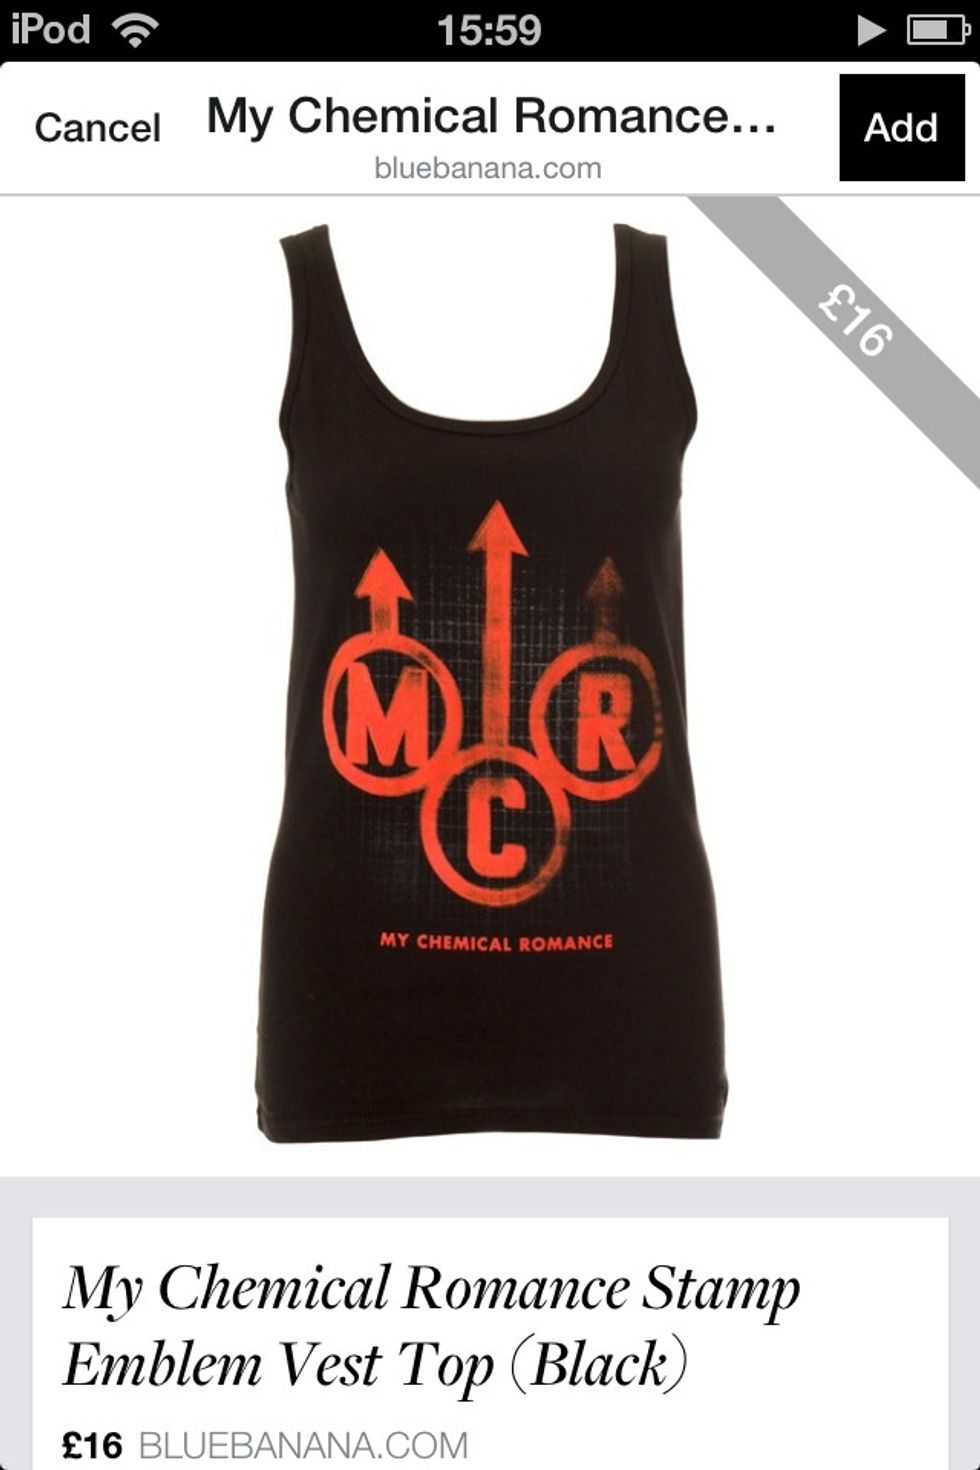
Get your design for the front. This is a quick Polyvore screenshot. Do NOT start painting the front until the back is dry, you don't want to smudge your hard work.
I touched them up after the photo was taken, but you get the idea. The logo was painted on, and paint was splattered around like on the back.
Confession: I used acrylic paint. However, I'm going to get some sort of sealant for the paint before I wear them, so that should keep the design on. I'll also hand wash them to be on the safe side.
Have fun!