The Conversation (0)
Sign Up
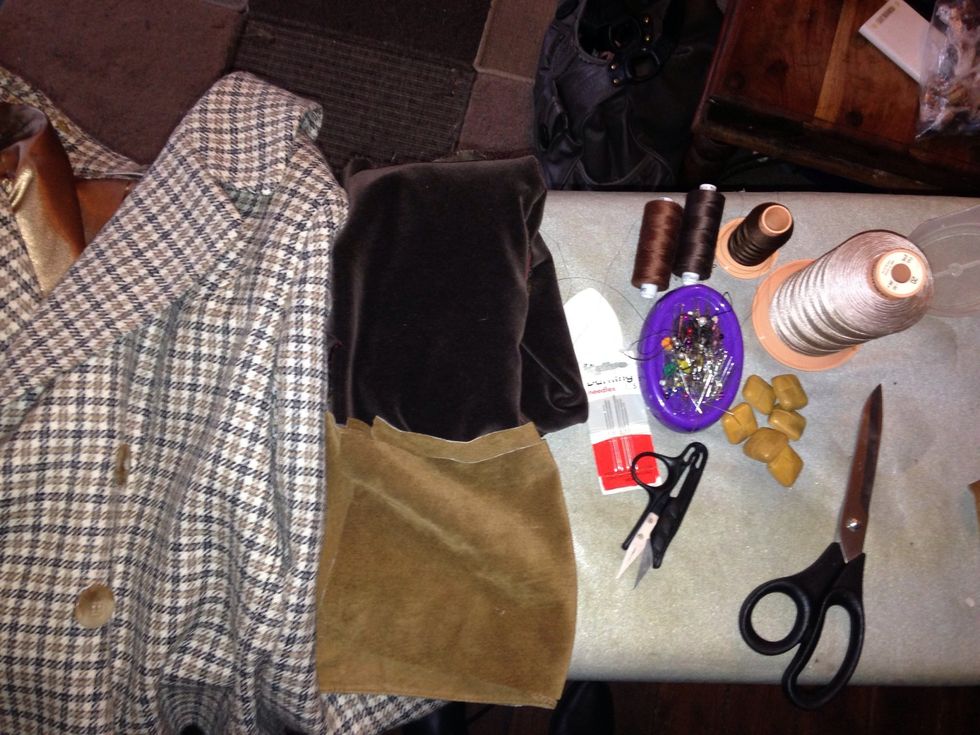
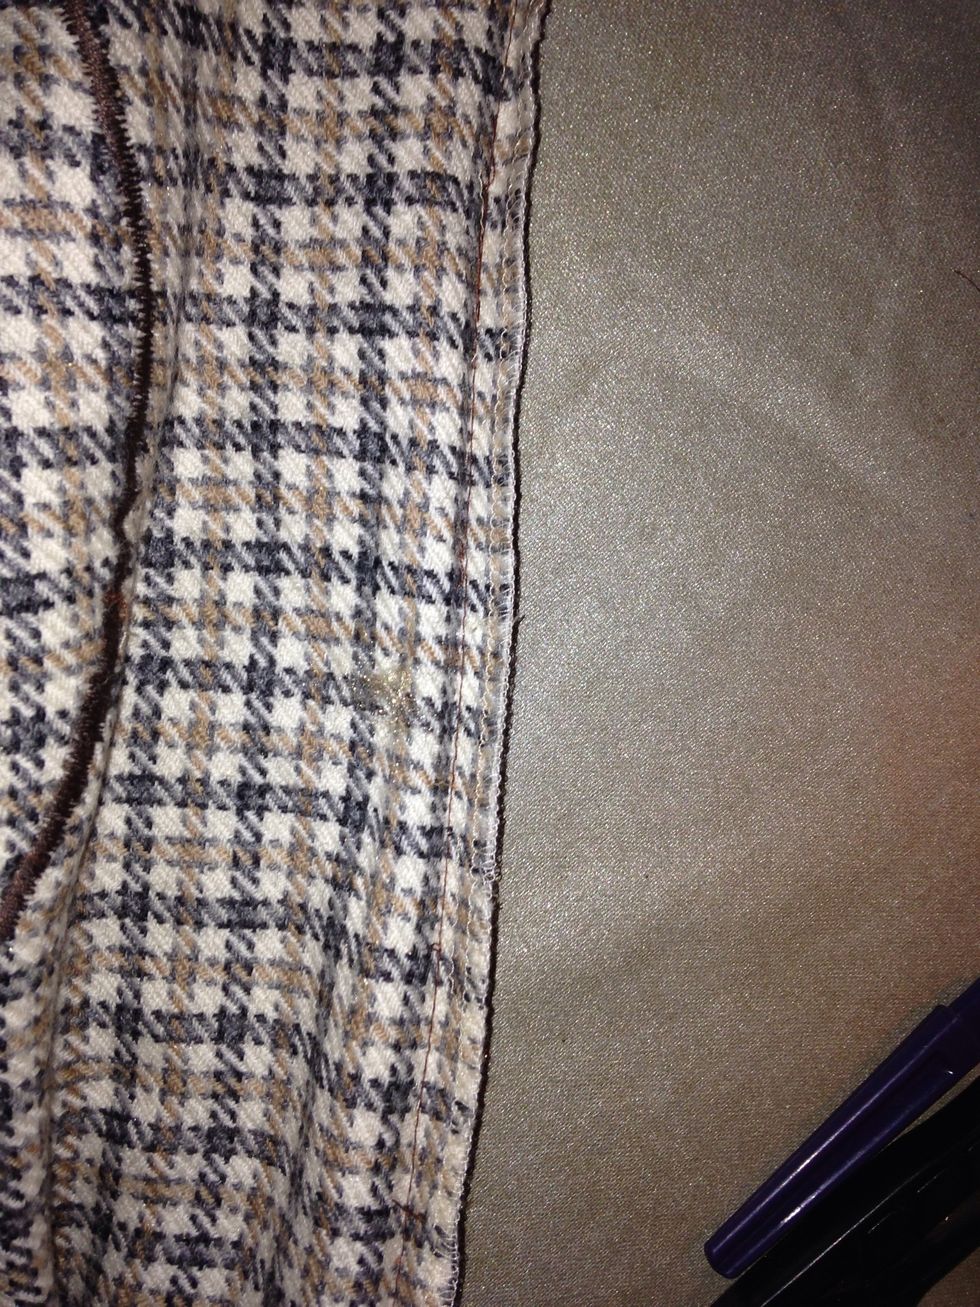
I'm using suede and velvet to cover the existing collar and suede to make elbow patches . Ill also be replacing the sleeve buttons with thrifted leather ones.
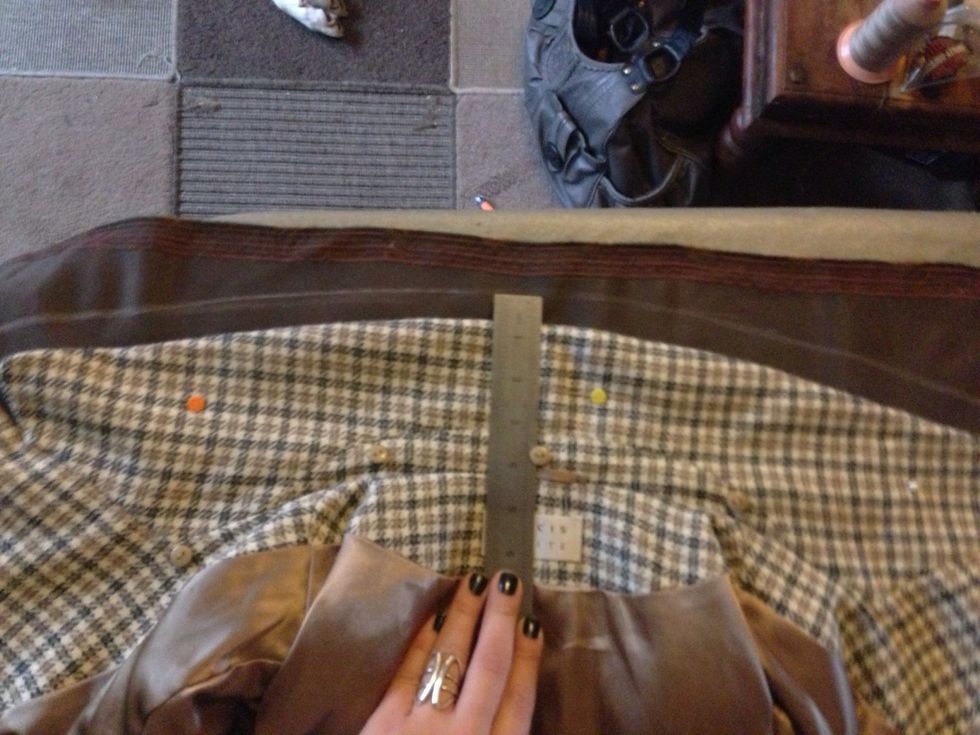
I start by laying the jacket collar onto the velvet and drawing around the top curve leaving +1/2 " seem allowance.then I measure down to the top of the lining .this will be more than you need .
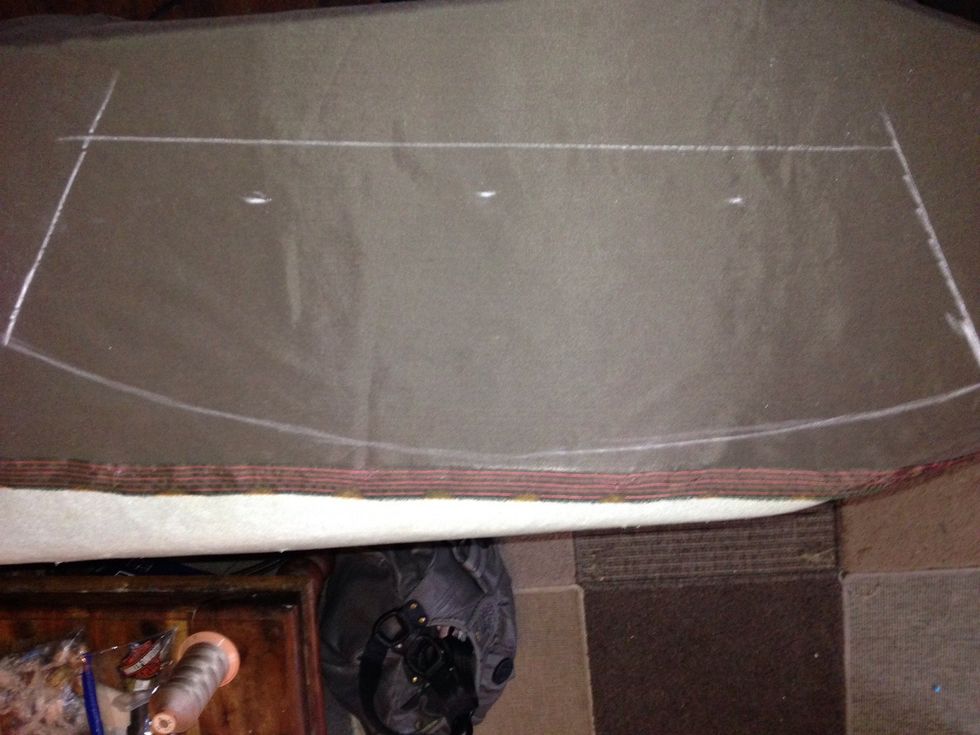
I then complete the shape of the collar in chalk, leaving an inch or two extra on the bottom ( top in the photo). I always leave extra on, you can always trim it later.
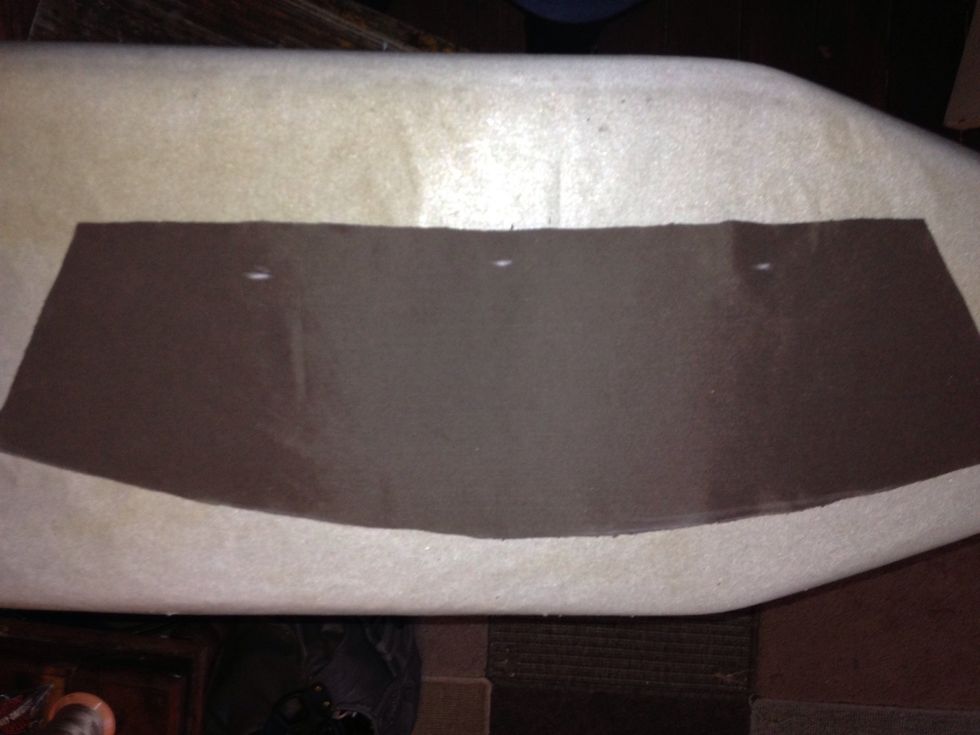
Cut it out then put it to one side.
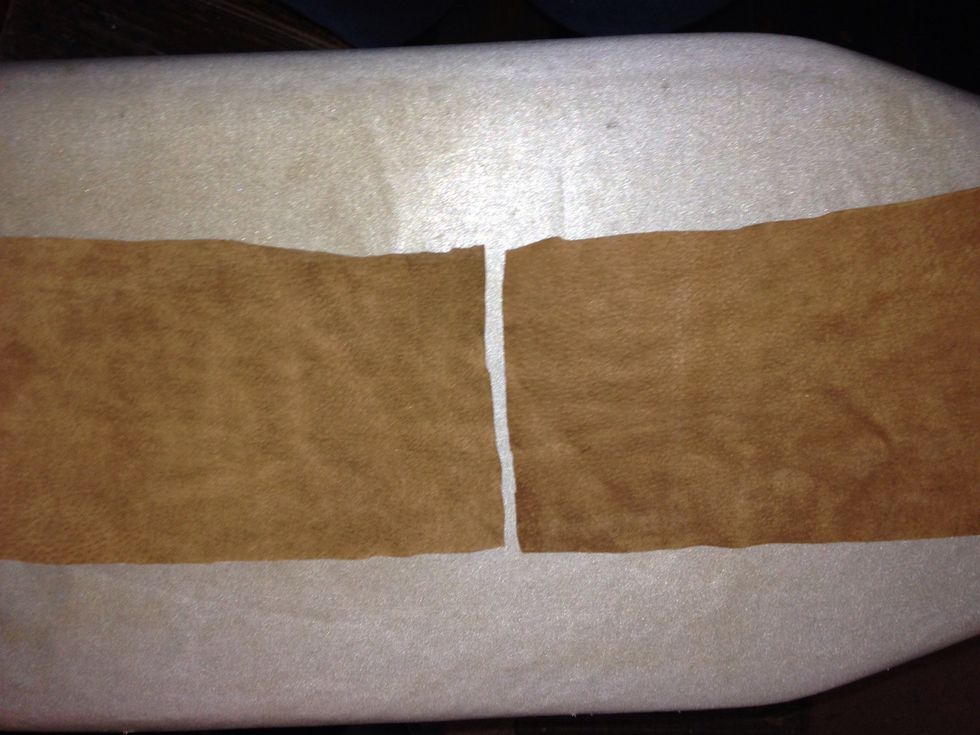
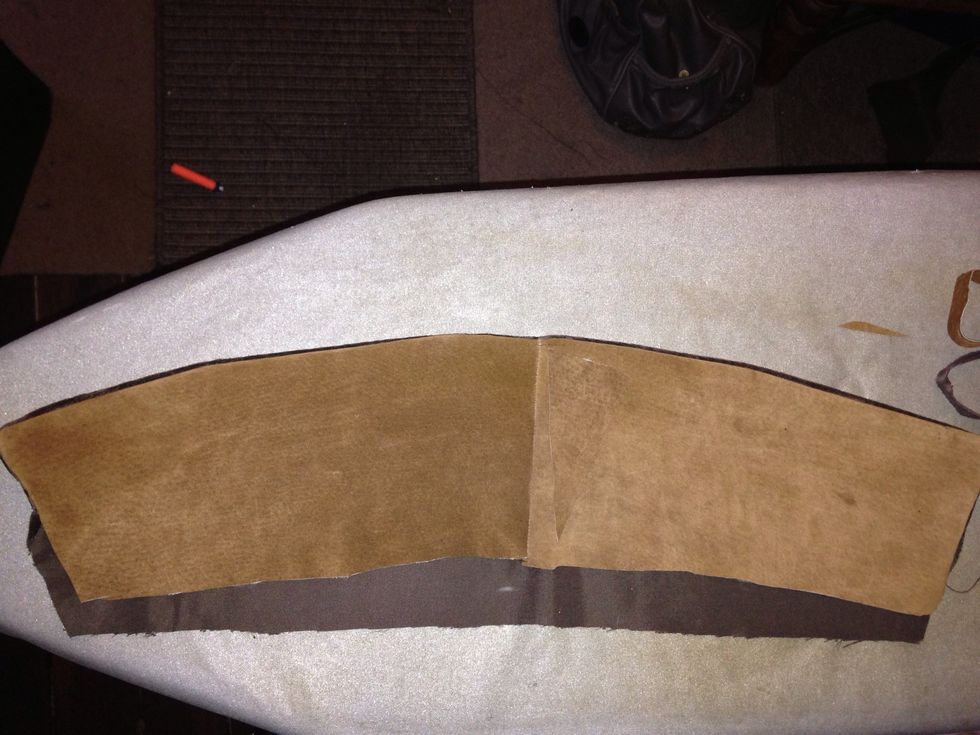
I then took my suede. It has been cut from an old skirt so I have to join two pieces to get the desired length.
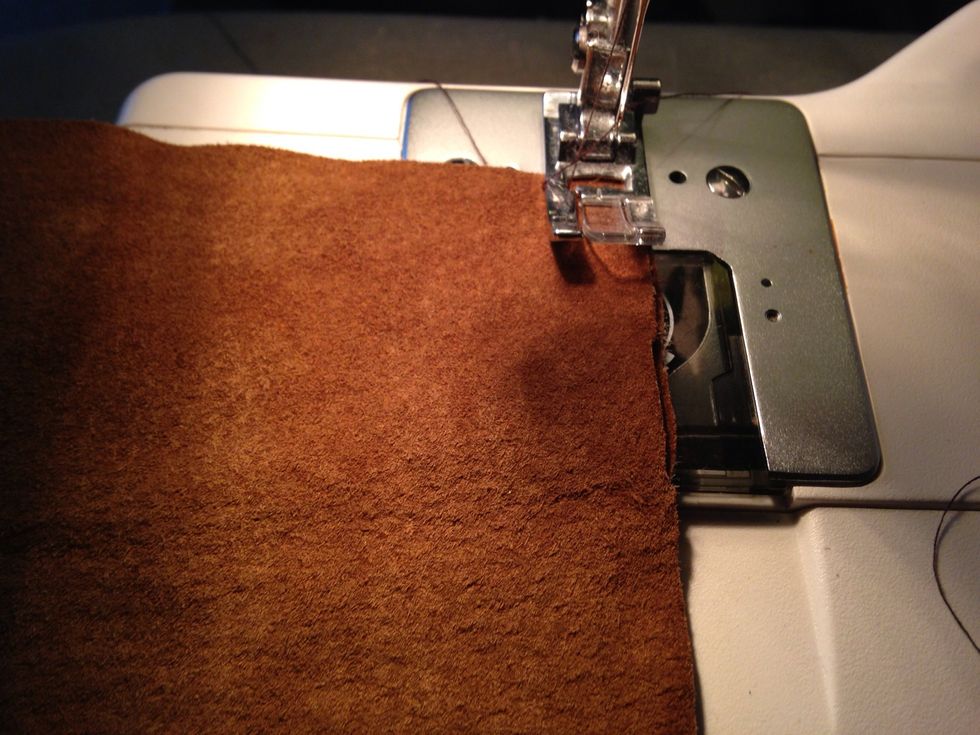
I double stitched the suede together, and trimmed off the excess to form a neat clean seem.
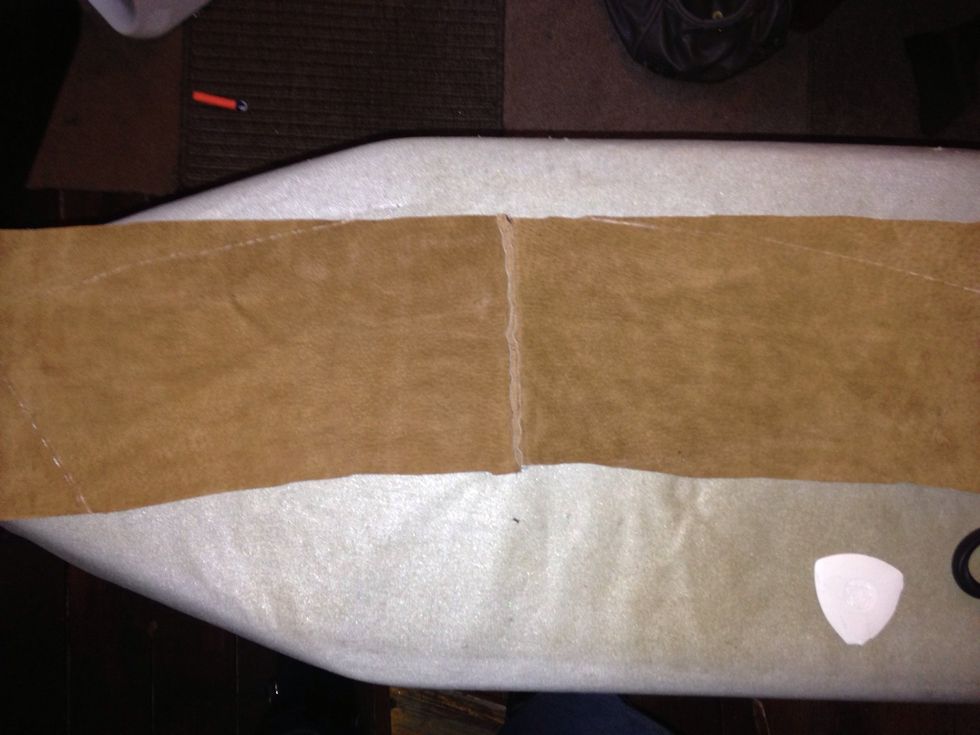
I then placed the suade seem up onto a flat surface and traced around the velvet side of the collar then cut it out.
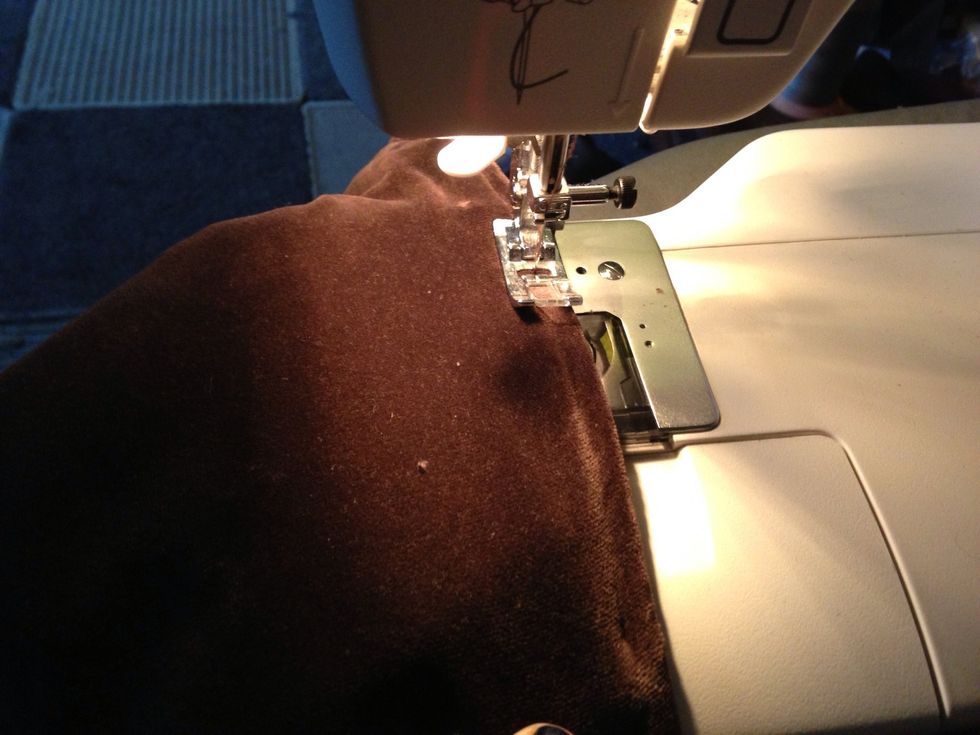
I stitched the two sides together ( right side in) stopping at the step then cut into to seem toward the stitching all the way around. This helps the collar take form when you turn it inside out.
Make sure not to cut into your stich line !!!
This is my finished collar.the suede will be the underside.
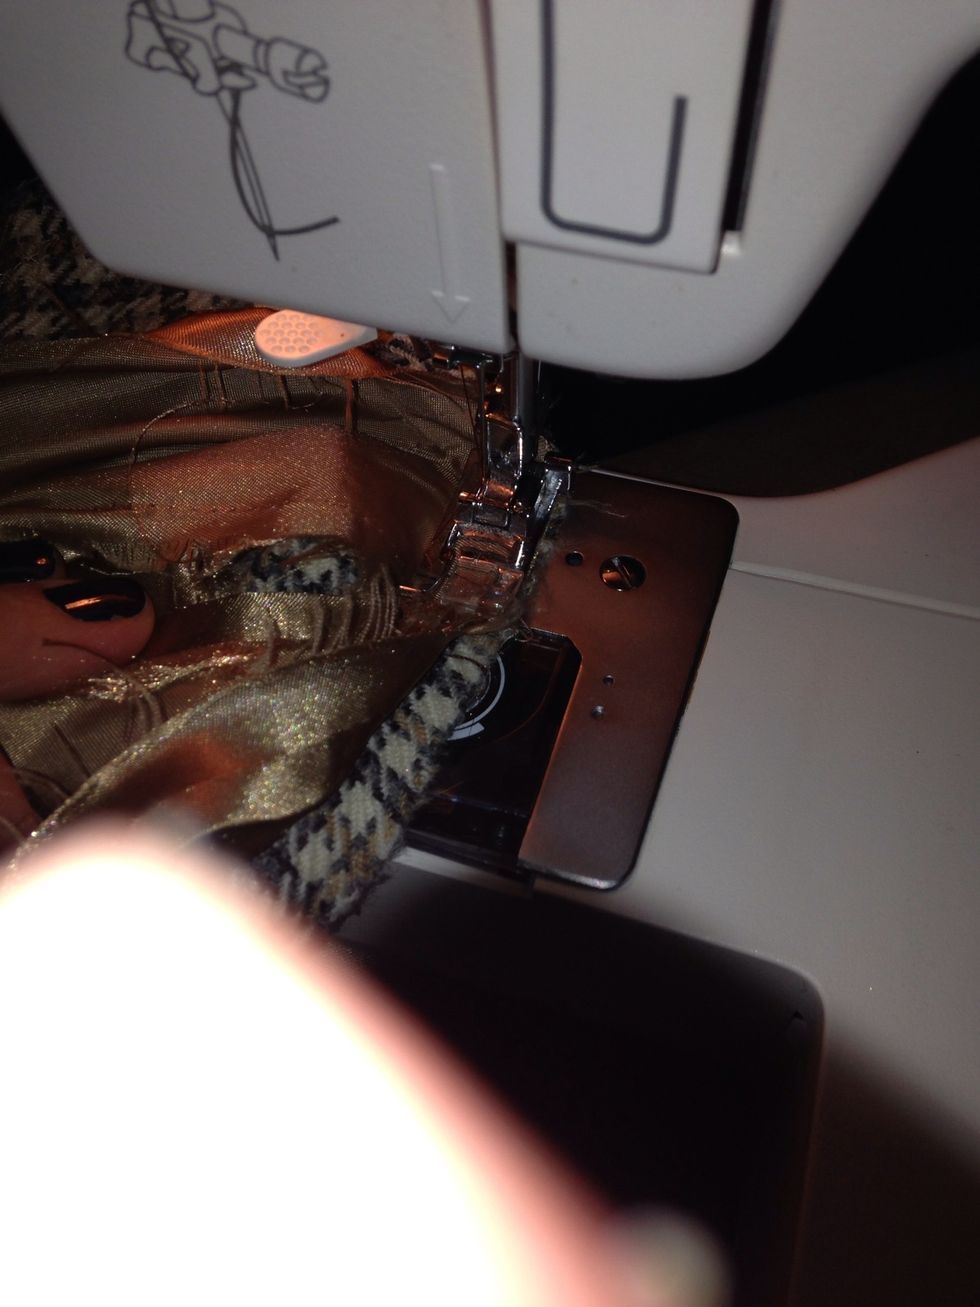
I then opened the new collar and laid the old collar inside. I then tacked the edge of the old collar to the inside seem of the new collar. This kept it in place when I cover stitched .
This is the cover stitched edge of the collar. The fabric is quite thick and can be awkward to sew, but I want my collar to be thick and able to stand if its cold! It'll also show off the suede.
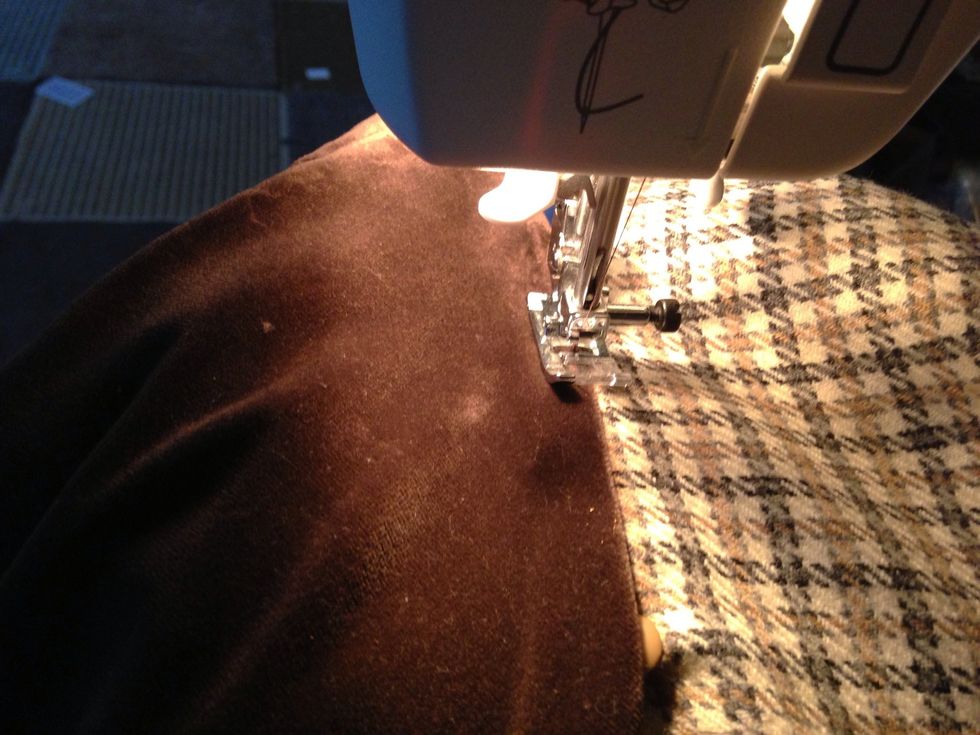
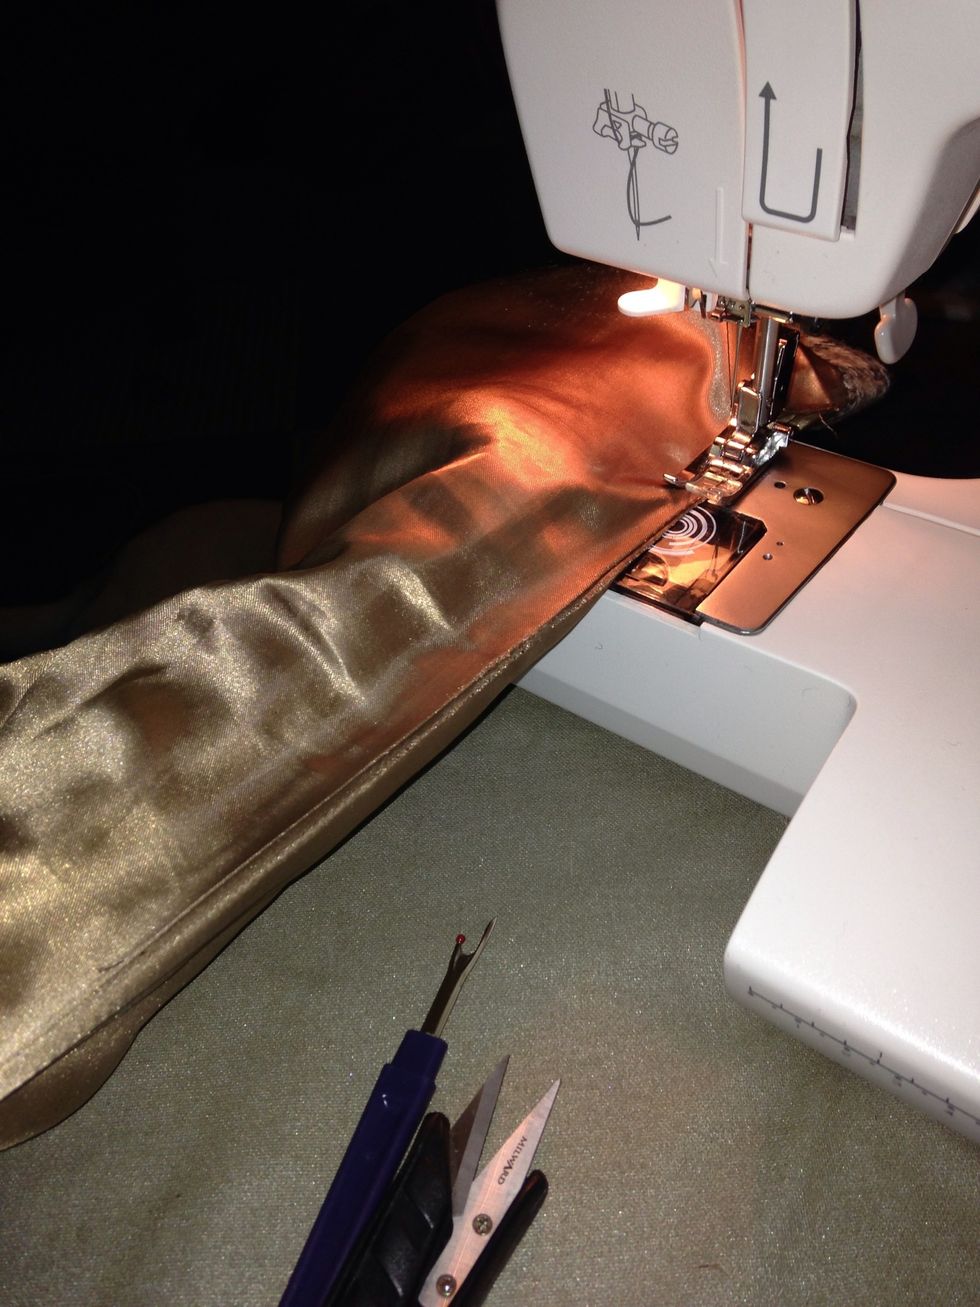
I then begin to attach the collar to the neck, I fold the fabric under as I go to ensure a neat edge then cover seam. The suede in the other side is pulled back and not sewn down at this time.
While sewing the velvet down, be sure to to flatten the fabric out often , the further you bring the fabric down the Neck, the harder this will be.
My new collar! ( sorry about the quality of the photo ) I've cover stitched all the way round and just below the fold line. These stitches go through the top fabric, the old collar and the suede .
The under side. It needs pressing. Ill do this on the velvet side using a towel to protect the nap. Keep your iron on a medium to high setting and use minimal steam.fold your collar while still warm.
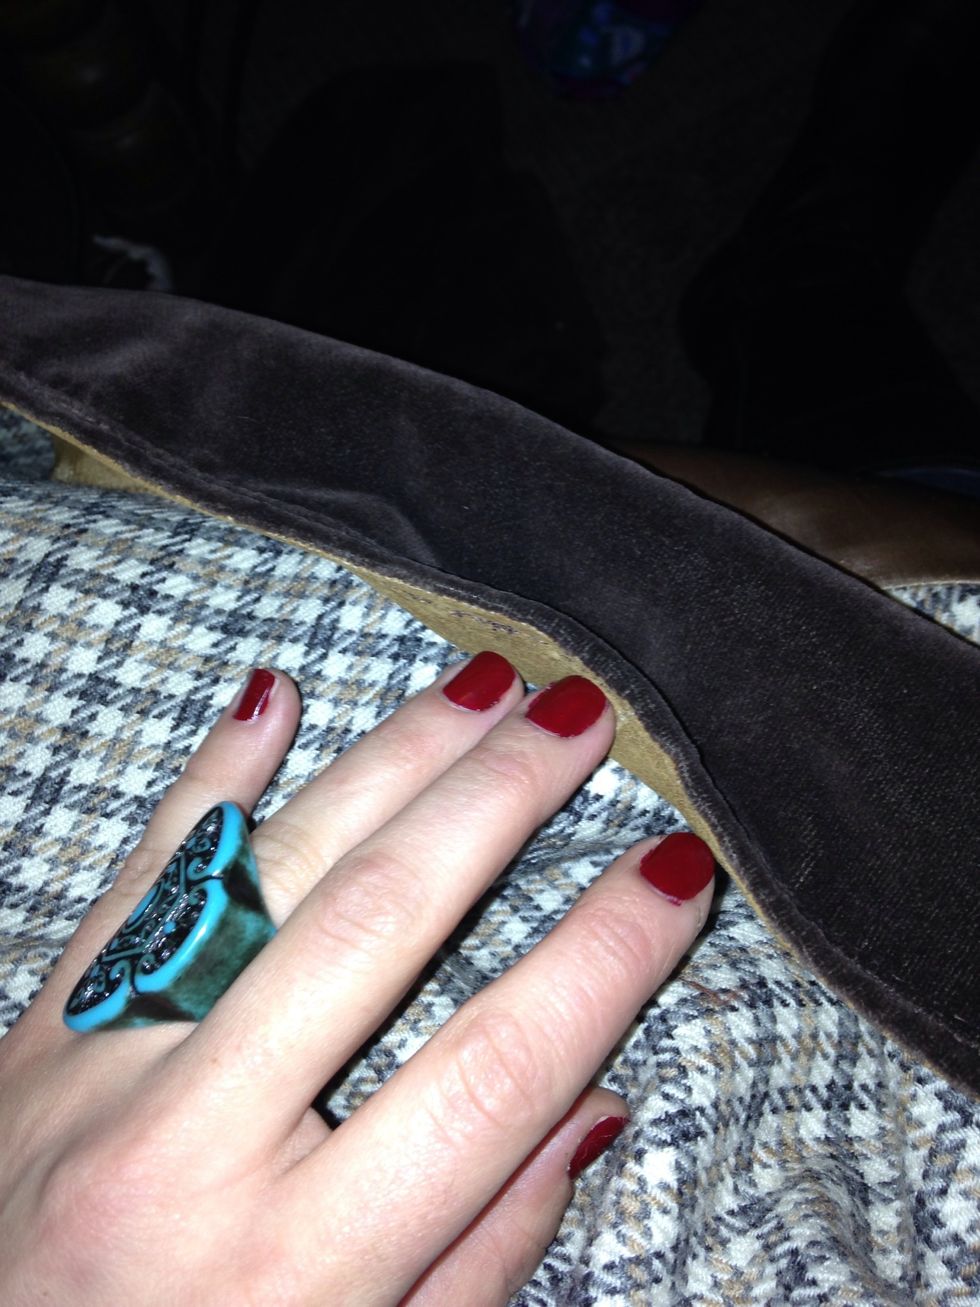
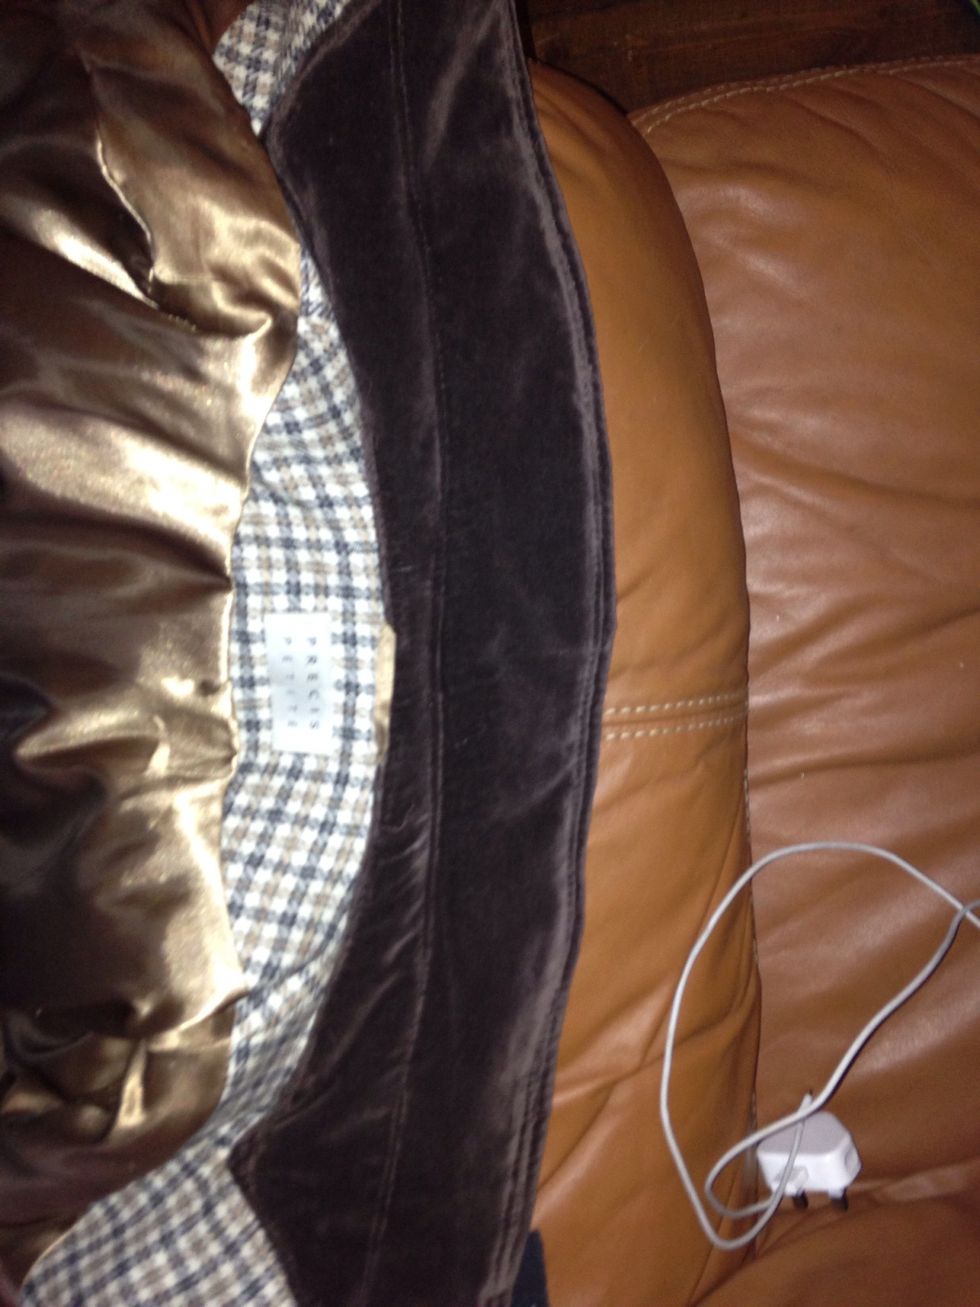
The edge. It's not as thick as you'd imagine! It gives it some weight and changes the look of the overall jacket but were not finished yet!
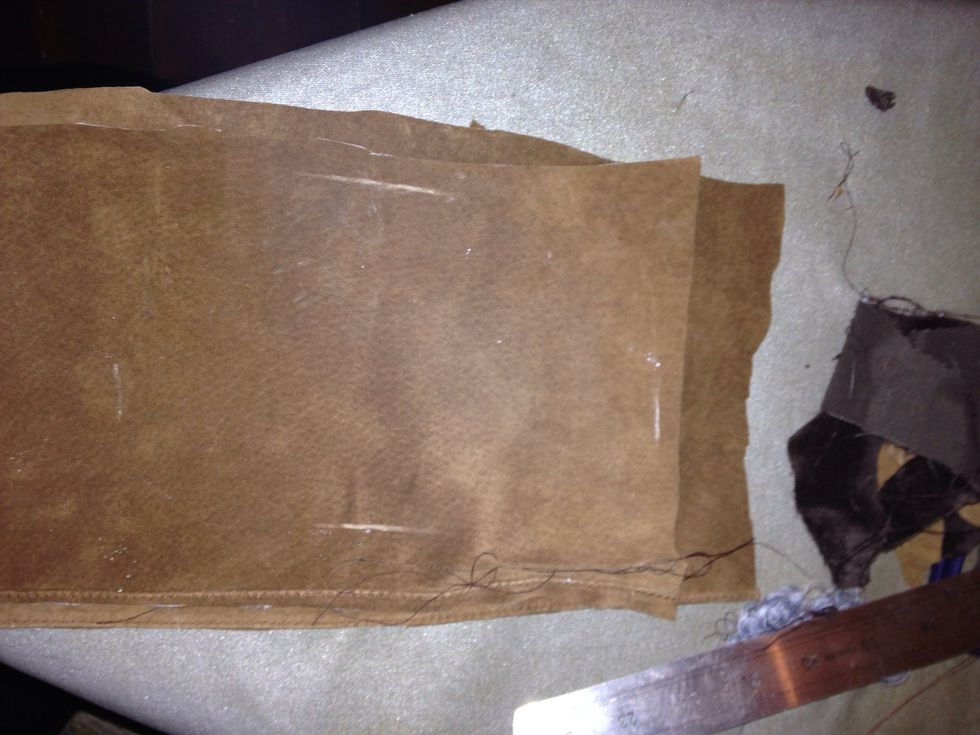
Here I've laid out two more pieces of the suede. I've measured the length and width of the patches I want and marked it out on the top piece in chalk.
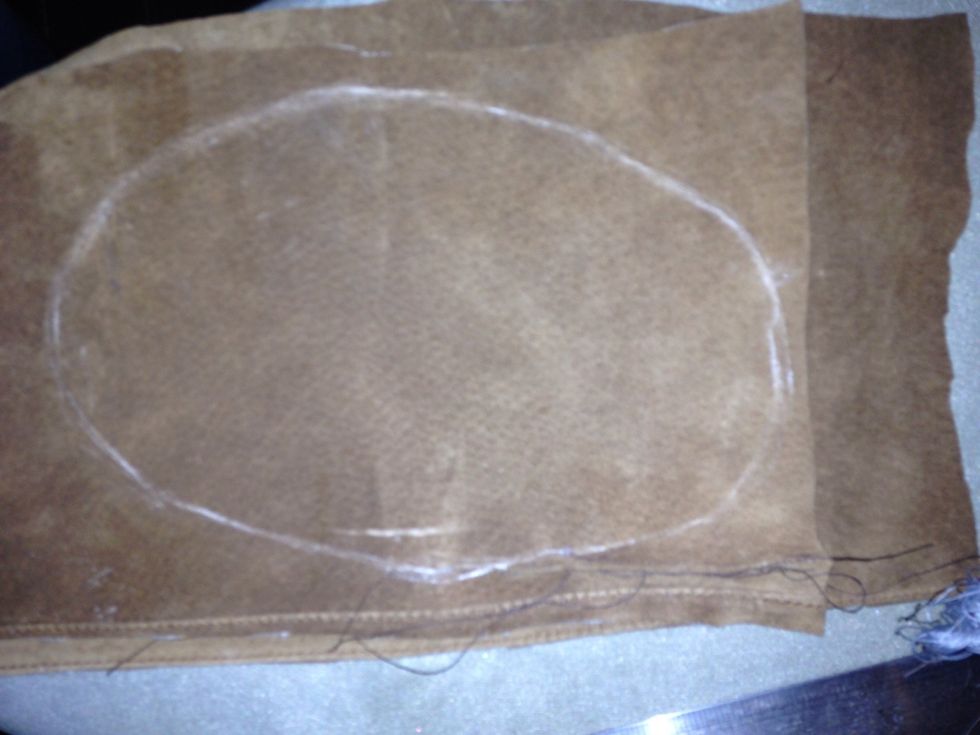
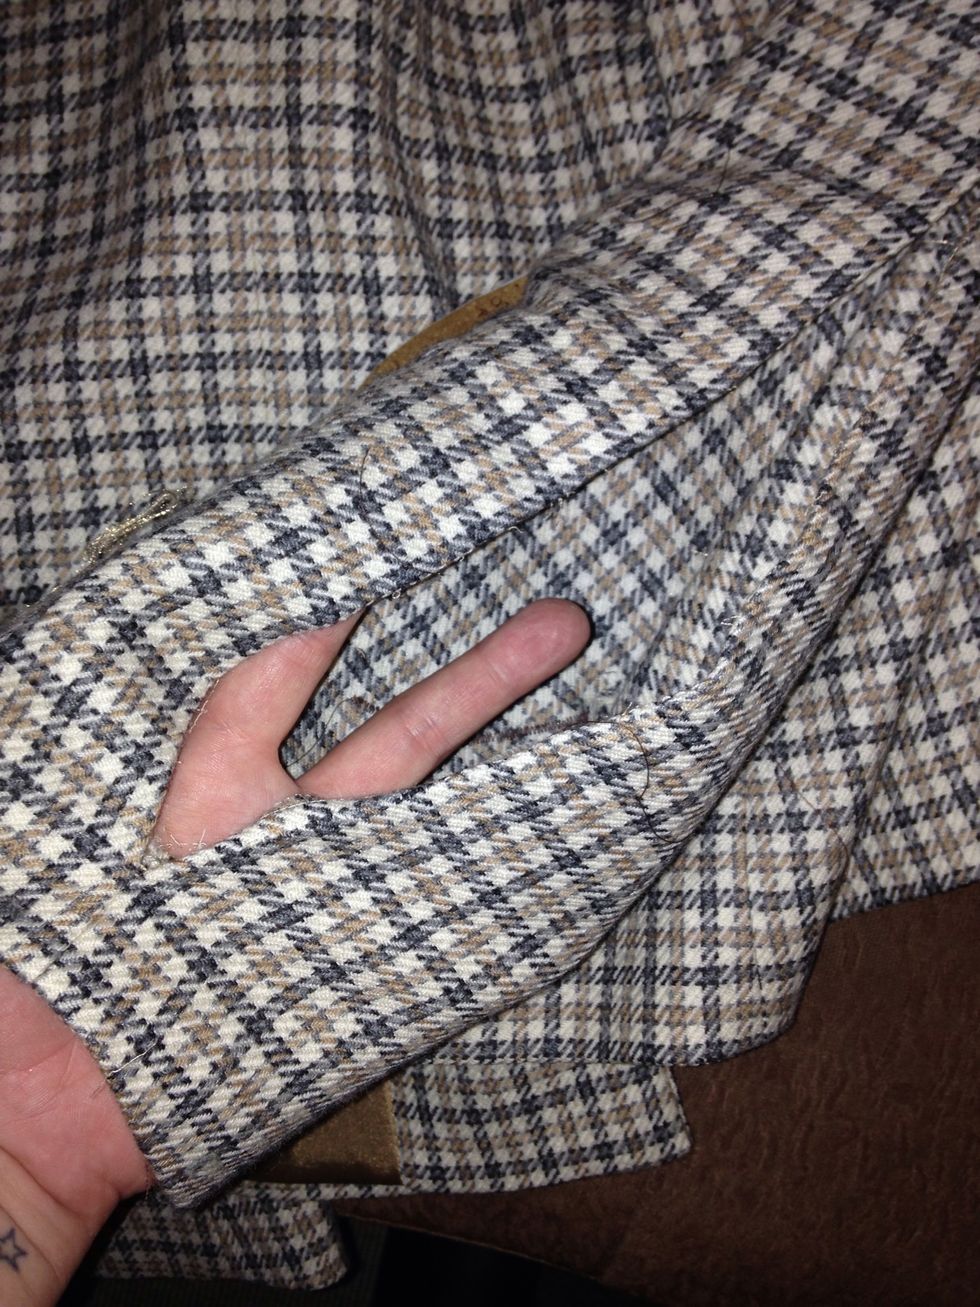
I drew a rough shape out and cut through both pieces, it helps to pin them but pin the parts that get cut off together as we want to cut down on the holes we make in the suede.
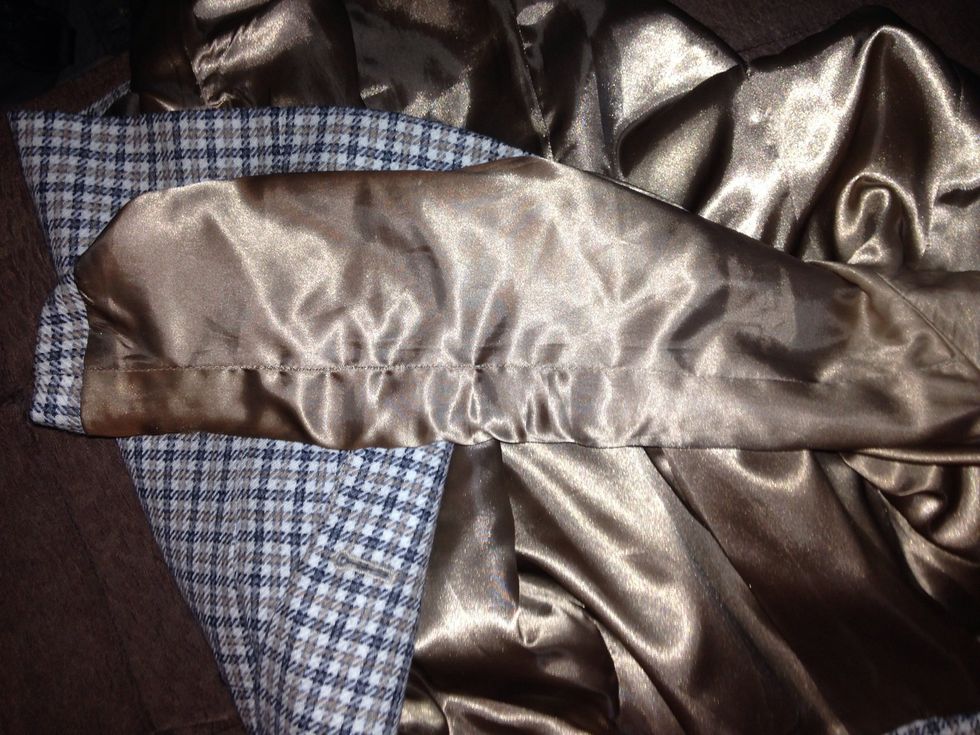
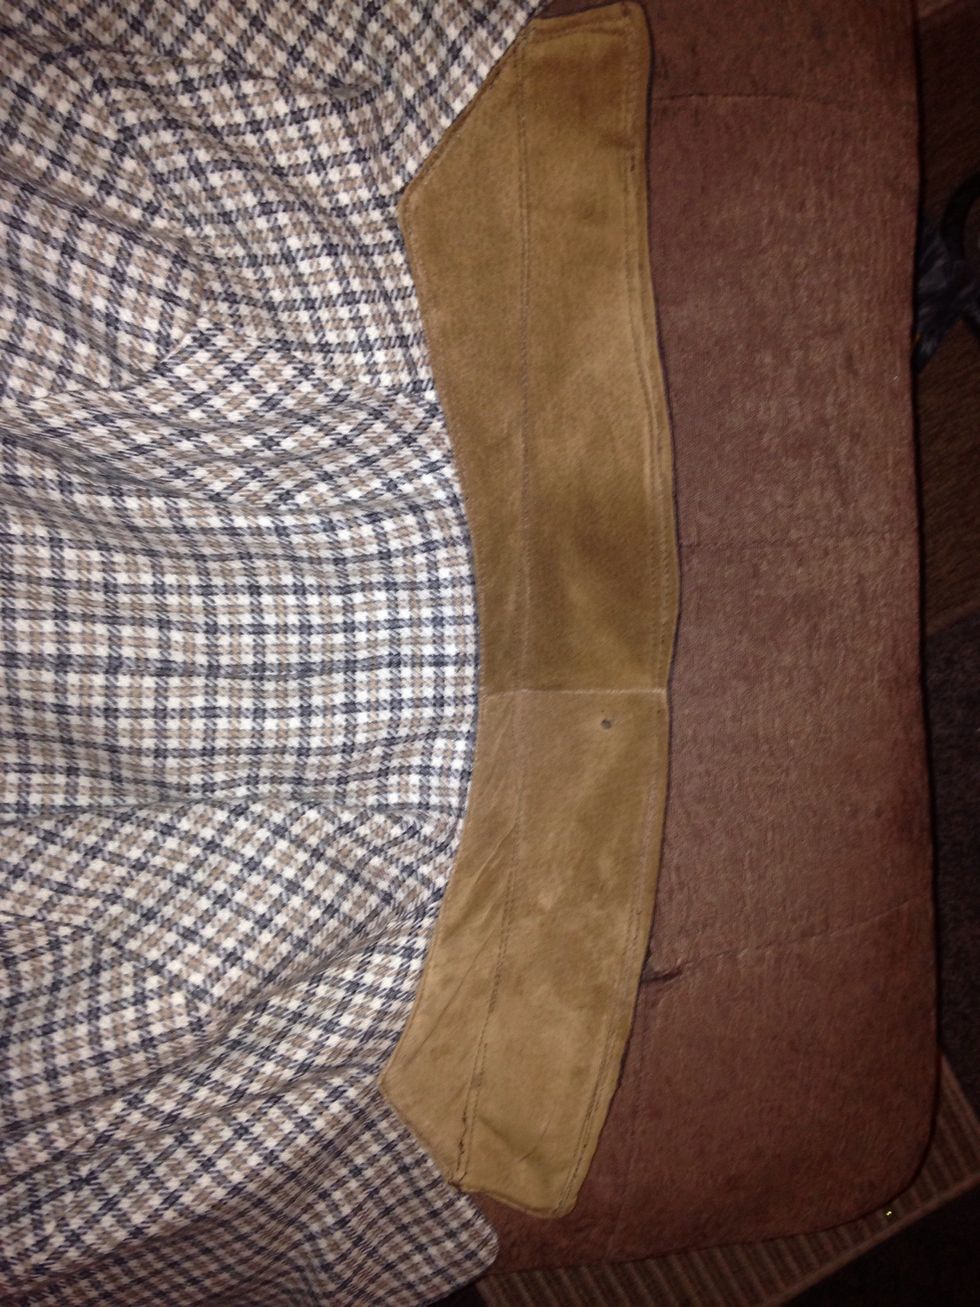
After pinning the patches on( i had help with this bit!) i opened the lining of the sleeves nearest to where I positioned the patches and all around the cuff, leaving the sleeve empty.

I then basted the patch in place using big stitches and a fine needle. The thread I used although slightly thicker, it's silky and goes through the suede beautifully.
I then opened the sleeve stopping before the cuff and the armpit . The sleeve should open out plenty wide enough to lay the patch flat for stitching.
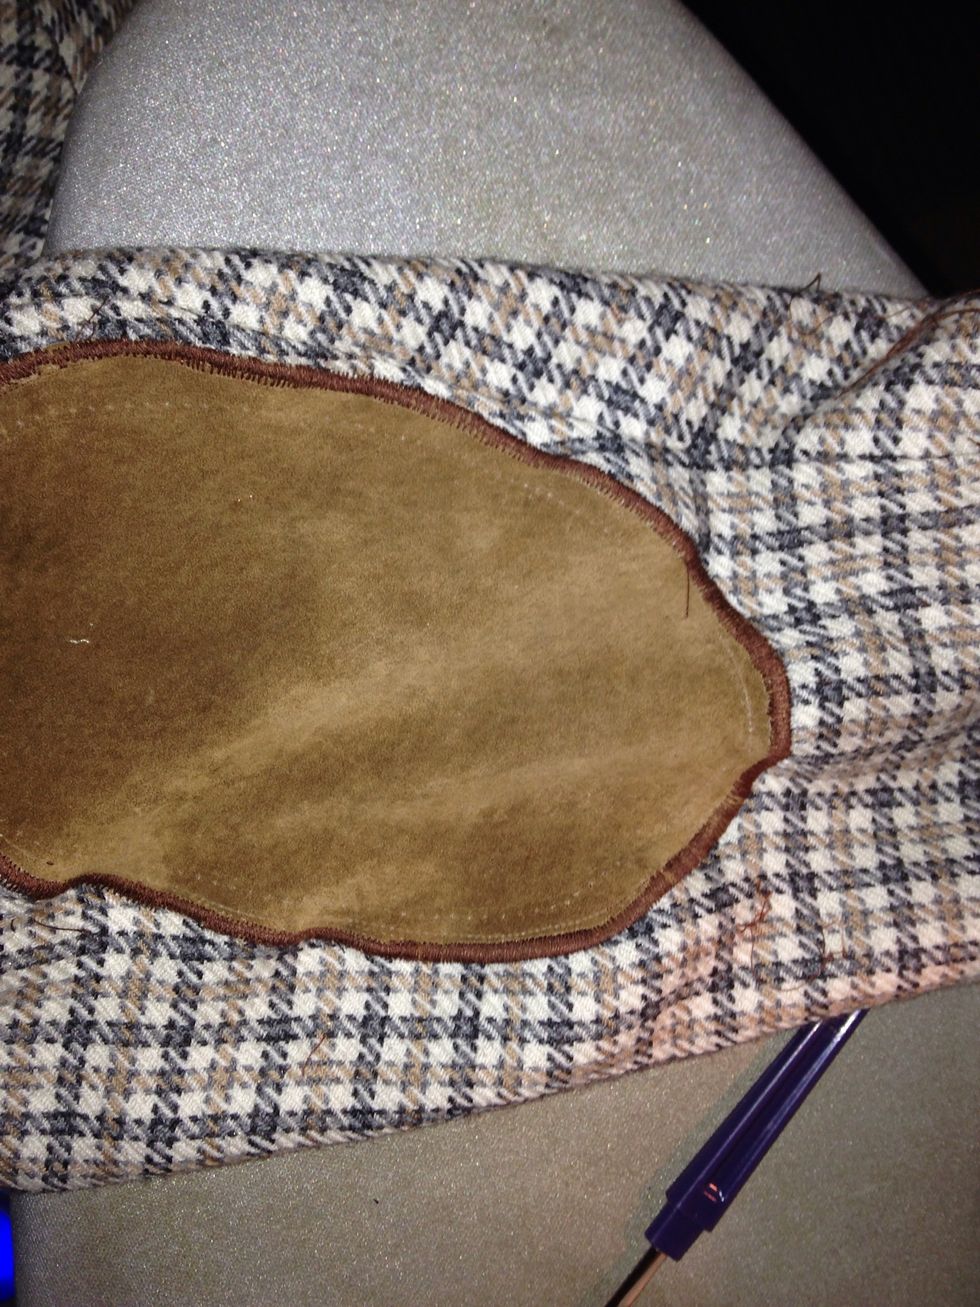
A sewn patch! I had a couple of fails on this patch, quick unpick saves the day again! The stitching Is wavy at the moment, this and the holes left from mistakes can be sorted with steam and a brush.
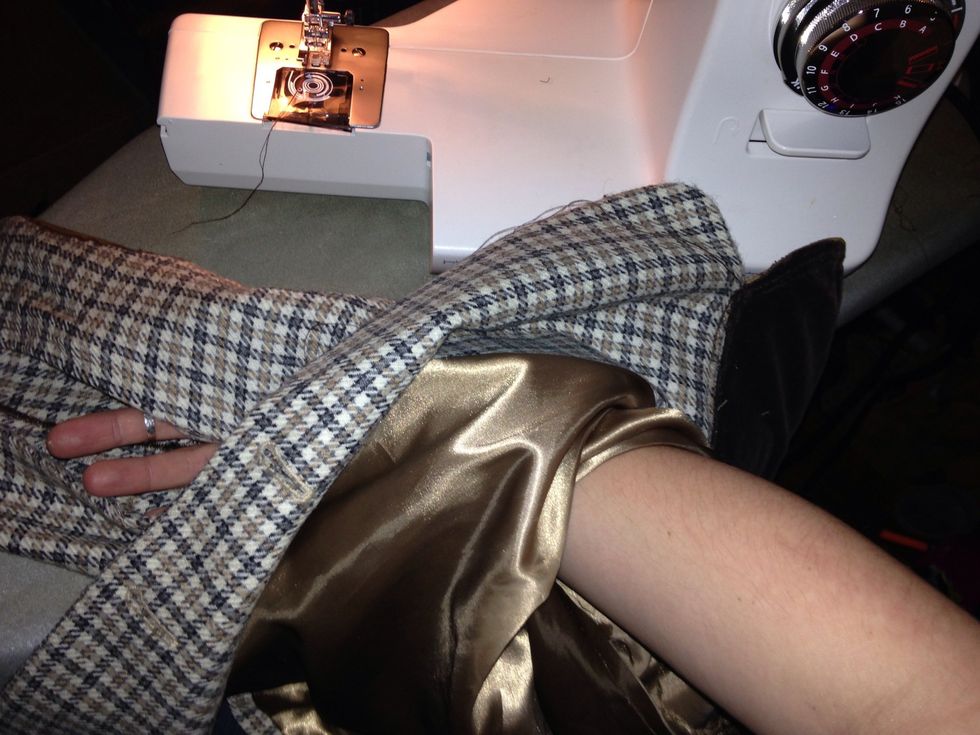
Now to close the sleeve. Pull it inside out and sew as close as possible to the original stitch line. Use a small stitch and doing two rows will keep it secure.
Done :)
I attach the cuff of the lining with the cuff of the jacket. This can be tricky so if any one needs help, I ll make another guide on how to do it :)
I then close the lining by cover stitching along the seem as close to the edge as possible.
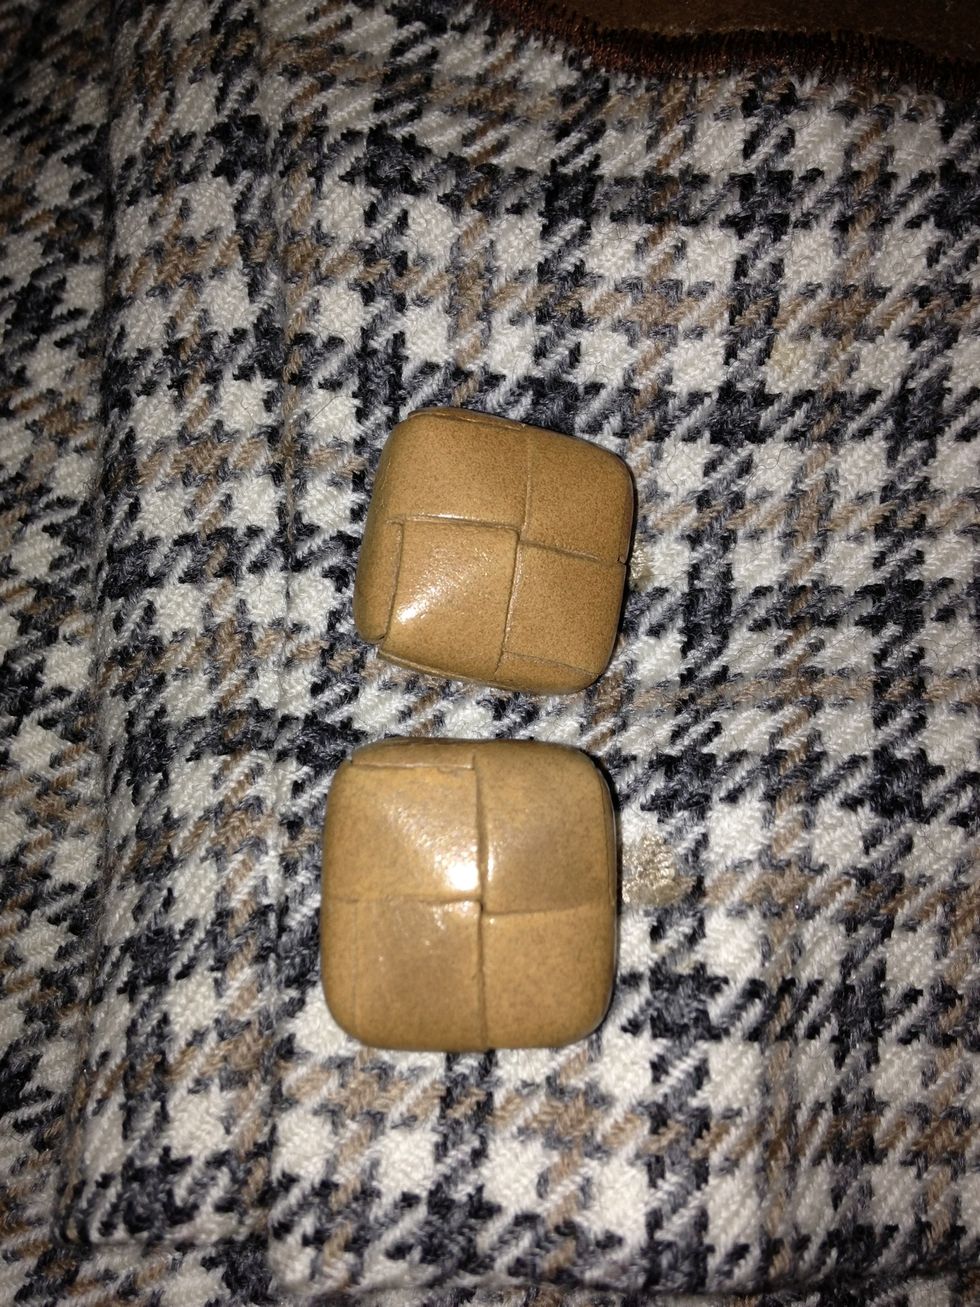
I then thrifted some chunky leather bound buttons. This jacket has non working cuffs and decorative buttons so I could use bigger than the originals, they didn't have to go through the buttonholes.

The stitch marks left after I unpicked the patch are a lot worse in this photo for some reason, I need to use a suede brush but haven't as yet! I'm really pleased and the buttons look awesome!.
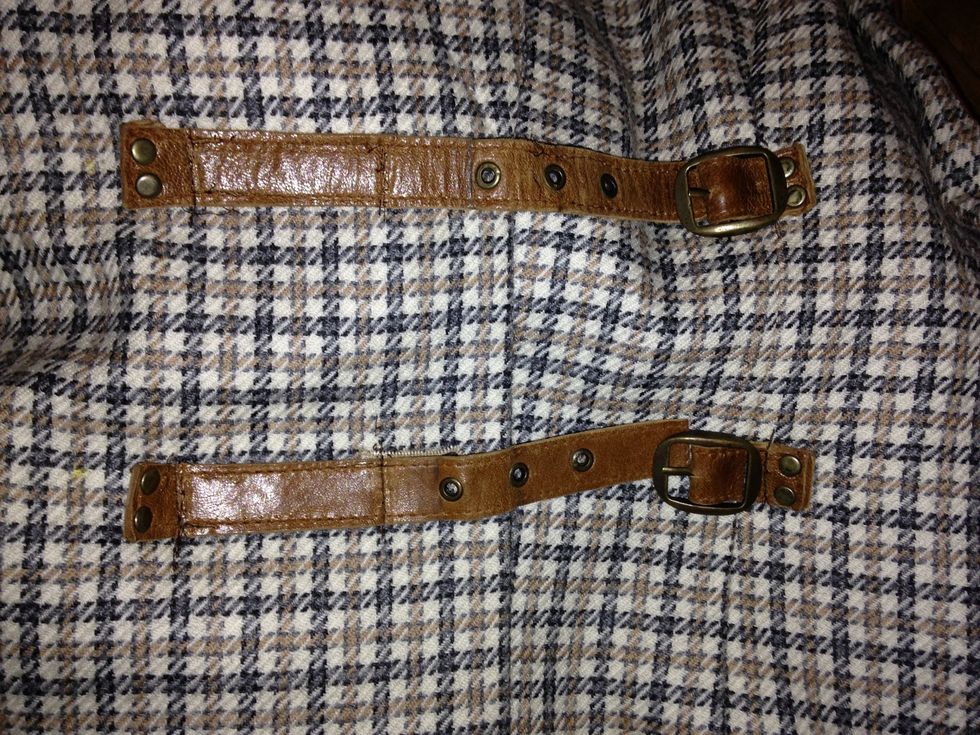
Instead of replacing the breast buttons, I took them off and replaced them altogether with straps off an old belt . I used an industrial sewing machine for this as my domestic wouldn't handle it!
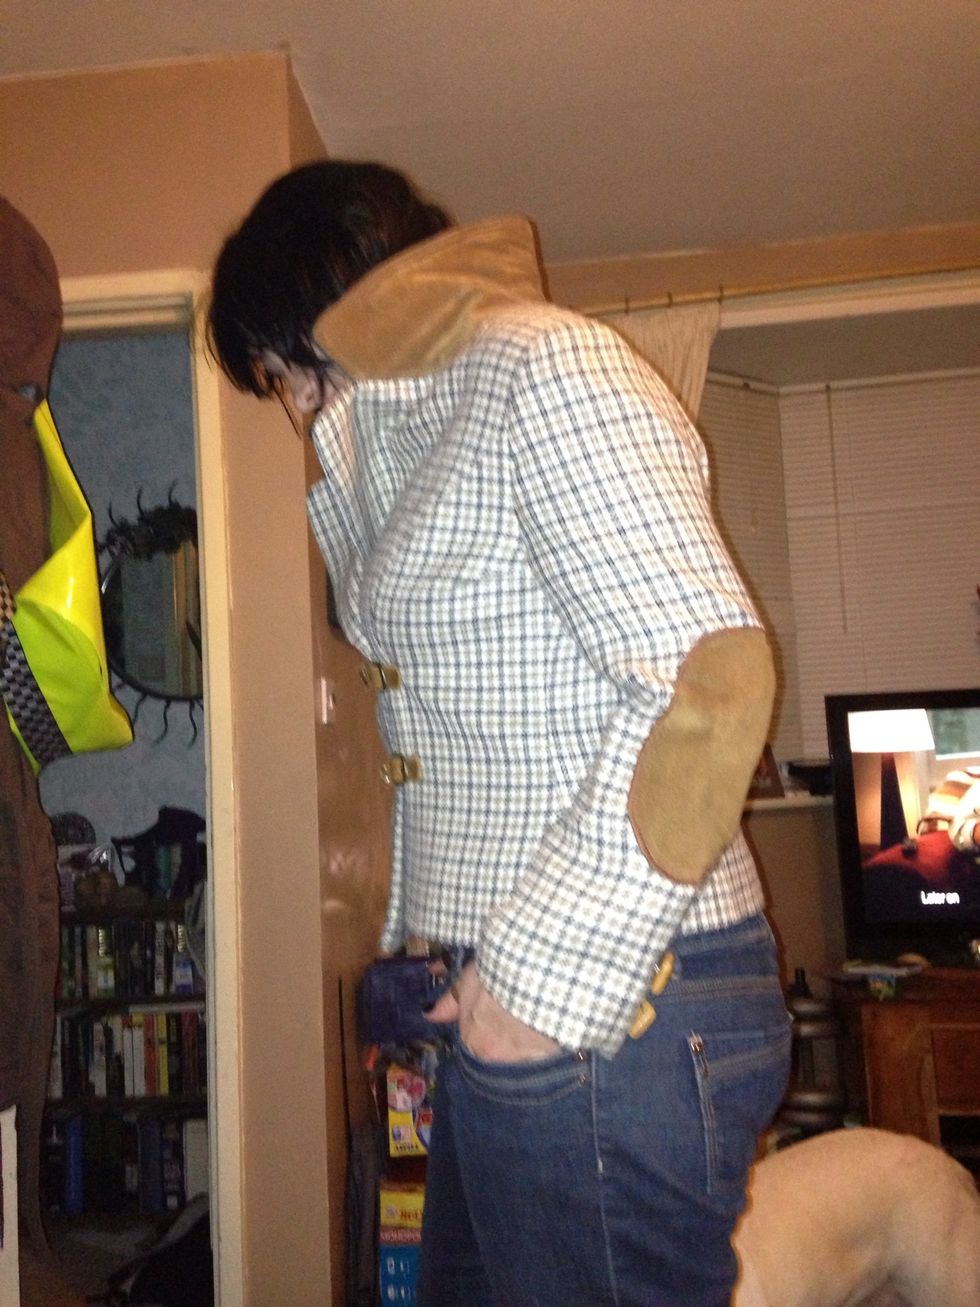
Collar popped!
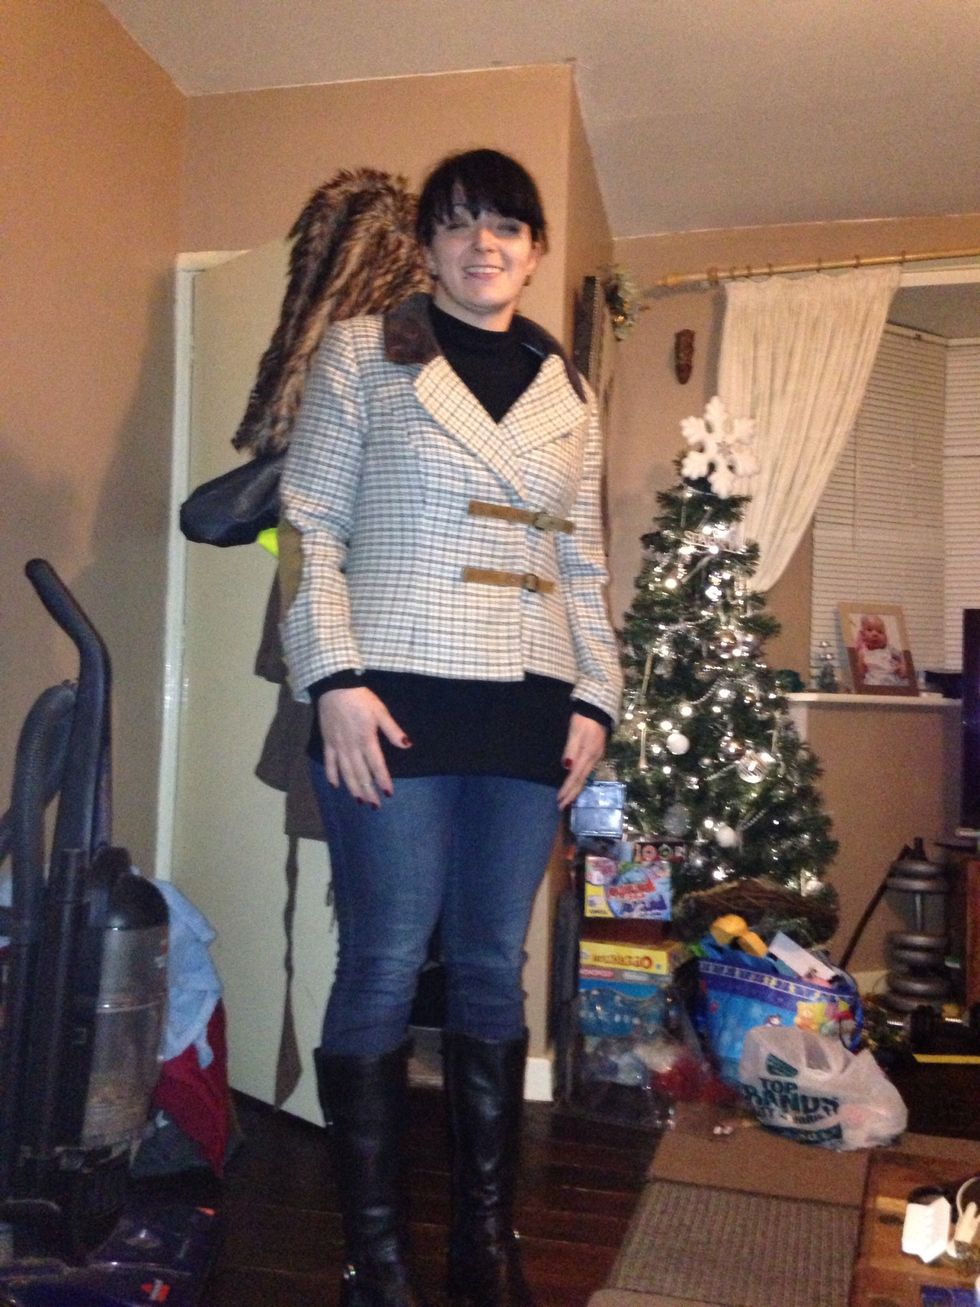
Mid blink but Ta daaaahhh! I'm toying with the idea of finding a thick belt with a large buckle instead of the two smaller ones but they'll do till I find one! This whole project cost nothing......
Recycle everything!!! Look at everything your about to throw away, is there cool buttons, buckles or fabric you can use again? suede, leather, denim, corduroy, velvet, cotton, lace, are all brilliant!
This is my first guide, I hope you find it easy to follow and useful! I'm glad to answer any questions if I've made any of the steps confusing! ENJOY! ;)